
SlideTriple - Expansion Module for MeshSlide
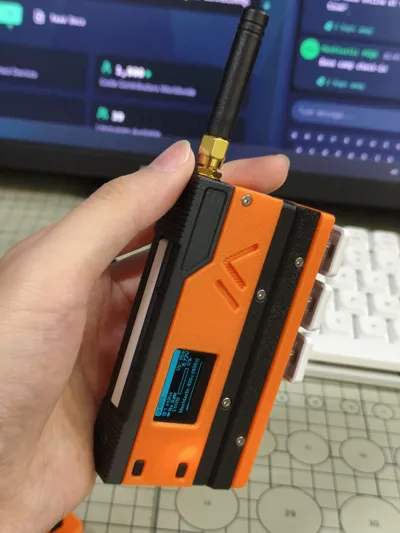
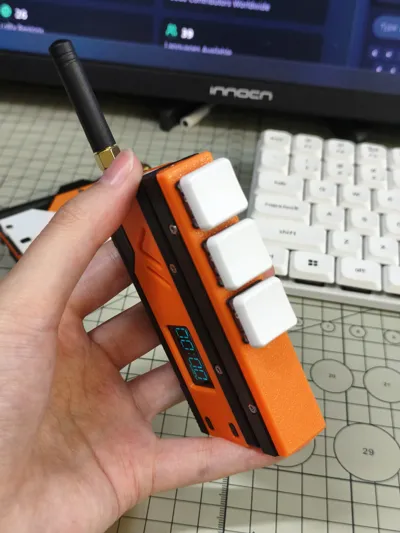
Print Profile(1)
Description
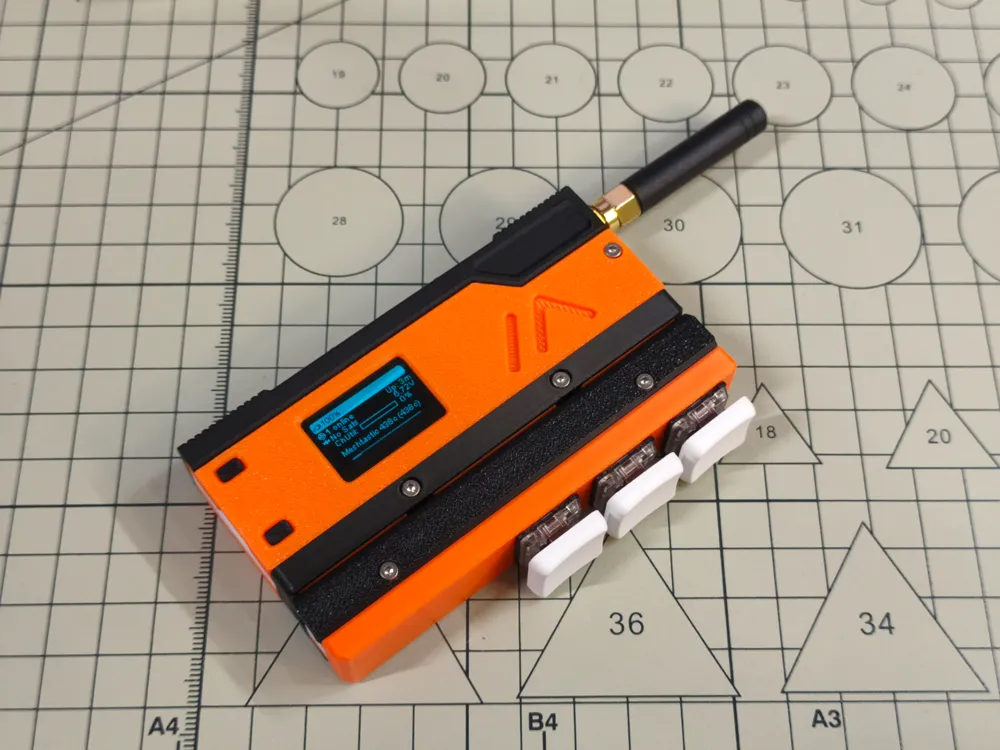
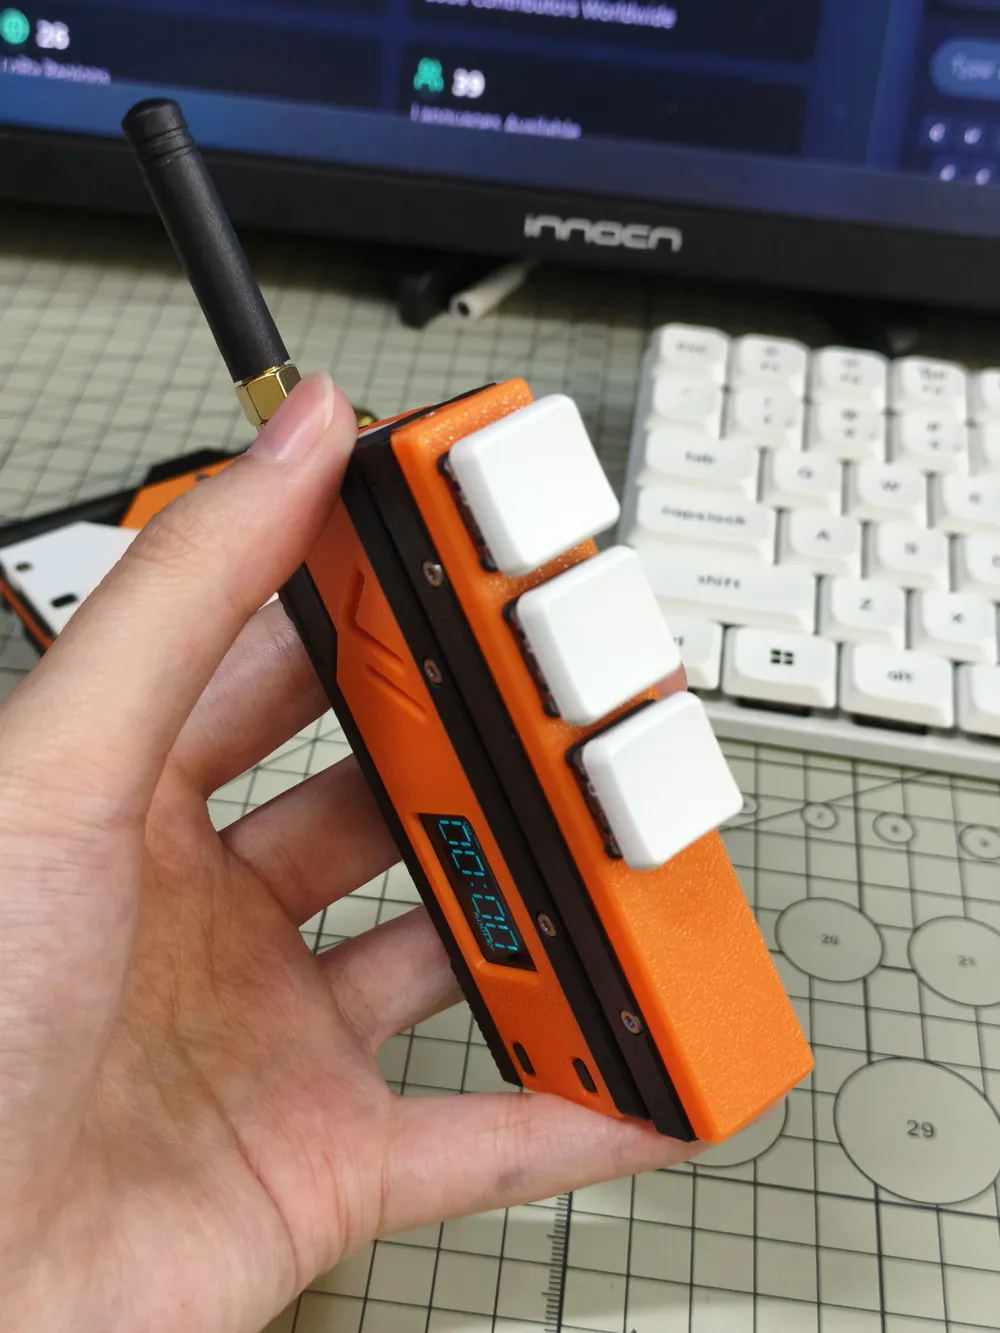
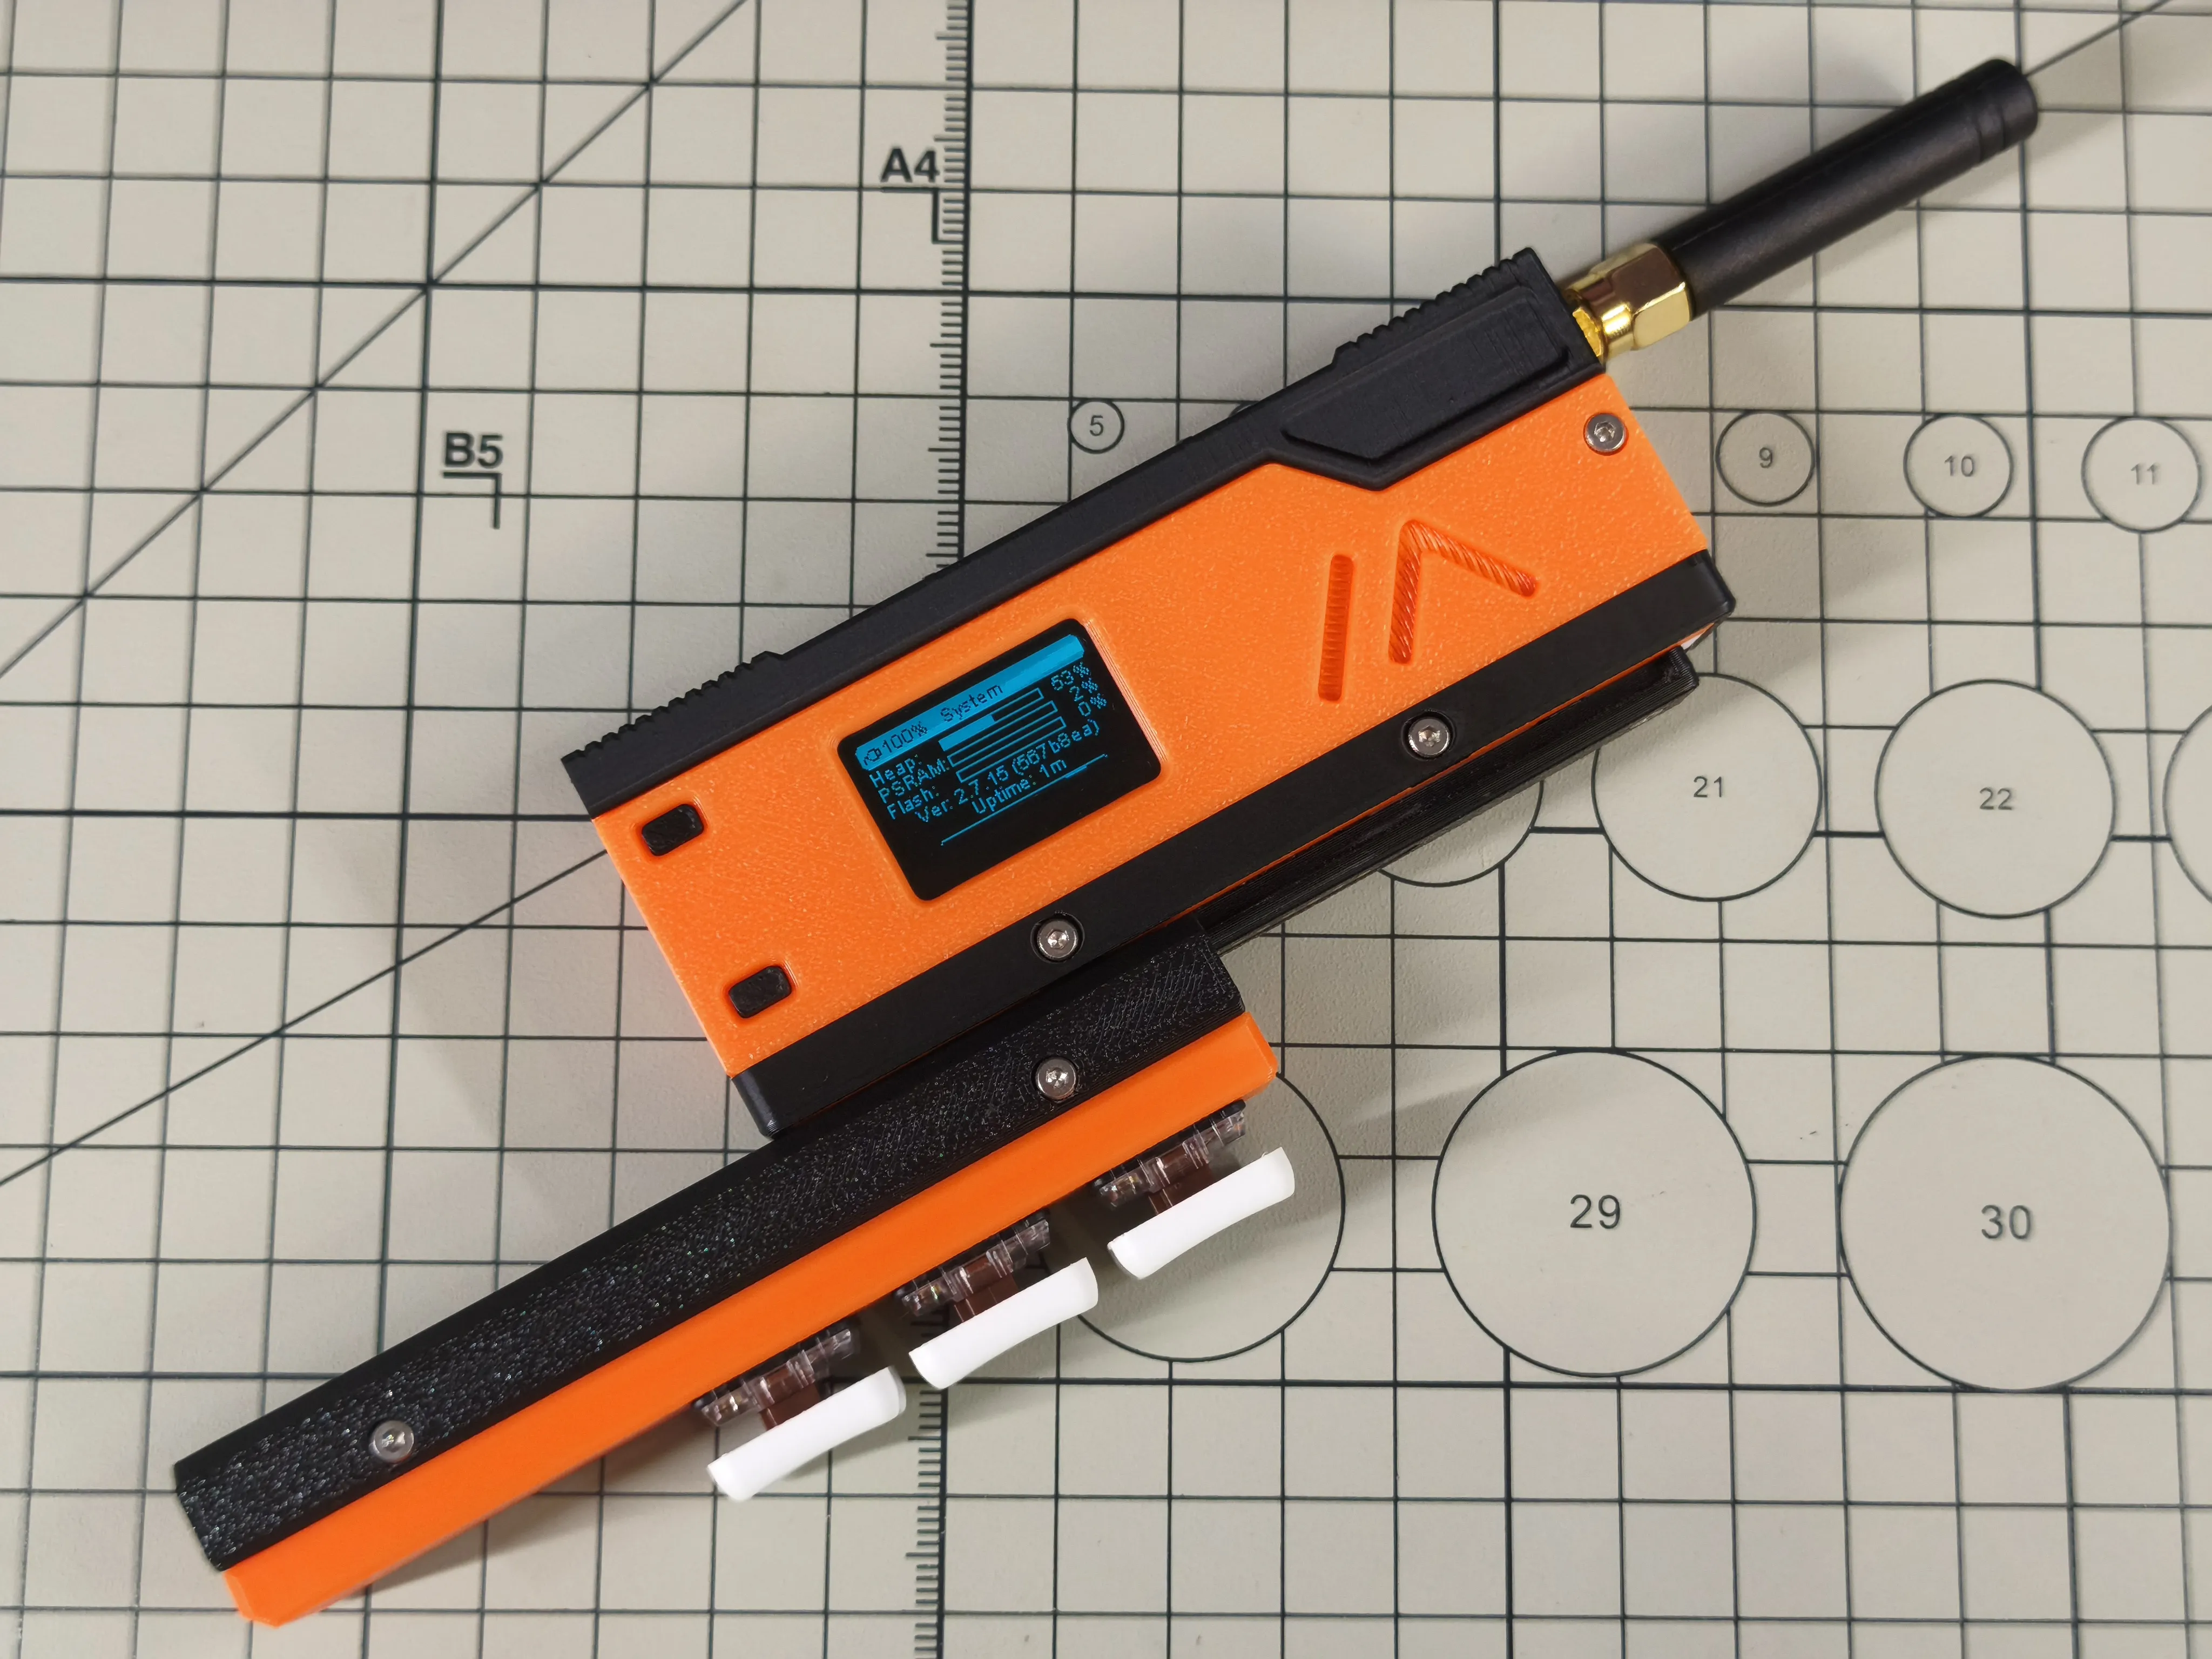
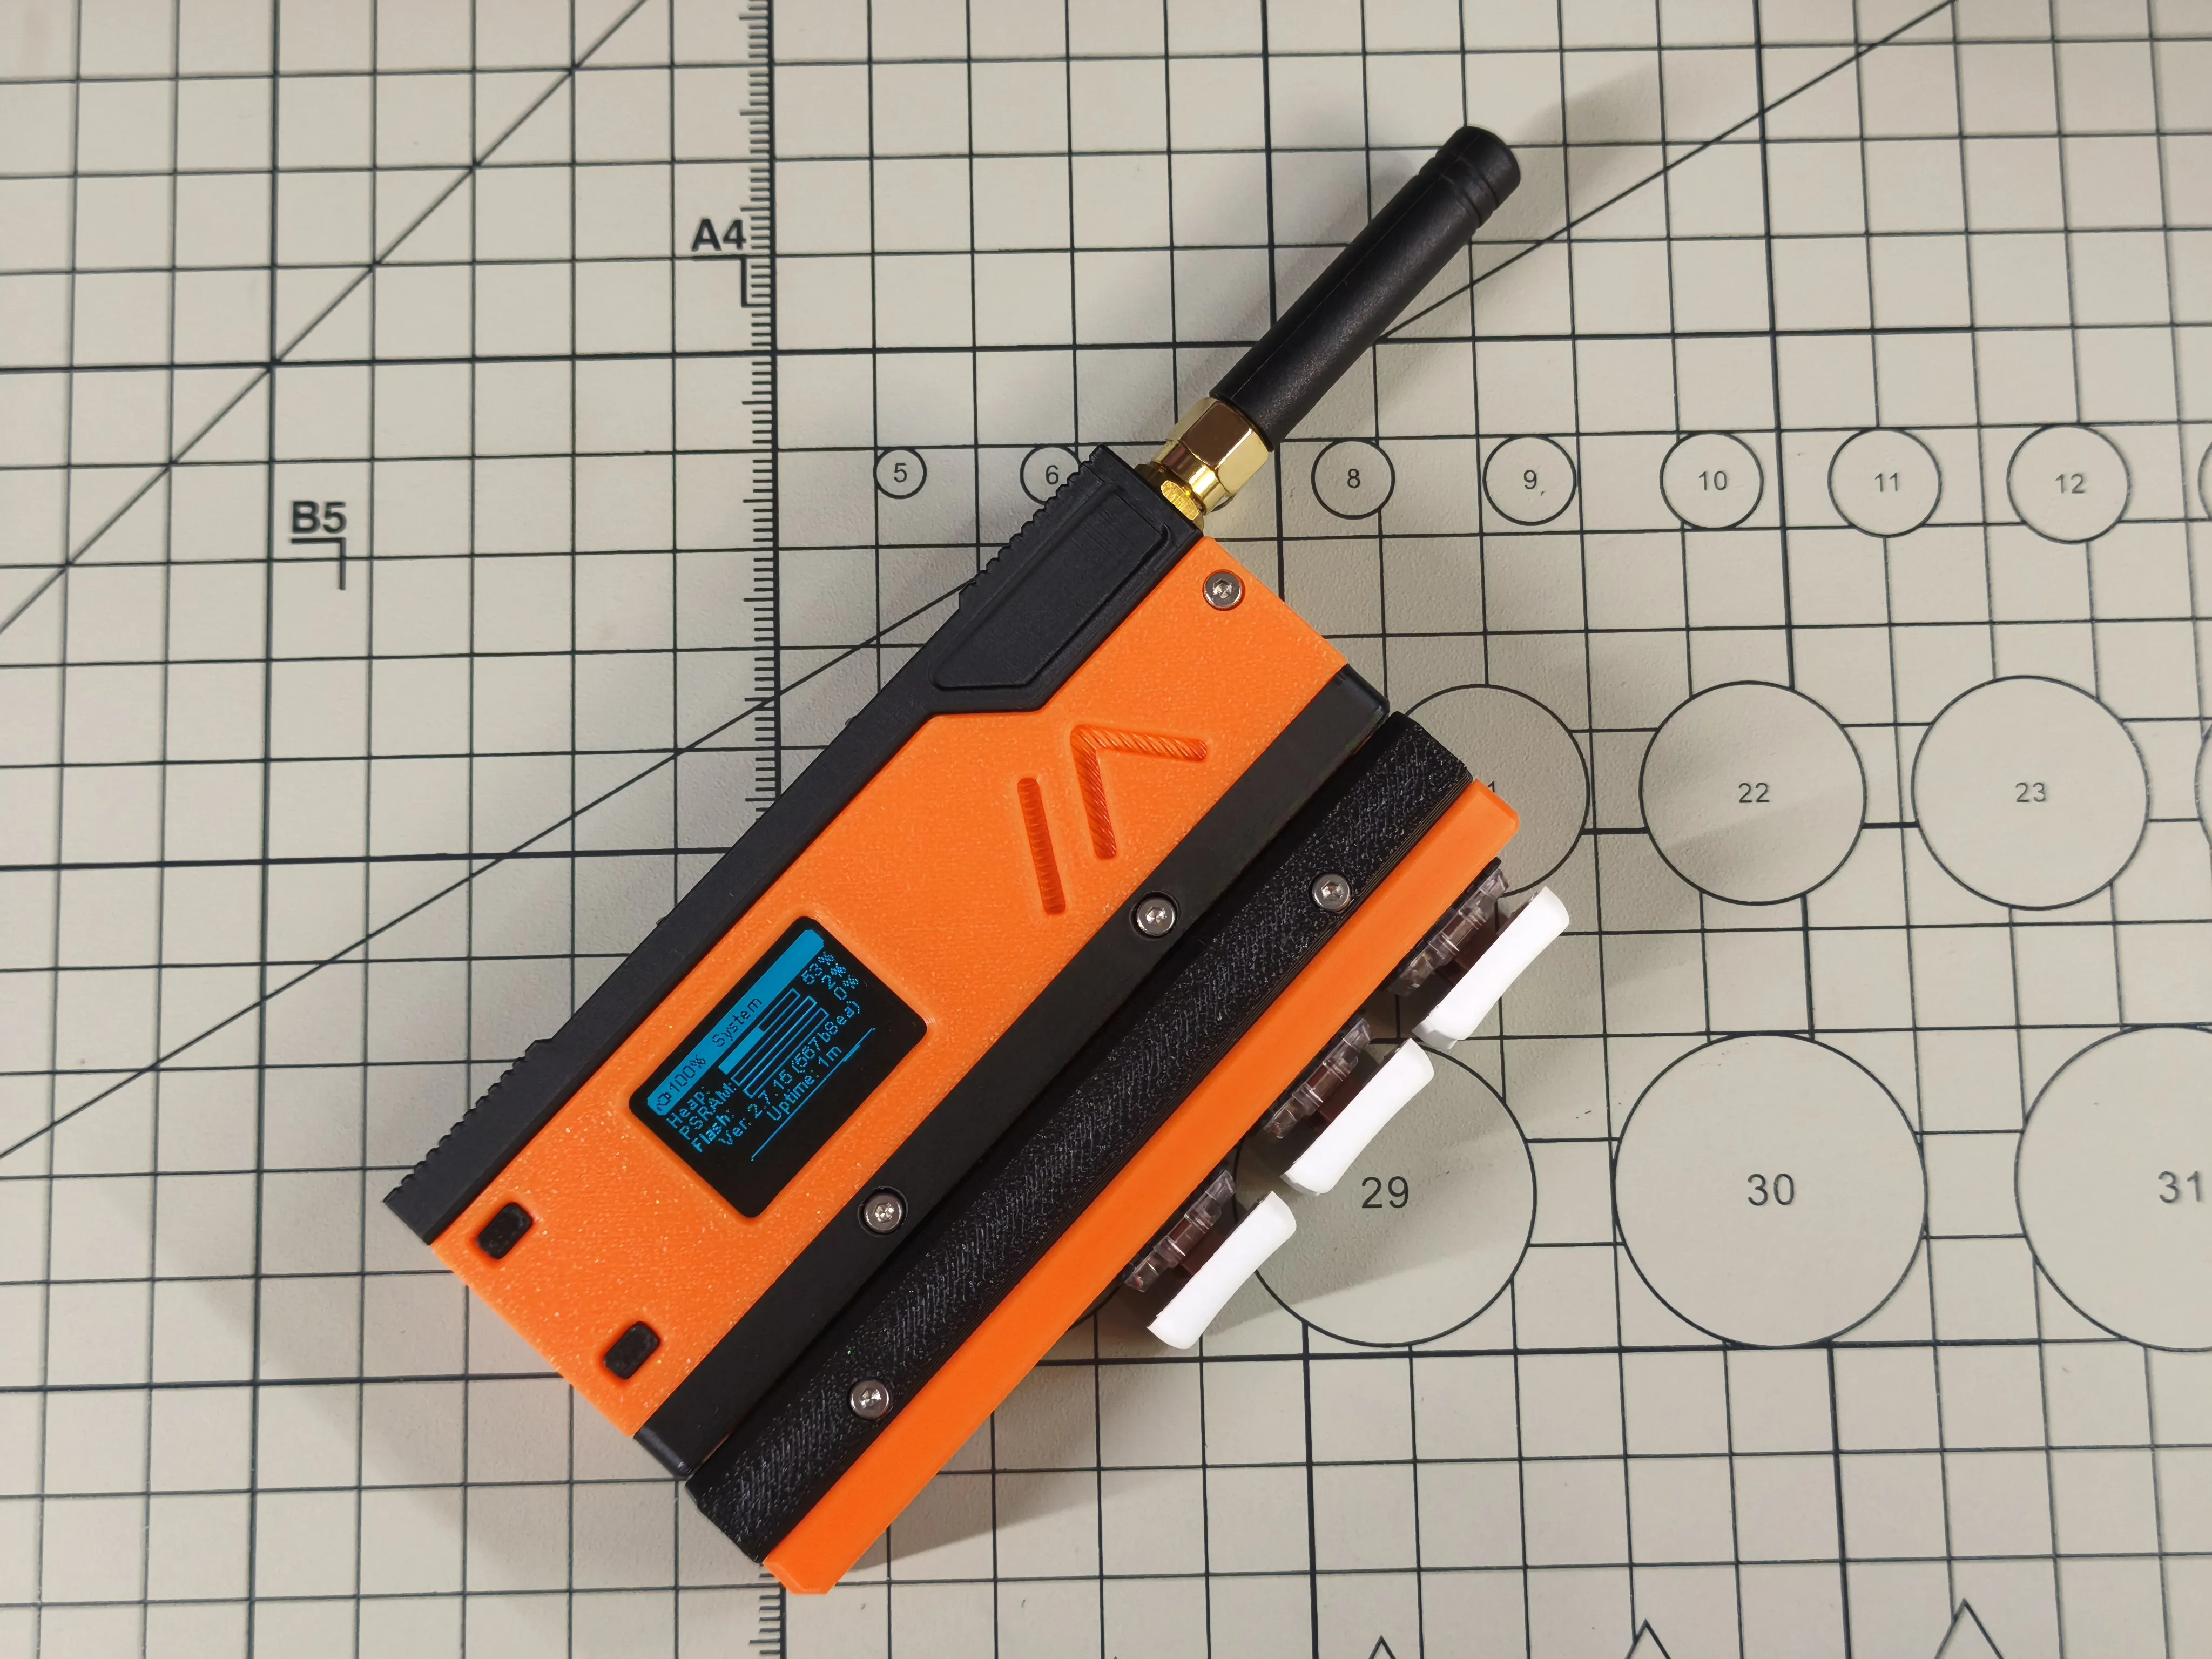
SlideTriple
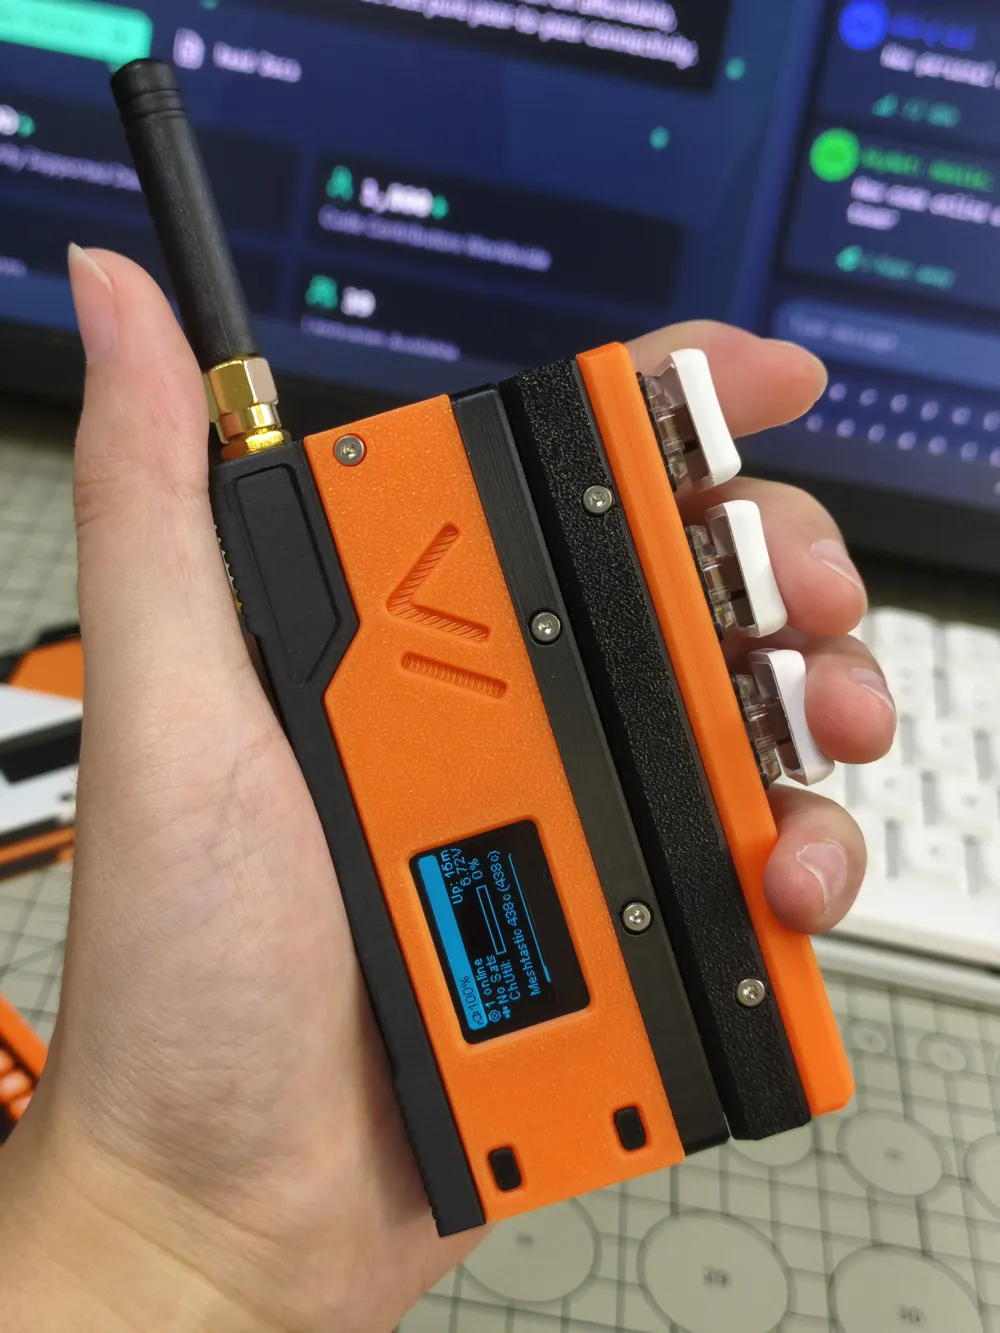
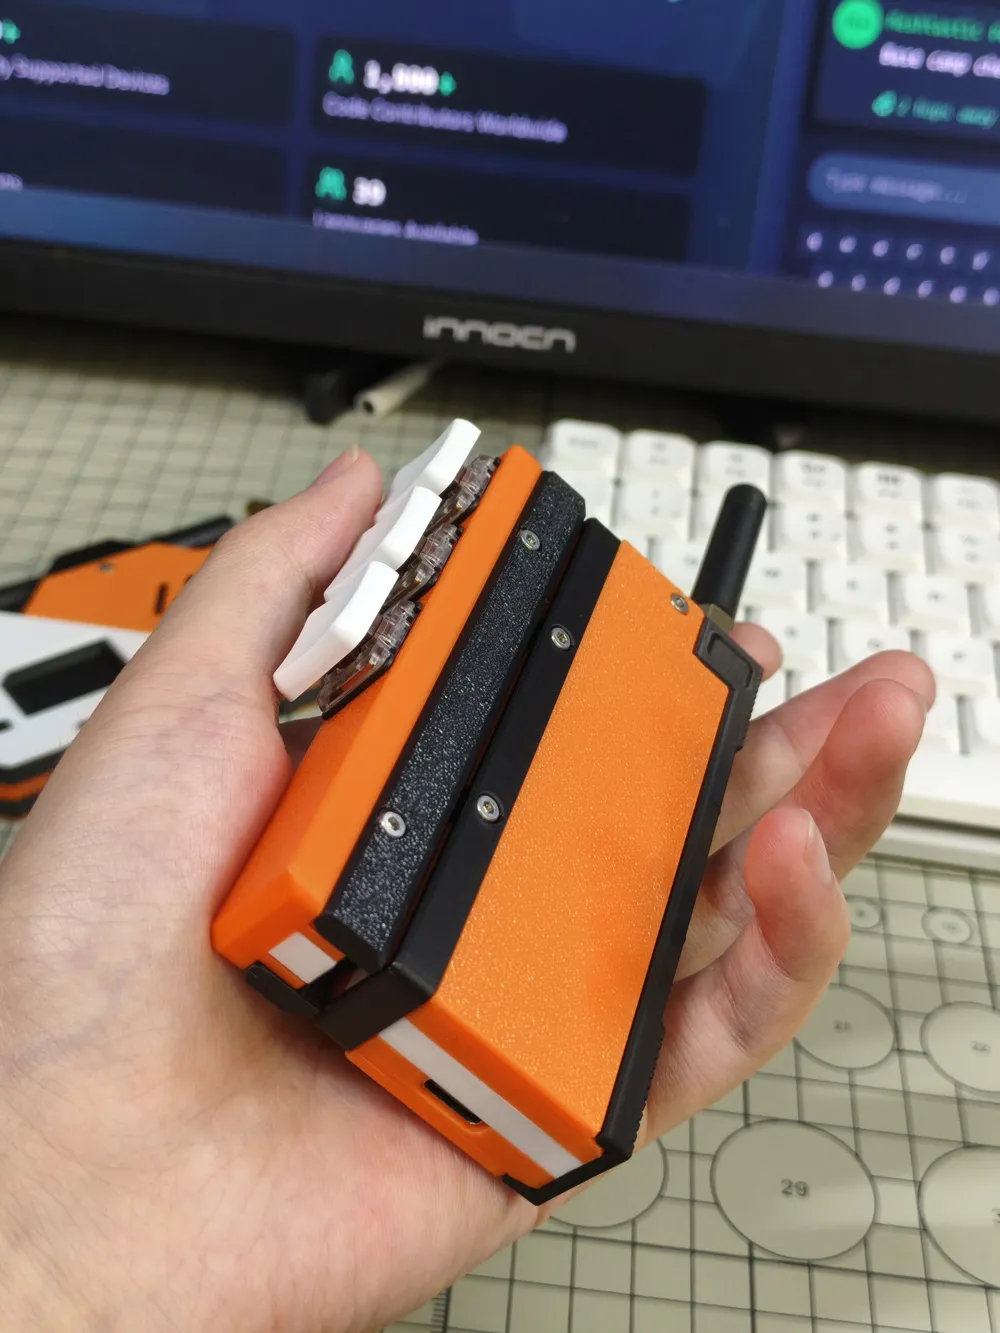
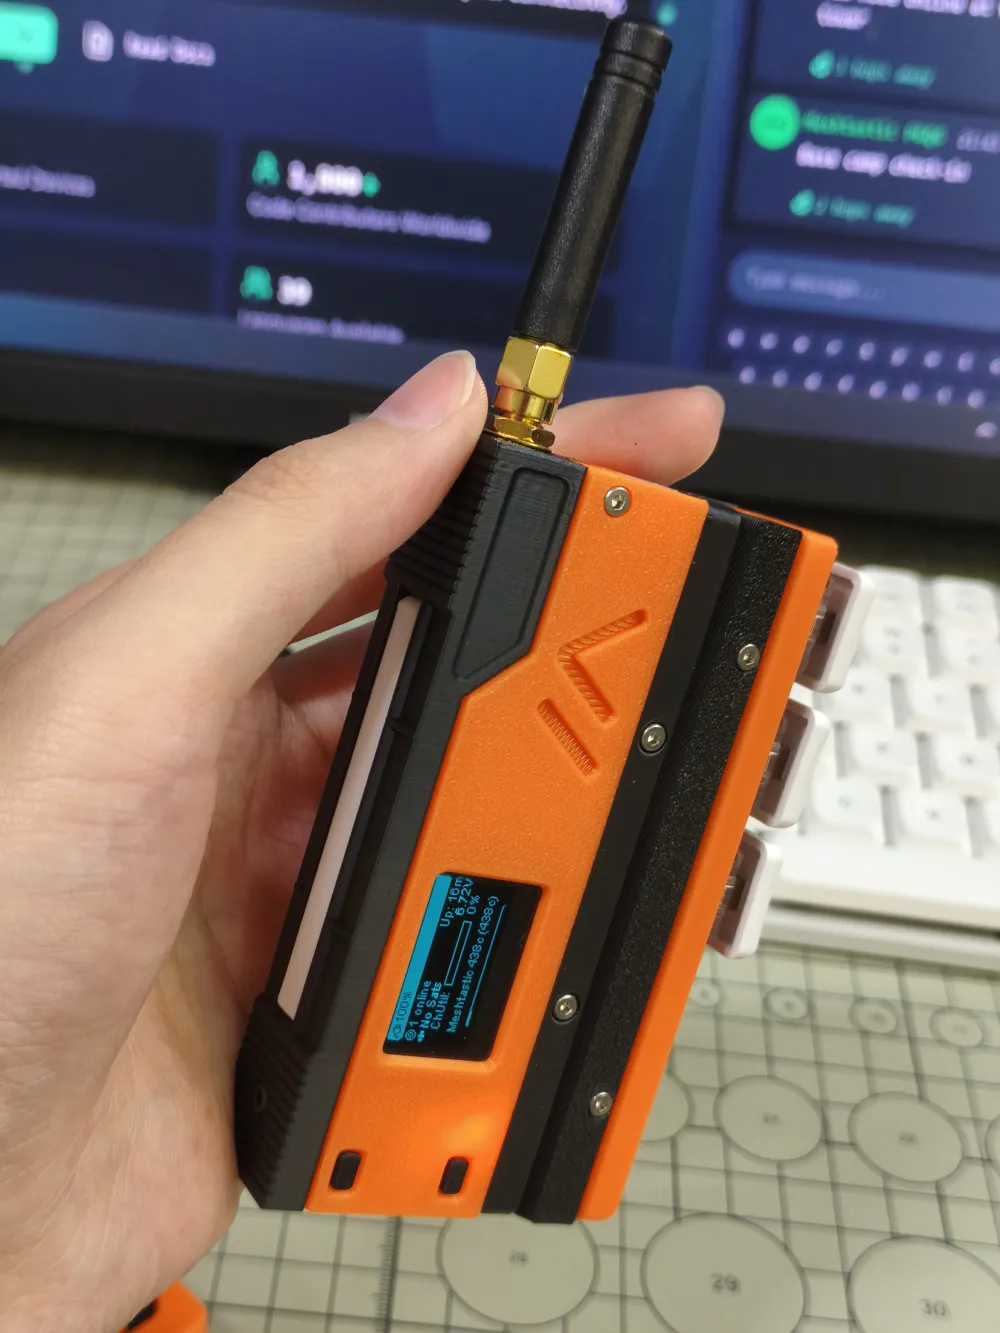
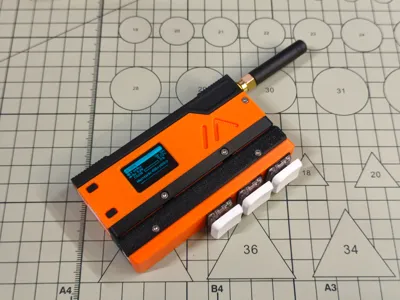
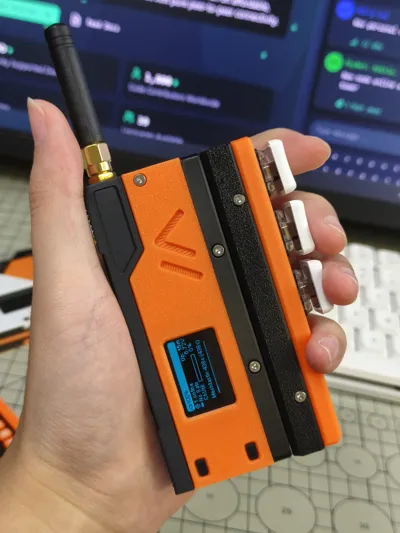
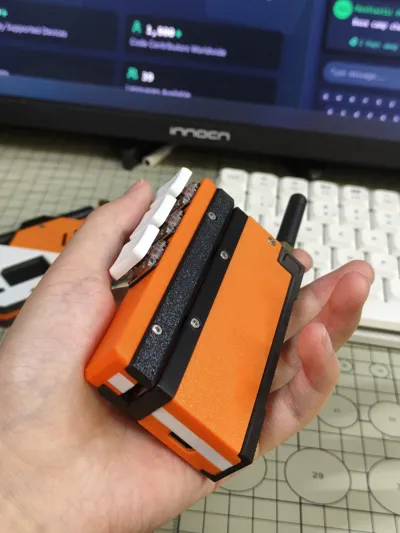
SlideTriple is a dedicated extension module for MeshSlide, which implements button functions based on Kailh/Gateron low-profile switches
- From top to bottom are Up, Down, Confirm respectively
- Used for menu navigation, preset message selection
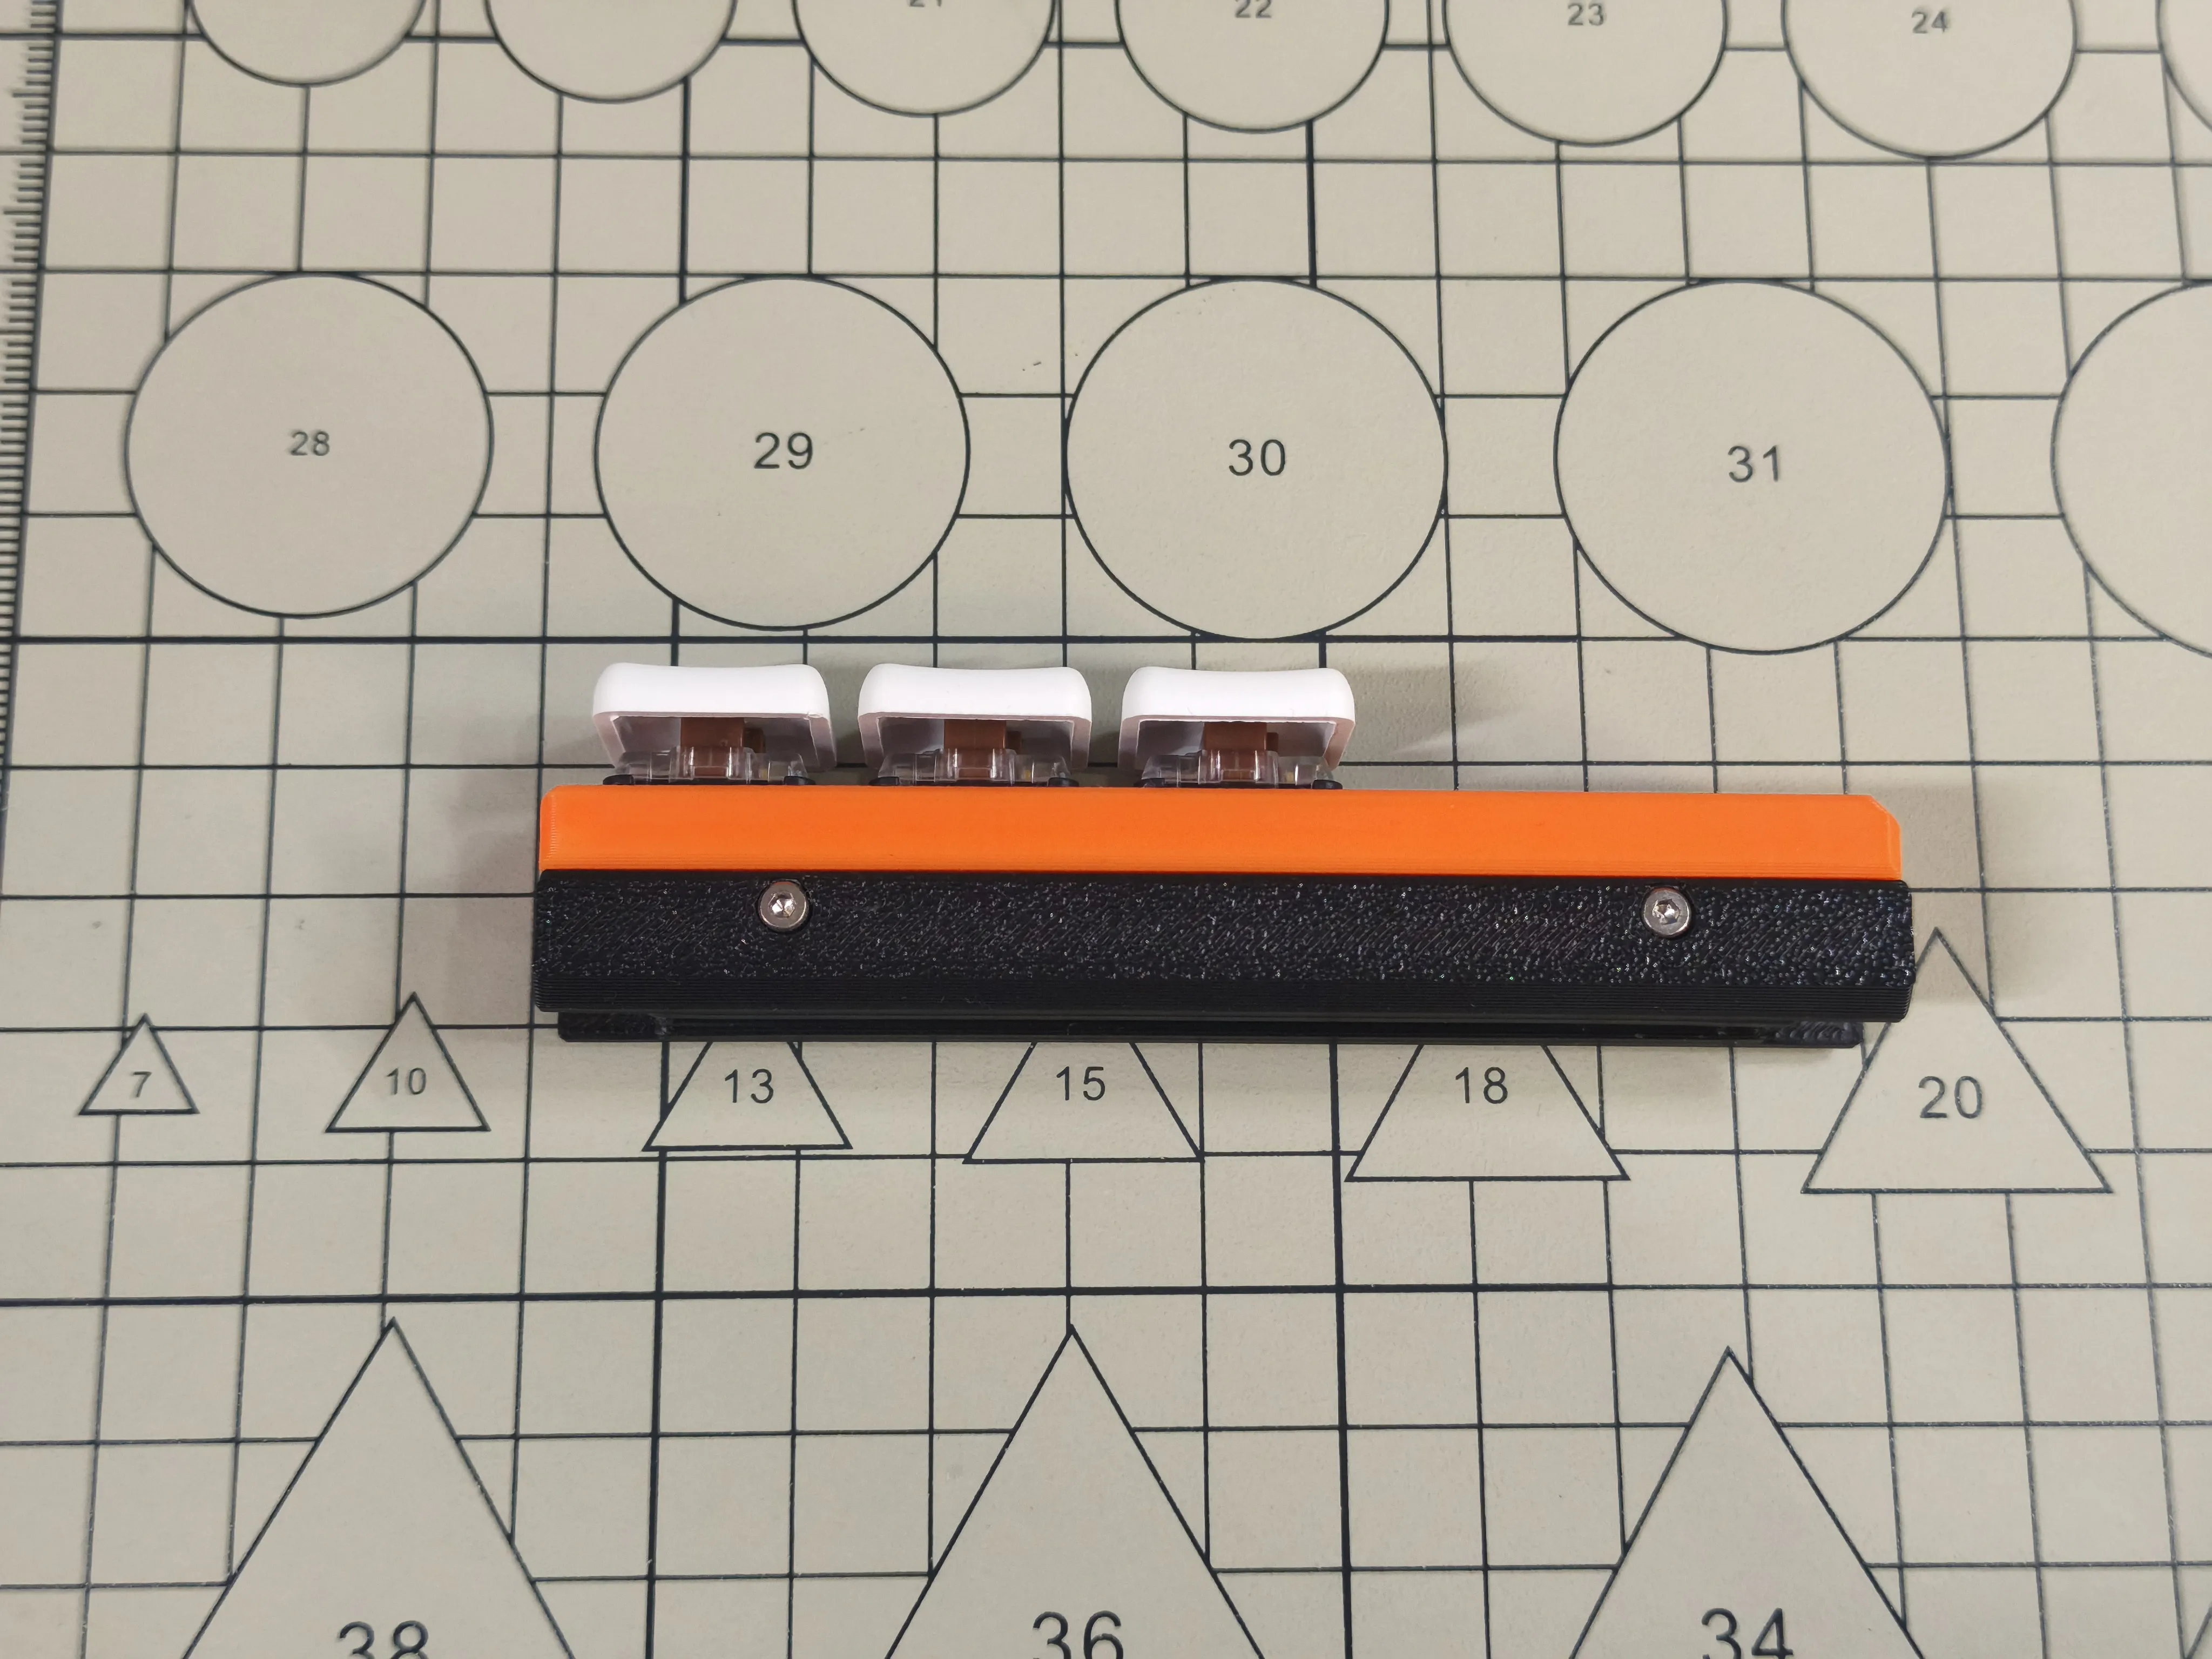
Please note, this printing kit only includes the SlideTriple extension module as shown in the figure below, for the MeshSlide main body, please search my homepage
BOM List
- 3D printed case S1 (2 pcs)
- 3D printed case M1
- 3D printed case C1
- Hex socket cap head screw M2x7 (4 pcs)
- Hex socket cap head screw M2x5 (1 pc)
- Pogopin magnetic connector 8P male
- Kailh/Gateron low-profile switch (3 pcs)
- Keycap (3 pcs)
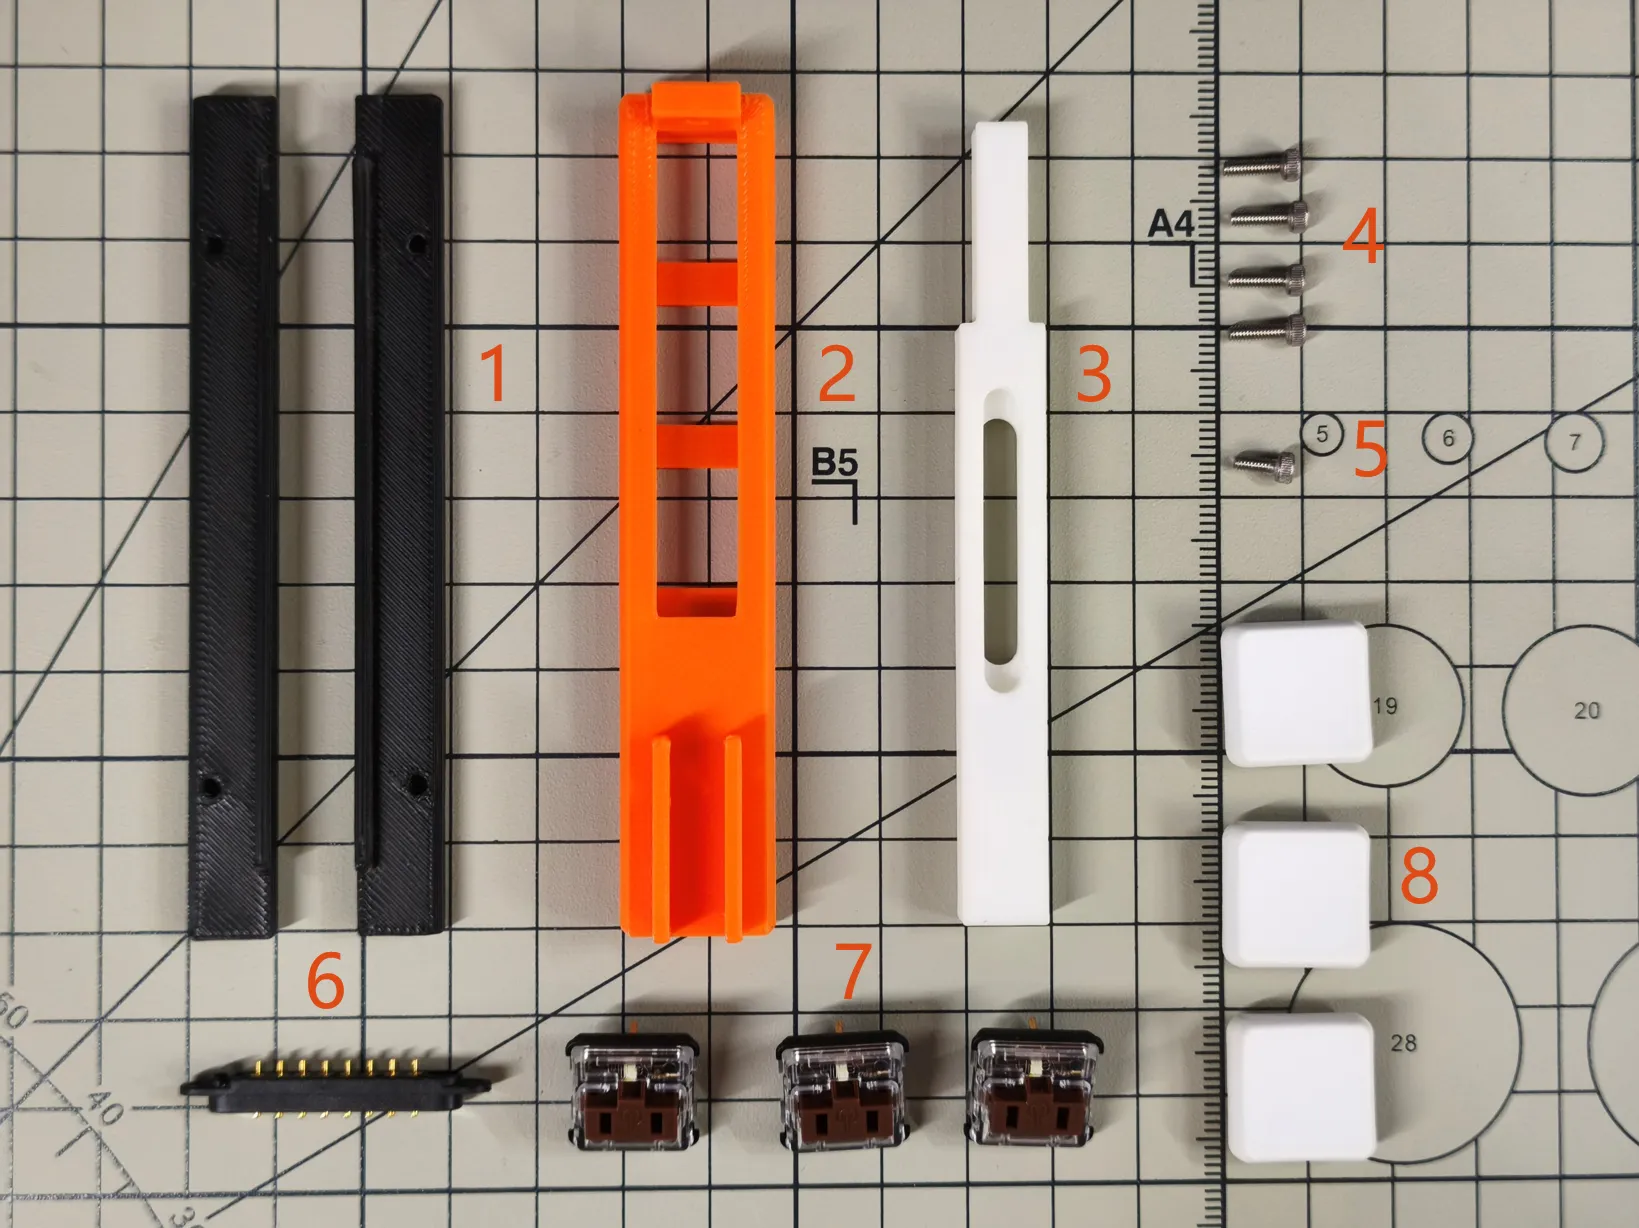
Assembly Instructions
Solder the pogopin pins to the 3 low-profile switches, the soldered pins are shown in the figure, from left to right: GND, NC, NC, 1, 2, 3, NC, NC, before soldering, be sure to test the magnetic polarity of the pogopin with MeshSlide
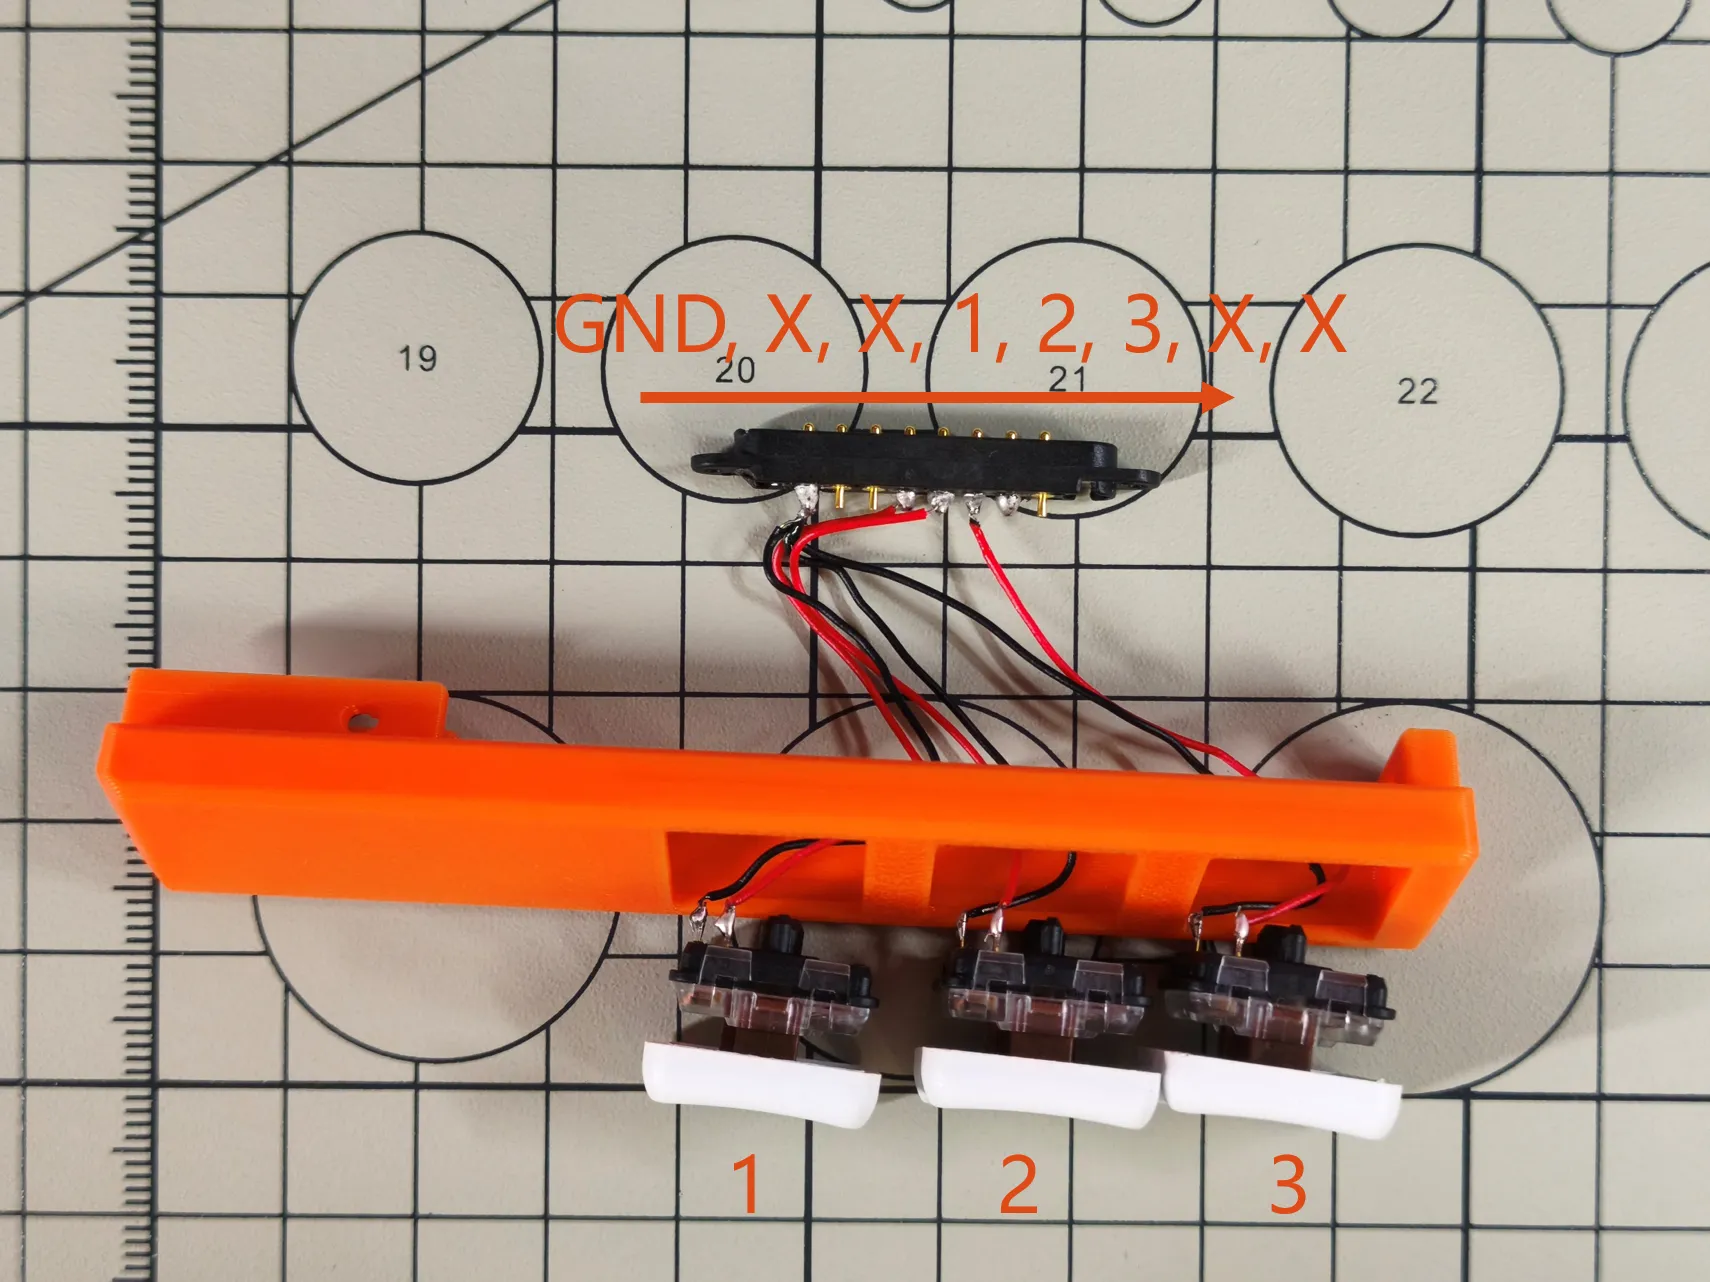
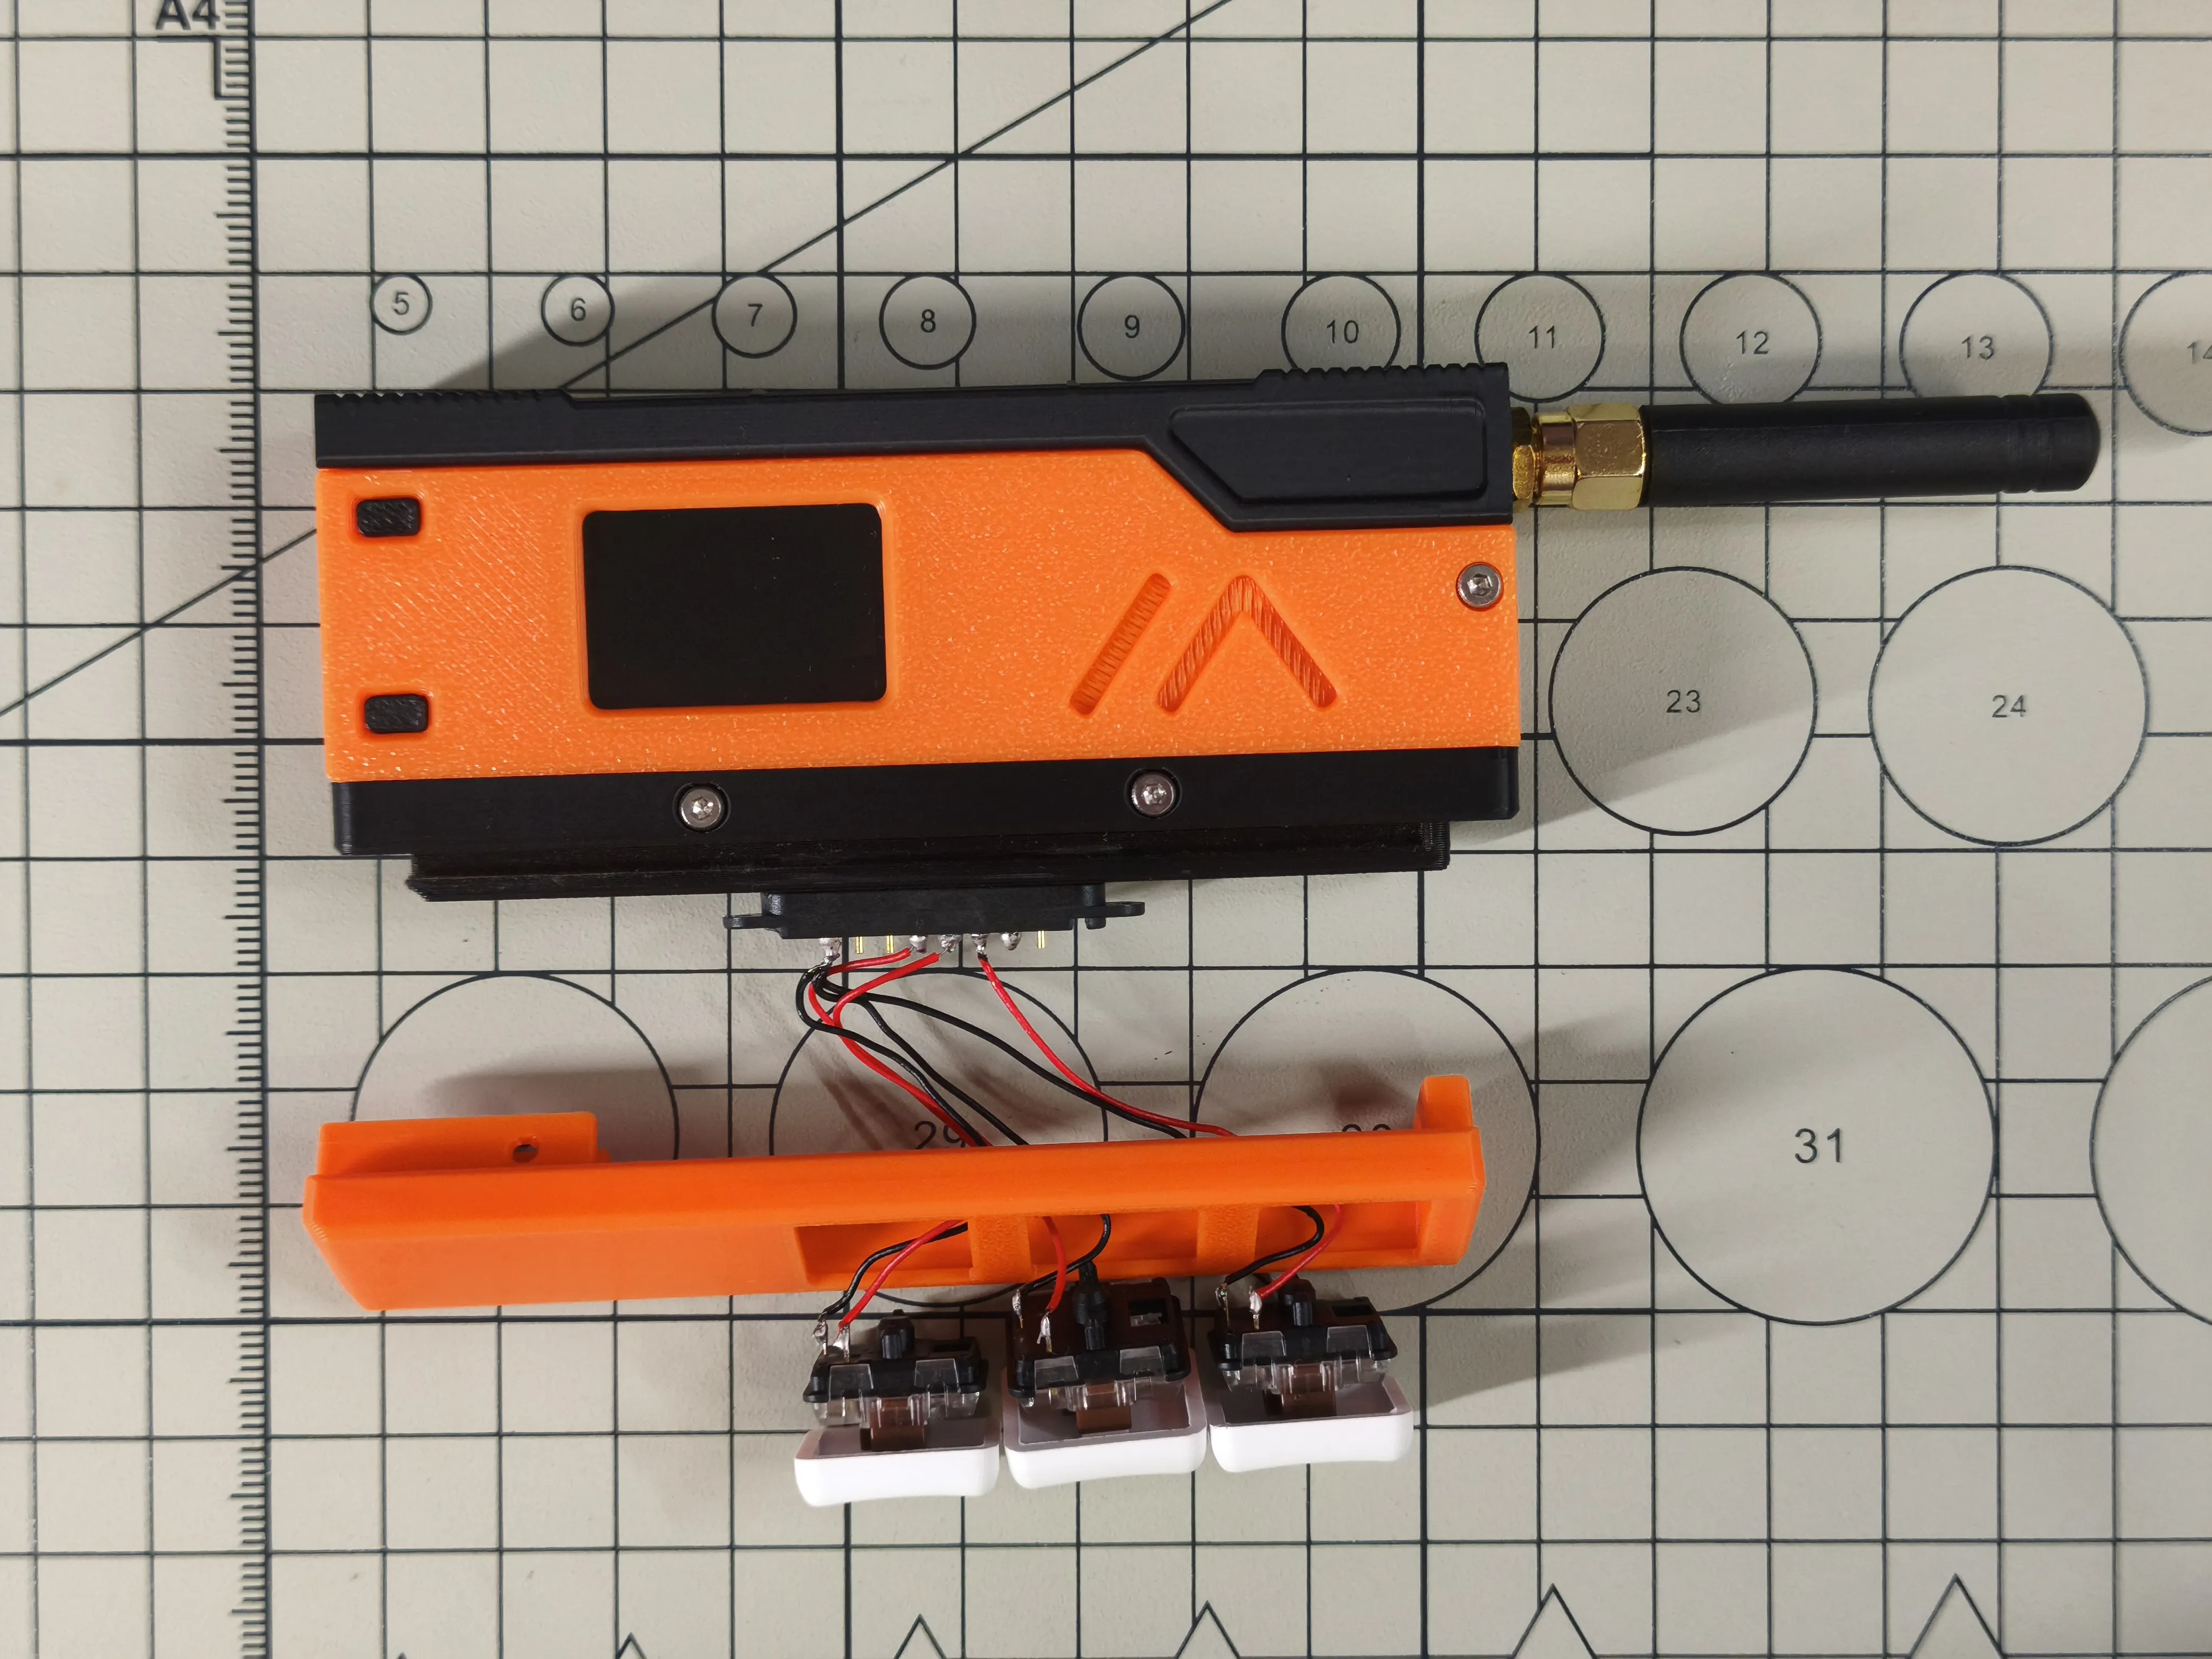
Install the 3 low-profile switches into the 3D printed case M1
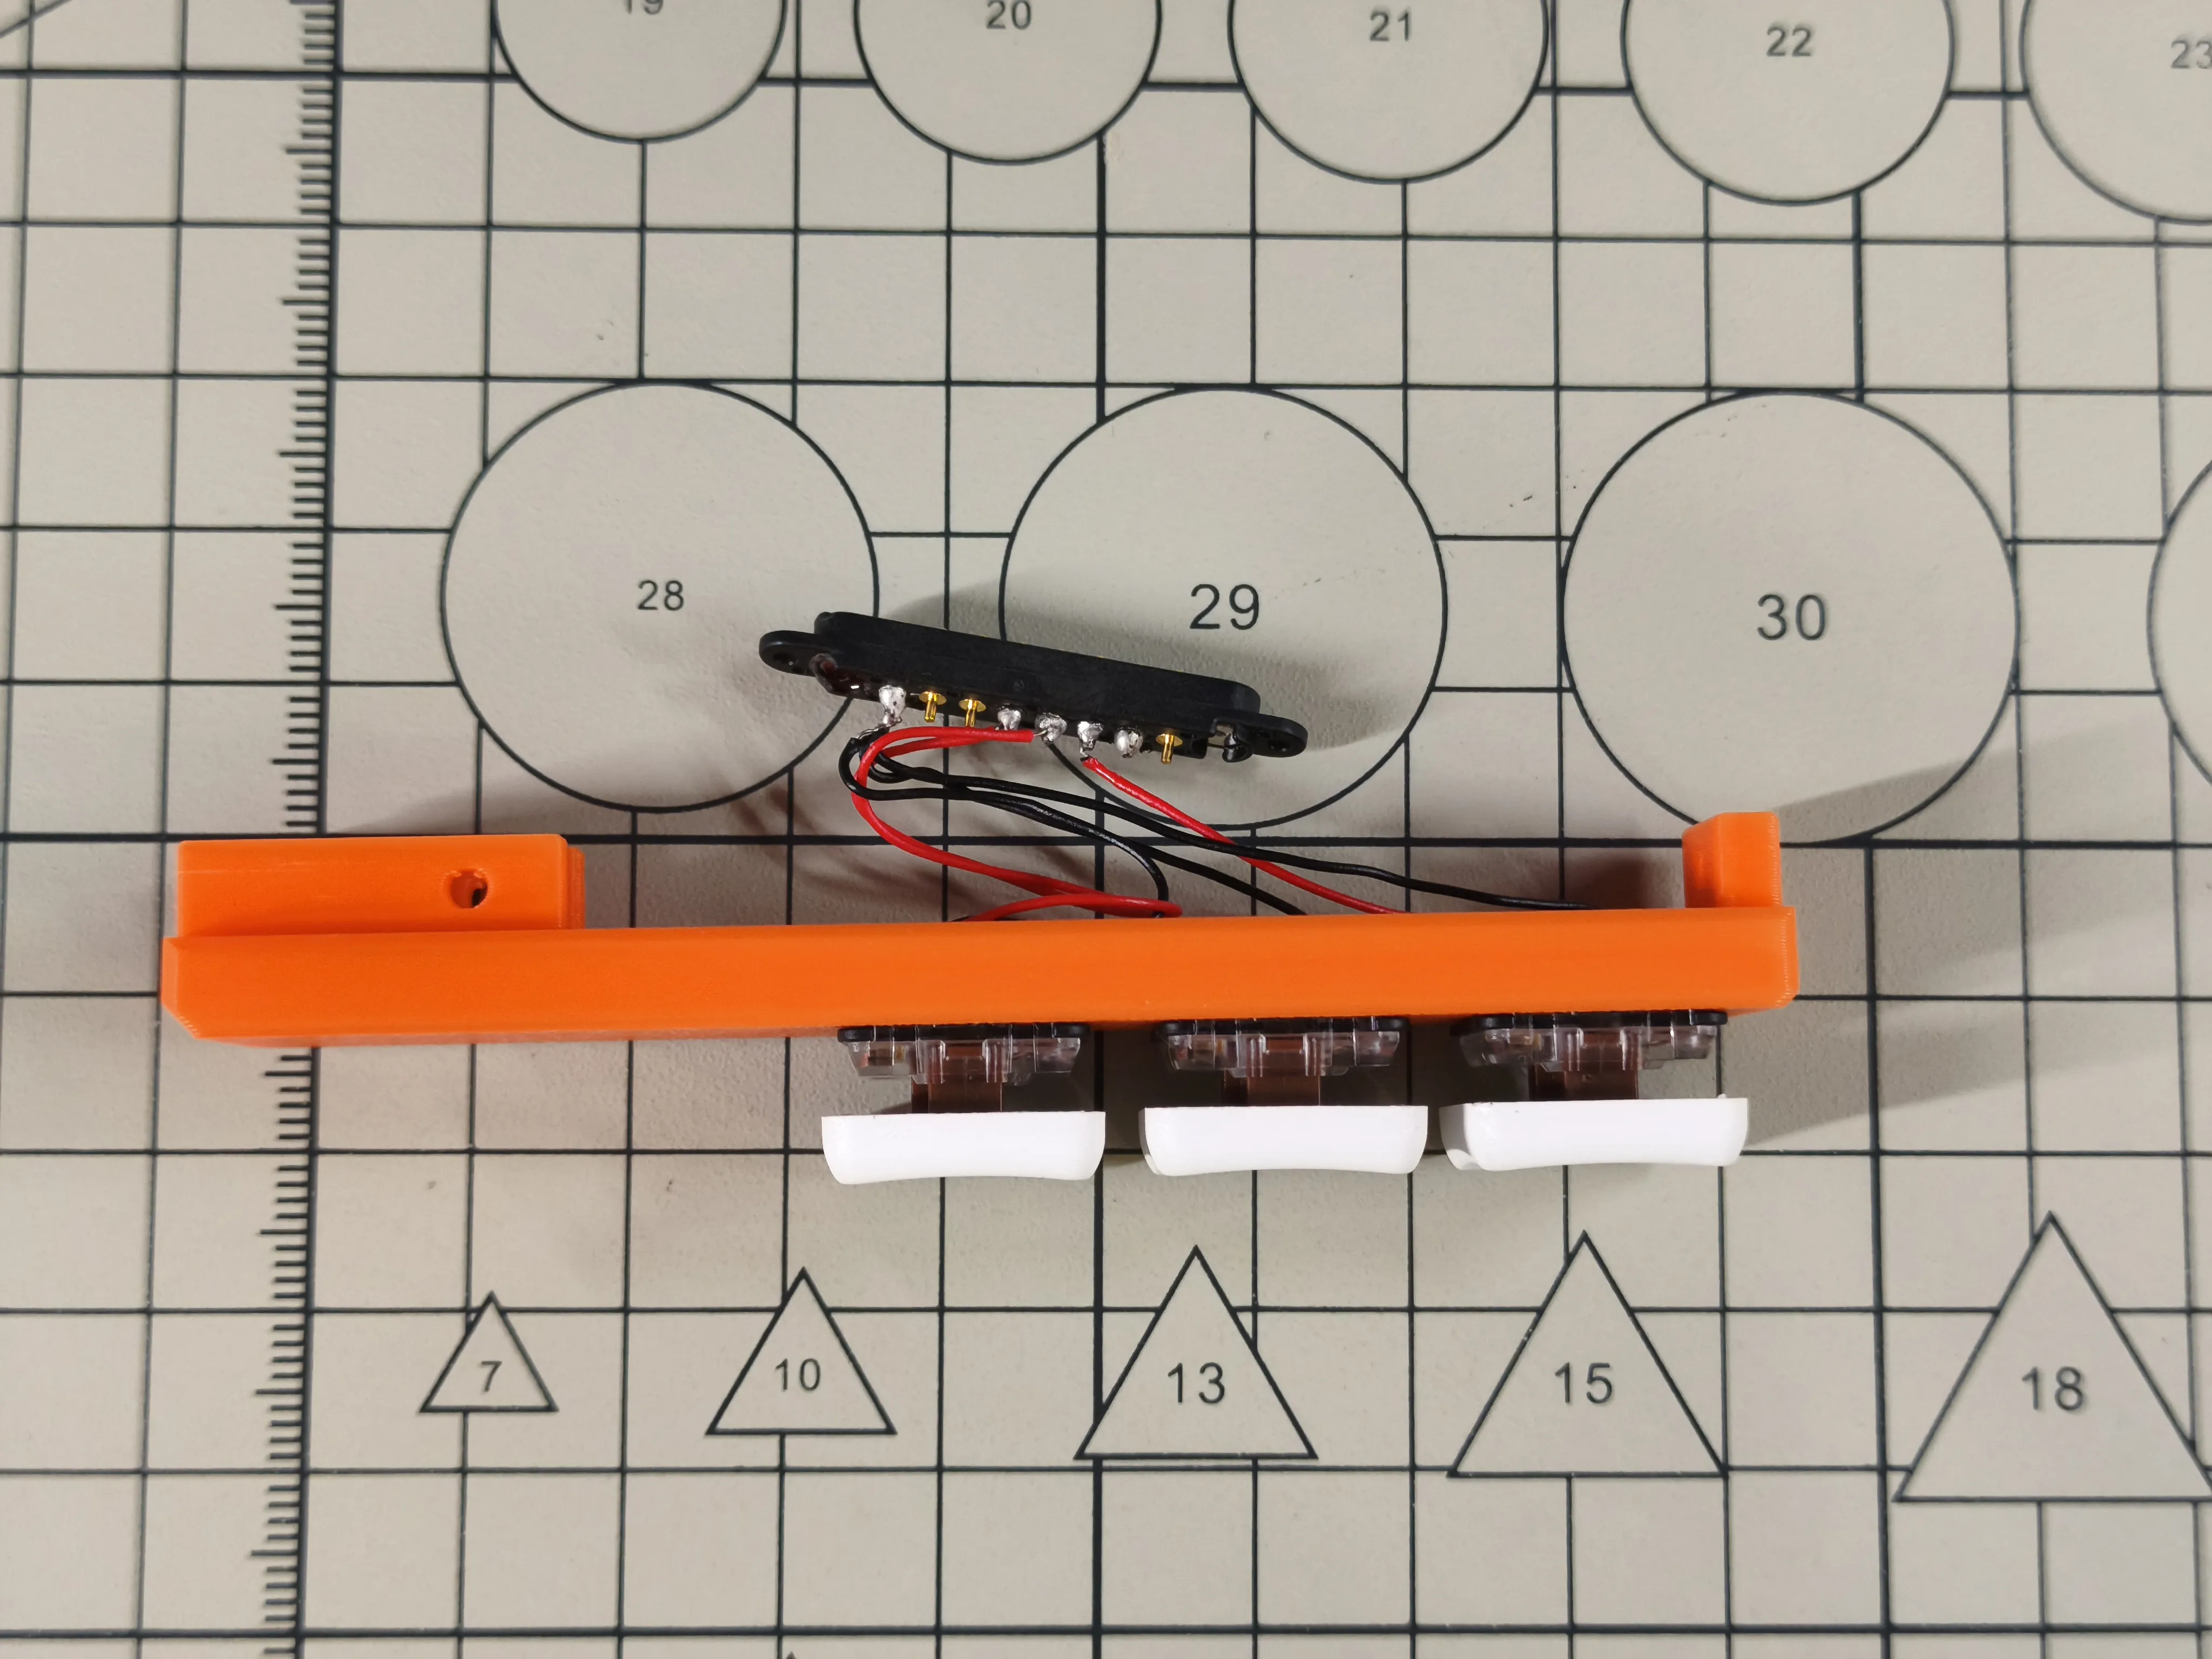
Embed the pogopin into the 3D printed case C1, if the pogopin is loose when embedded, you can use glue to secure it
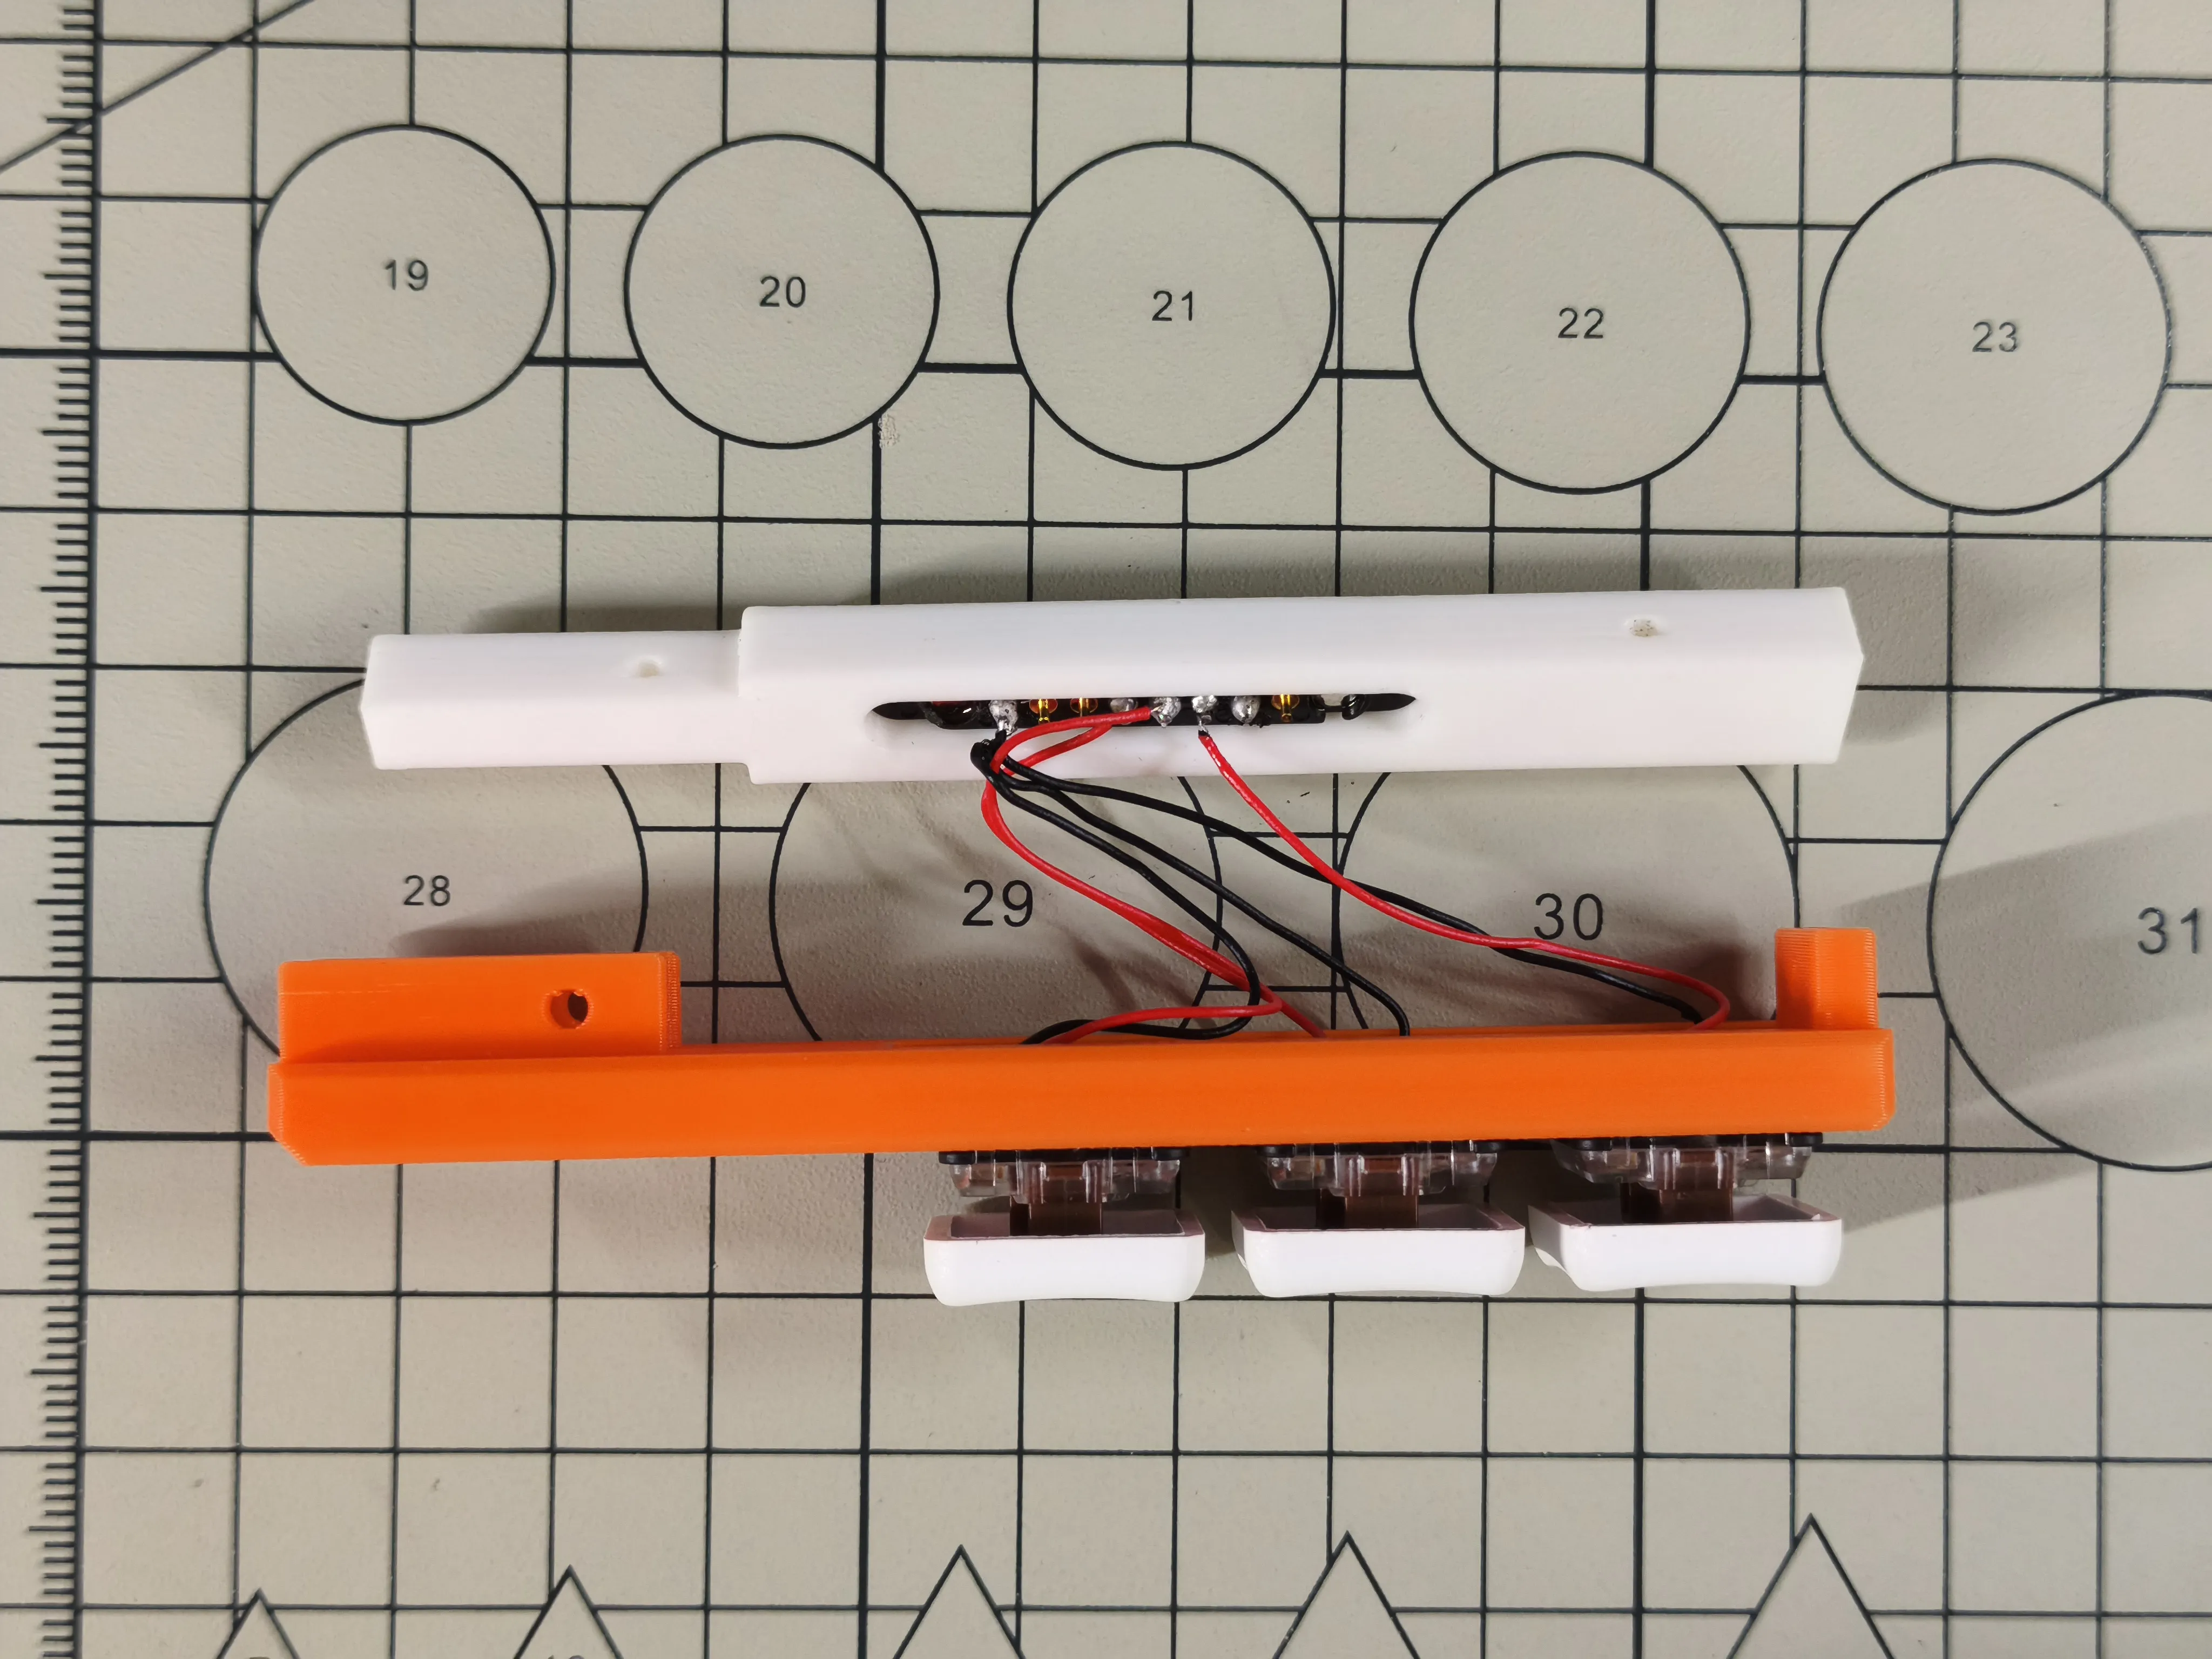
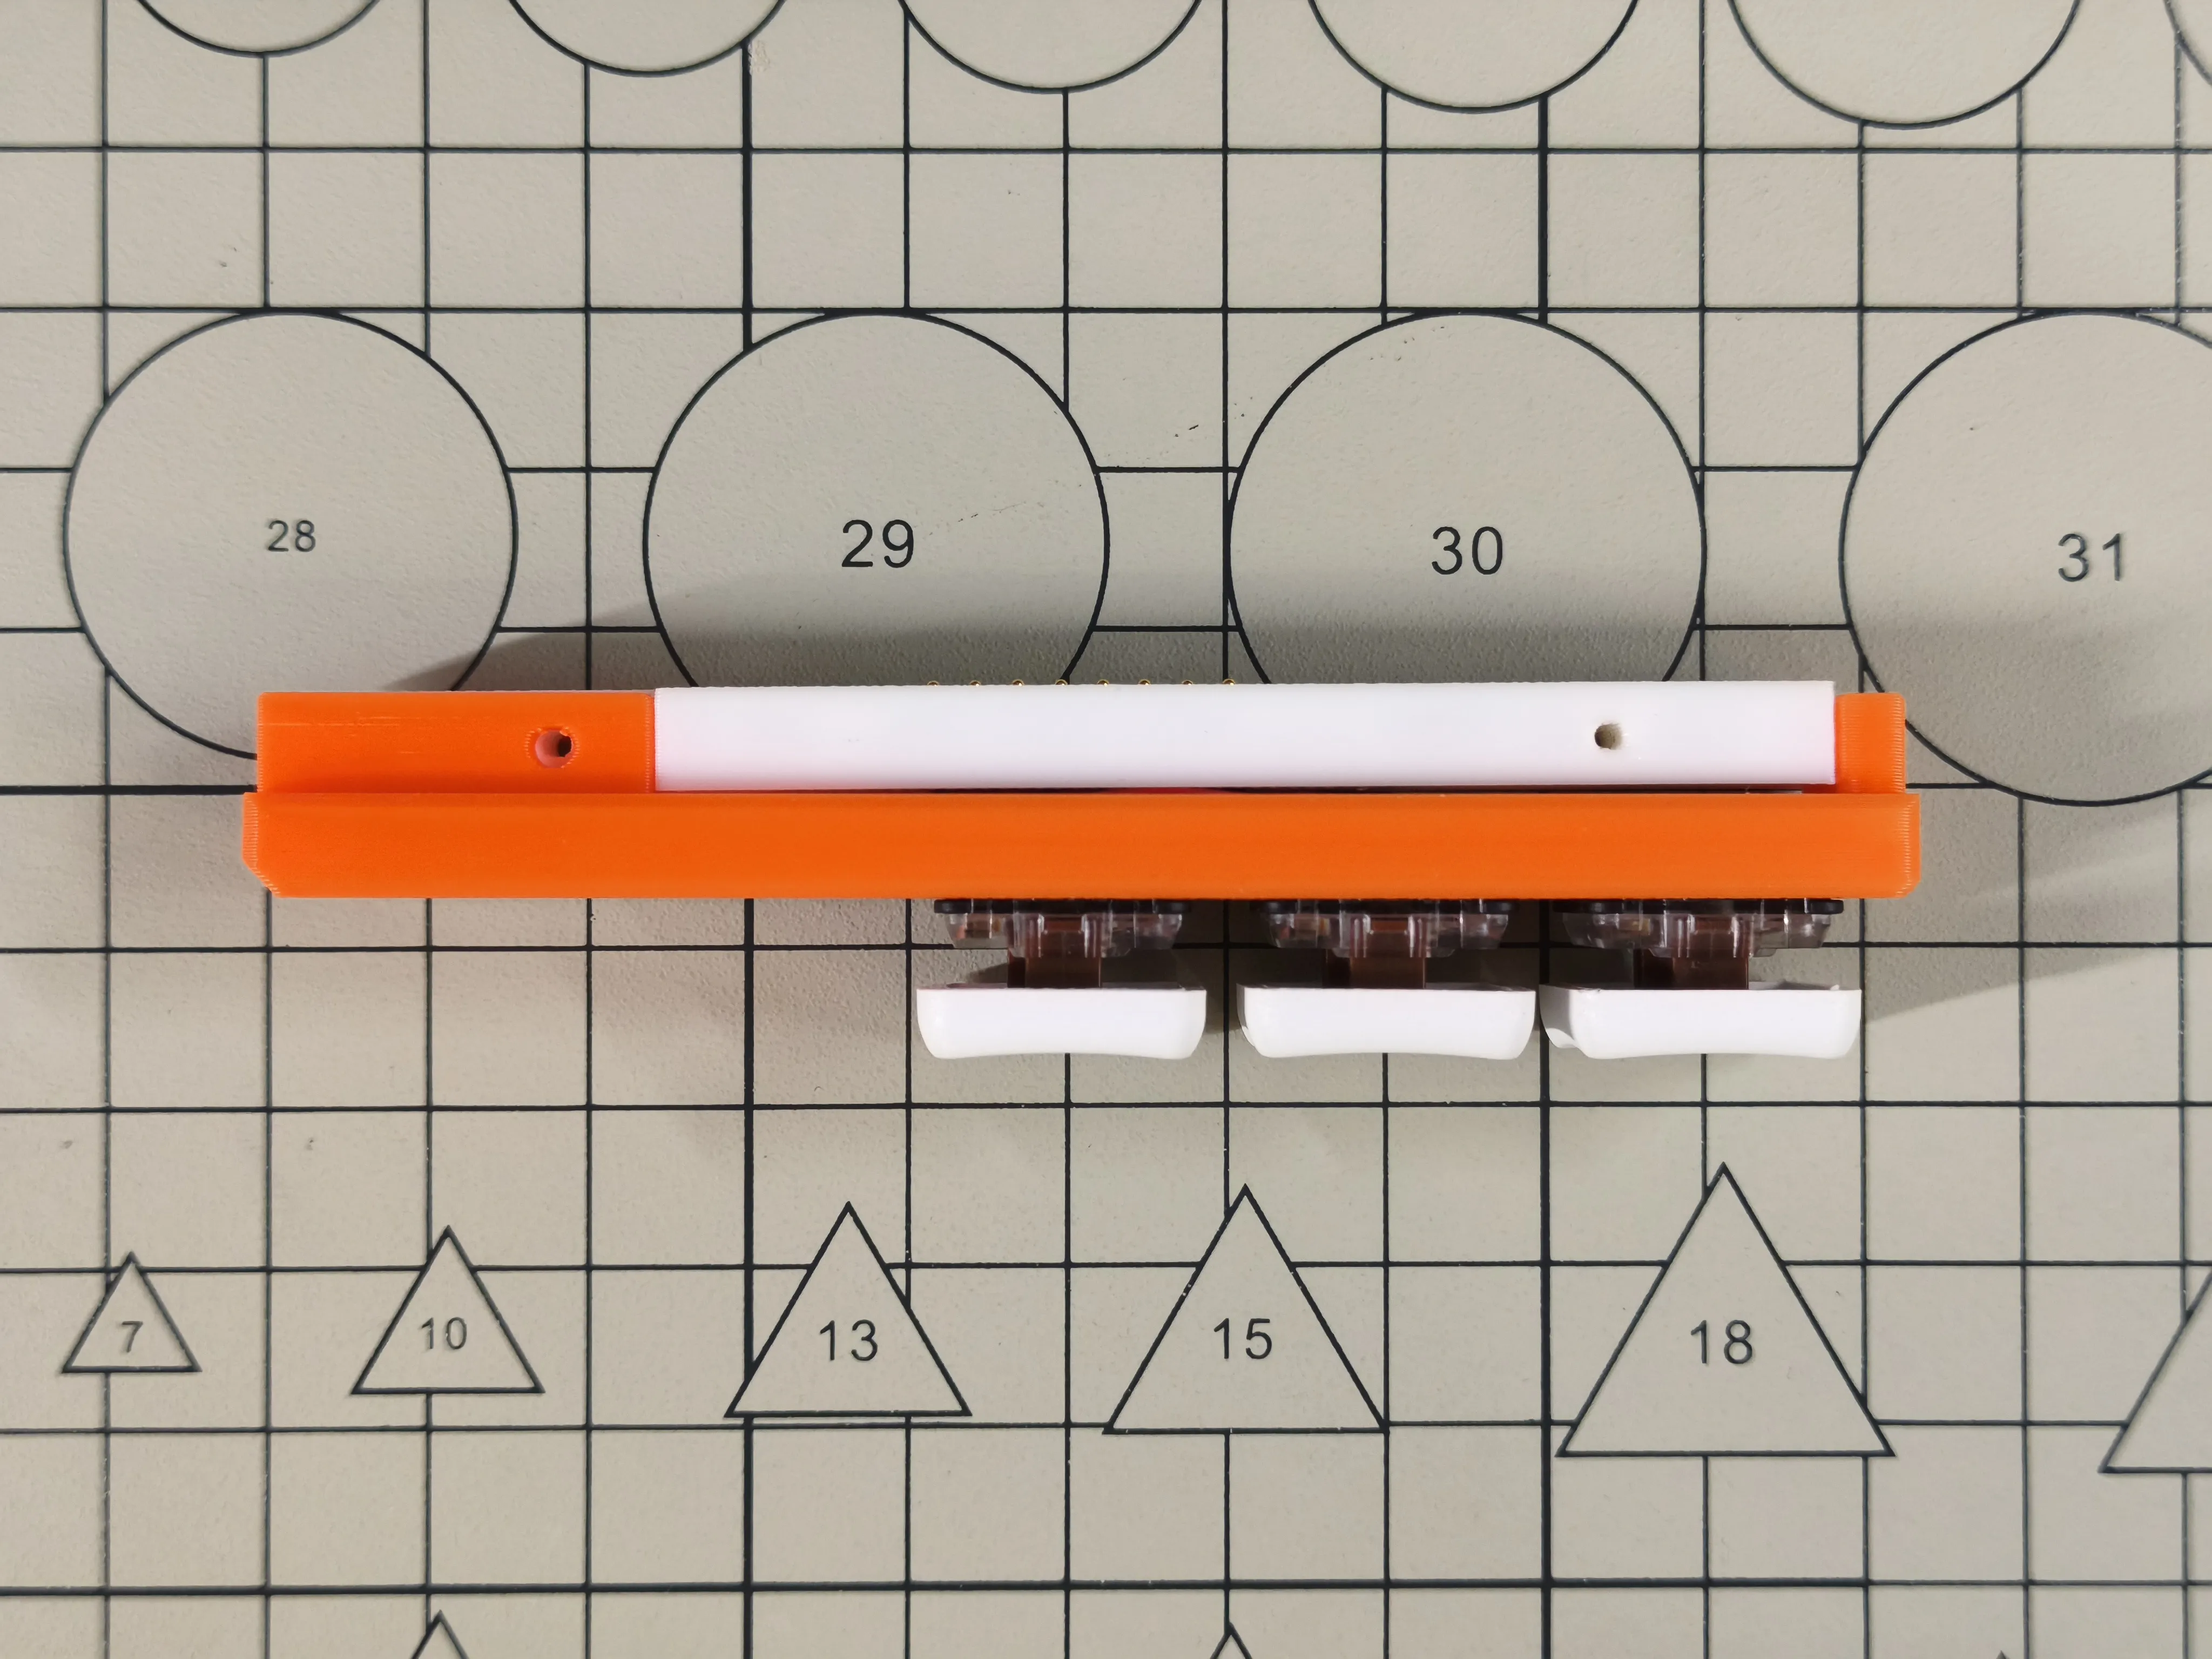
Install the 3D printed case C1 onto the 3D printed case M1
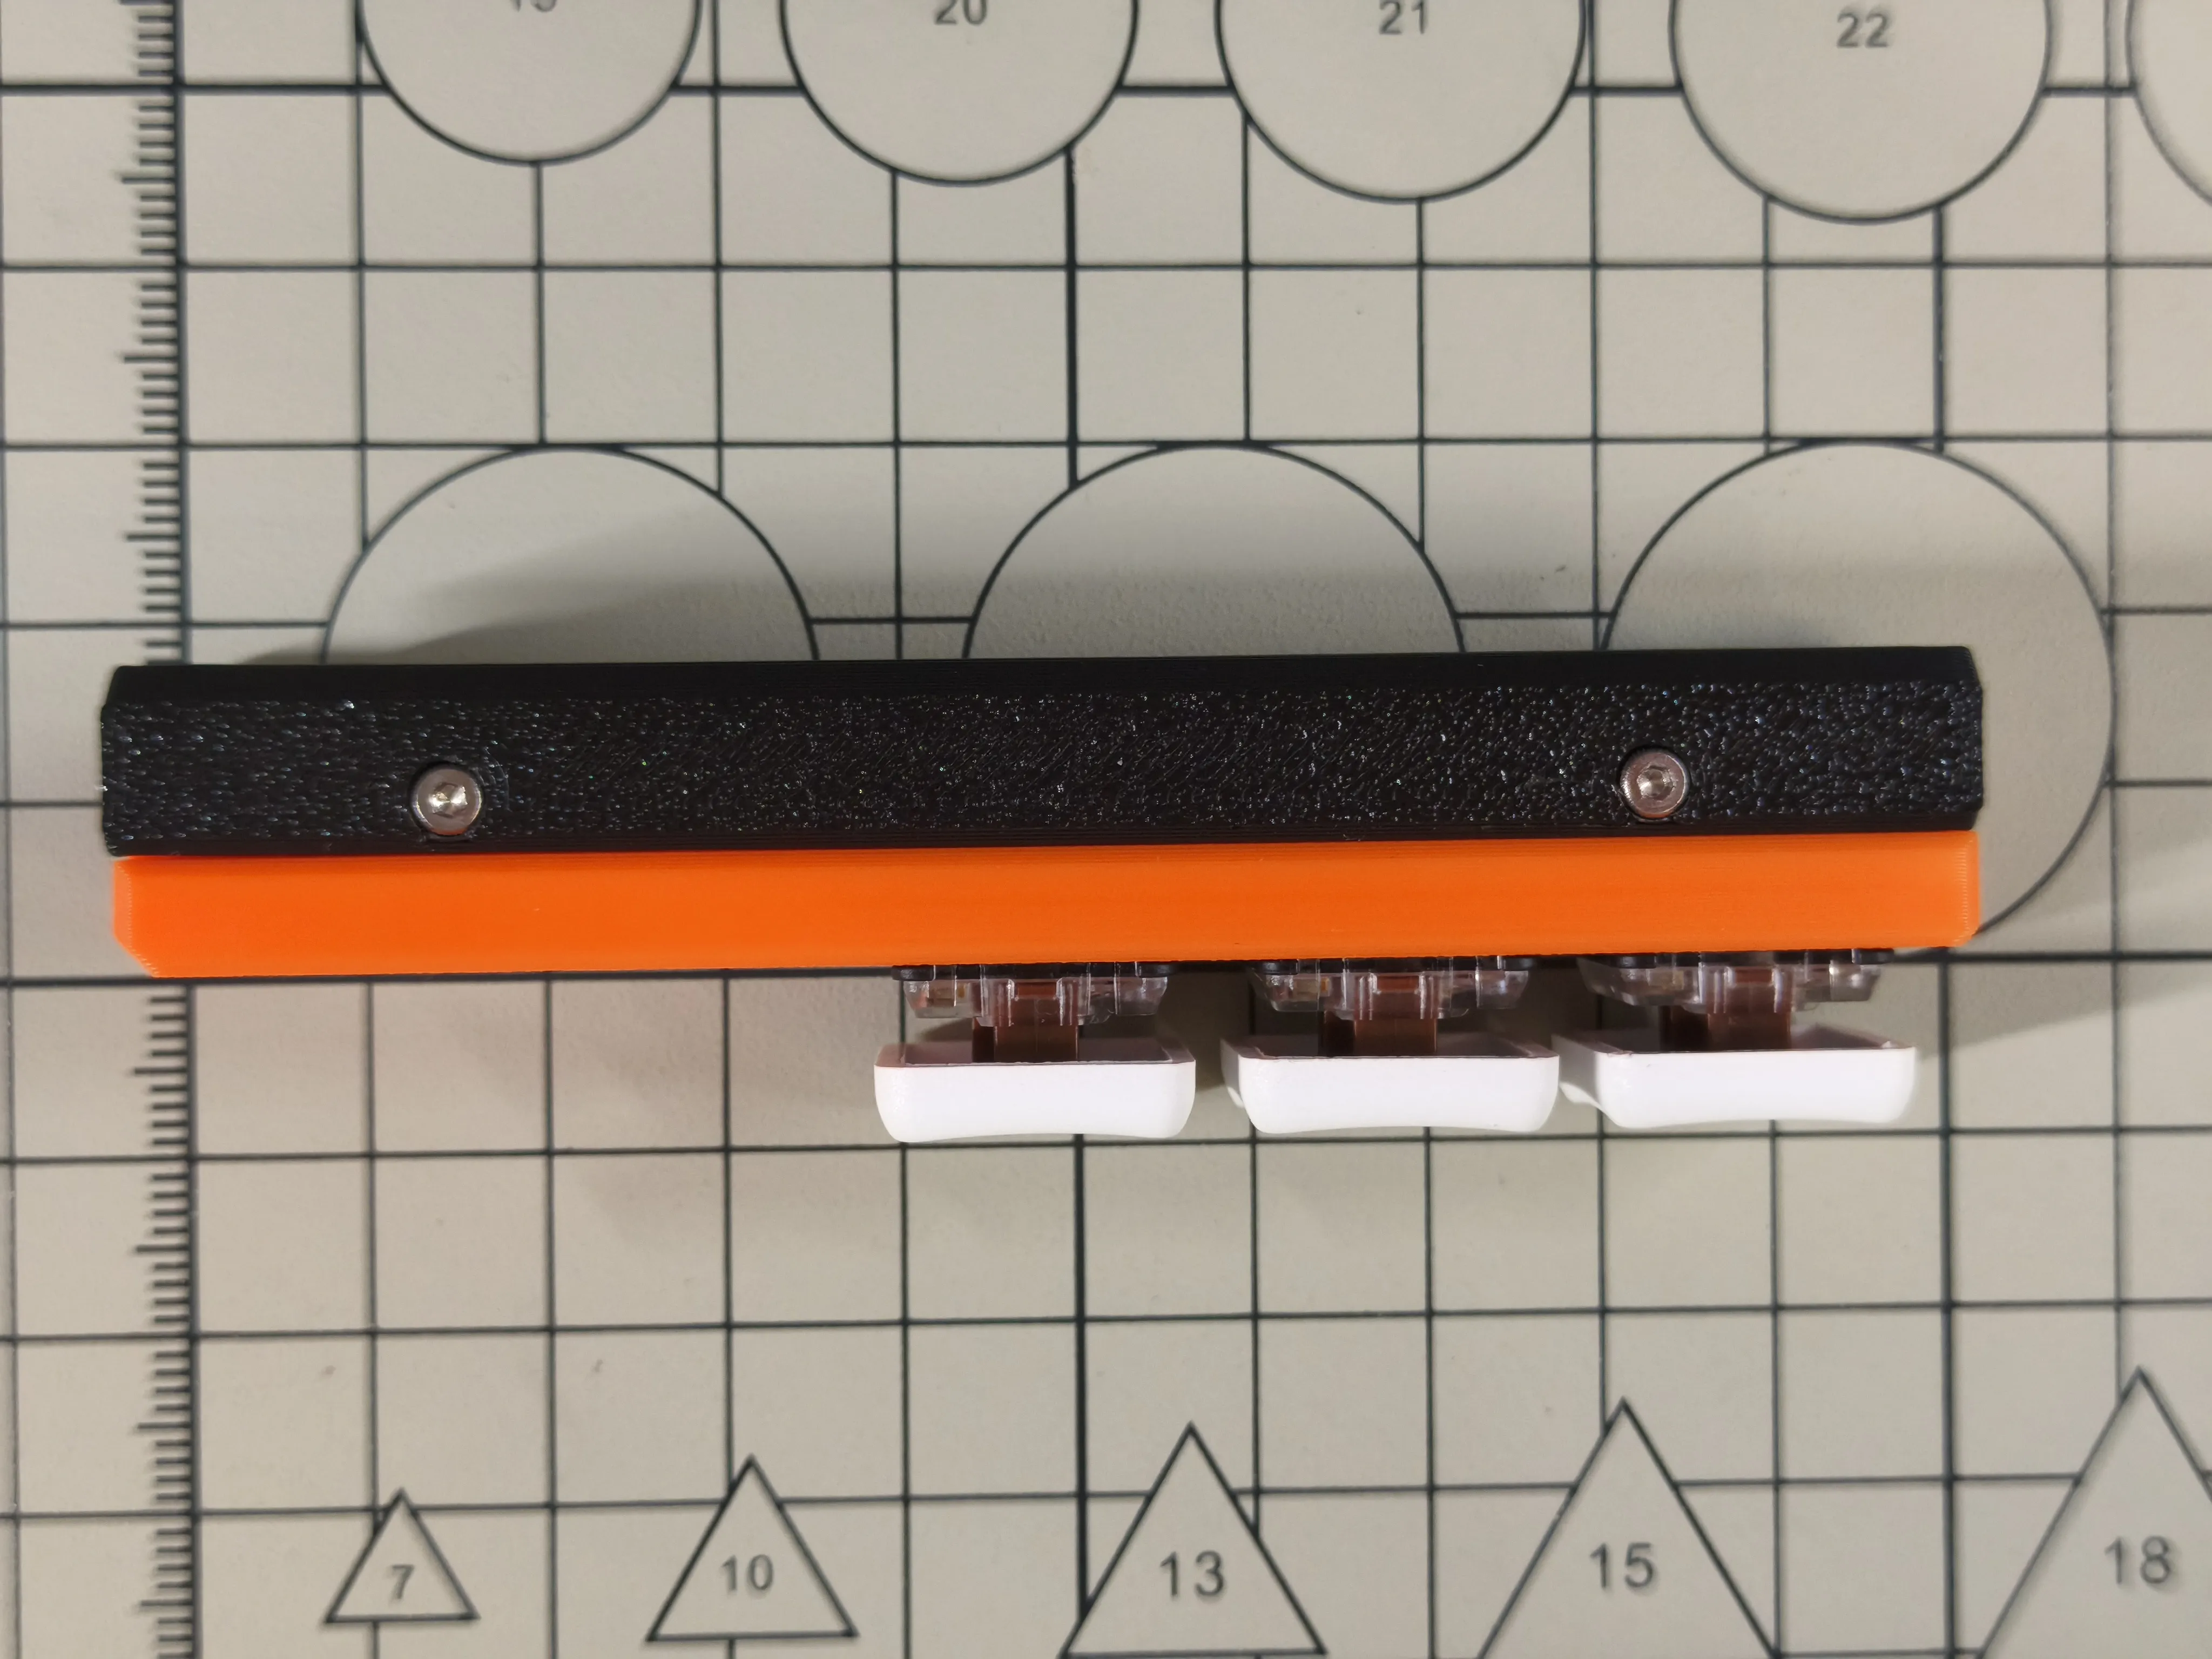
Use 4 M2x7 hex socket cap head screws to fix the two 3D printed cases S1 to the 3D printed case M1
Use 1 M2x5 hex socket cap head screw to secure the 3D printed case M1
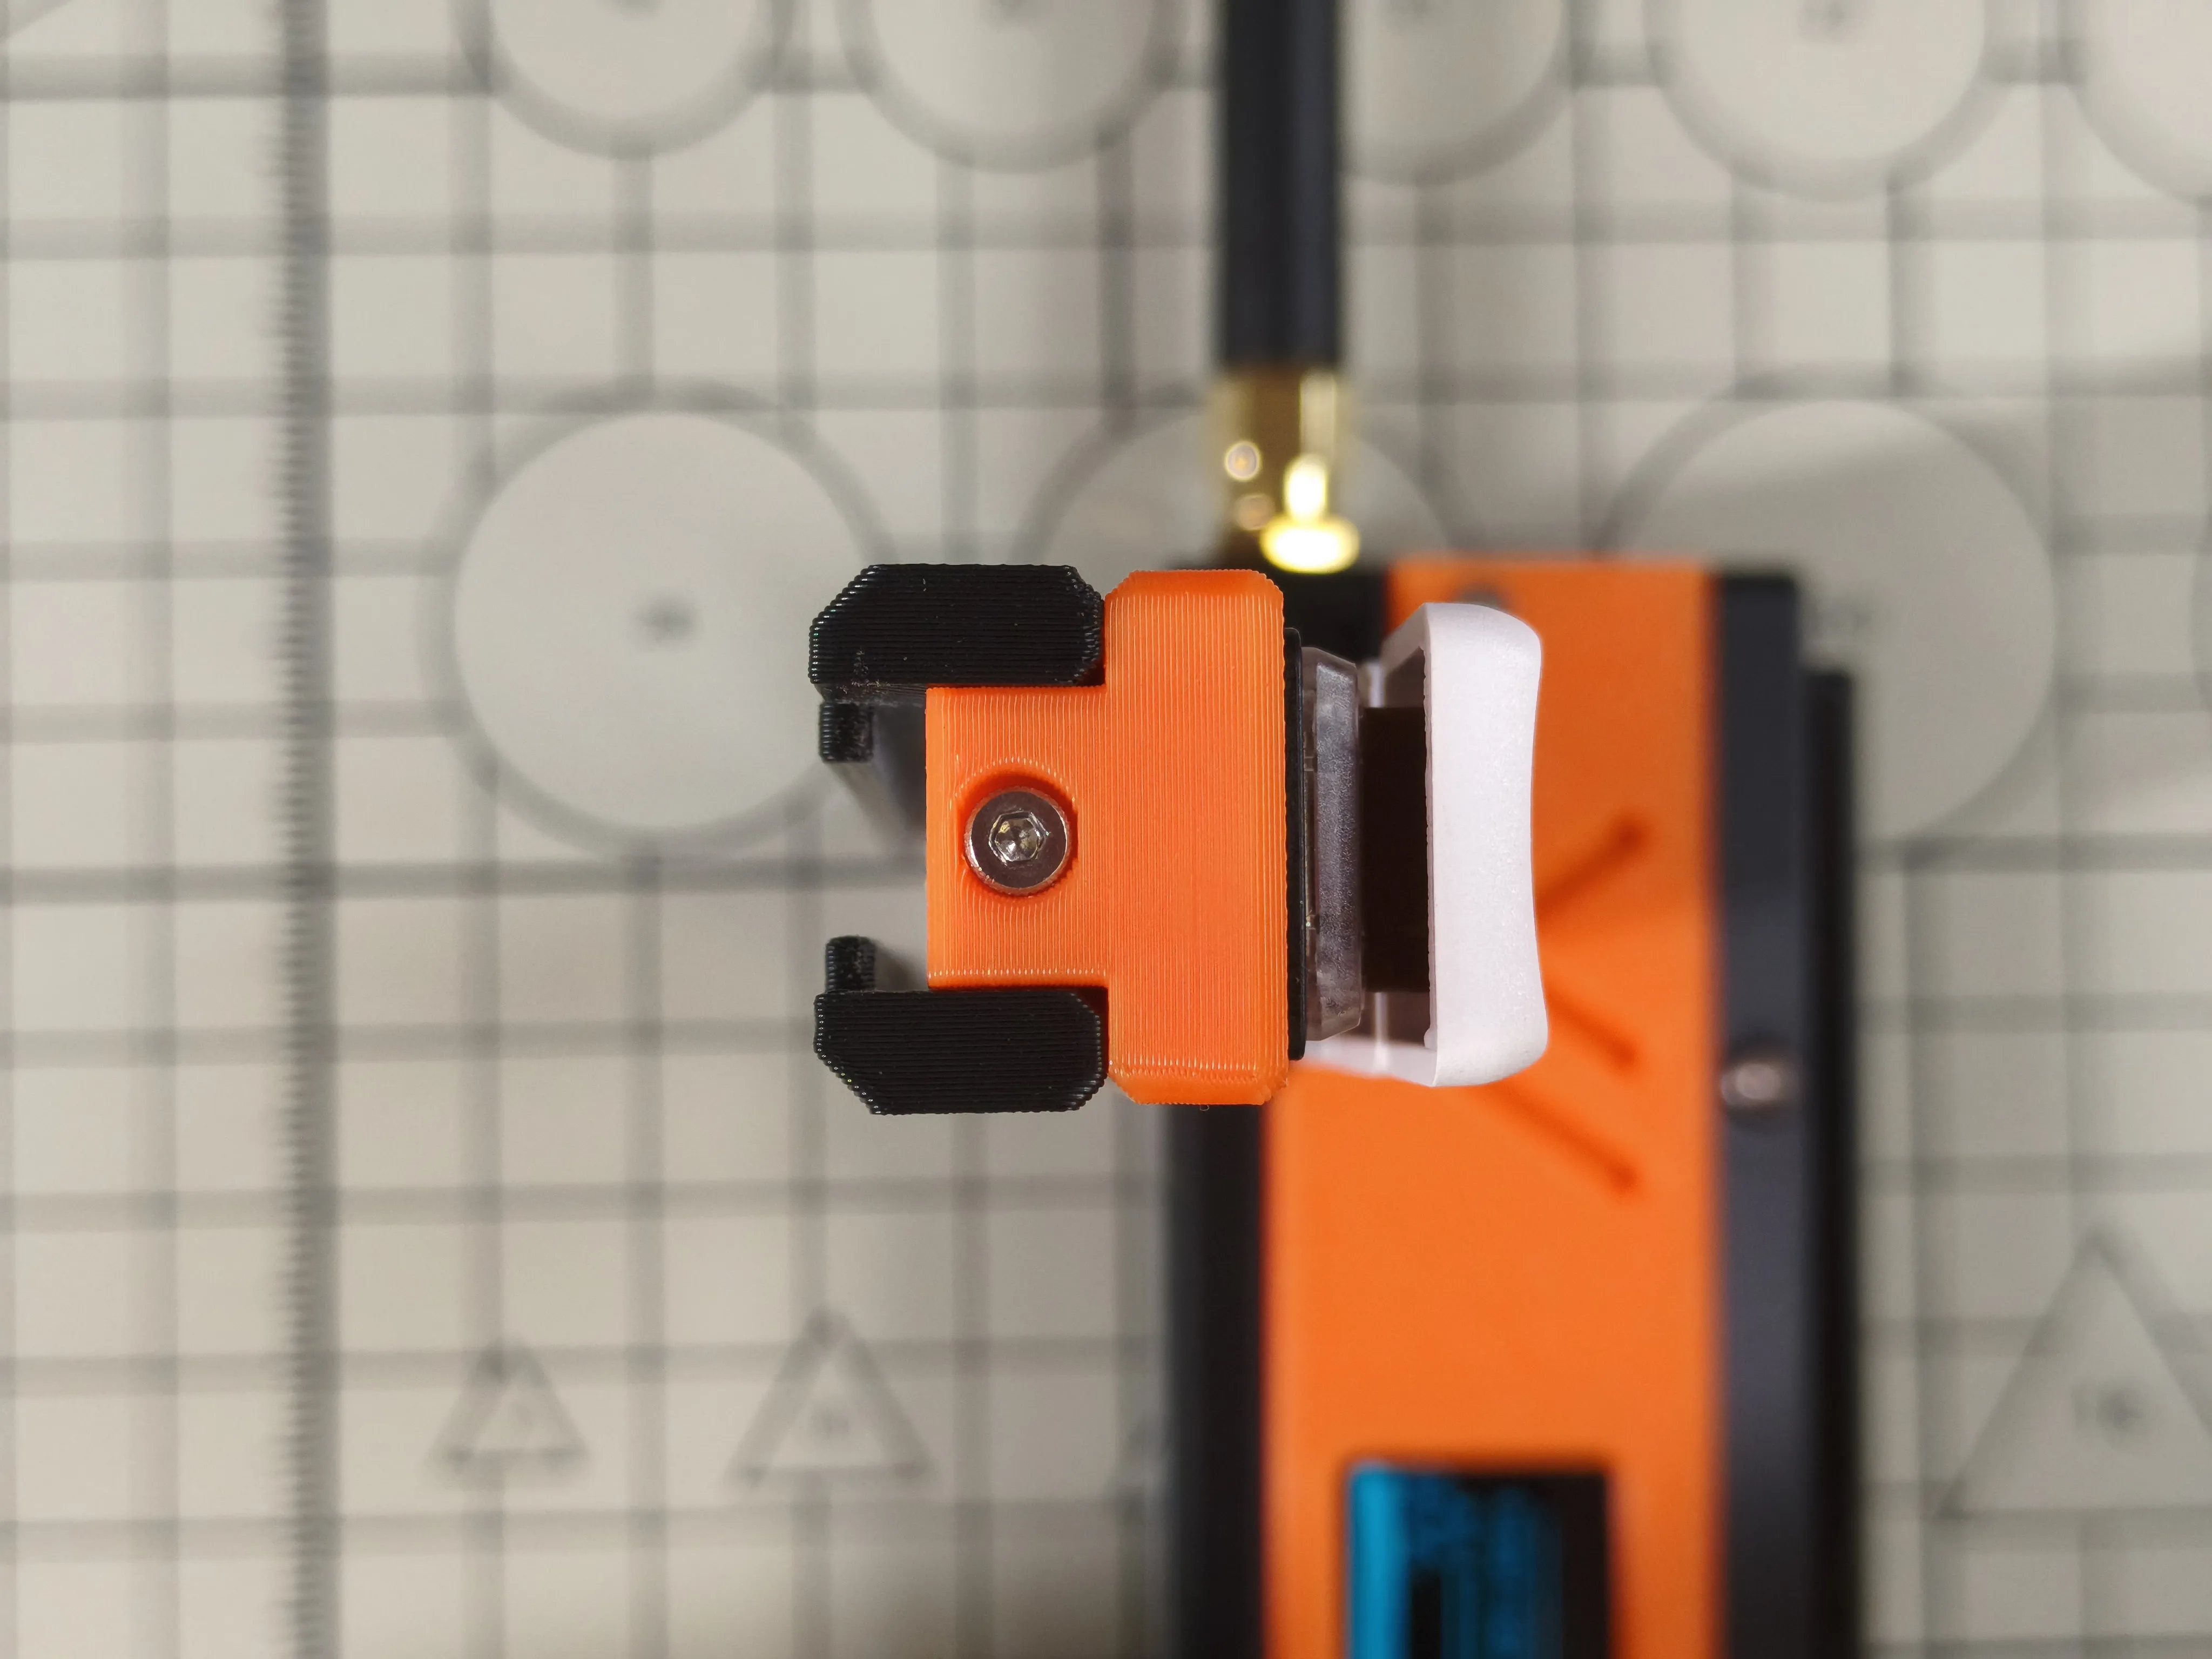
Assembly completed
Slide the SlideTriple into the MeshSlide
License



Comment & Rating (0)