
SlideKB - Expansion Module for MeshSlide
Print Profile(1)
Description
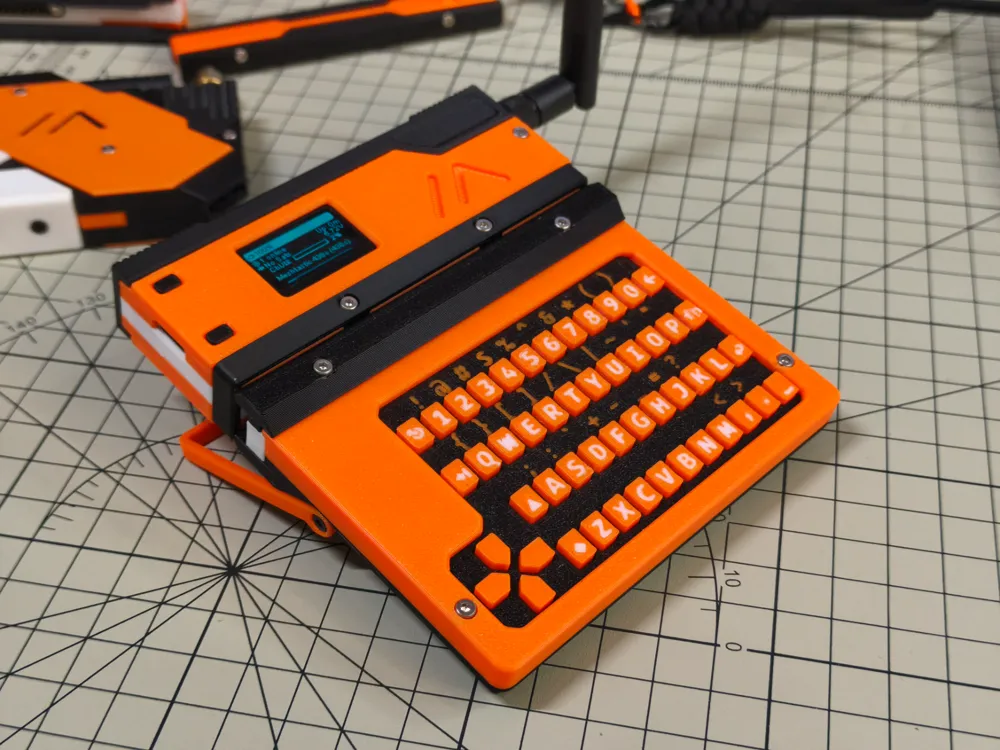
SlideKB
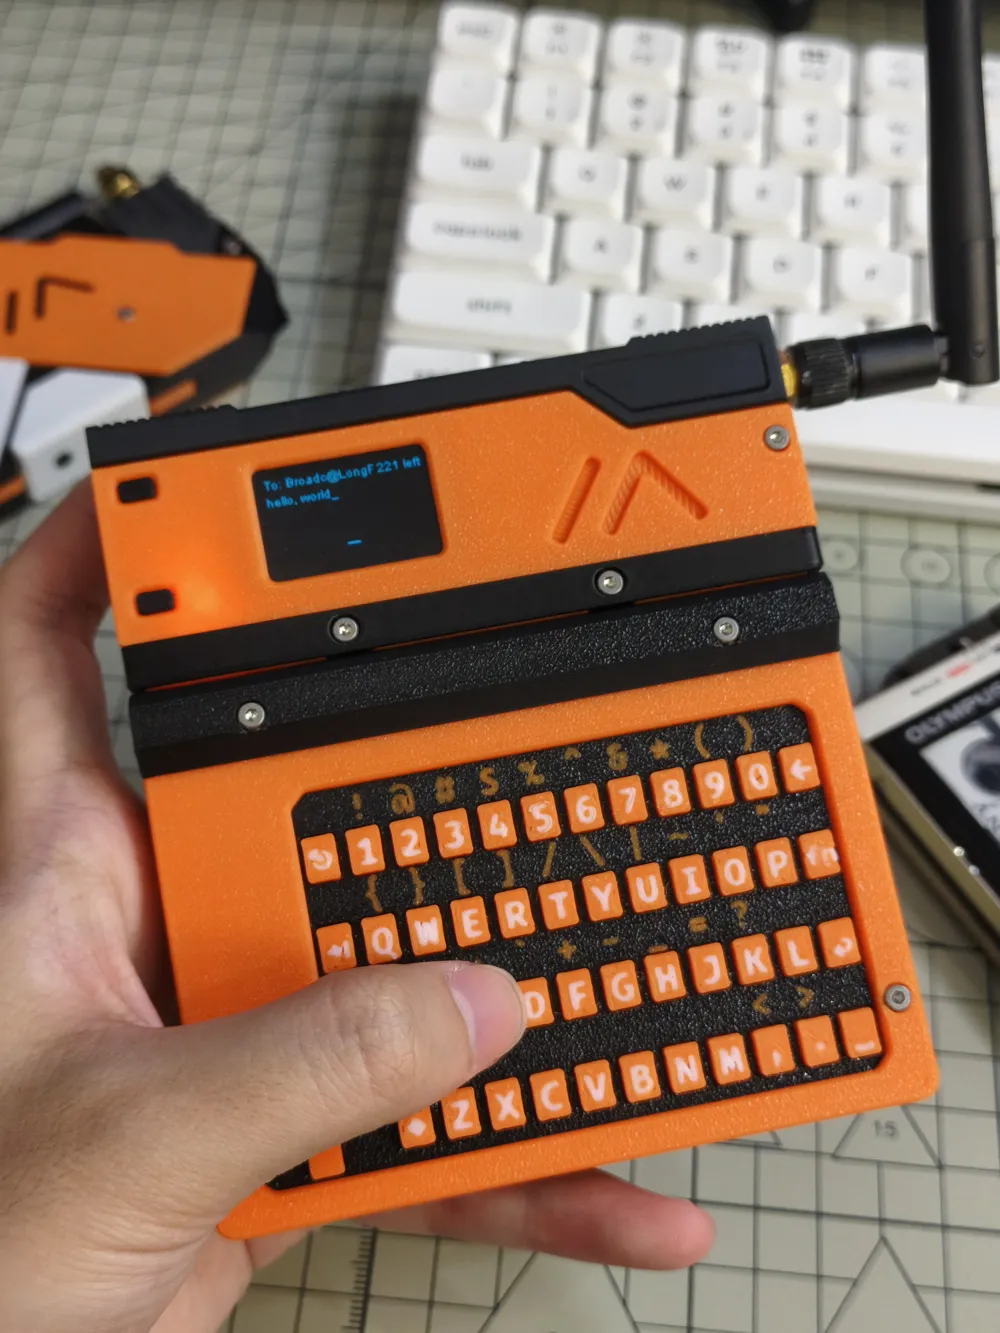
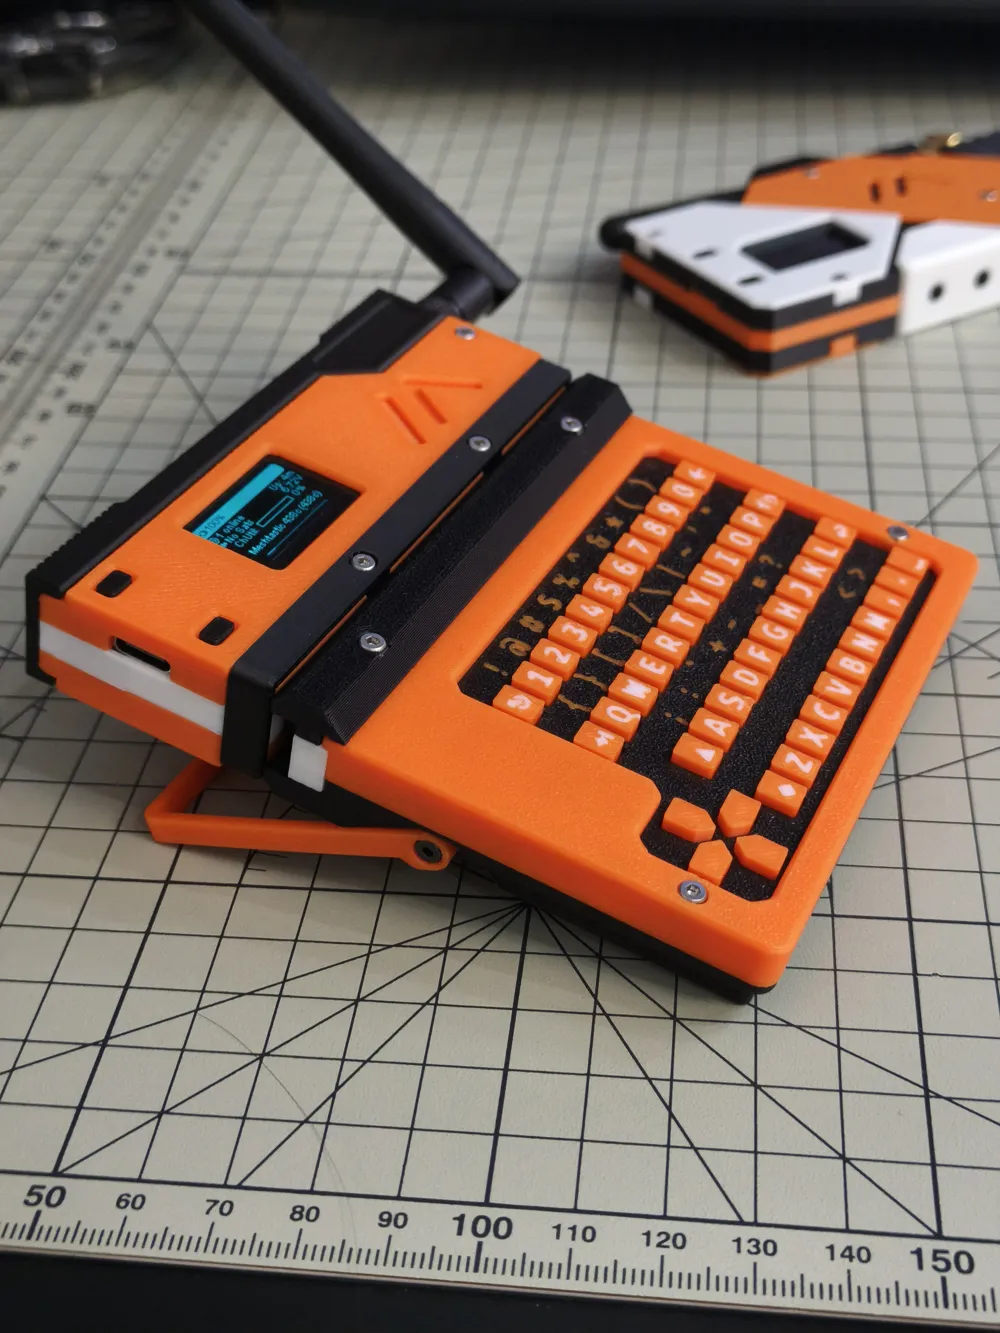
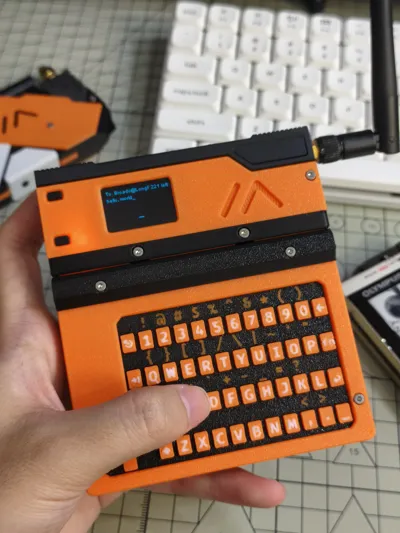
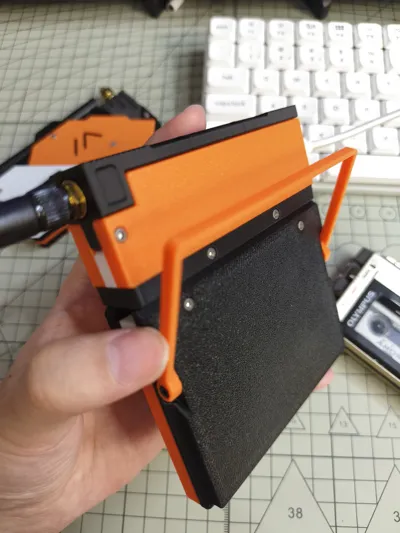
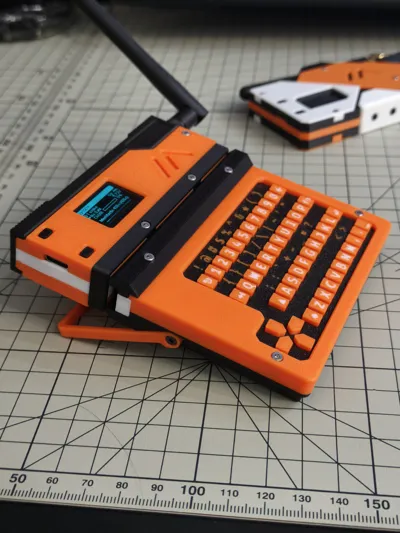
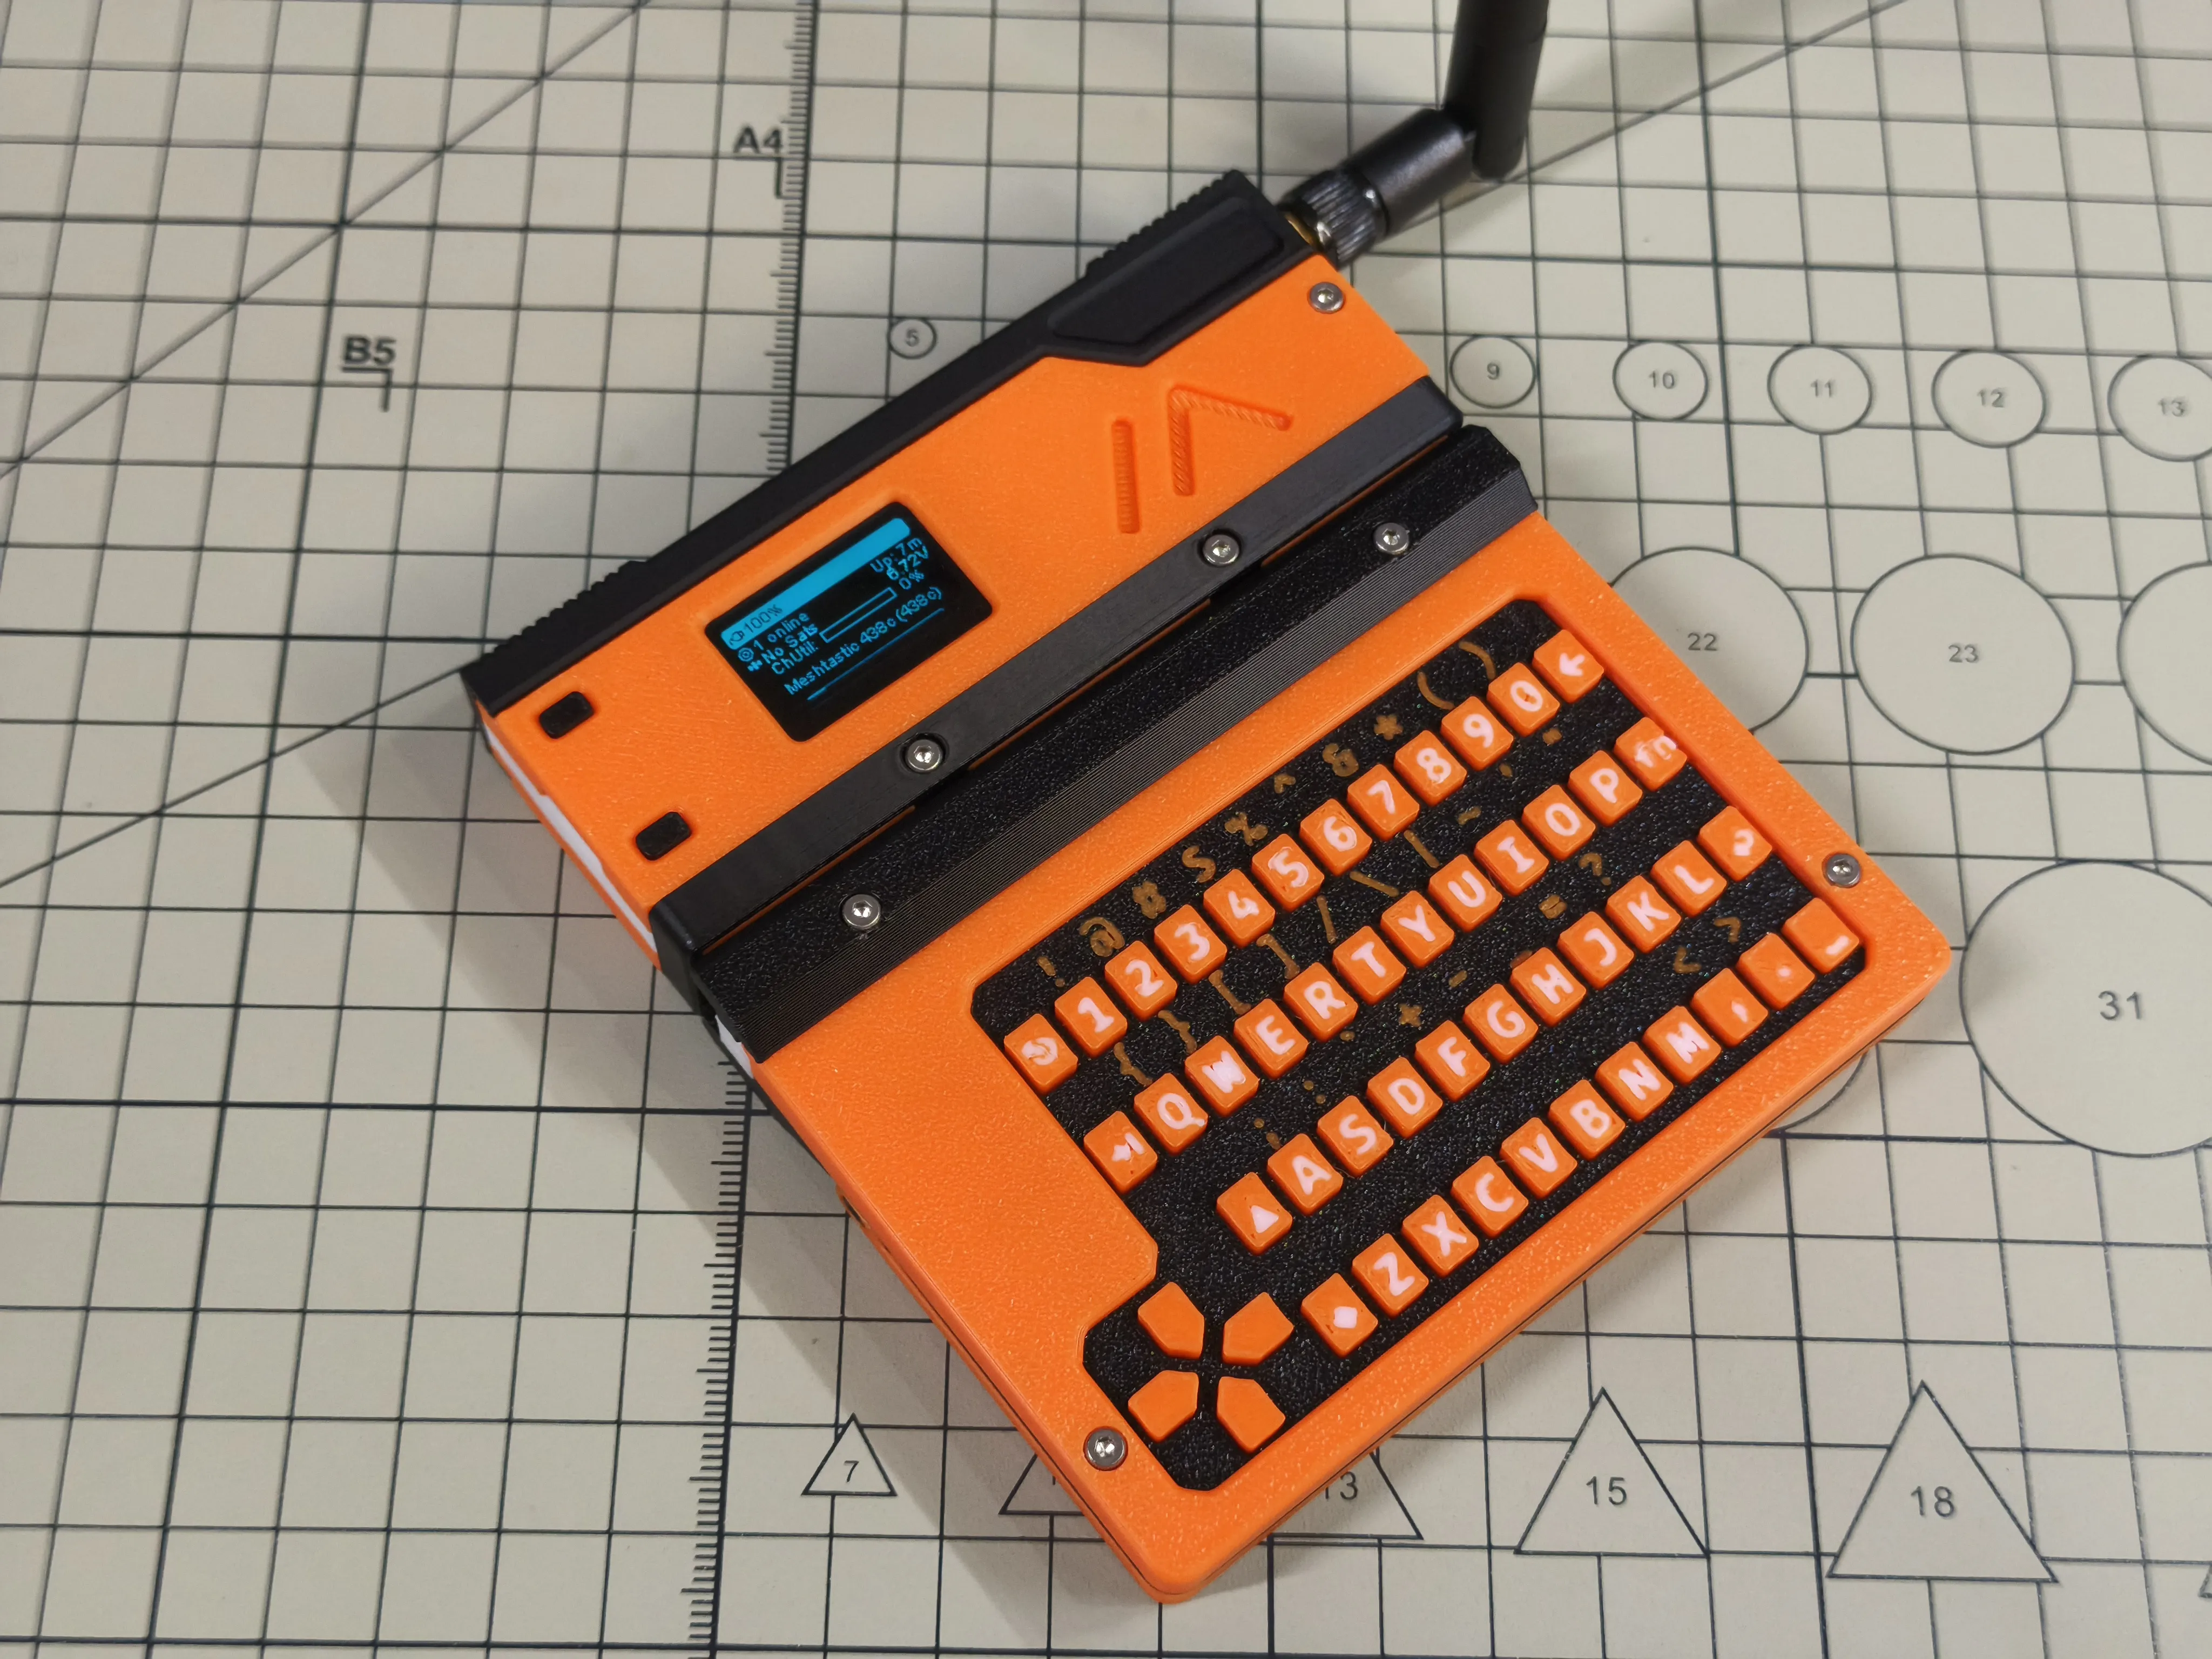
SlideKB is a dedicated expansion module for MeshSlide, enabling full keyboard input based on M5Stack CardKB
- Achieve complete text input using the keyboard
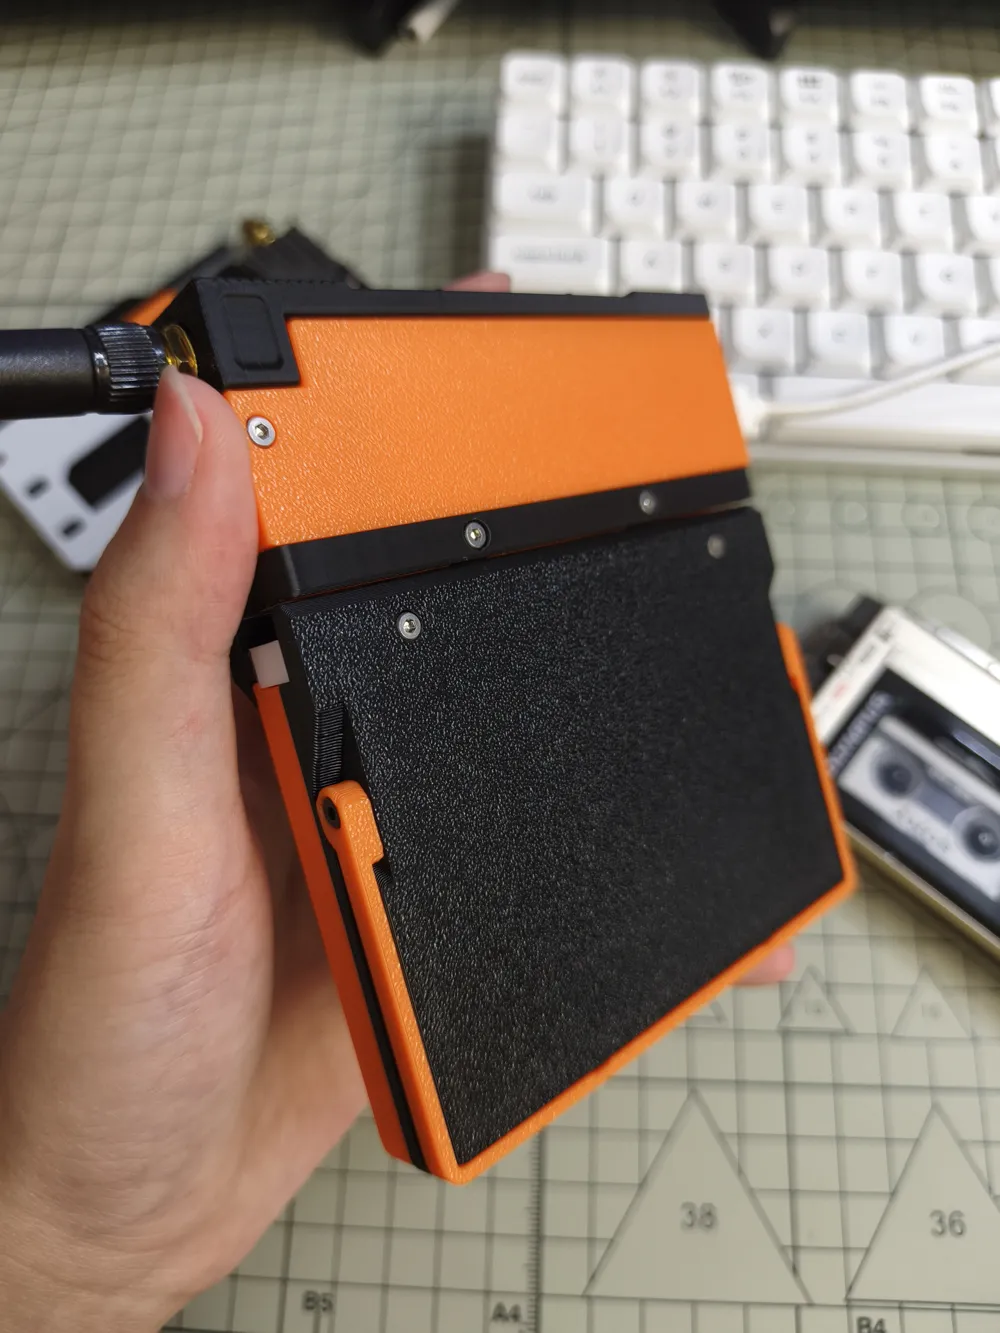
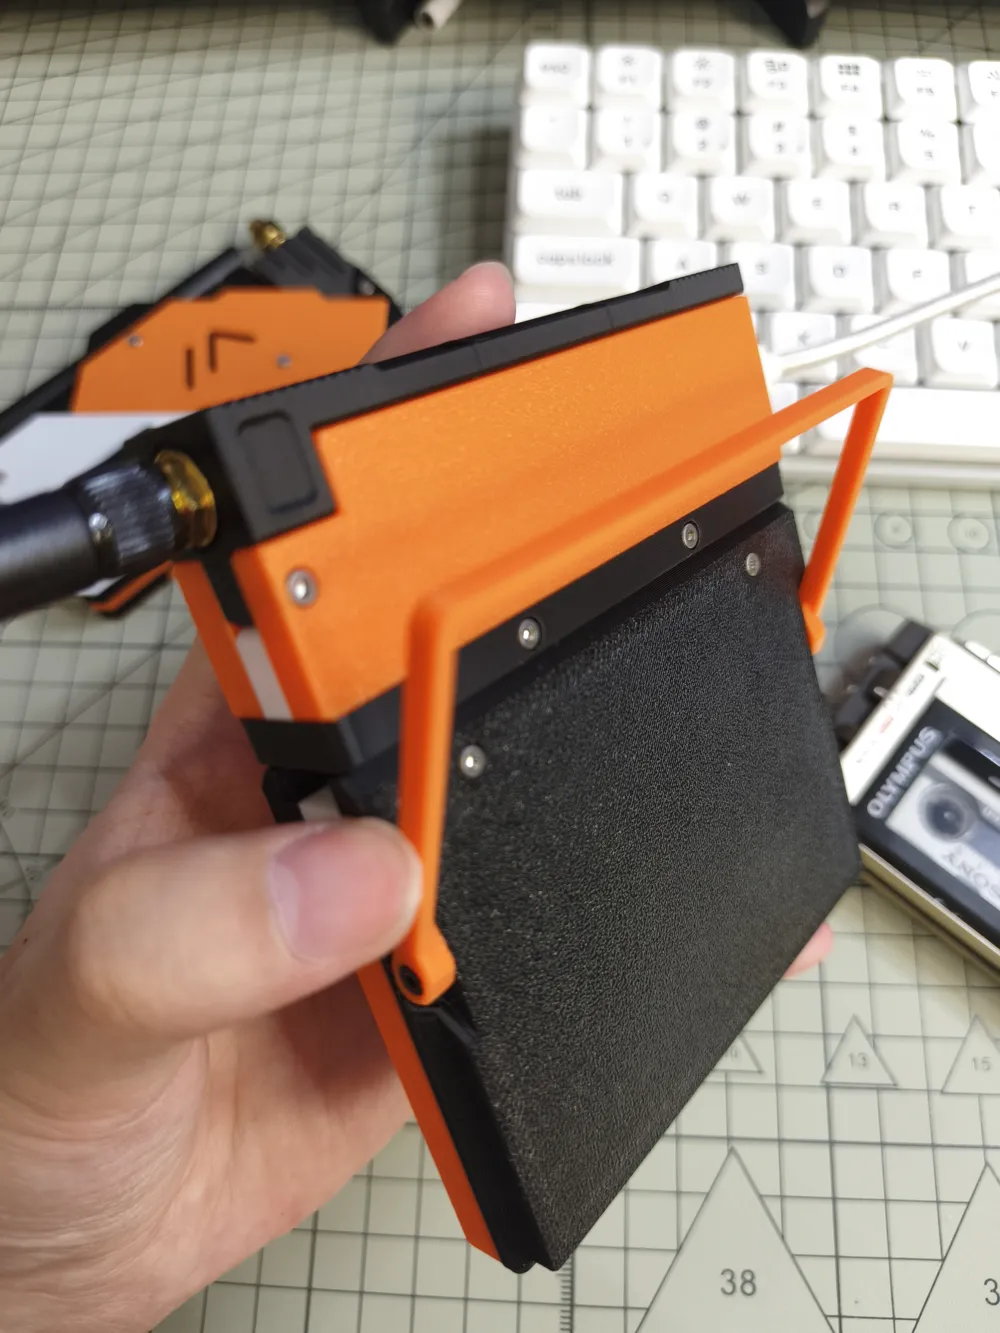
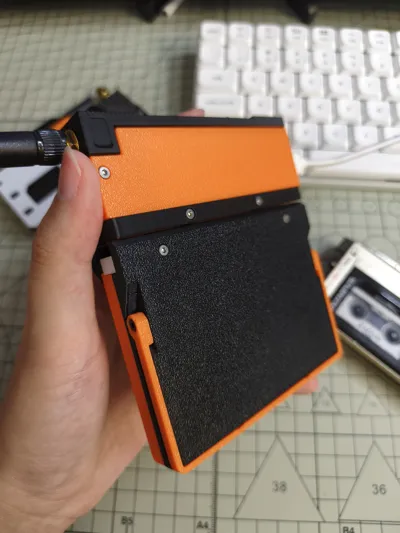
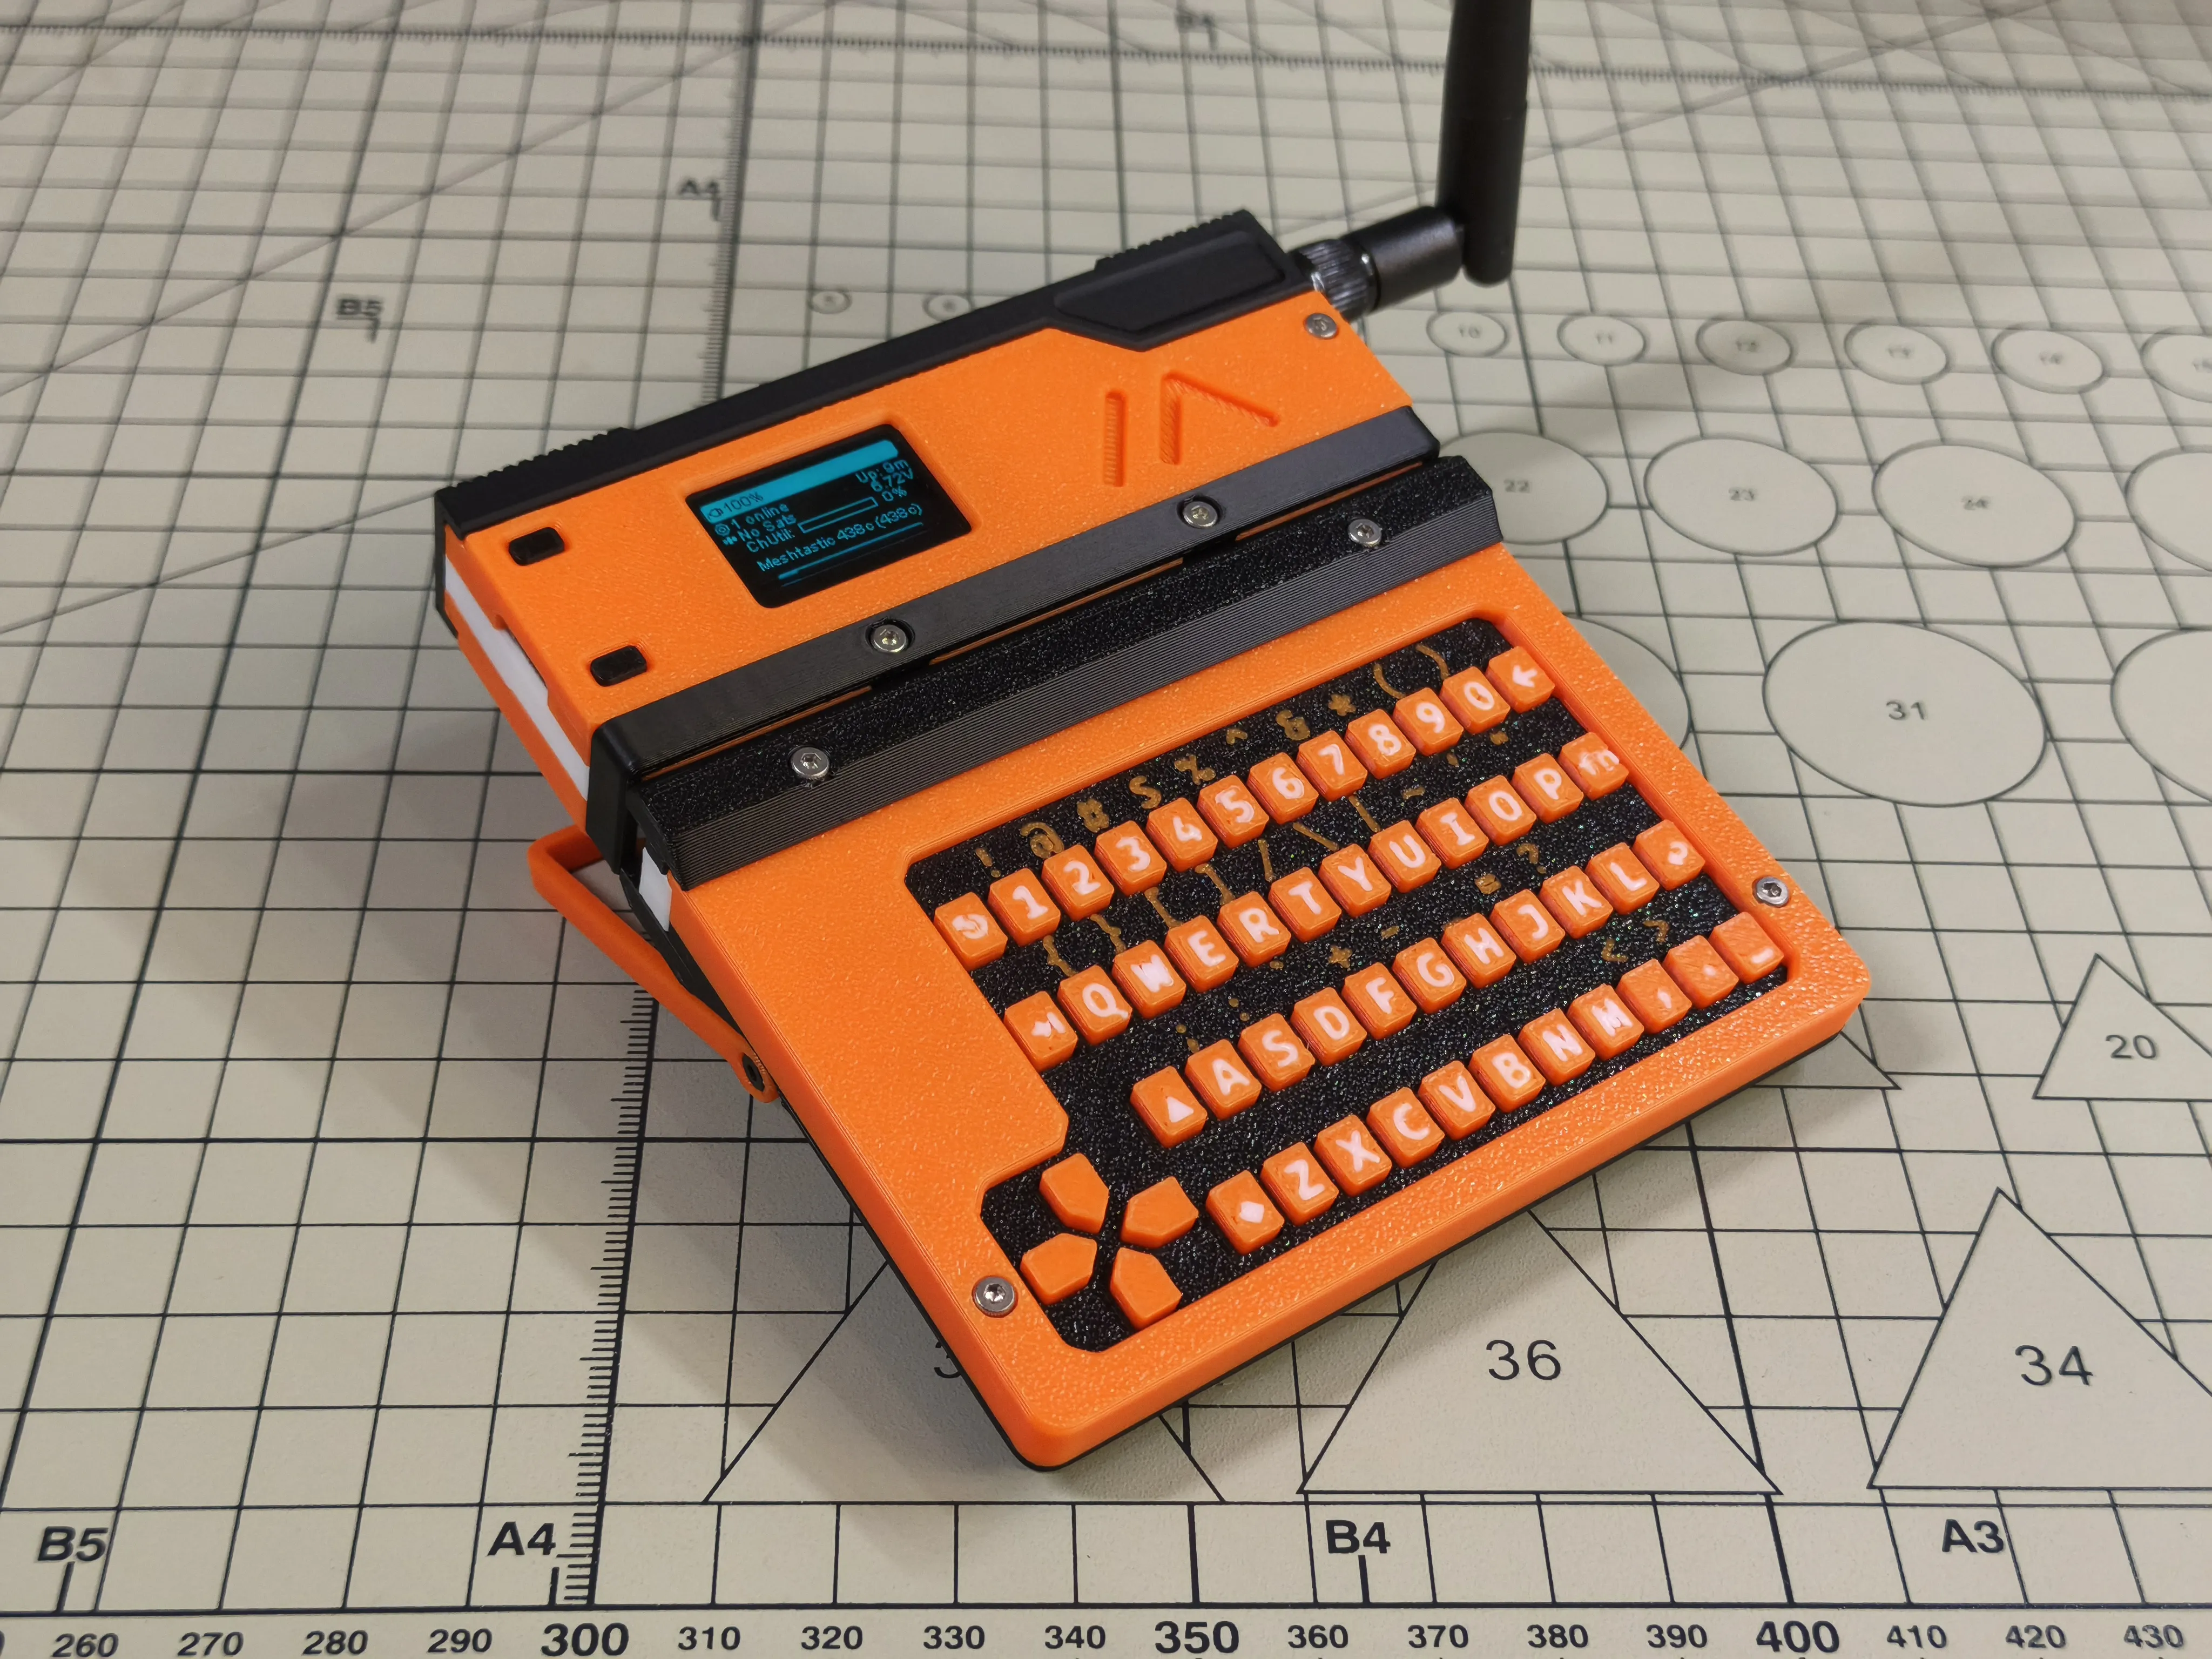
- Features an adjustable stand, switchable between handheld/desktop modes
- Internal reserved space of 76mm x 46mm x 5mm for installation/wiring, usable for additional sensors
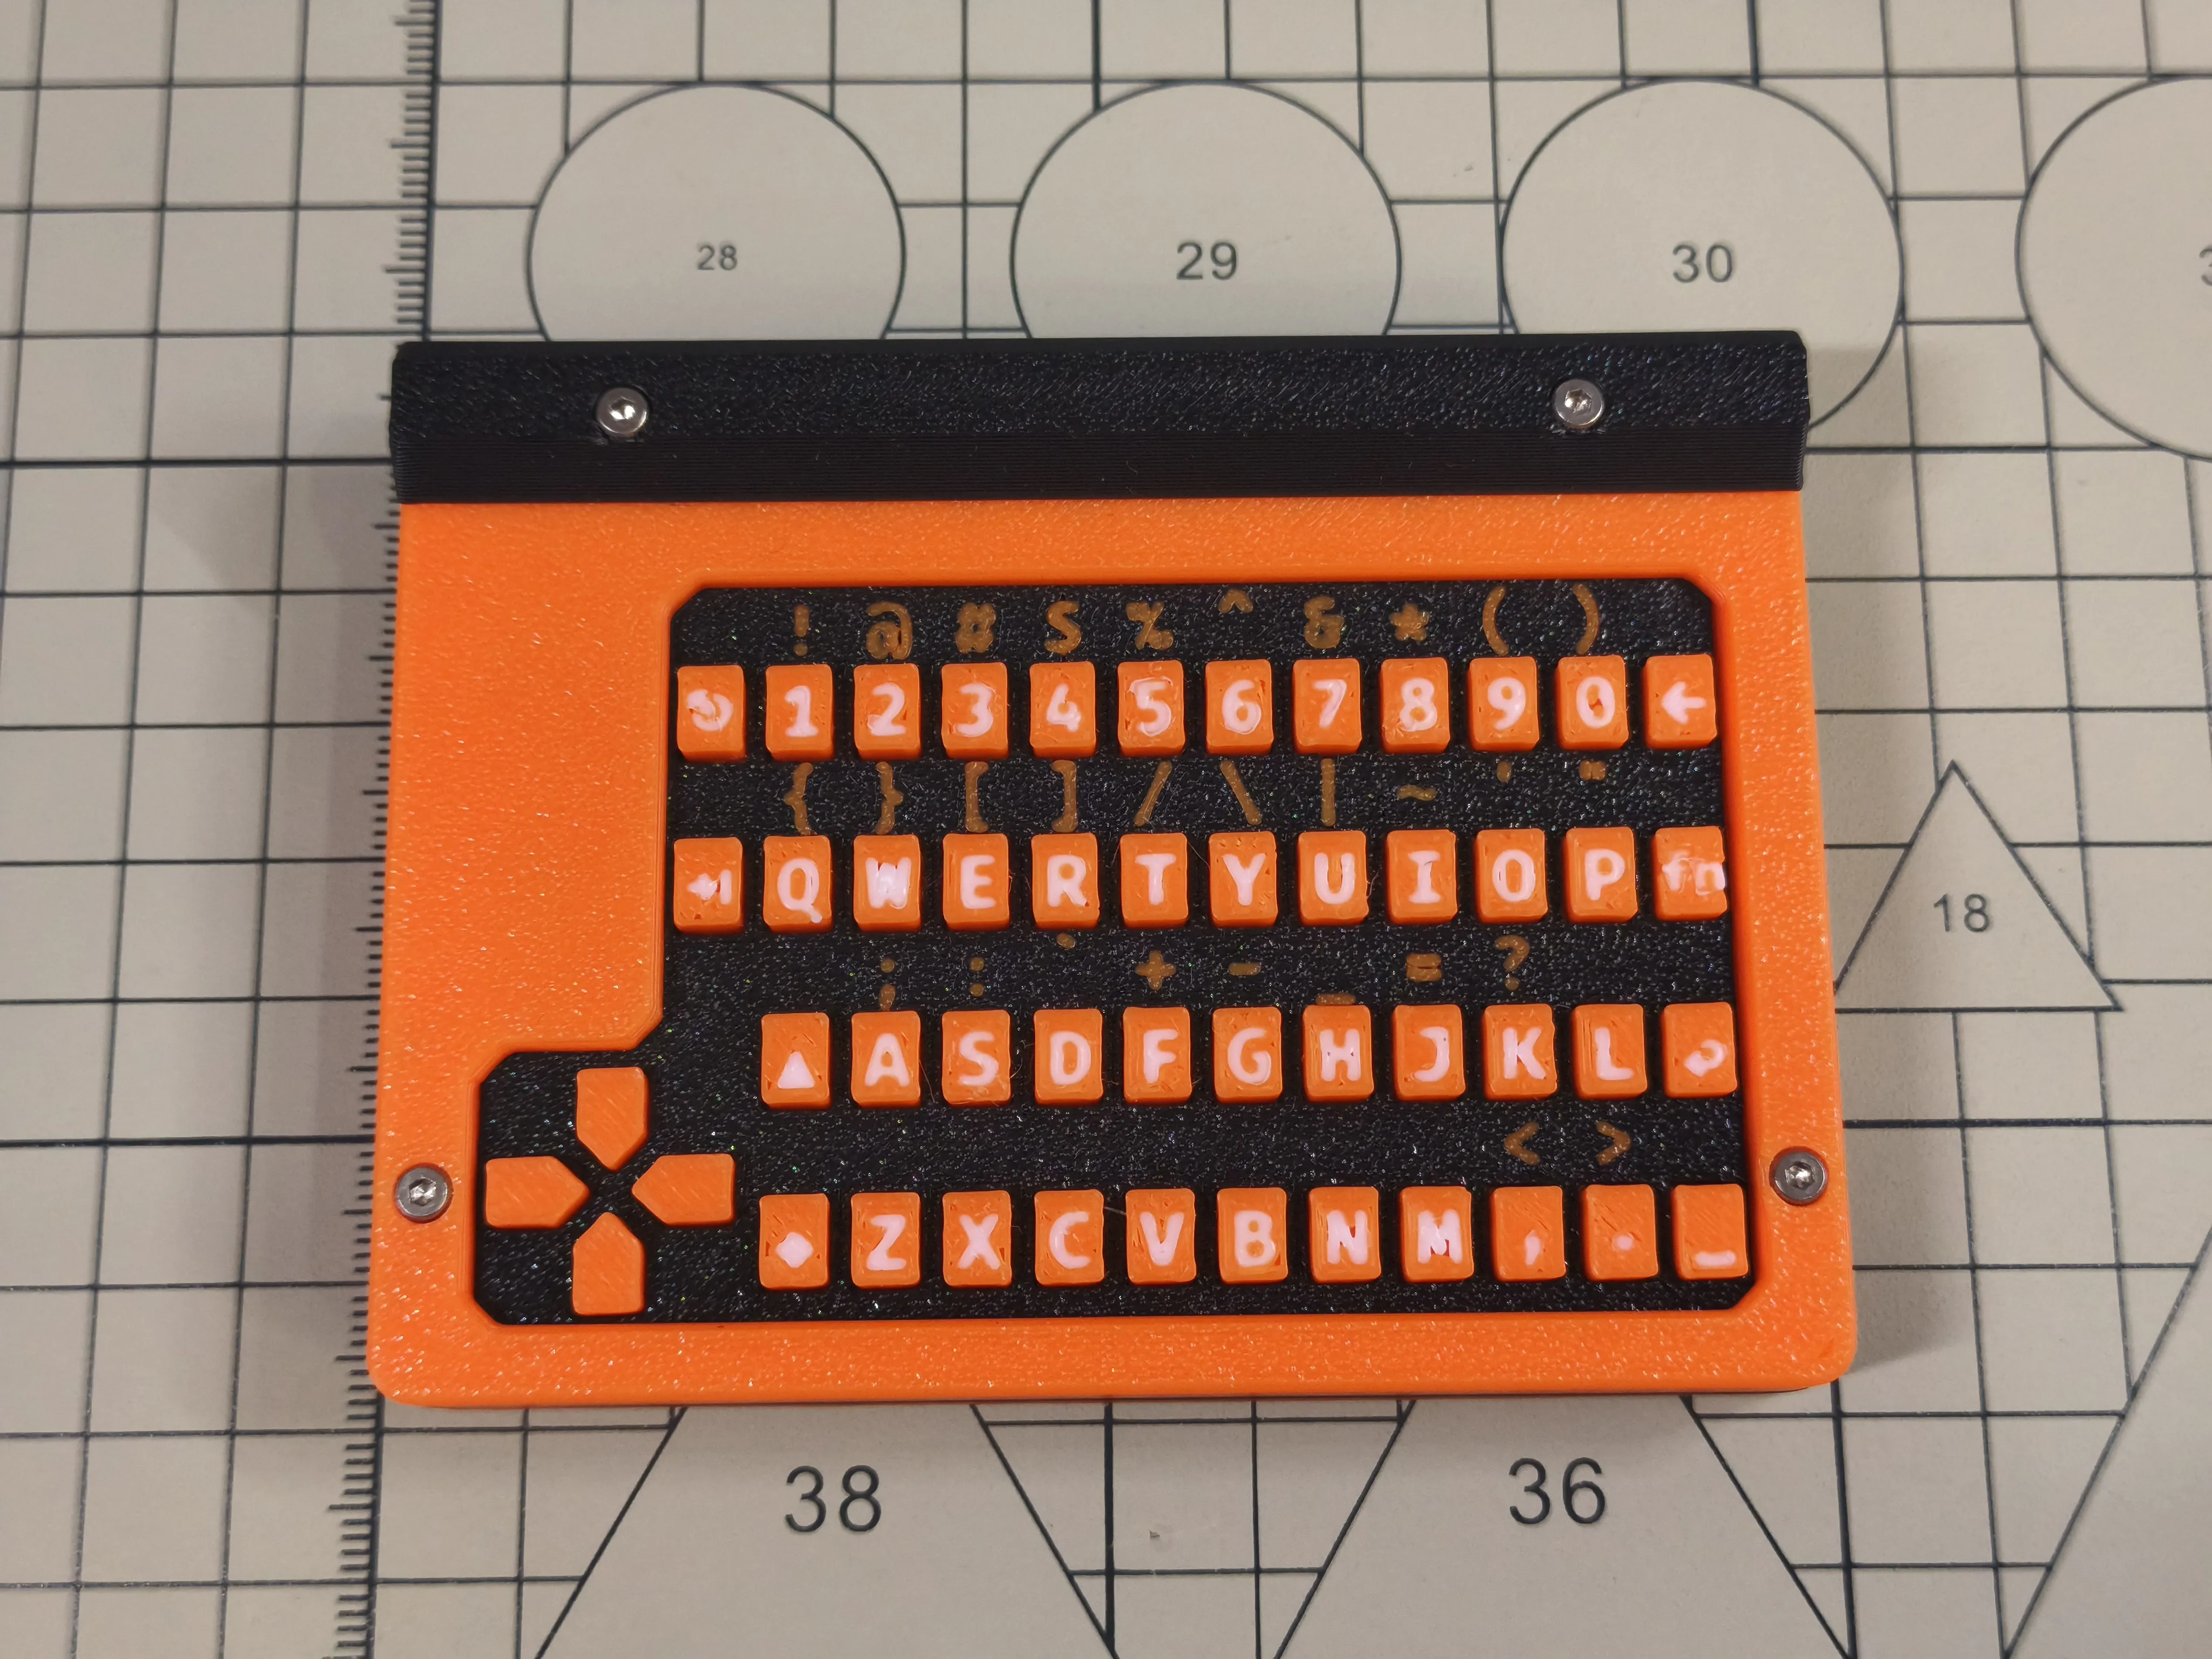
Please note that this print kit only includes the SlideKB expansion module as shown below. For the MeshSlide main body, please search my homepage
BOM List
- 3D Printed Case S1
- 3D Printed Case C1
- 3D Printed Case K1
- 3D Printed Case K2
- 3D Printed Case L1
- 3D Printed Case U1
- 3D Printed Case D1
- M5Stack CardKB
- GROVE Connection Cable HY2.0-4Pin
- pogopin Magnetic Connector 8P Male
- Hex Socket Cap Screws M2x7 6 pcs
- Hex Socket Flat Head Screws M2x4 2 pcs
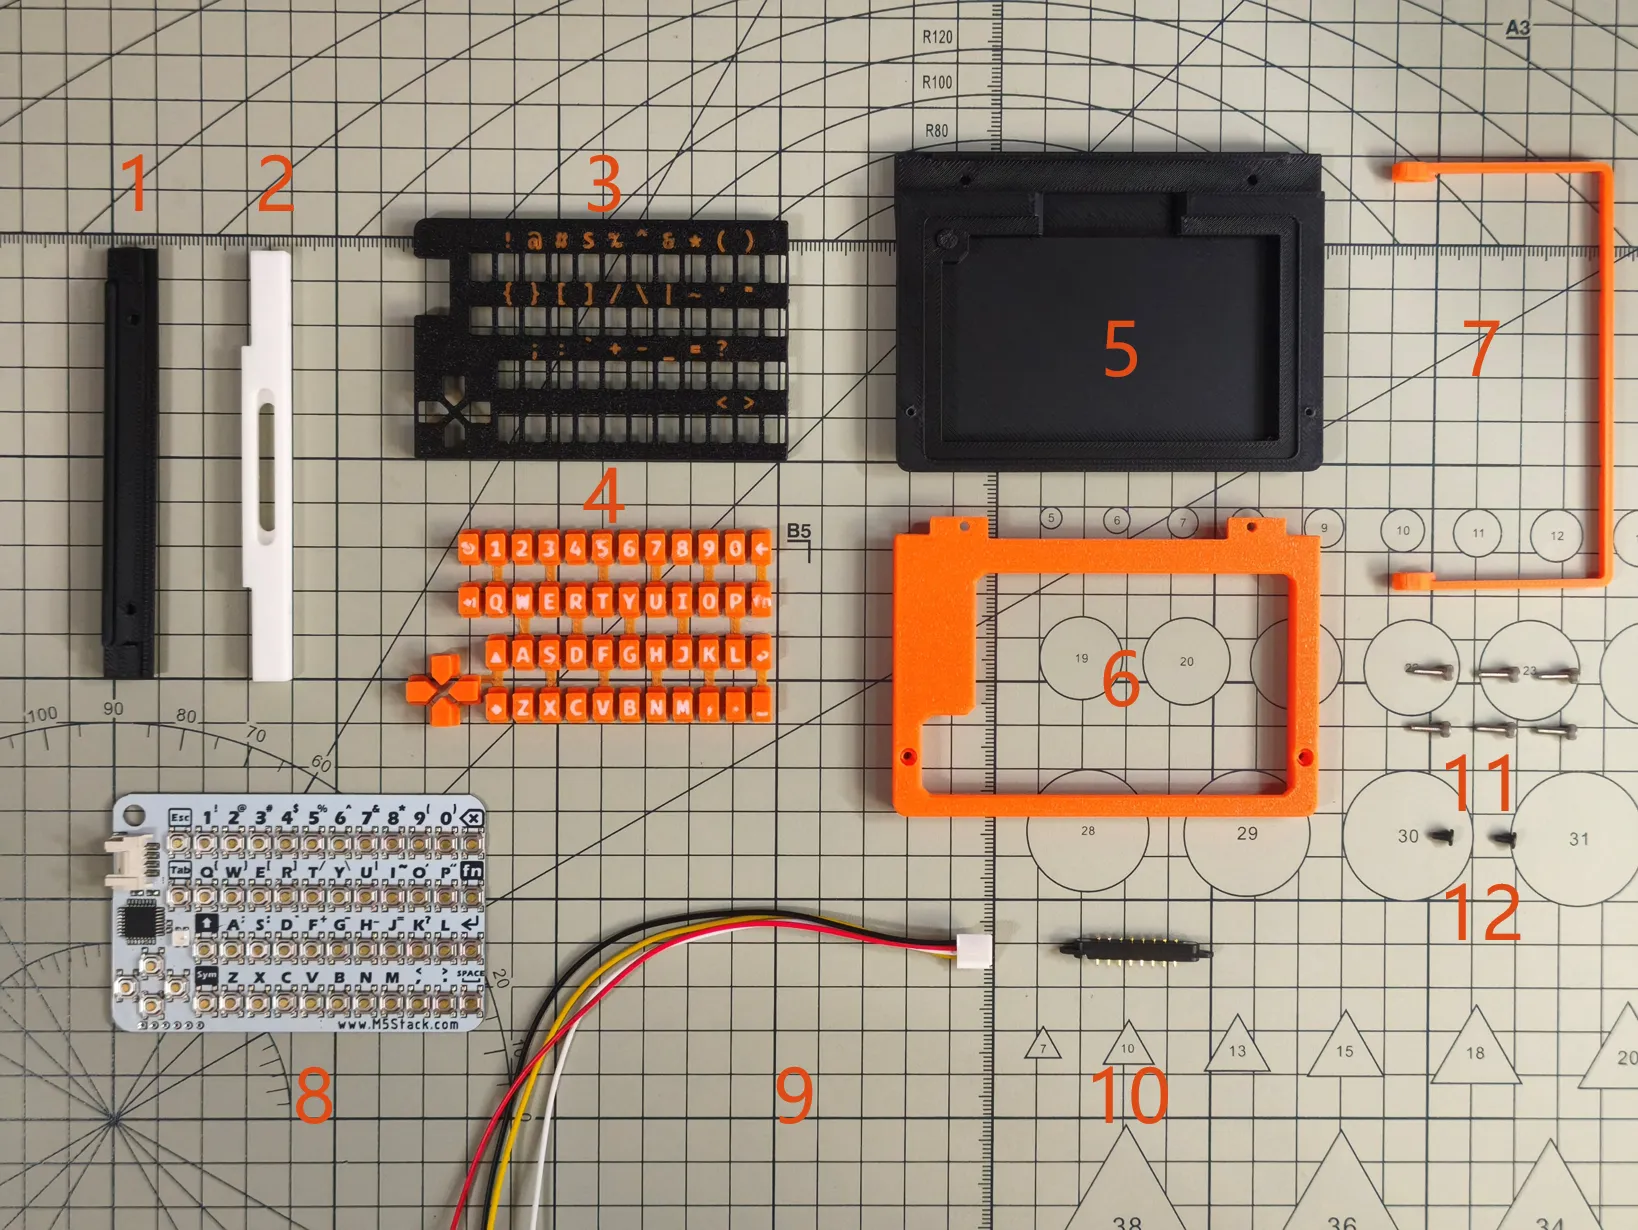
Assembly Instructions
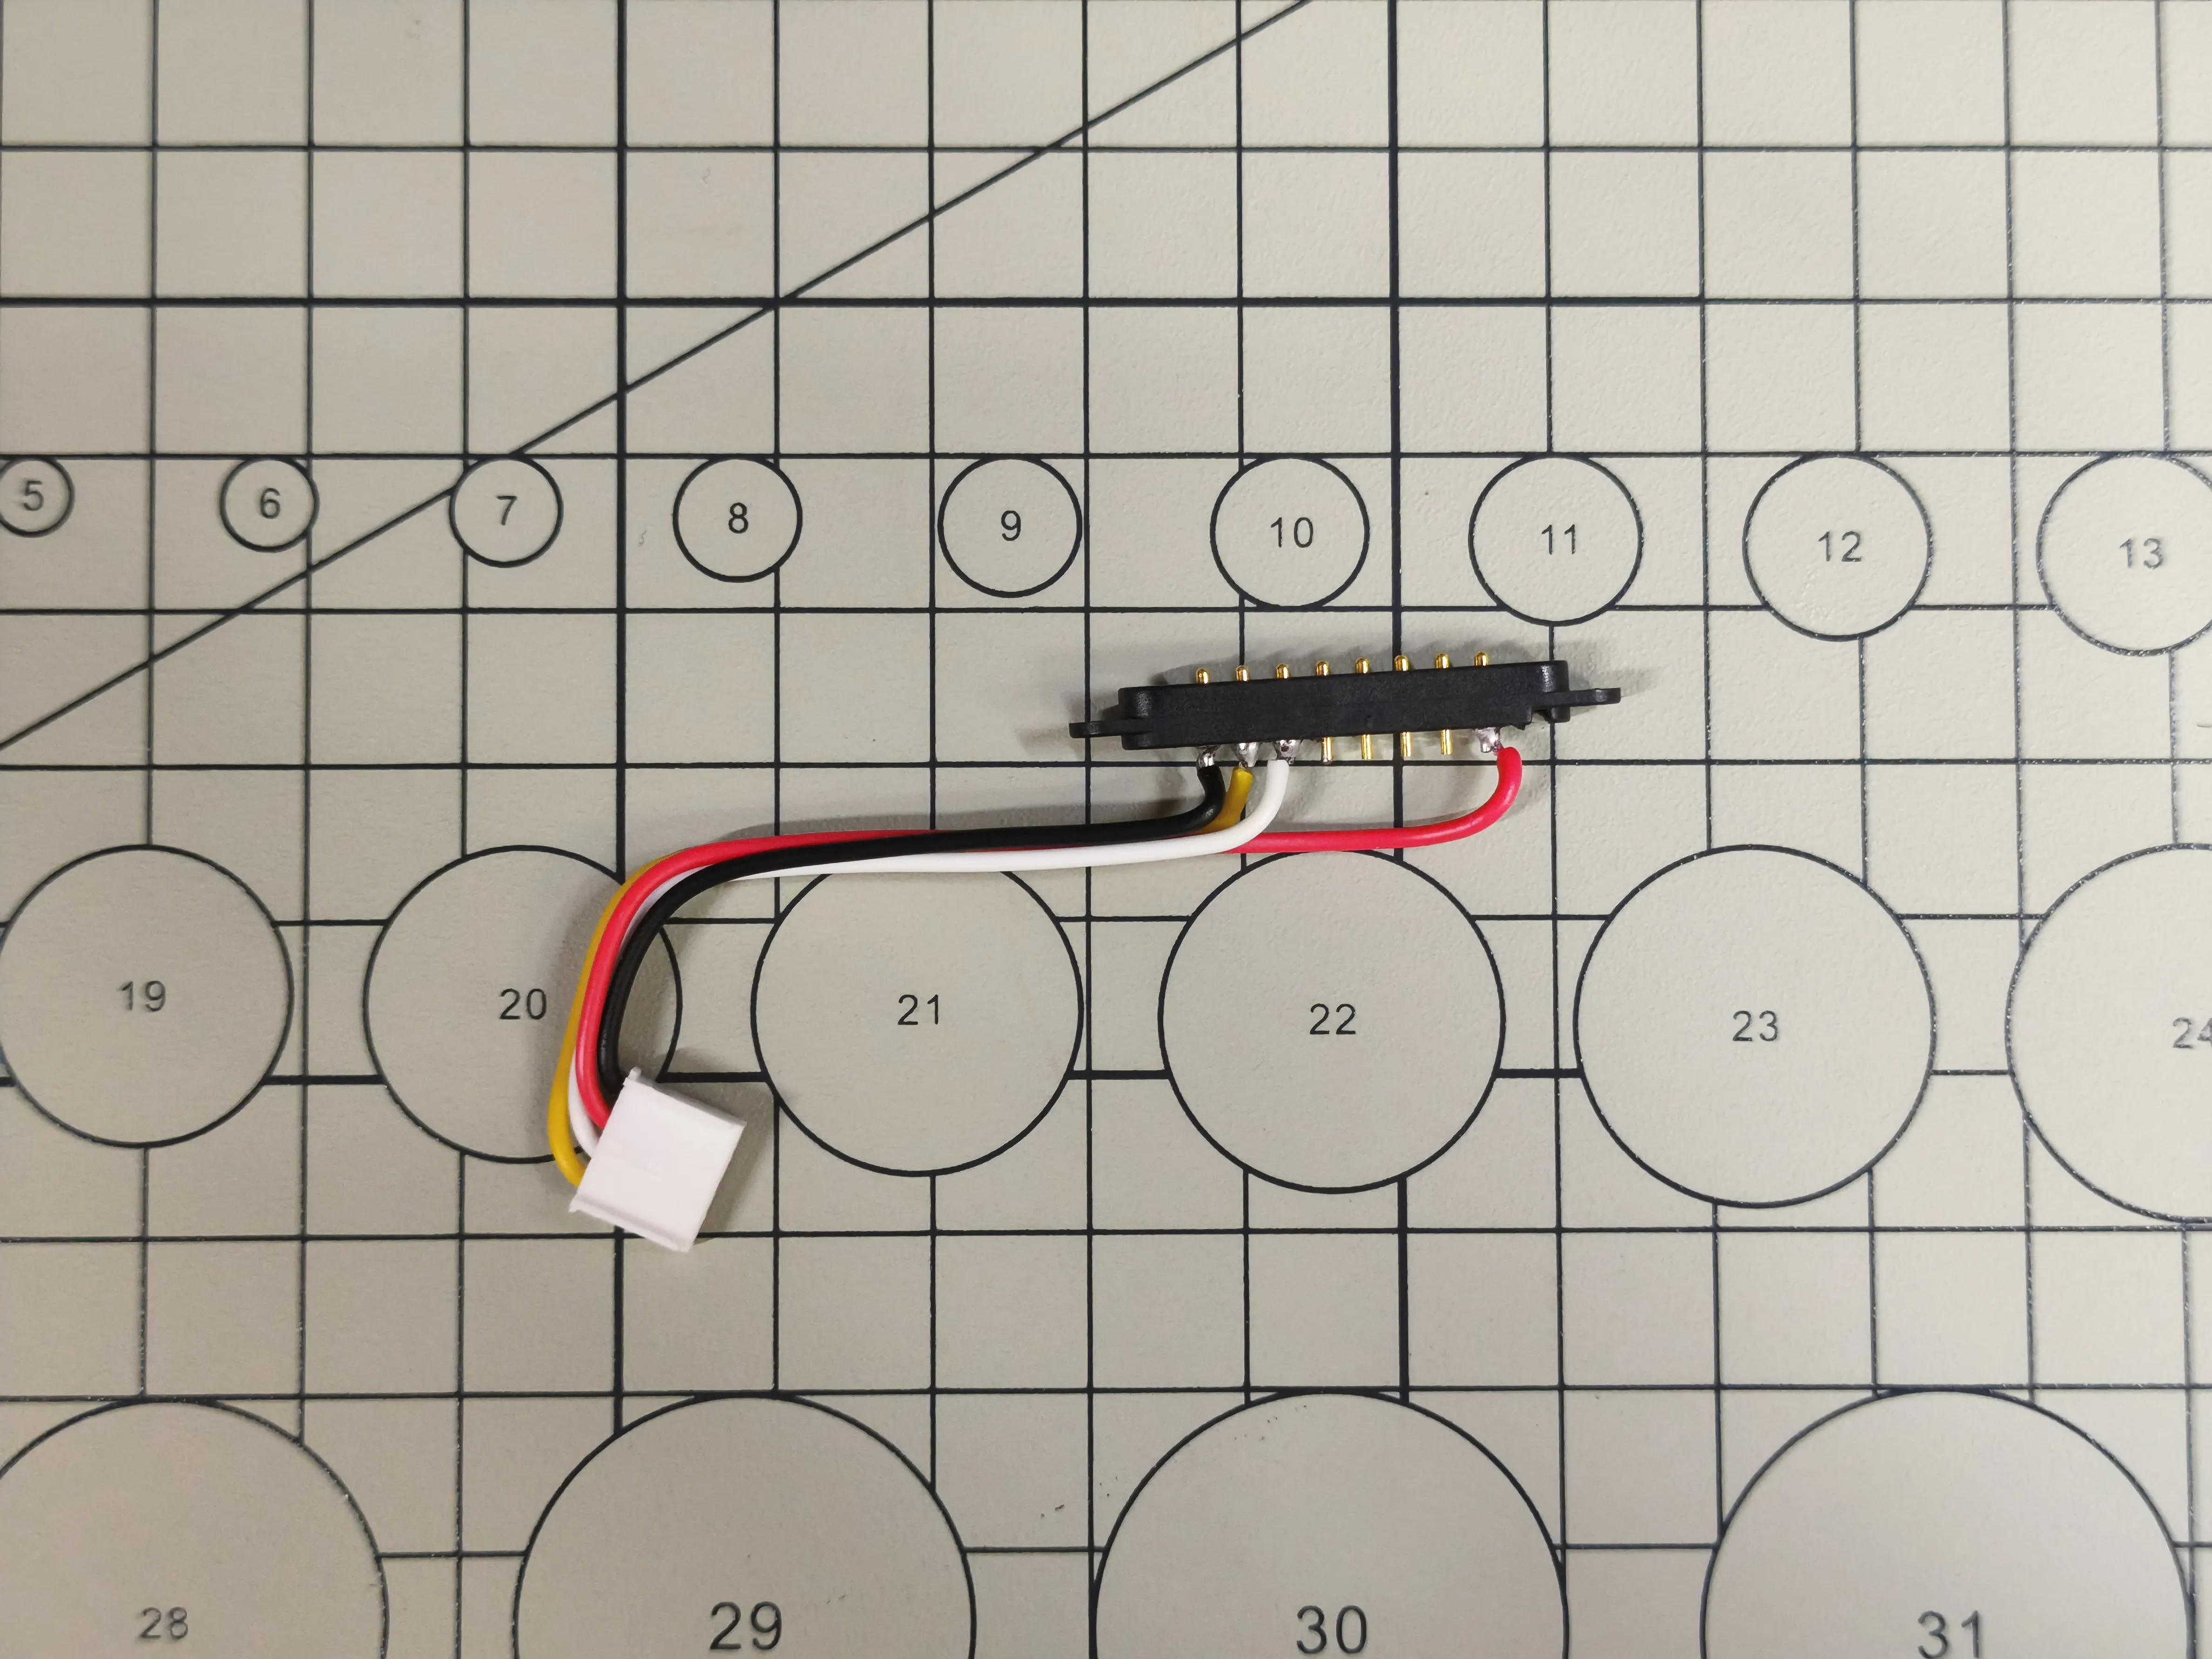
Solder the pogopin's pins to the GROVE cable. The soldered pins are shown in the figure, from left to right: GND, SCL, SDA, NC, NC, NC, NC, 3V3. Before soldering, be sure to test the magnetic polarity of the pogopin with the MeshSlide
Please note that the color of the GROVE cable shown in the figure may not match the color of the Grove cable officially supplied with M5Stack CardKB. Please confirm carefully before soldering
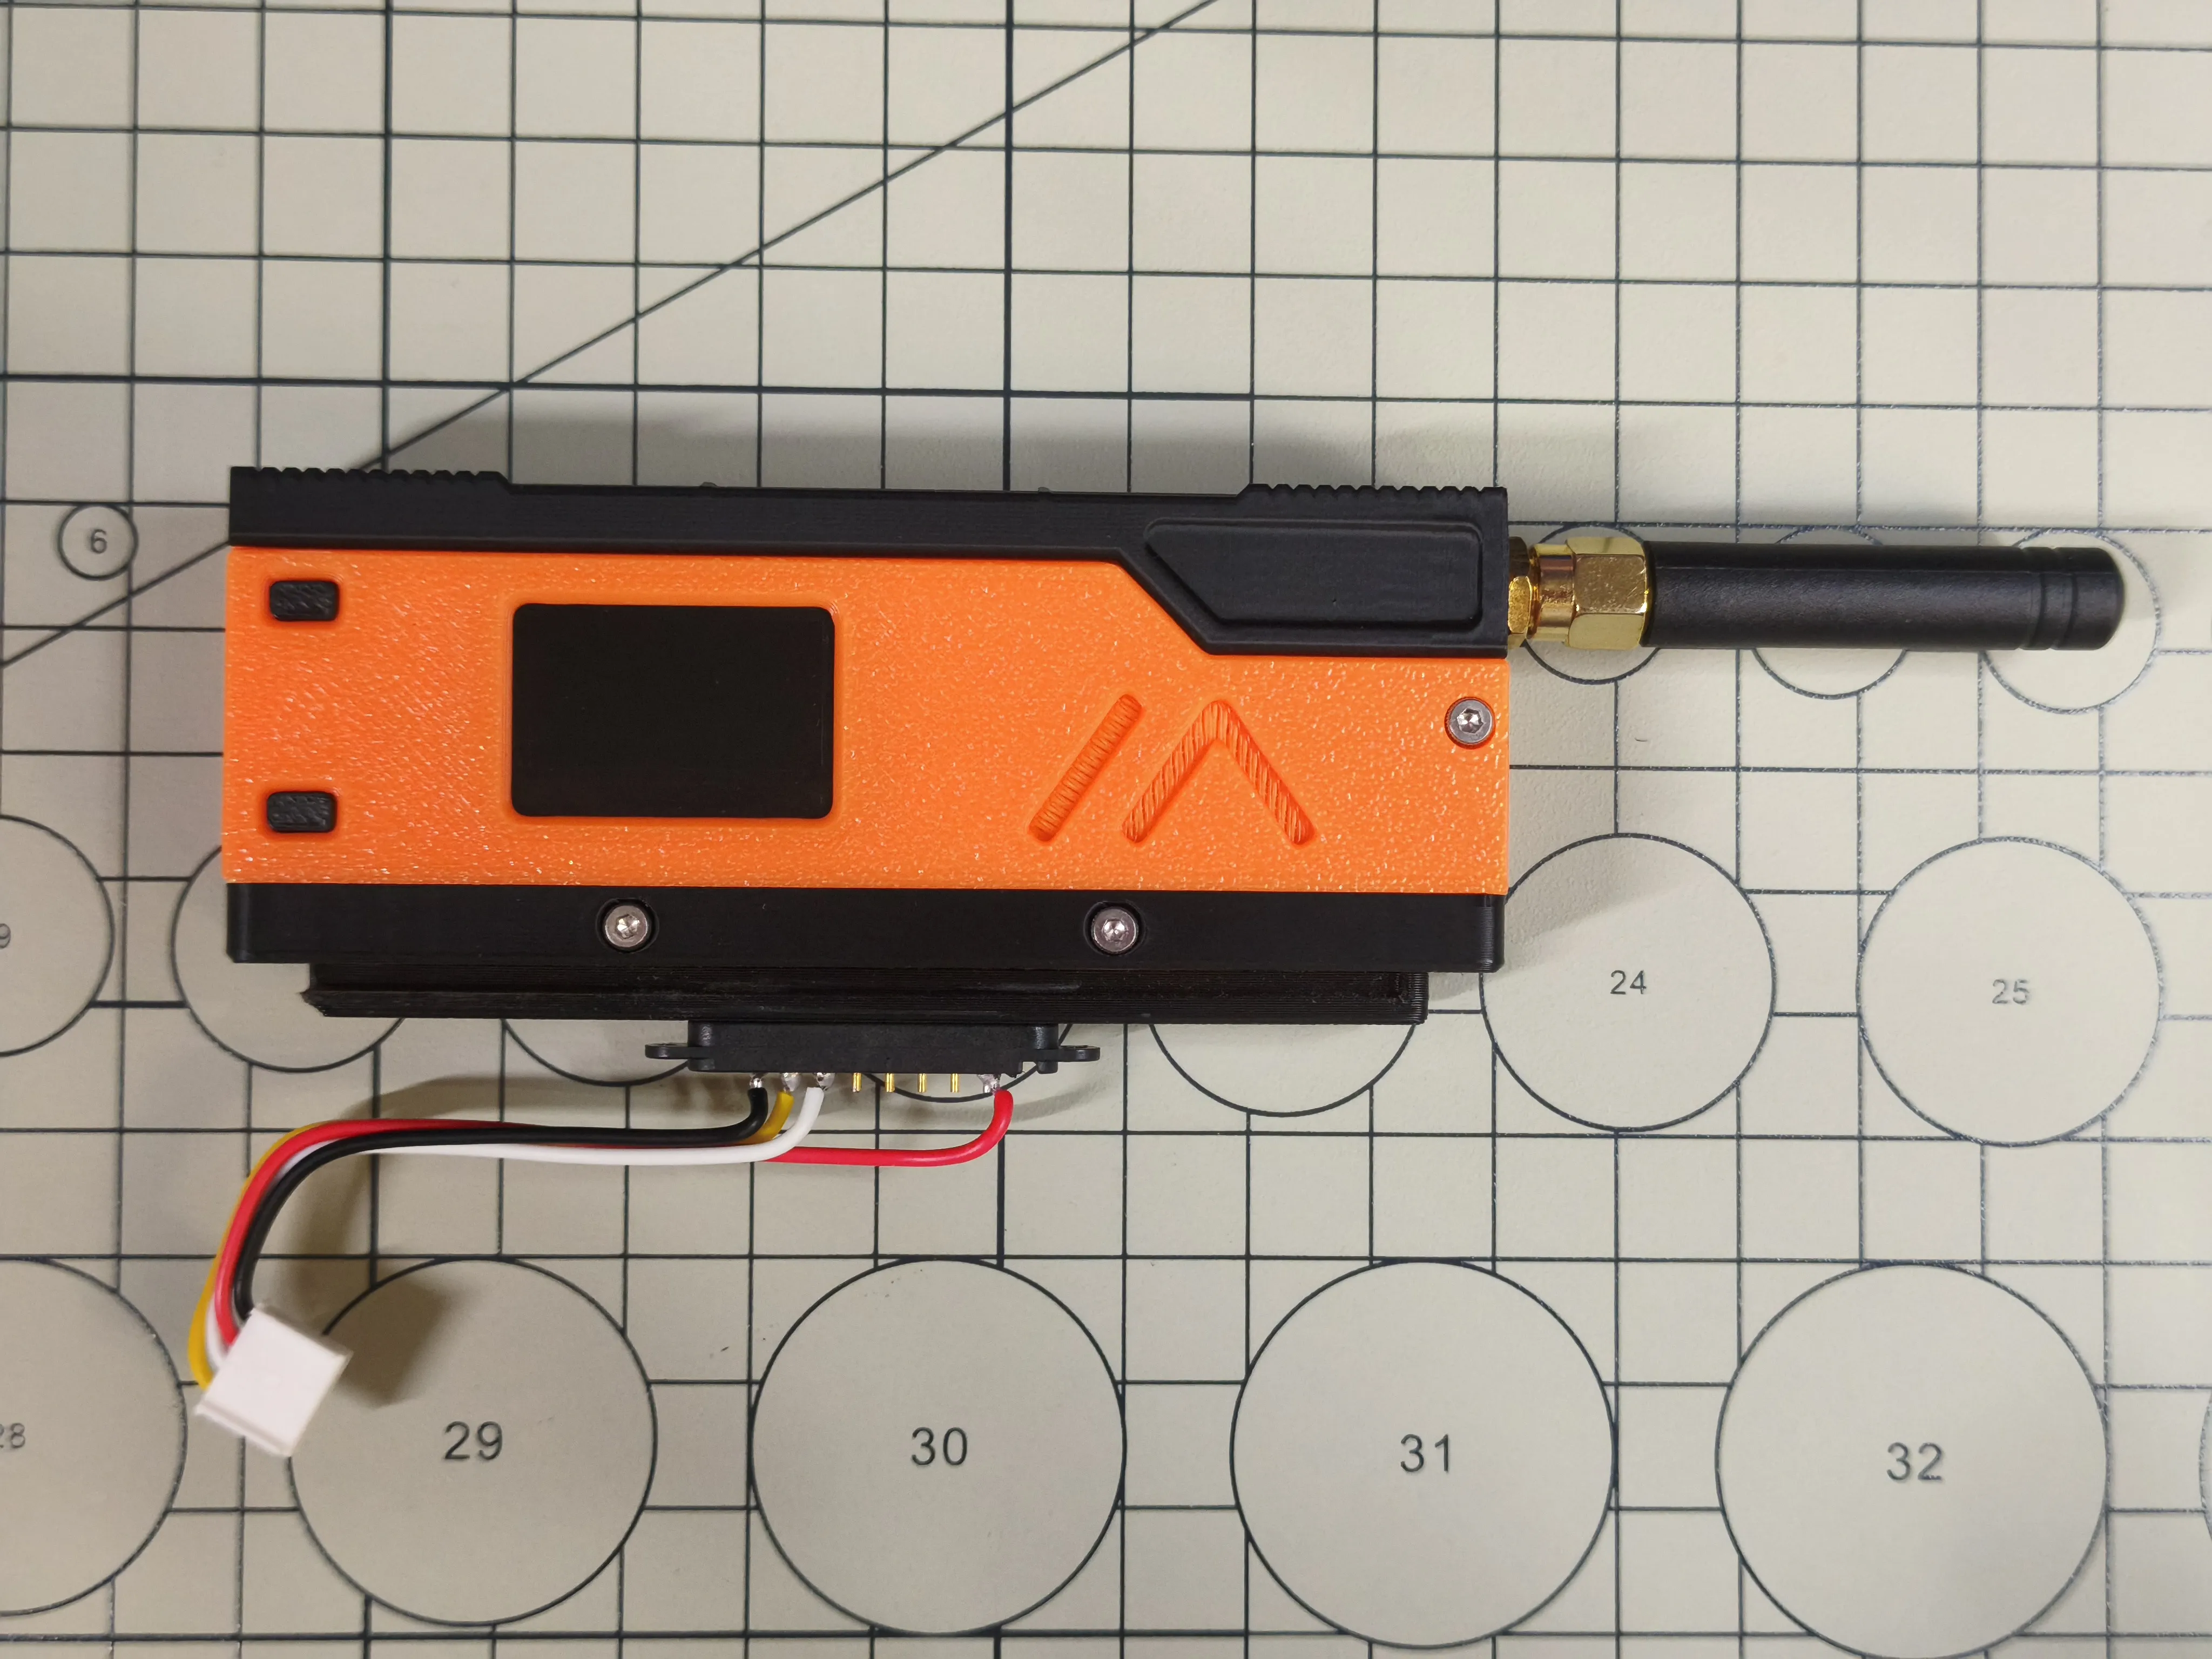
Embed the pogopin into the 3D Printed Case C1. If the pogopin is loose when embedded, you can use super glue to secure it. Connect the GROVE cable to M5Stack CardKB, and install the CardKB into the 3D Printed Case L1
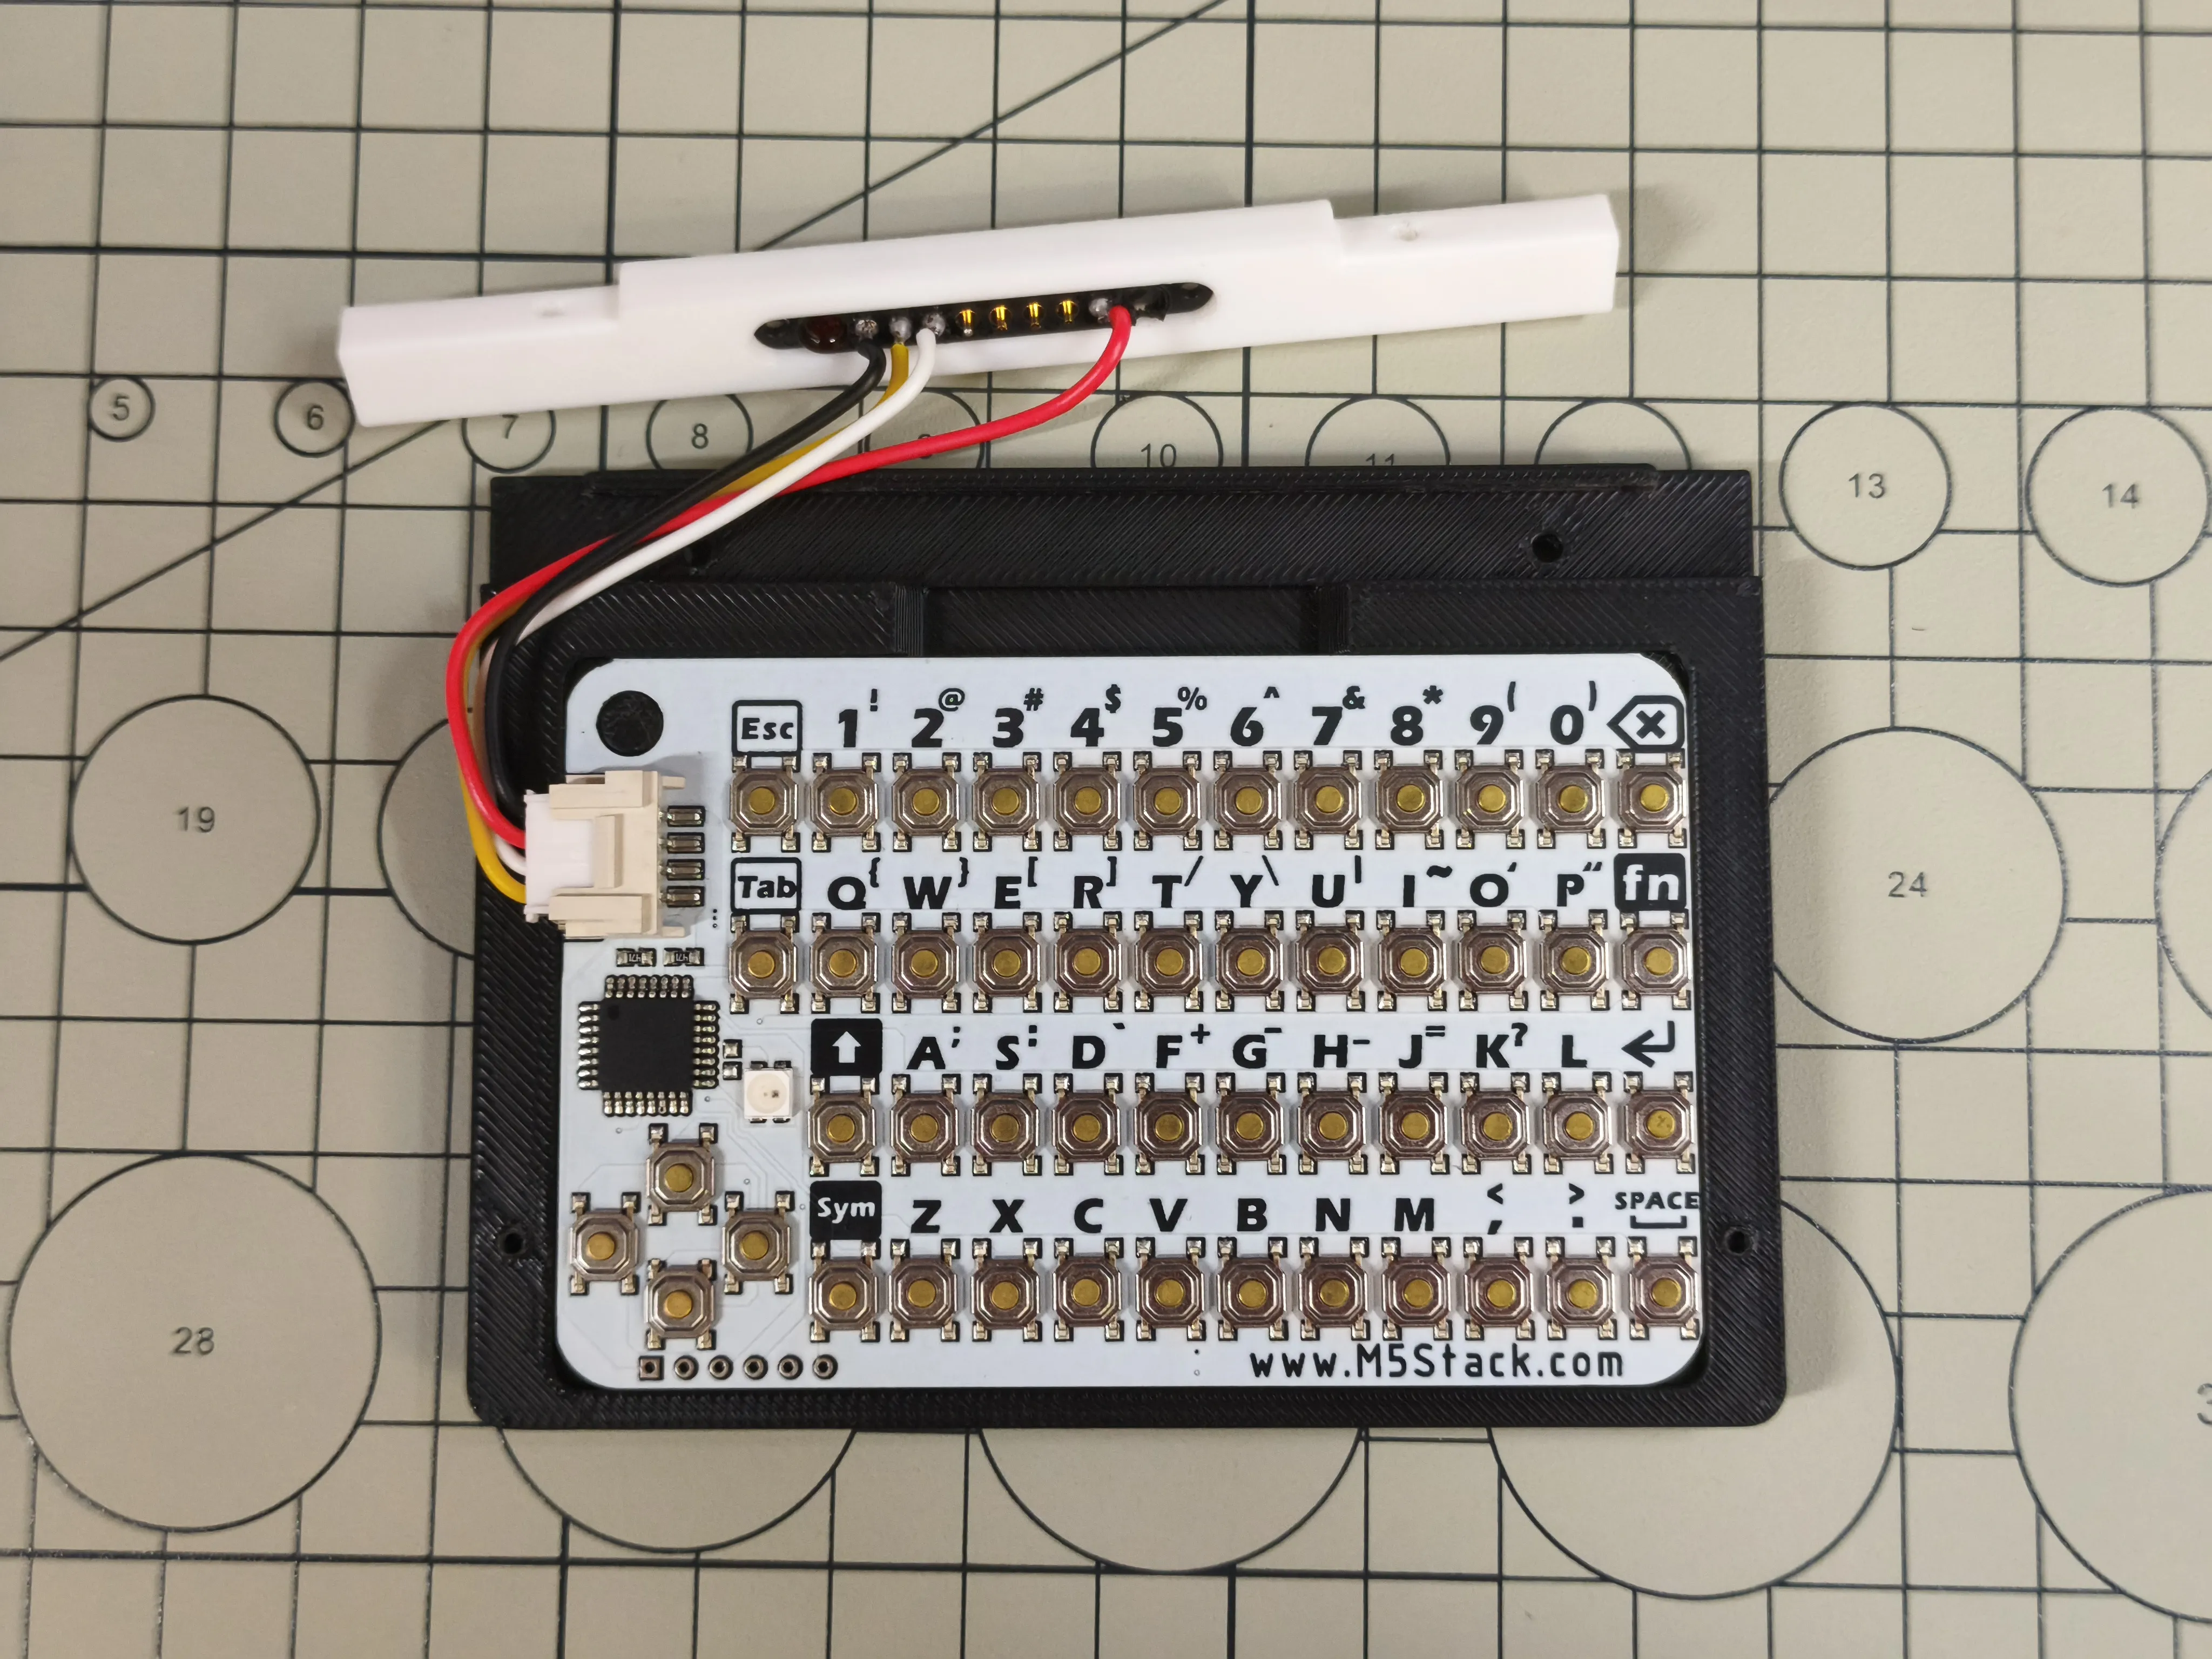
The bottom of the 3D Printed Case L1 reserves approximately 76mm x 46mm x 5mm of space and wiring channels, which can accommodate other sensors of compatible size
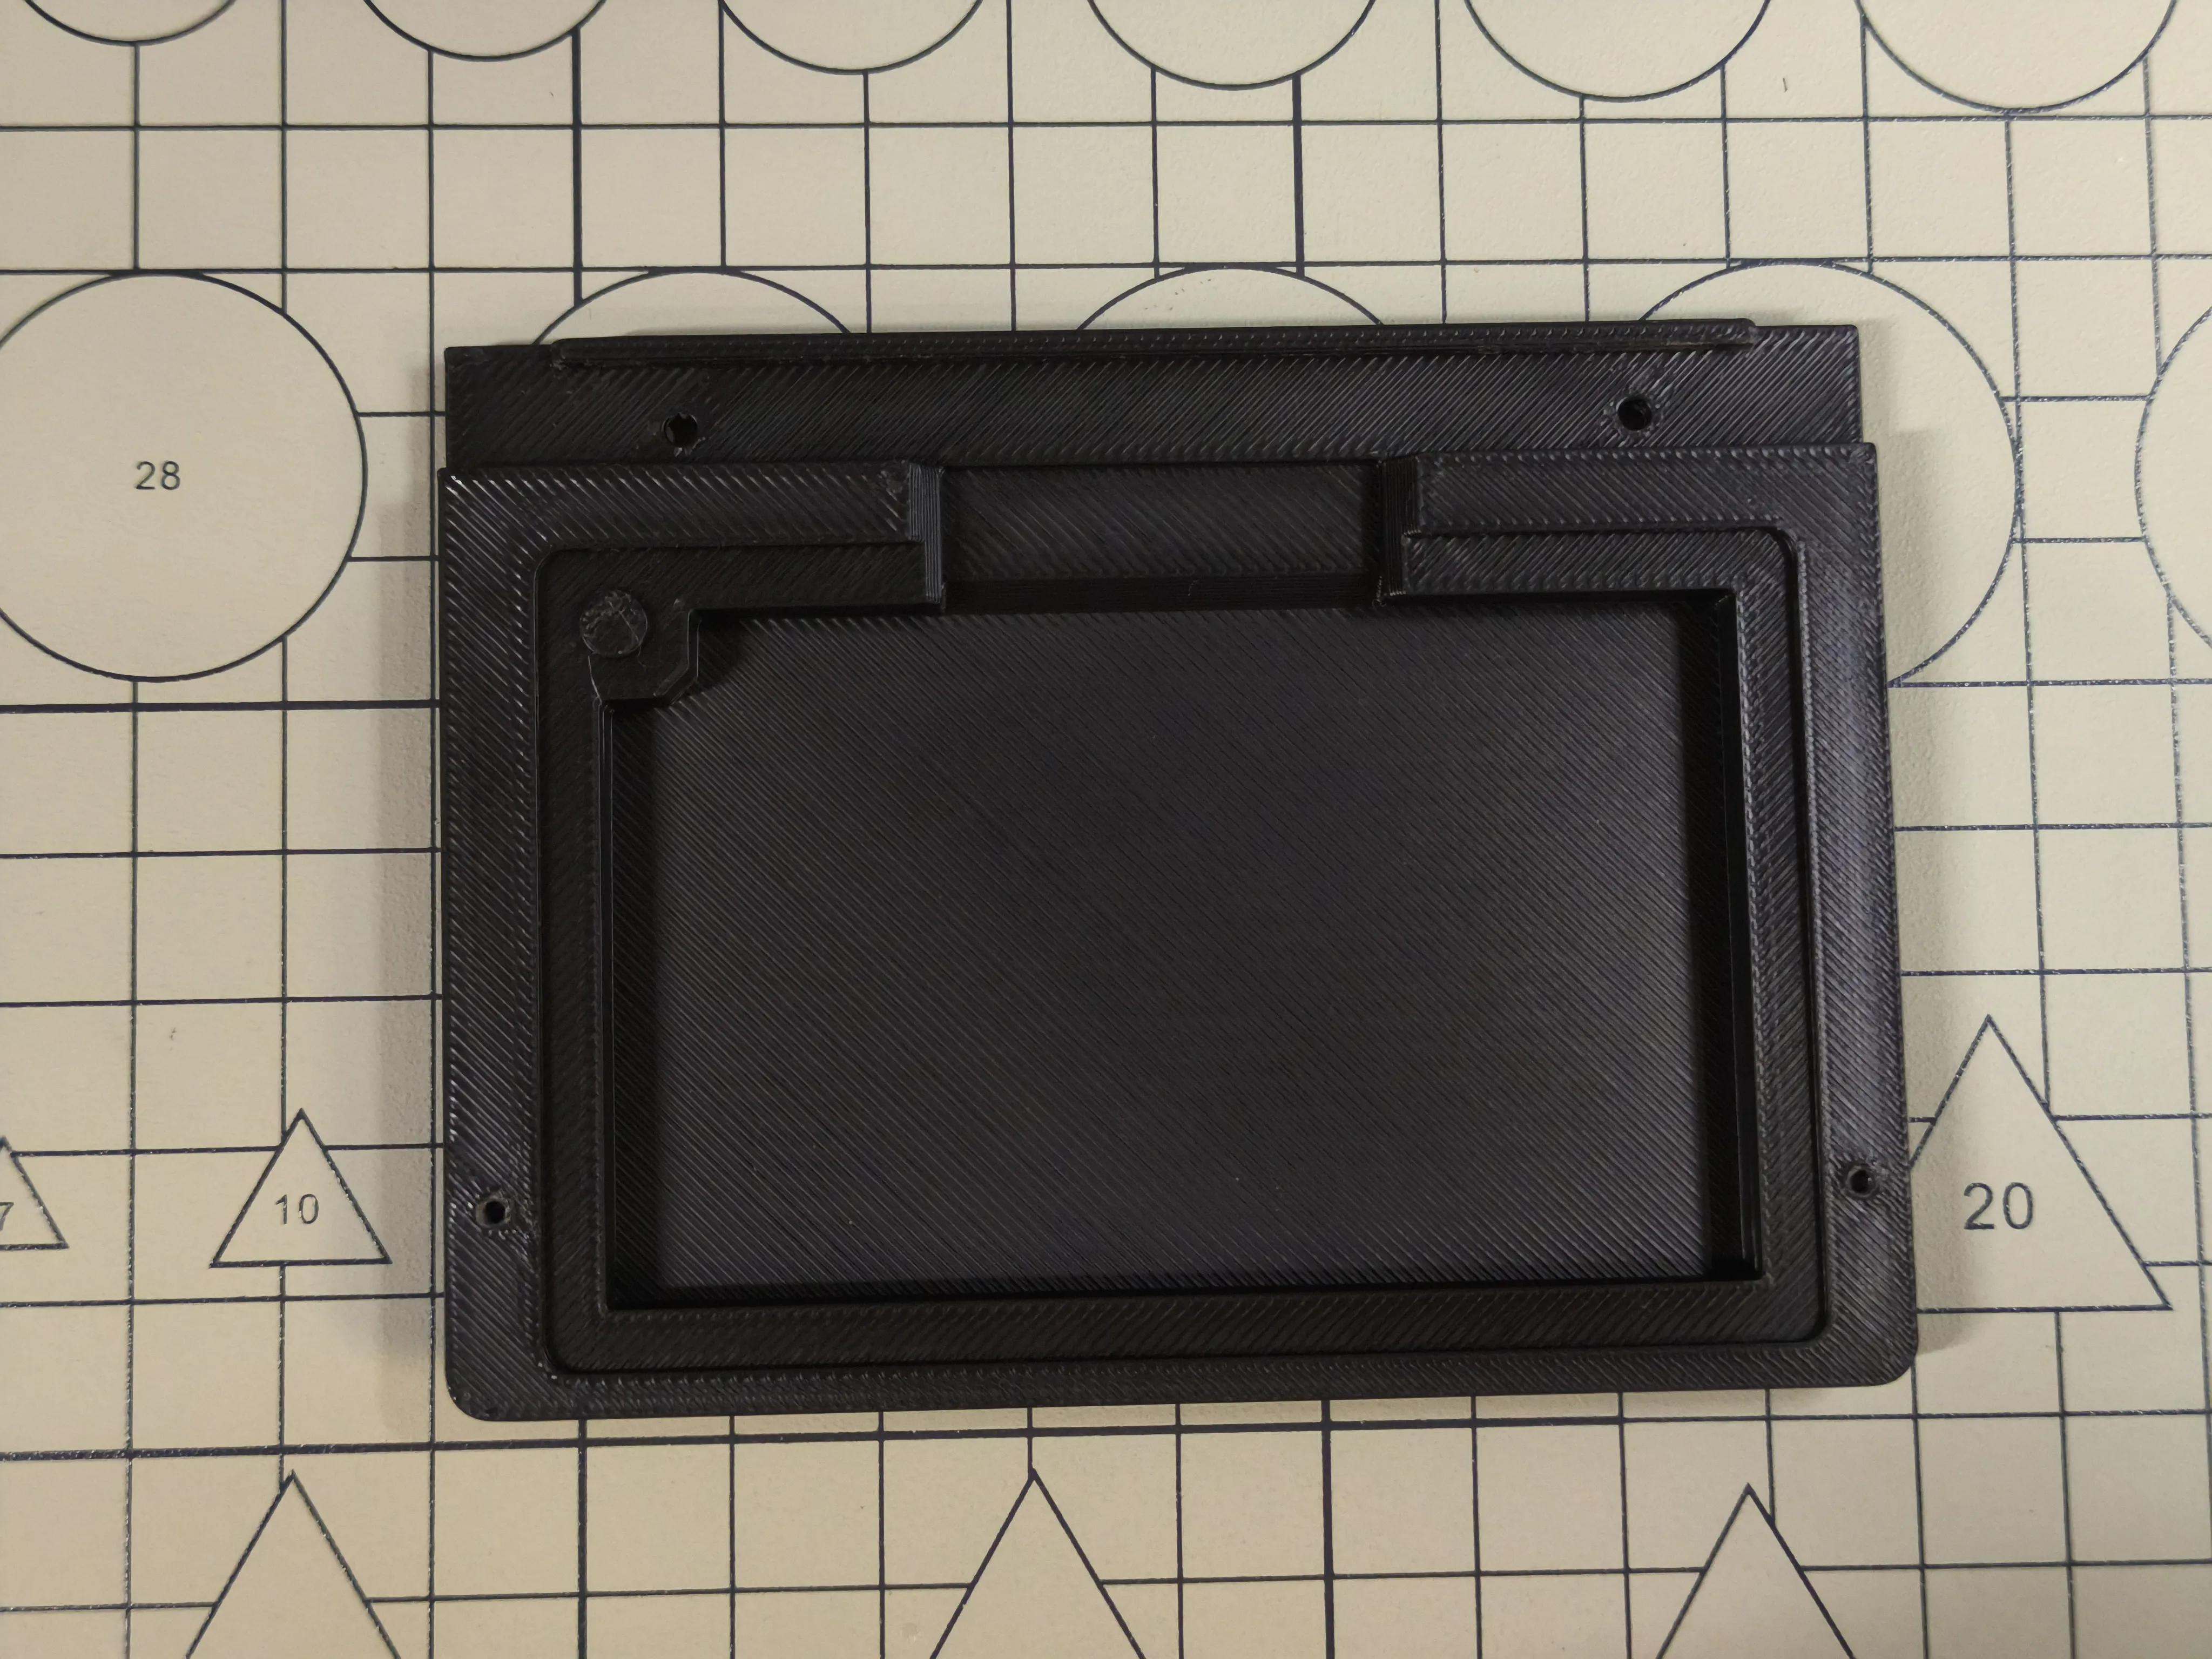
Install 3D Printed Cases K1, K2
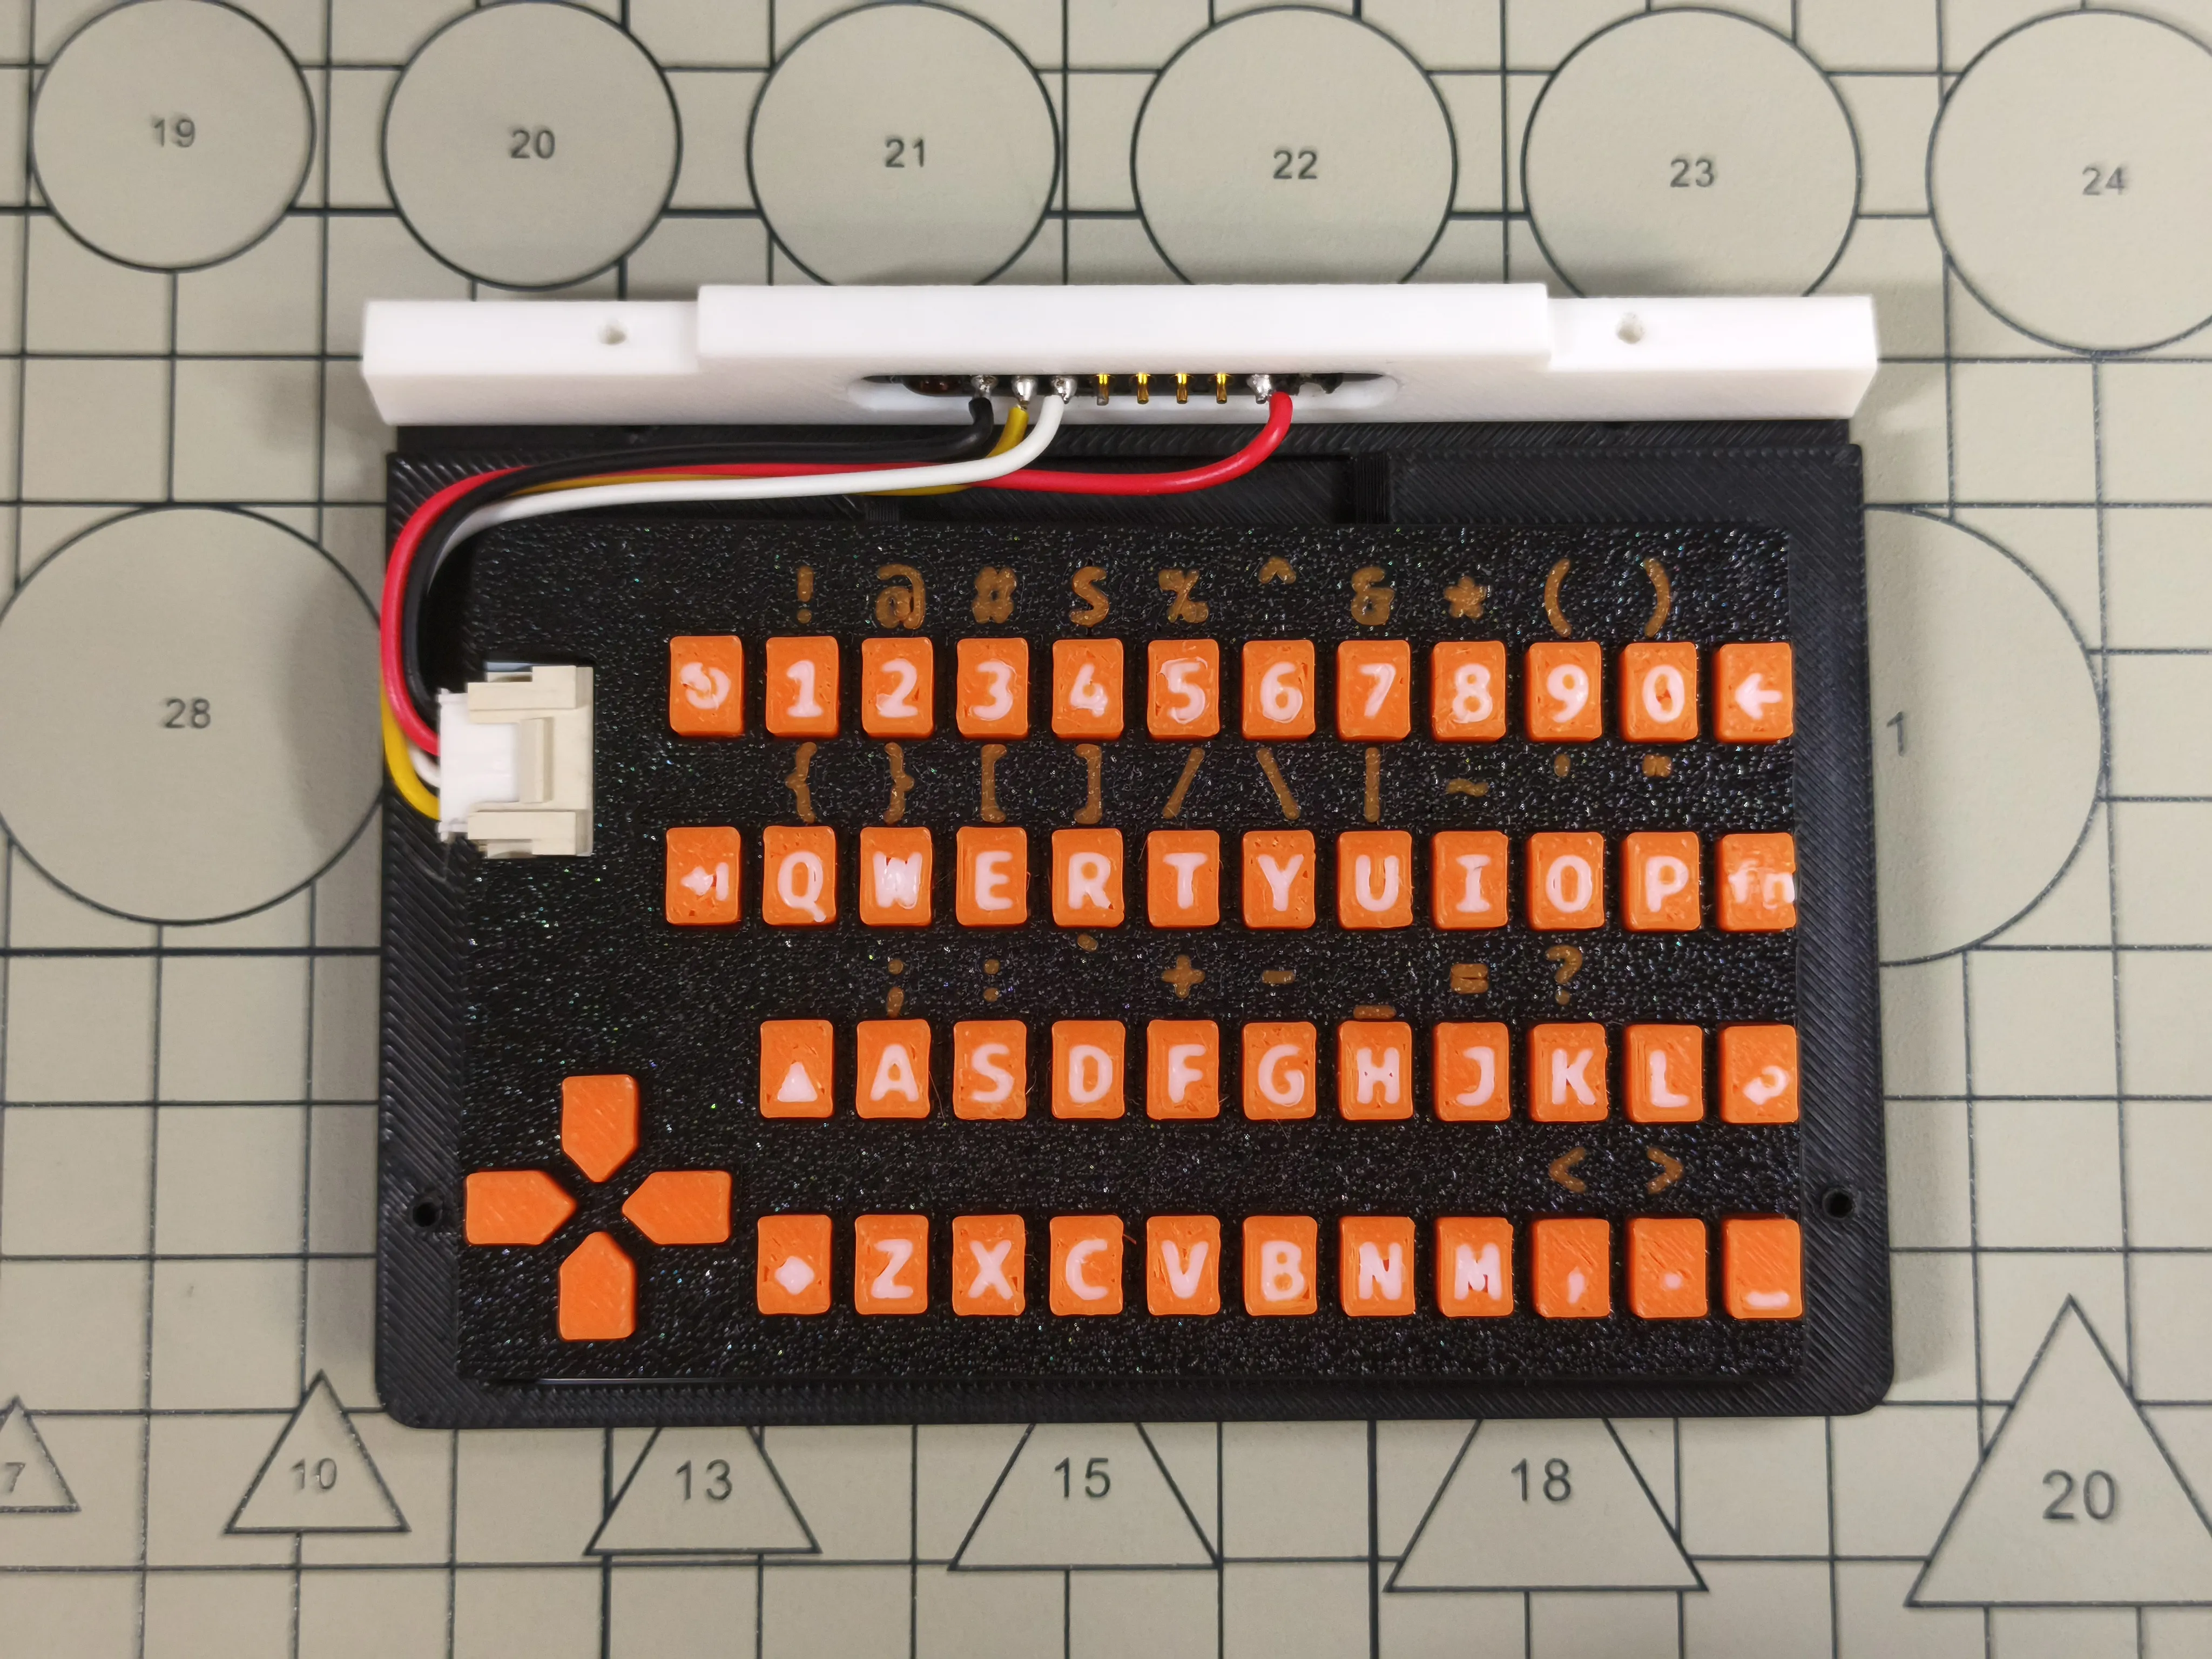
Install the 3D Printed Case U1 using 2 Hex Socket Cap Screws M2x7
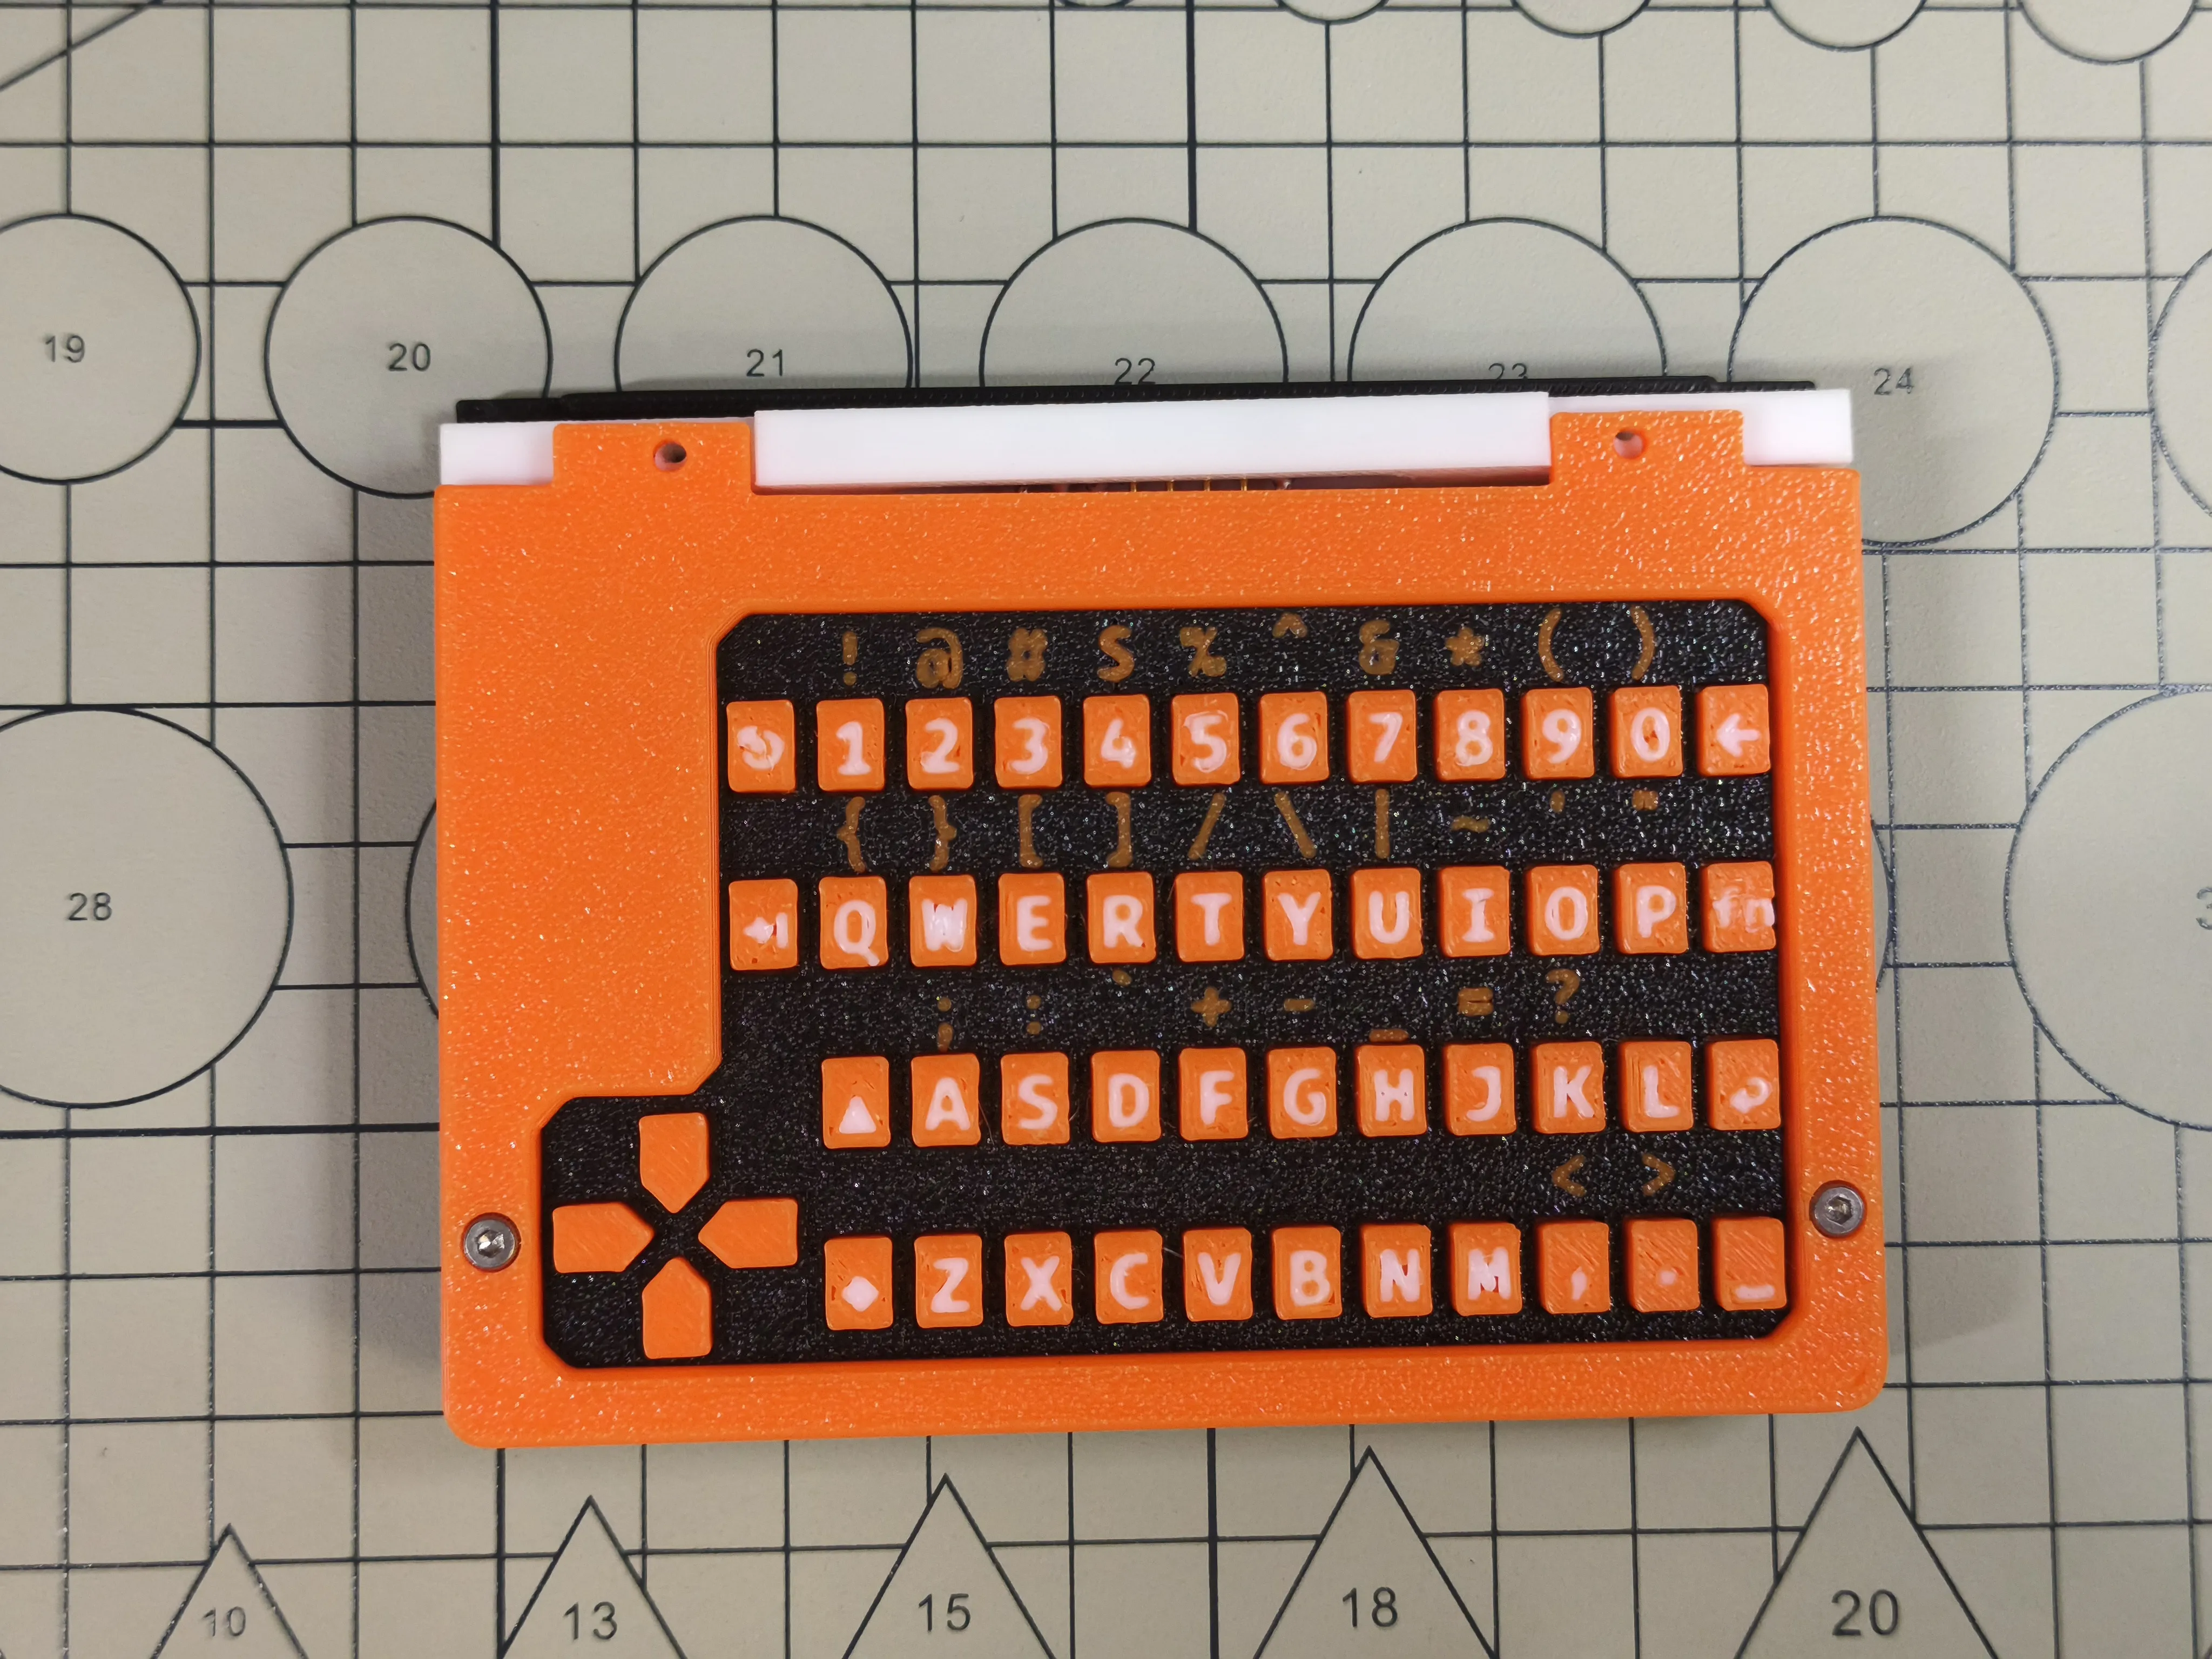
Install the 3D Printed Case S1 using 4 Hex Socket Cap Screws M2x7
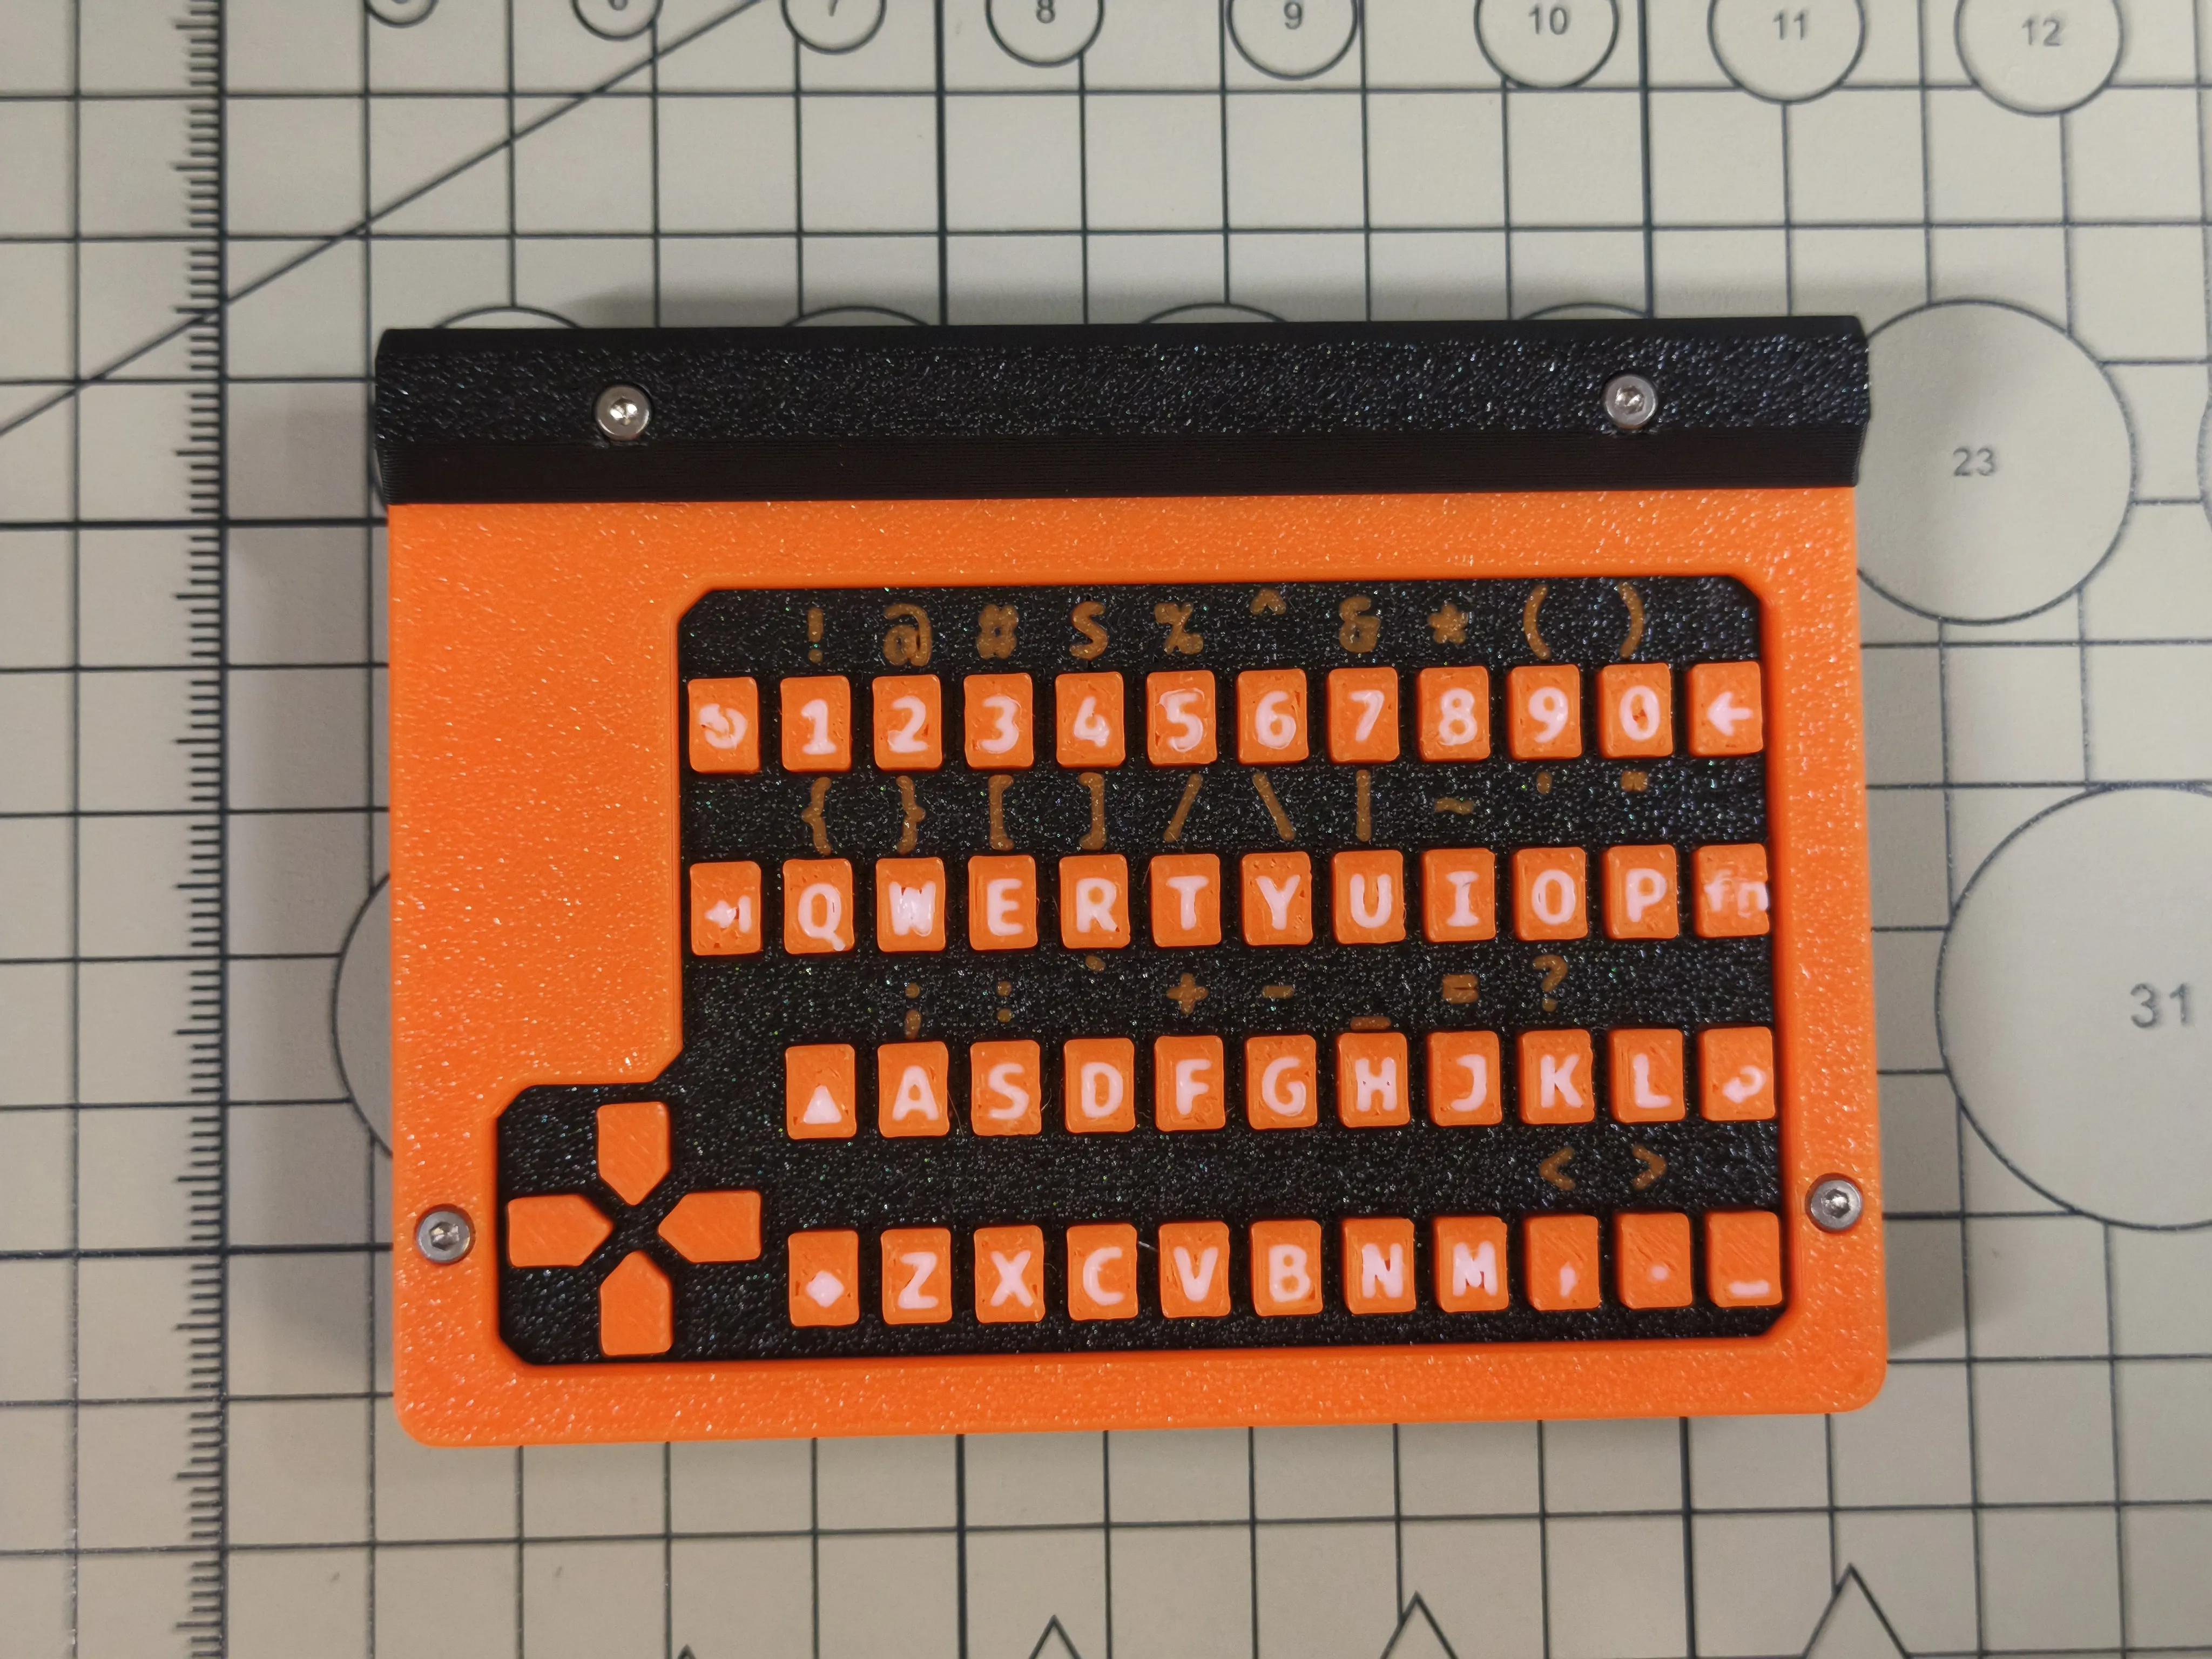
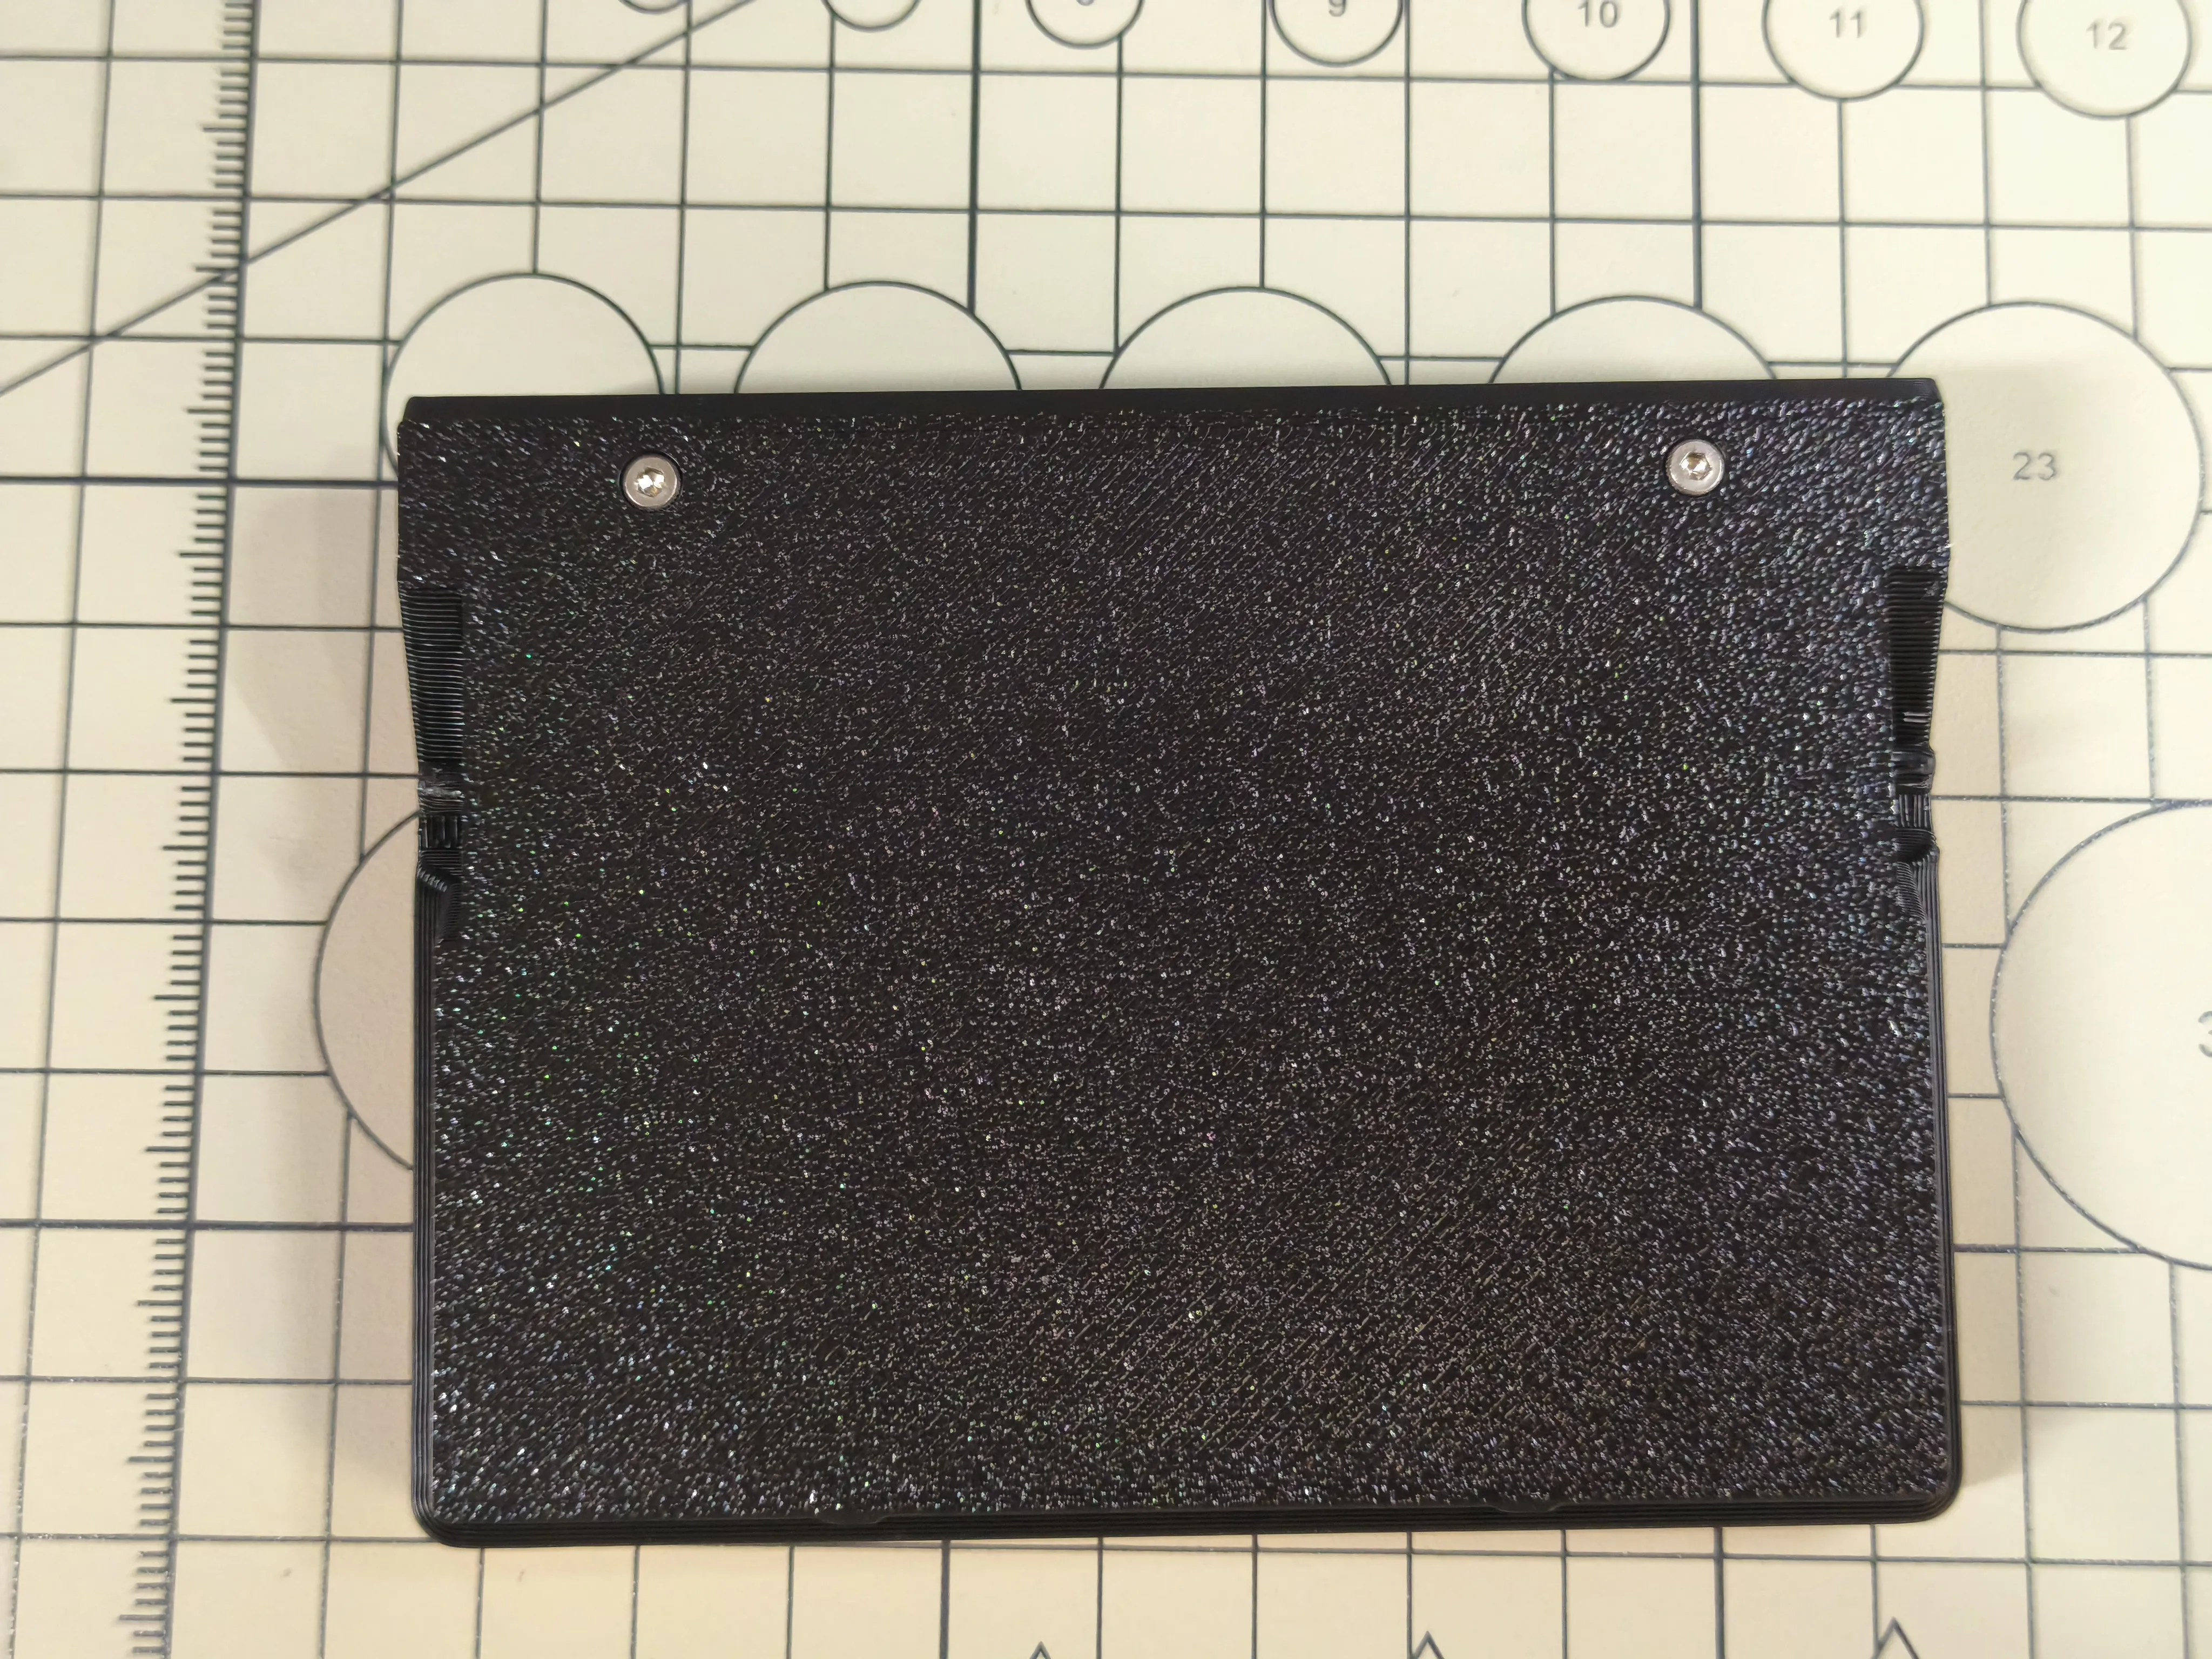
Install the 3D Printed Case D1 using 2 Hex Socket Flat Head Screws M2x4
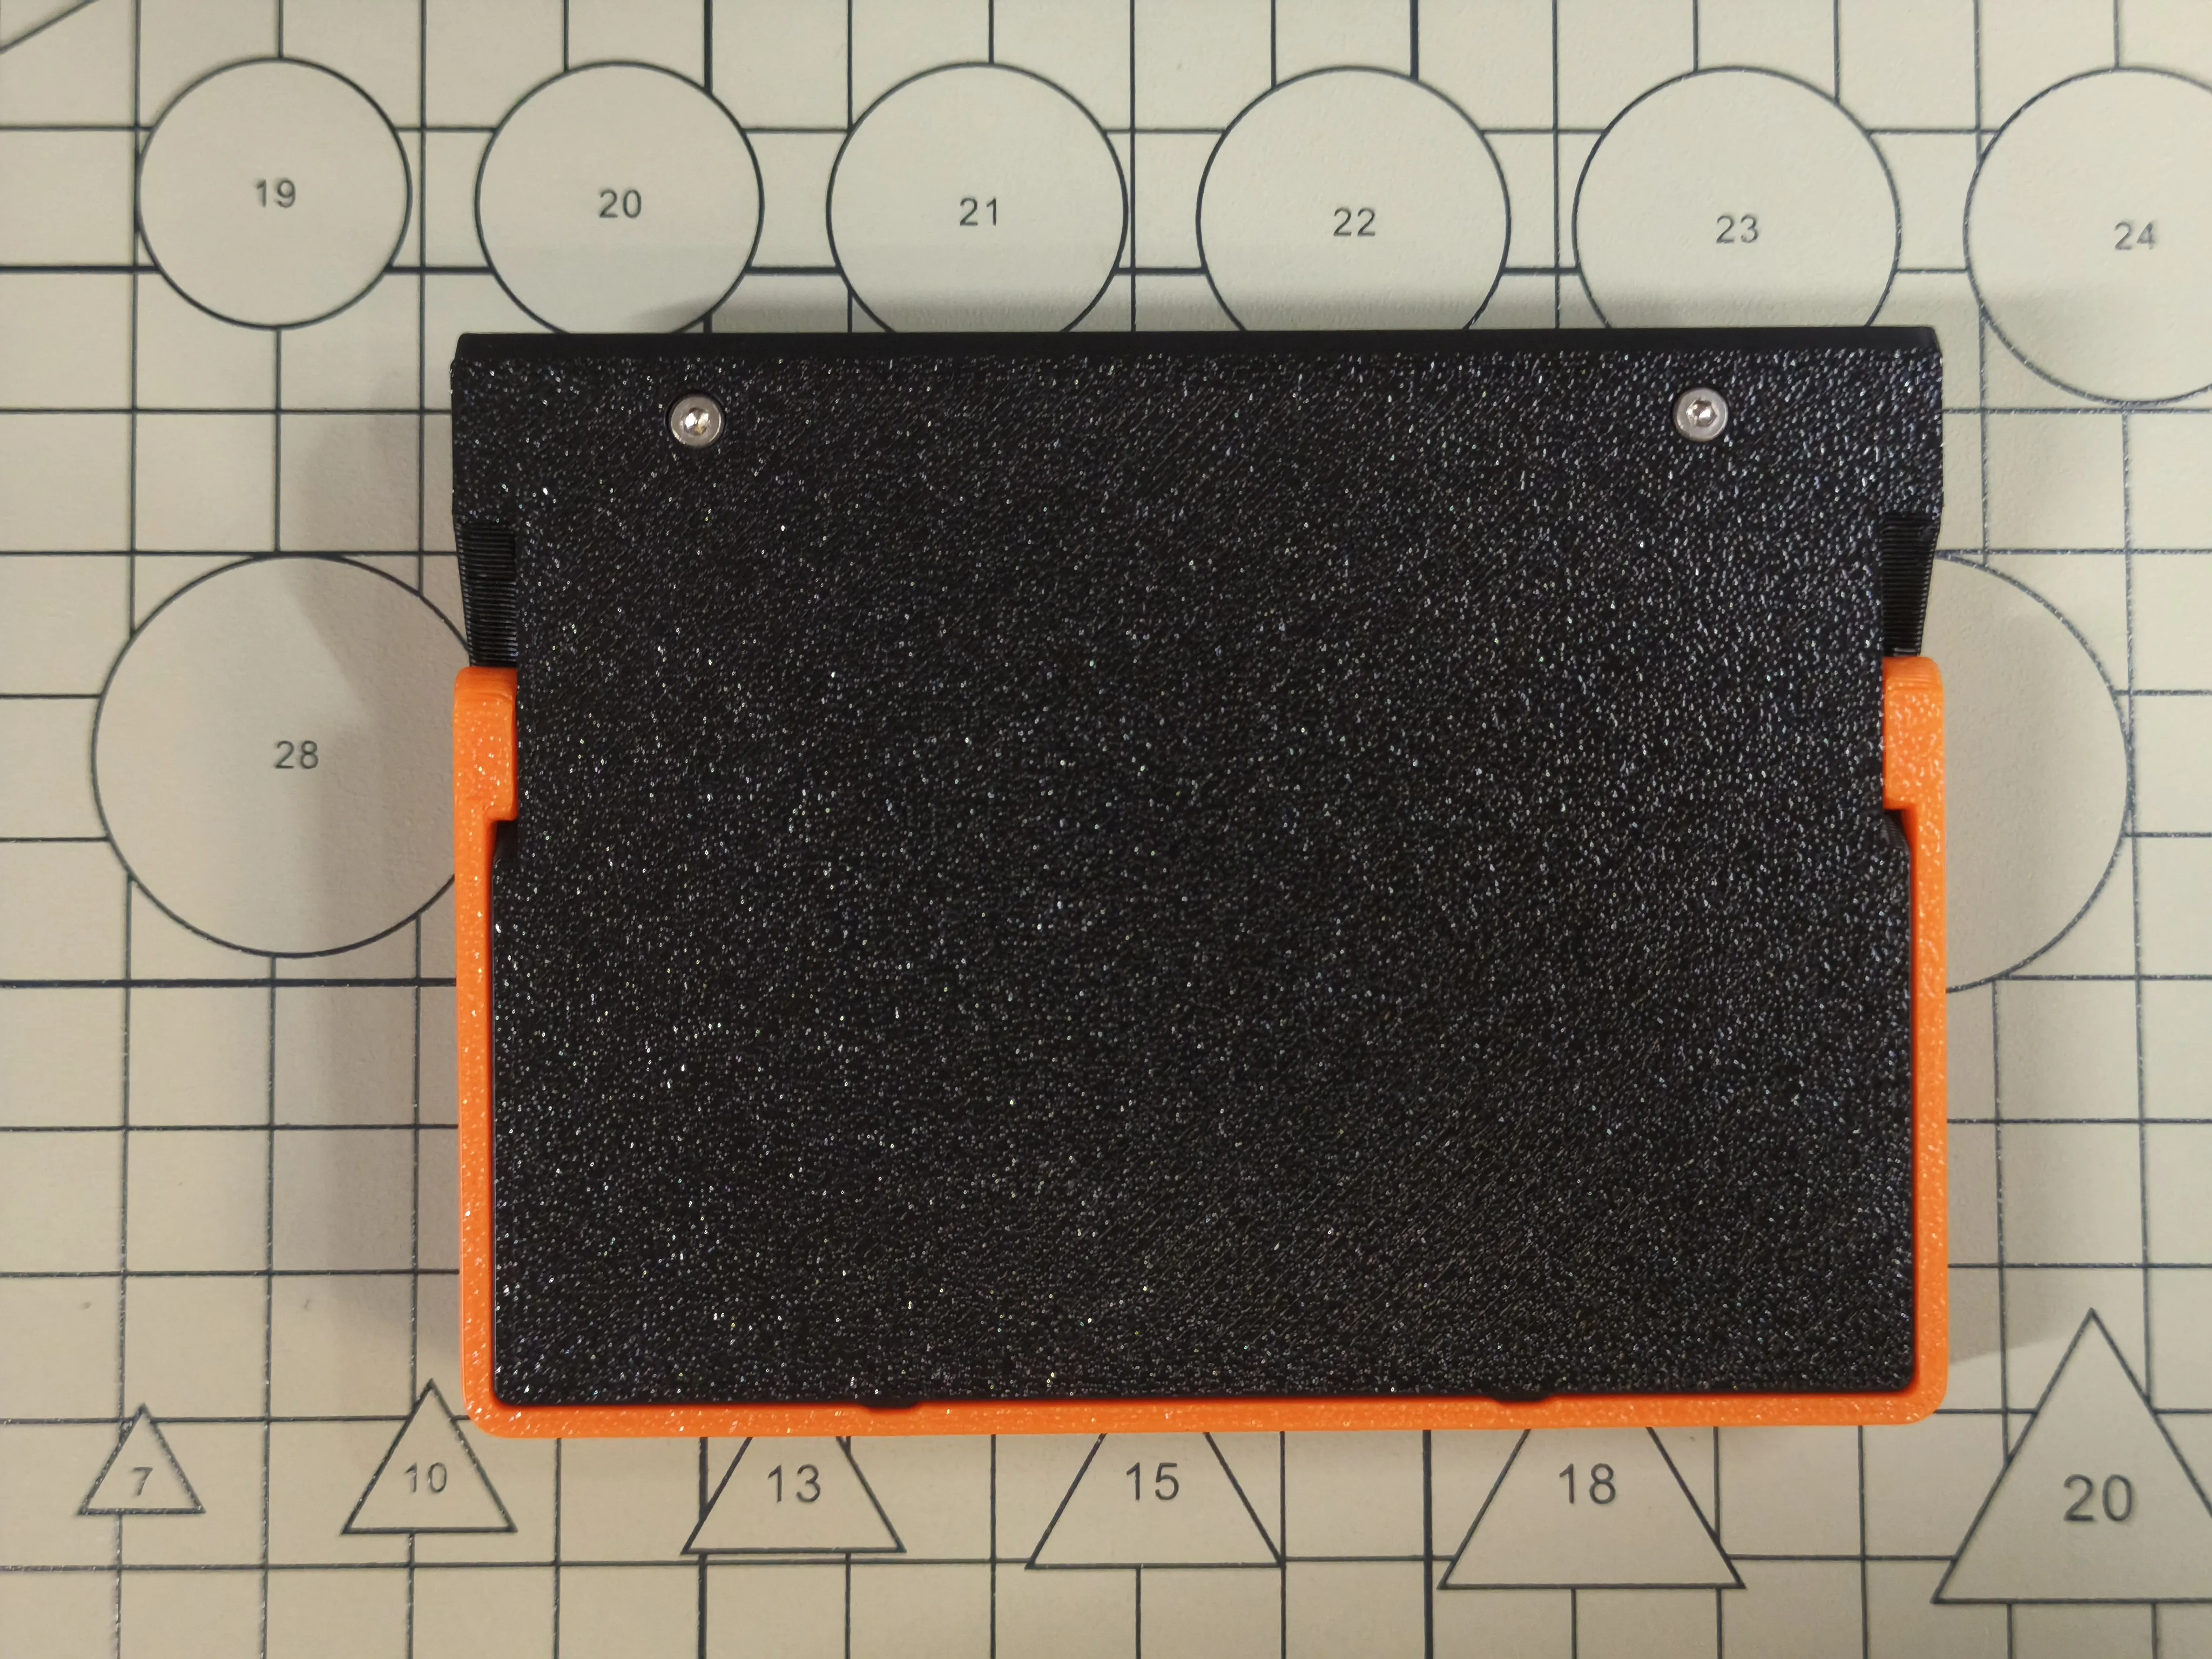
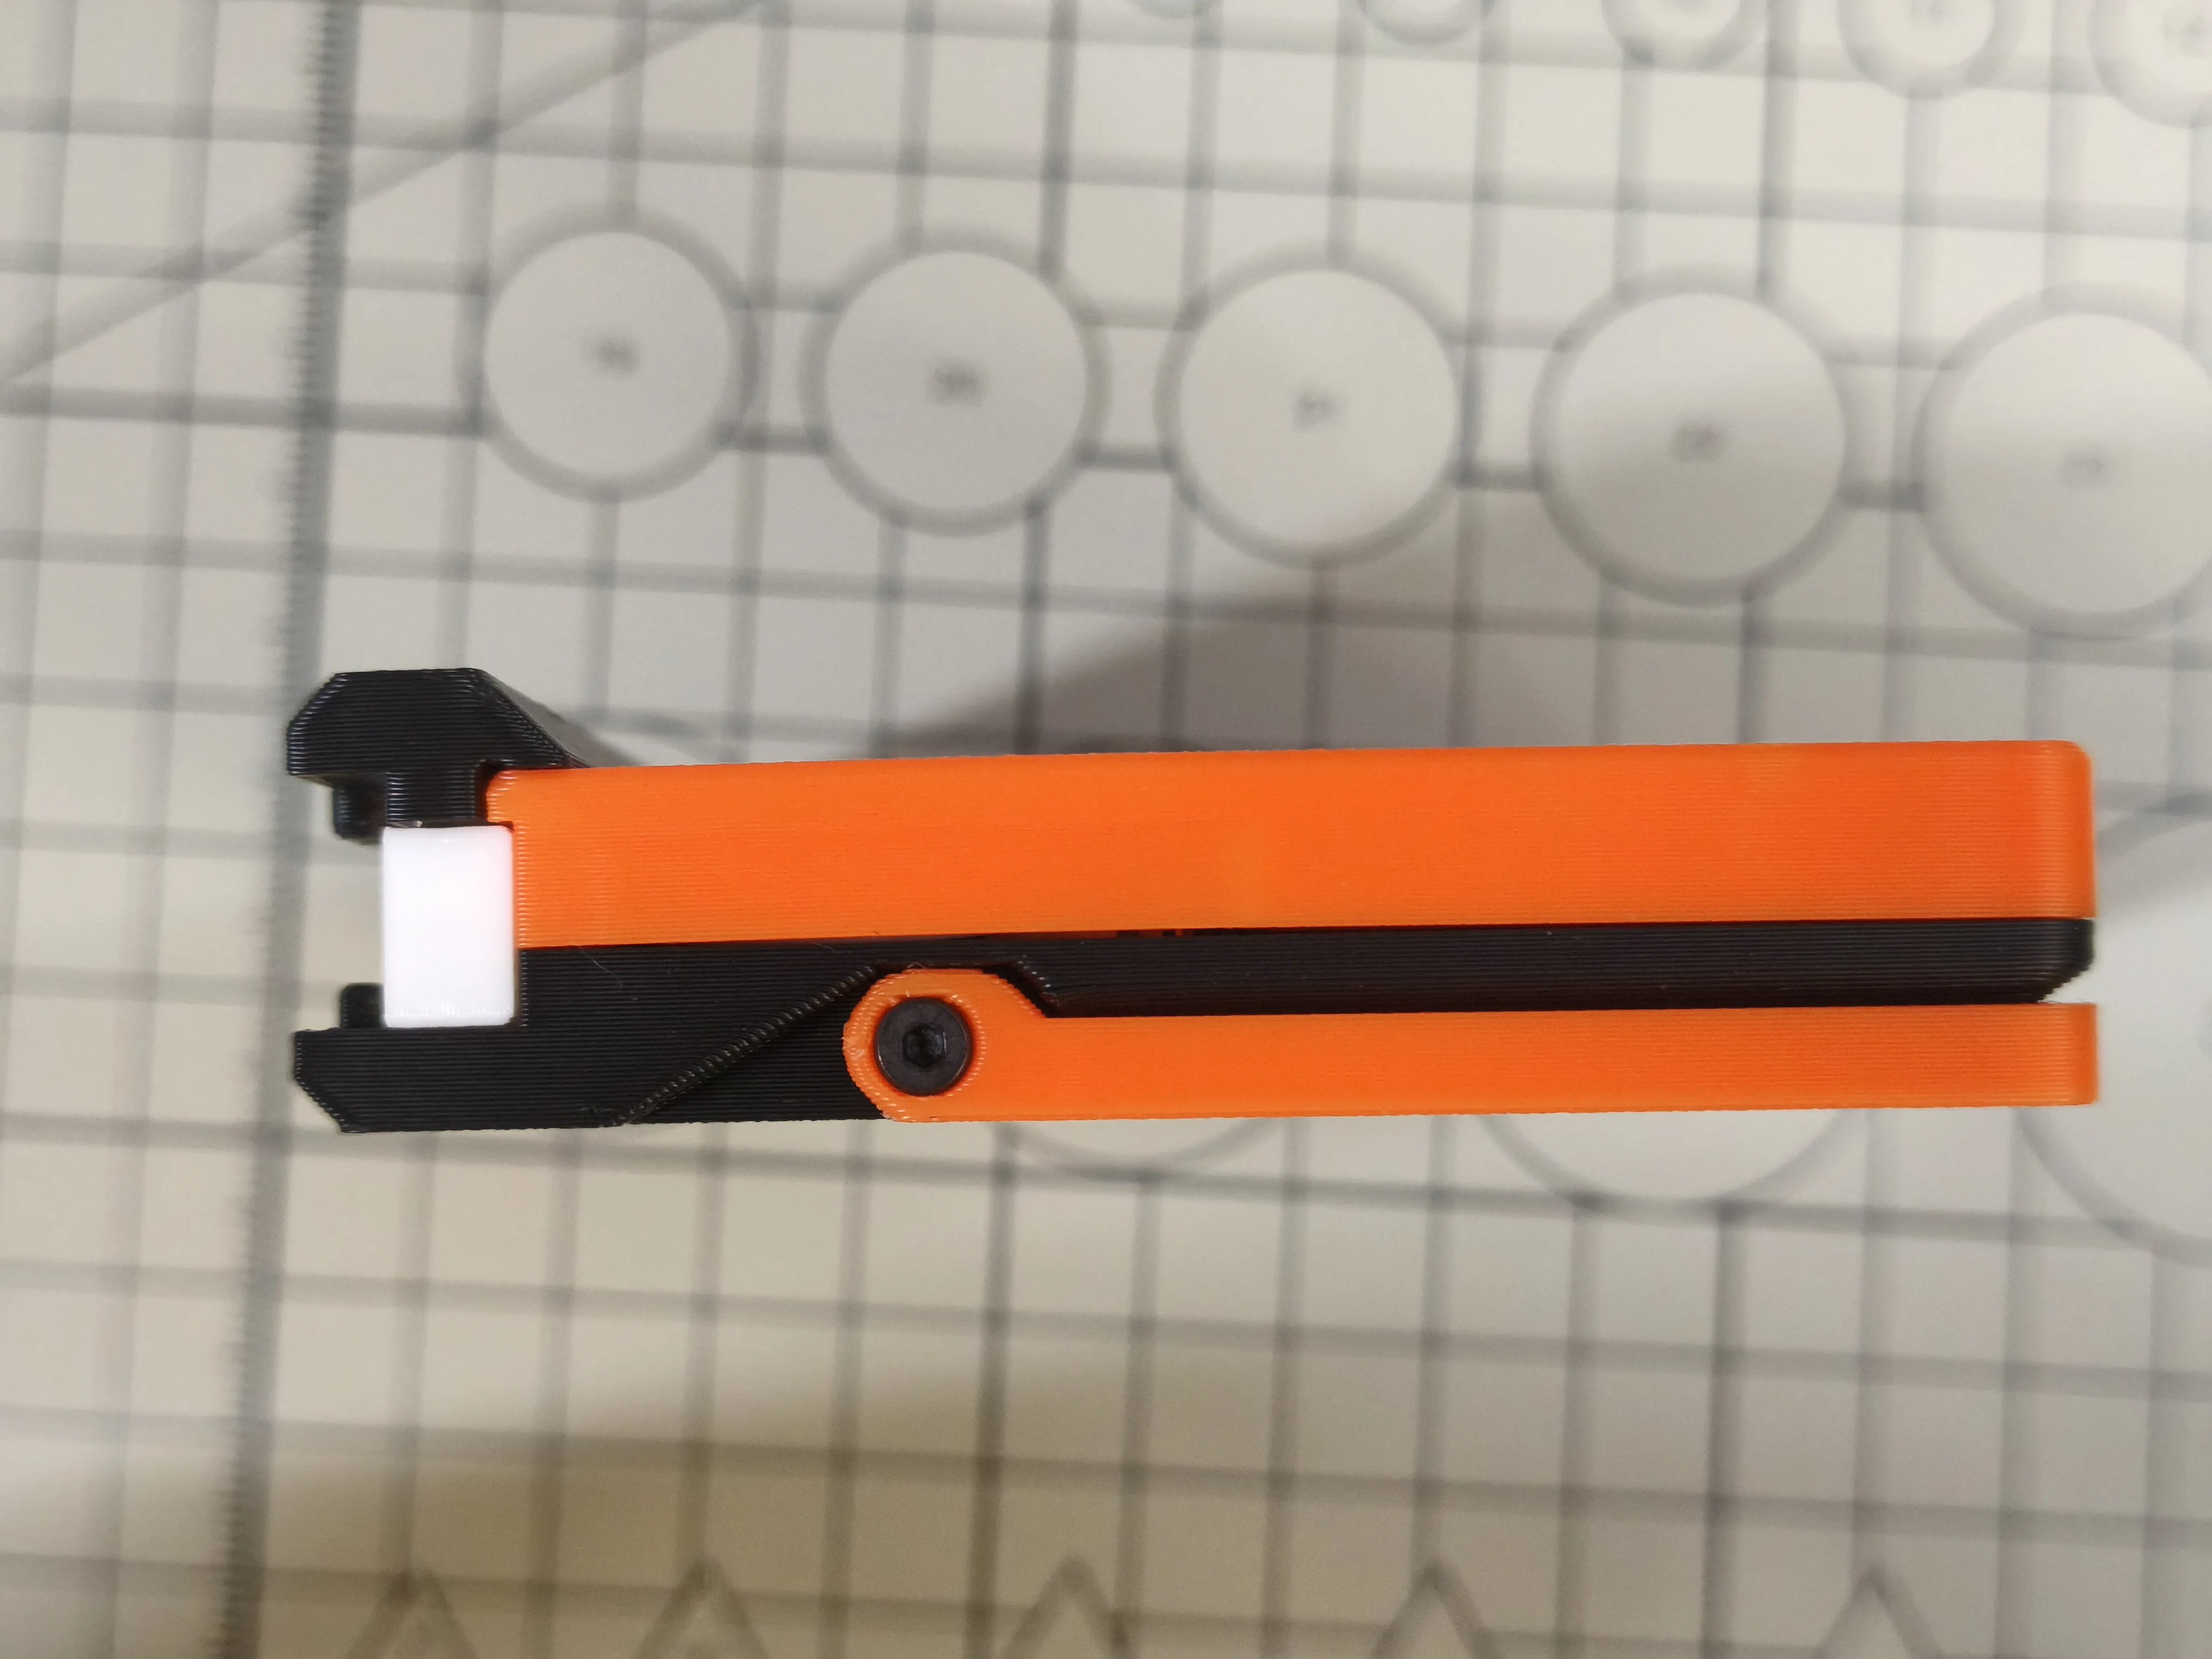
Assembly completed
Slide the SlideKB into the MeshSlide
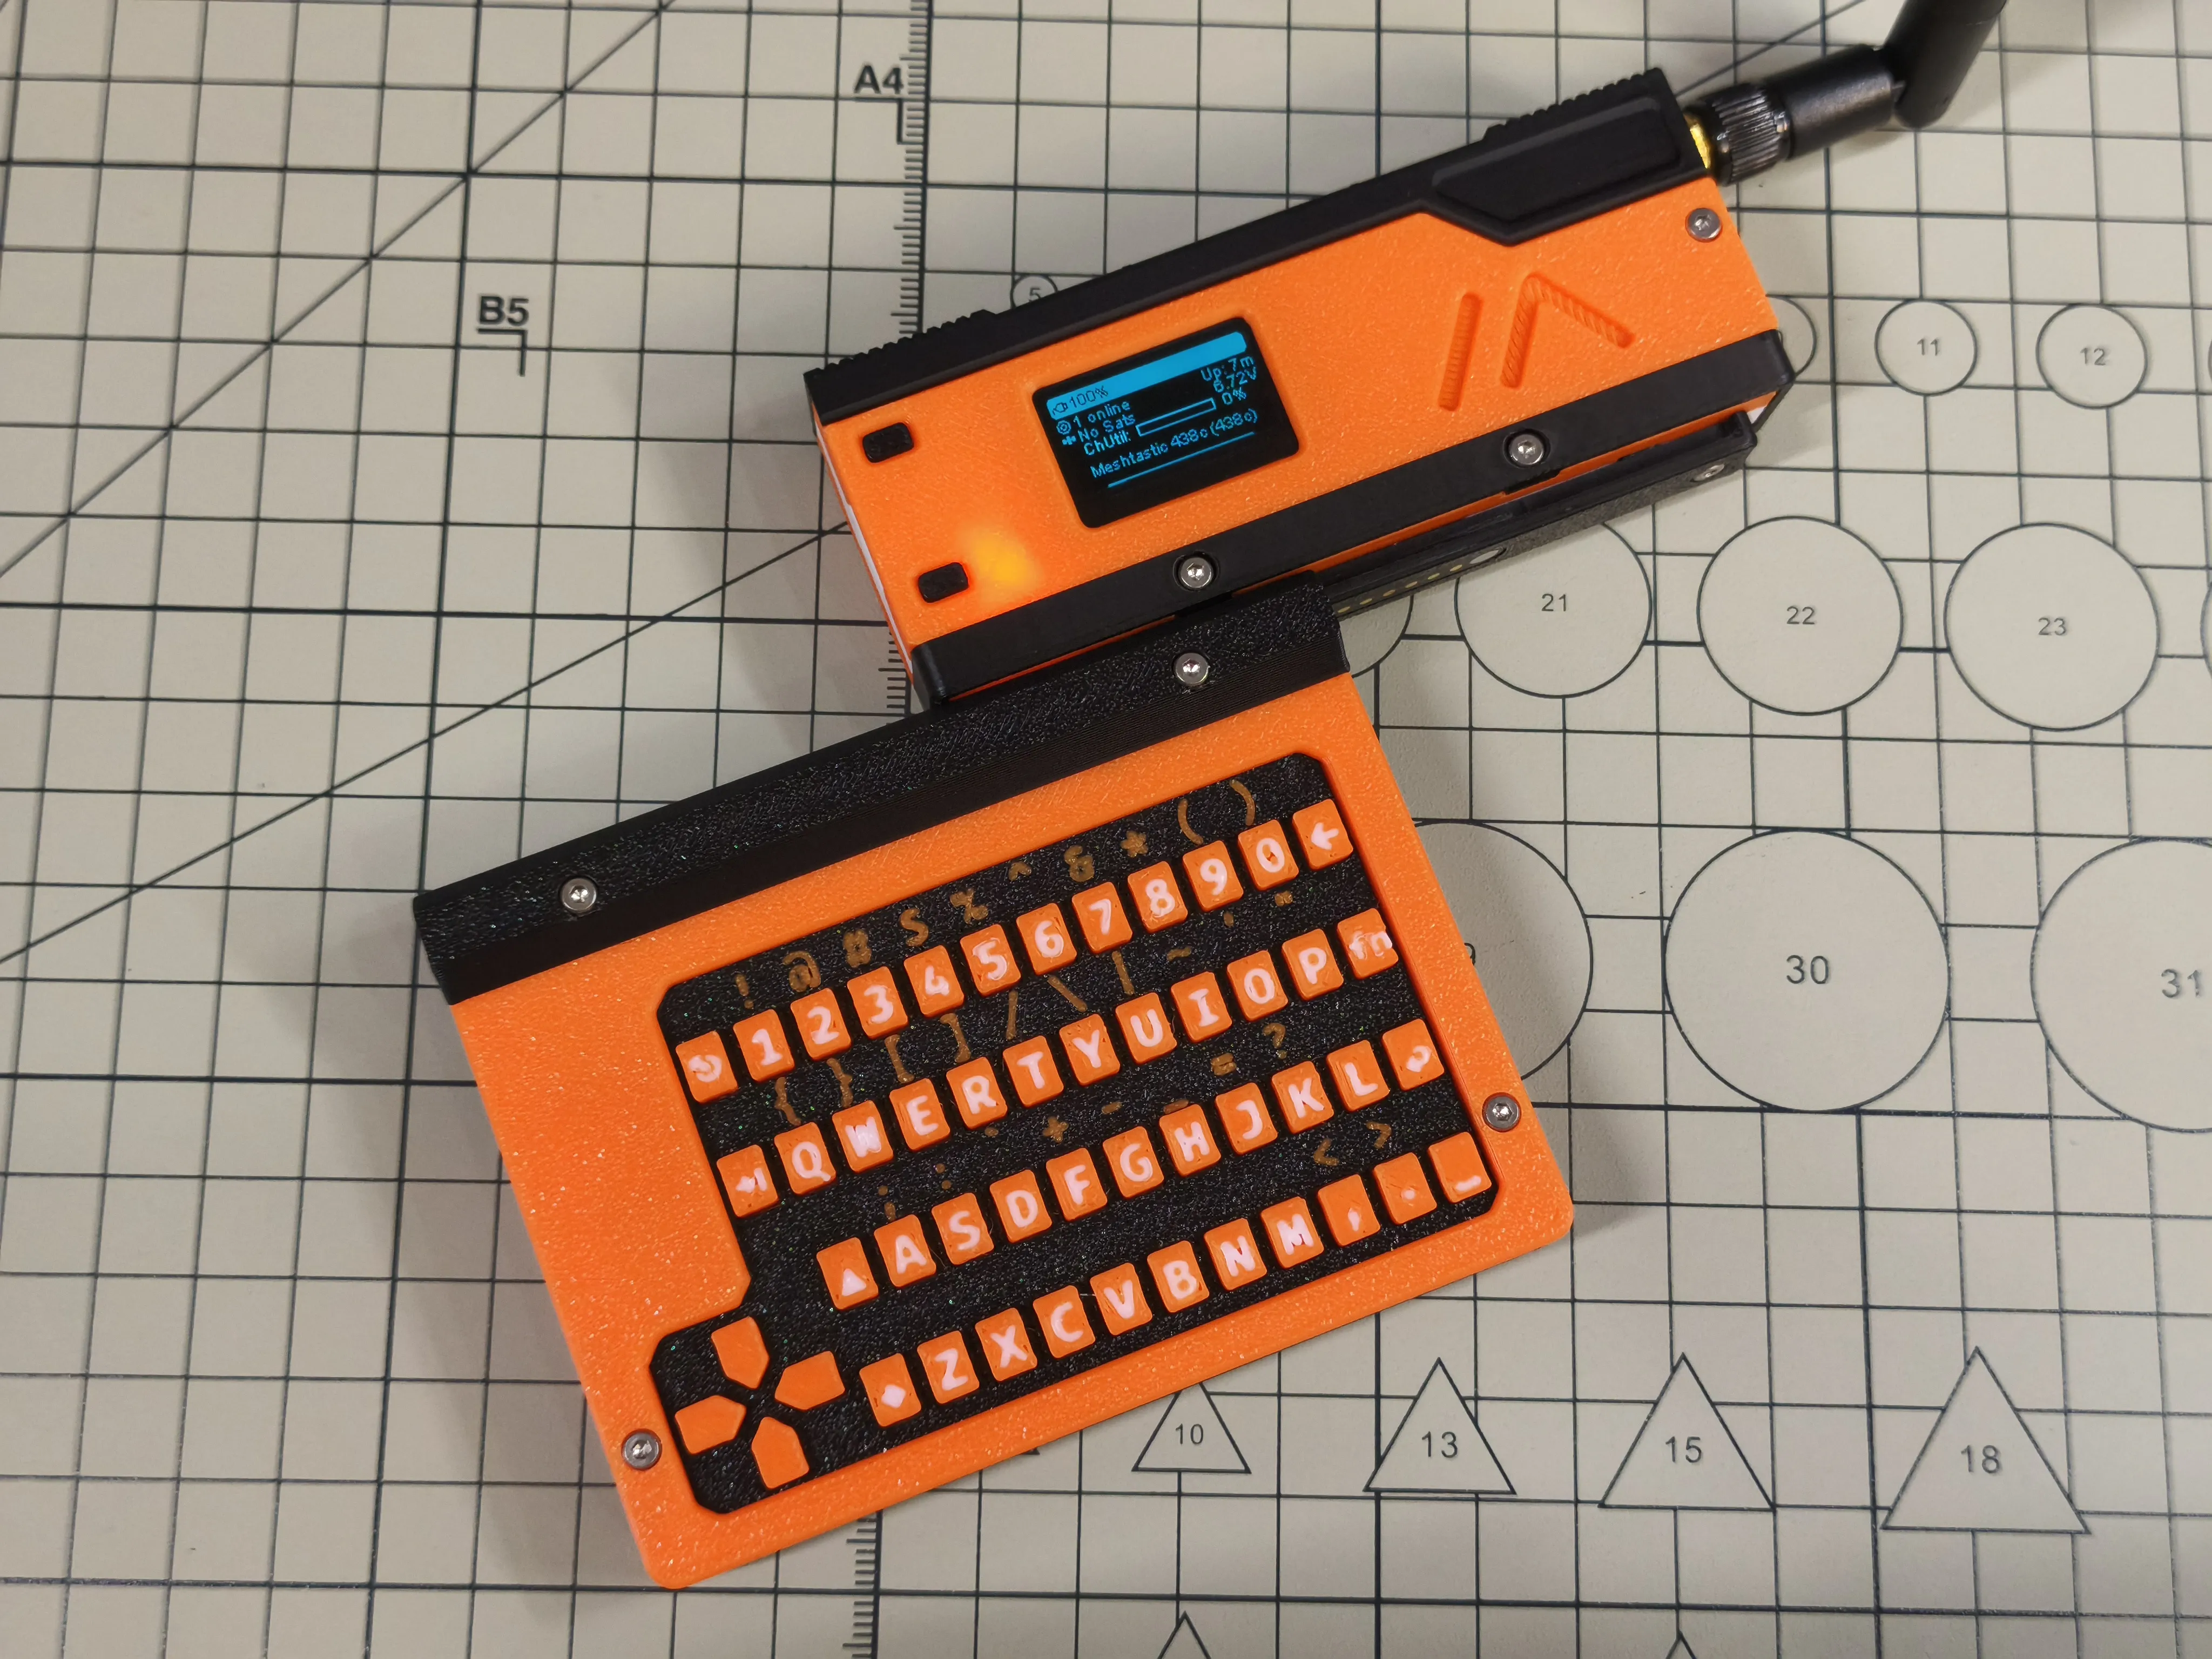
Unfold the stand
License



Comment & Rating (14)