
Booknook Sci-Fi
Print Profile(3)

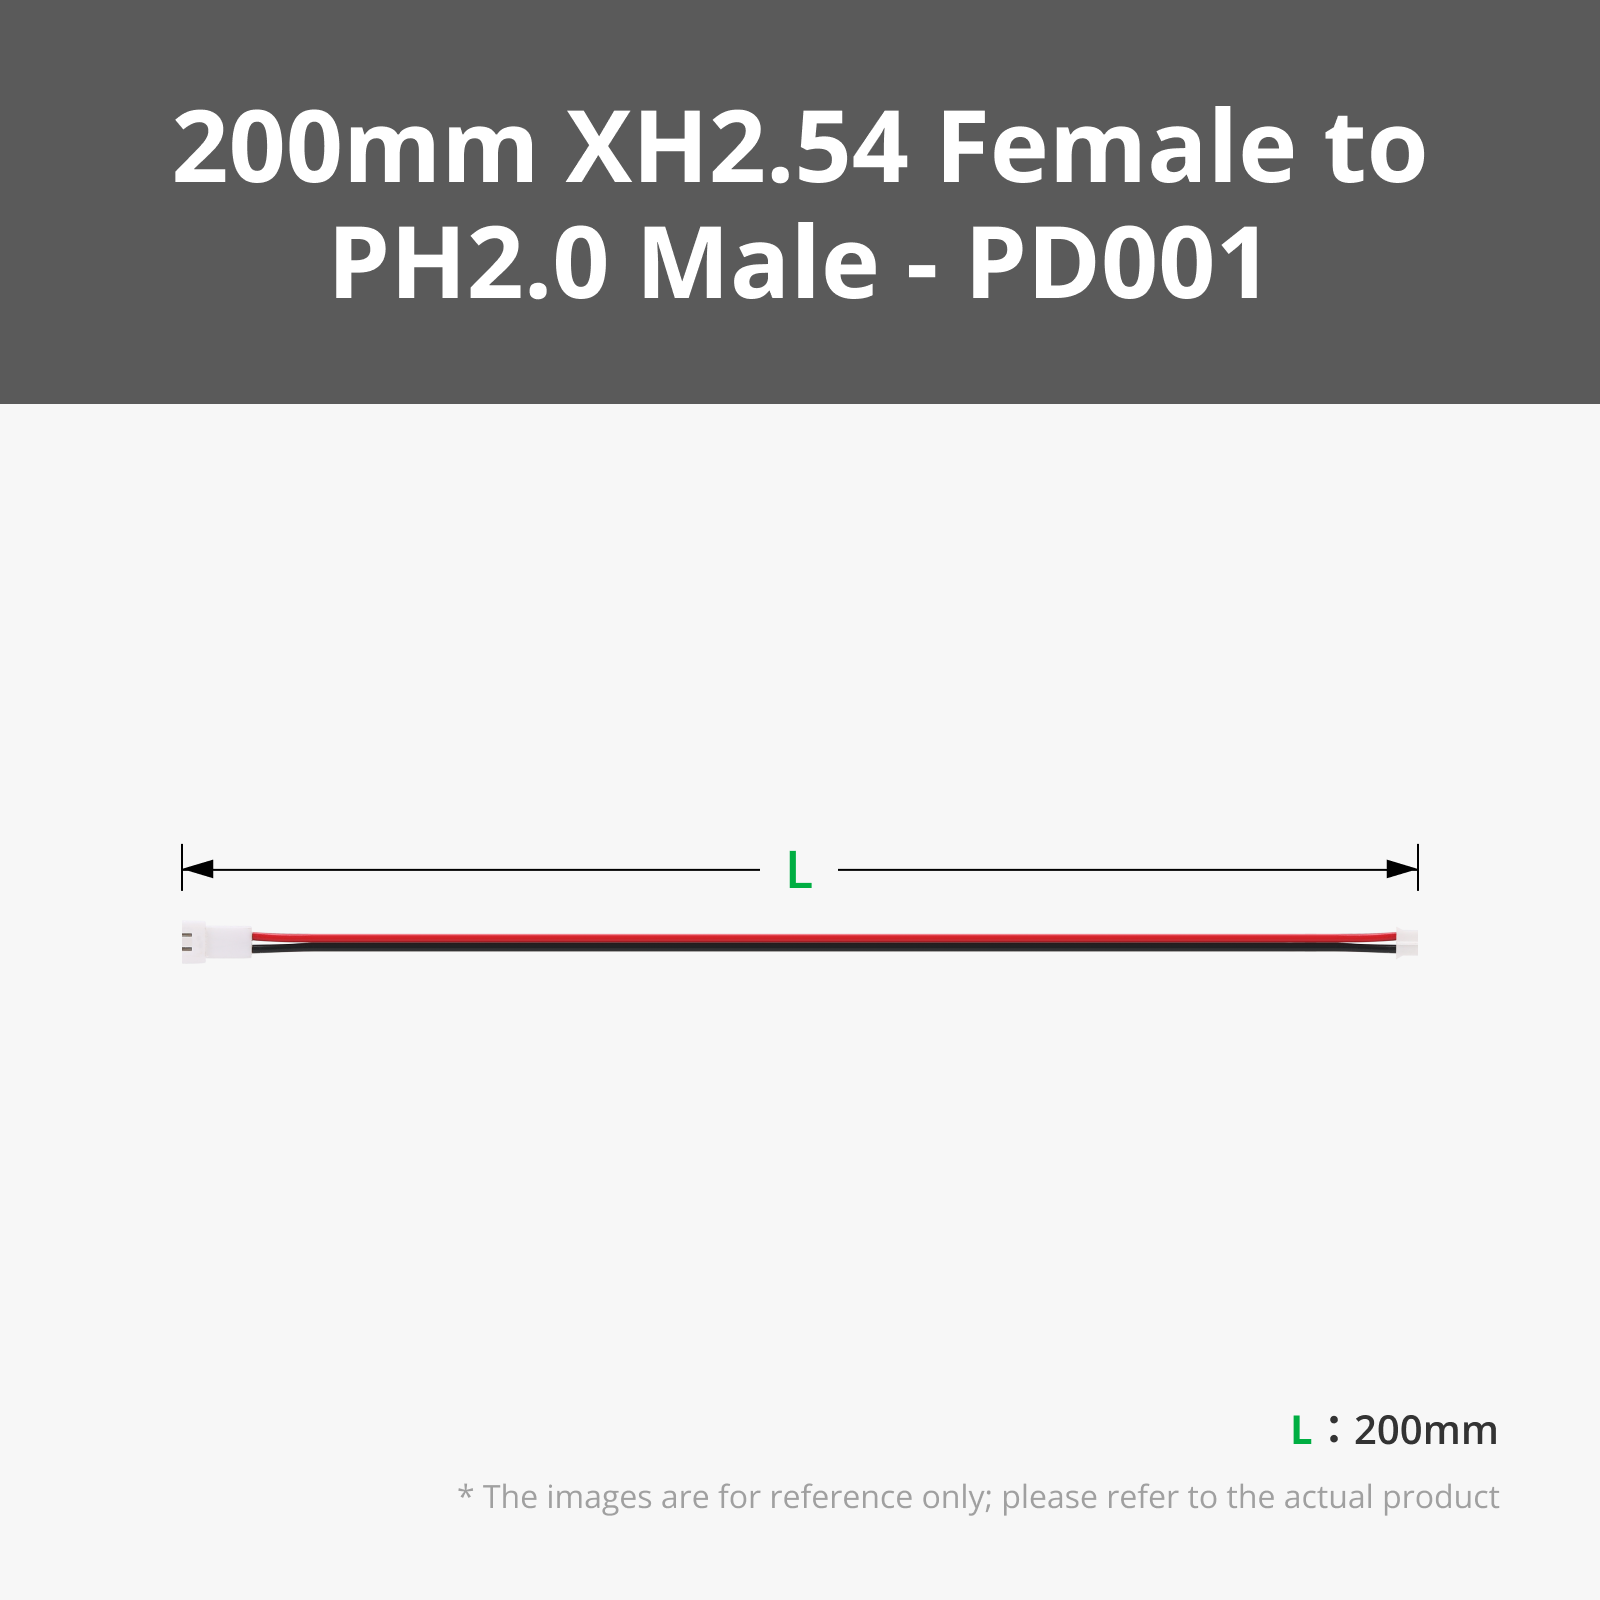
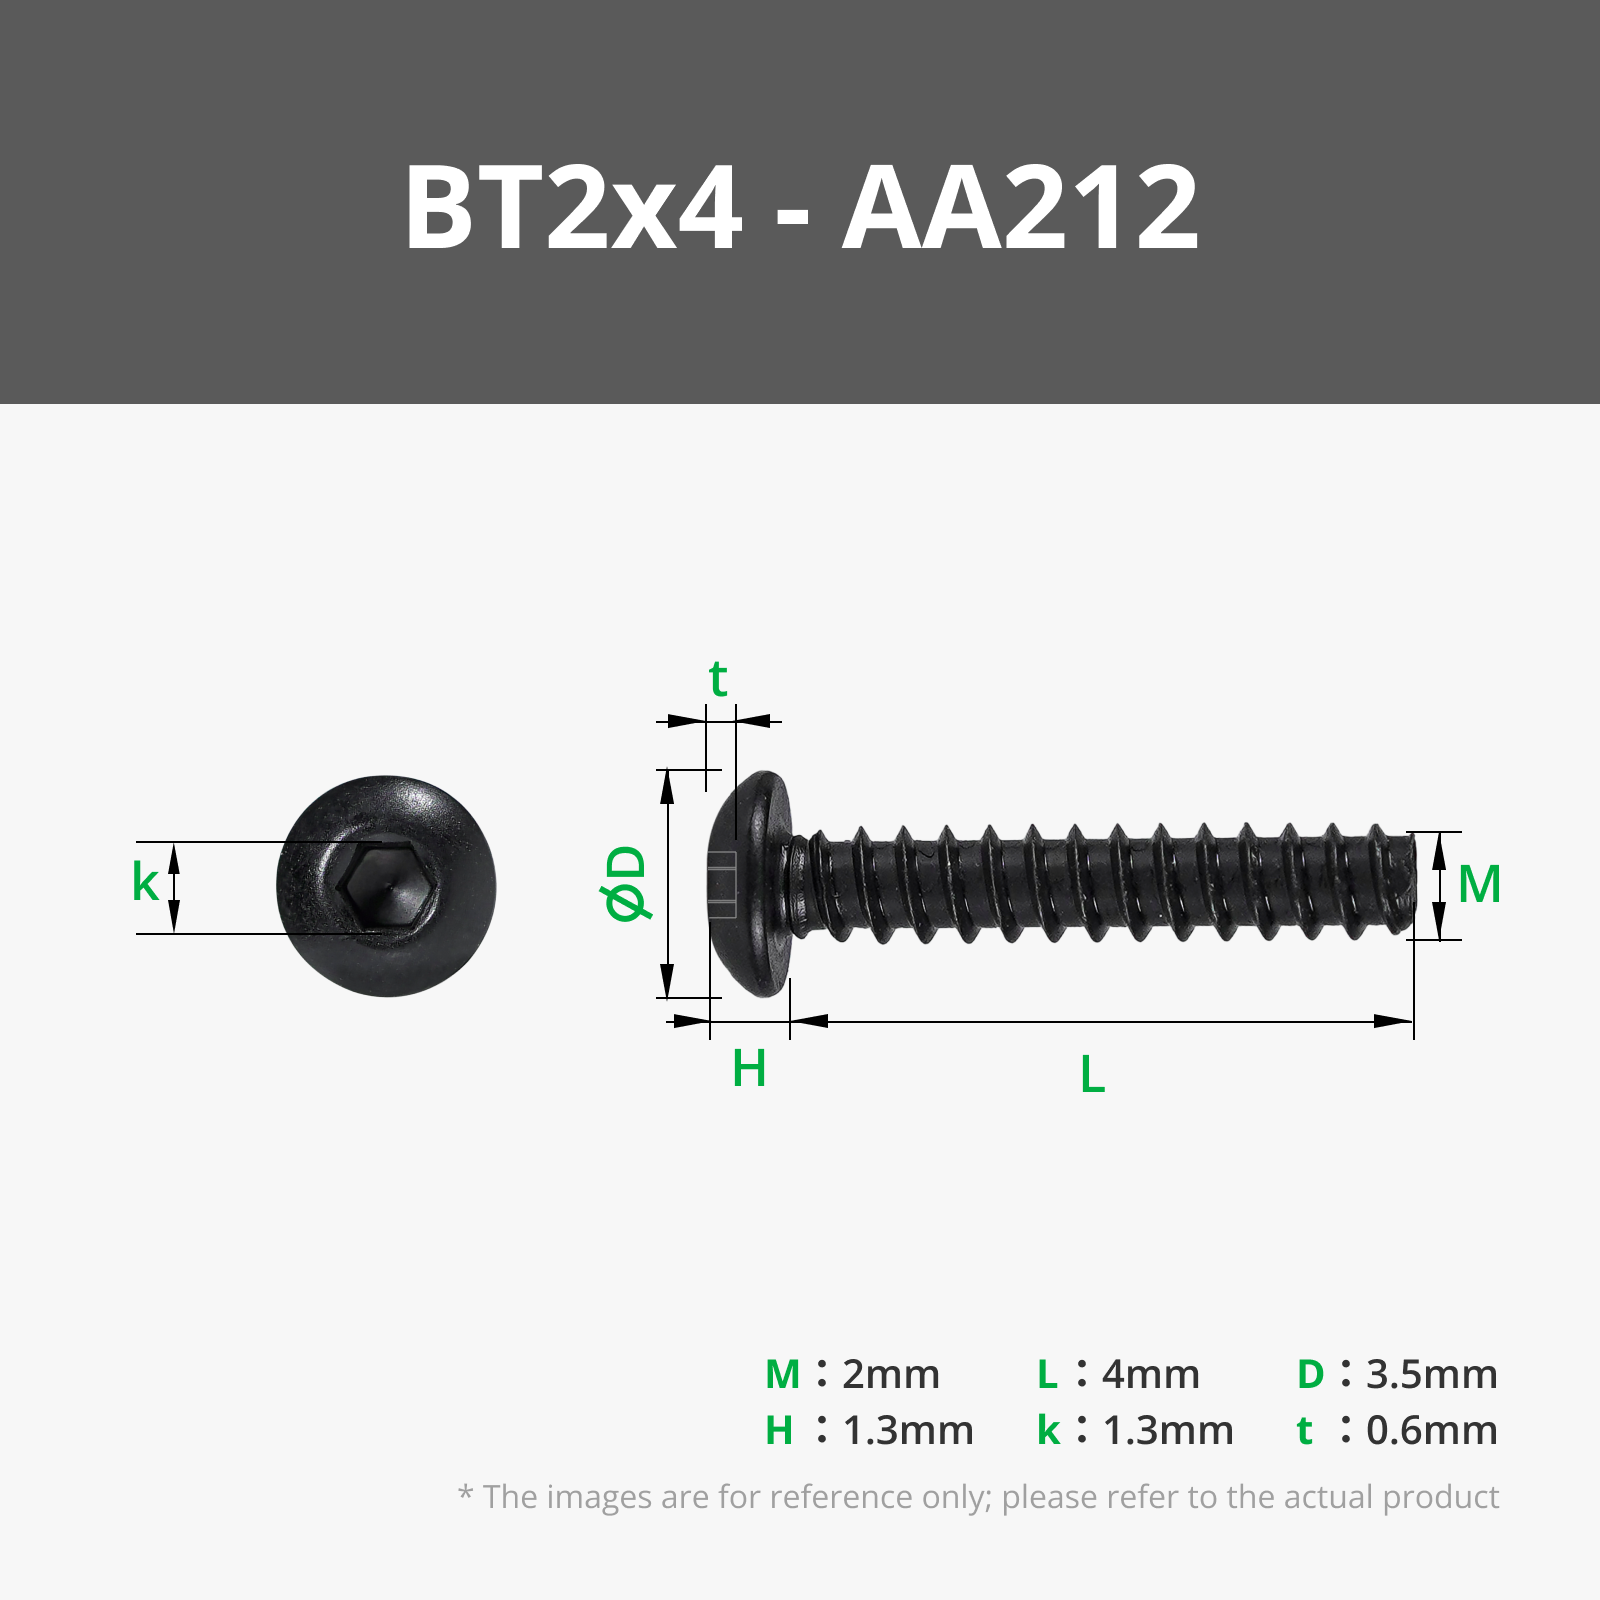
Bill of Materials




Description
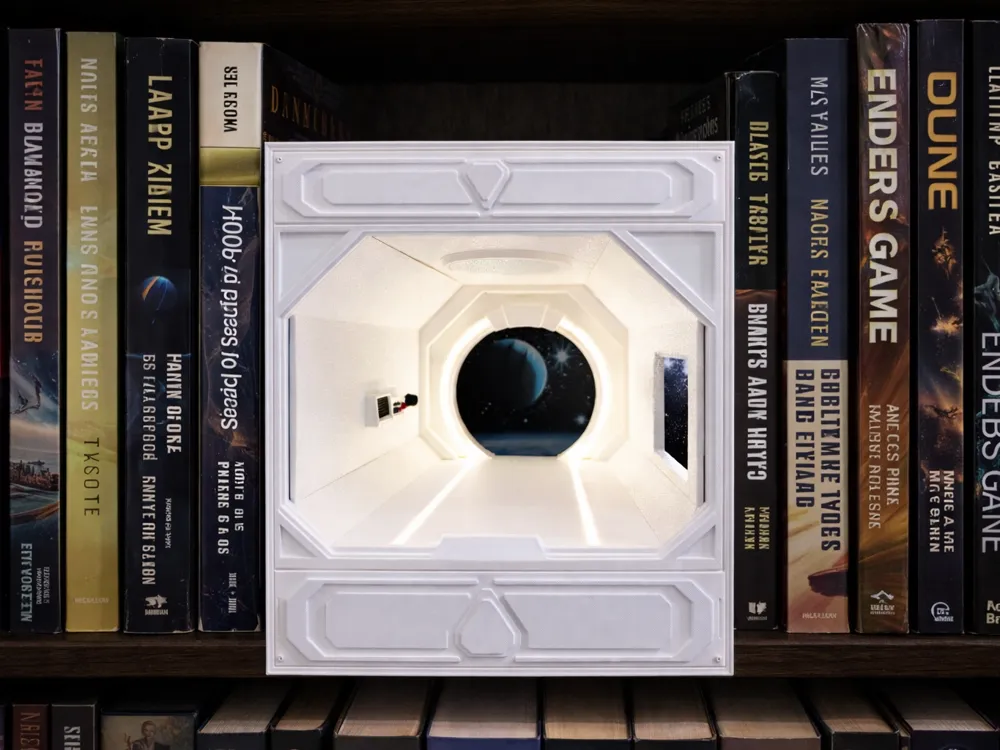
BOOKNOOK SCI-FI
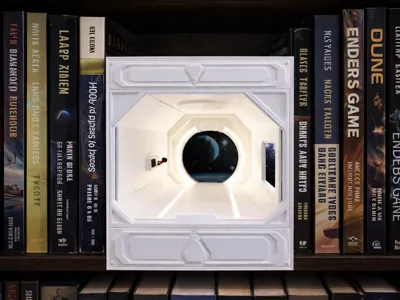
LUMINOUS SPACE CORRIDOR
Immerse yourself in the atmosphere of an orbiting spaceship
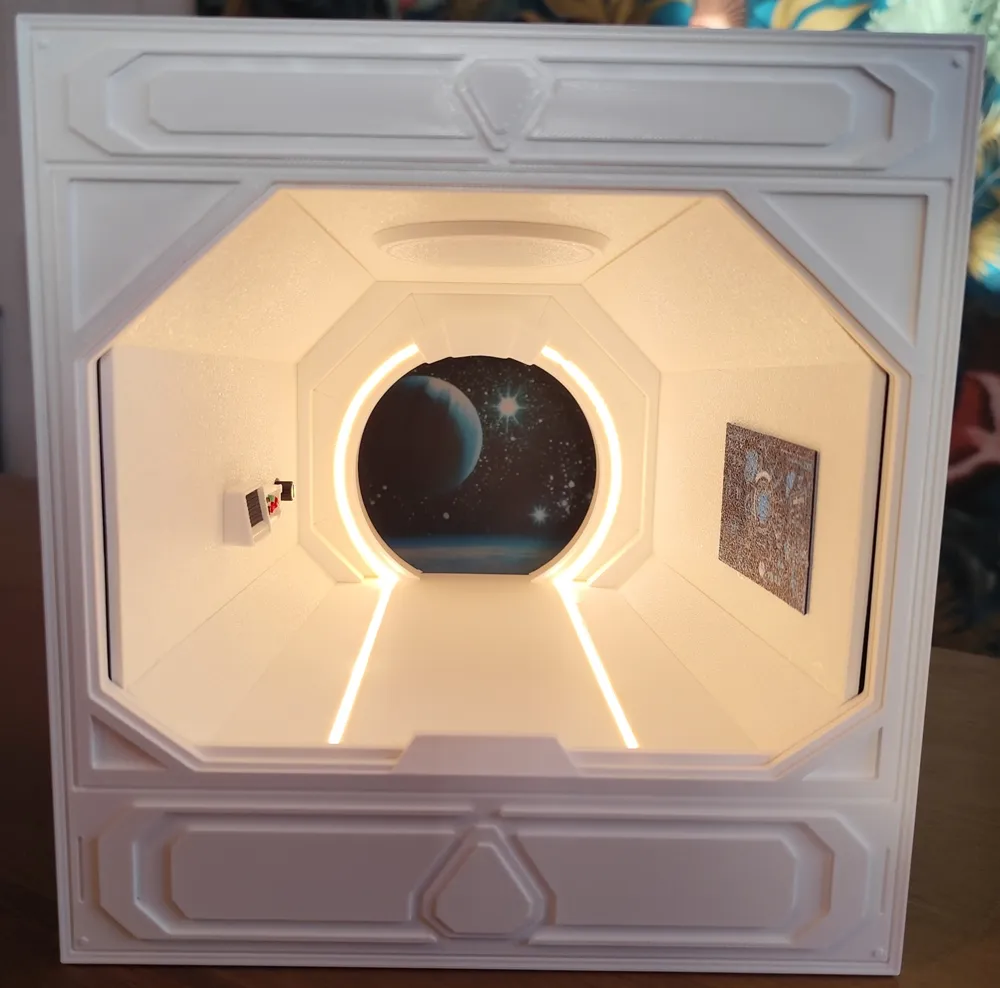
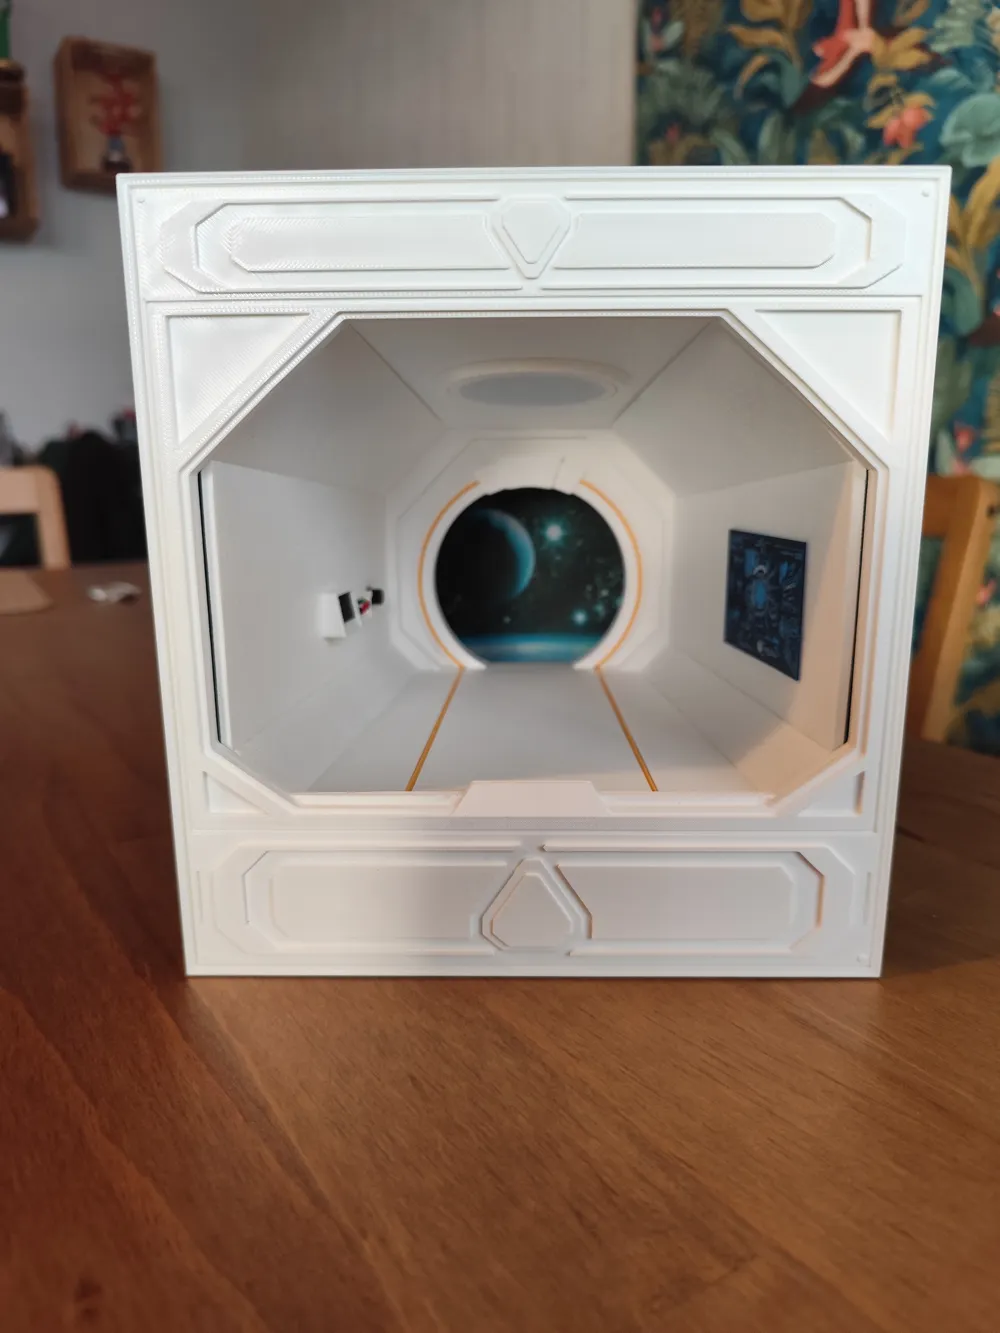
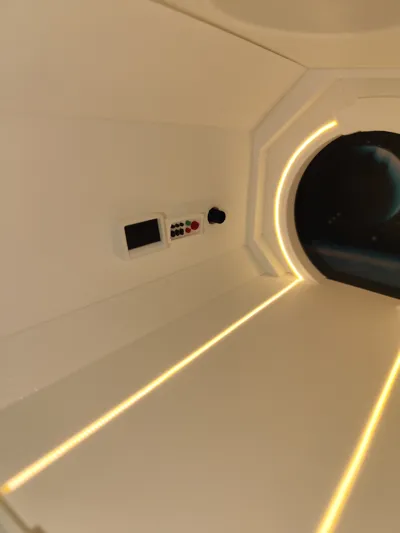
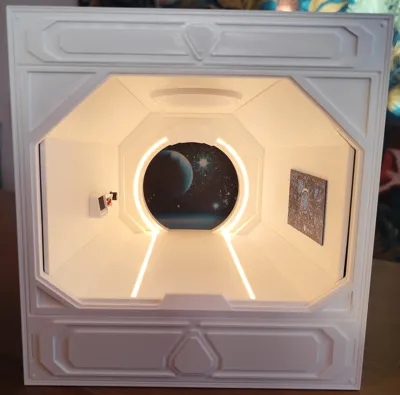
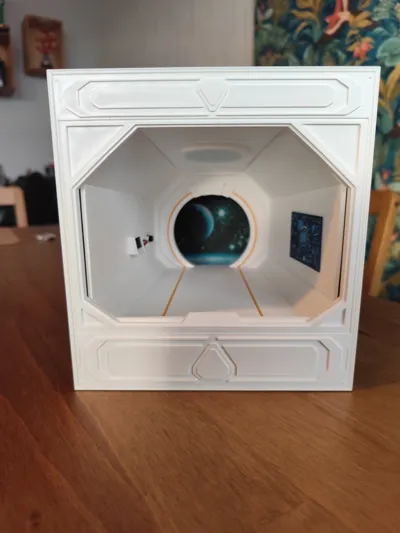
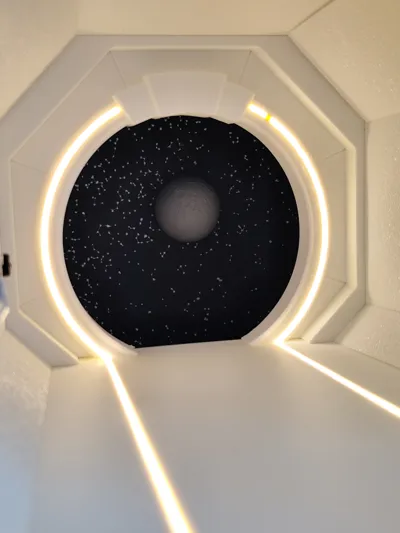
This 3D model is designed to be an immersive booknook, combining a diorama and a bookend
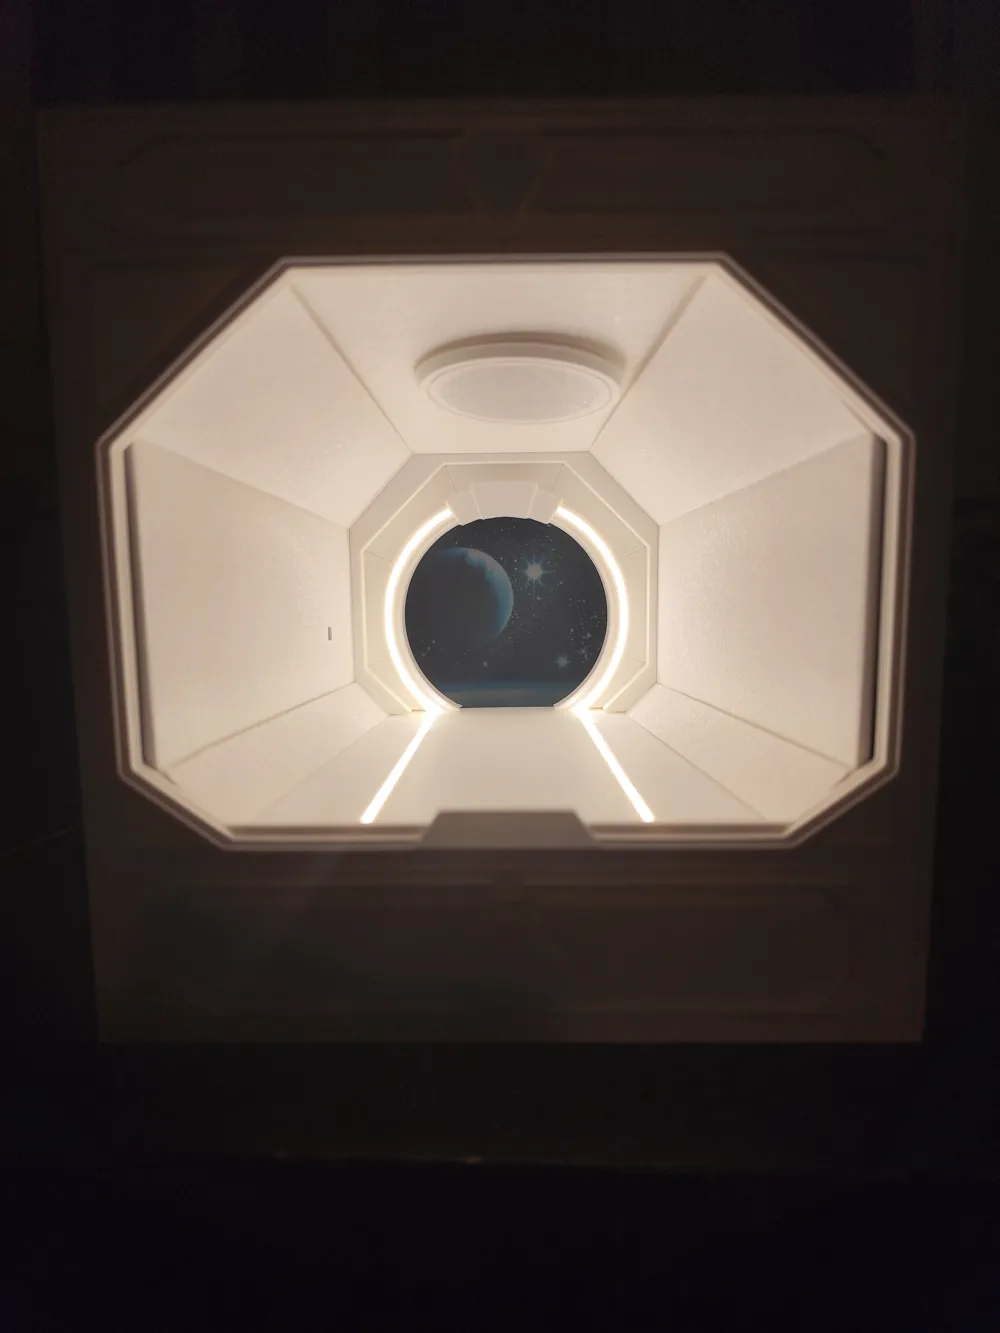
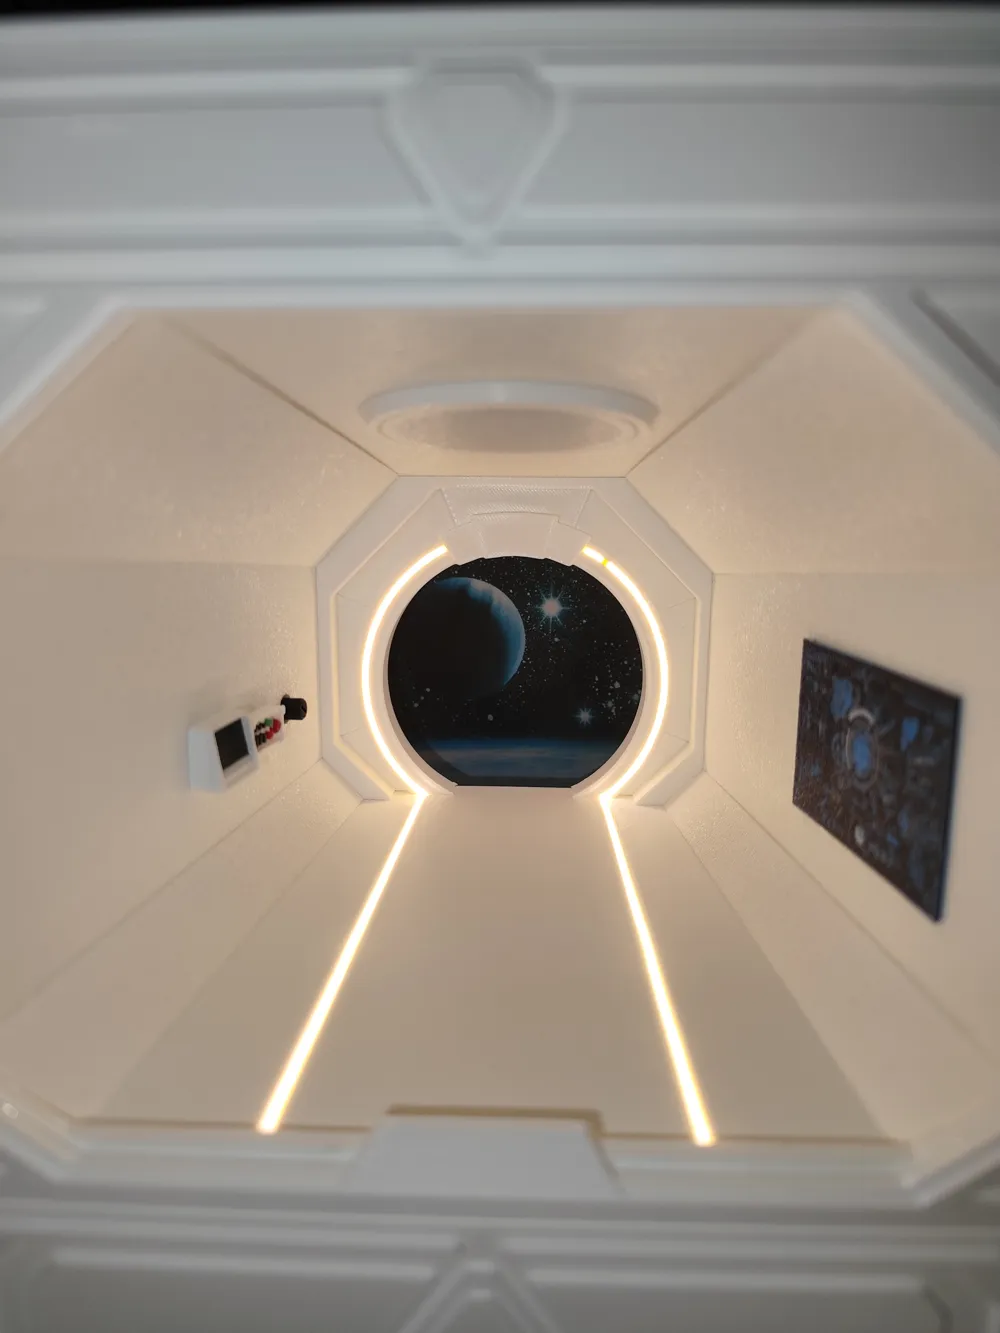
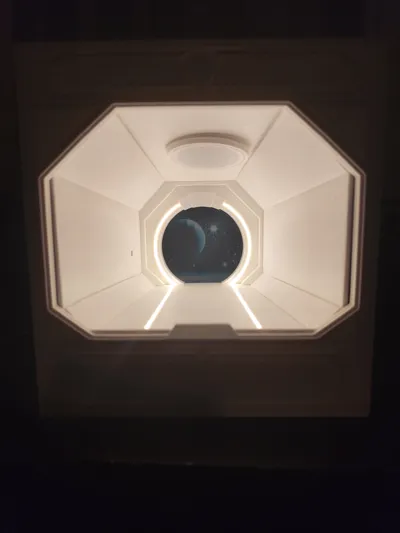
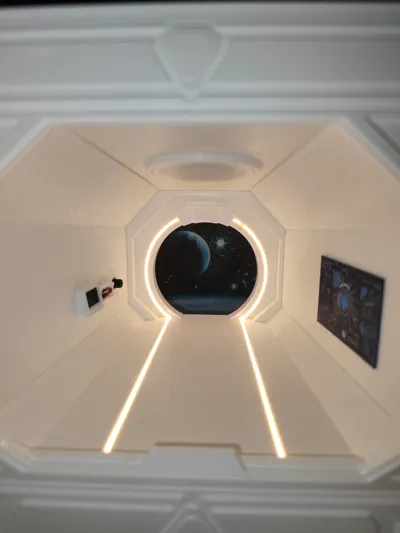
The circular opening acts like a porthole and reinforces the illusion of perspective, and the integrated lighting enhances this effect for a cinematic atmosphere
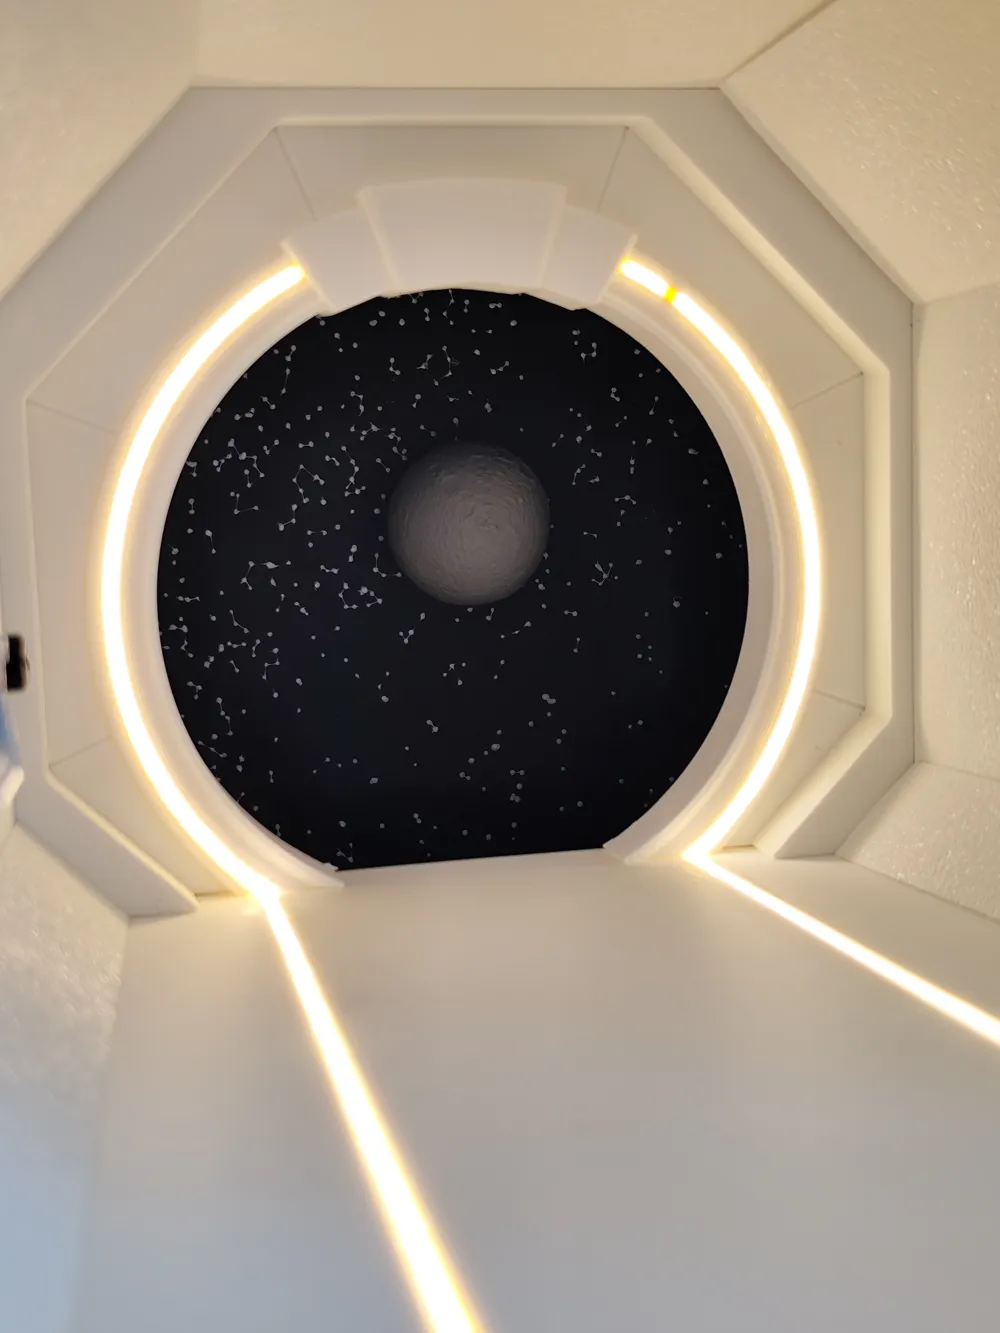
Add the background of your choice to change the ambiance as you wish (I have provided the background photo as a downloadable and printable document)
This model includes 3 print profiles:
-The first includes the entire bookend
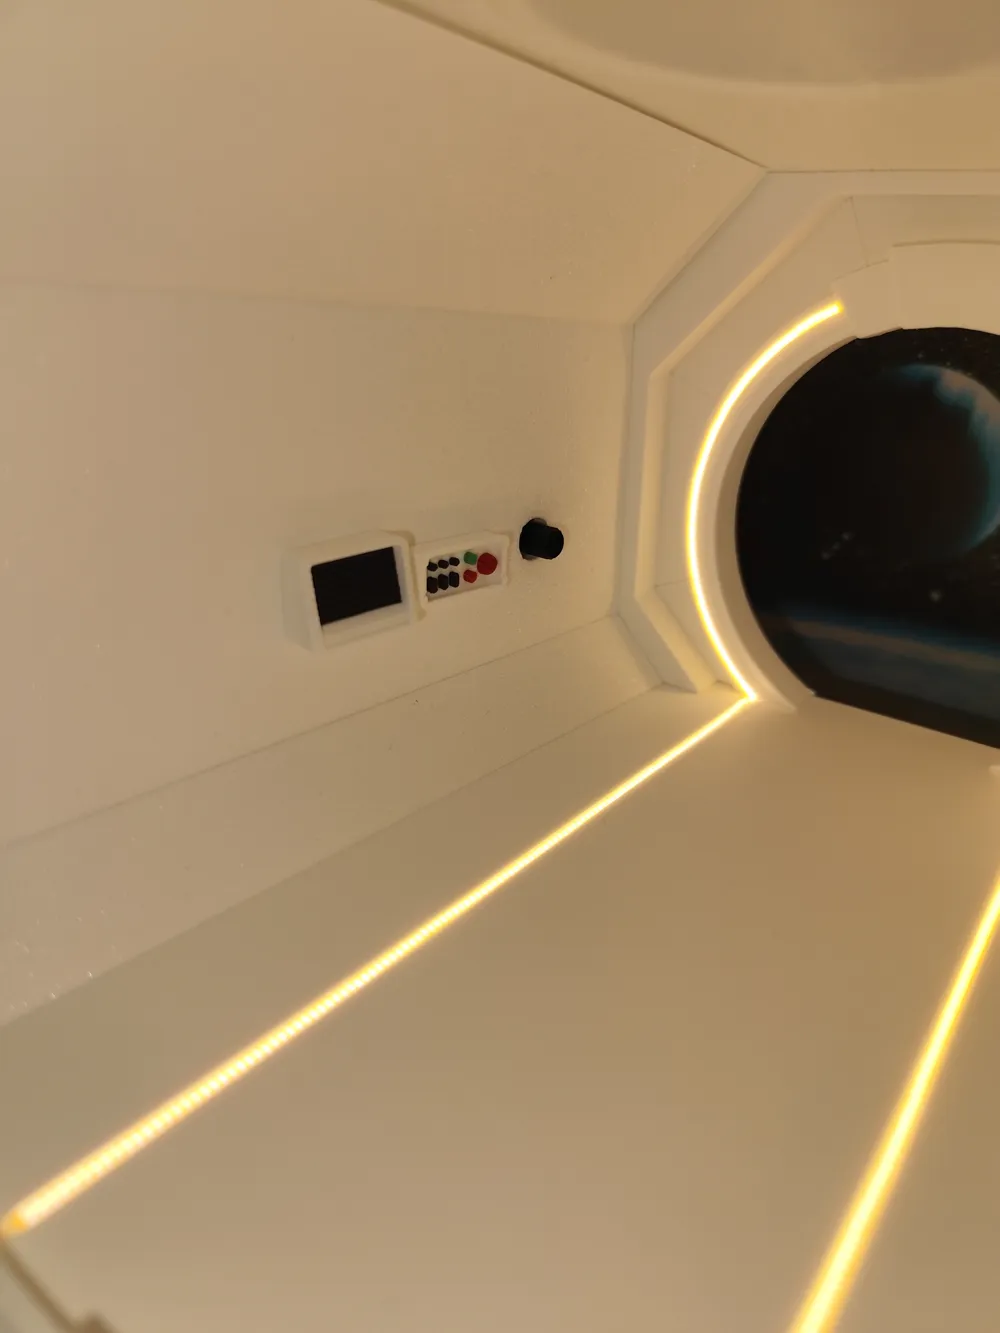
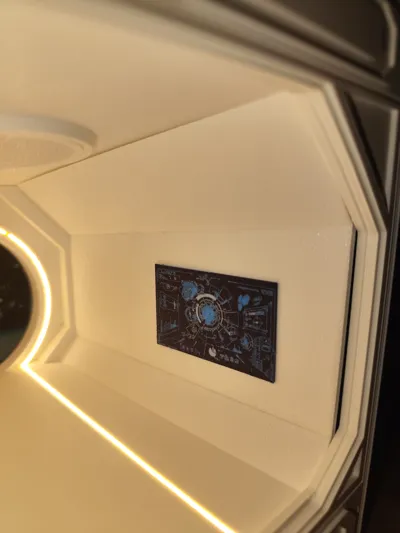
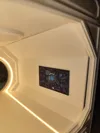
-The second profile only includes “the control panel” (because it is printed with a 0.2mm nozzle)
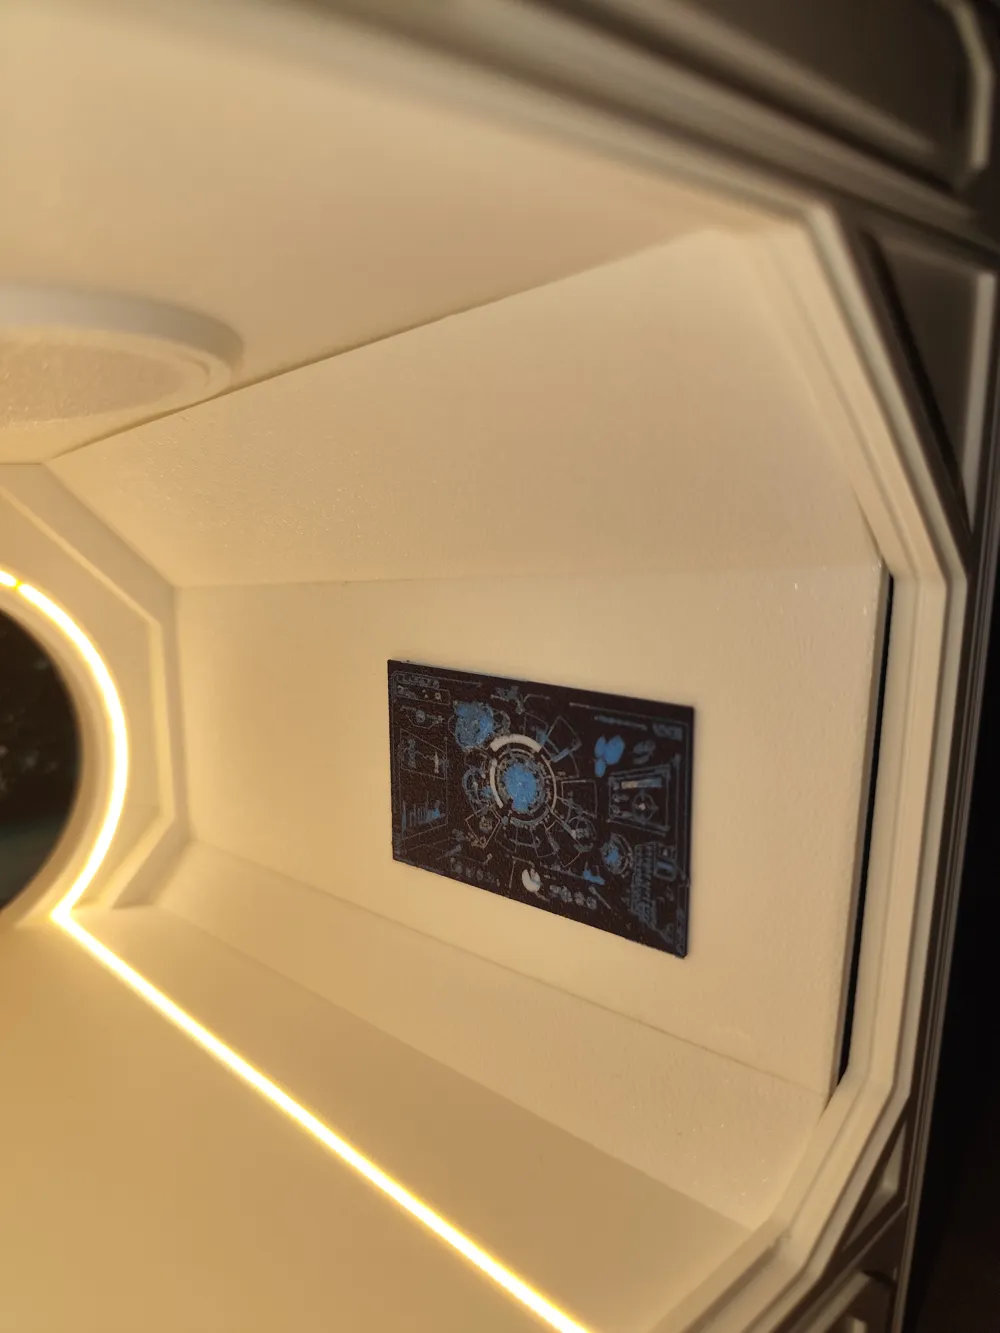
-The third is a Hueforge background as shown in the photo of the last print profile (you just need to slice, the layer heights are already set)
ASSEMBLY
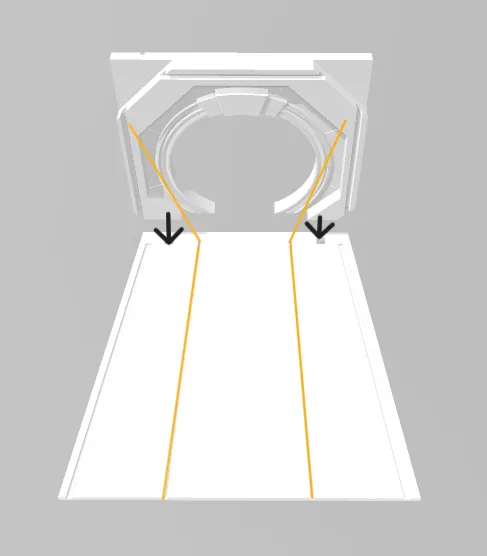
INSERT THE LEDS BEFORE ASSEMBLY (IN YELLOW ON THE SKETCH) AND THEN ASSEMBLE THE PORTHOLE
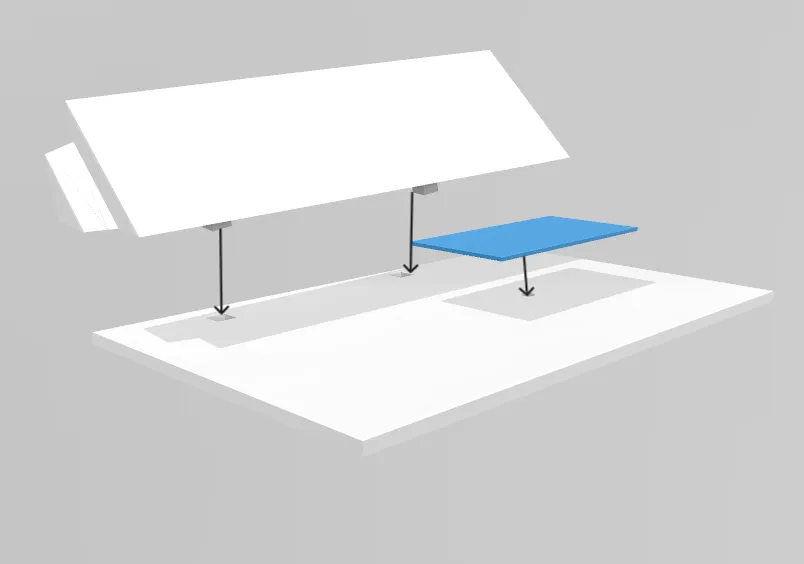
ASSEMBLE THE RIGHT SIDE BY INSERTING THE TOP CORNER AND THE CONTROL PANEL
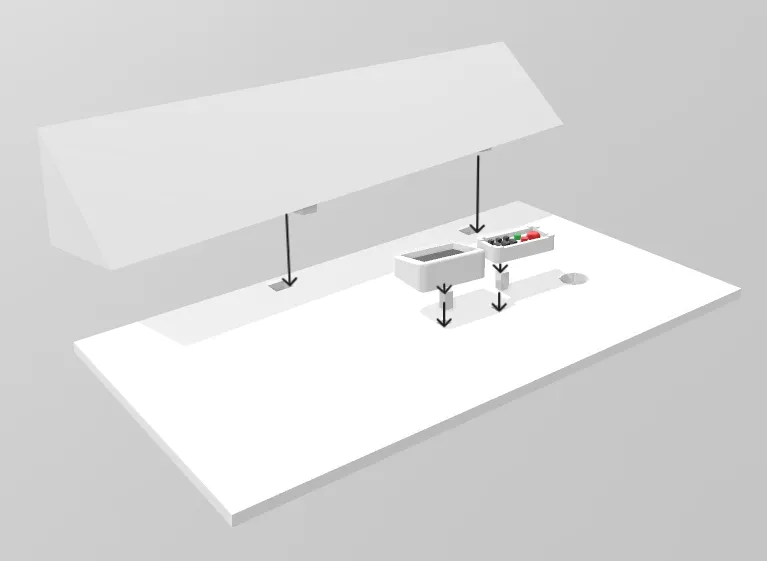
THEN ASSEMBLE THE LEFT SIDE BY INSERTING THE TOP CORNER AND THE 2 CONTROL BOXES WITH THE 2 TENONS, THE POTENTIOMETER KNOB GOES INTO THE CIRCULAR HOLE
FOR THE REMAINING PARTS TO ASSEMBLE, FOLLOW THE INTERLOCKING PIECES AND THE PHOTOS
THE WHITE SCENE DOES NOT GLUE INTO THE BOX, ONLY PLACE IT
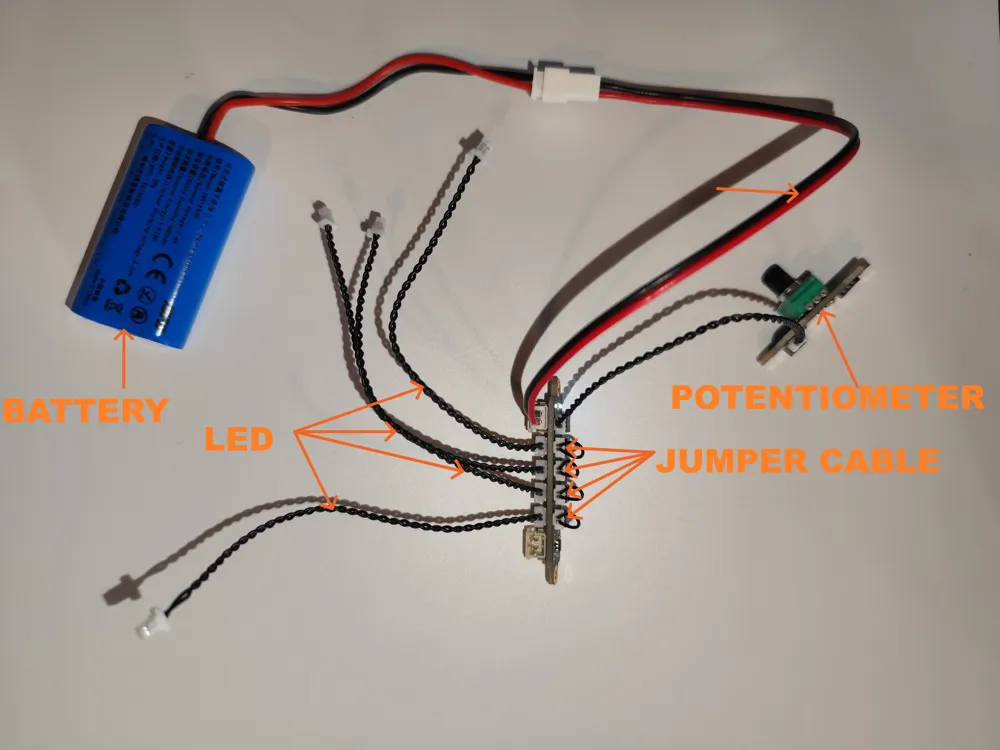
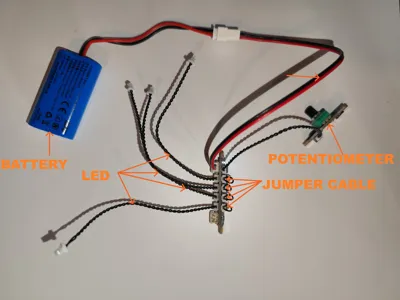
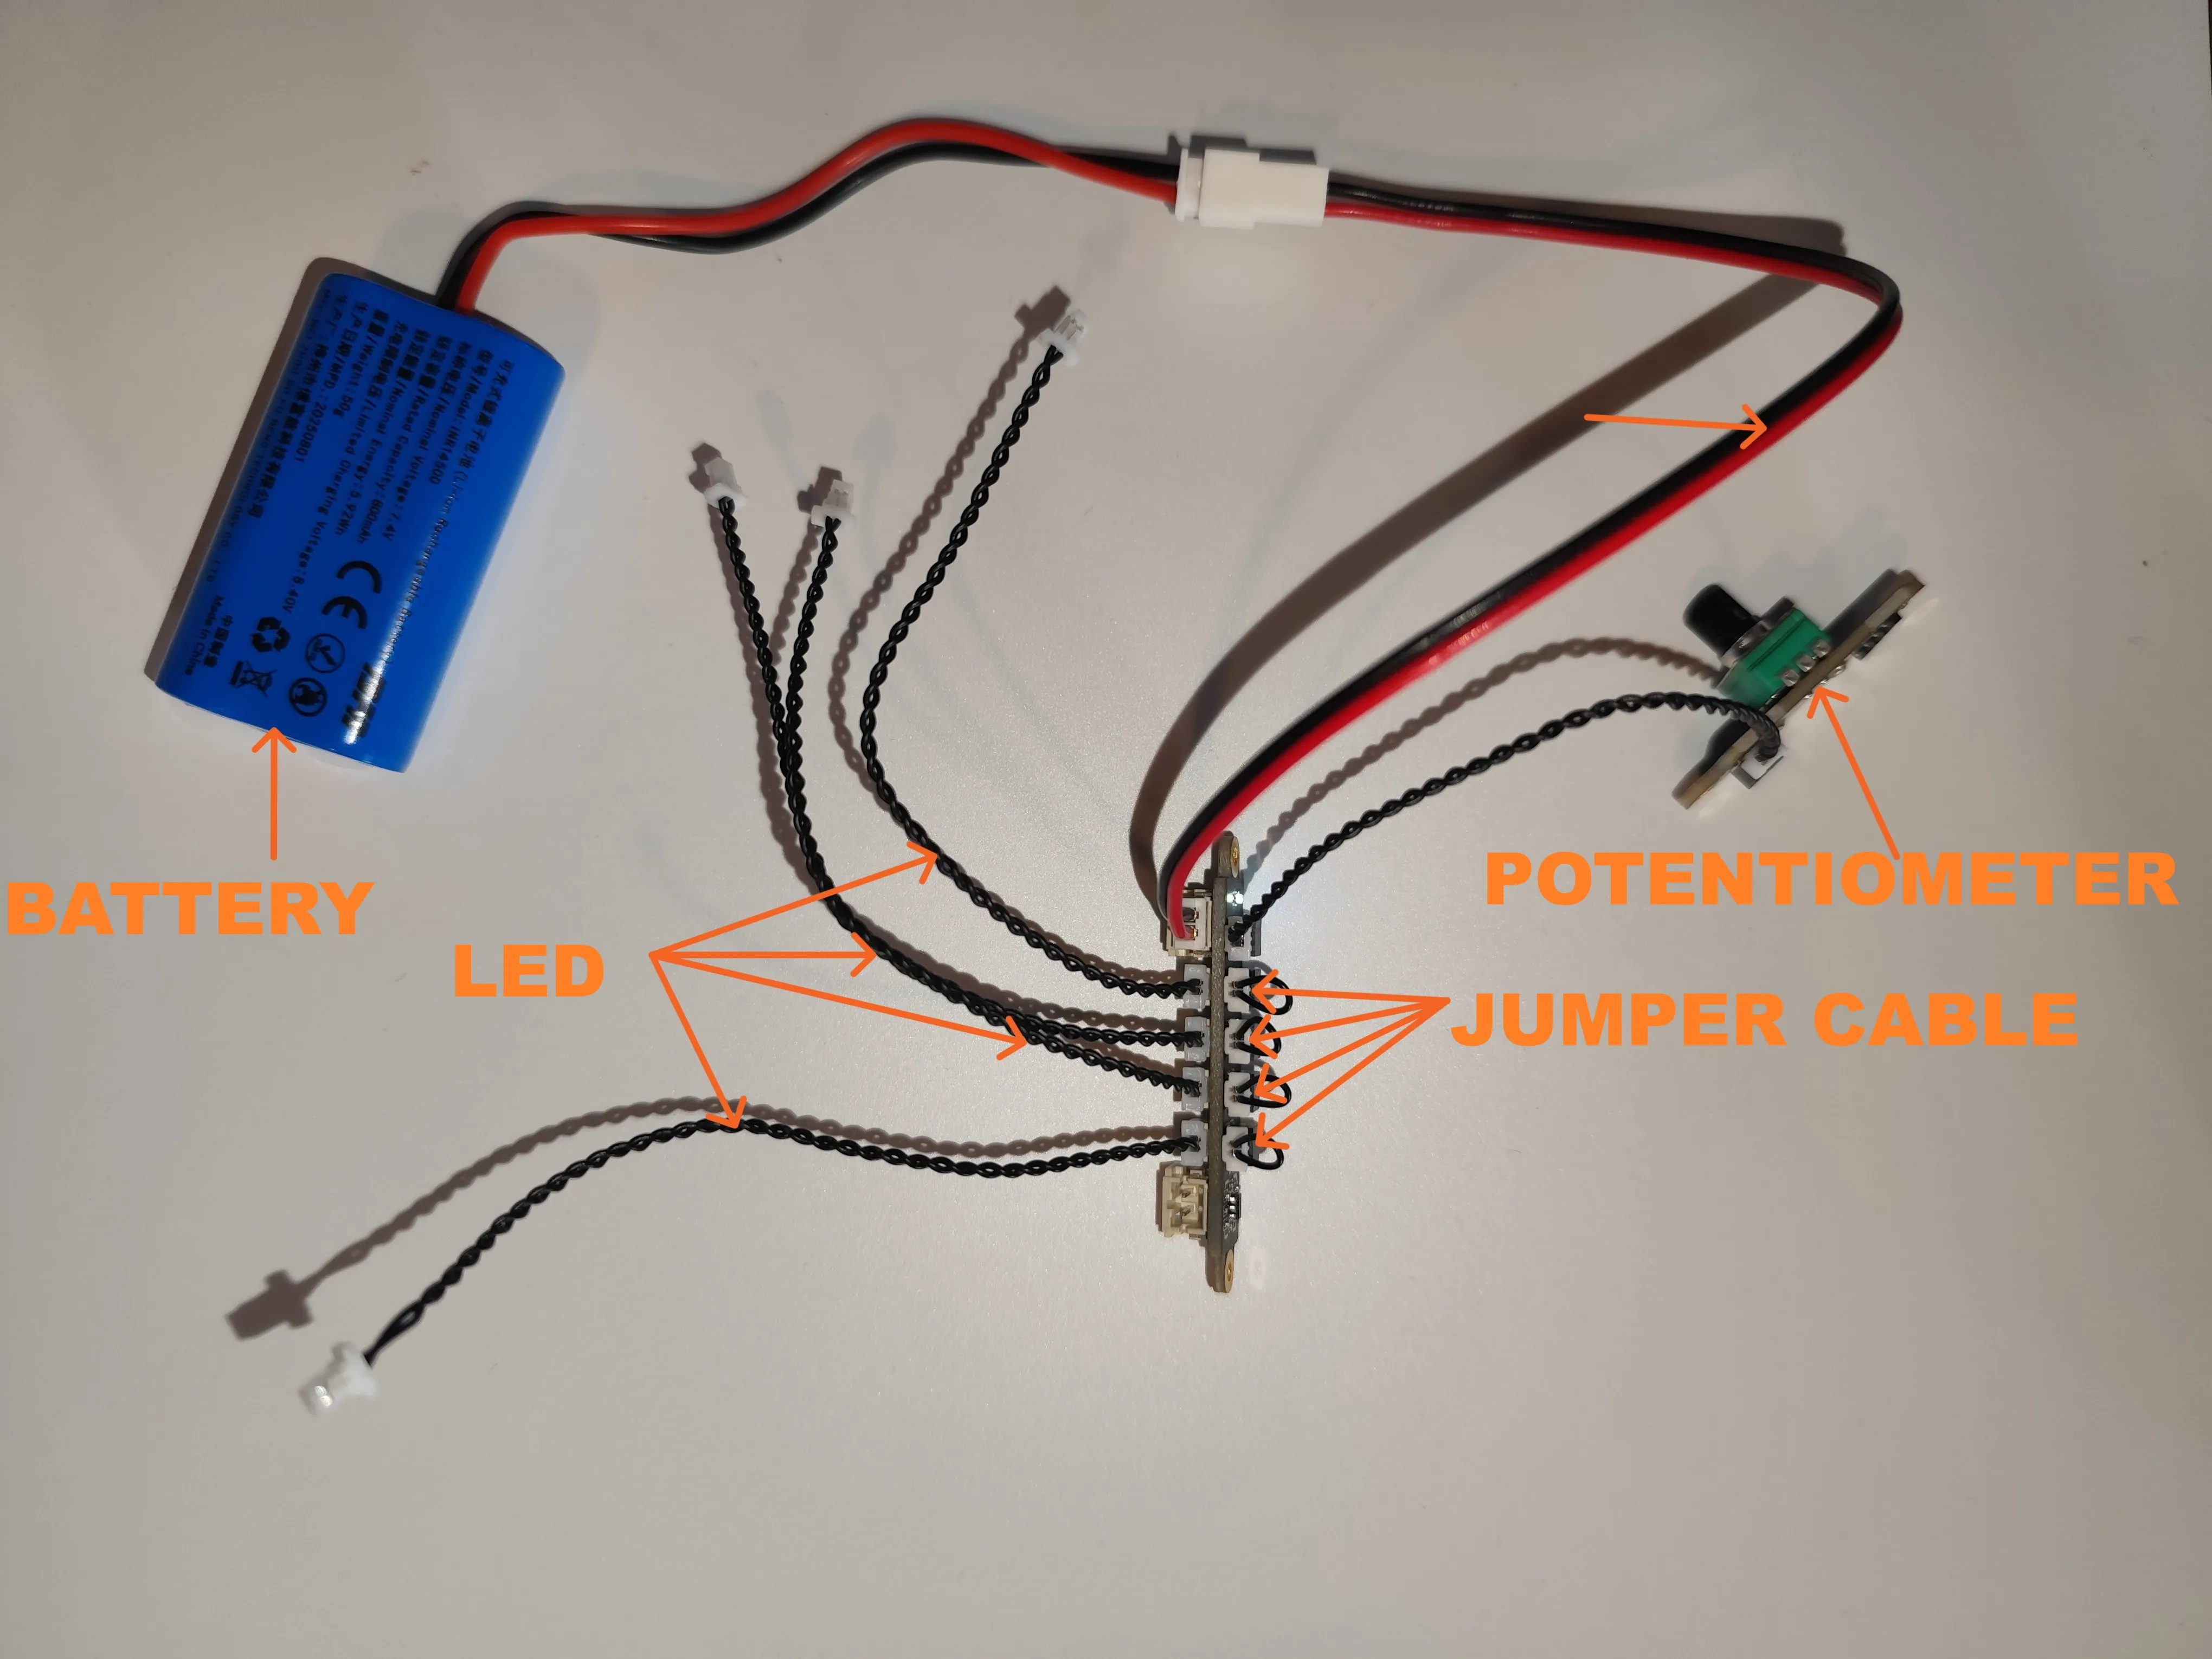
LED WIRING DIAGRAM
+++++++ The component list is further down in the shopping list ++++++
Please report any issues by message before rating my print profile, thank you and happy printing
Boost Me (for free)
Please boost my models to encourage me in my work
Documentation (1)

License

You shall not share, sub-license, sell, rent, host, transfer, or distribute in any way the digital or 3D printed versions of this object, nor any other derivative work of this object in its digital or physical format (including - but not limited to - remixes of this object, and hosting on other digital platforms). The objects may not be used without permission in any way whatsoever in which you charge money, or collect fees.


Comment & Rating (0)