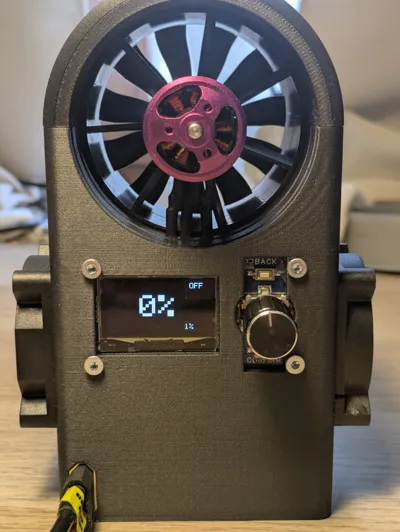
EDF Personal Fan


Print Profile(1)

Bill of Materials

- M4 Heat-Inserts x 4: Only needed if you wish to use the handle
- M4 Machine Screws x 4: Only needed if you wish to use the handle
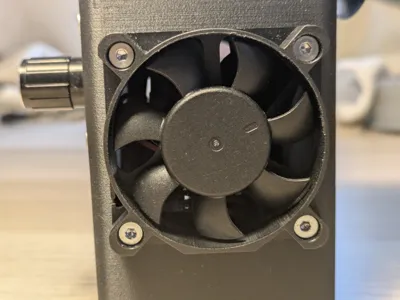
- 5V 50x10mm Fan x 2: Needed for active cooling of the ESC
- 64mm EDF Fan + adequate ESC x 1: The main part this is built around
- Arduino Nano x 1:
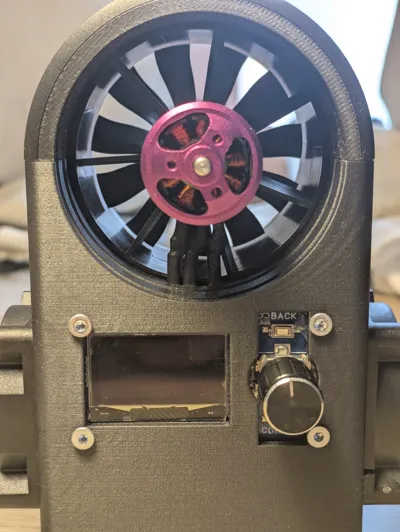
- 1,3" OLED screen with EC11 Encoder x 1:
- LiPo battery that matches your ESCs voltage range and connector x 1: More info in the description
Description
Overview
Short version:
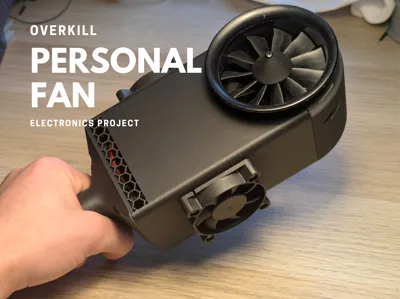
This is a high-power personal fan.
Long version:
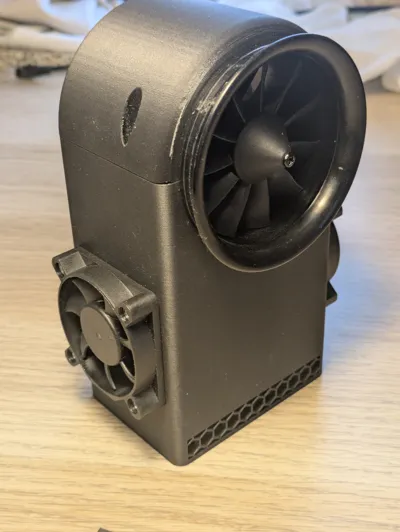
At its core, this project uses a 64 mm electric ducted fan (EDF), normally found in RC aircraft as a propulsion system, mounted inside a custom enclosure. An OLED display provides basic system feedback, while two 50 mm auxiliary fans assist with cooling and help prevent the device from turning into a very warm design lesson.
Why should you build this?
If store-bought fans feel weak, disappointing, or frankly insulting, this might just be your holy grail.
Or you can build it for the same reason I did, plain boredom on hot summer days.
Other than that, there is no practical reason to make this thing. But trust me when I say this:
it is ridiculously fun to use.
Why did I create this?
It was a hot summer day, and I thought to myself:
“Man, I sure would love to feel the cooling power of a Boeing 747’s jet engine.”
And thus, this monstrosity was born.
I was also very motivated to start a new electronics project, and combining RC hardware, microcontrollers, and questionable design decisions felt like the only logical next step. Naturally, things escalated from there.
Quick reminder (important)
Before you go into this expecting an easy, cheap fan that delivers huge airflow at polite noise levels, let me be very clear:
If you want to feel like you’re being cooled by a jet engine —
you will hear the jet engine.
Parts and Materials
What you need in general
Check the parts and materials list to get an overview of what’s required. Before you start ordering, keep these important disclaimers in mind:
- The ESC must be compatible with the EDF
- The ESC must have a 5 V BEC to power the Arduino and cooling fans
- Your LiPo connector must match the ESC’s power connector
Ignoring any of these will result in integration hell.
What I used
If you want a near carbon-copy of my build, these are the components I used:
- EDF & ESC (3900 KV, 50 A combo):
https://de.aliexpress.com/item/1005007031481465.html - OLED with encoder:
https://de.aliexpress.com/item/1005008750619680.html - Cooling fans (50 × 10 mm, 5 V):
https://de.aliexpress.com/item/1005006341866267.html - Arduino Nano:
Any clone will do just fine - All wiring in this project is low-power, so standard 24 AWG wire is perfectly sufficient.
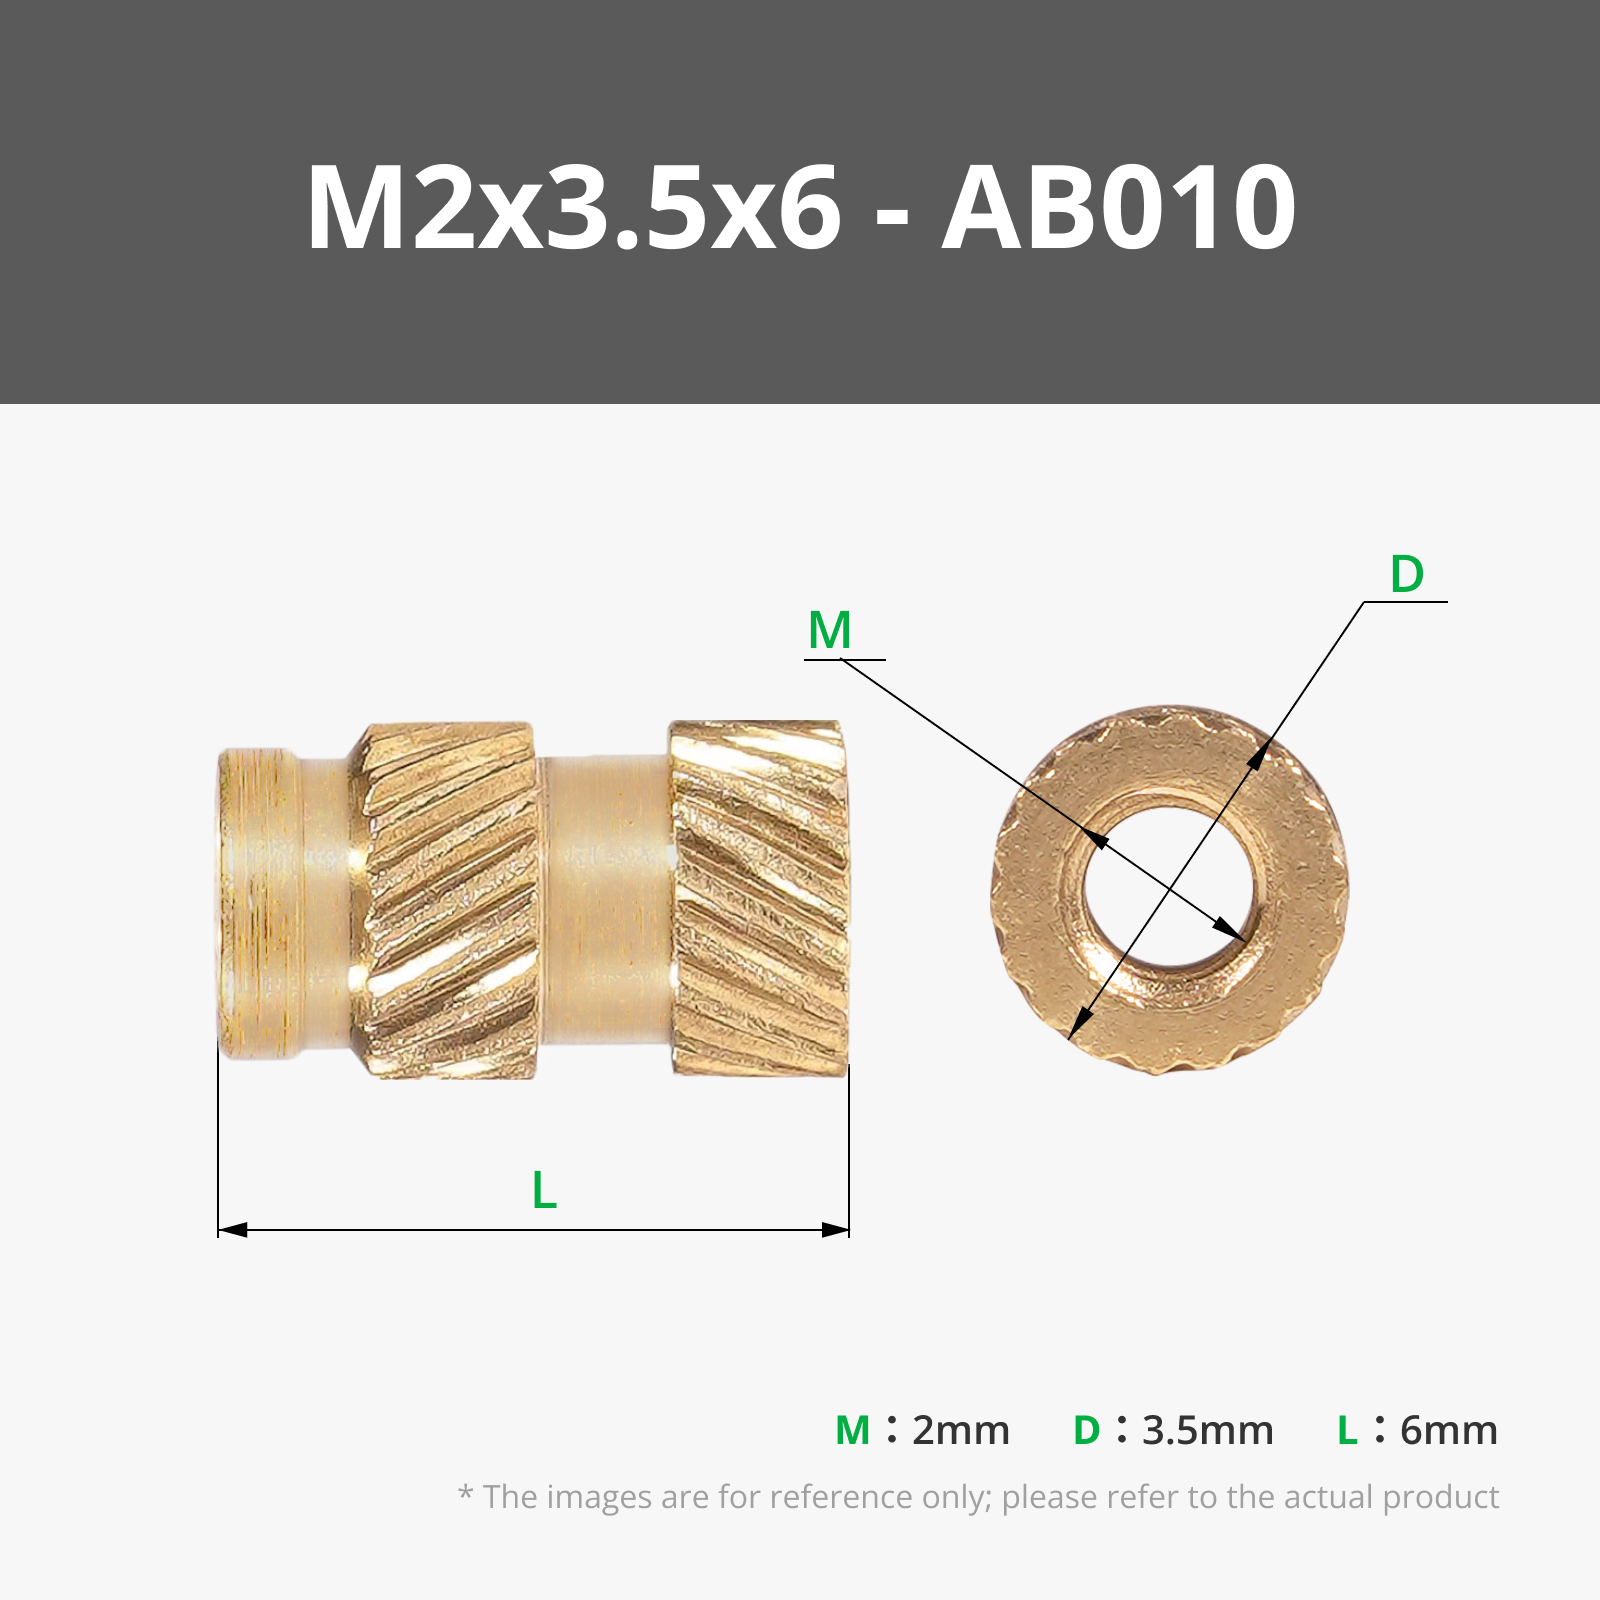
- Heat inserts:
M3 and M4, any brand - Screws:
Minimum lengths: M3×12, M4×16 - LiPo battery:
https://hobbyking.com/en_us/turnigy-rapid-6000mah-3s-11-1v-100c-lipo-battery-pack-w-xt60-connector.html
The total cost came out to around 90 €.
The Build
If you already know your way around basic electronics, this should be child’s play.
If you don’t — don’t worry. I’ve got you covered.
A separate build guide PDF contains:
- All wiring descriptions
- Connection diagrams
- The full code
Everything else you need, including the full assembly process with pictures to make things harder to mess up, is also covered in the guide.
Read it. Follow it. And try not to lose any fingers or your mind.
Comment & Rating (0)