
Love Lamp – Customizable Photo Lithophane HueForge

Print Profile(1)

Description

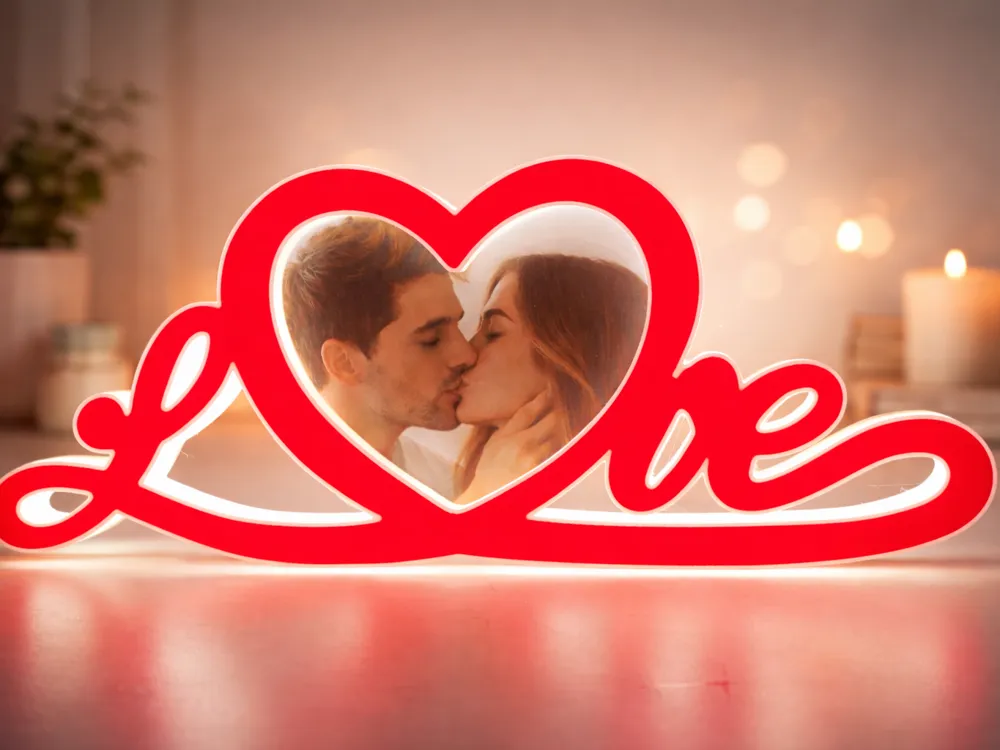
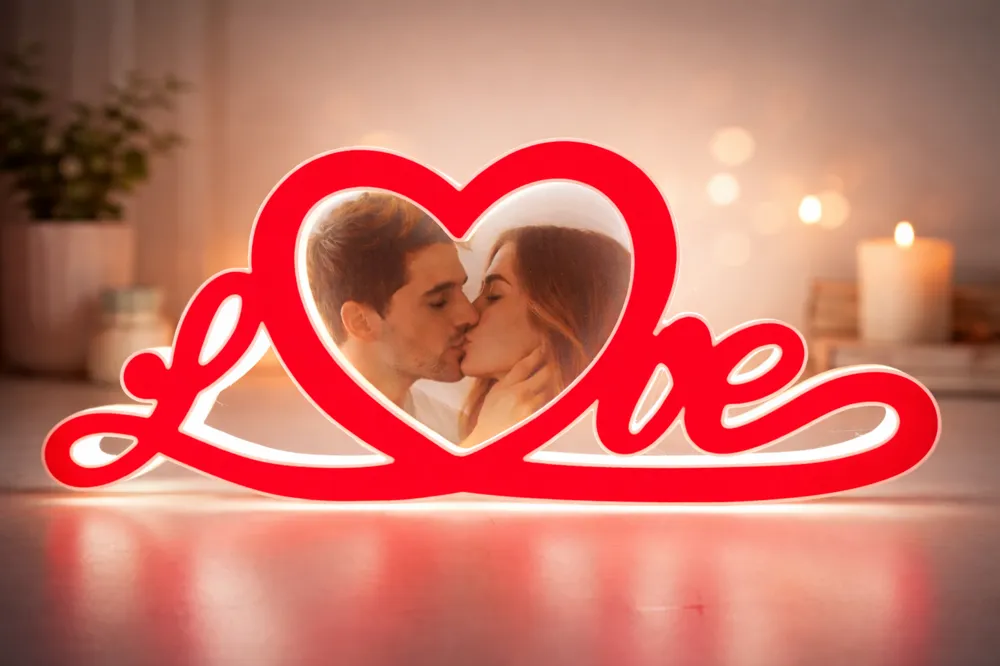
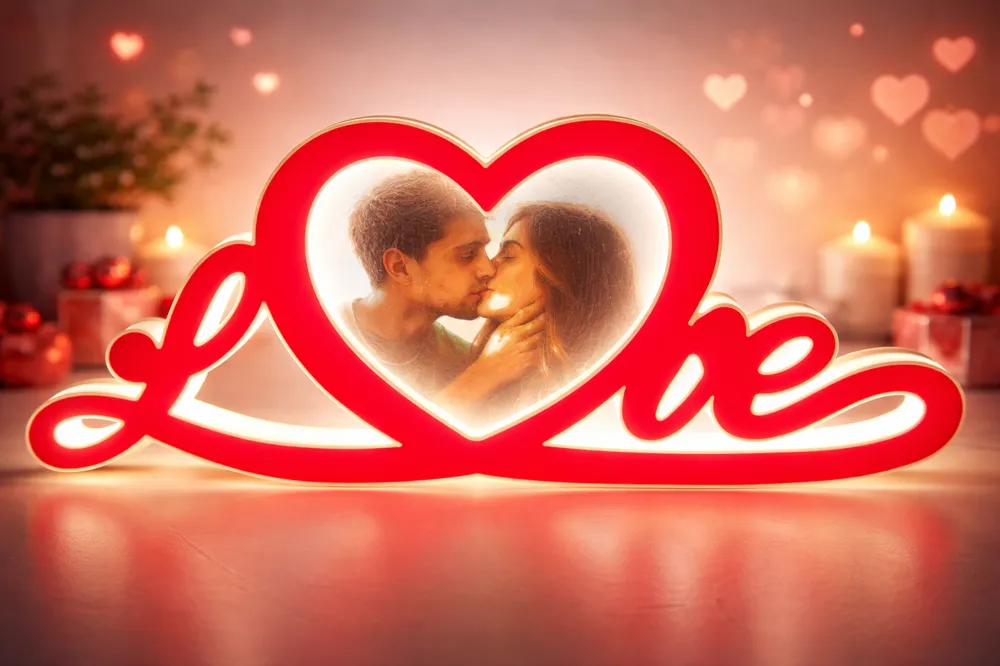
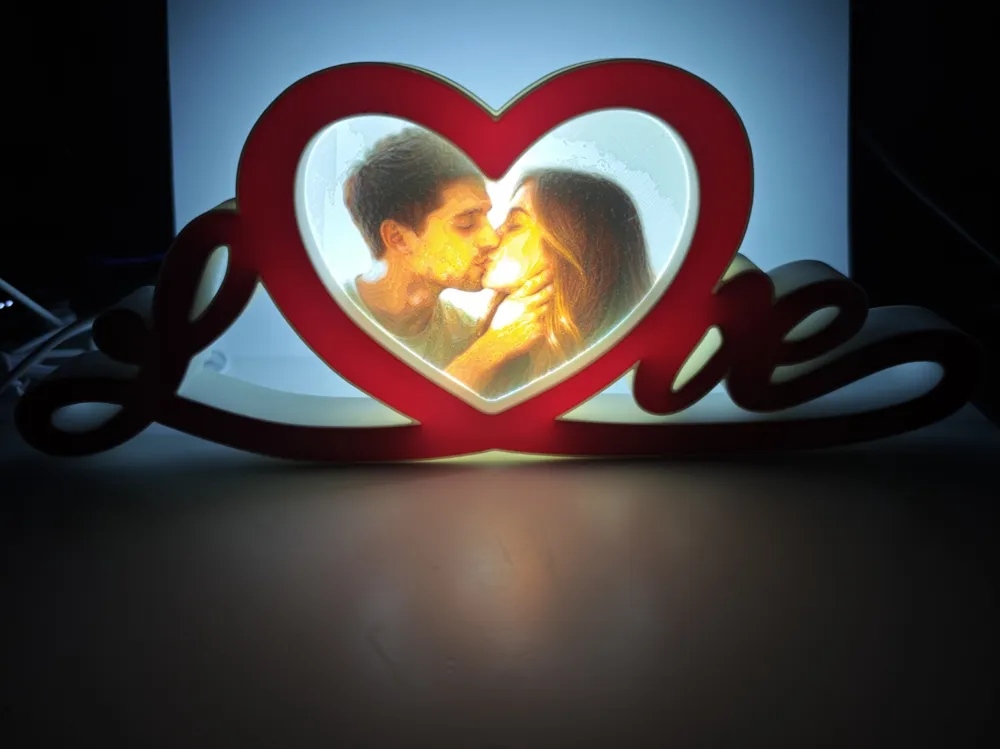
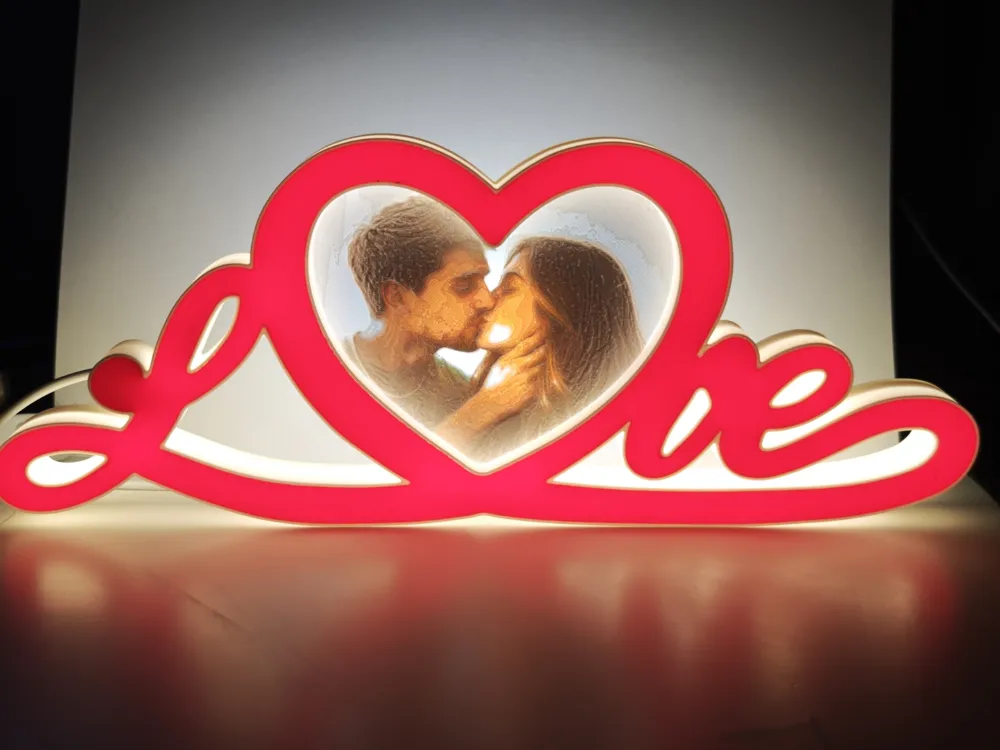
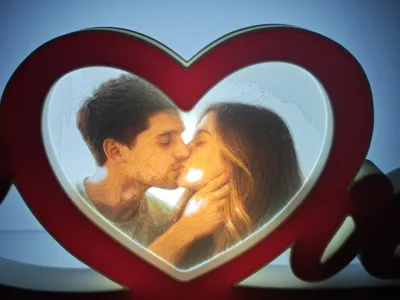
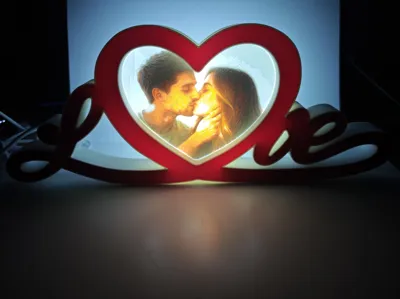
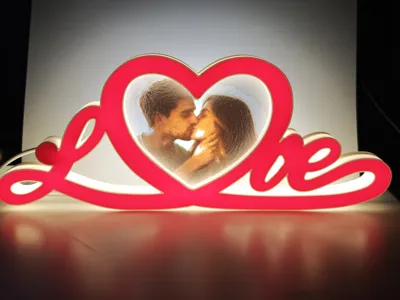
💘 Love Lamp – Customizable Illuminated Photo Frame (Photo, Lithophane or HueForge)
🖤 Description
Love Lamp is not just a regular photo frame.
It’s a decorative lamp designed as a special Valentine’s Day gift, but perfect as a personalized home decor object for any occasion.
The real strength of this project is the freedom of customization, combined with easy printing and simple assembly, accessible even to beginners.
Why should you print it?
- Easy to print (no critical geometries)
- Easy to assemble, no advanced skills required
- Multiple configurations in one single project
- Not just a photo frame: illuminated, customizable, and meaningful
✨ Full Customization
Center of the project
You can choose how to create the central heart:
- Printed photo
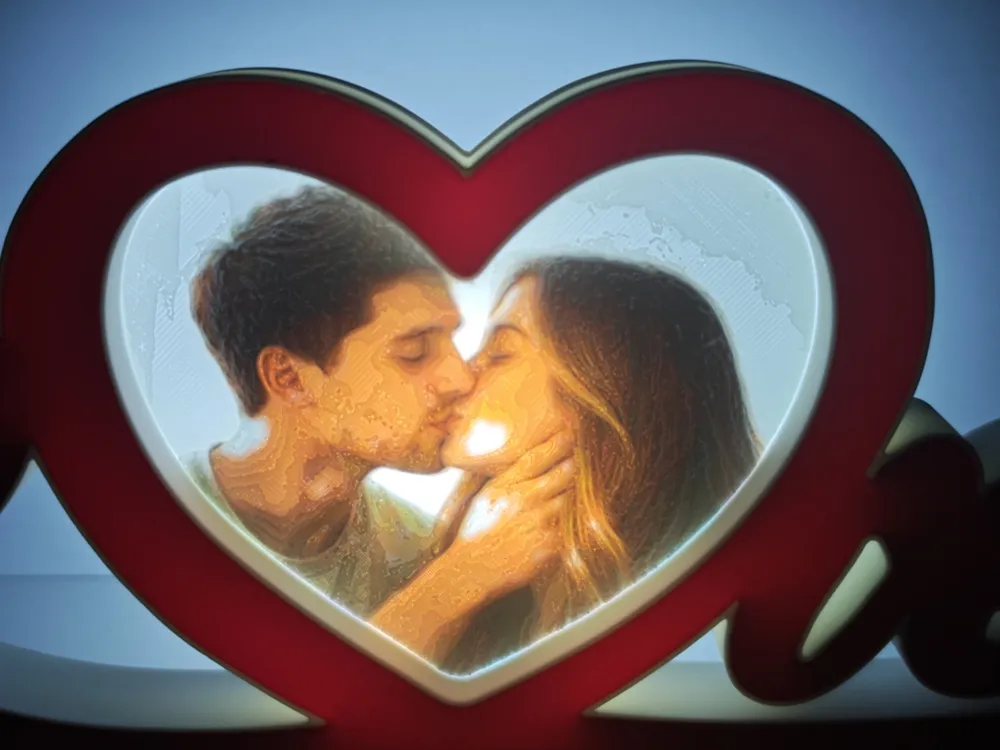
- Lithophane
- HueForge (using the included cutter)
One model, three completely different results.
Lighting options
You can freely choose how to light the lamp:
- LED frame only
- Lithophane only
- Frame + lithophane together
The frame uses standard 5V COB LED strips with dimmer (easy to find, for example on AliExpress).
The lithophane is illuminated using the Bambu Lab LED Kit 001 (or compatible).
💌 Added Value
On the back of the classic photo version, you can add a custom text engraved in negative:
- a dedication
- a personal message
- a special date
A small detail that turns this print into a truly unique gift.
🔧 ASSEMBLY INSTRUCTIONS
Follow all steps in order to avoid assembly or lighting issues.
1️⃣ LED Frame Assembly (“LOVE” lettering)
- LED type: standard 5V COB LED strip
- Recommended length: about 90 cm
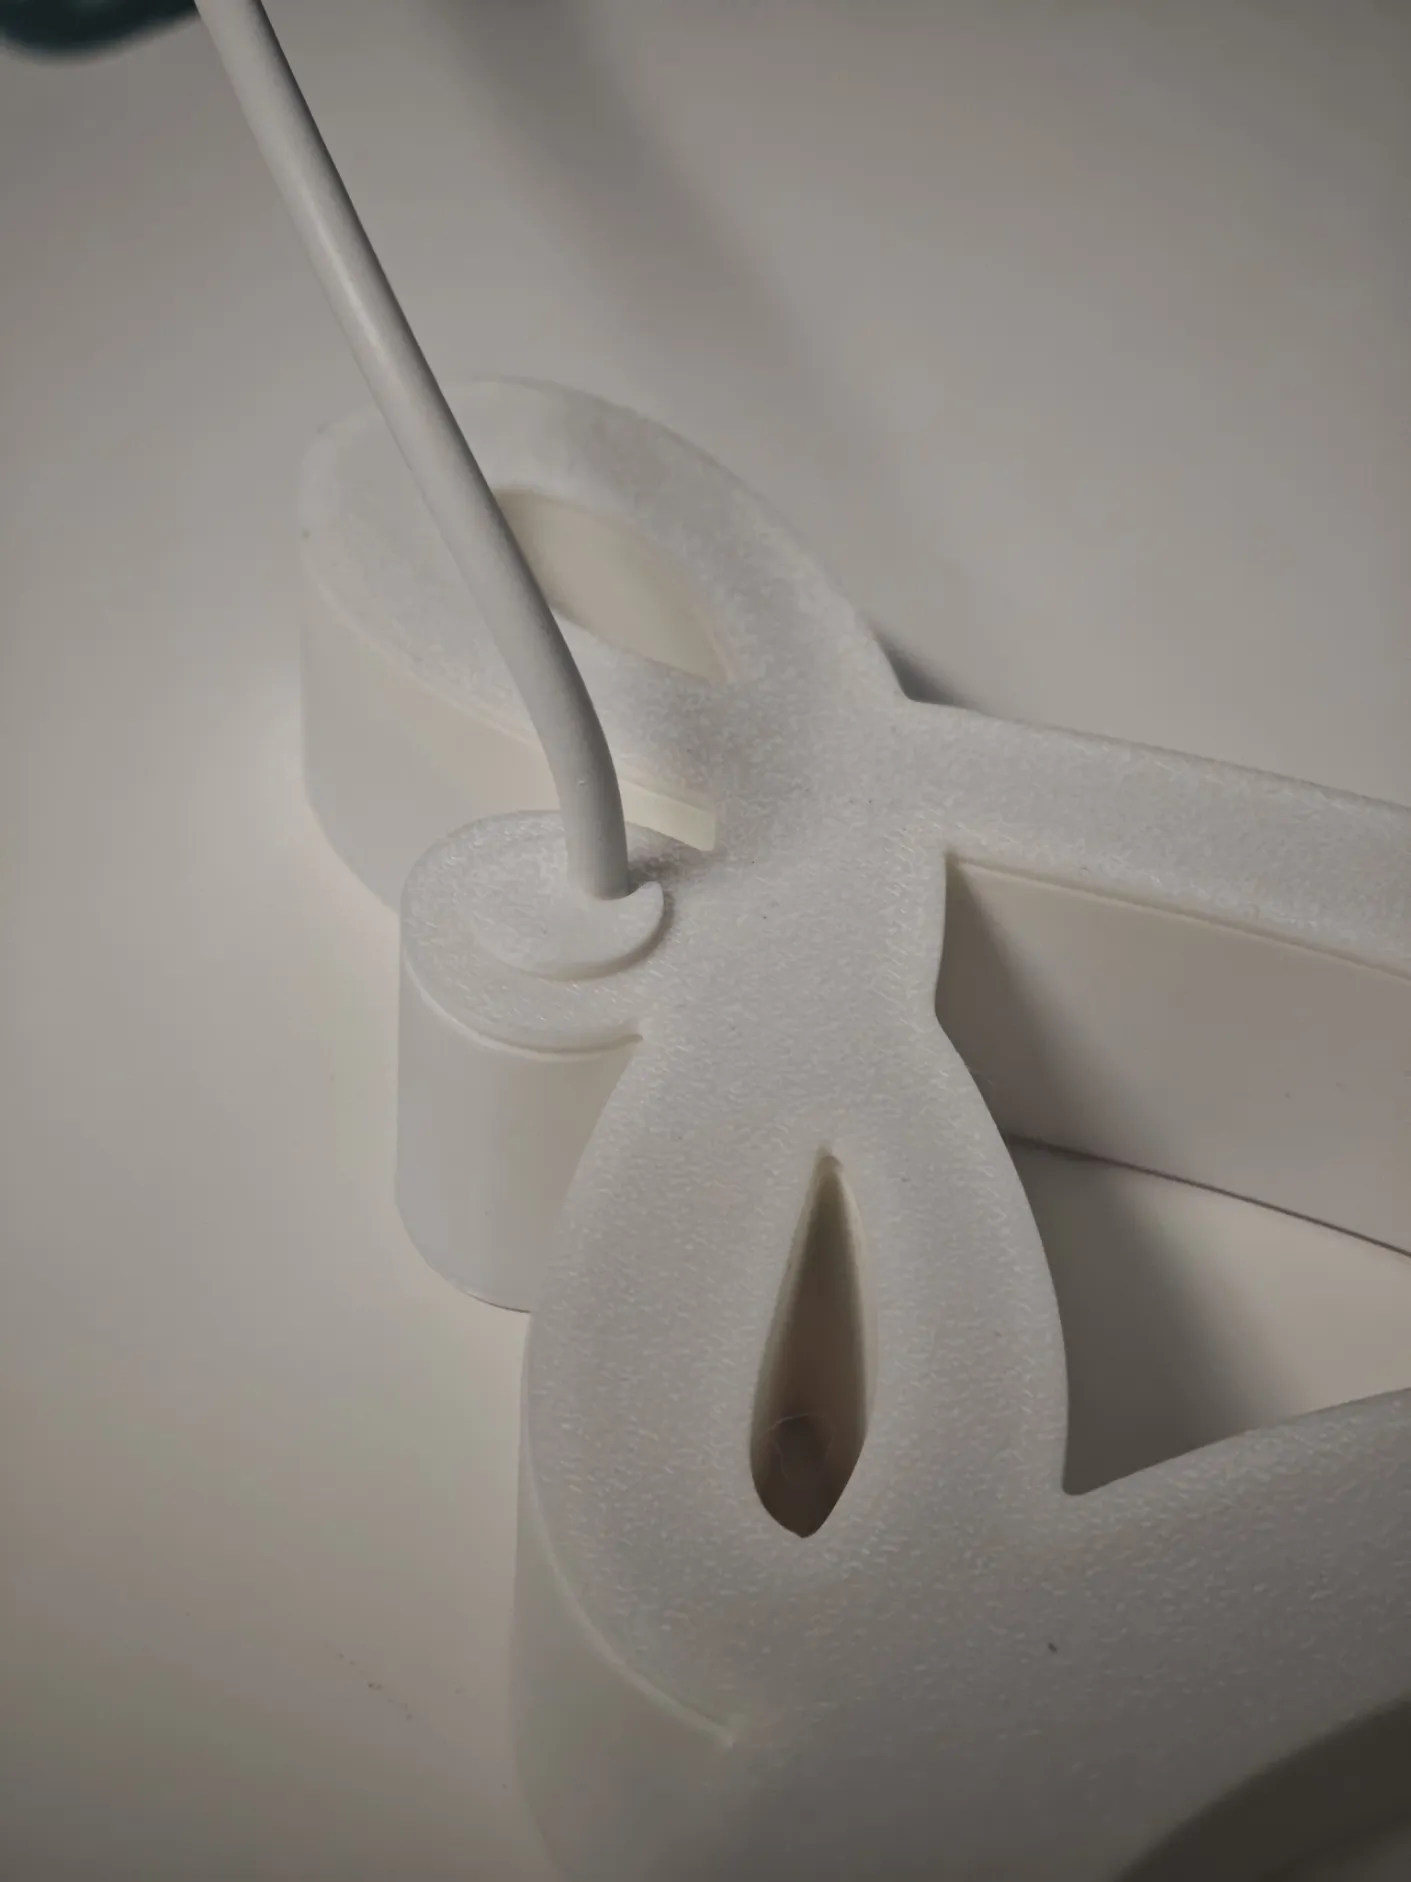
Route the LED cable through the dedicated hole on the back of the lettering.
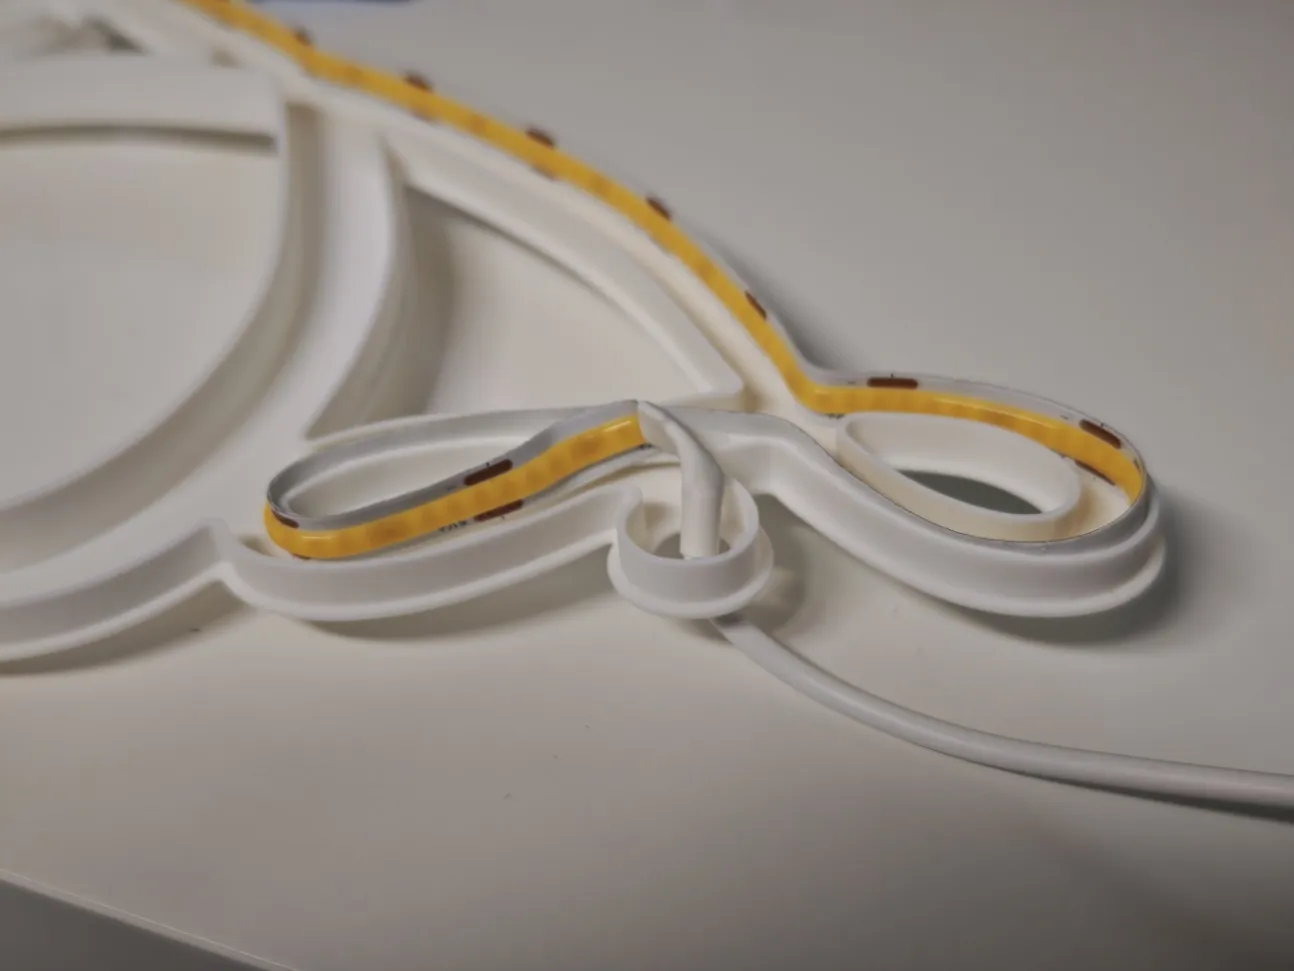
Glue the LED strip EXACTLY following the designed path.
⚠️ This step is critical:
- incorrect placement will cause uneven lighting
- bright and dark spots may appear.
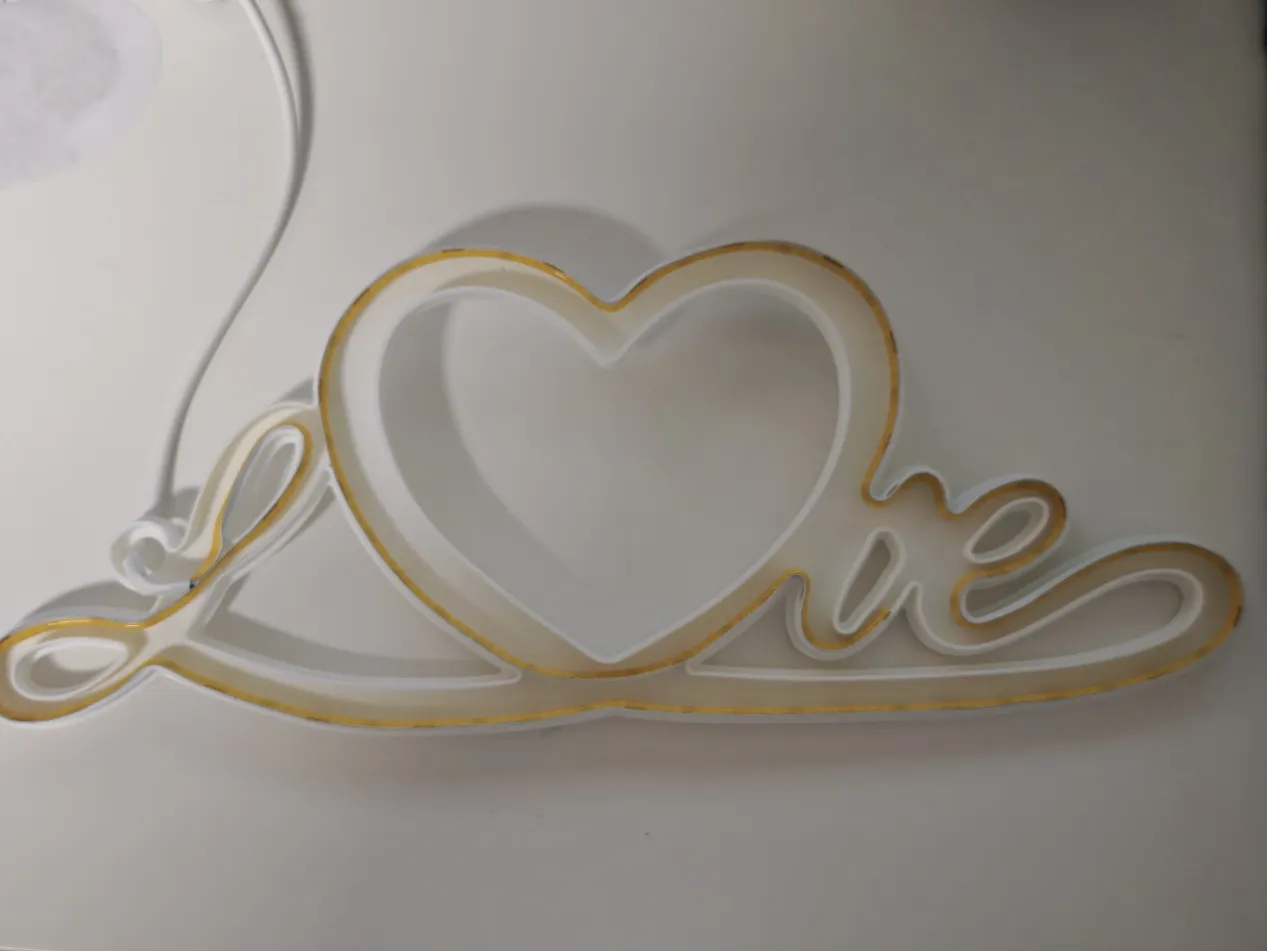
- DO NOT cut the LED strip beforehand.
- Glue the entire strip first
Cut it only after it is fully installed
→ cutting earlier may result in insufficient length.
Insert the rear cable stopper to lock the wire in place.
2️⃣ Printed Photo Version
This step must be done after the LED frame is installed.
- Take the heart-shaped photo holder.
- ⚠️ Check the correct orientation before gluing the photo:
- the part has a specific mounting direction
if installed incorrectly, the photo will be wasted.
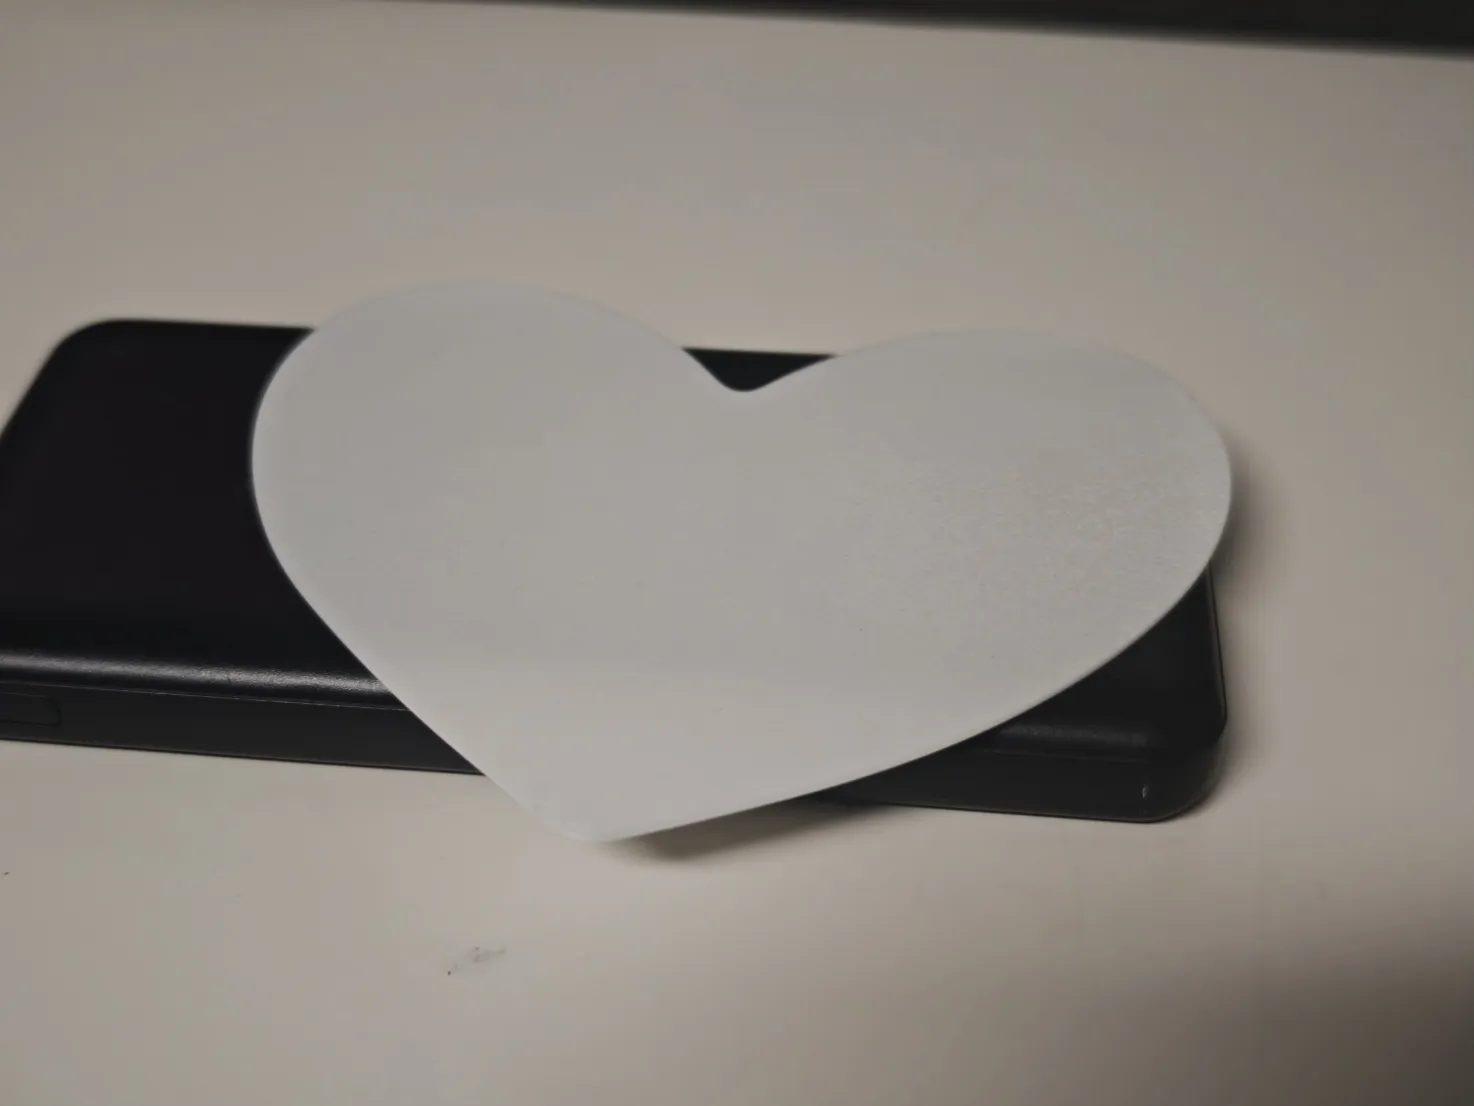
- To check orientation:
- insert the heart into the front housing
- NOT on the LED side.
- Once orientation is confirmed:
- glue the photo onto the holder
- trim the photo exactly following the shape.
3️⃣ Lithophane Version – Model Creation
- Go to MakerLab.
Create the lithophane using the frame/dimension settings 1:1 as shown in the images.
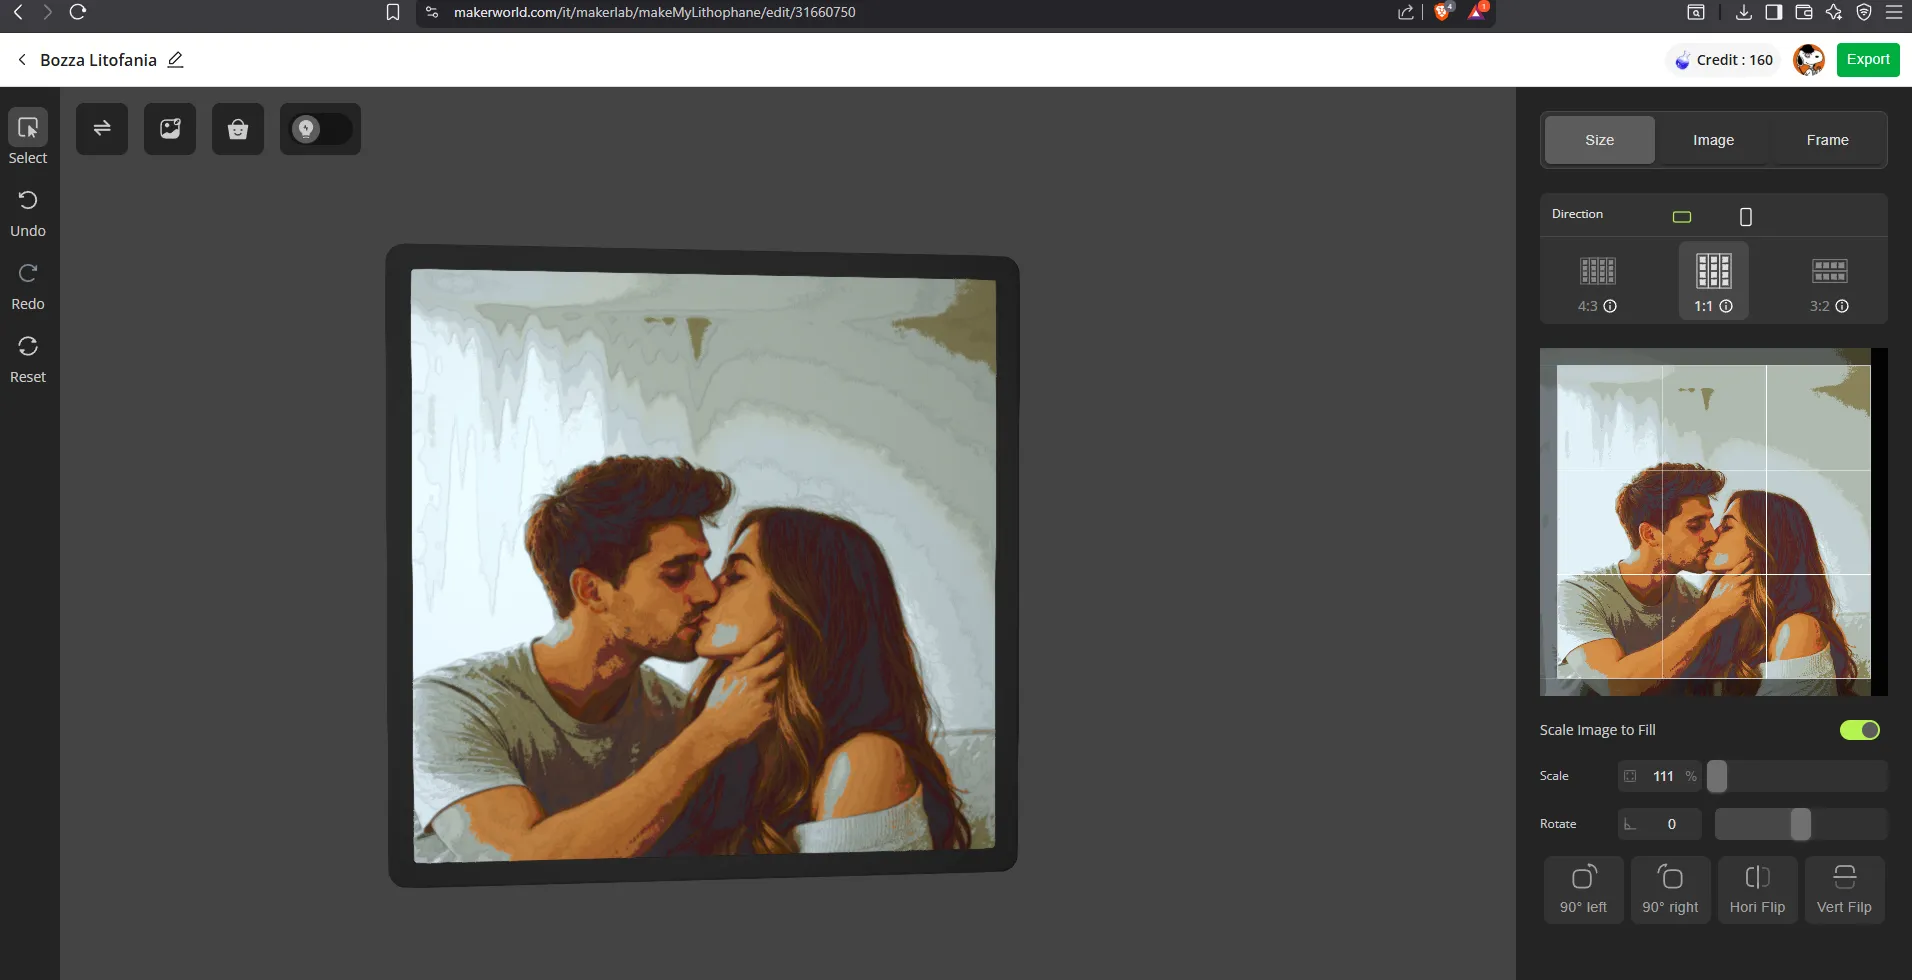
- Make sure the photo is perfectly centered.
- download it, save for later.
4️⃣ Lithophane Preparation in the Slicer
- Open the generated file in your slicer. ( must be a new project, not the same as the lamp is located)
- Without changing any settings:
- delete the black frame on the right
- delete the empty build plate
only the lithophane must remain.
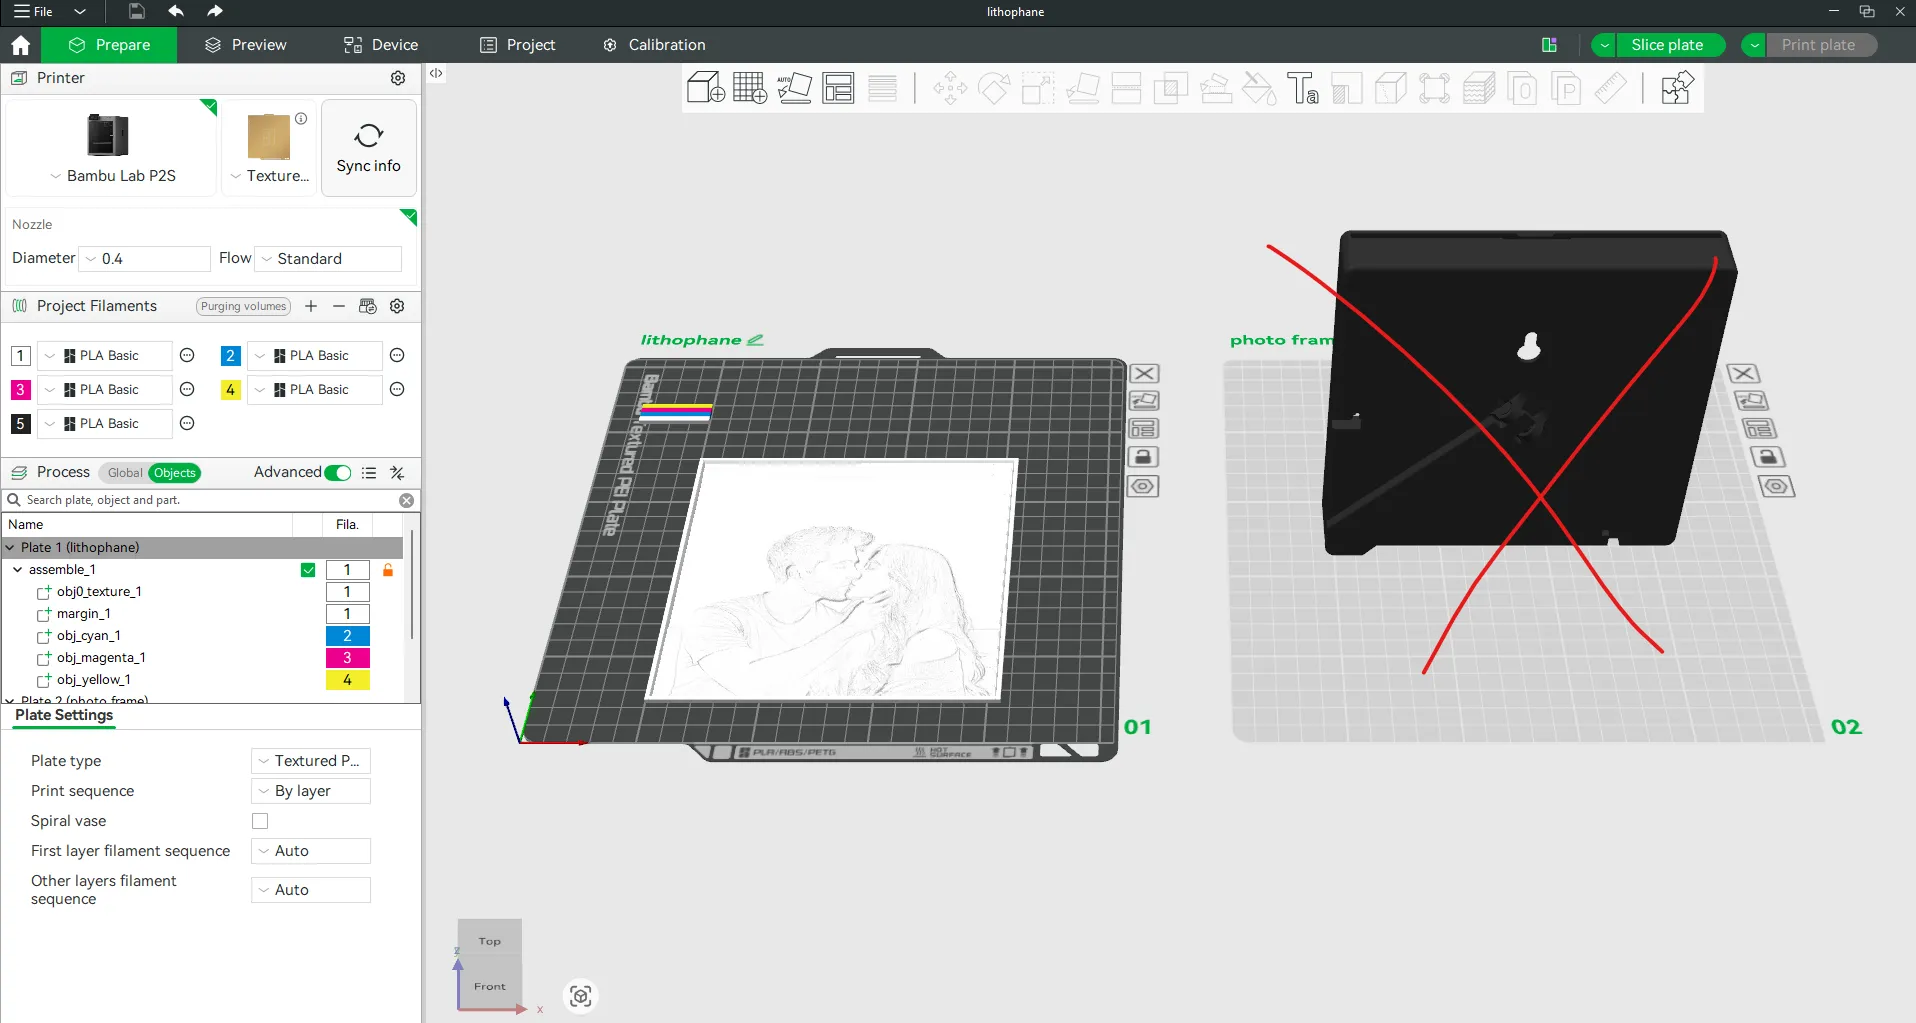
- Select the lithophane → right click:
- Add negative part
- Load
select the file “lithophane cutter”.
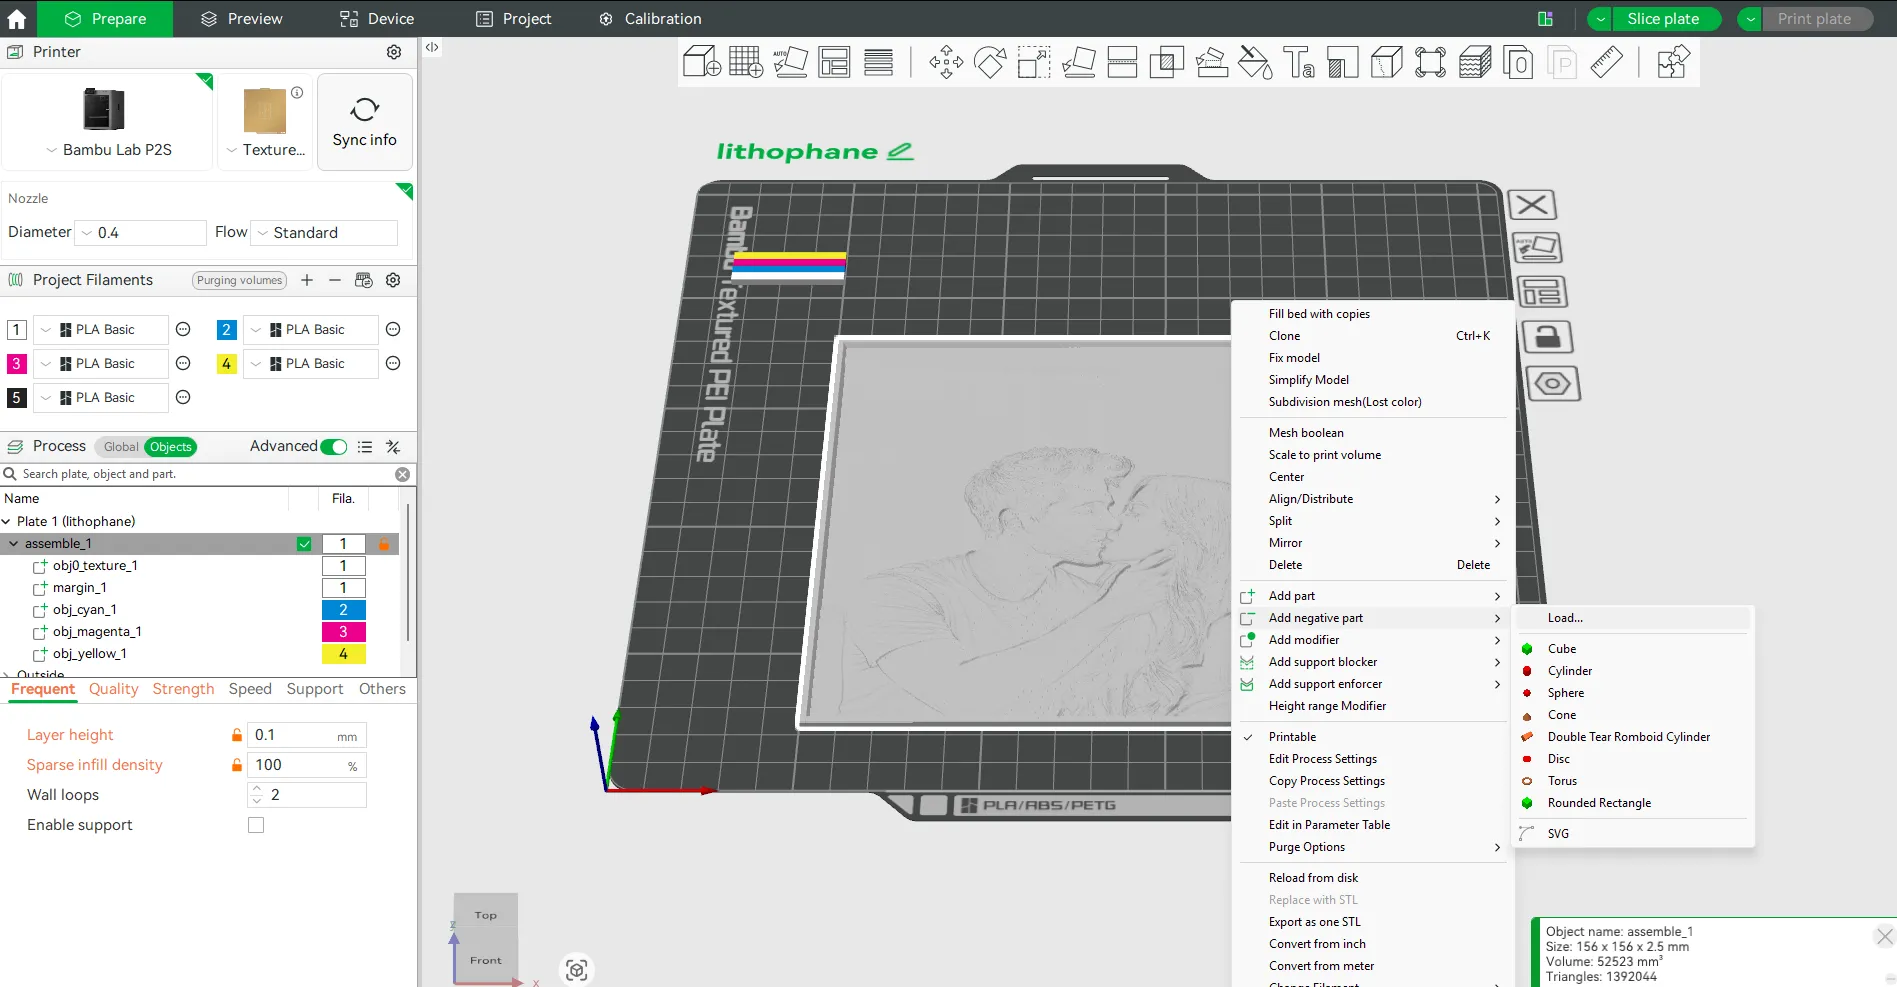
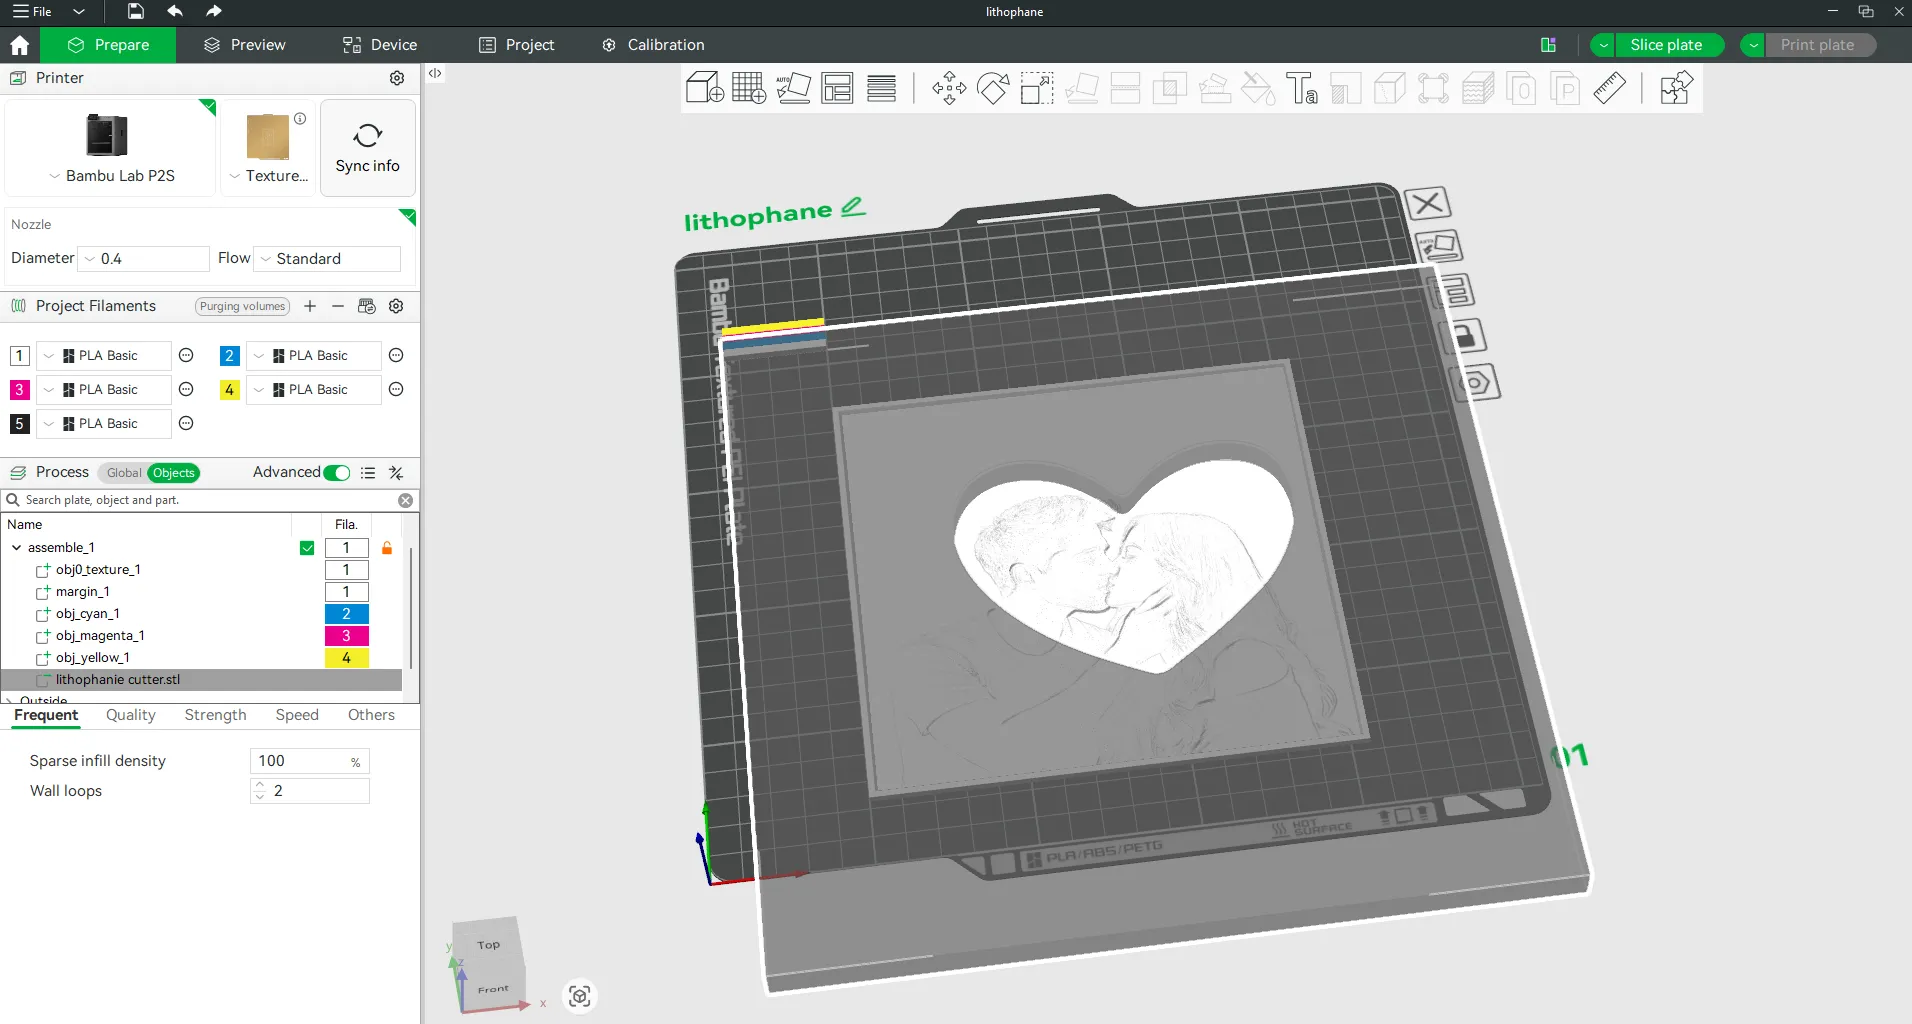
- Position the cutter as desired, then:
- slice
print.
5️⃣ Lithophane LED Assembly – Bambu Lab Kit 001
- Take the Bambu Lab LED Kit 001.
- Unscrew the top ring.
- Remove the transparent diffuser from the front.
Insert the LED into the printed adapter.
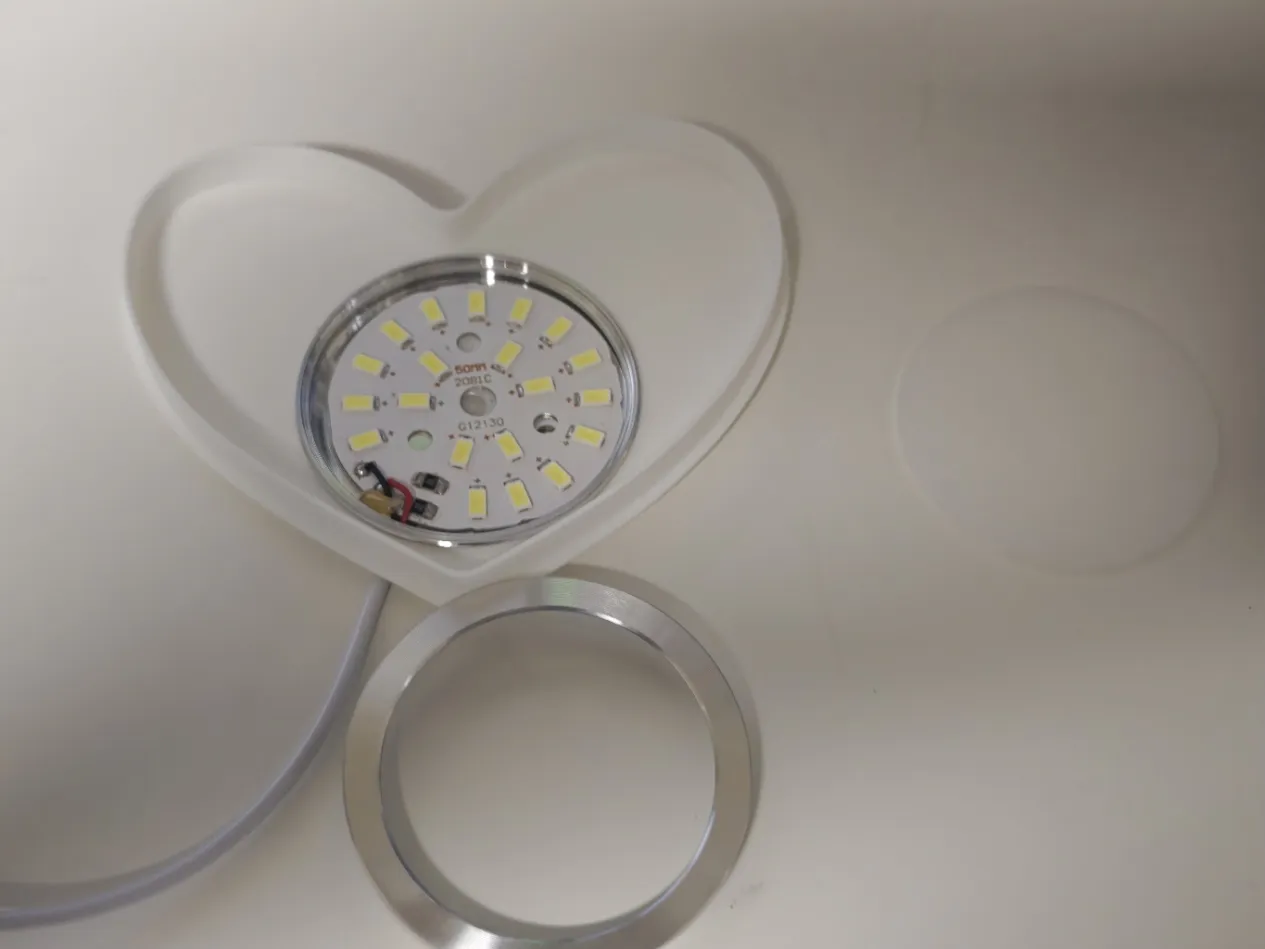
Screw the top ring back without the diffuser to secure everything.
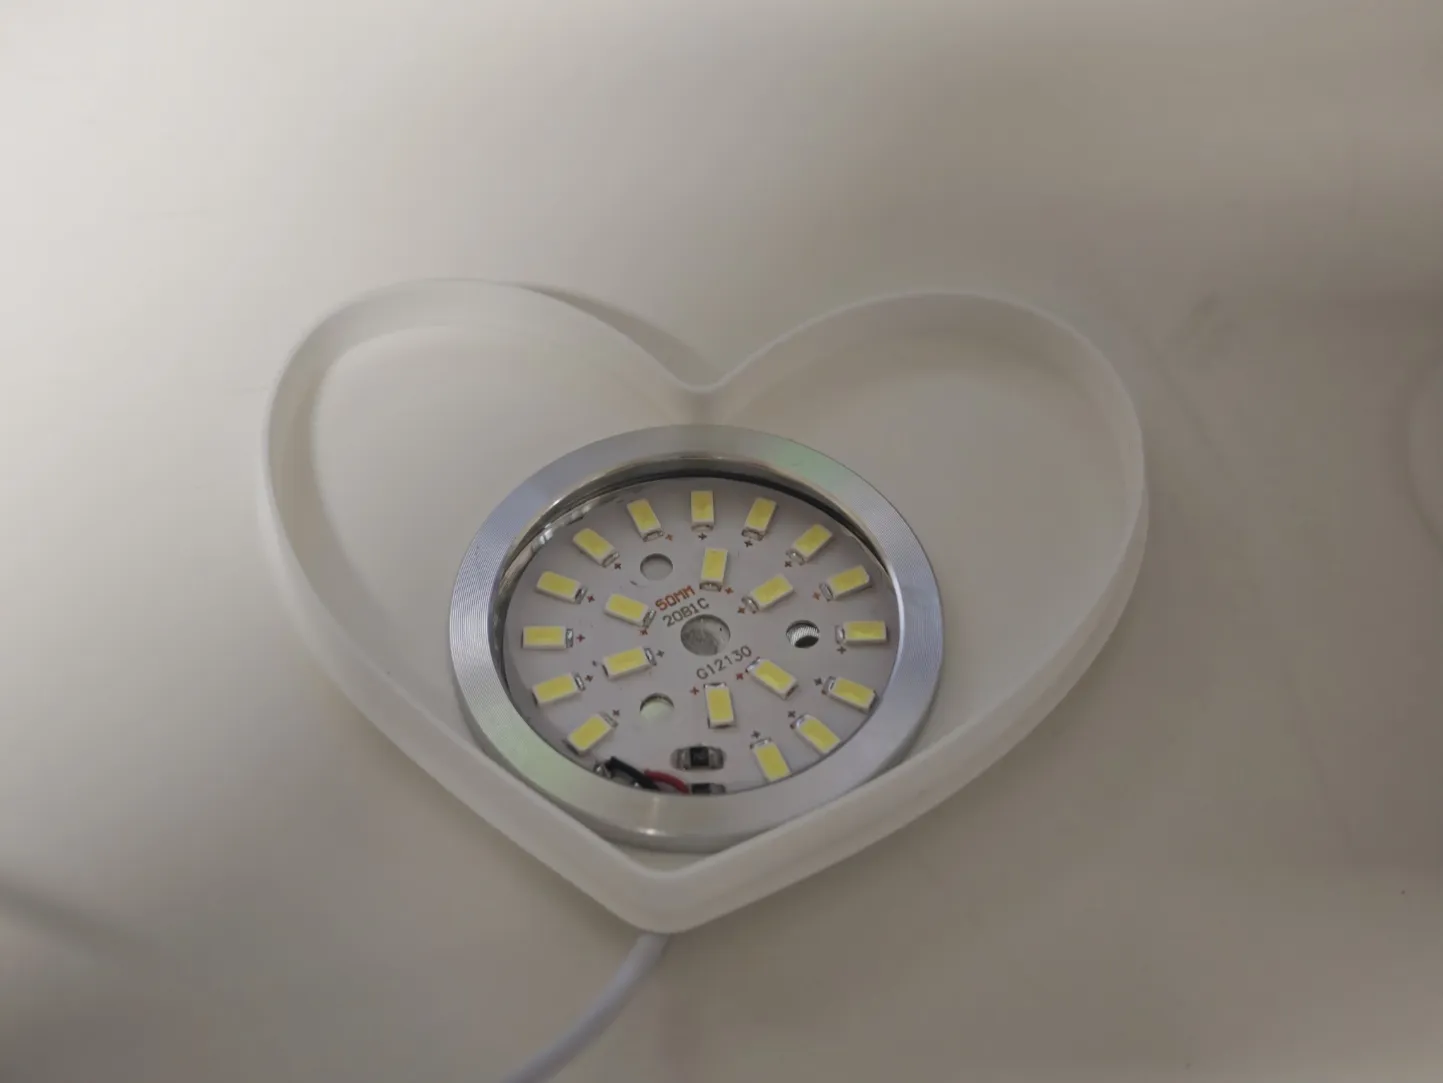
This LED hole is designed for Bambu Kit 001, but compatible alternatives can be used.
6️⃣ Final Assembly
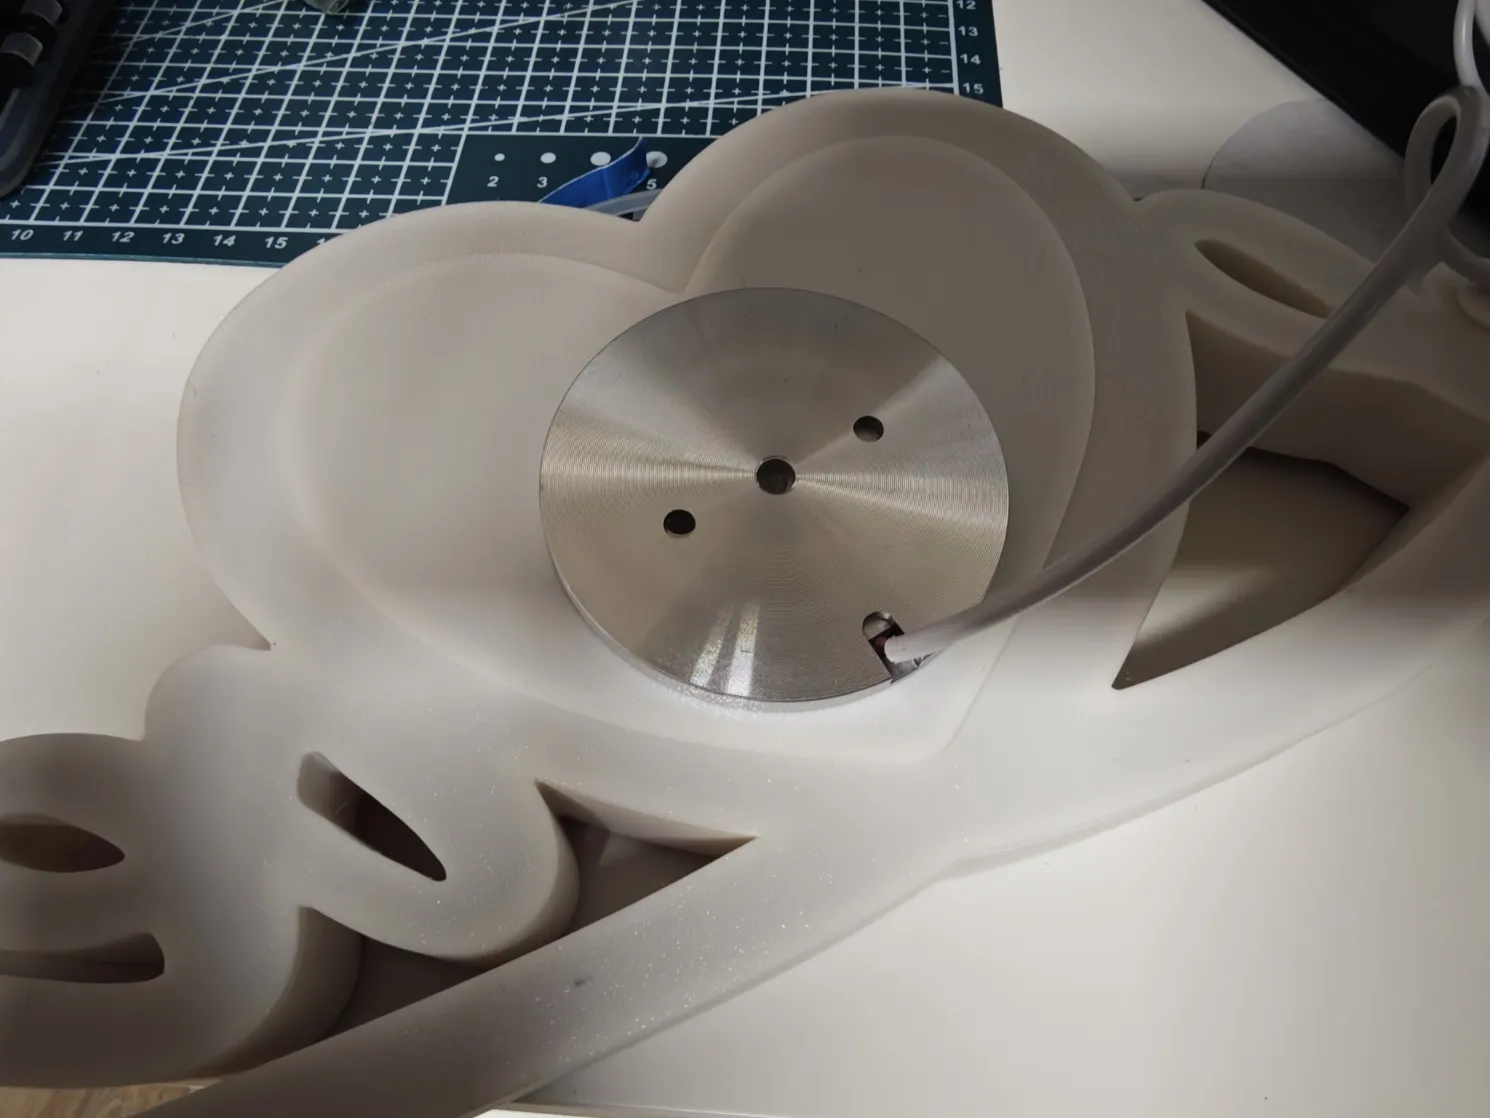
- Insert the lithophane or photo into the center of the lamp.
- Close the rear cover.
- Once closed:
- snap the LED Kit 001 adapter into the rear
this will illuminate the lithophane correctly
💡 Advanced Tip
You can also use HueForge.
The same cutter works exactly the same way—just replace the lithophane with a HueForge model.
If you have any questions or run into any issues, feel free to write in the comments and I’ll be happy to help.
A rating and a boost, if you enjoyed my work, are always greatly appreciated. 🙏
License

You shall not share, sub-license, sell, rent, host, transfer, or distribute in any way the digital or 3D printed versions of this object, nor any other derivative work of this object in its digital or physical format (including - but not limited to - remixes of this object, and hosting on other digital platforms). The objects may not be used without permission in any way whatsoever in which you charge money, or collect fees.


Comment & Rating (0)