Super Ams HUB Back Slide Mount A1 and A1 Mini


Print Profile(1)
Description
Visit My Collections:

If you want infos on filaments used or other stuff presented in photo or description please PM me, I will share them with pleasure.
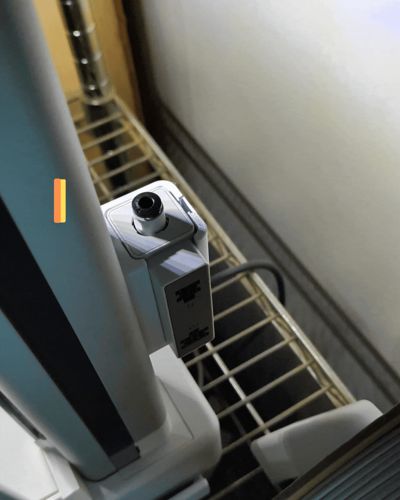
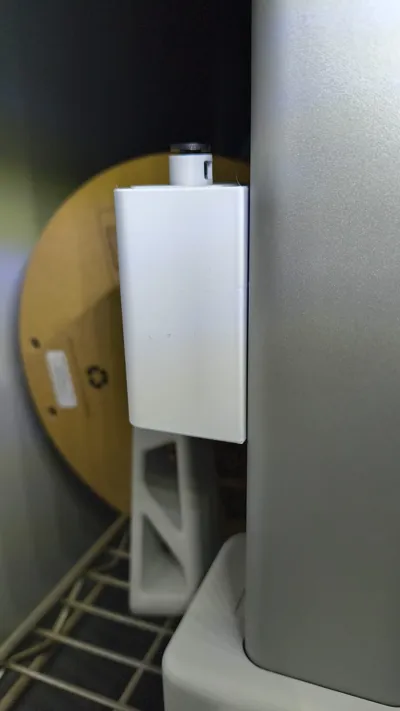
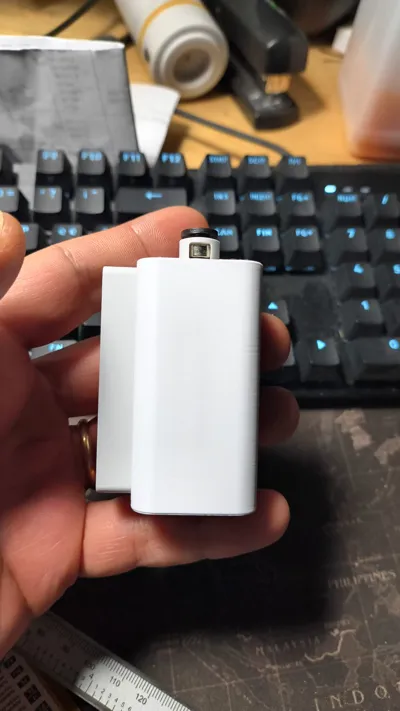
This bracket is designed to securely mount the AMS Hub on the Bambu Lab A1 Mini, attaching it to a stationary structural part of the printer to avoid vibrations or interference with moving axes. It repositions the hub on the right side for easy cable access and maintenance, eliminating the need to reach the often-inaccessible rear (e.g., in enclosures or against walls).
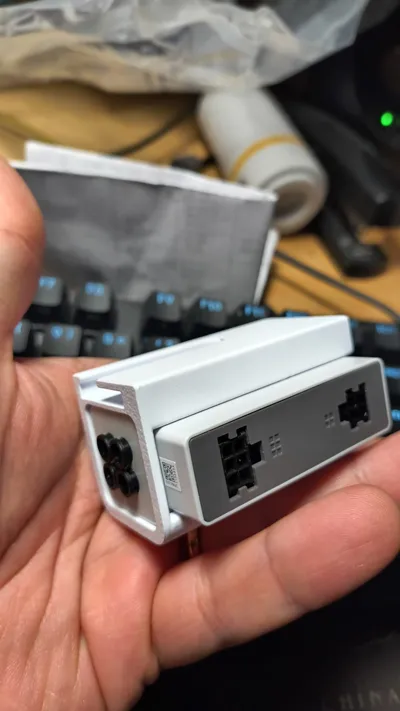
It's a true print-in-place design: prints as a single piece with no supports, no screws, and no assembly required. Leverages the printer's stock mounting points for instant slide-in installation – simply slide the bracket into the frame without unscrewing or adding hardware. Ensures perfect alignment, rock-solid stability, and clean right-side cable routing.
Key Benefits
- Right-side cable access: plug/unplug without moving the printer or reaching the back.
- Mounts to fixed frame: zero vibrations, no collisions with print head.
- Pure print-in-place: one print, no supports, no screws, no assembly.
- Stock slide-in fit: installs in 10 seconds using A1 Mini's original hooks/ledges.
- Tidy cabling: minimizes bends, clutter, and rear mess while preserving front ergonomics.
Print Recommendations
- Materials: PLA, PETG, ABS, or ASA – PLA works great for lighter duty; ABS/PETG/ASA for heat/vibration resistance near the printer.
- Orientation: Bed down with mounting surfaces facing plate for precise slide-in tolerances.
- No supports needed: Self-supporting geometry – 20-25% gyroid infill for lightweight rigidity.
- Settings: 0.2mm layer height; test hub clearance if using nozzle ≠0.4mm.
- Print time: ~50 min on A1 Mini with standard PLA/PETG.
Assembly Instructions
- Print the bracket (print-in-place, no supports).
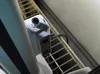
- Power off A1 Mini. Slide in bracket to original right-side structural mount (press-fit using stock hooks – no screws).
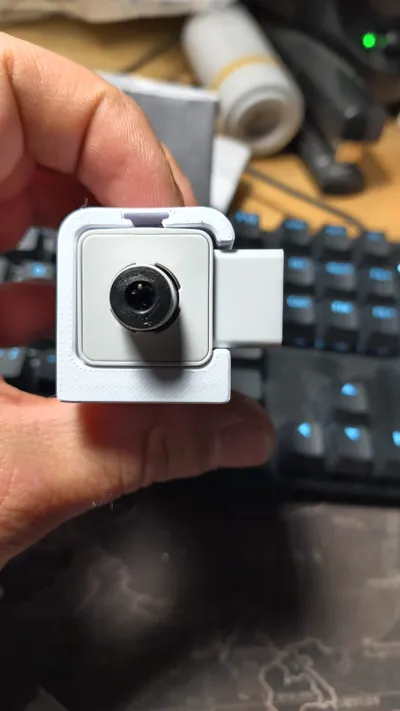
- Snap AMS Hub into bracket slot (precise, secure fit).
- Connect cables from right side. Done!
NB for A1 you must use an adaptor I will publish it in 1 or 2 days and share link HERE
If you download or print my model. PLEASE rate it! You will help me.
If you like it, help me fund the design and filament for the prototypes PLEASE consider downloading this model and supporting it, It's FREE FOR YOU and it supports my work.
thank you
Boost Me (for free)
Boosts help me make these models available for free on the site, so every boost is greatly appreciated. Thank you!
MembershipPlease if you can add your membership to help me in my work.
License
You shall not share, sub-license, sell, rent, host, transfer, or distribute in any way the digital or 3D printed versions of this object, nor any other derivative work of this object in its digital or physical format (including - but not limited to - remixes of this object, and hosting on other digital platforms). The objects may not be used without permission in any way whatsoever in which you charge money, or collect fees.
Comment & Rating (9)