

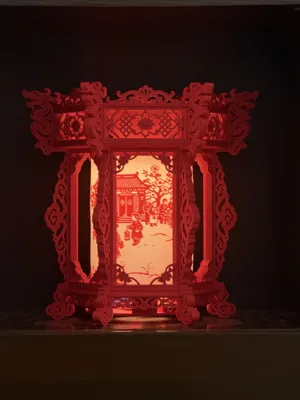
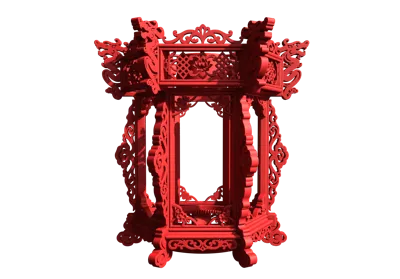

Print Profile(5)
Bill of Materials
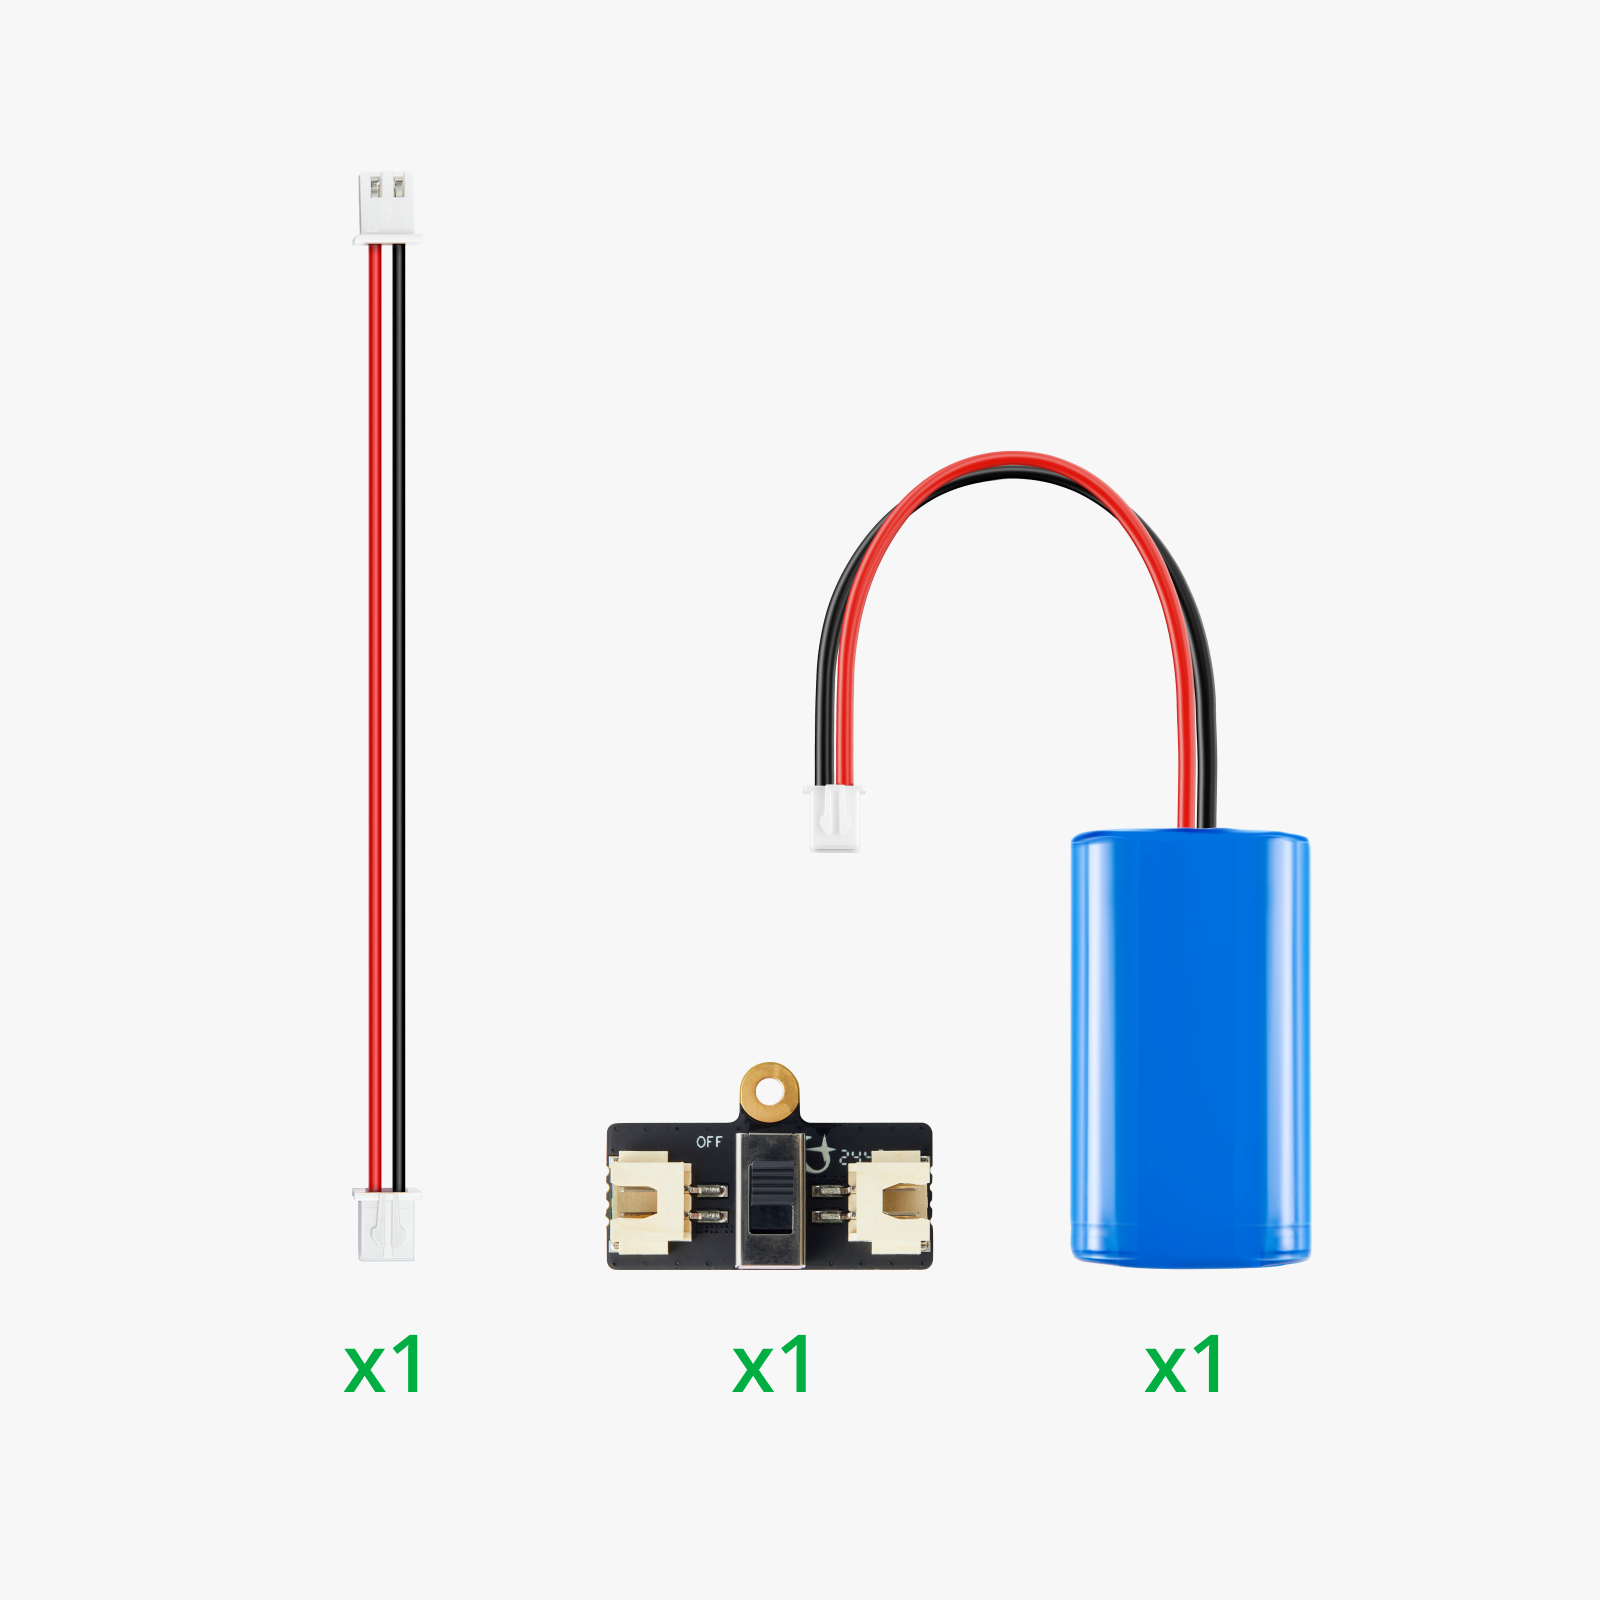


- 7个螺丝 :来自9g 角度控制数字舵机-180° (1PCS)- PG001 x 1: Cyberick中包含该螺丝 x 7:
- 螺丝刀 x 1:拧上面提到的螺丝 x 1:
- 胶水 : 模型顶部和底部各有6个小装饰件需要胶水粘贴(牢固的胶水) x 1:
- 悬挂灯笼的绳子 :顶部龙头背后有6个洞是用来穿绳子的,方便挂起来 x 1:
- 双面胶 : 用于固定电池和电机 x 1:
Description
Boost Me (for free)
If you like my model, please boost me! Your support is my motivation to continue sharing!!!
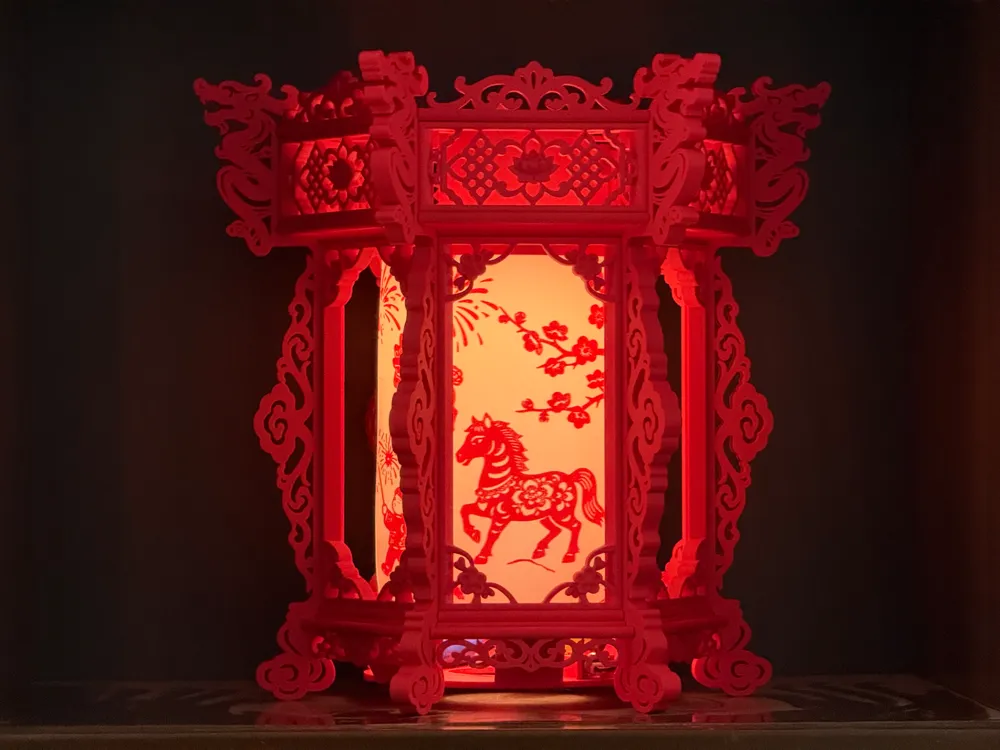
I have uploaded two versions, H2D and P1S
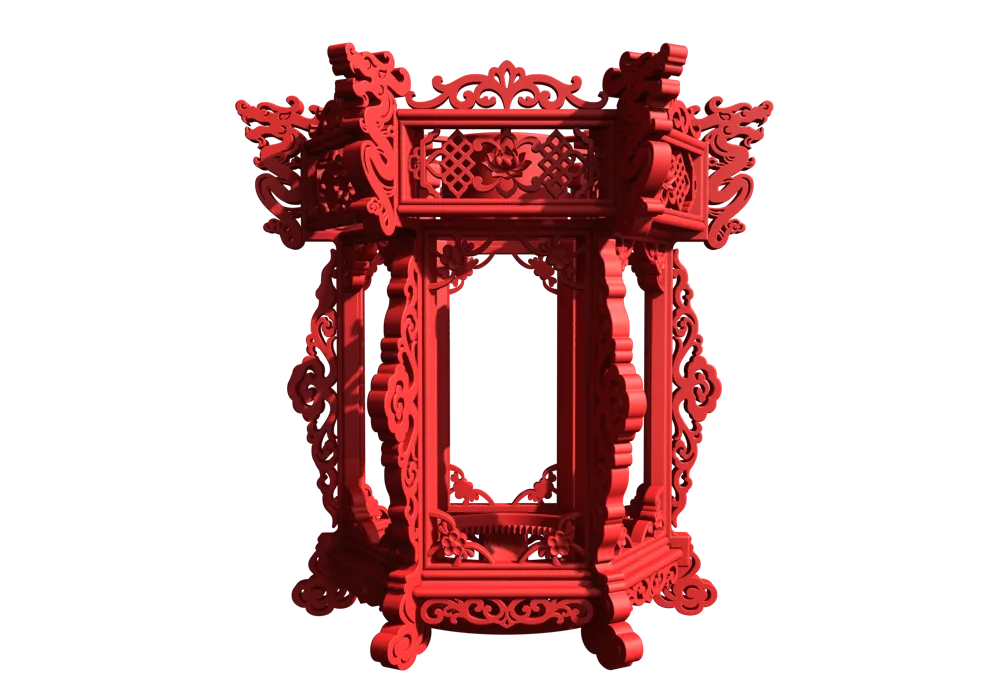
Assembly is very simple because each buckle is unique, making it hard to assemble incorrectly. Just pay attention to the direction of the small window lotus on top, its carving needs to be sanded, otherwise it will prick your hands. It's definitely not because I was too lazy to film the assembly process (actually I filmed it, but it was very chaotic😭)
The lights, motors, switches, rechargeable batteries, and screws needed for the model were all purchased from Maker's Supply
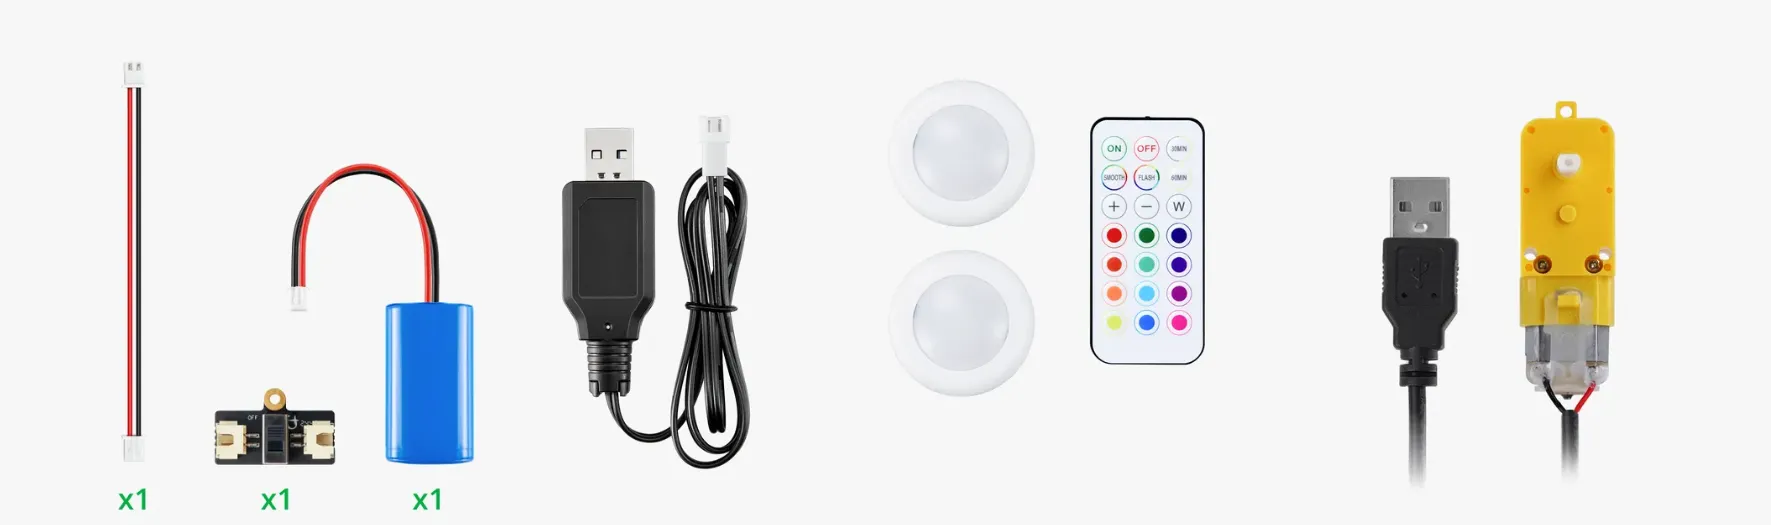
The first four accessories are wires, a switch, a rechargeable battery, and its charger (included in CyberBrick, or can be purchased separately from Maker's Supply). Behind are two lights and a light remote control, and finally the motor (from the Marble Run kit)
More other parts
- 7 screws: from 9g Angle Control Digital Servo - 180° (1PCS) - PG001 x 1: CyberBrick includes these screws, so if you have this kit, you don't need to buy them. Or check if you have similar screws at home. If not, you can buy them at a hardware store
- Screwdriver x 1: to tighten the screws mentioned above
- Glue: The top and bottom of the model each have 6 small decorative pieces that need to be glued (strong glue)
- Rope for hanging lanterns: There are 6 holes behind the dragon head on top for threading rope, making it easy to hang
- Double-sided tape: used to secure the battery and motor
Since the model is somewhat large, smaller models like A1 mini may not be able to print it directly, as components like gears, batteries, and lights might not fit
I will try to modify a small-sized palace lantern model that cannot rotate, with only the large outer frame light, and upload it later
This is a somewhat noisy carousel lamp model. I originally wanted to use the motor from CyberBrick directly but was afraid I couldn't adjust the meshing of the parts well, so I disassembled the Marble Run motor. However, I really can't do anything about the noise; it's still noisy even after applying lubricant. But luckily, it's hung outdoors, so it doesn't have much impact
Below is the assembly process. All plate positions are shown in the image below. There may be imperfect areas, please leave a comment if anything is unclear
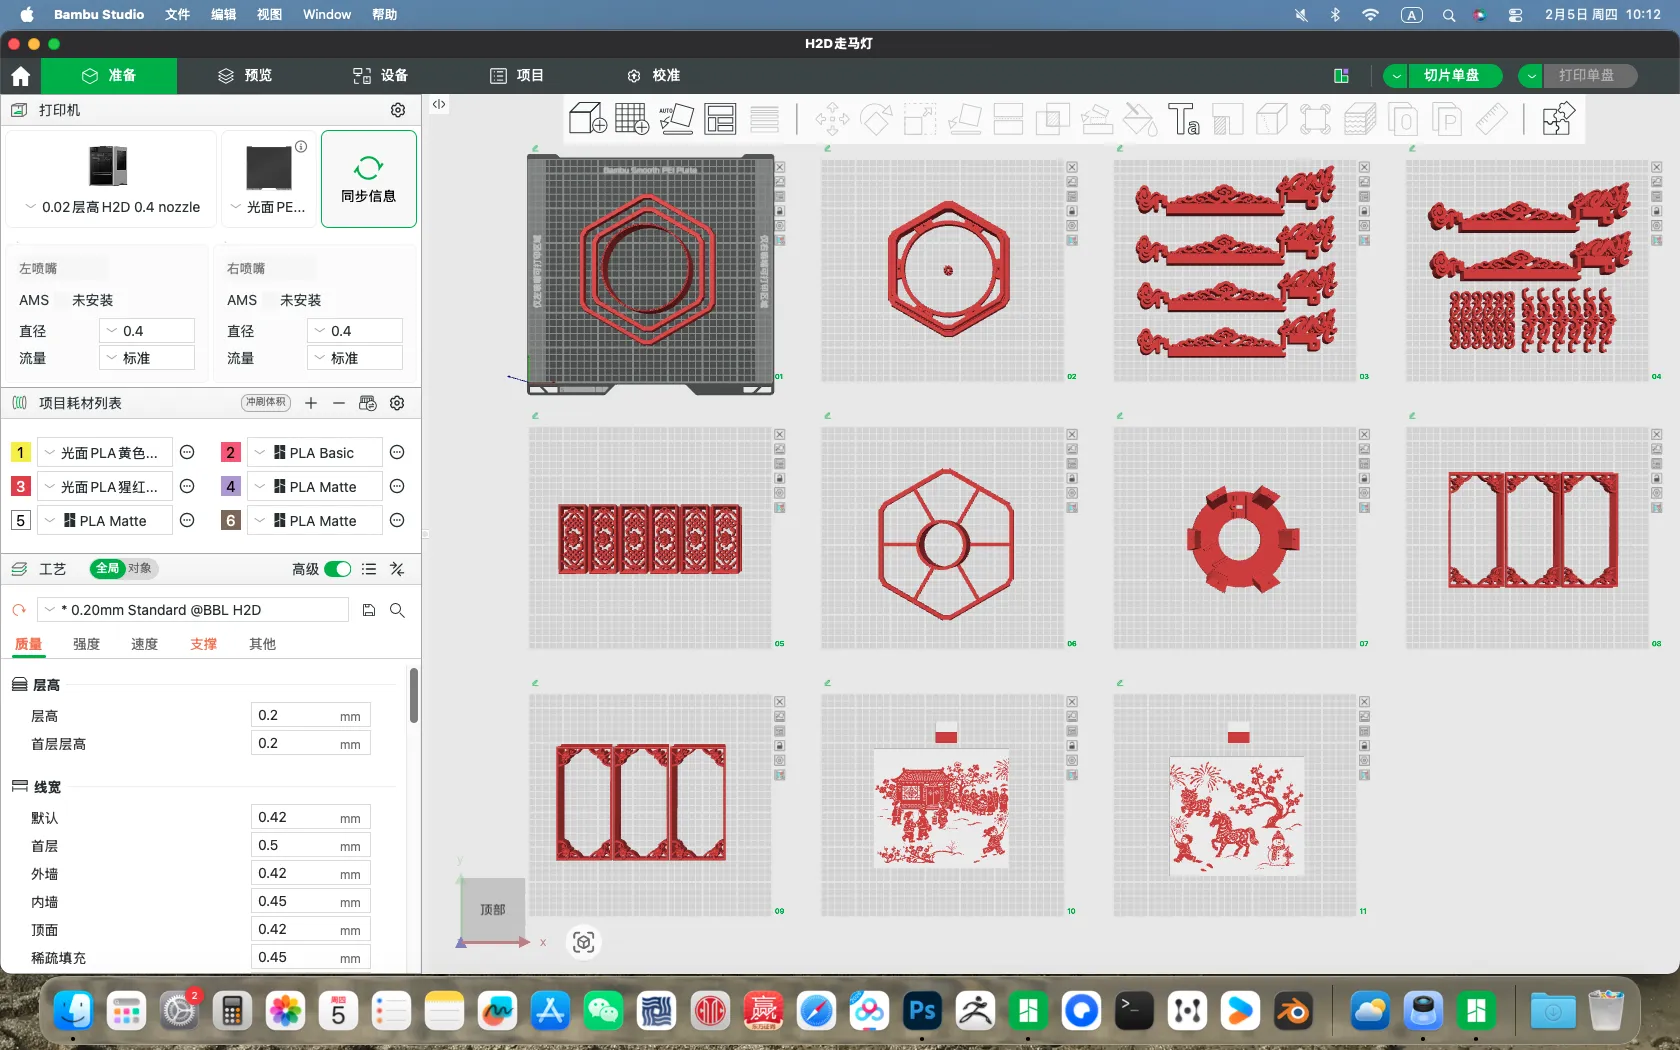

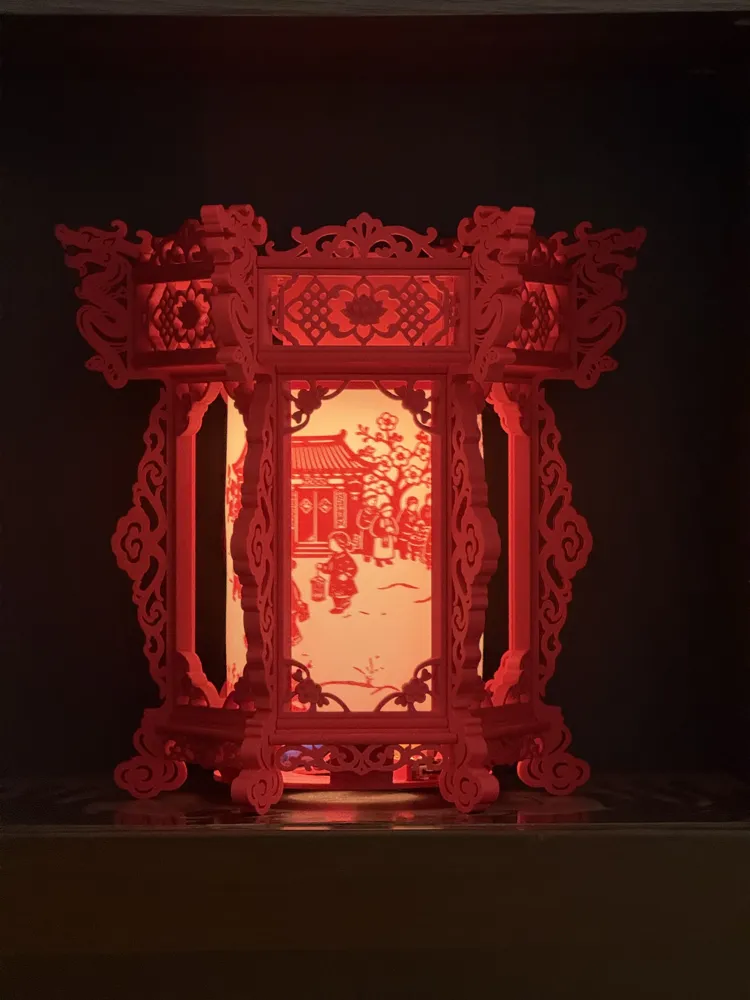
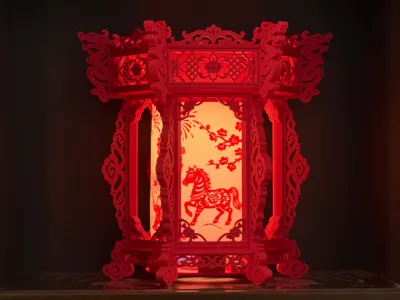
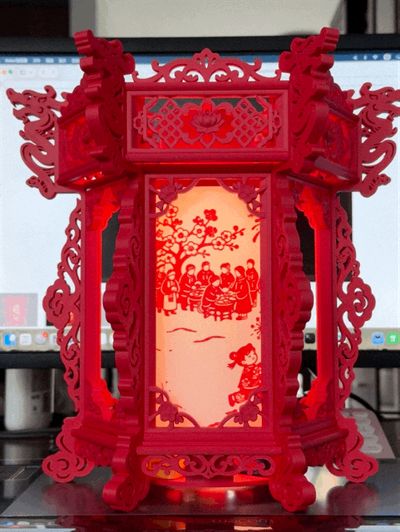
The above are all models without supports, but some might be quite large. To prevent warping, please clean the build plate first. plate 10 and 11, these two paper-cut artworks, are AI-generated. If you don't like them, you can print other content as long as it's the same size and can be inserted
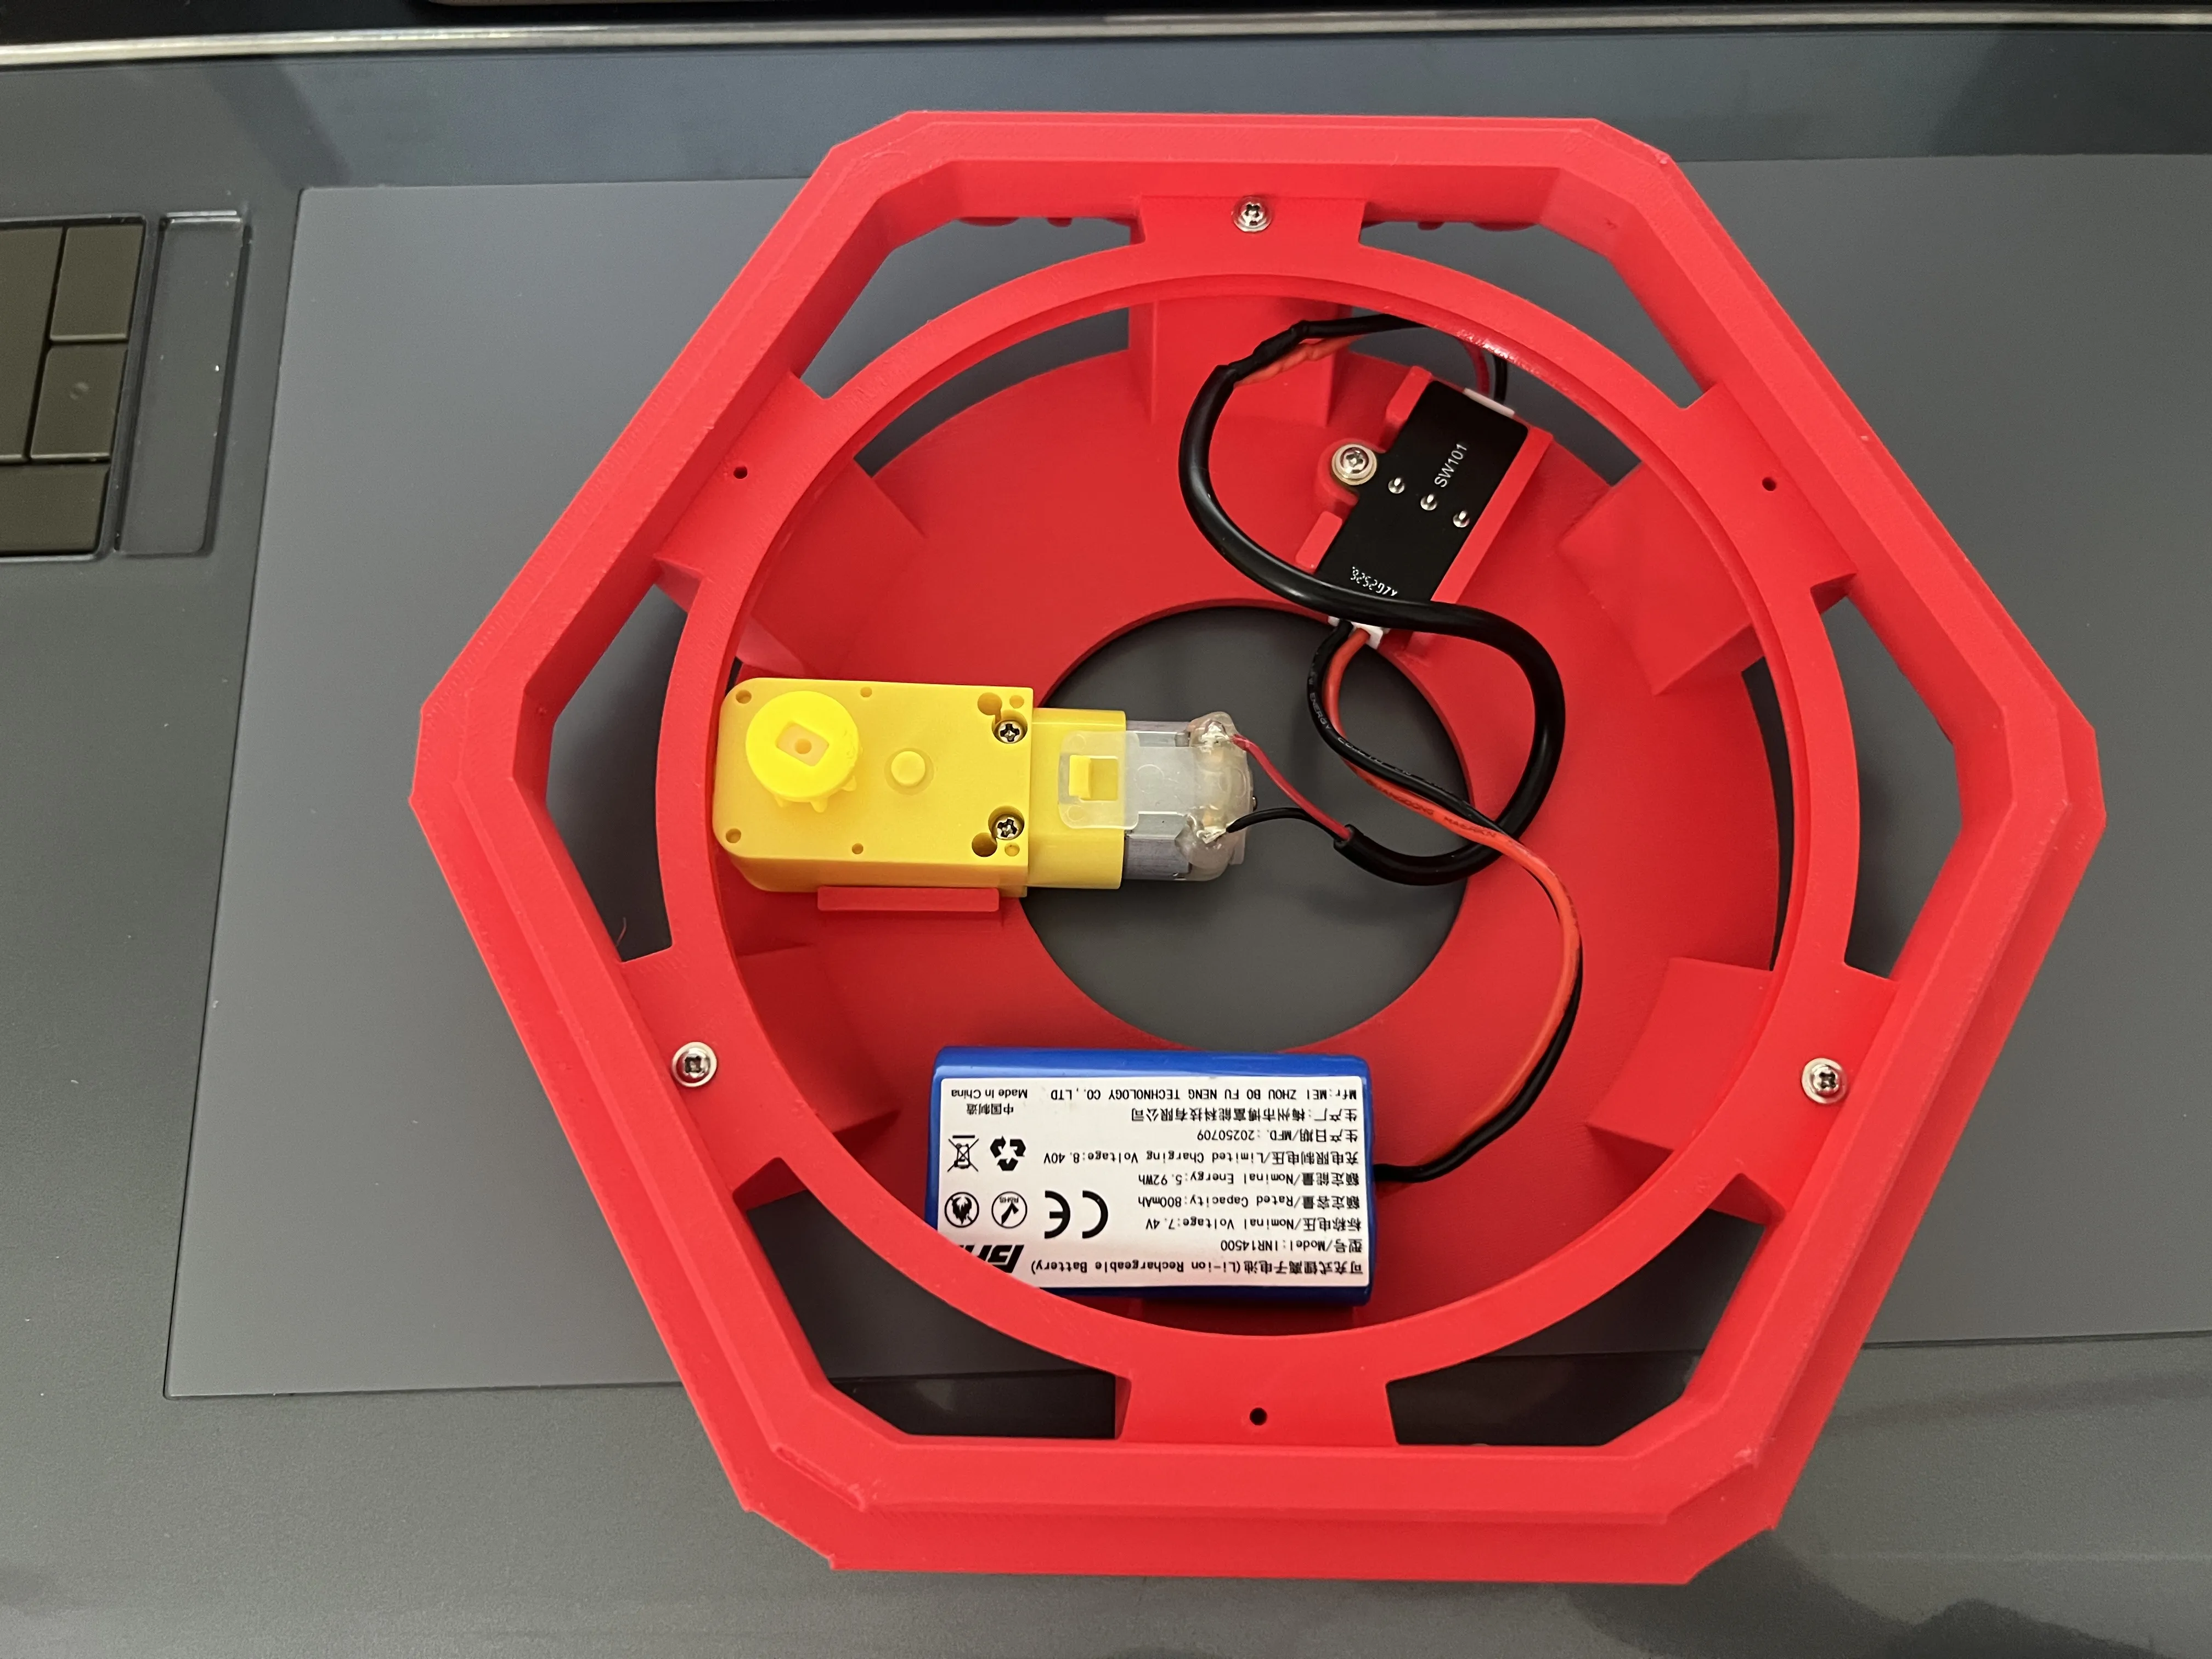
First, secure plate 2 and 7 with screws. Insert the switch upside down into the hole and secure it with a screw. Secure the battery with double-sided tape and plug the wire into the inner circle side for convenient future charging. Plug the motor into the other side. Before securing the motor, install the large and small gears
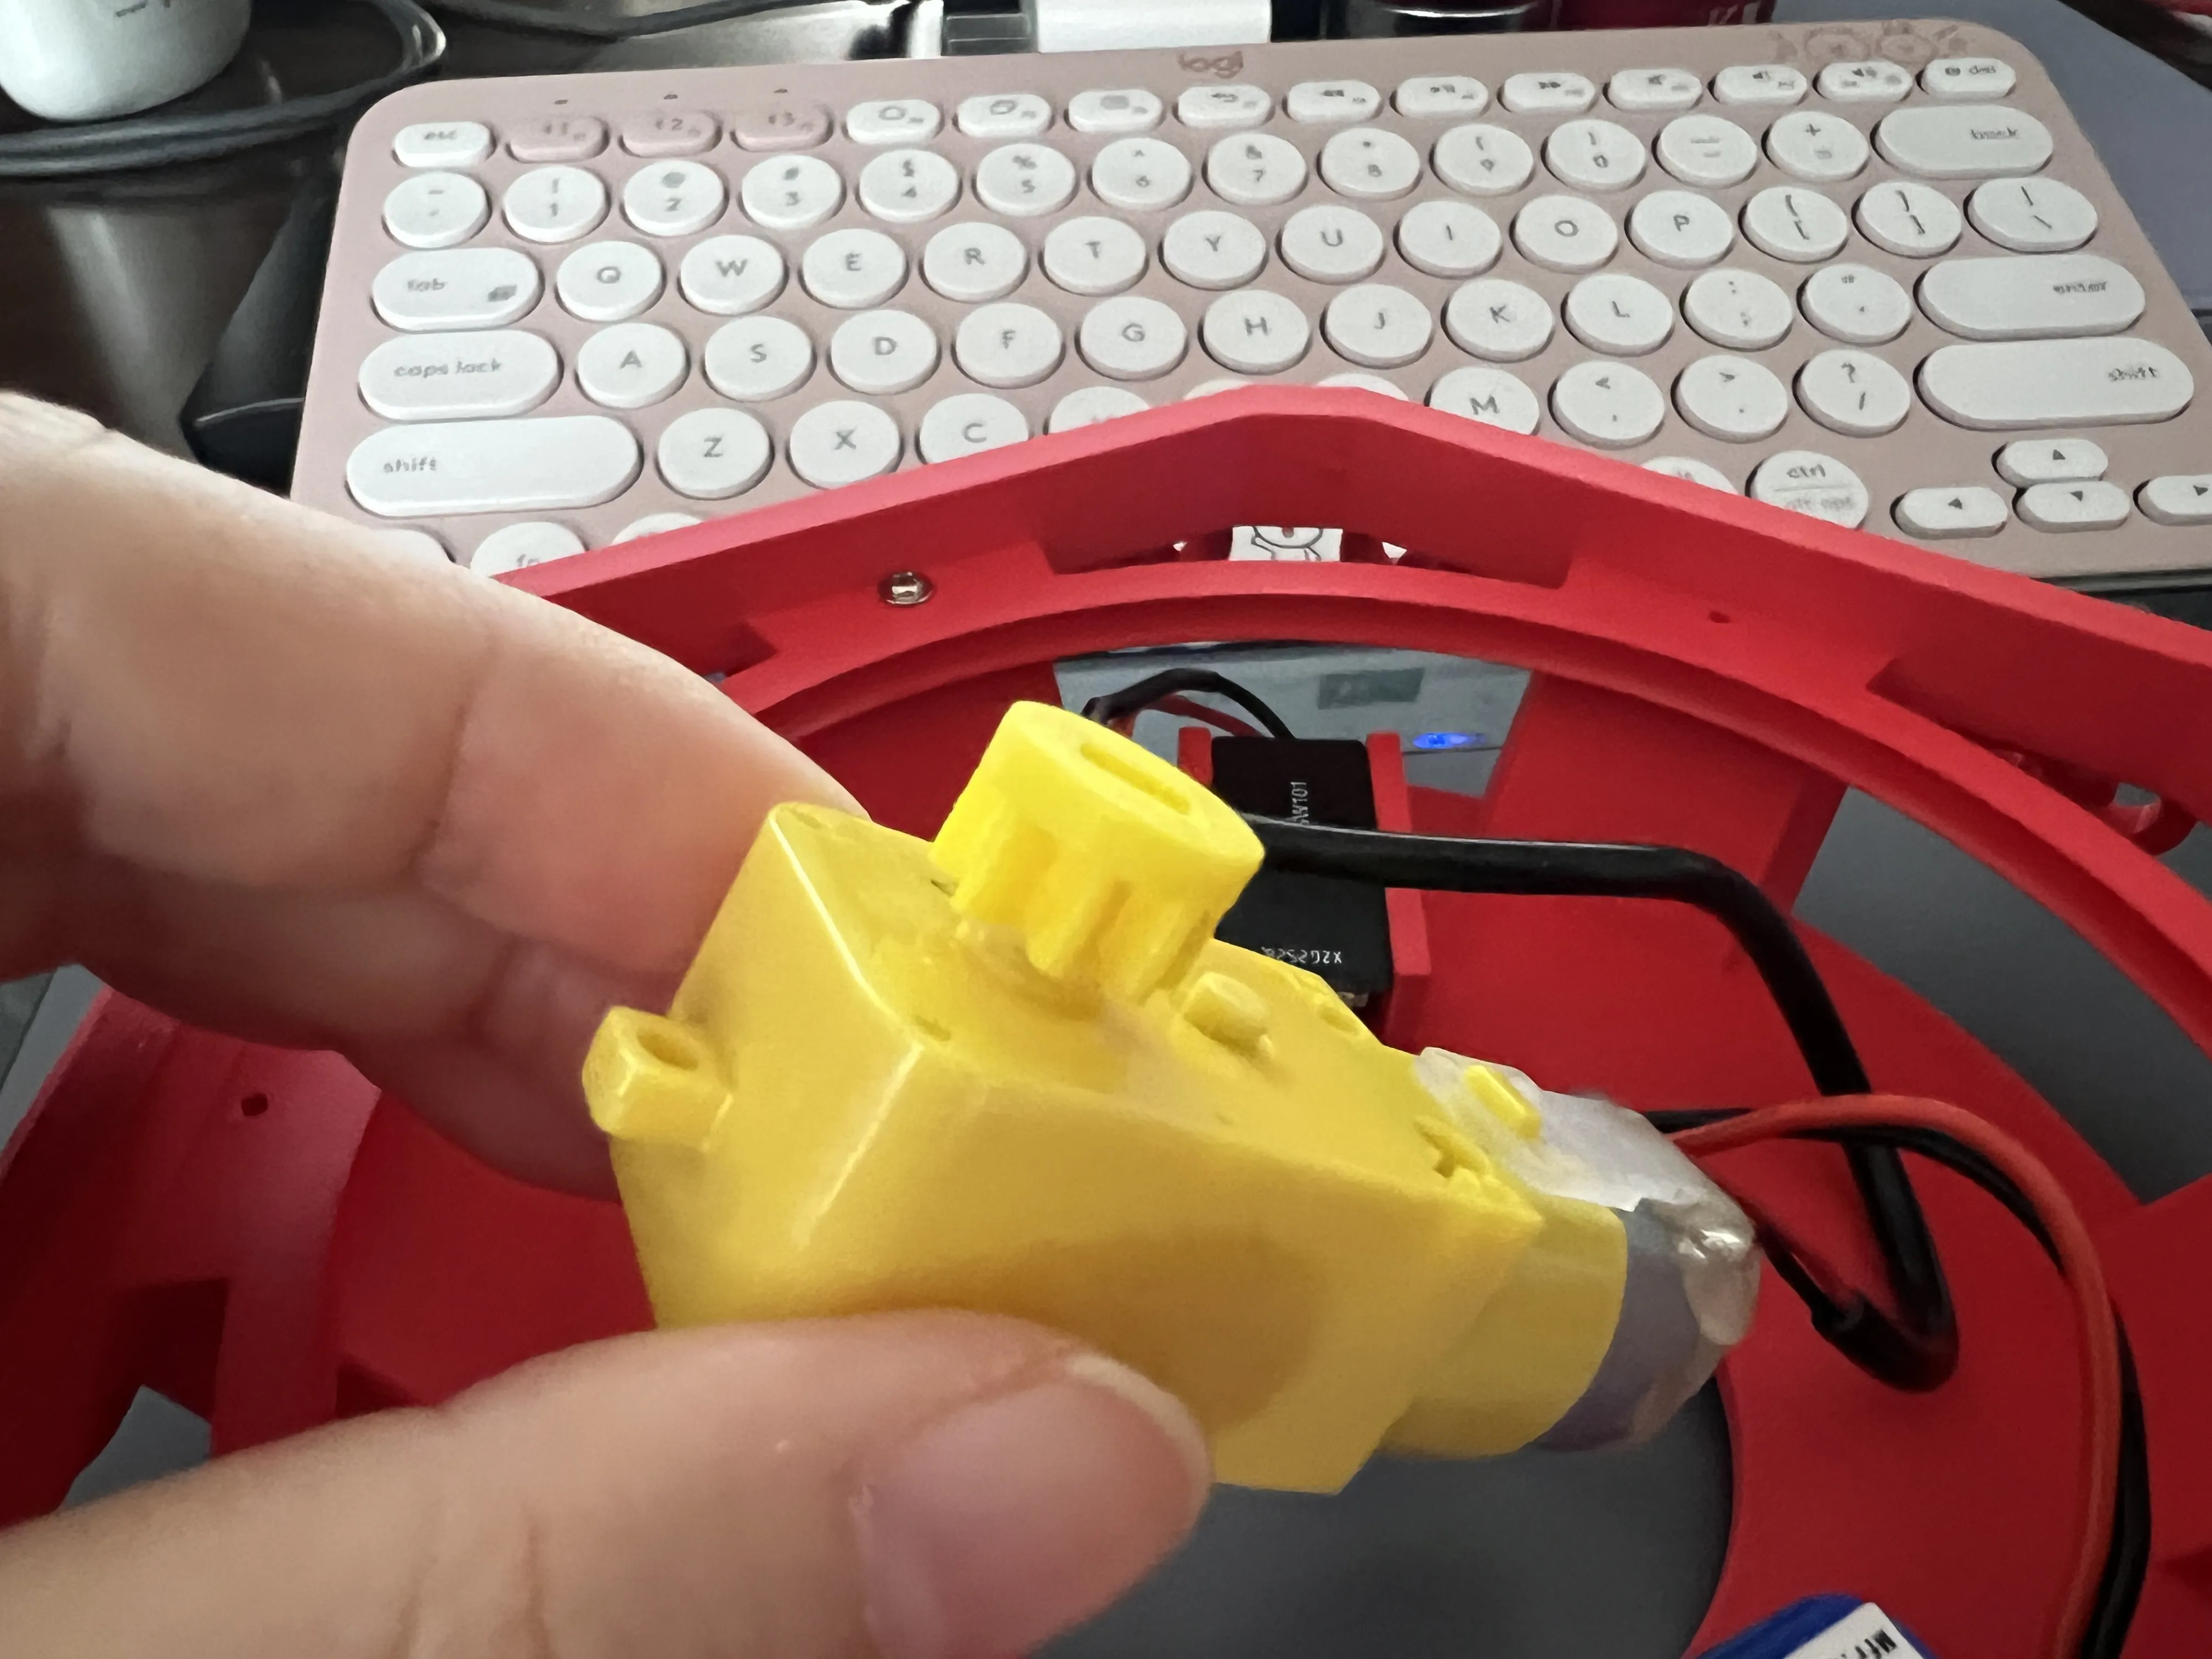
Then flip to the back
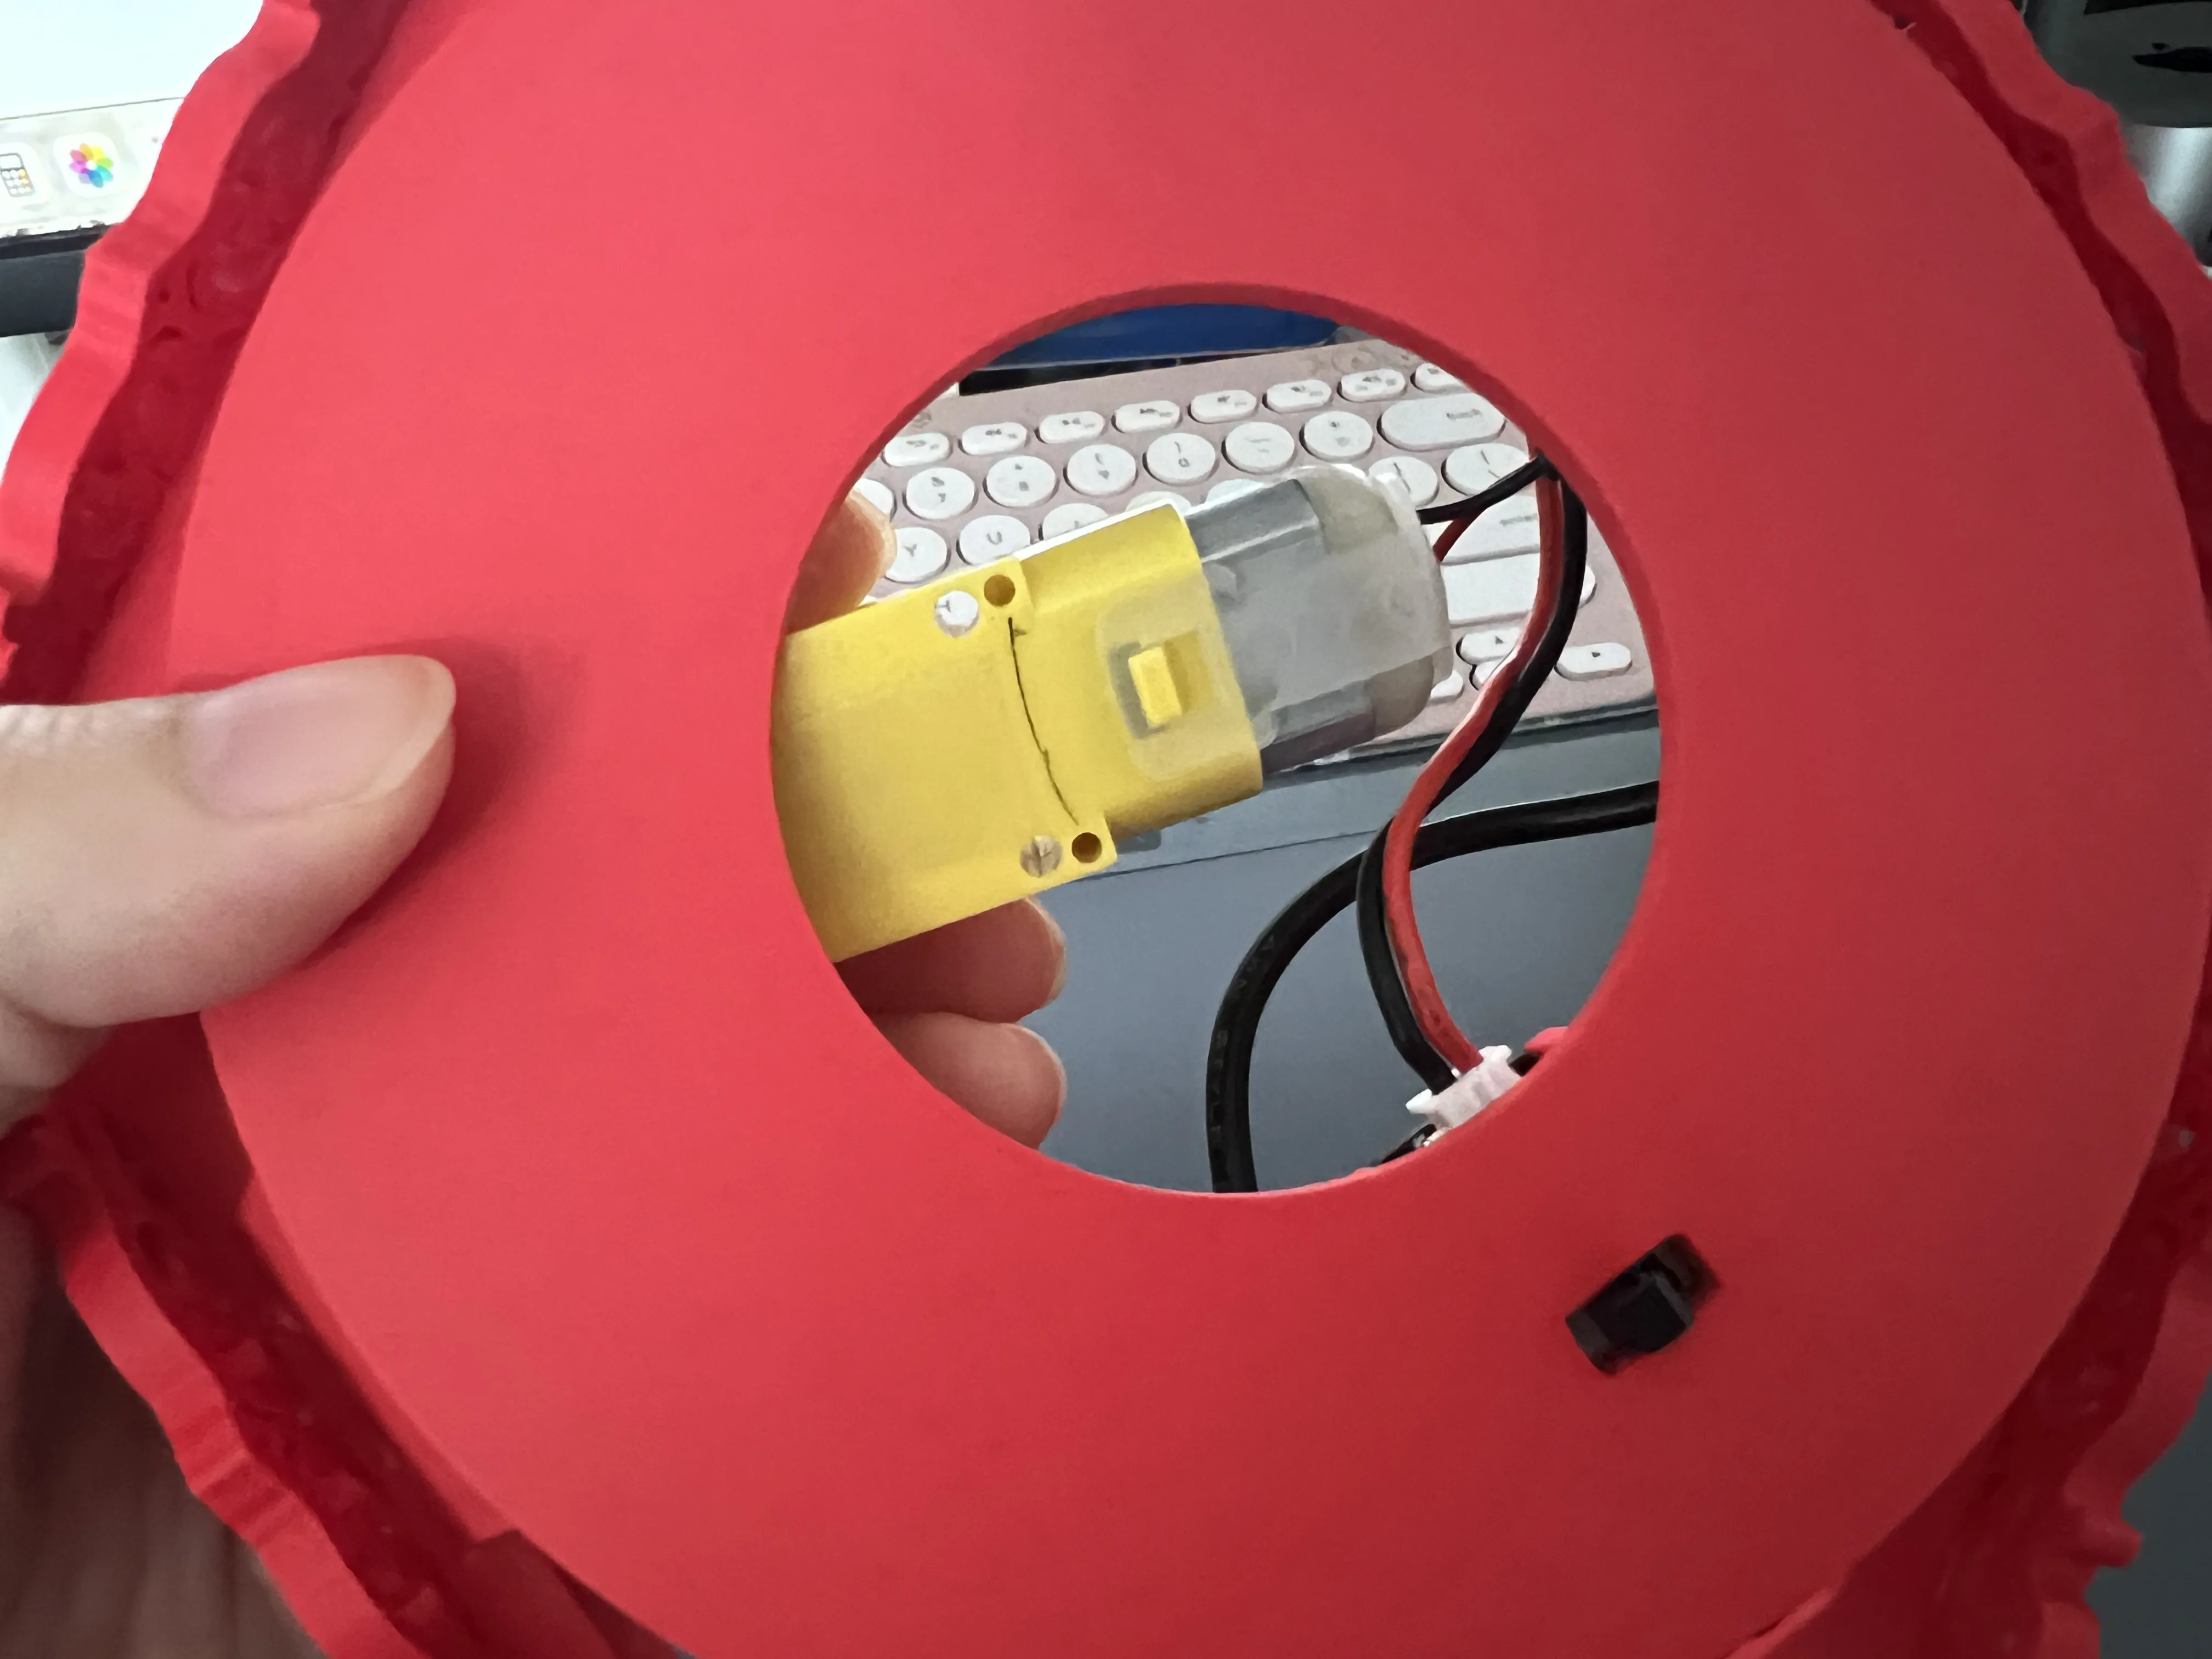
Turn on the power switch and adjust the motor position to ensure the large and small gears mesh properly and can rotate (it might be a bit noisy, you can apply some lubricant, though it doesn't help much). Then draw a positioning line on the motor and secure the motor with double-sided tape according to the positioning line
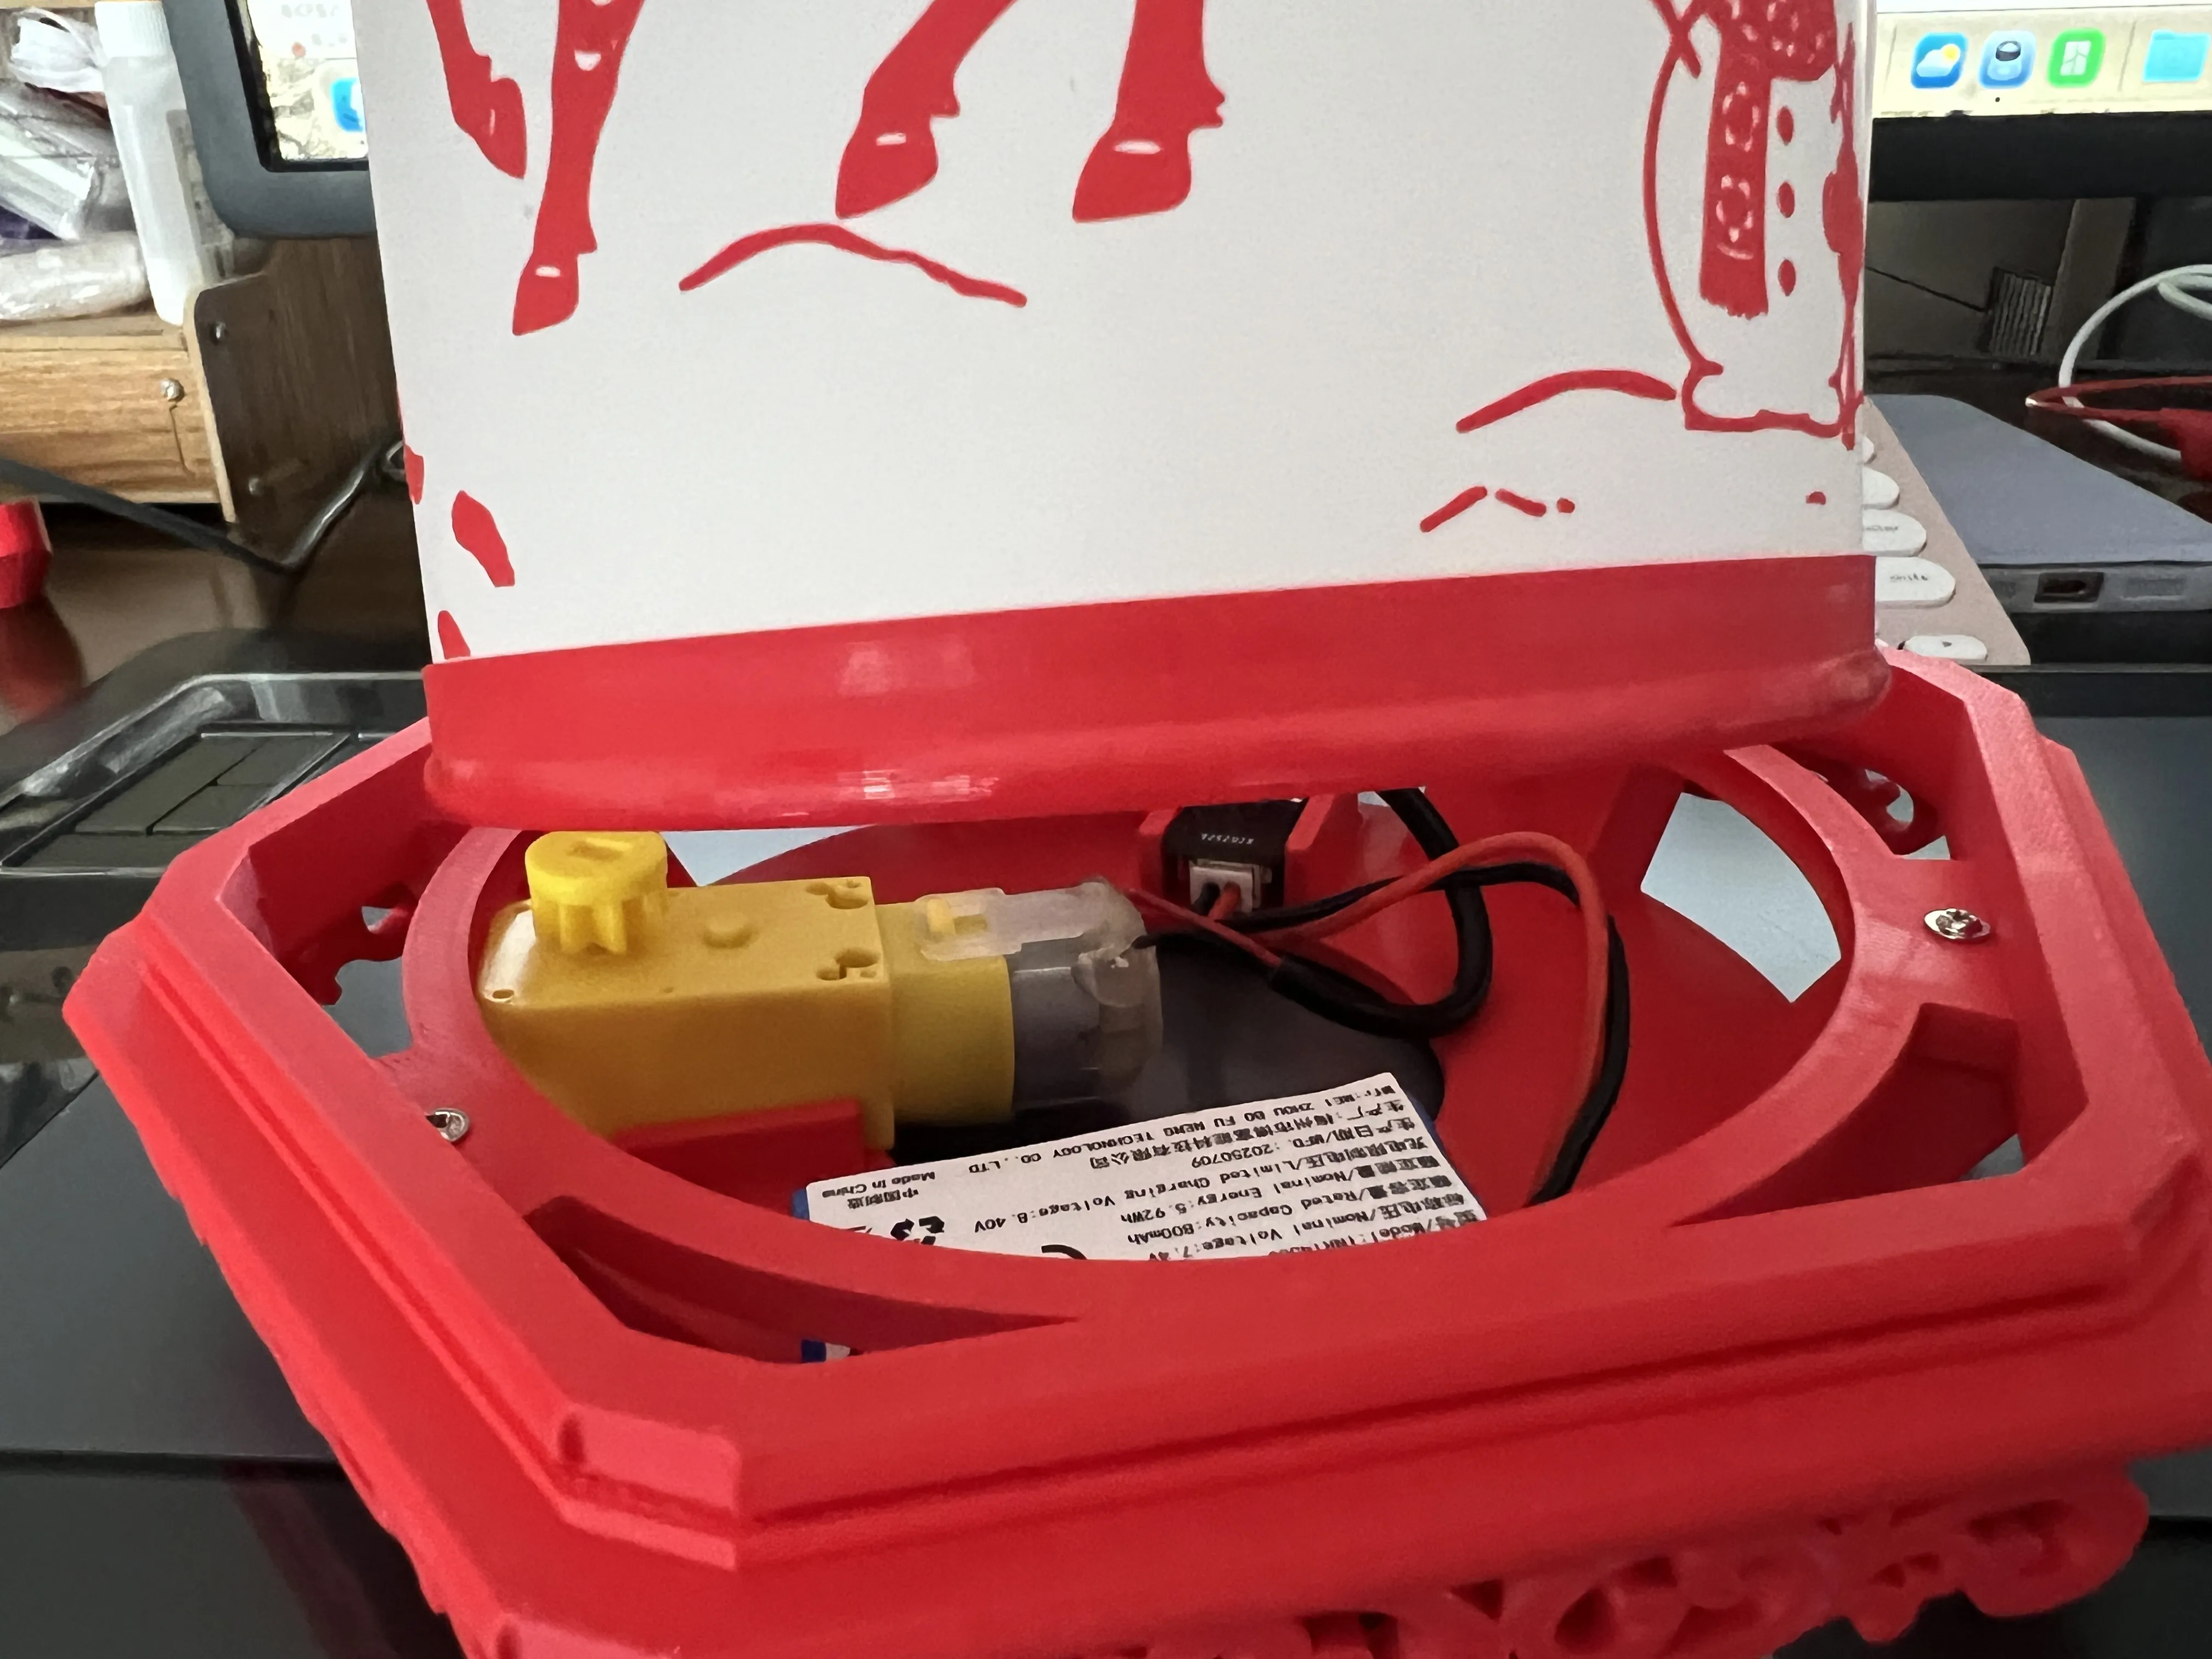
Paste plate 10 and 11 into the two slotted gaps of plate 1 and 2, making sure not to insert them upside down. Then install them back into the frame of plate 2. The installation should look like the image below
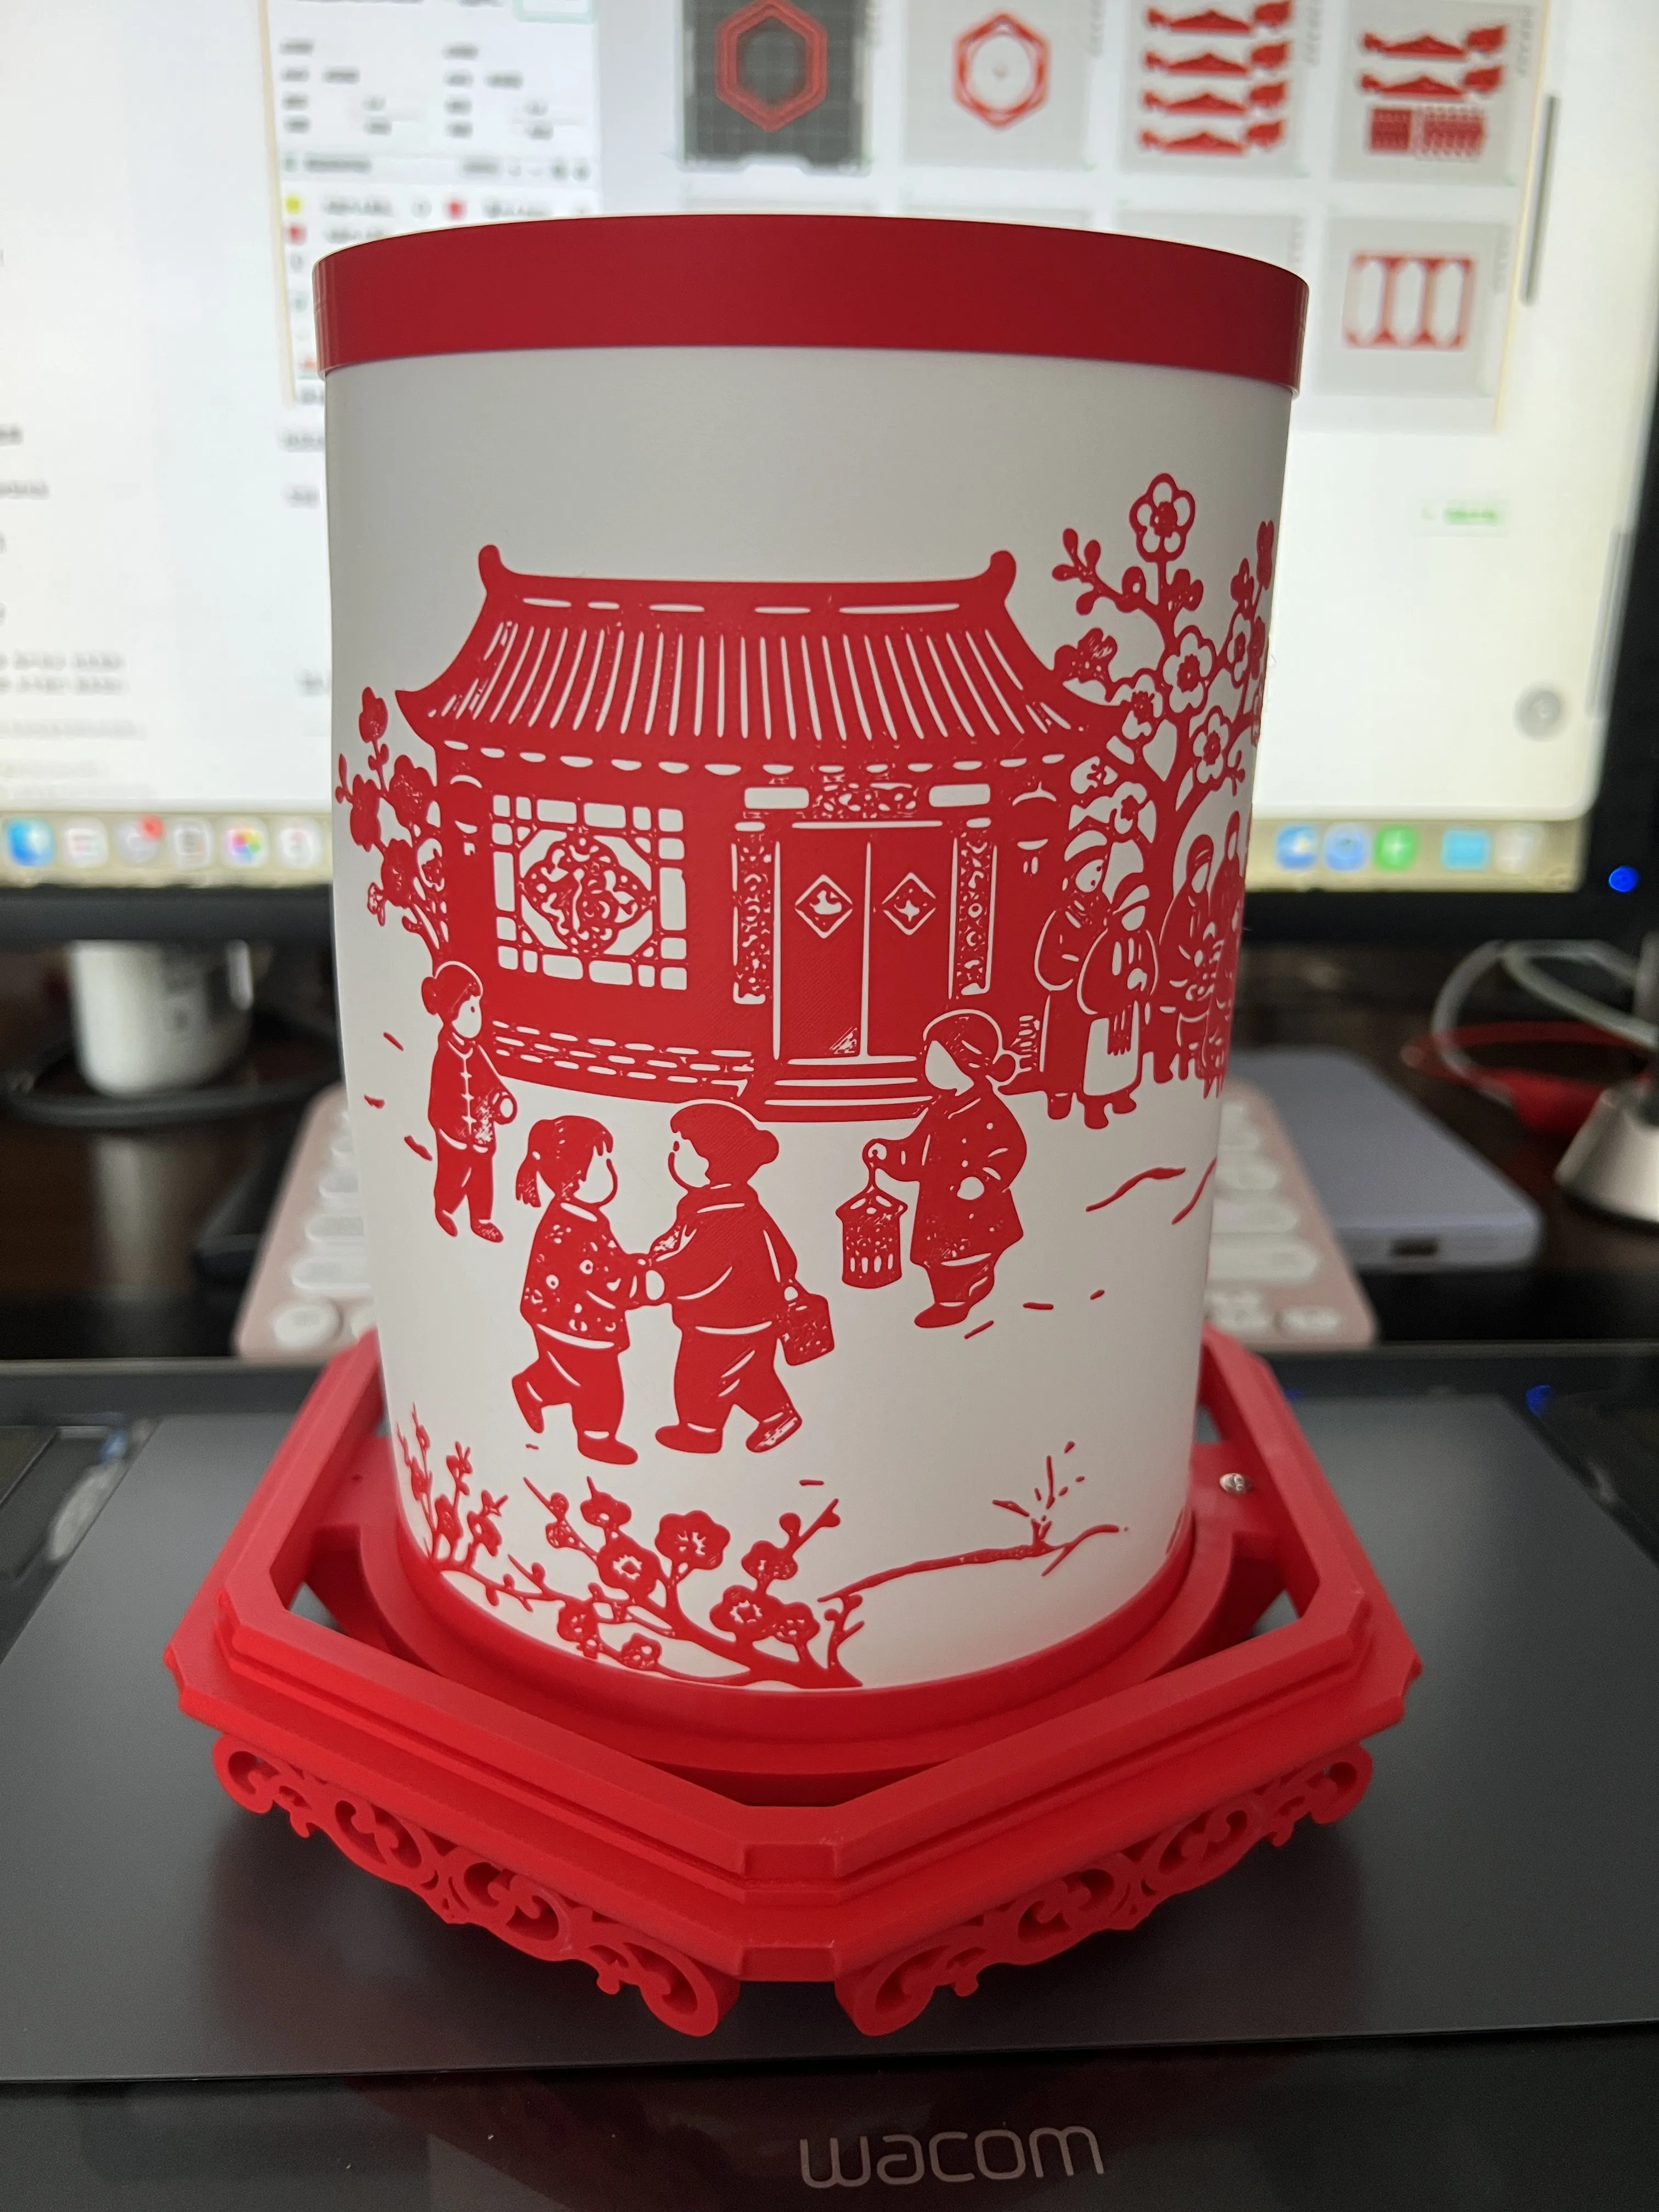
Assemble the side edges and the largest circle of P1. Do not apply glue; secure them with the slots first
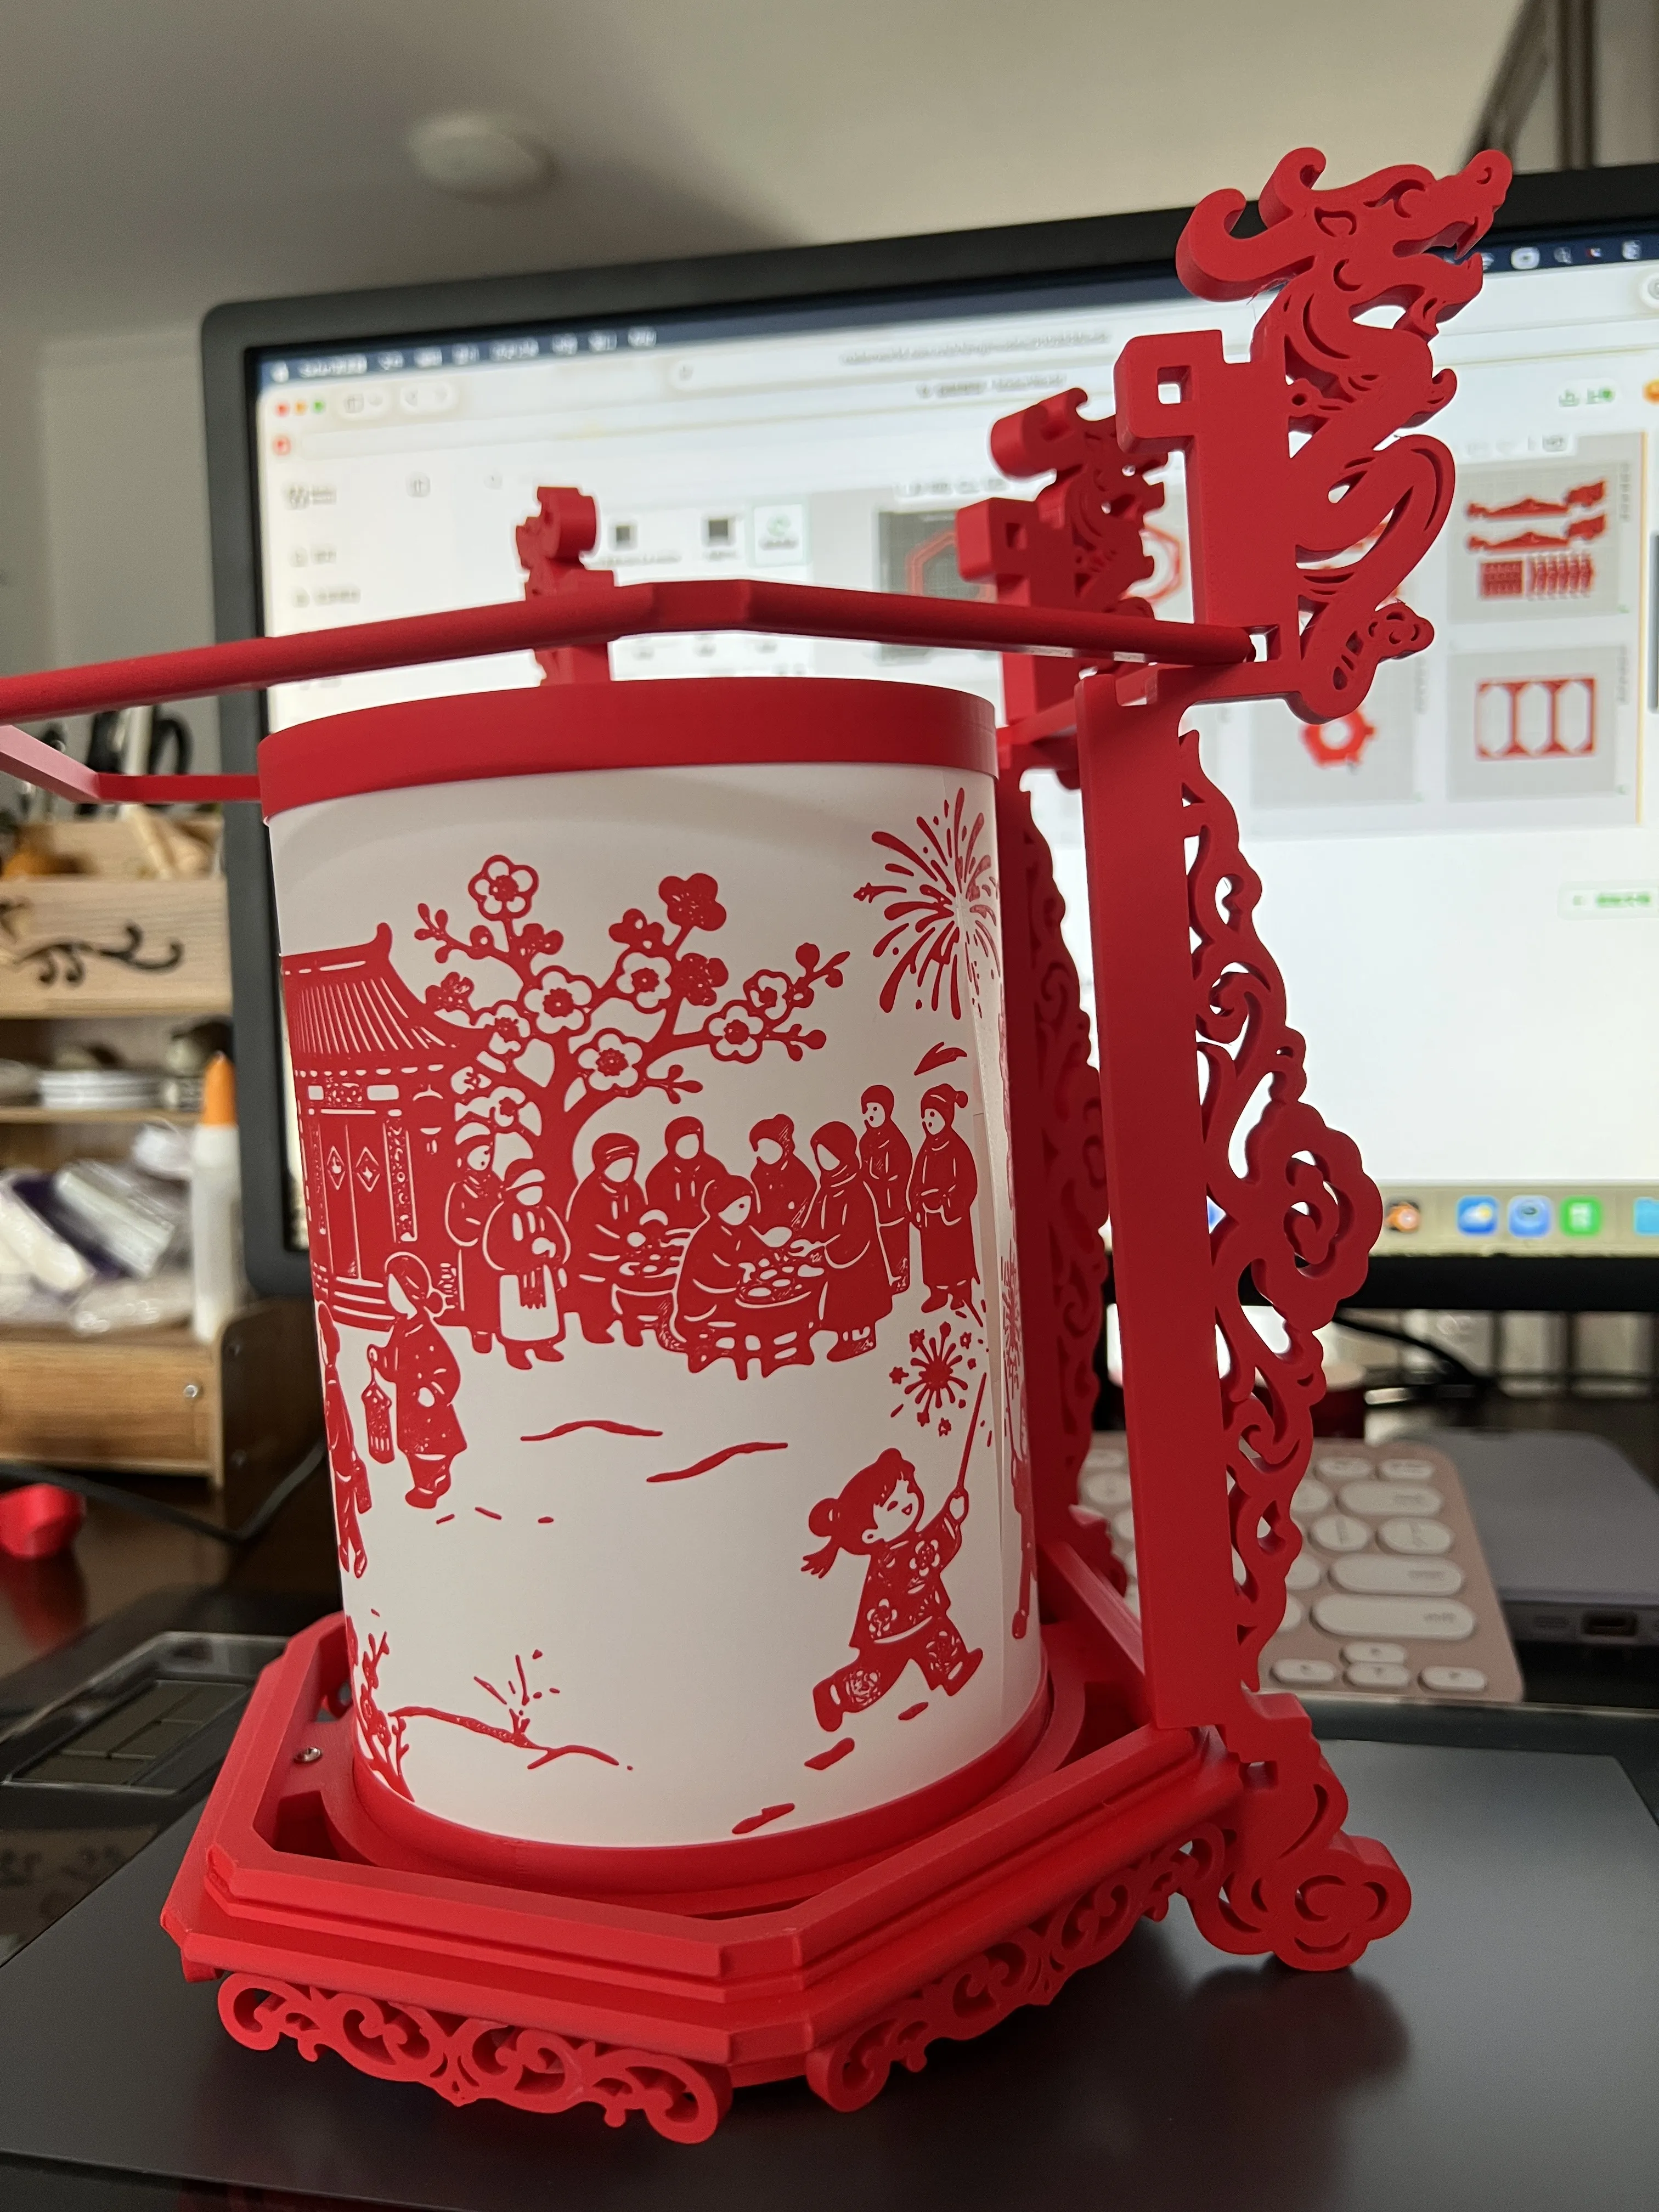
After all 6 sides are secured, place them into the hexagonal frame in the middle of plate 1. No need to secure them too tightly, as windows will be installed later
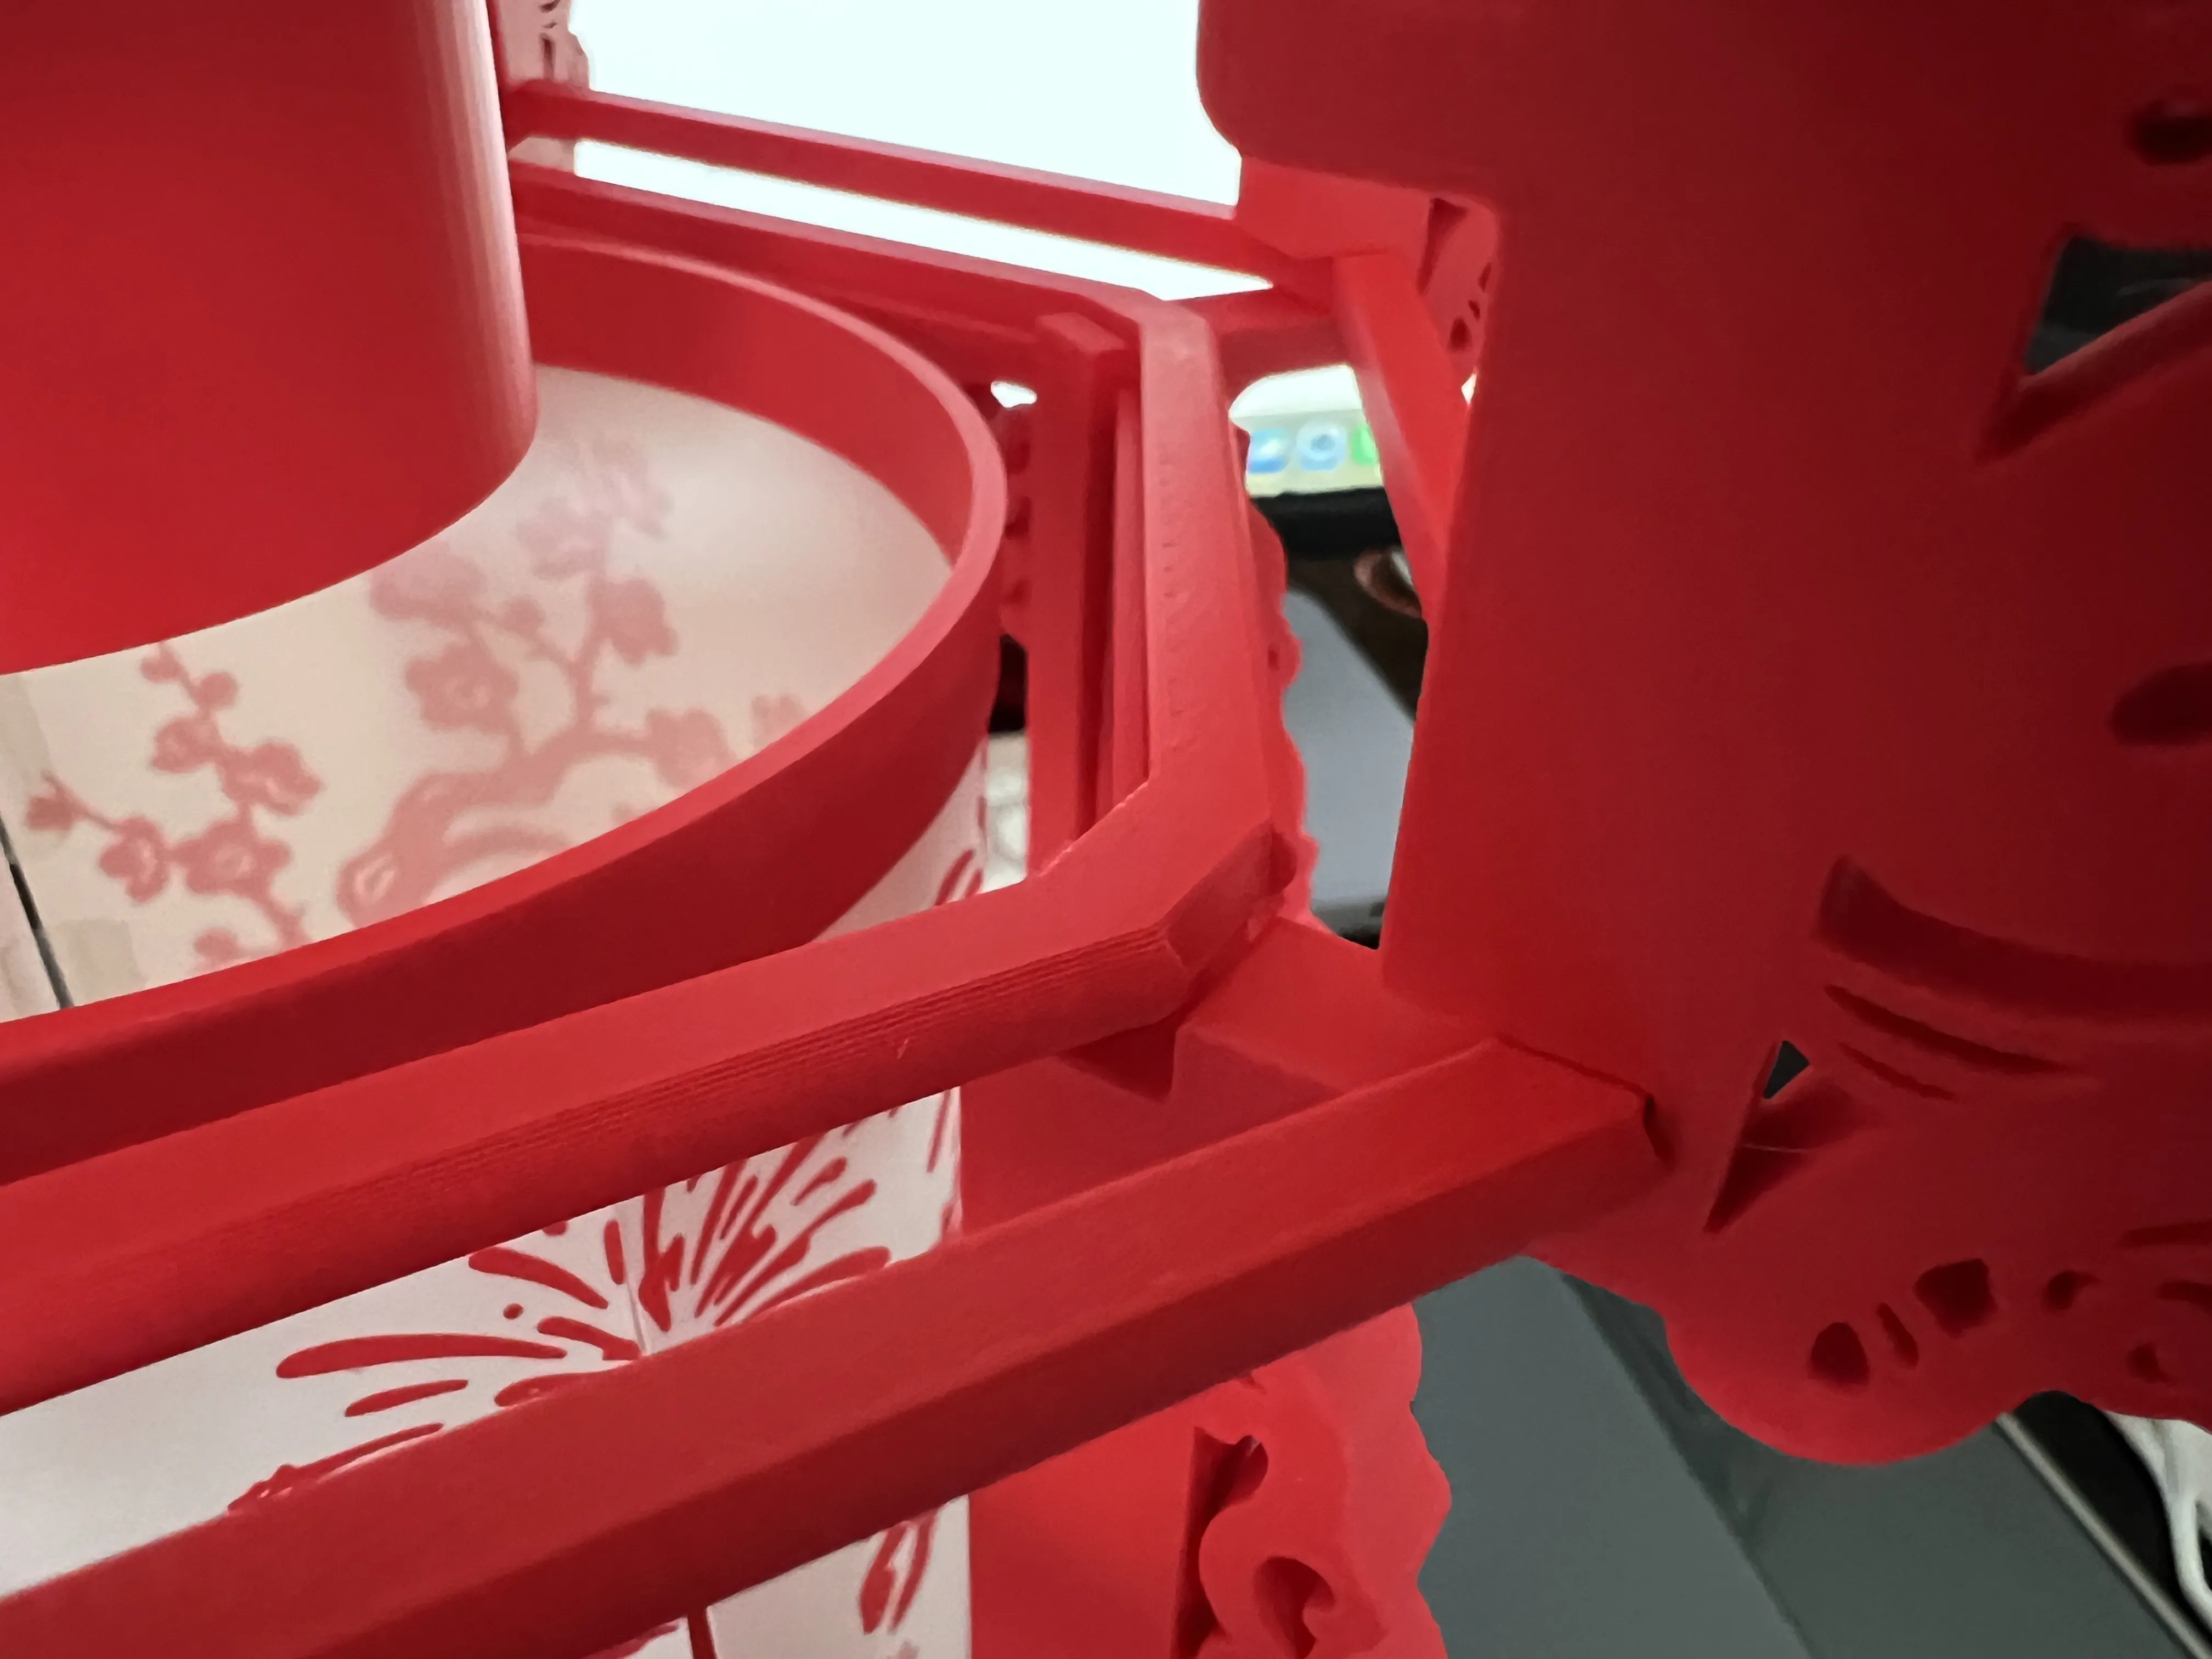
Assemble the 6 large windows. The large protrusions on the top and bottom of the windows can fit perfectly into the upper and lower circles
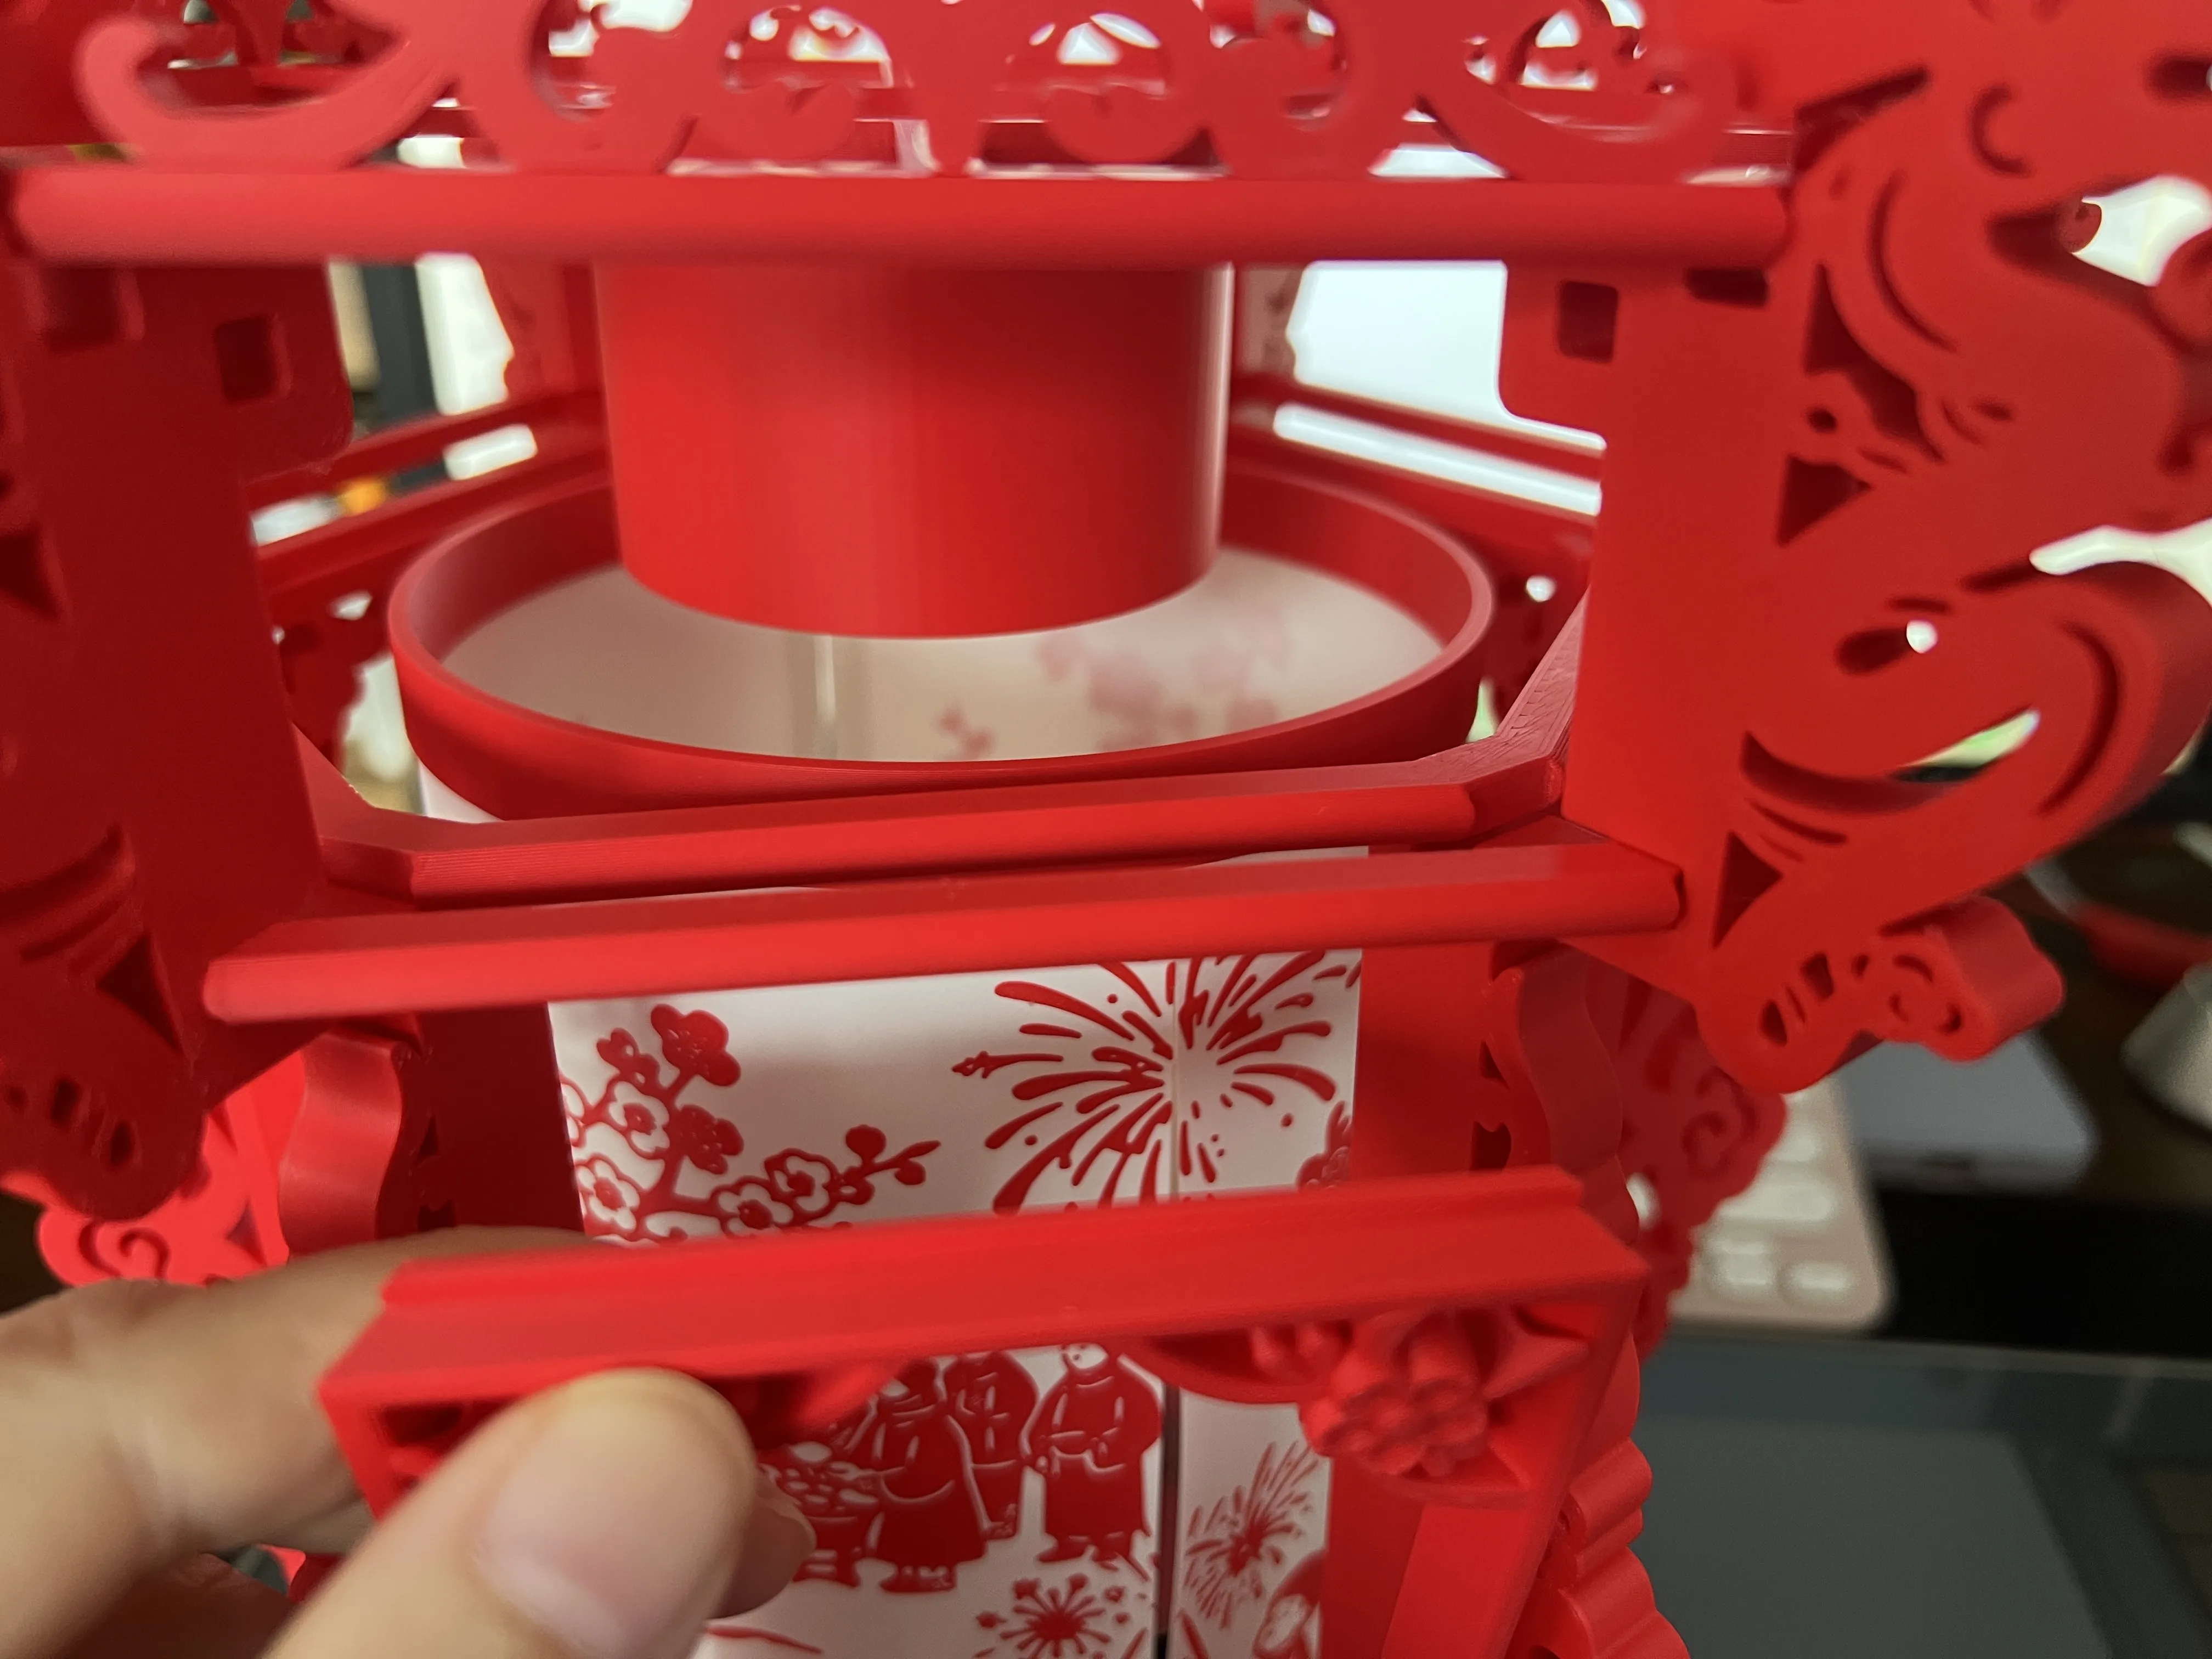
After that, fasten the small ring installed in the previous step
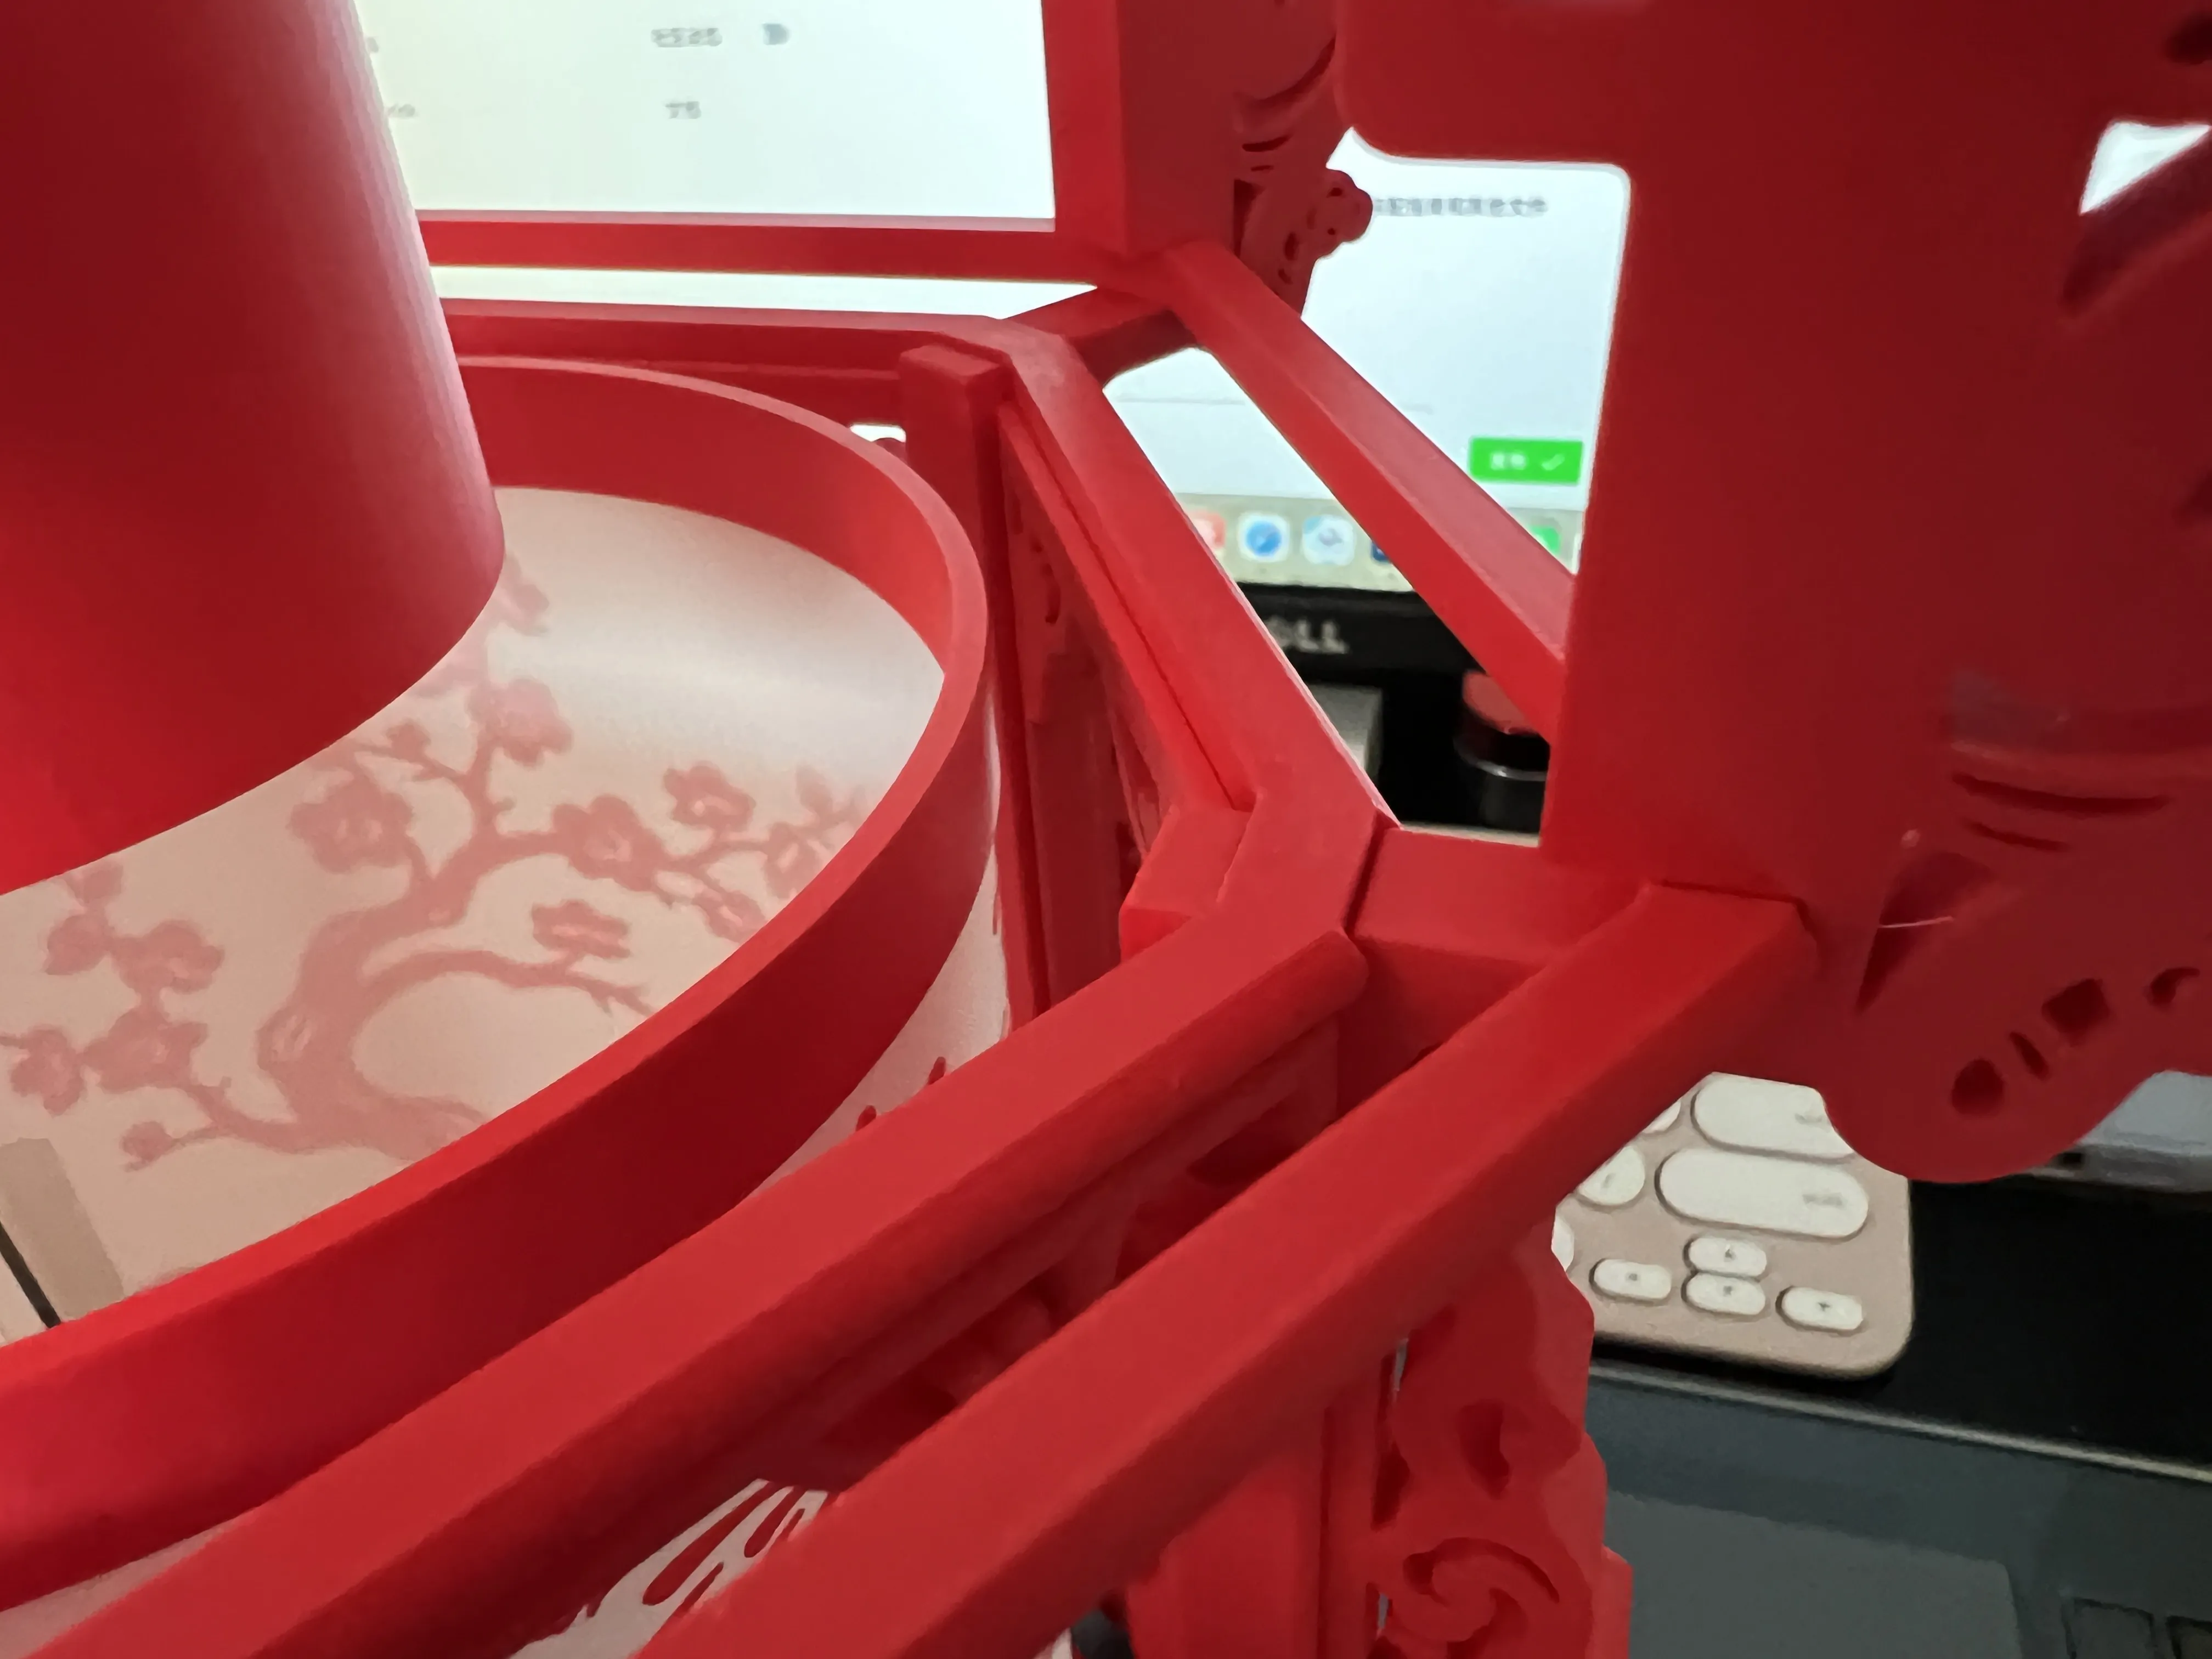
Place plate 6 into the topmost slot, again without pressing it down firmly
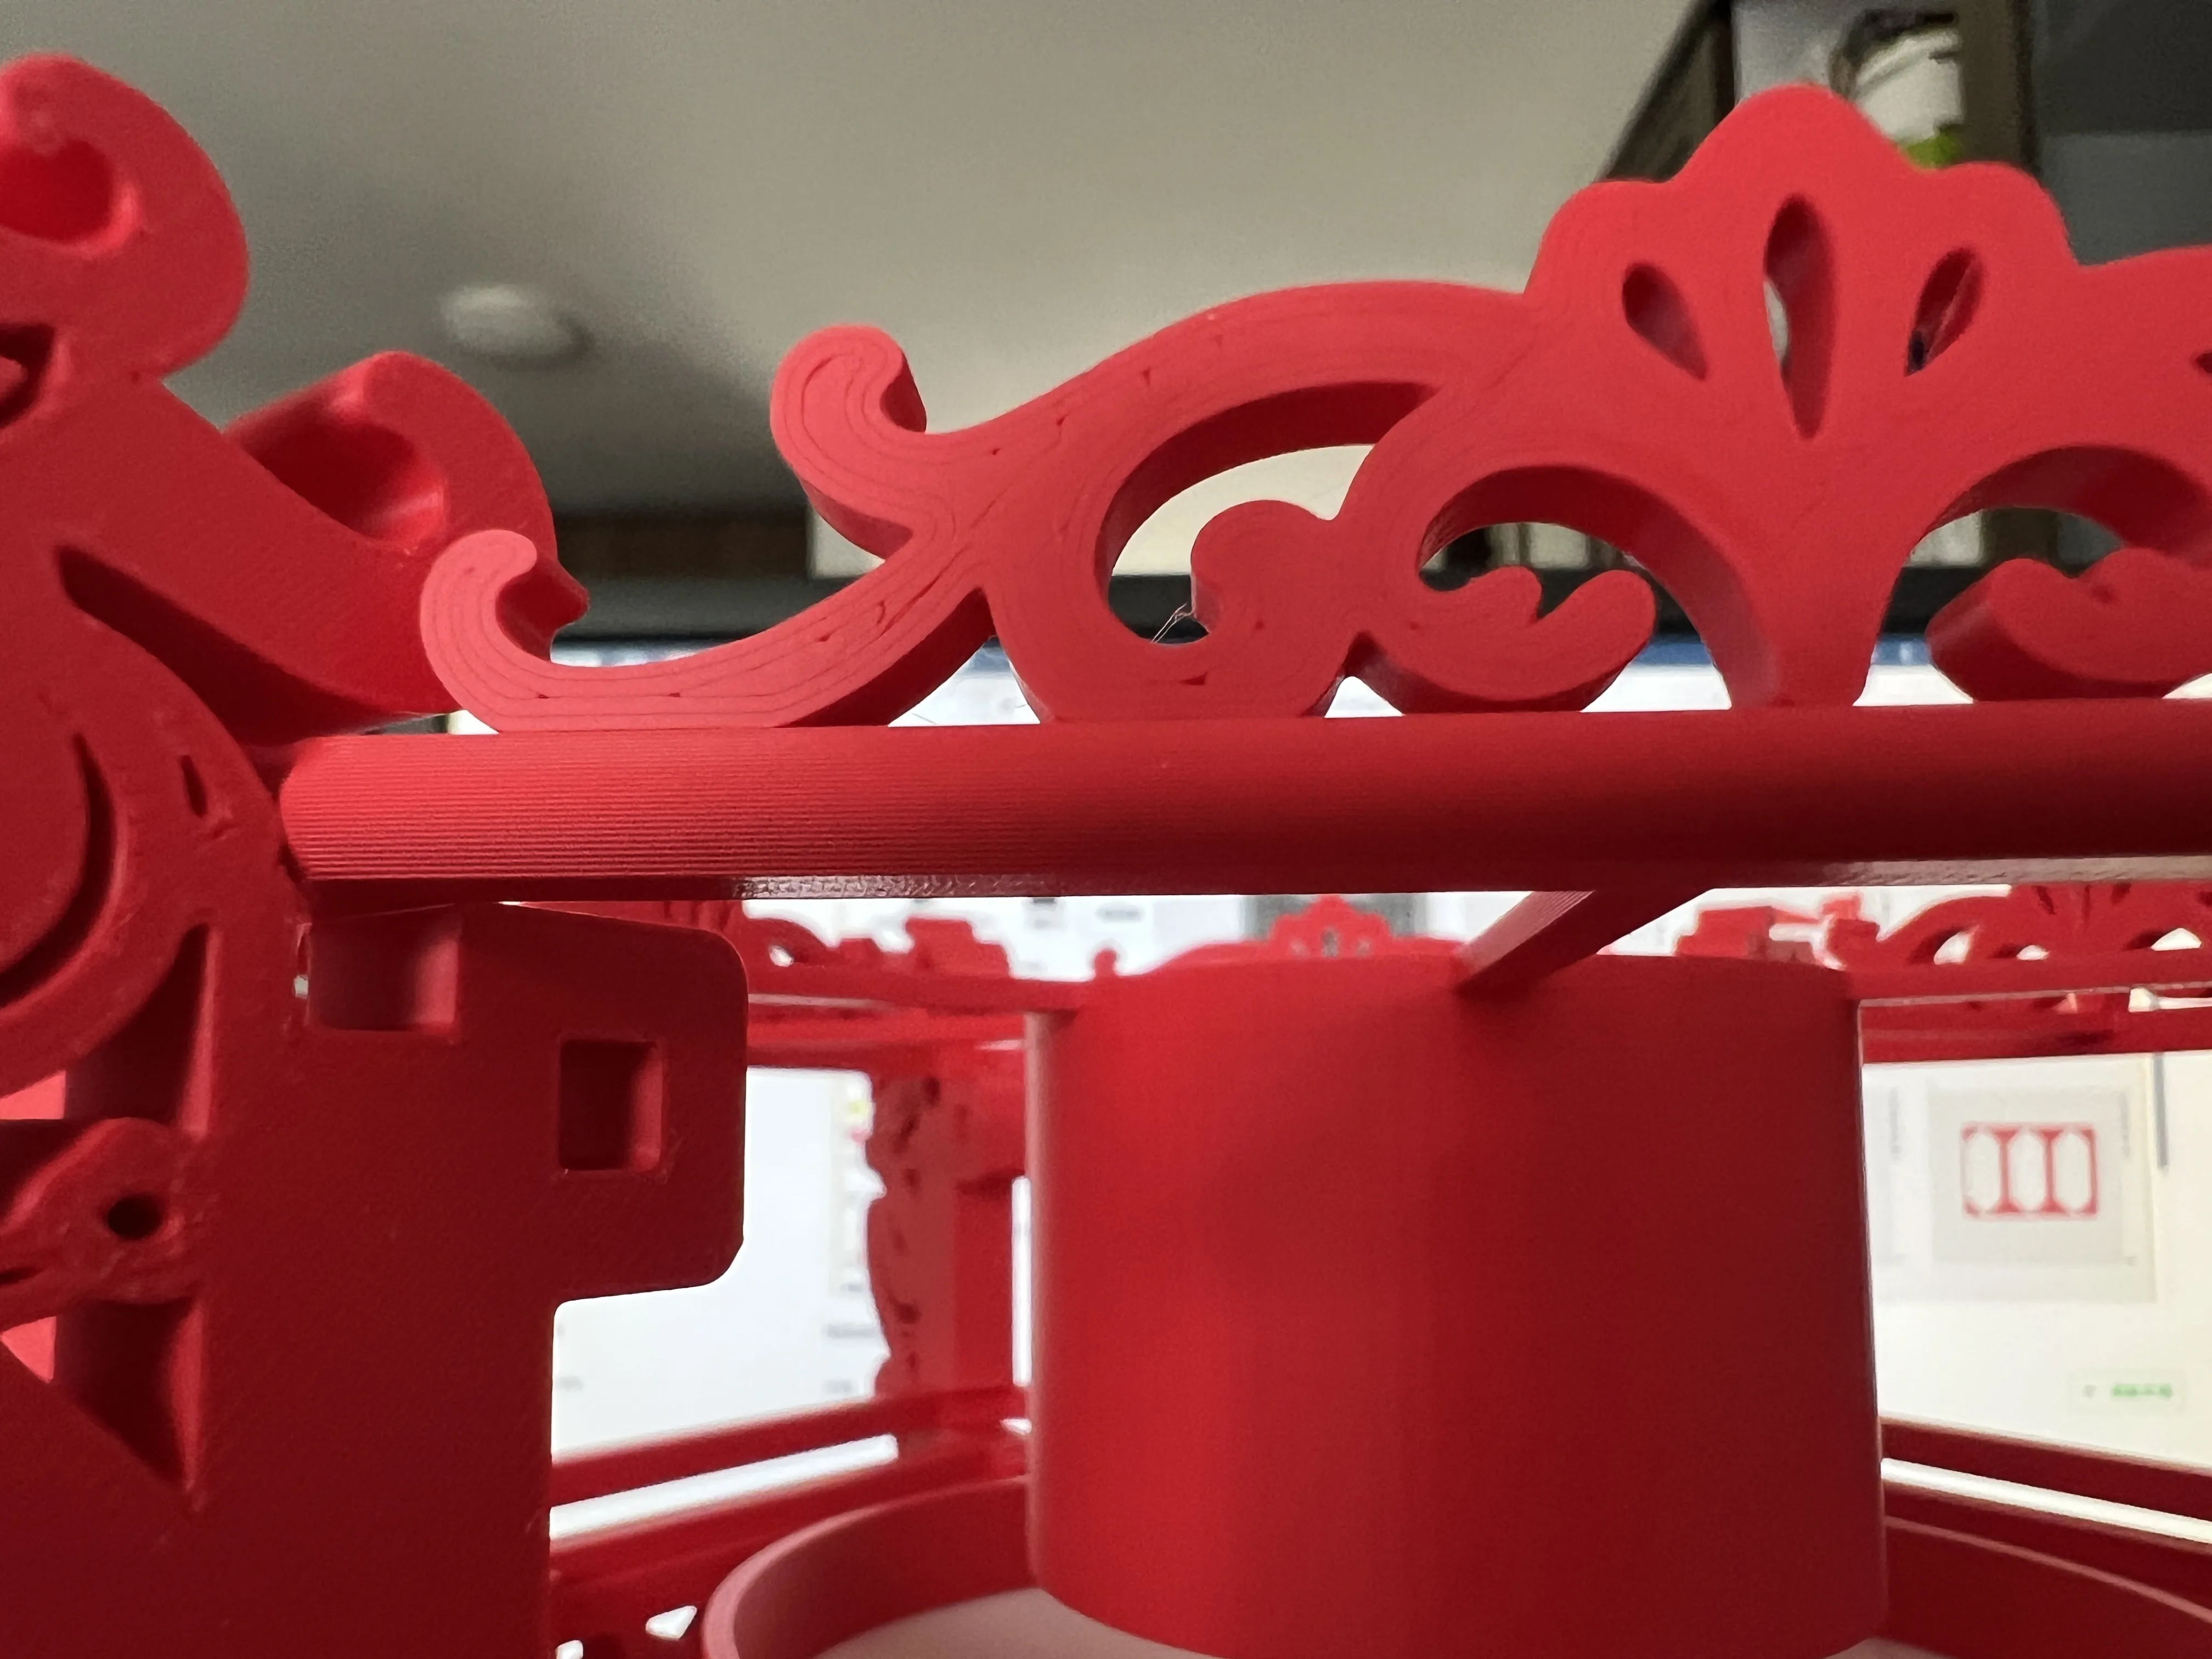
Install the small windows. The patterns on the small windows are a bit sharp, you can sand them first to avoid pricking your hands
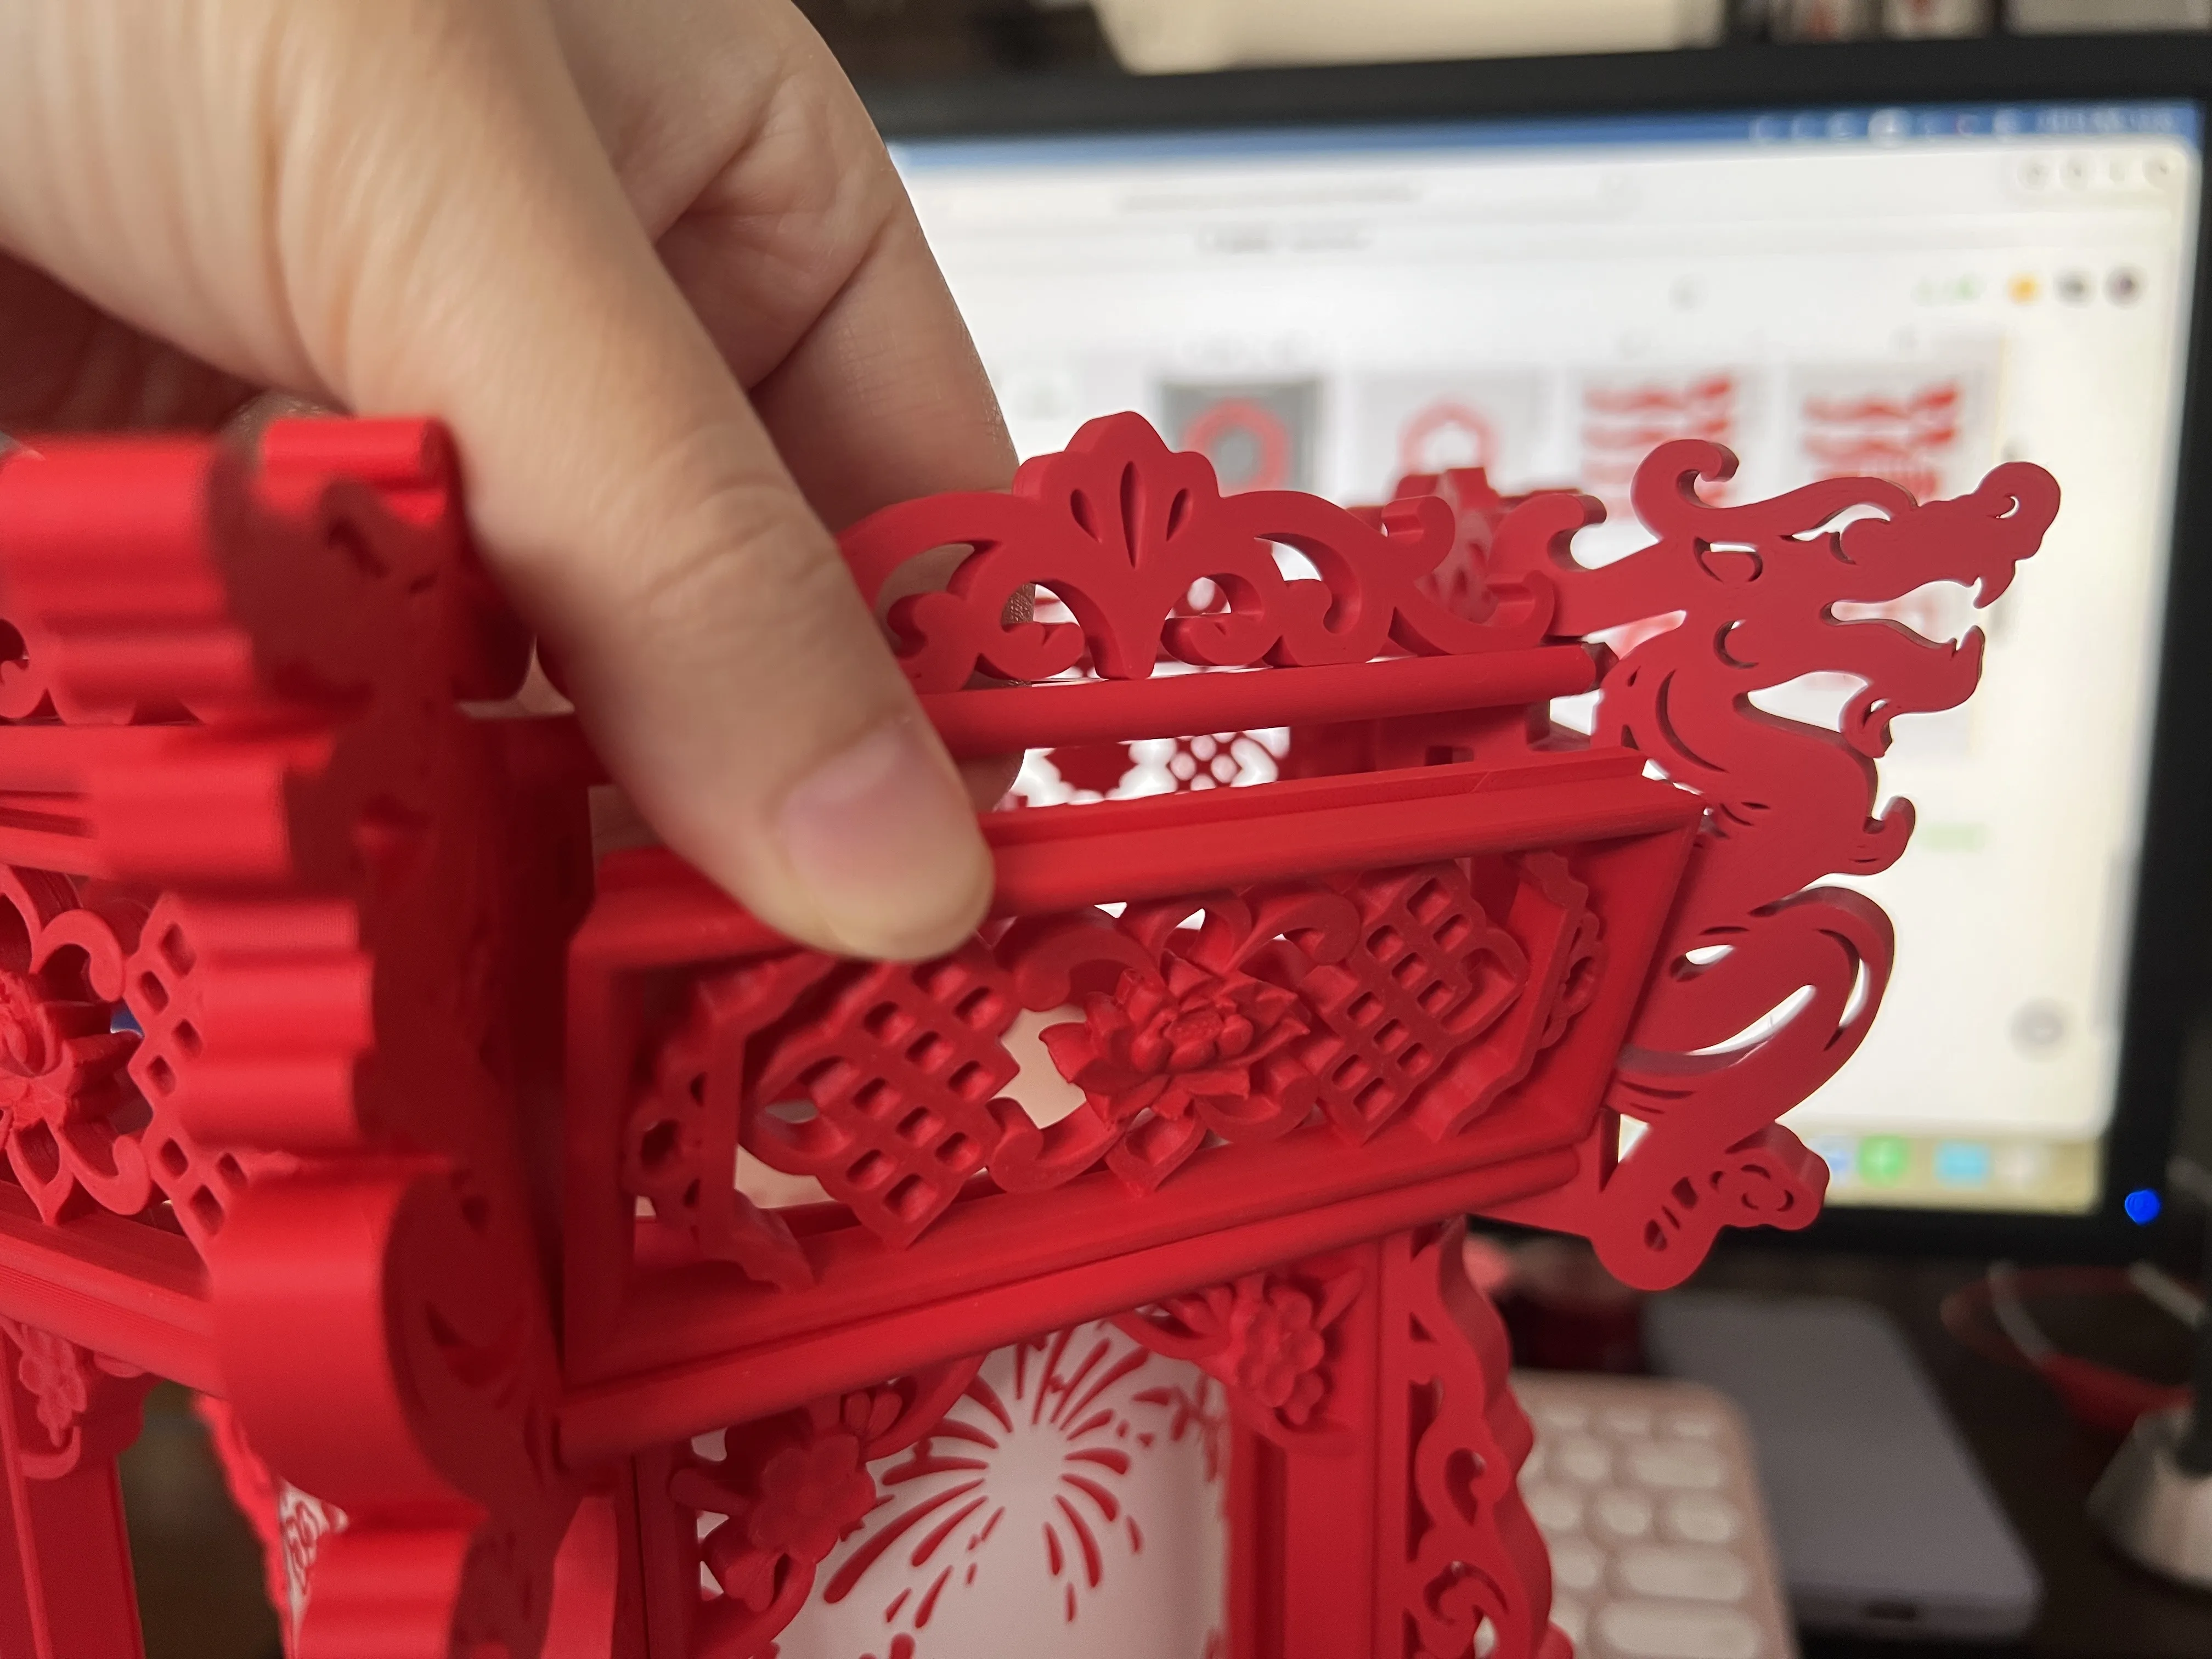
After installation, press the top ring into the slot to secure it, then place the light into the hole above and adjust its position
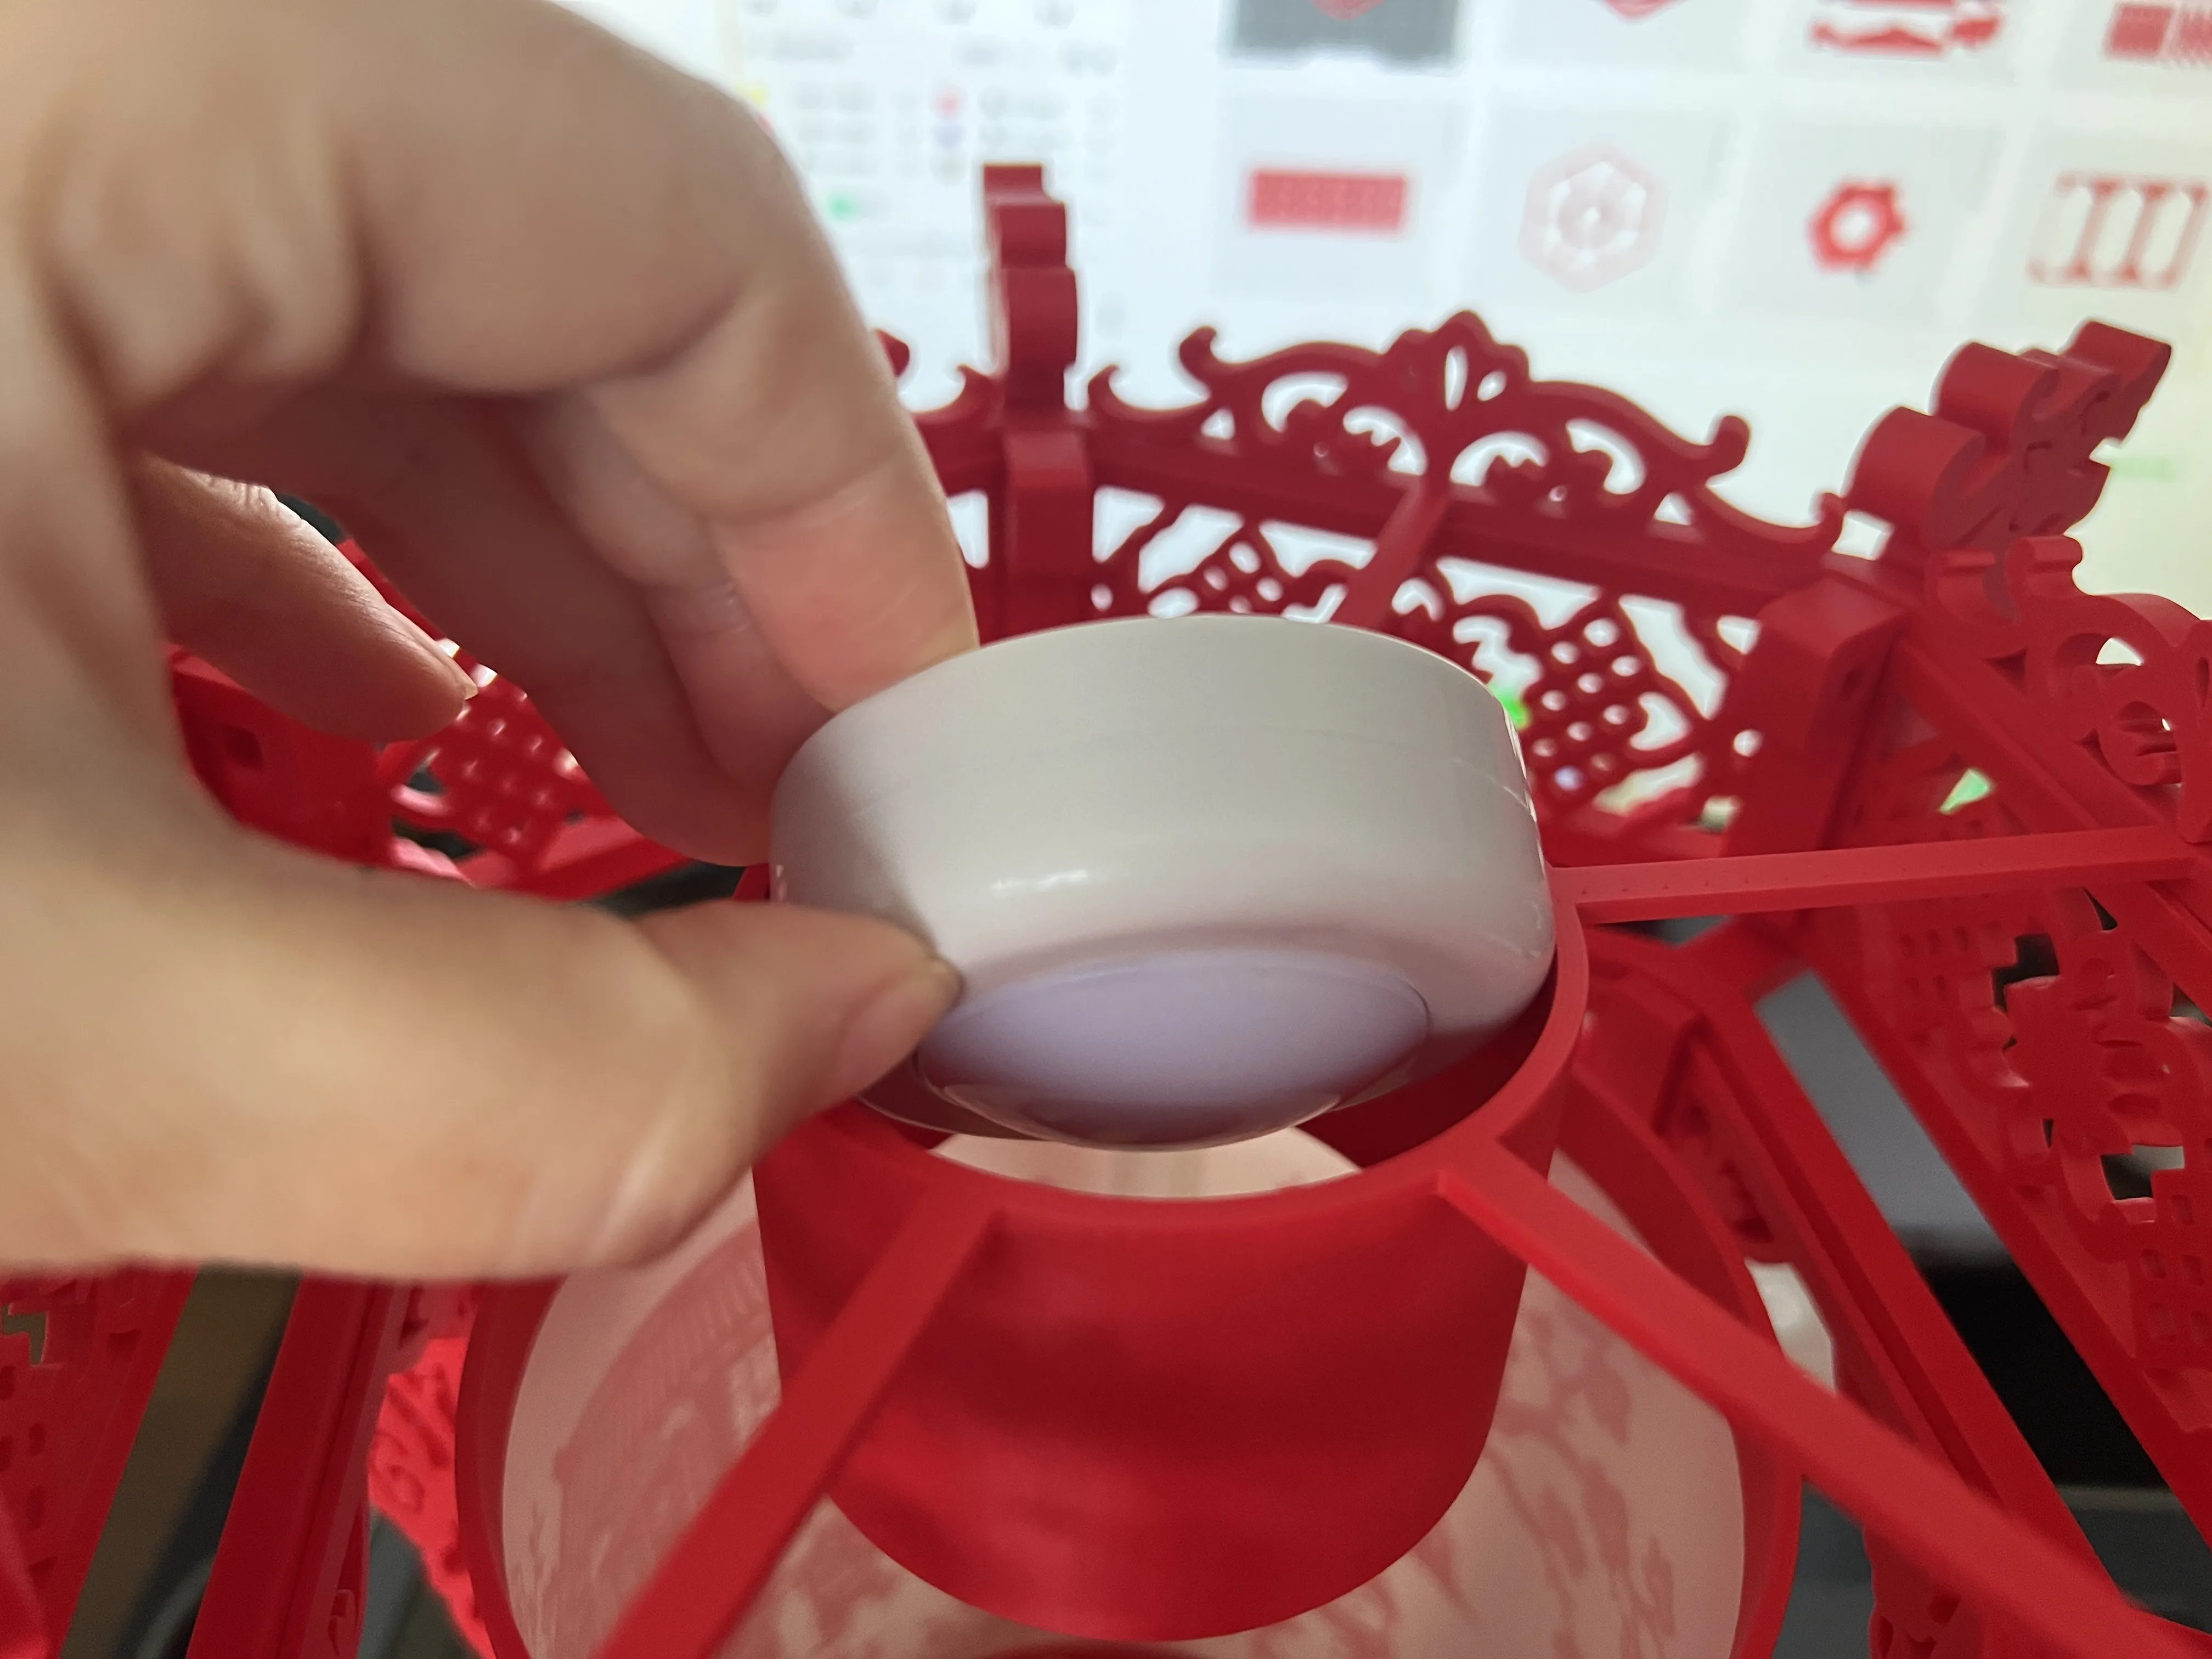
Check if all buckle structures are firm. After shaking it and it doesn't fall apart, you will have a complete palace lantern
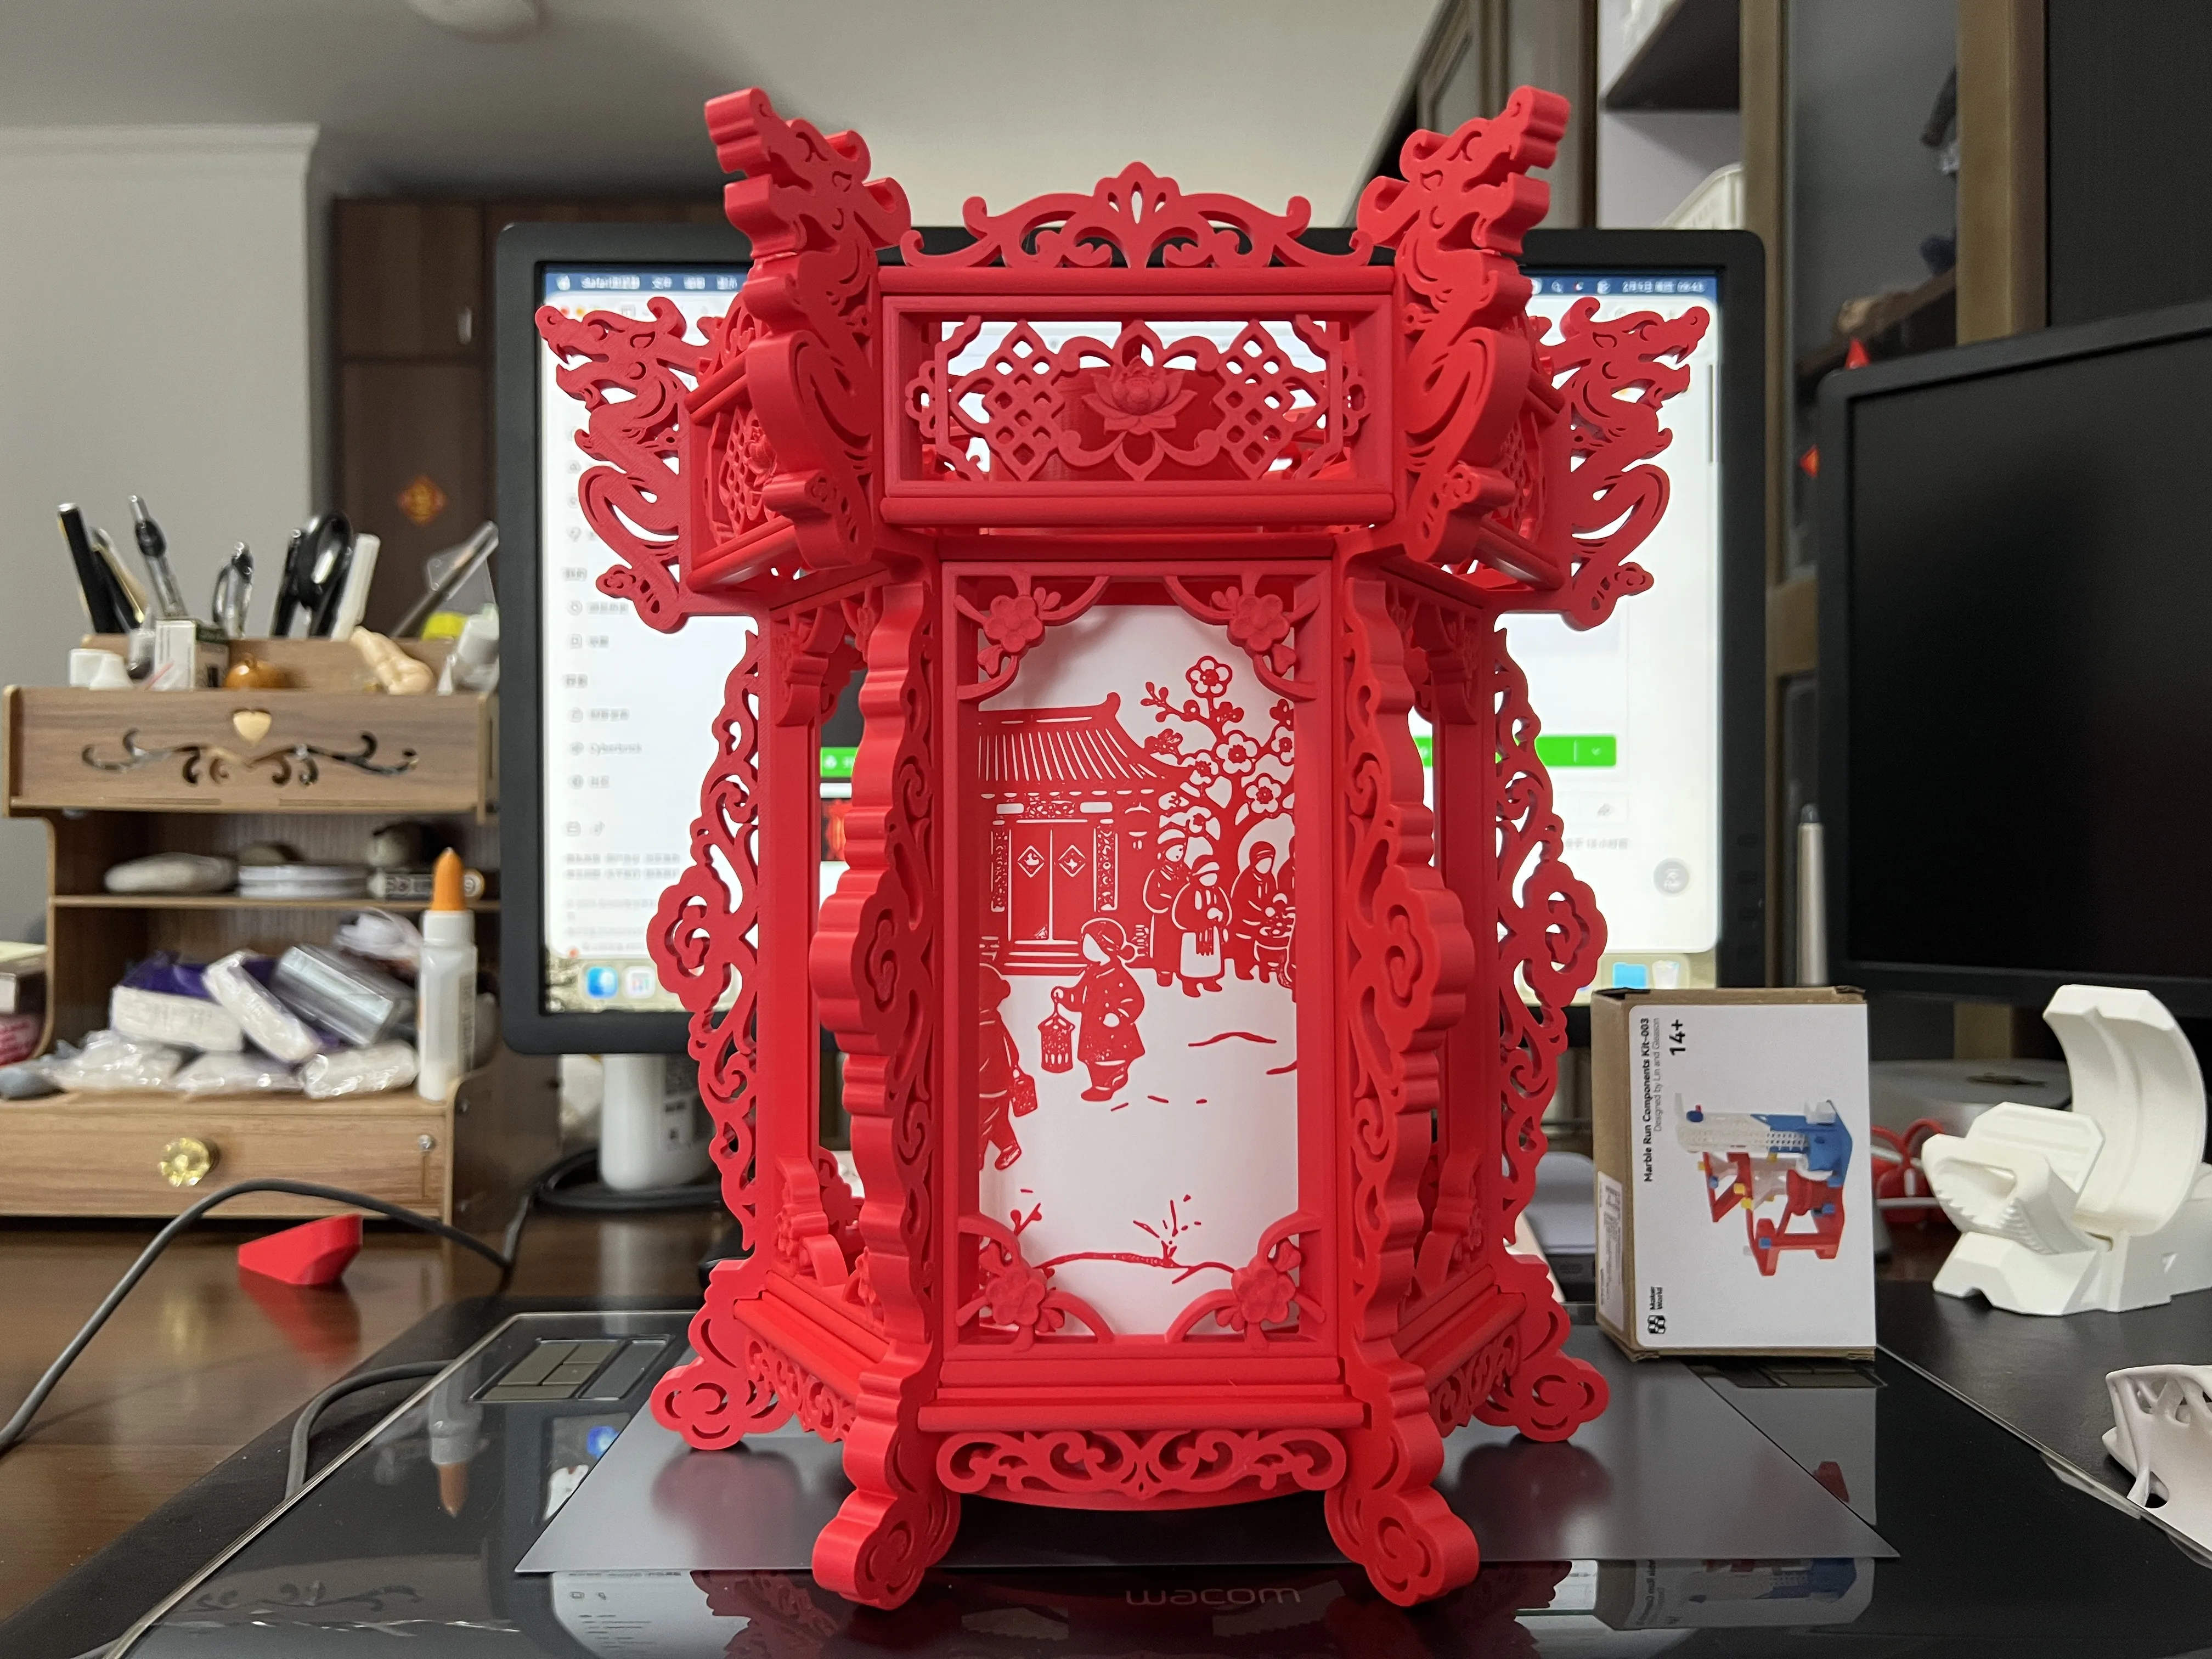
The holes behind the dragon head are for hanging ropes. According to traditional Chinese folk customs, on the 23rd day of the twelfth lunar month (Xiao Nian Ye), February 10, 2026, you can hang the lanterns!😊
Boost Me (for free)
License

You shall not share, sub-license, sell, rent, host, transfer, or distribute in any way the digital or 3D printed versions of this object, nor any other derivative work of this object in its digital or physical format (including - but not limited to - remixes of this object, and hosting on other digital platforms). The objects may not be used without permission in any way whatsoever in which you charge money, or collect fees.


Comment & Rating (12)