
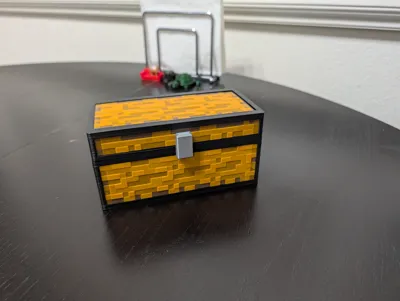
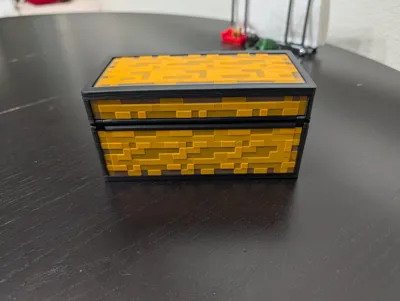
Textured Minecraft Chest
Print Profile(6)
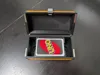
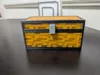
Bill of Materials






Description
Boost Me (for free)
Dropping a boost helps me continue creating cool content to share here!
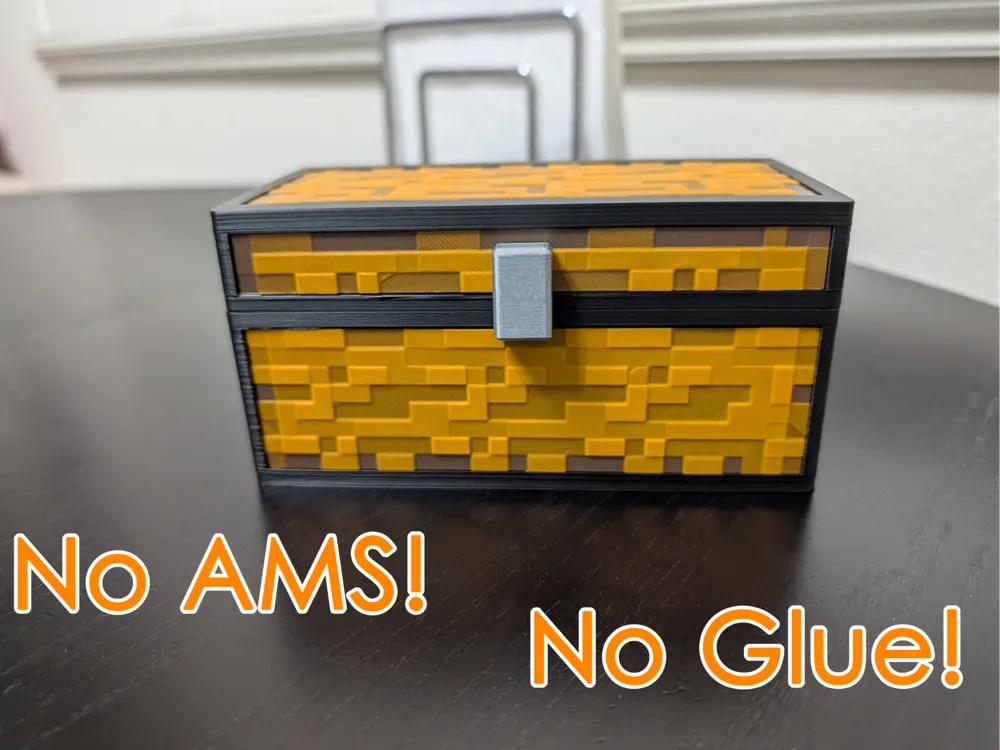
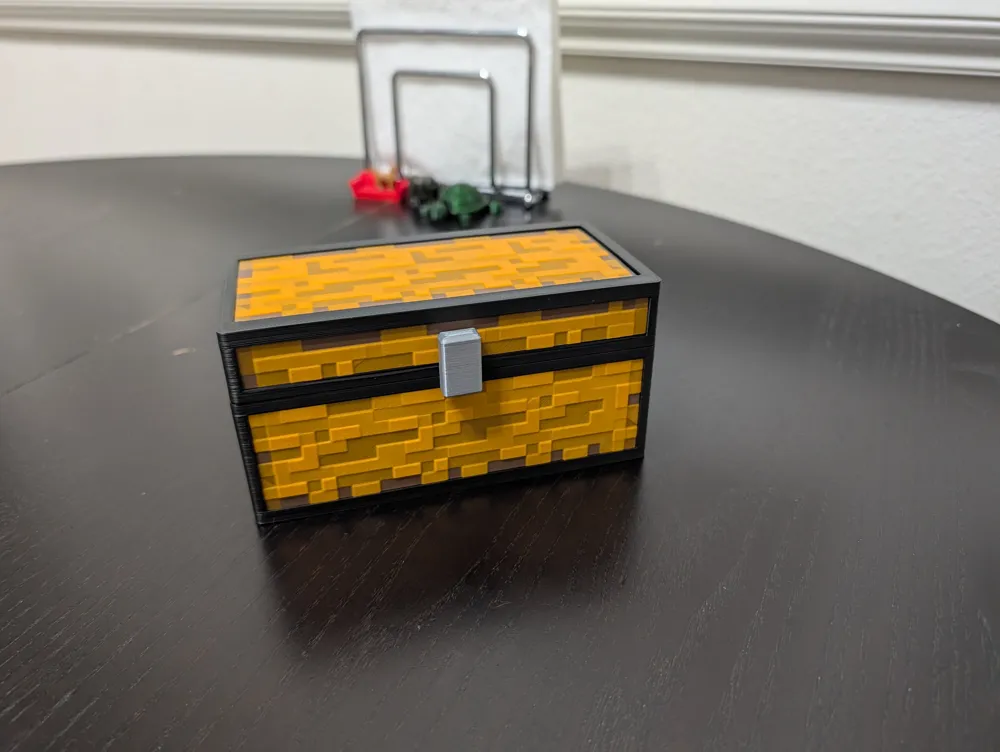
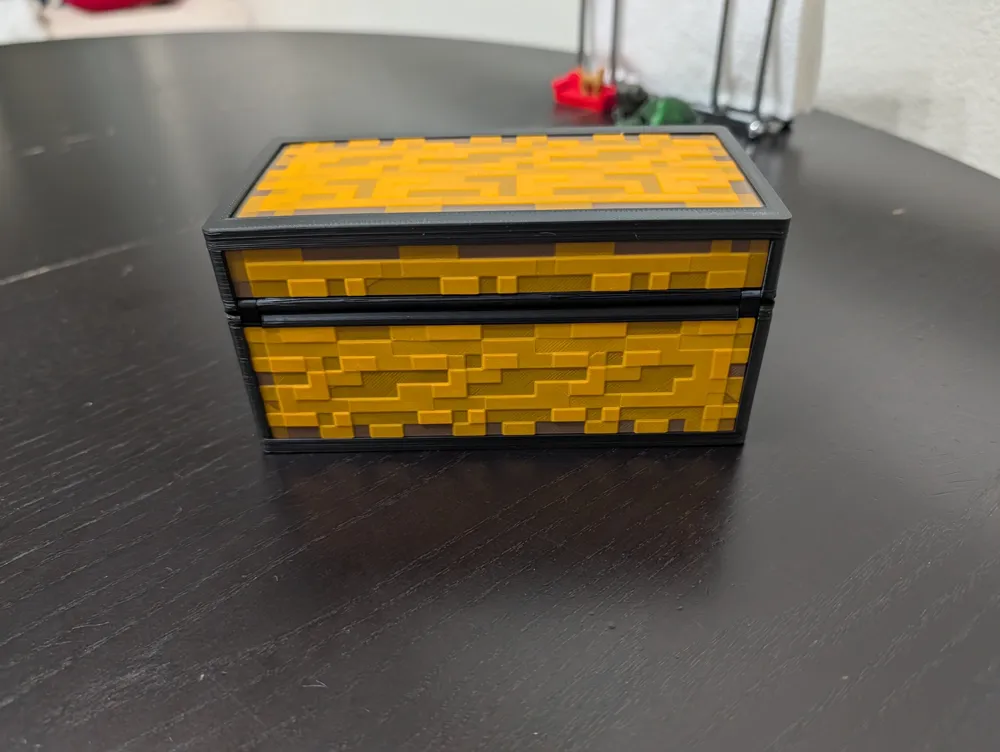
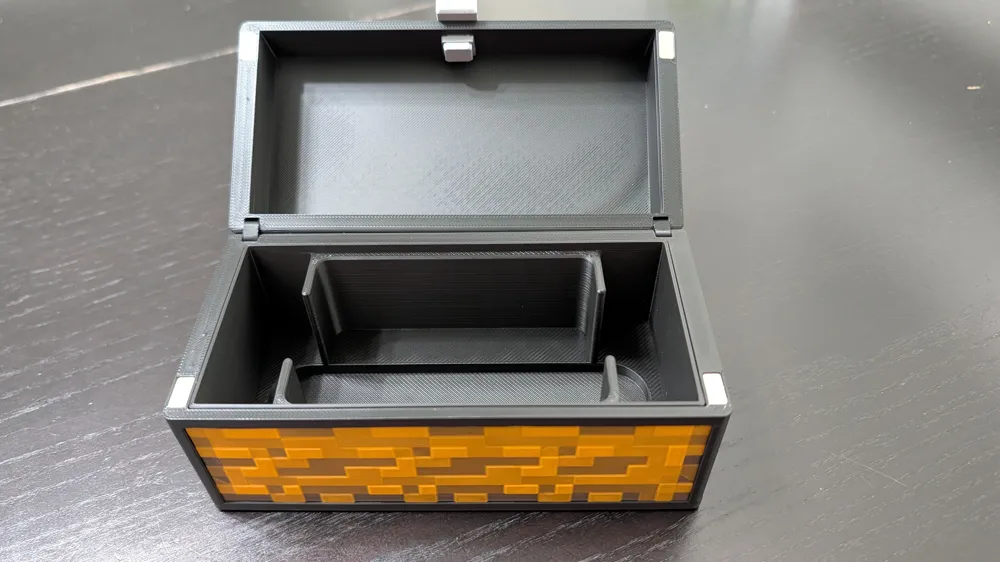
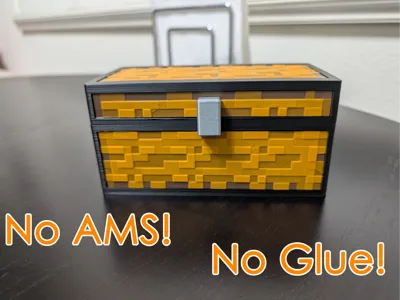
I had this idea for a textured Minecraft chest that looked almost real. I used HueForge to make the panels, which print flat and are inserted into the print, mid-print. This means you don't need an AMS or Glue to put it together and it uses almost no waste.
Instructions
- Print the panels first.
- Print the chest bottom or top, and insert the panels into the slots when it pauses and resuming after each one.
- The first pause will be for the bottom panel, which is placed textured side down on the build plate.
- The second pause is for the side panels, which only go in one way and will be flush with the rest of the top when properly placed.
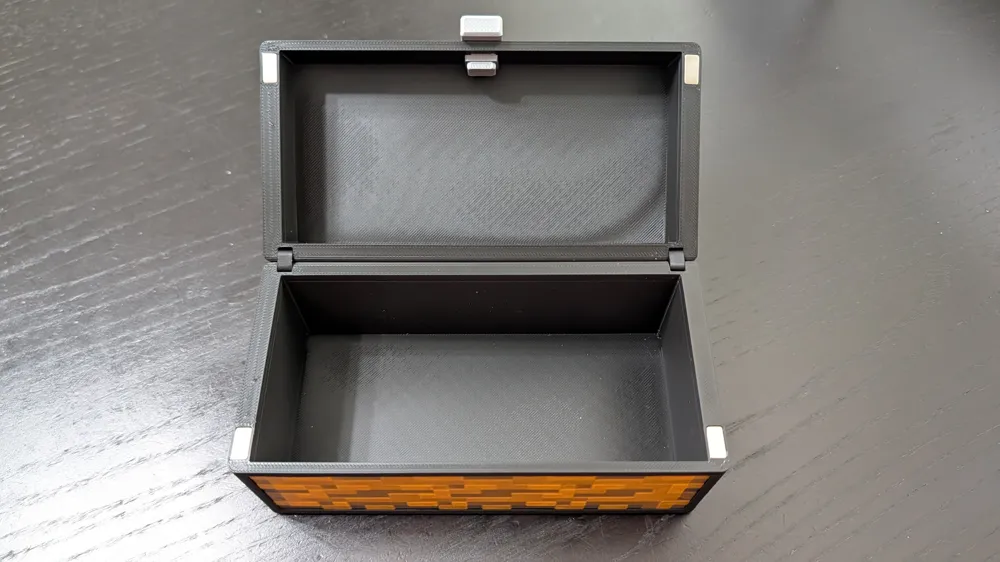
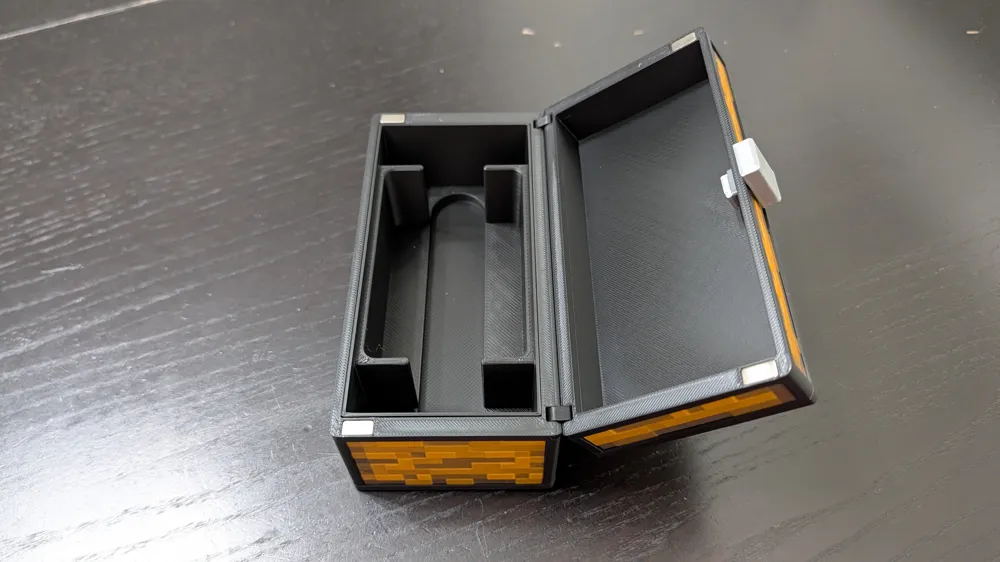
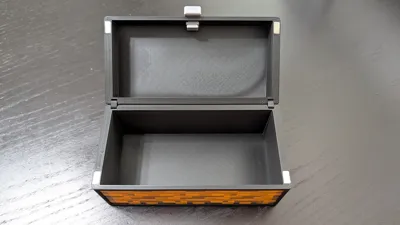
- Assemble the two halves by inserting the hinges and pins.
- Add the latch by sliding it through the hole and clipping it in place.
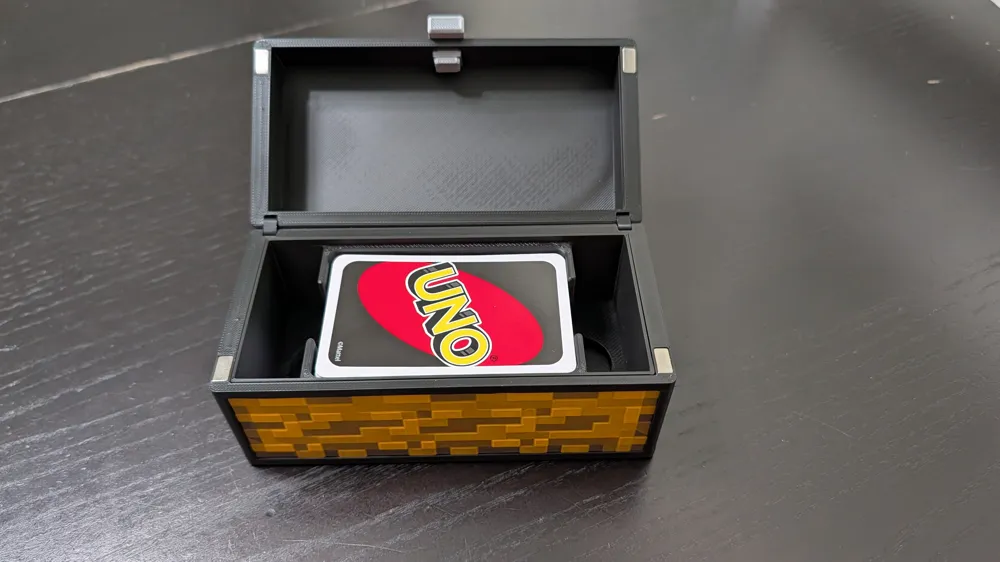
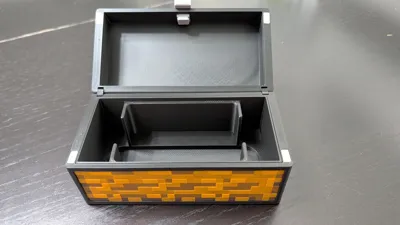
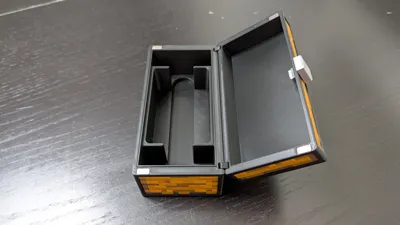
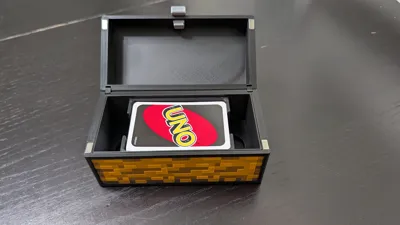
- Insert magnets or the Uno card insert if you want.
- There's a different profile for larger magnets up to 25x5x3mm.
- Enjoy!
There's a profile for the AMS and one for non AMS.
The AMS profile just has the color swaps setup at the correct heights.
The No AMS profile just has pauses to change the filament.
- When printing the panels, start with black.
- At the first pause, change the filament to a Brown.
- At the second pause, change the filament to an Orange.
Filament Selection
The specific colors I used are Bambu Basic Black, Bambu Pumpkin Orange, Bambu Cocoa Brown all in PLA.
I'm sure most black's, browns, and oranges should work well but I can't be sure since I used HueForge to make this and every filament has a different transmission distance and might look differently.
I might add on a version where the panels are just glued in instead of inserted mid-print.
The Uno card holder is a seperate print that just clips into the inside of the chest securely.
Important Notes!
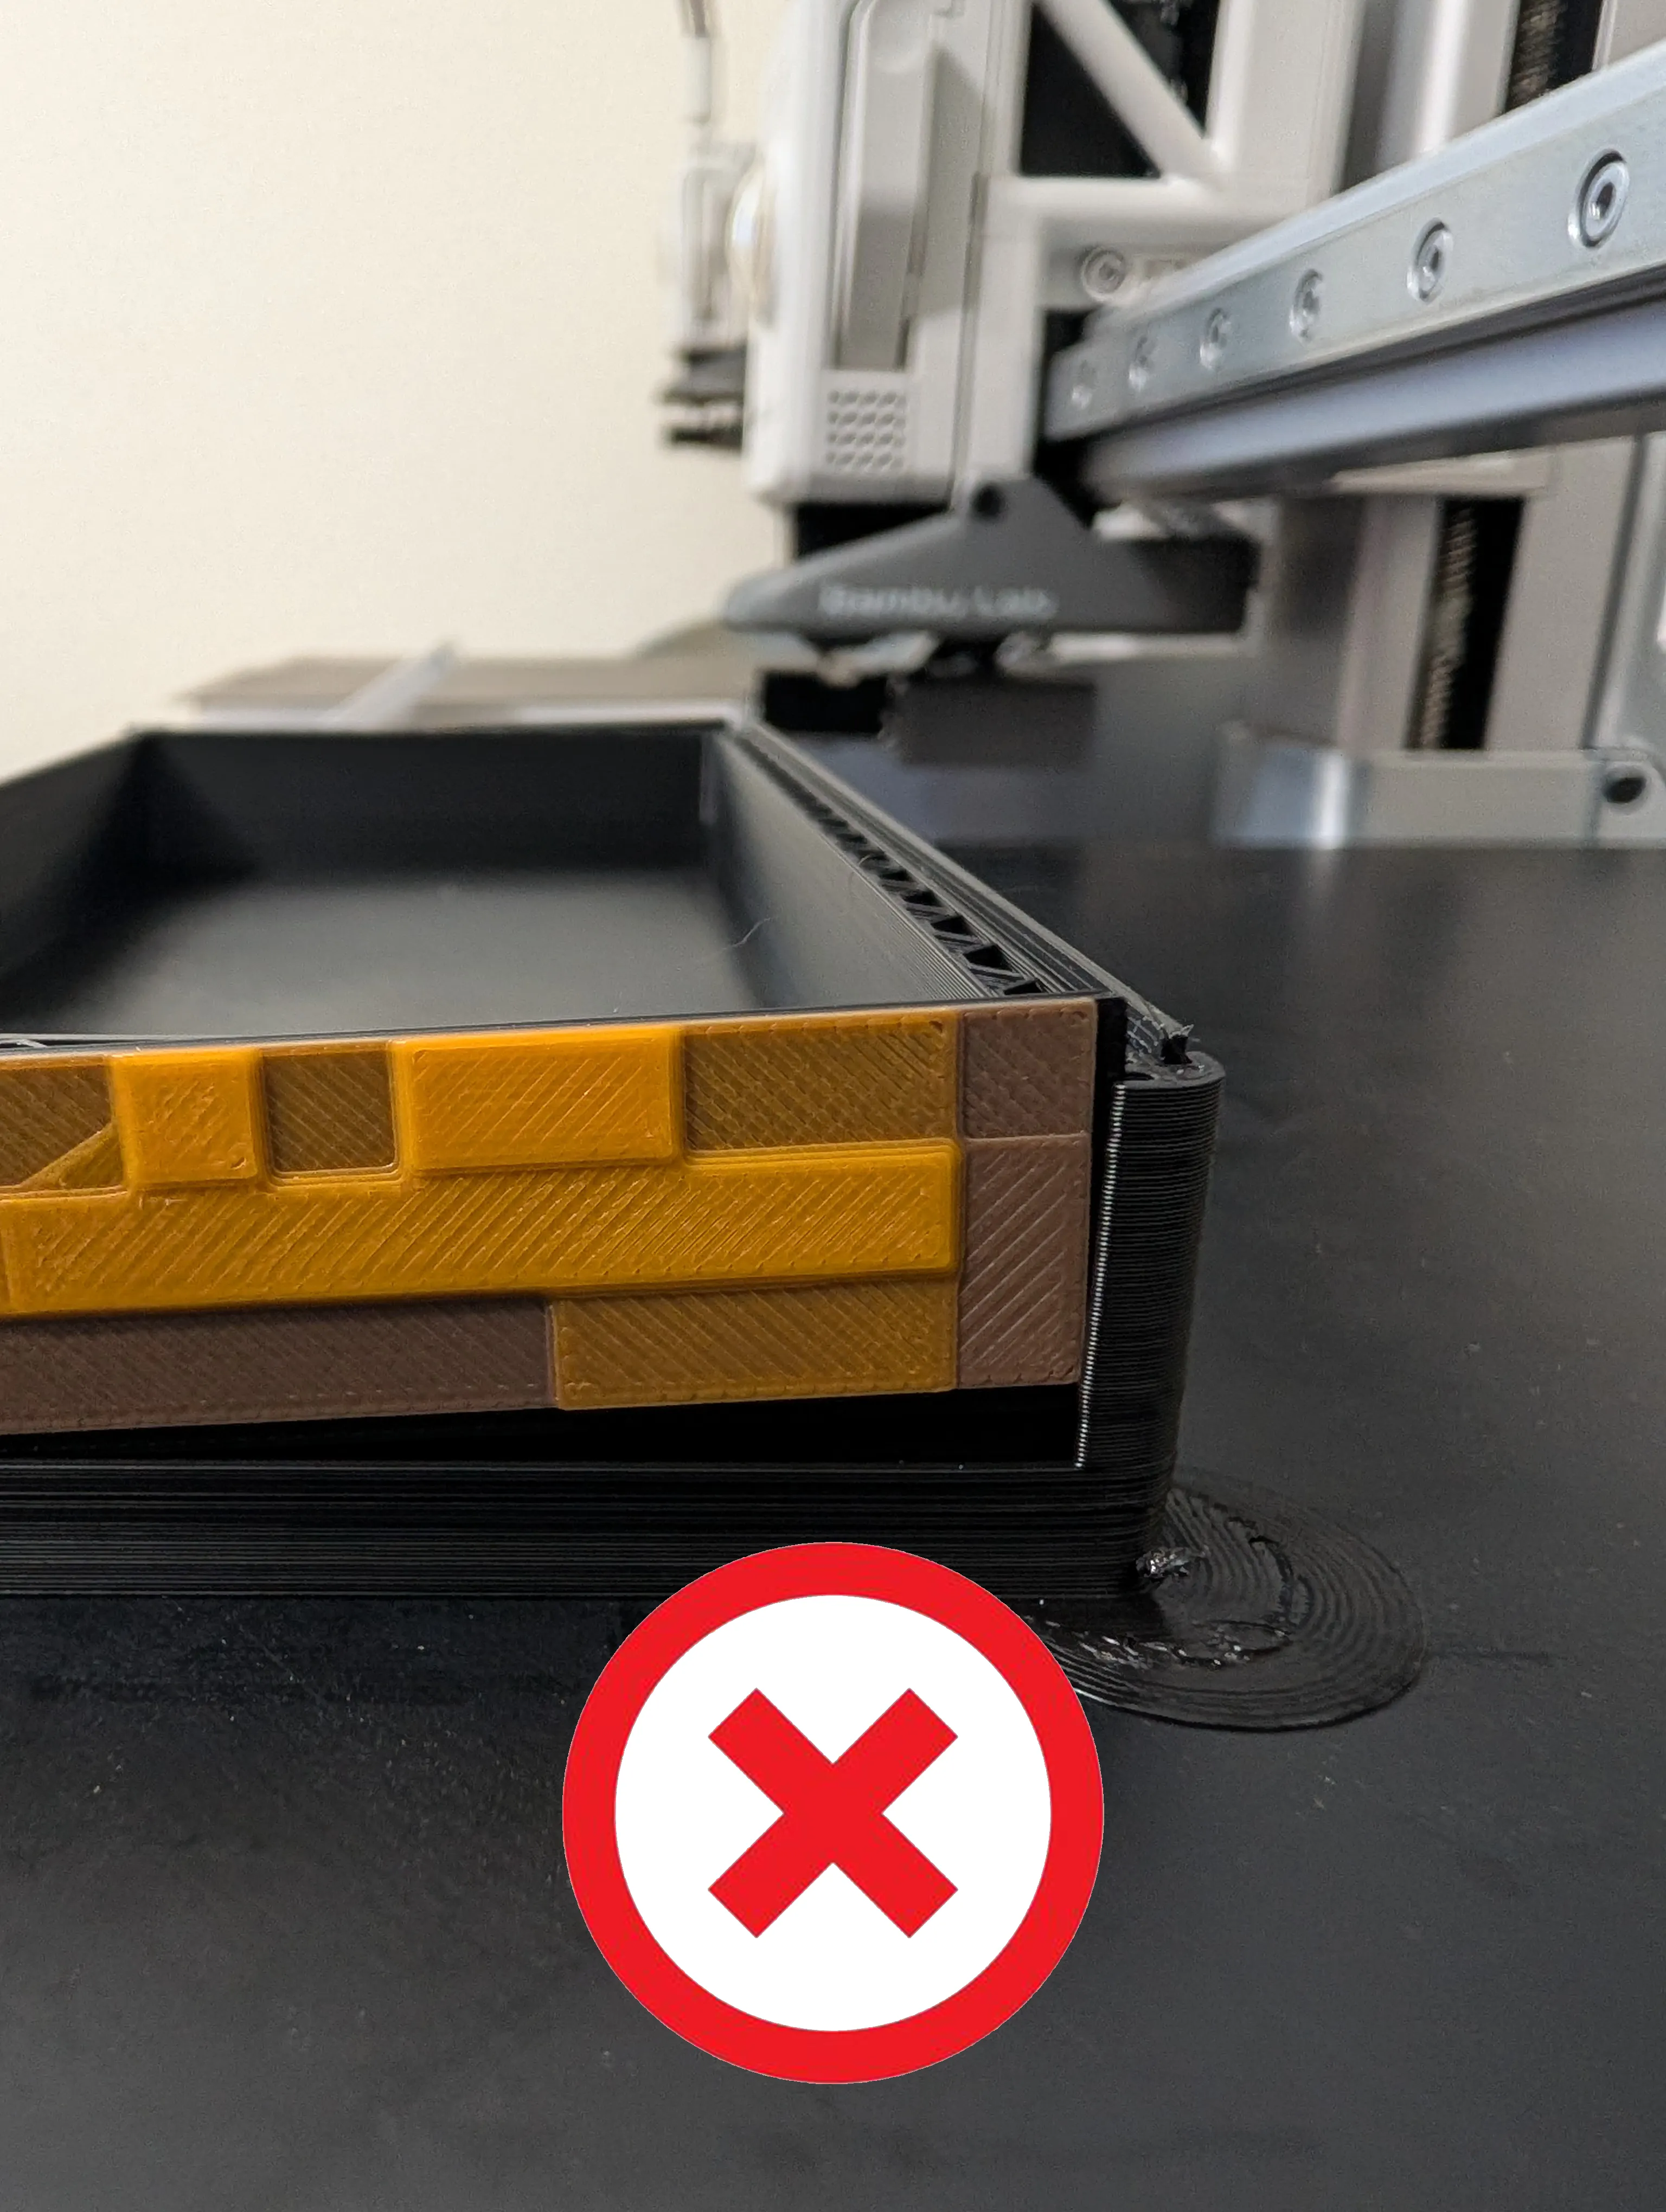
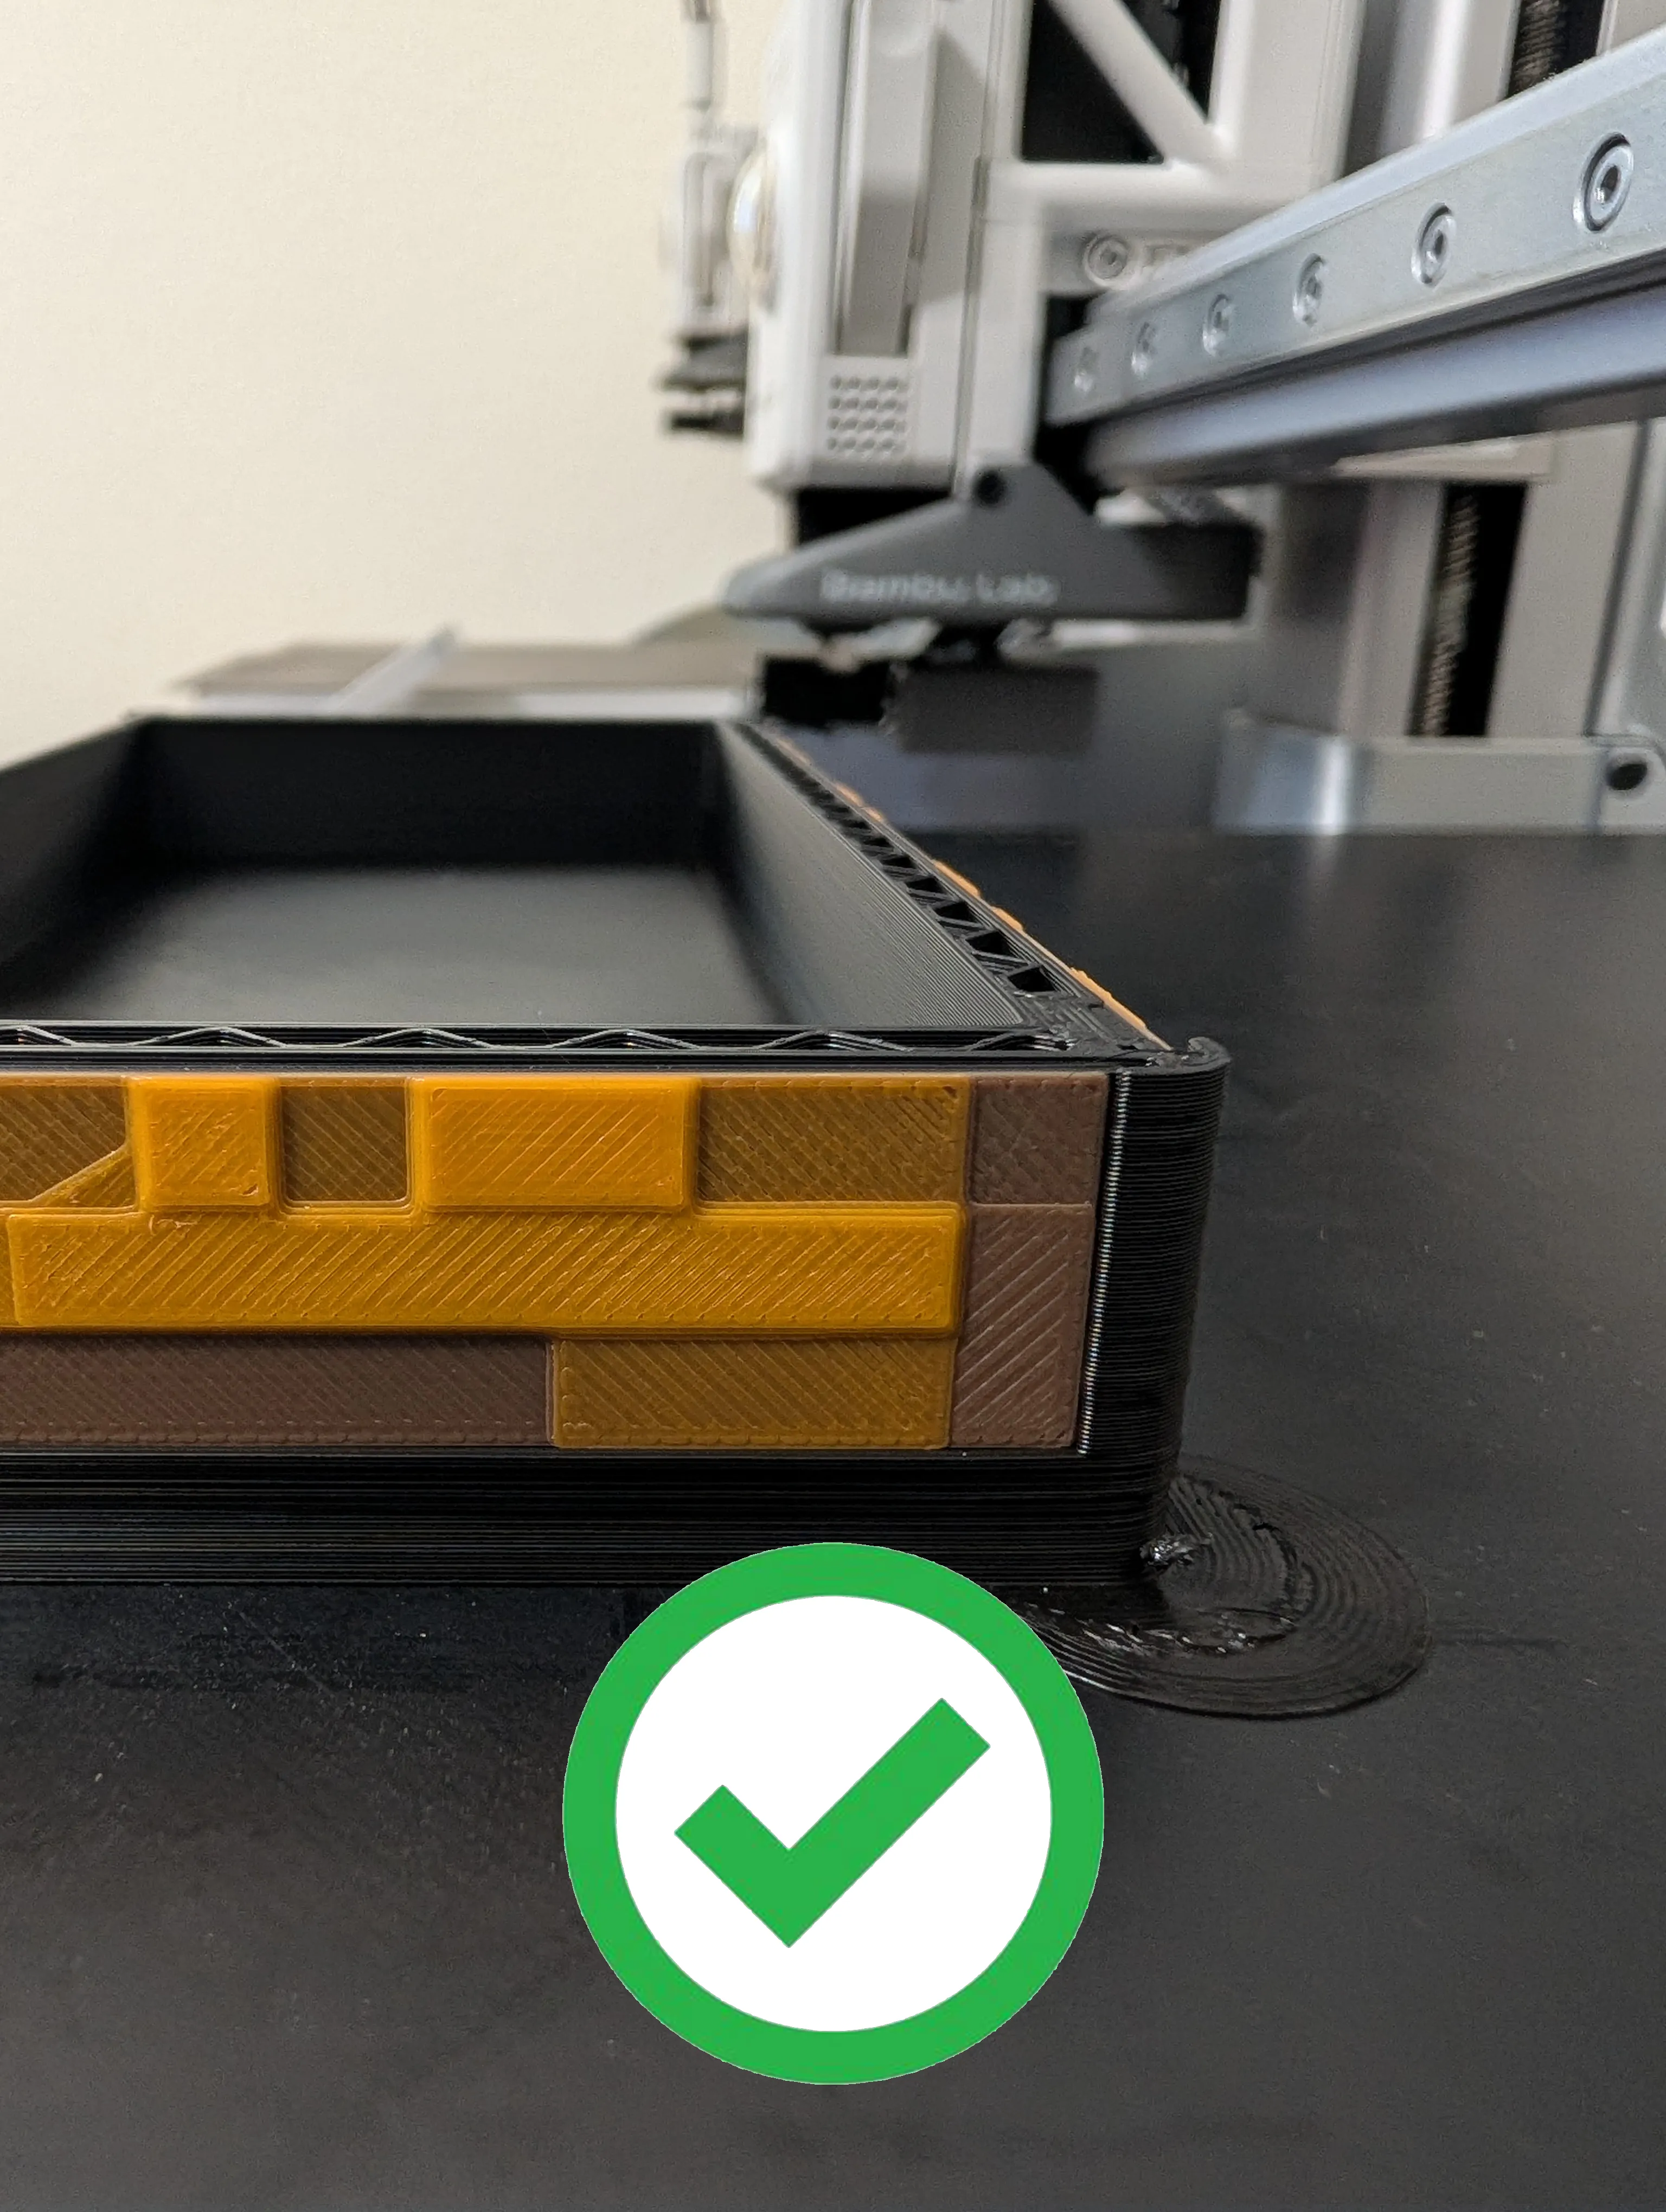
Make sure the inserted panels do NOT sit above the current layer!
The hot end could collide with the part if it is misaligned. If this happens it WILL cause issues (hotend breaking, bending, clogging, etc.…), you have been given fair warning :D
If the part starts lifting off the bed, i.e. corners warping, then the panels won't sit right and you will either have to shave off some plastic with a knife so the panel can sit flush, or re-print it. If you have trouble with it lifting off the bed, you may have to use some adhesive or a brim.
Incorrect | Correct |
 |  |
Update 2/26/2026: Fixed the Uno card insert.
Update 4/20/2026: Updated the model to fit the 10x5x2 magnets from Bambu Lab but the original is still an option if anyone want to use the larger 25x5x3 magnets.
Membership
Wanna sell my prints? Join my commercial membership!
License

You may create derivative works based on this object, provided that all such derivative works are published exclusively on the MakerWorld platform and include proper attribution to the original creator. You may not share, upload, host, distribute, or publish this object—or any derivative work of this object—on any other digital platform, marketplace, or distribution channel. Commercial use of this object and any derivative works is strictly prohibited. This includes, but is not limited to, selling, renting, sublicensing, or using the object in any context in which you receive monetary compensation or other financial benefits.


Comment & Rating (53)