
Milwaukee M12 Charger Mount - Universal / Skadis
Print Profile(2)
Bill of Materials

Description
Version 1.0 - Please post pictures and feedback! 🙂
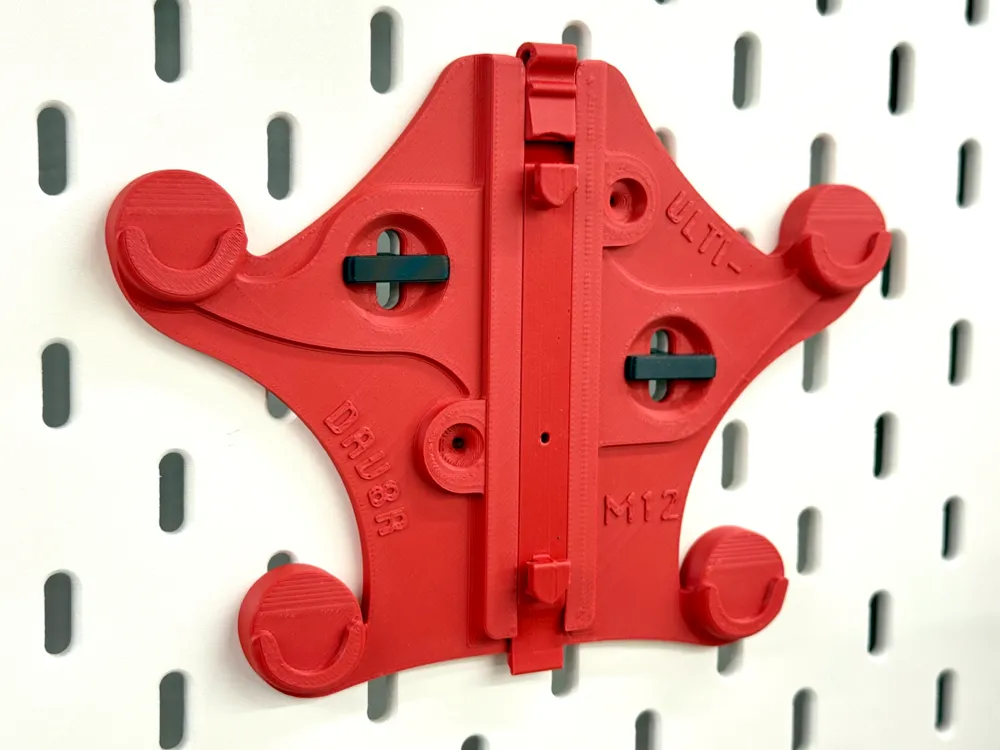
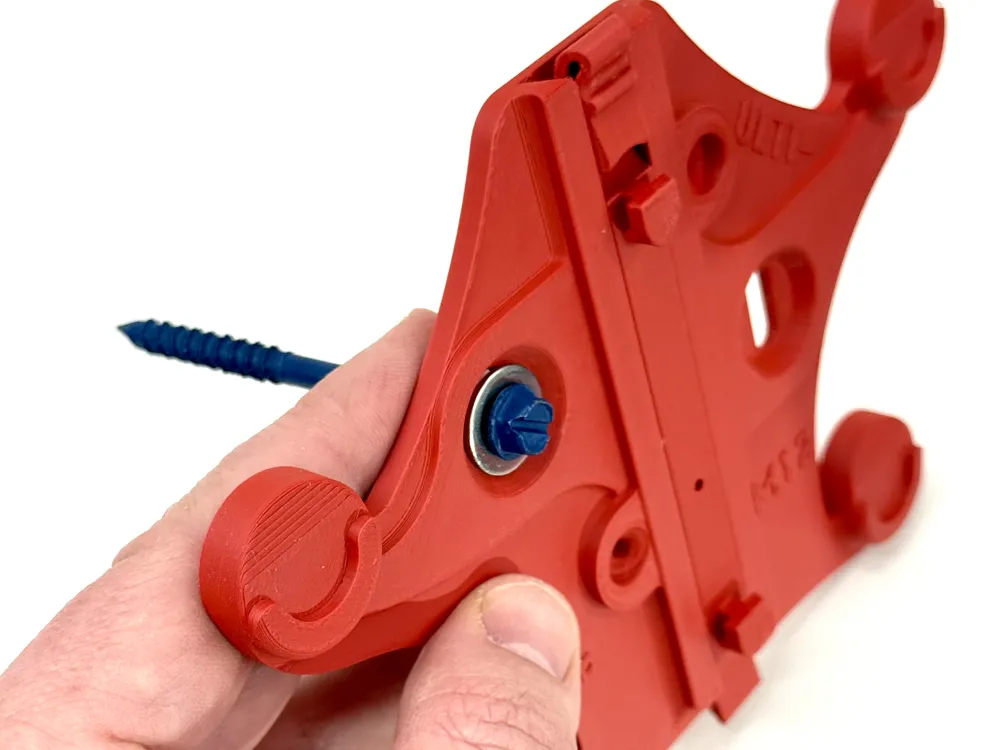
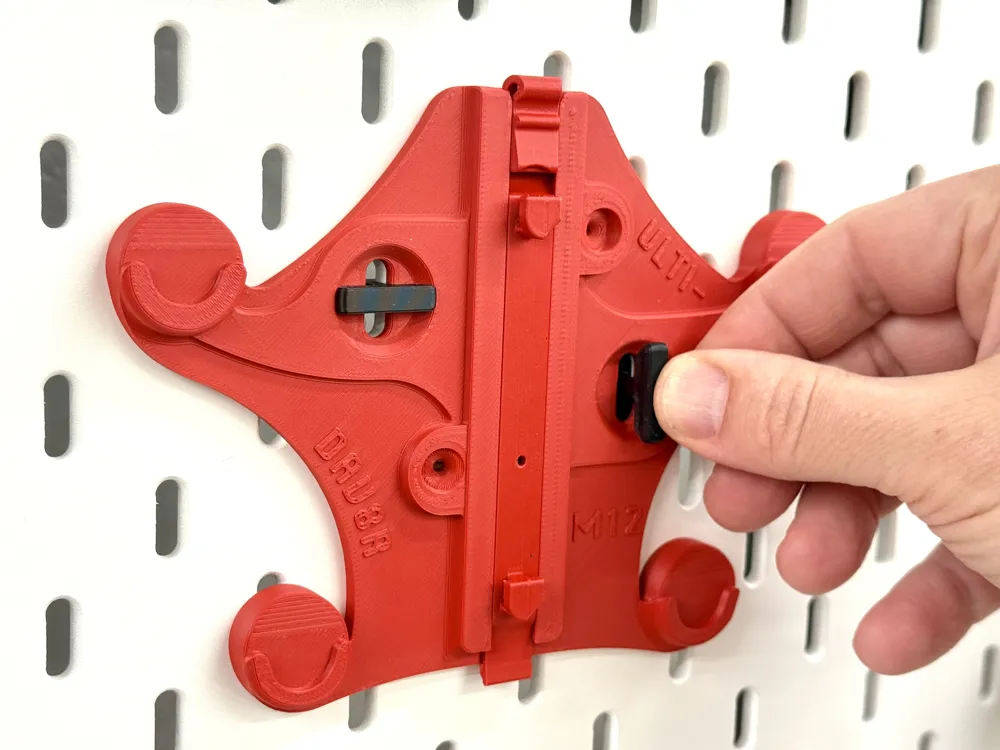
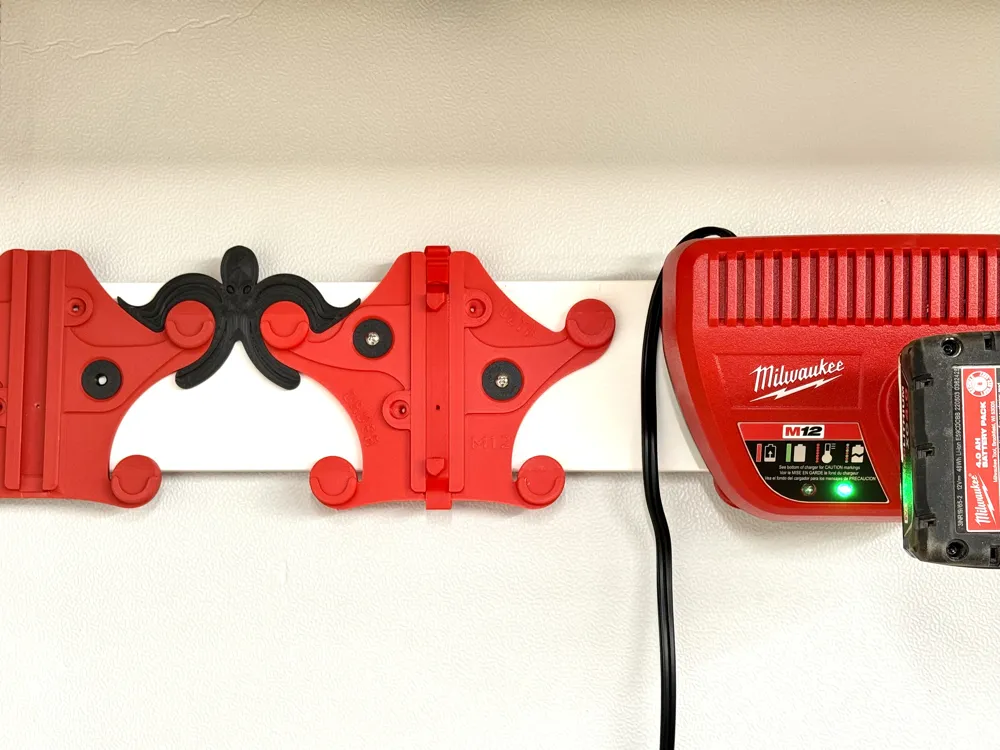
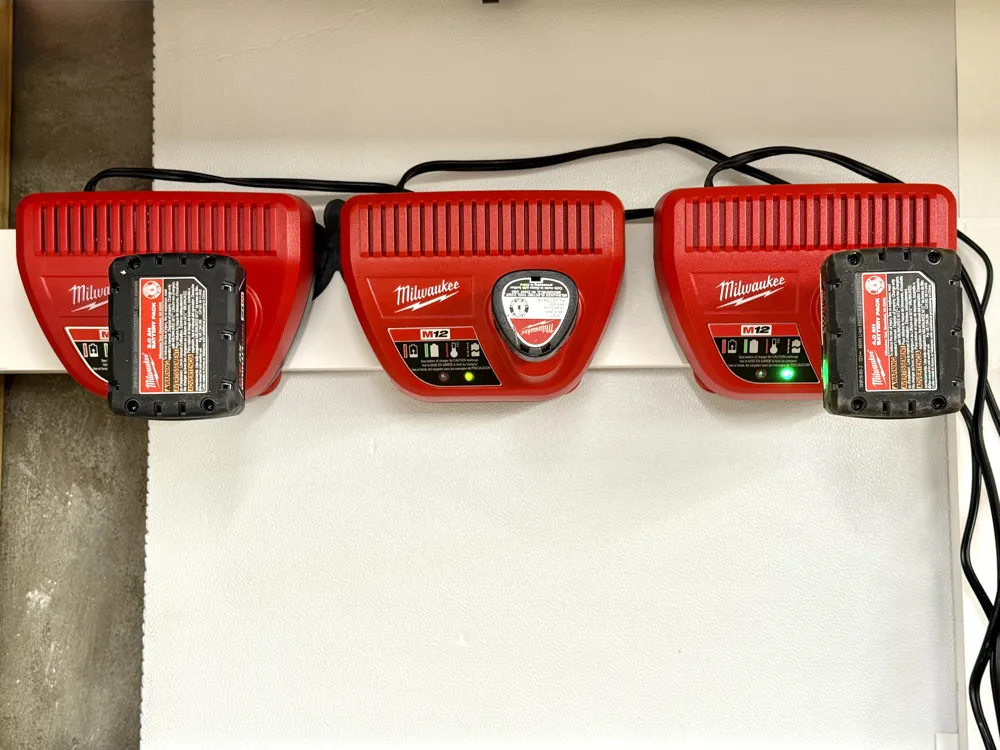
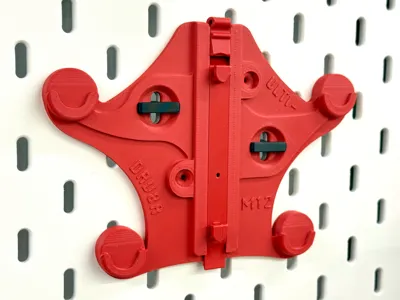
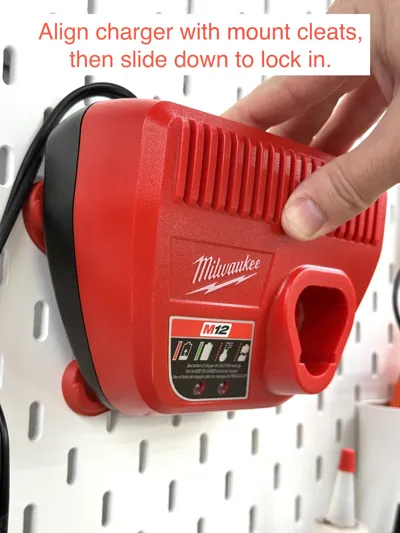
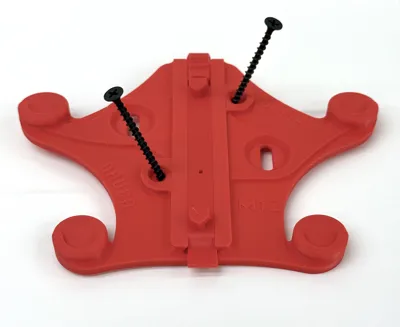
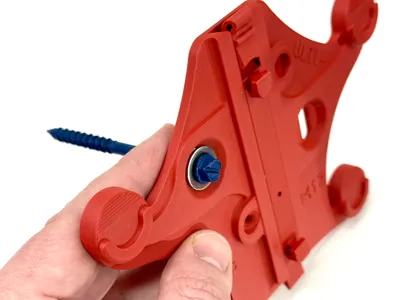
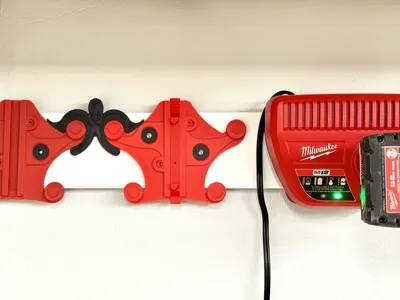
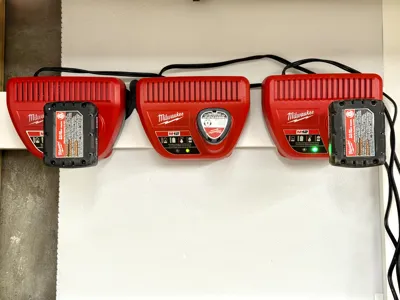
Meet the Ulti-M12 Charger mount. The most beastly of it's kind! This is the “ultimate” solution for mounting your Milwaukee M12 Charger to Ikea Skadis, a wood surface, through drywall into a stud, or even into concrete using tap-cons or similar. See the photos to see all of the options!
Why this is the Ultimate M12 Charger Mount:
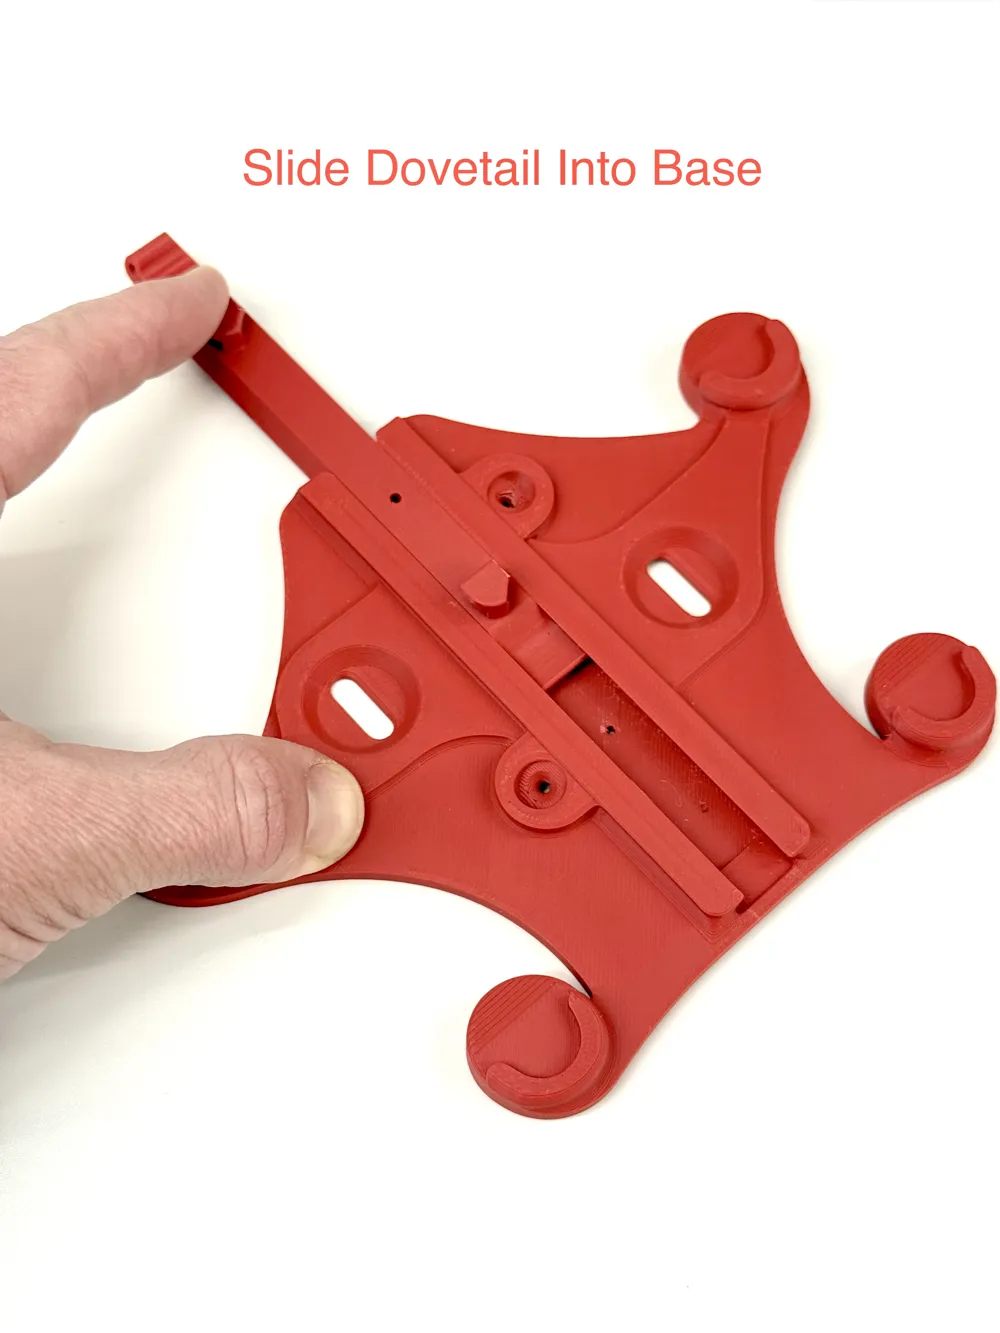
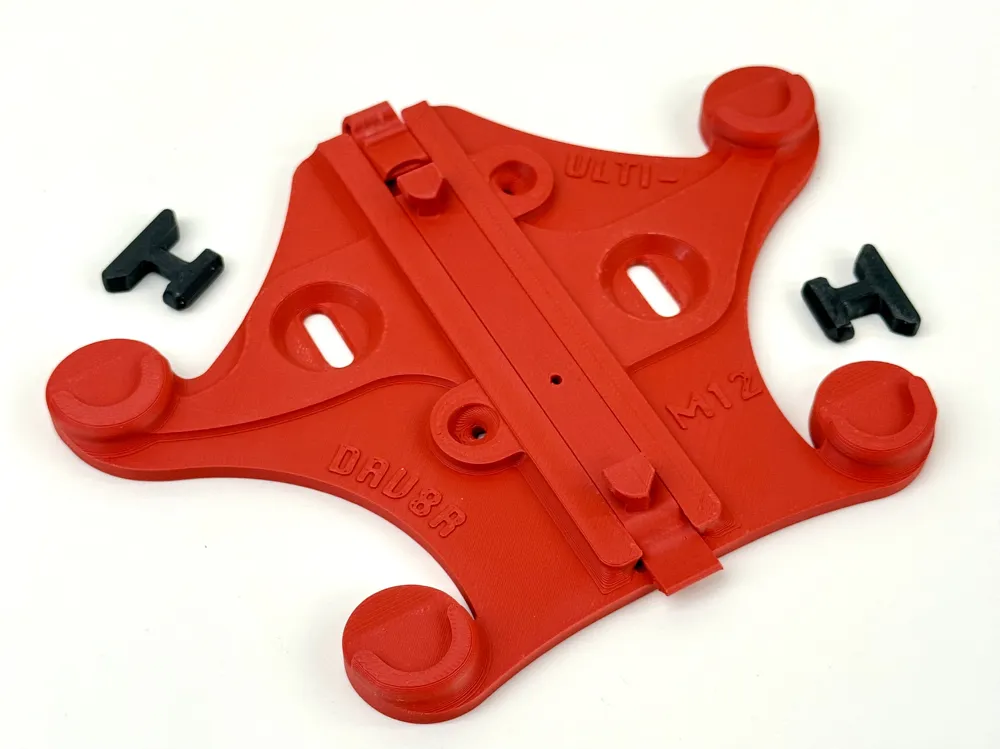
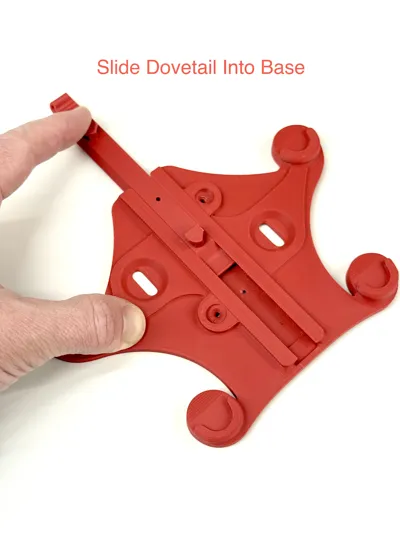
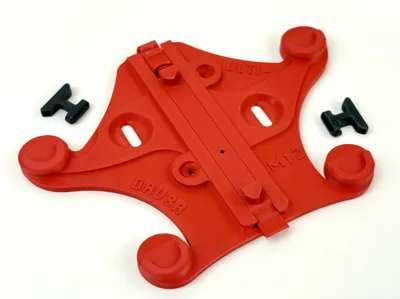
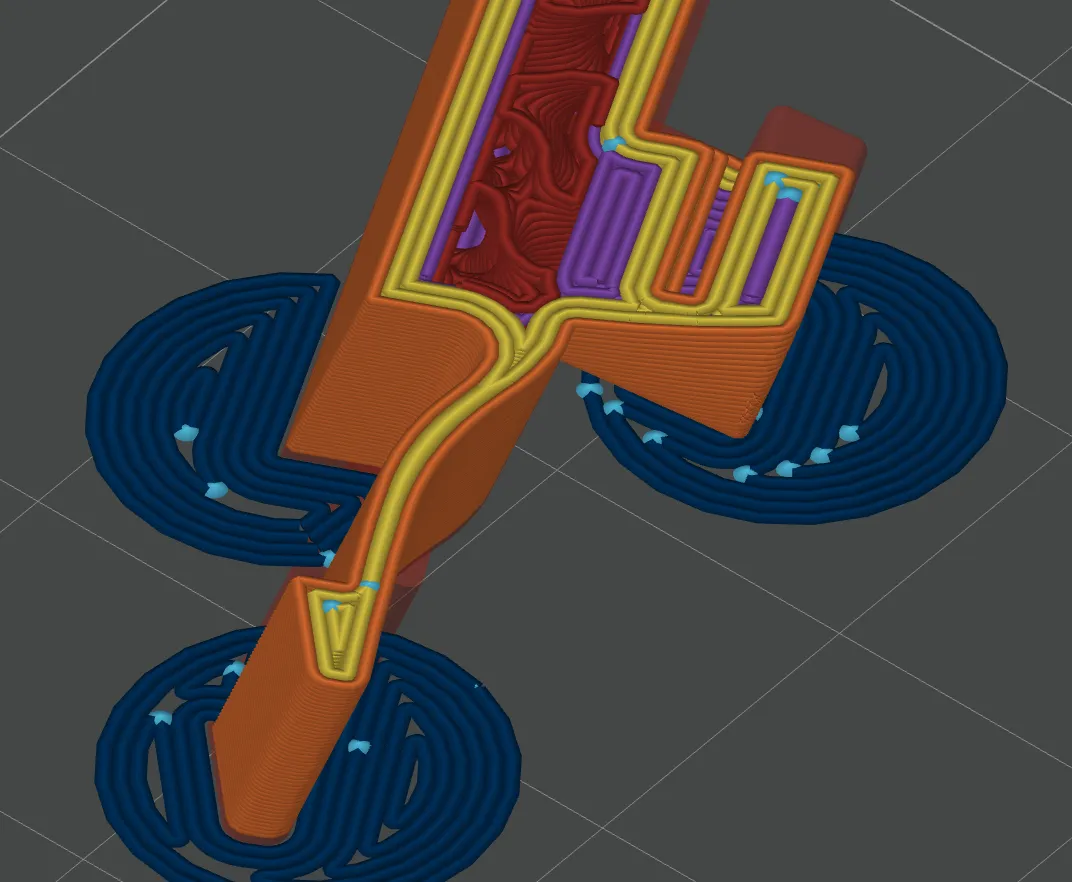
- The first secret to the beastly strength is in the separate dovetailed interface that slides into the base. This allows the tiny cleats that slide into the slots on the charger to be printed in the best orientation. Most other mounts are subject to the limits of some tiny z-layer bonds. Not this one! This charger mount is the strongest and most stable 3D printed mounting solution from what I can find. It would take a quite significant blow of force to break a charger off this mount.. perhaps to be tested soon..
- The second secret to the strength is in the fully stabilized base. The arms of the beast stretch out to perfectly cradle the feet on the bottom of the charger, keeping it stable and secure in all axes.
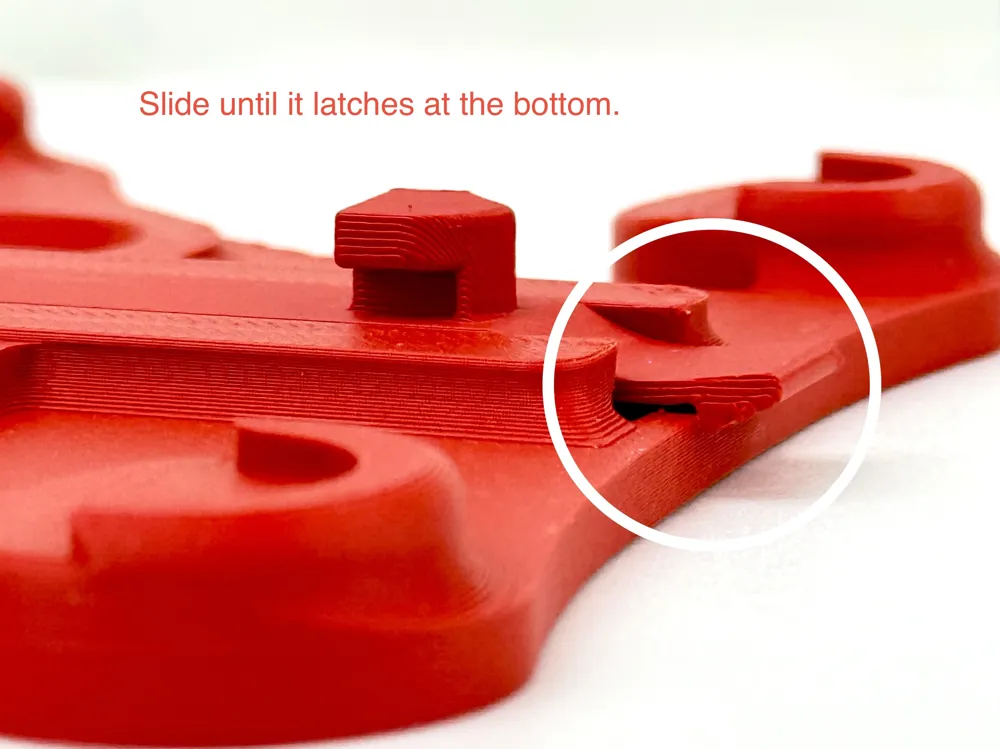
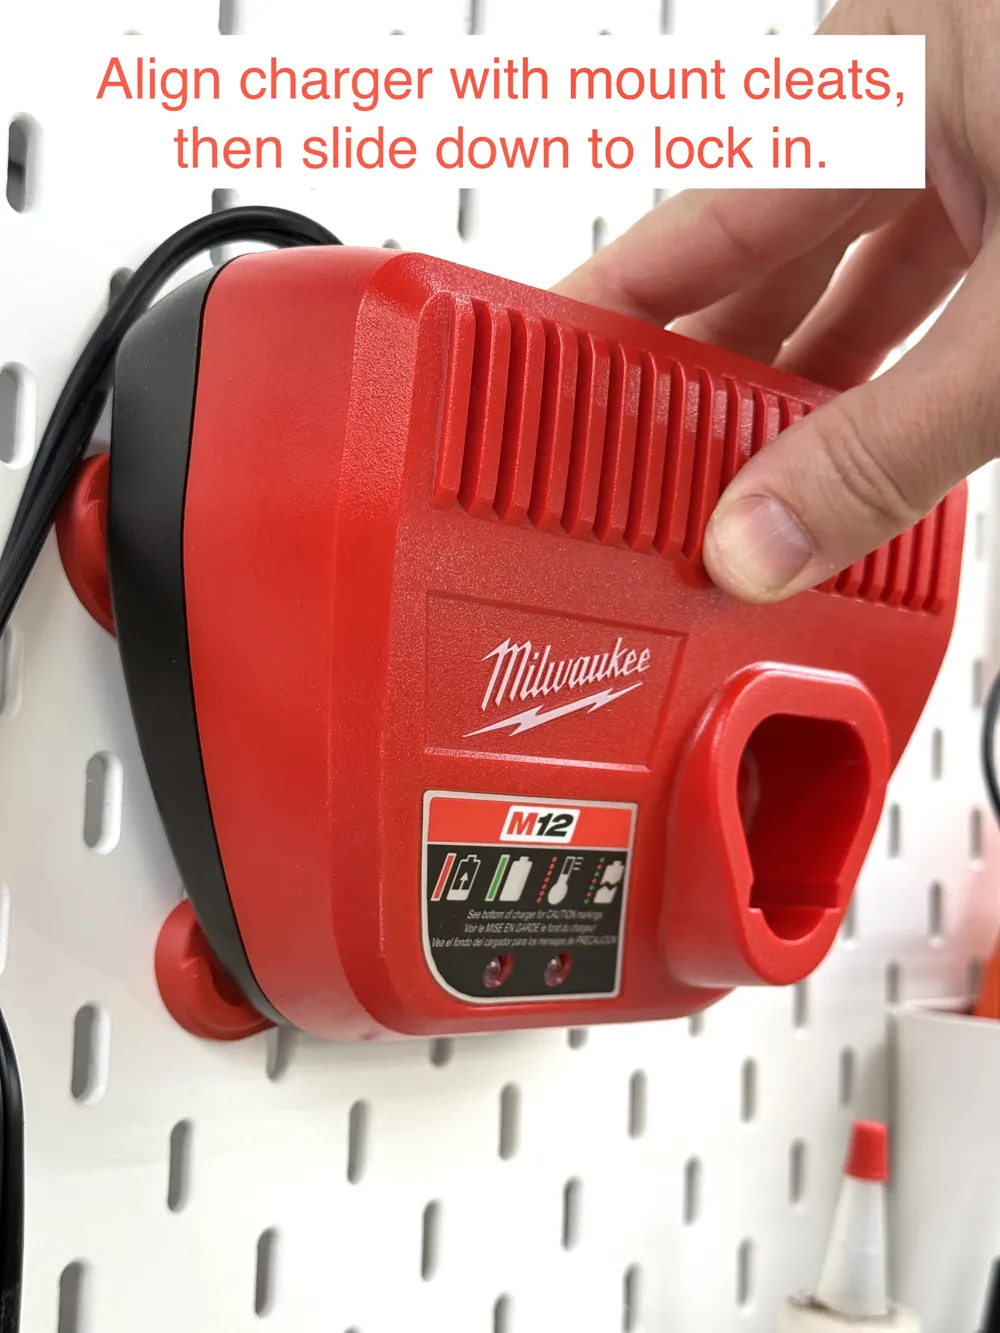
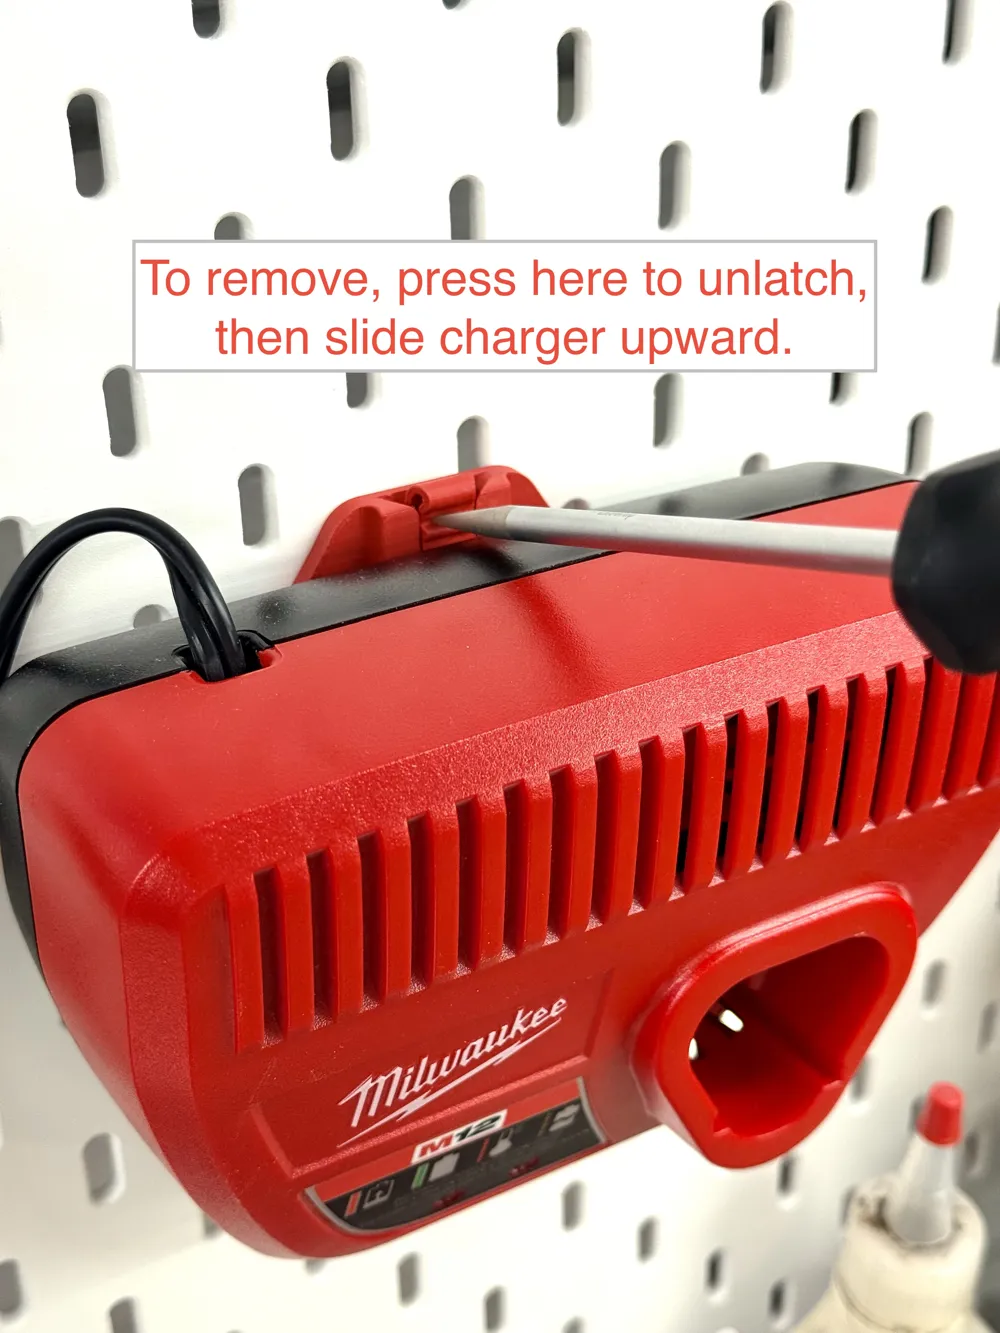
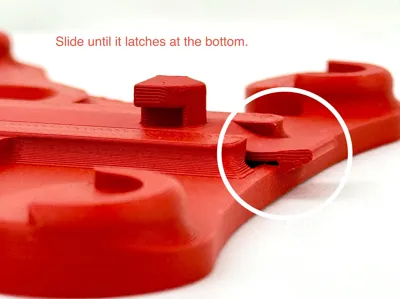
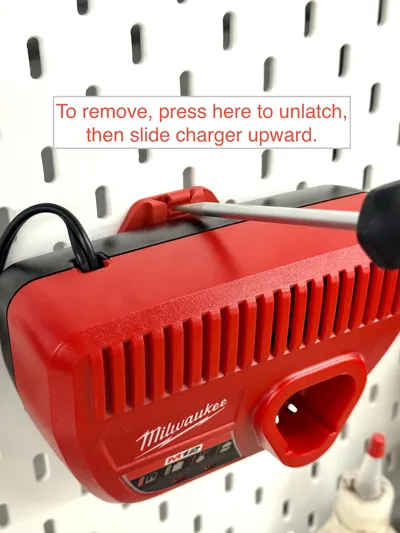
- Third, there is a spring loaded locking tab that secures the charger in place on the mounting interface, yet is easily released with a screwdriver or the tip of your finger.
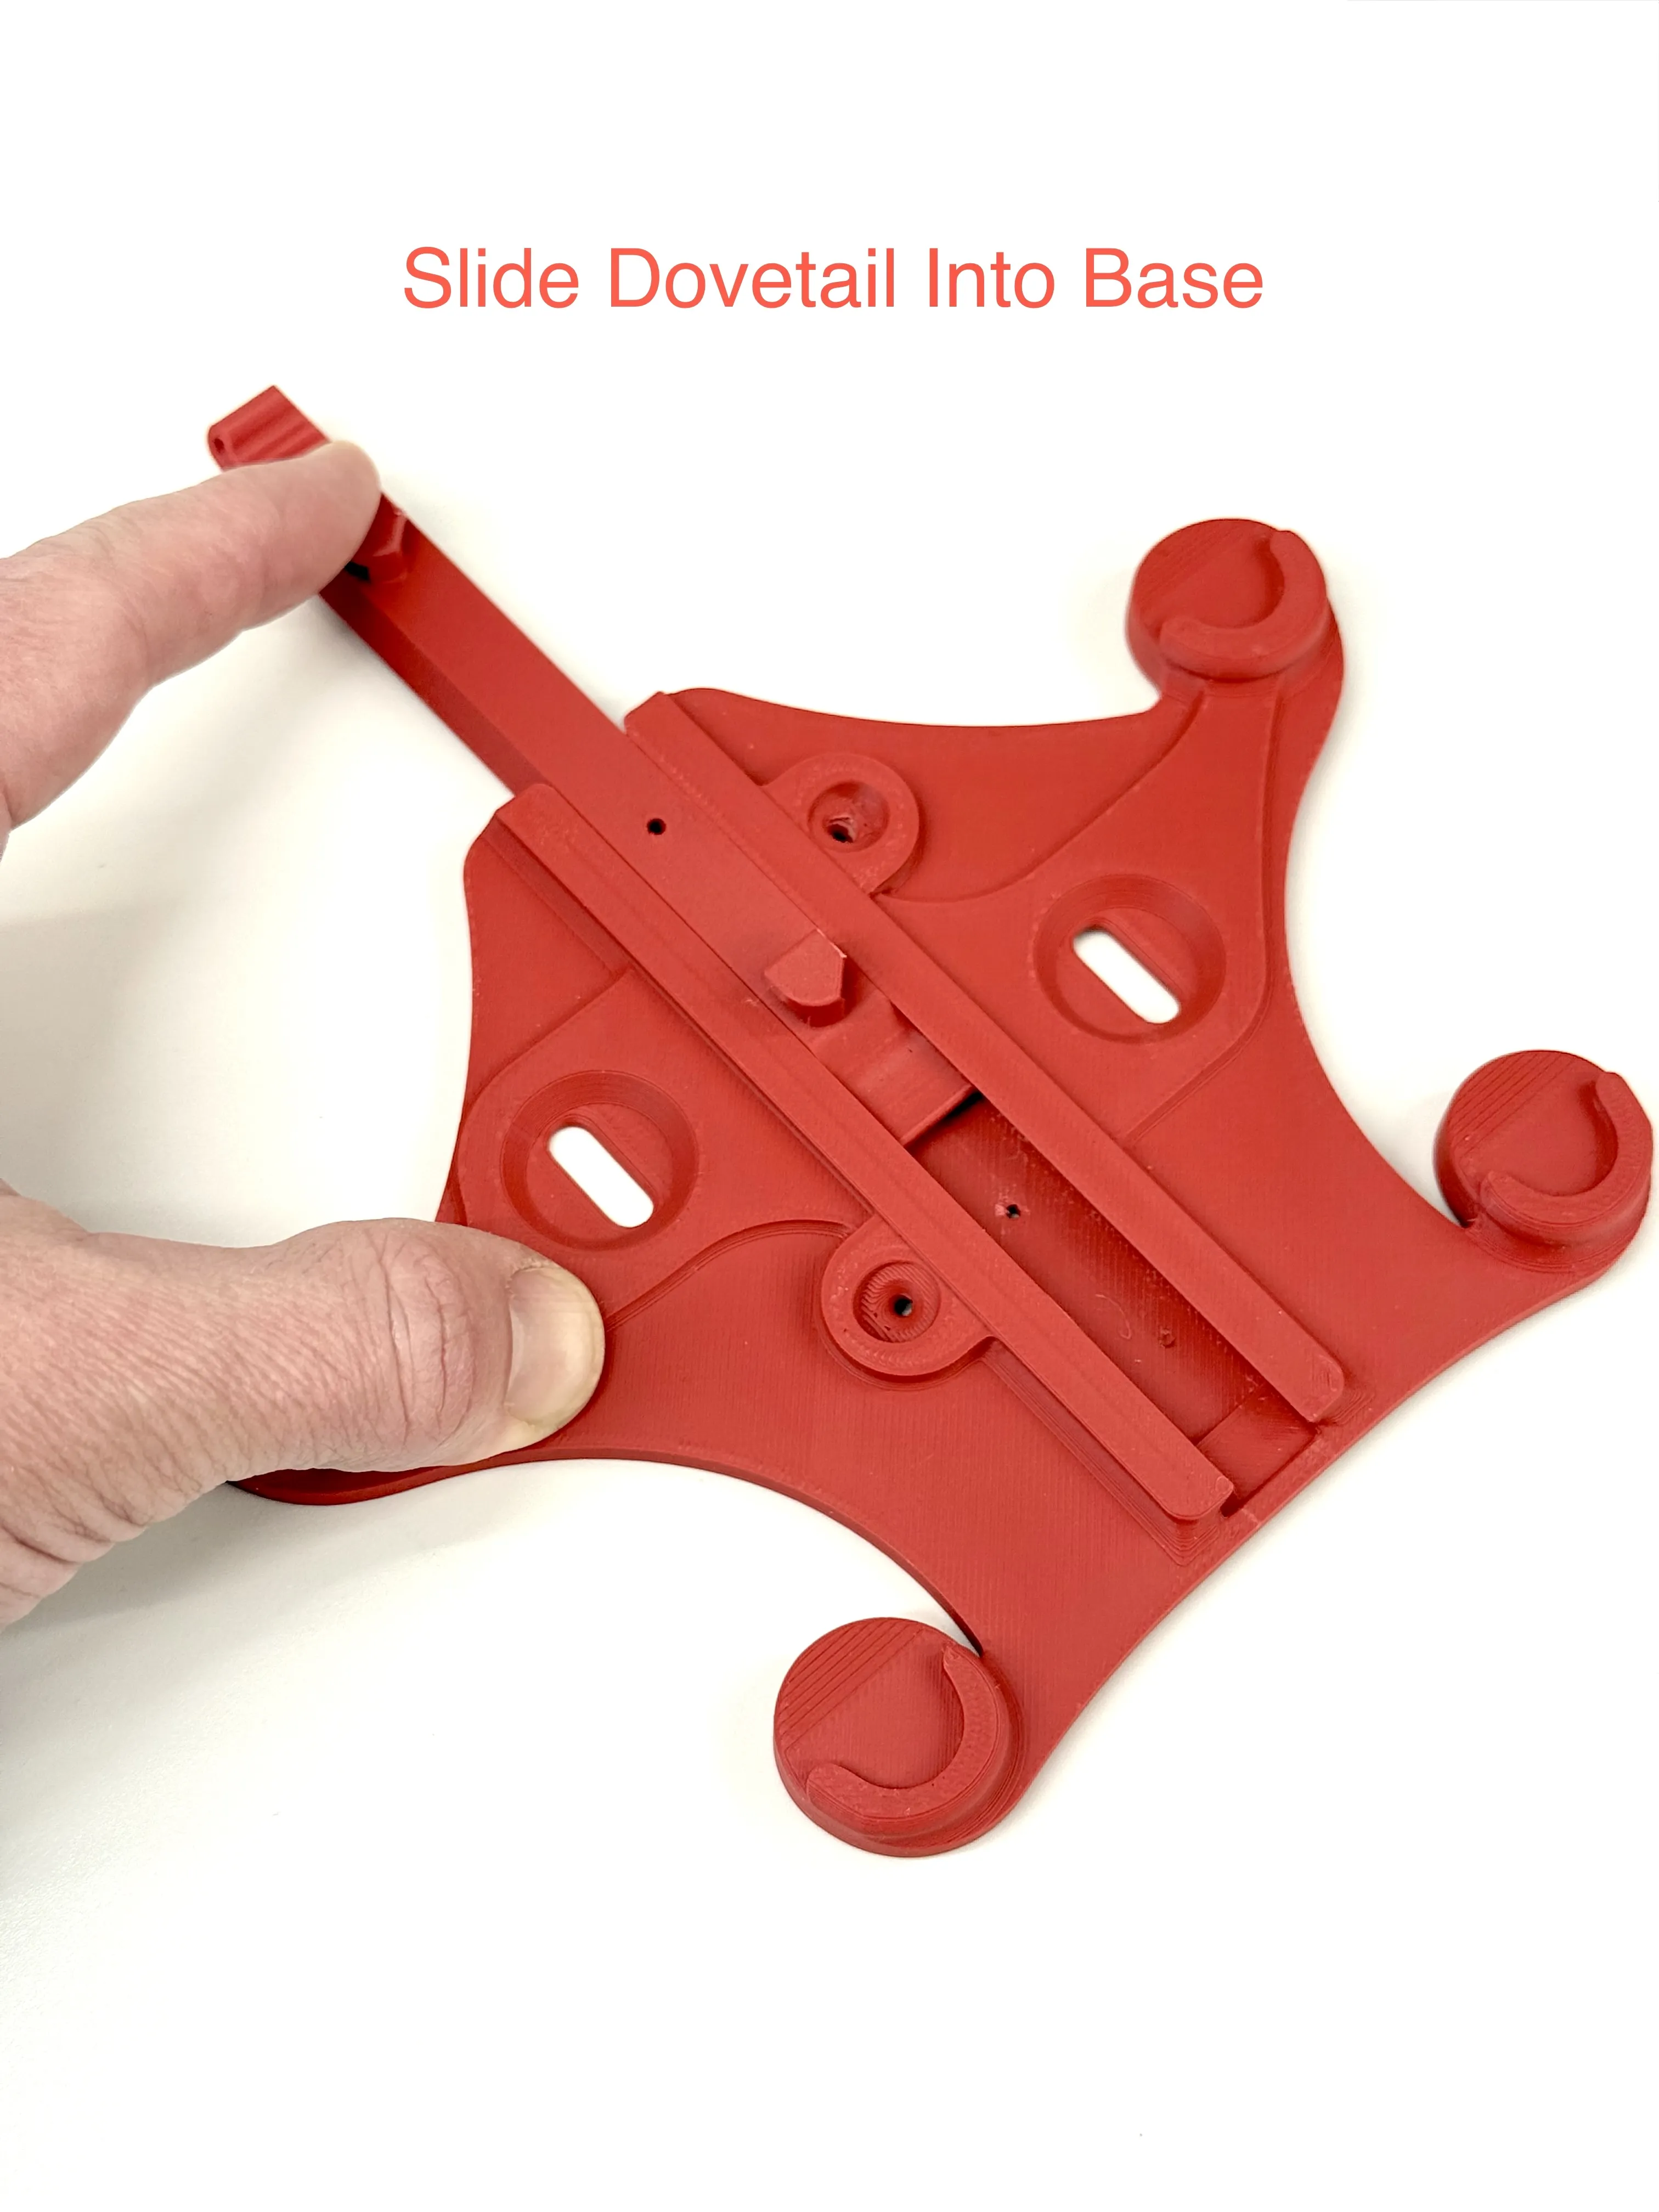
|  |
See pictures for mounting options..
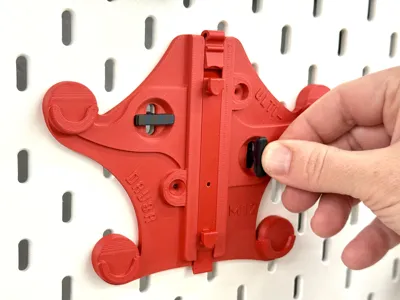
- To mount to Ikea Skadis, this model includes T-clips and a built in T-clip seat designed by LineArcLine! See original model here:
https://www.printables.com/model/256896-skadis-t-clip-system/files
The mini clips included are remixed by capze and can be found here: https://makerworld.com/en/models/25748-skadis-t-clip-mini-parametric?from=search#profileId-58083
Please note that the included clips are for painted skadis panels, there are other profiles in capze's model for non-painted Skadis.
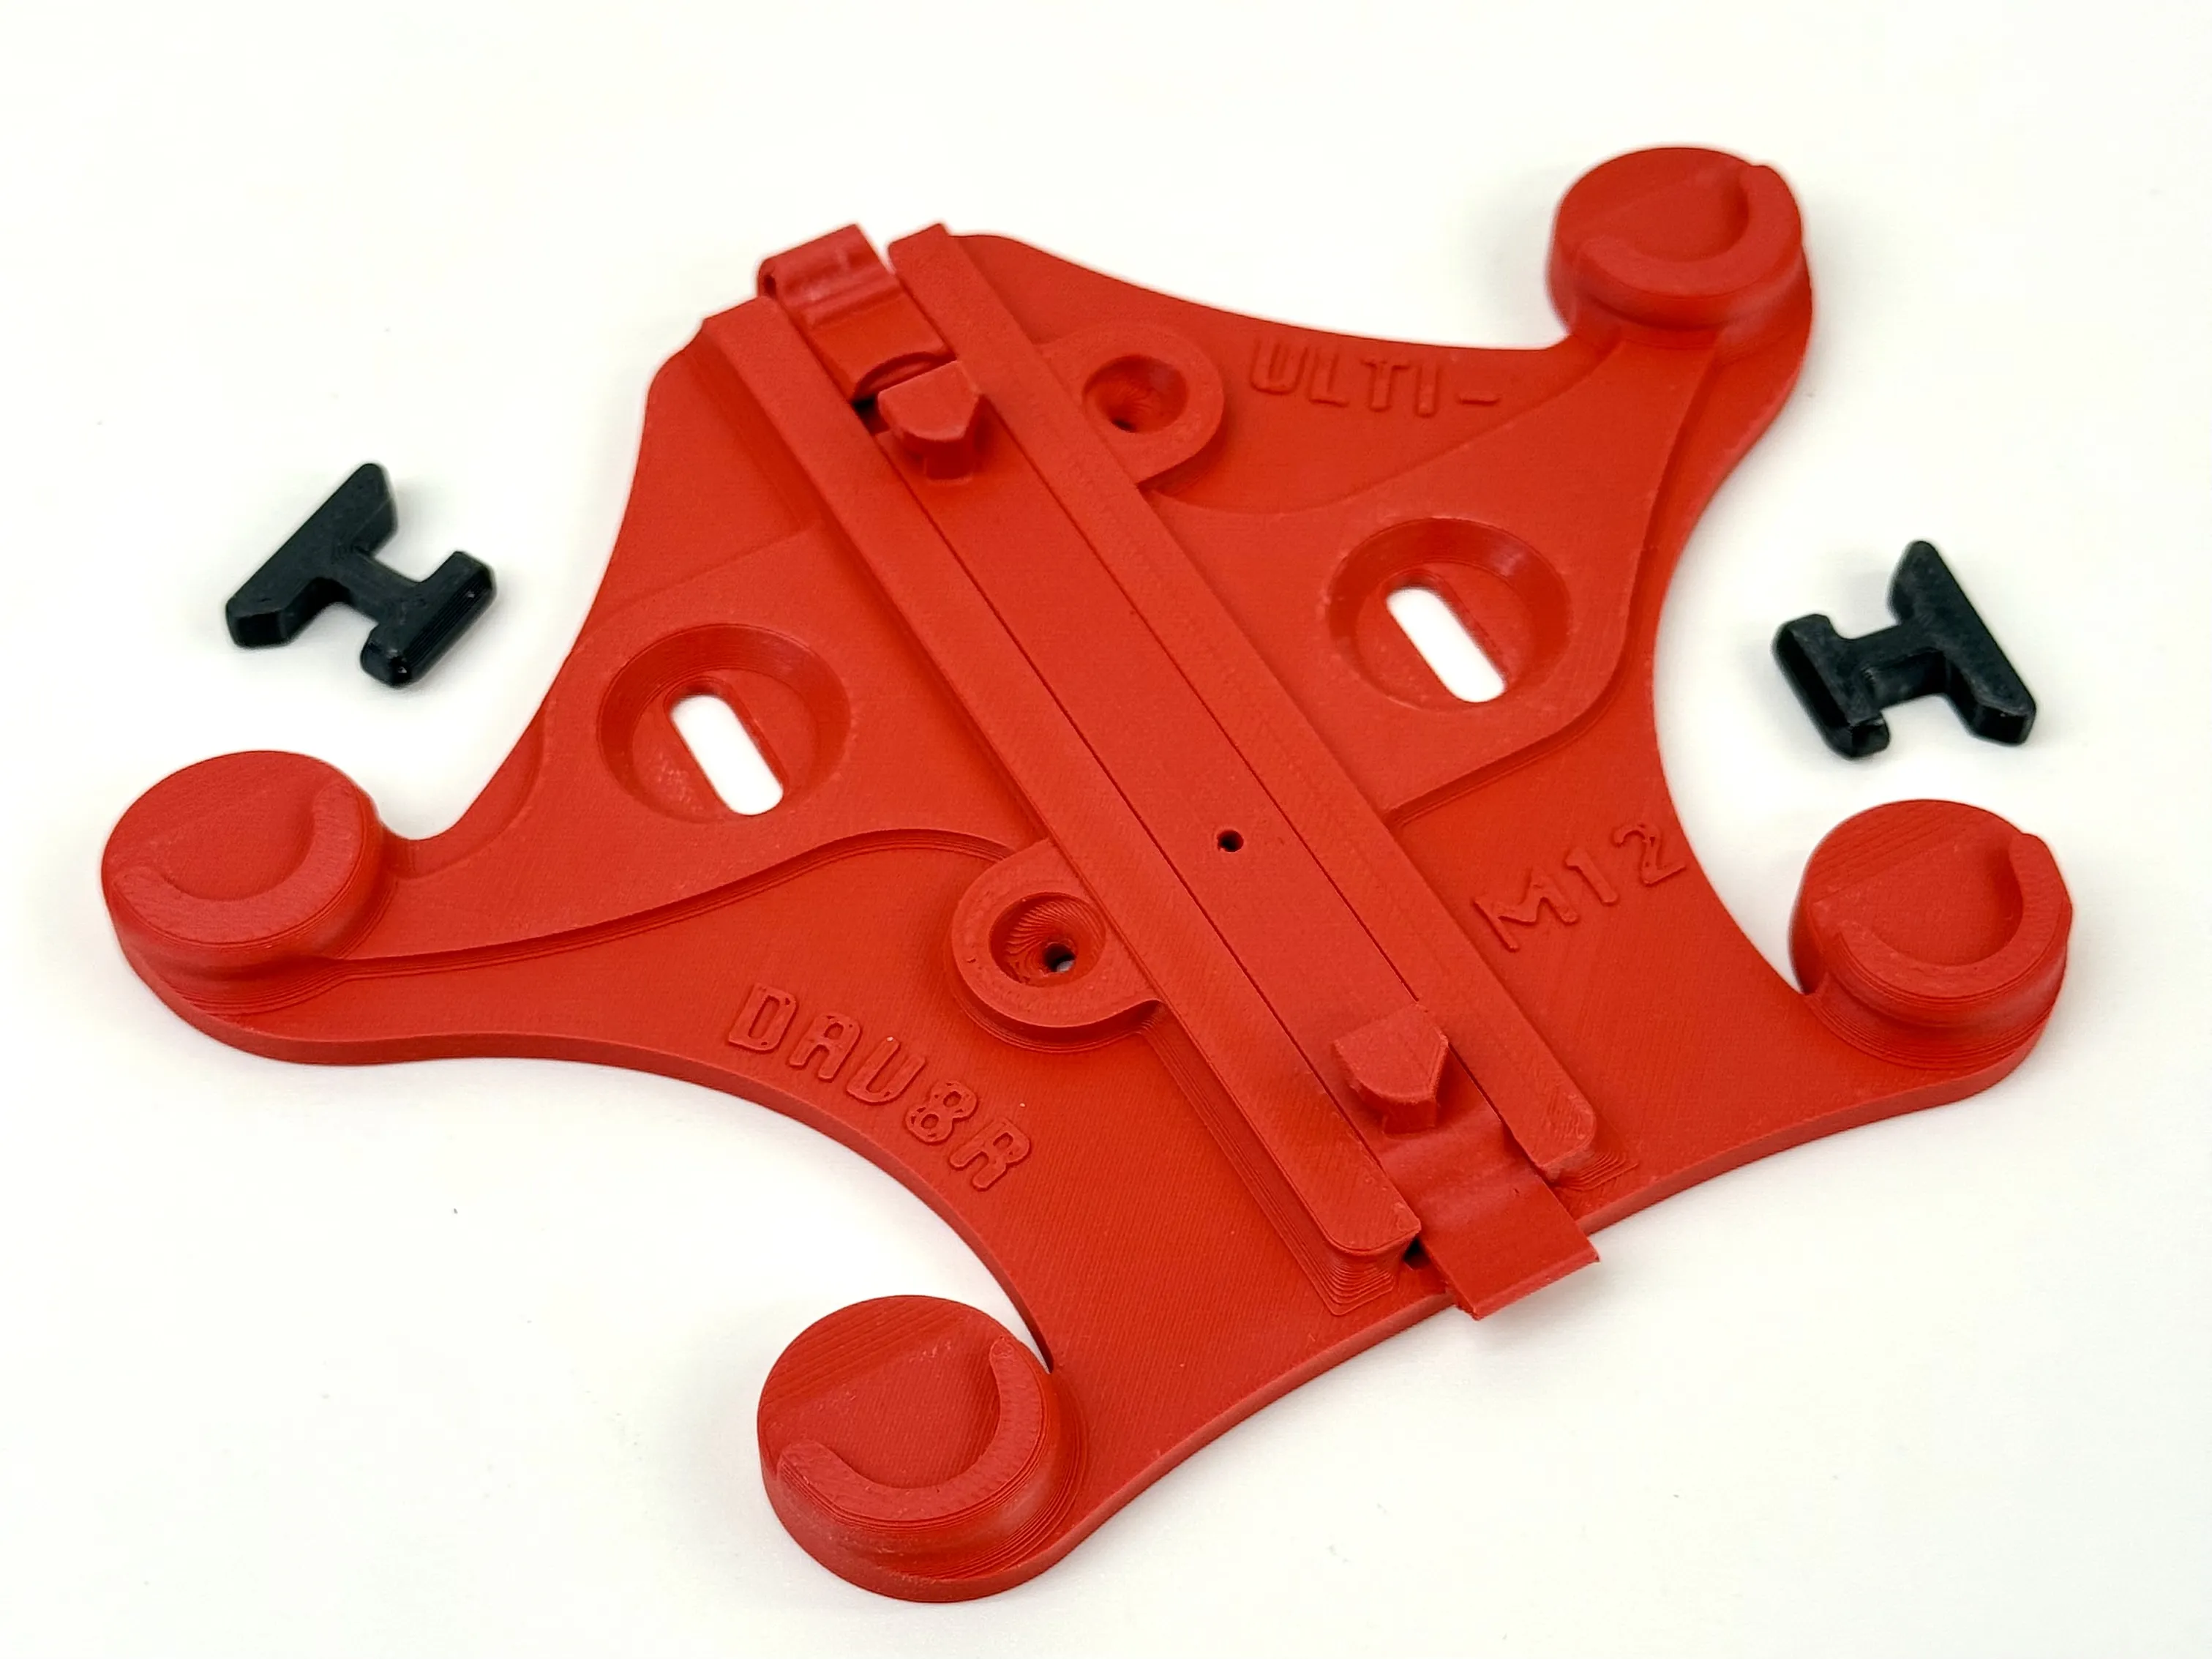
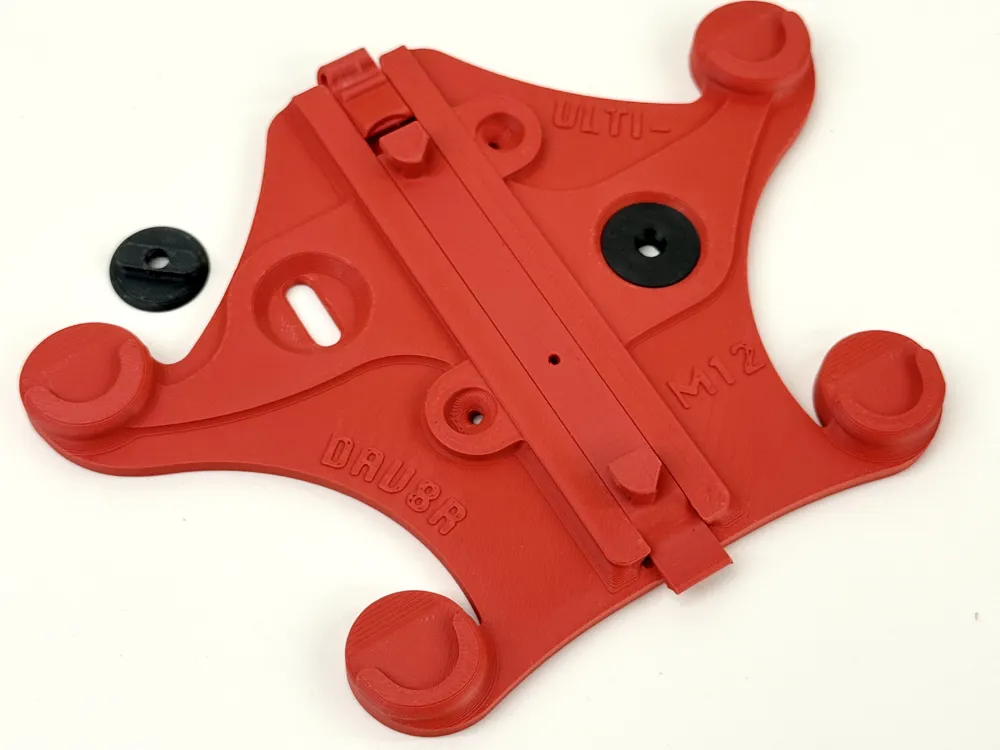
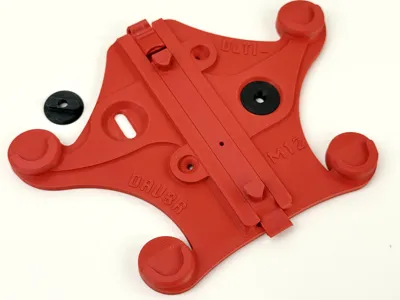
- To mount to a wood surface, use the plastic washers that fit into t-clip seats. These work best with a #6 screw but a #8 should be fine as well.
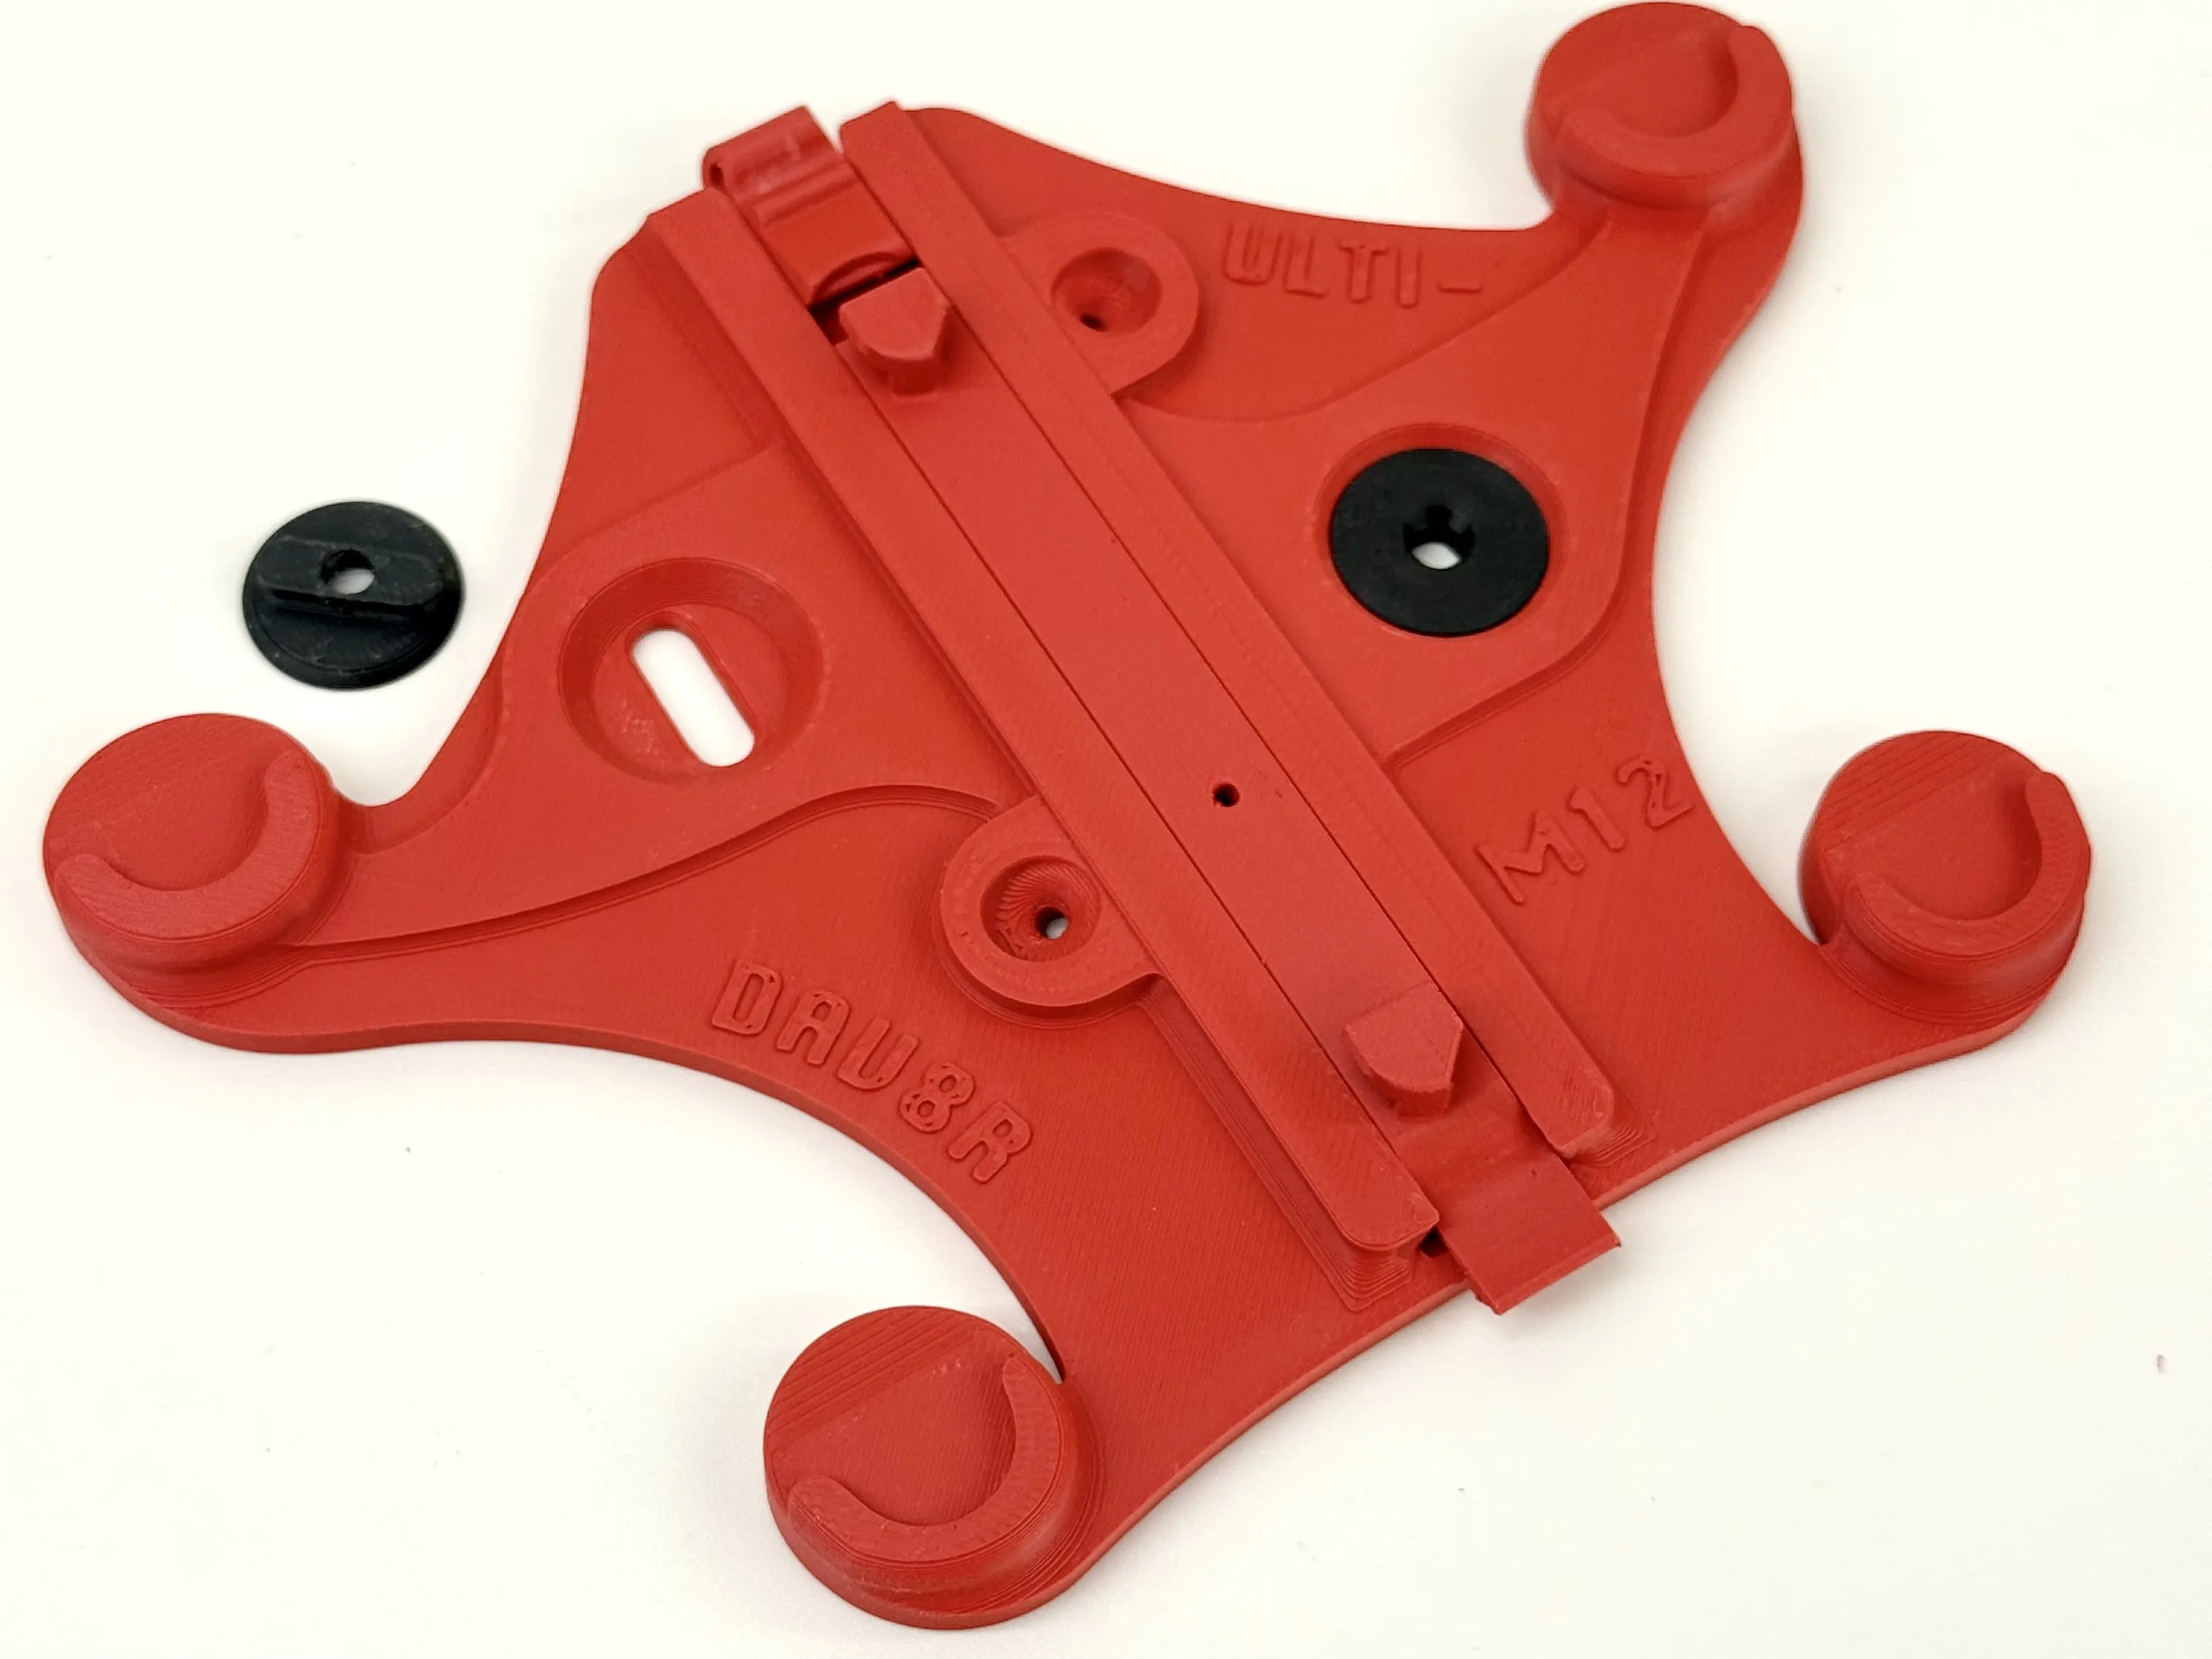
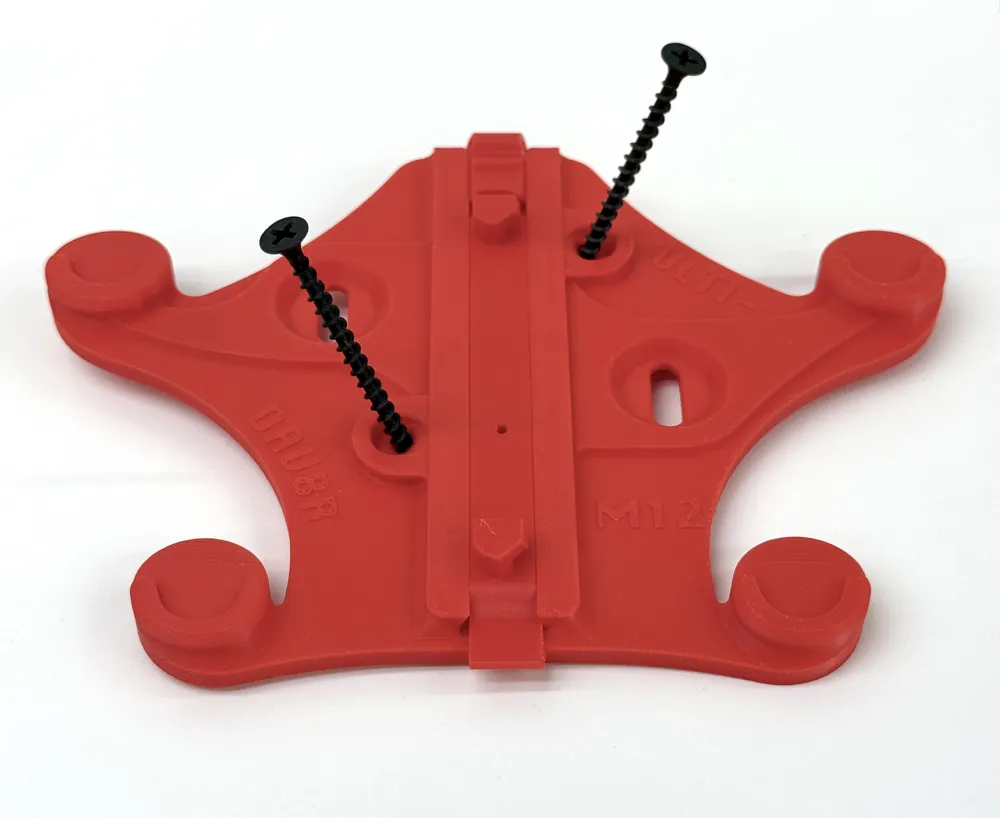
- Larger screws (or tap-con's for concrete) up to ¼" can be used with a ¼" or 16mm OD metal washer in place of the plastic washer. #6 drywall screws can be run through the angled drywall screw holes.
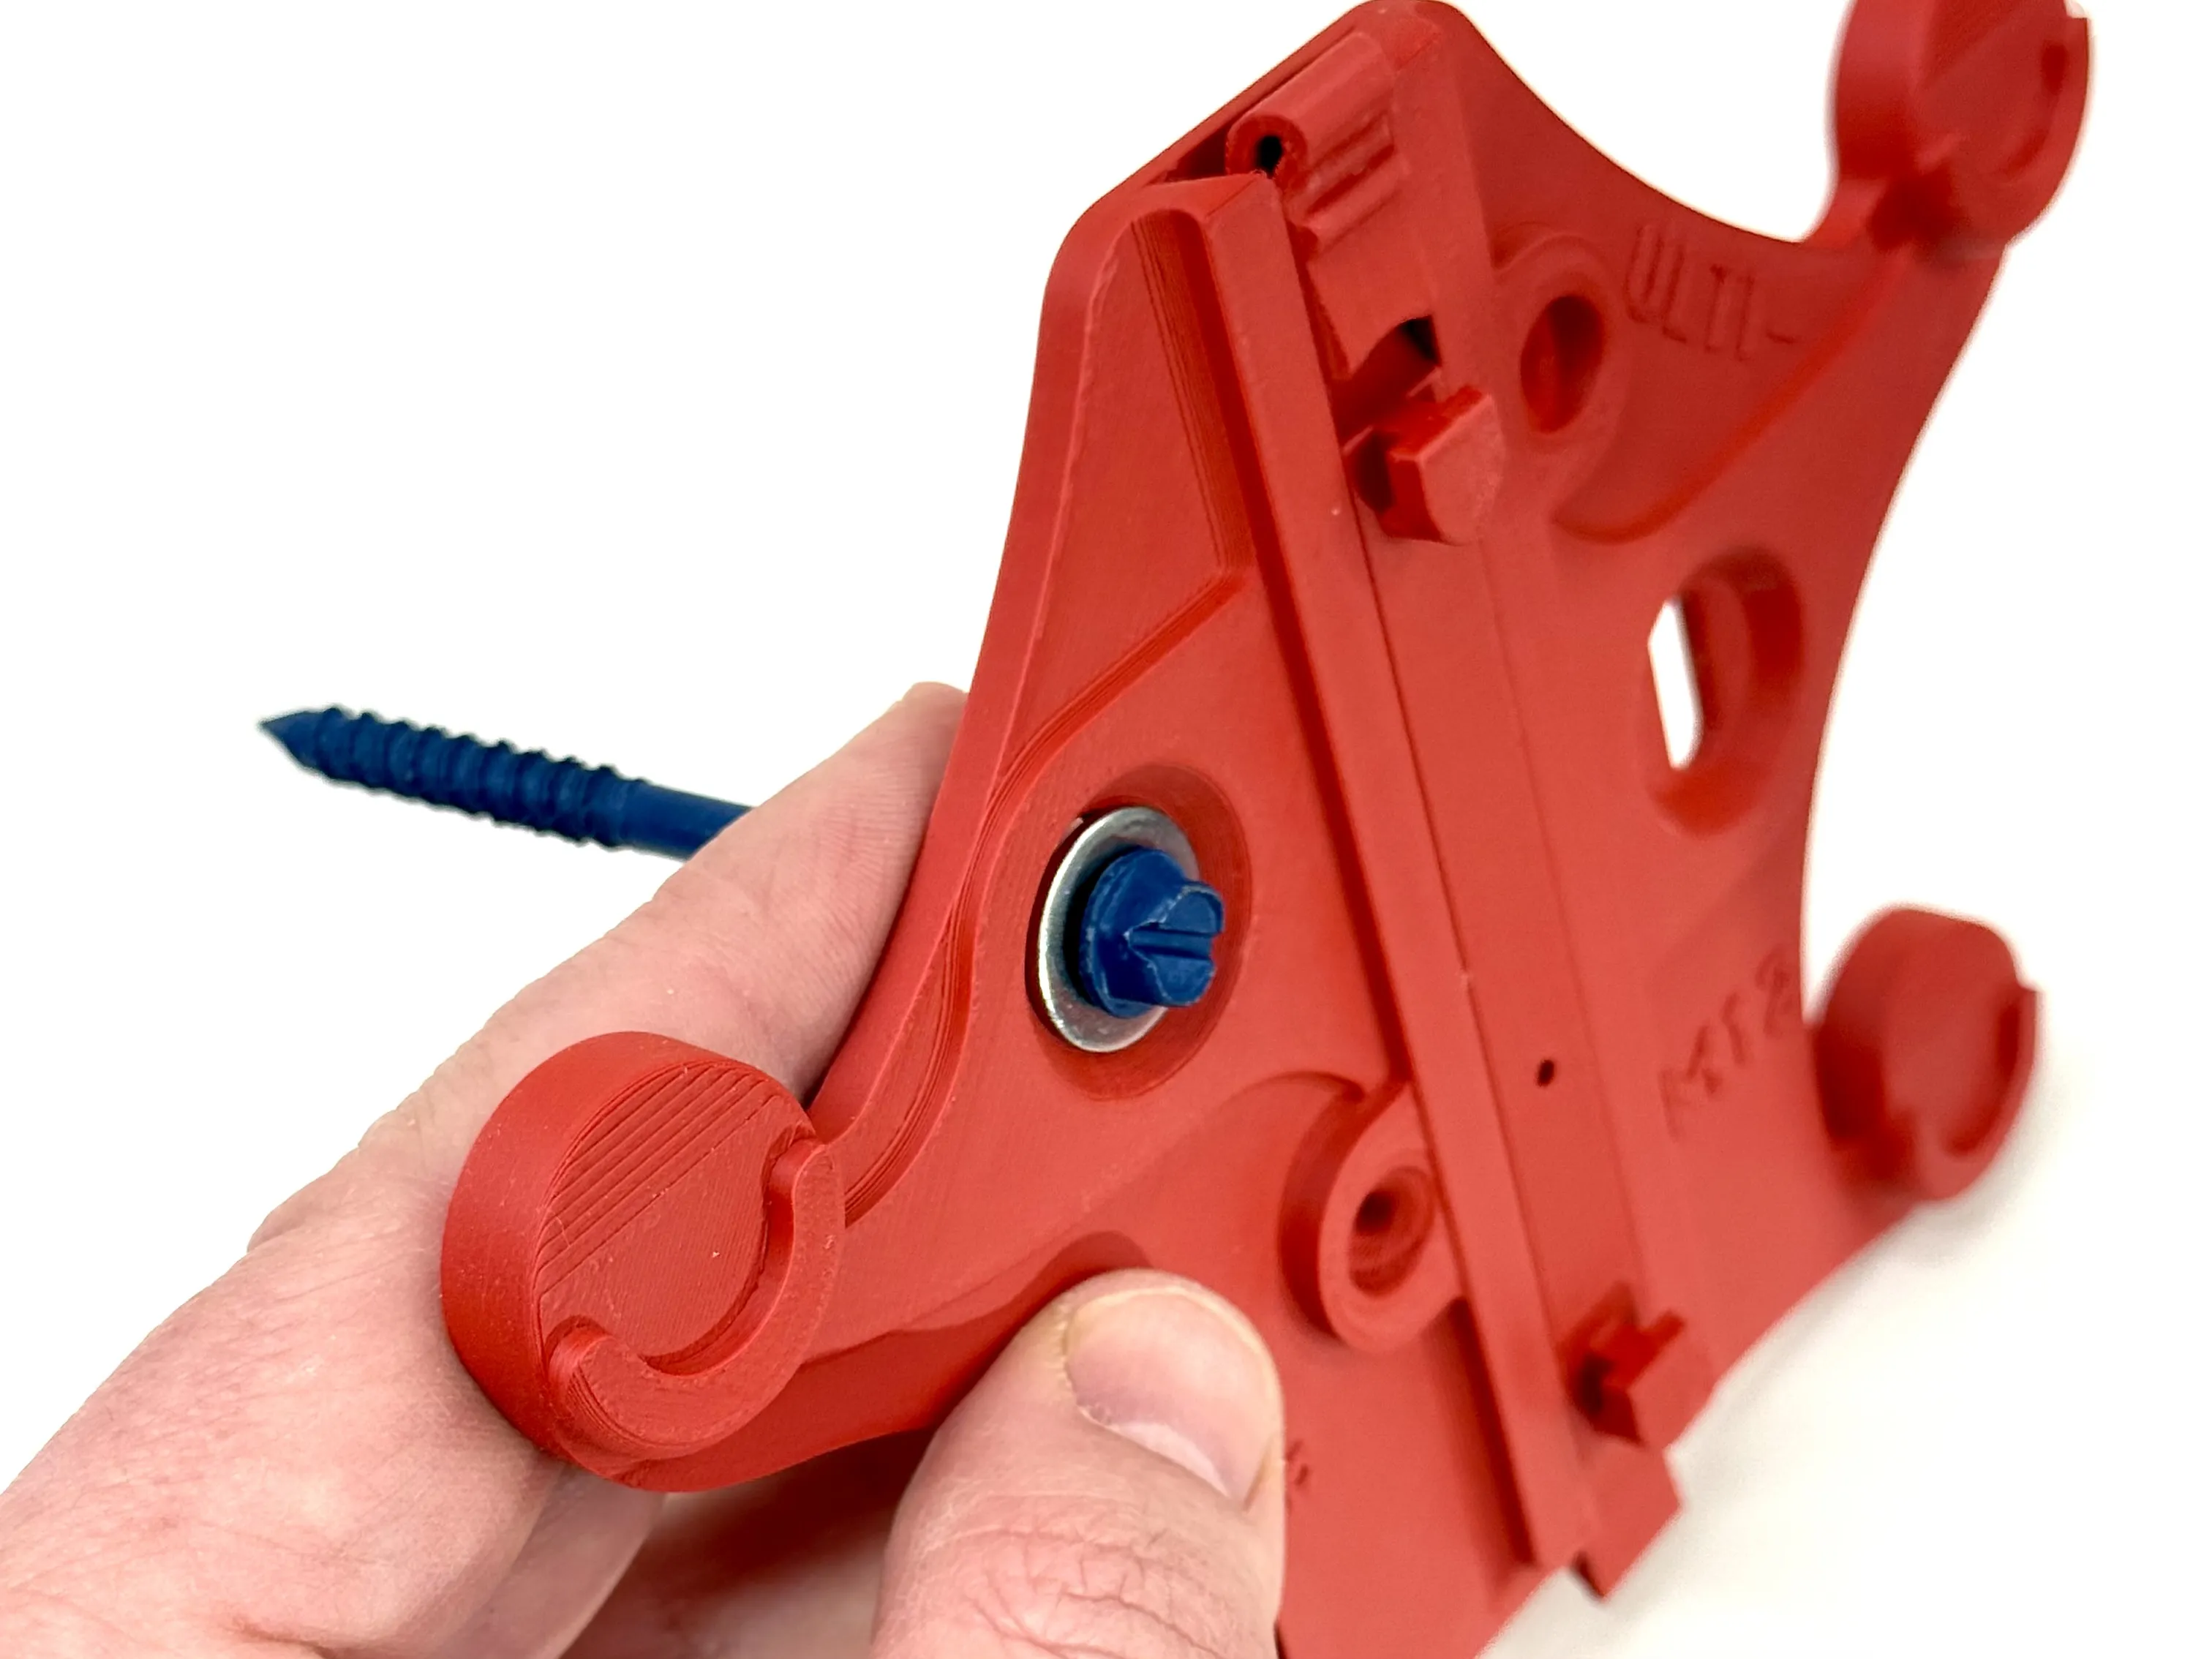
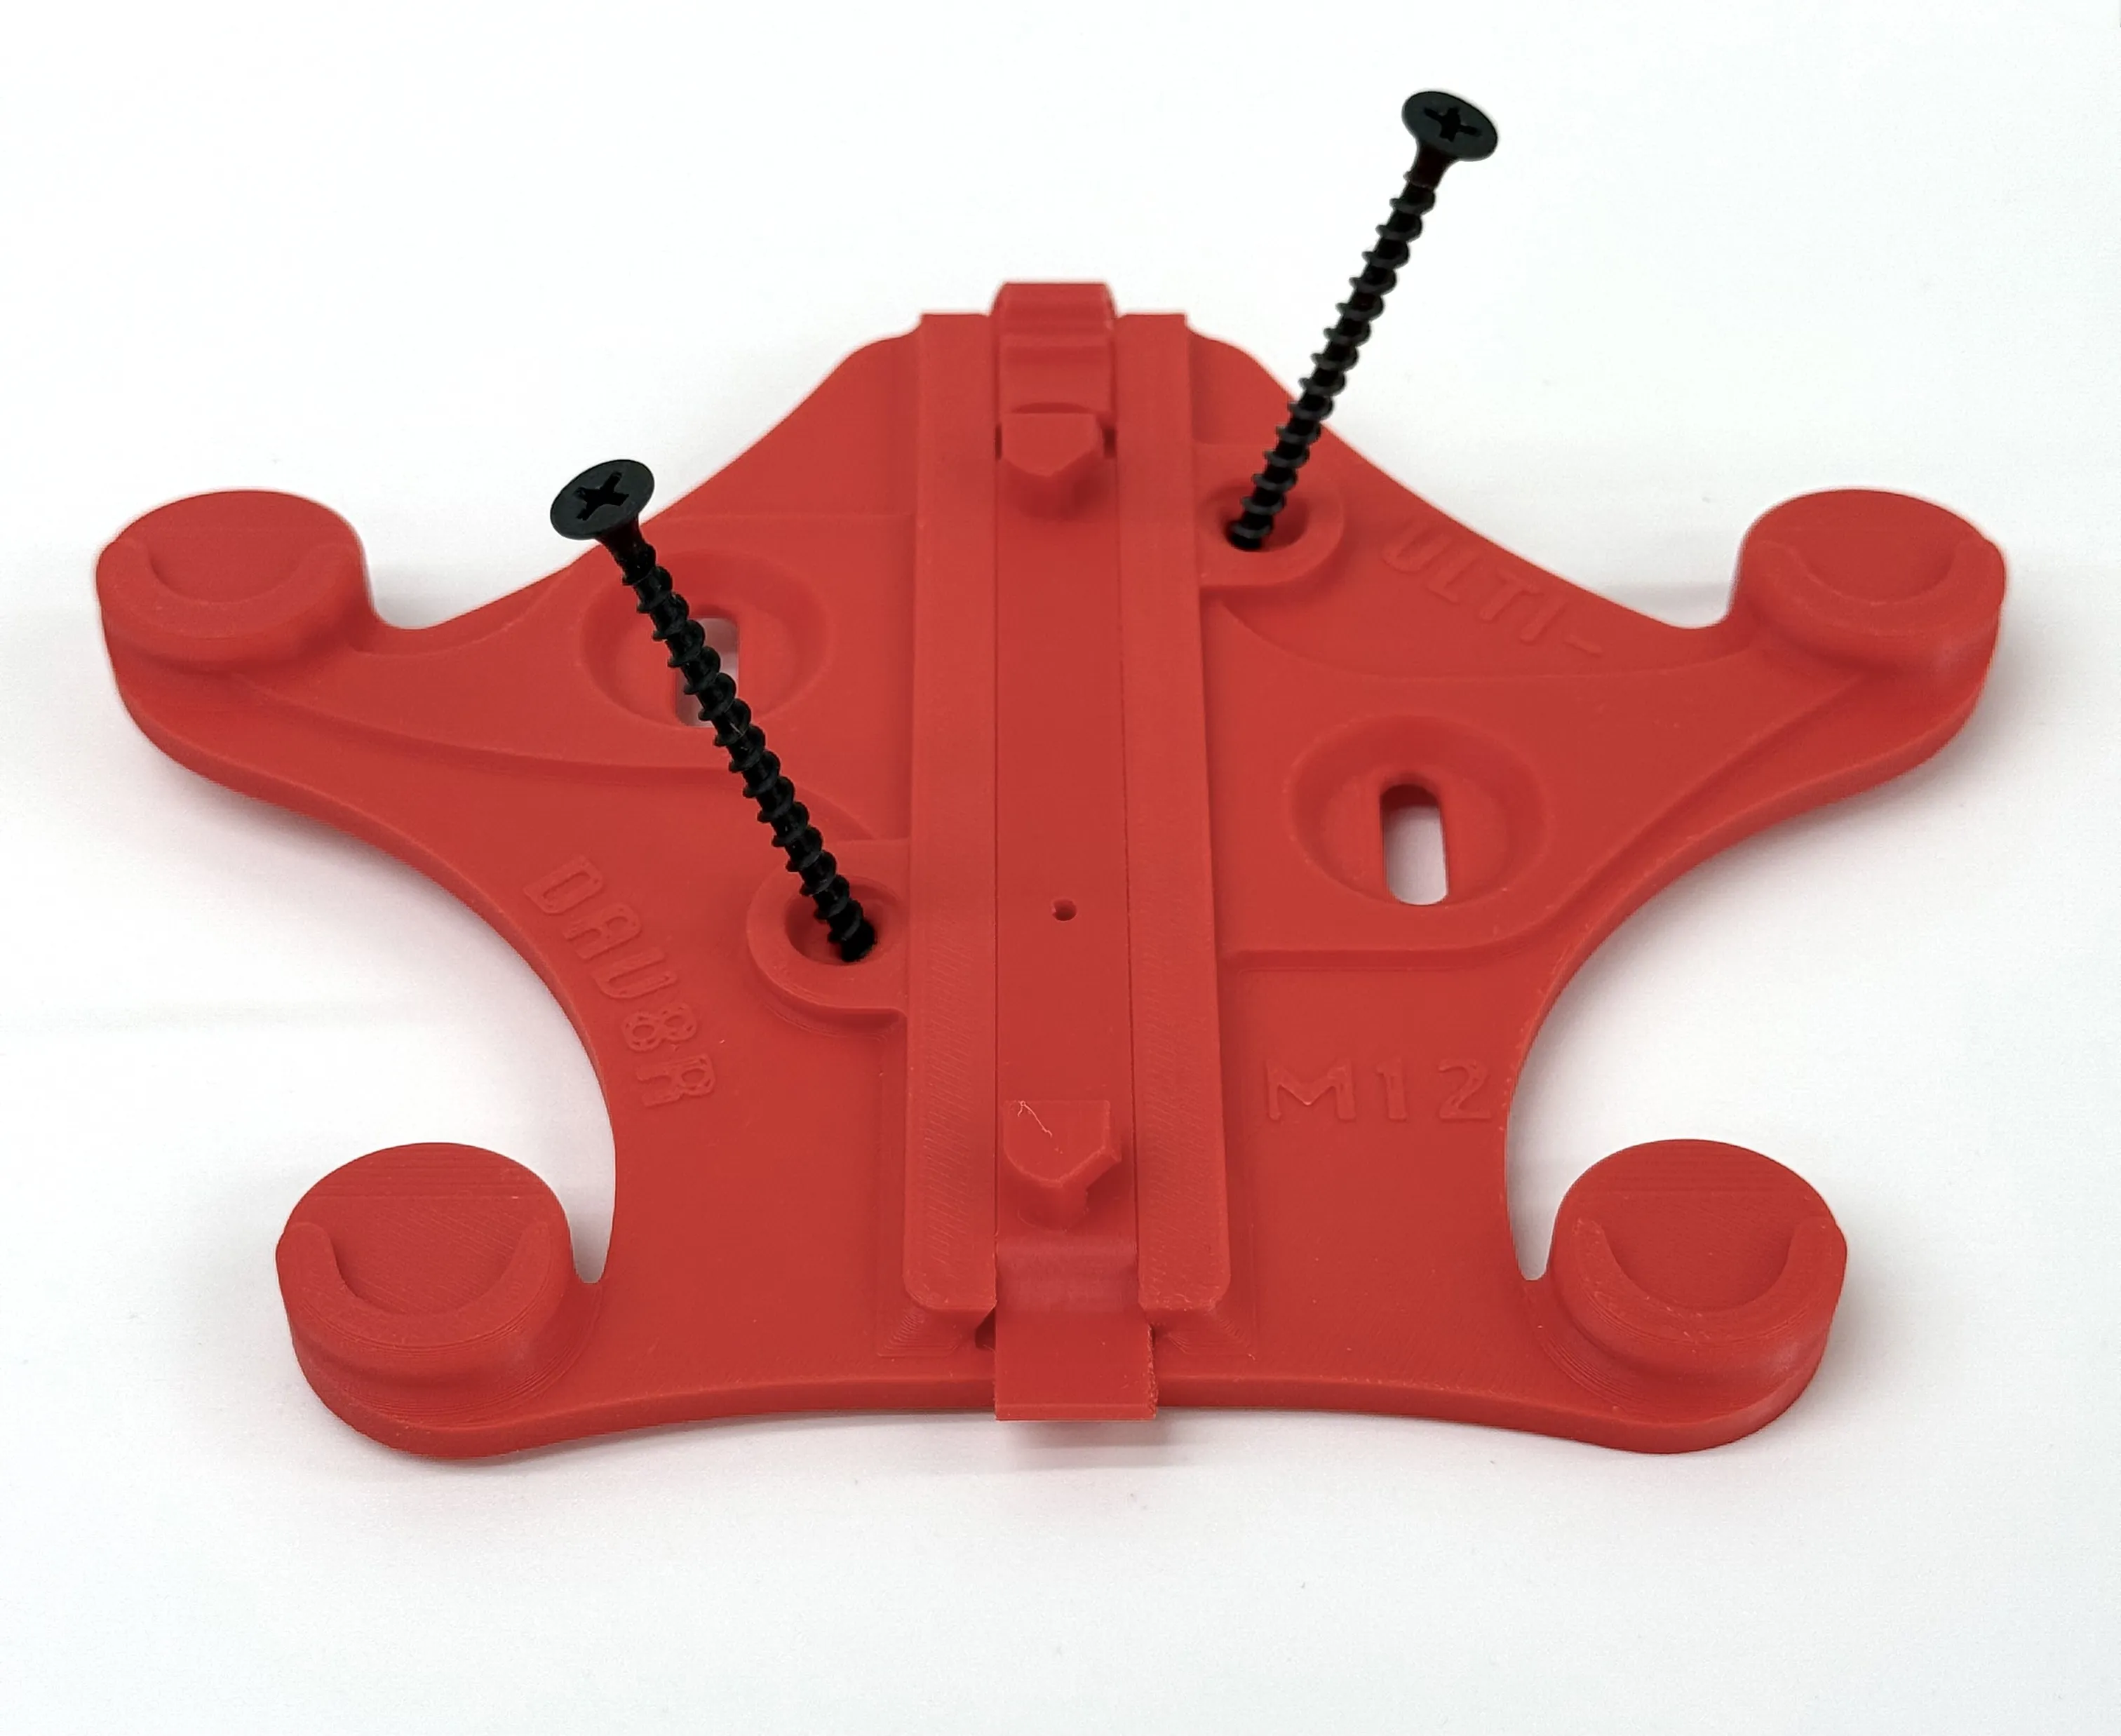
To mount to a stud through drywall (or directly to a stud), use #6 drywall screws of appropriate length in the angled drywall screw holes adjacent to the dovetail slot. Align the mount to the center of the stud and these holes will properly angle the screw toward the center of the stud.
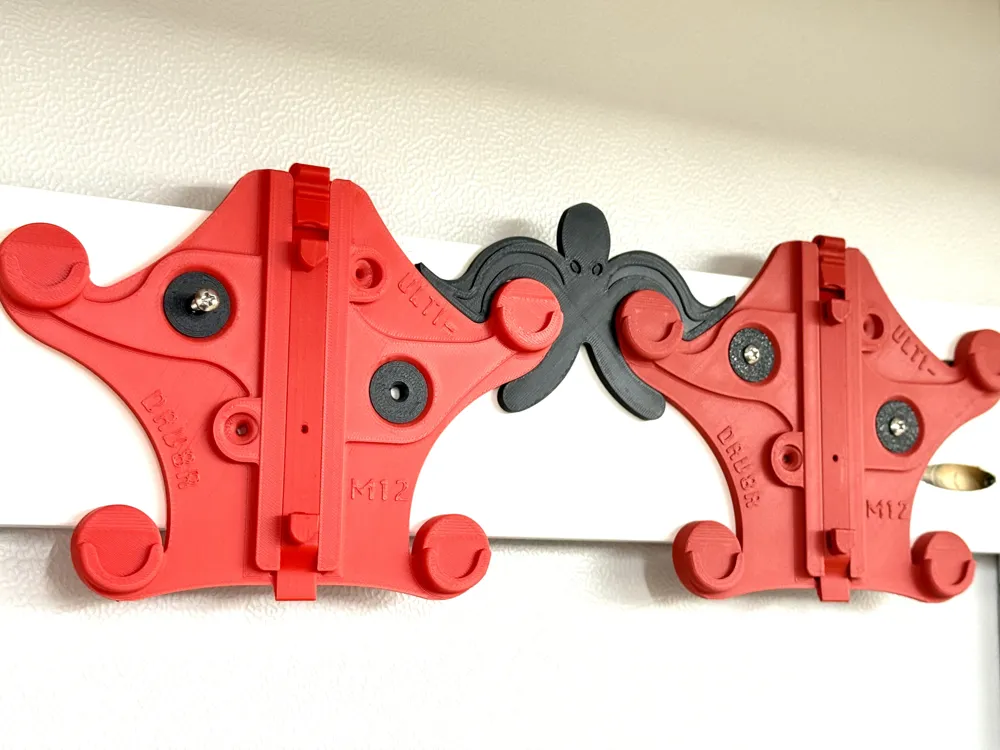
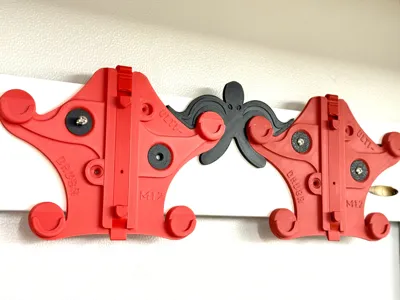
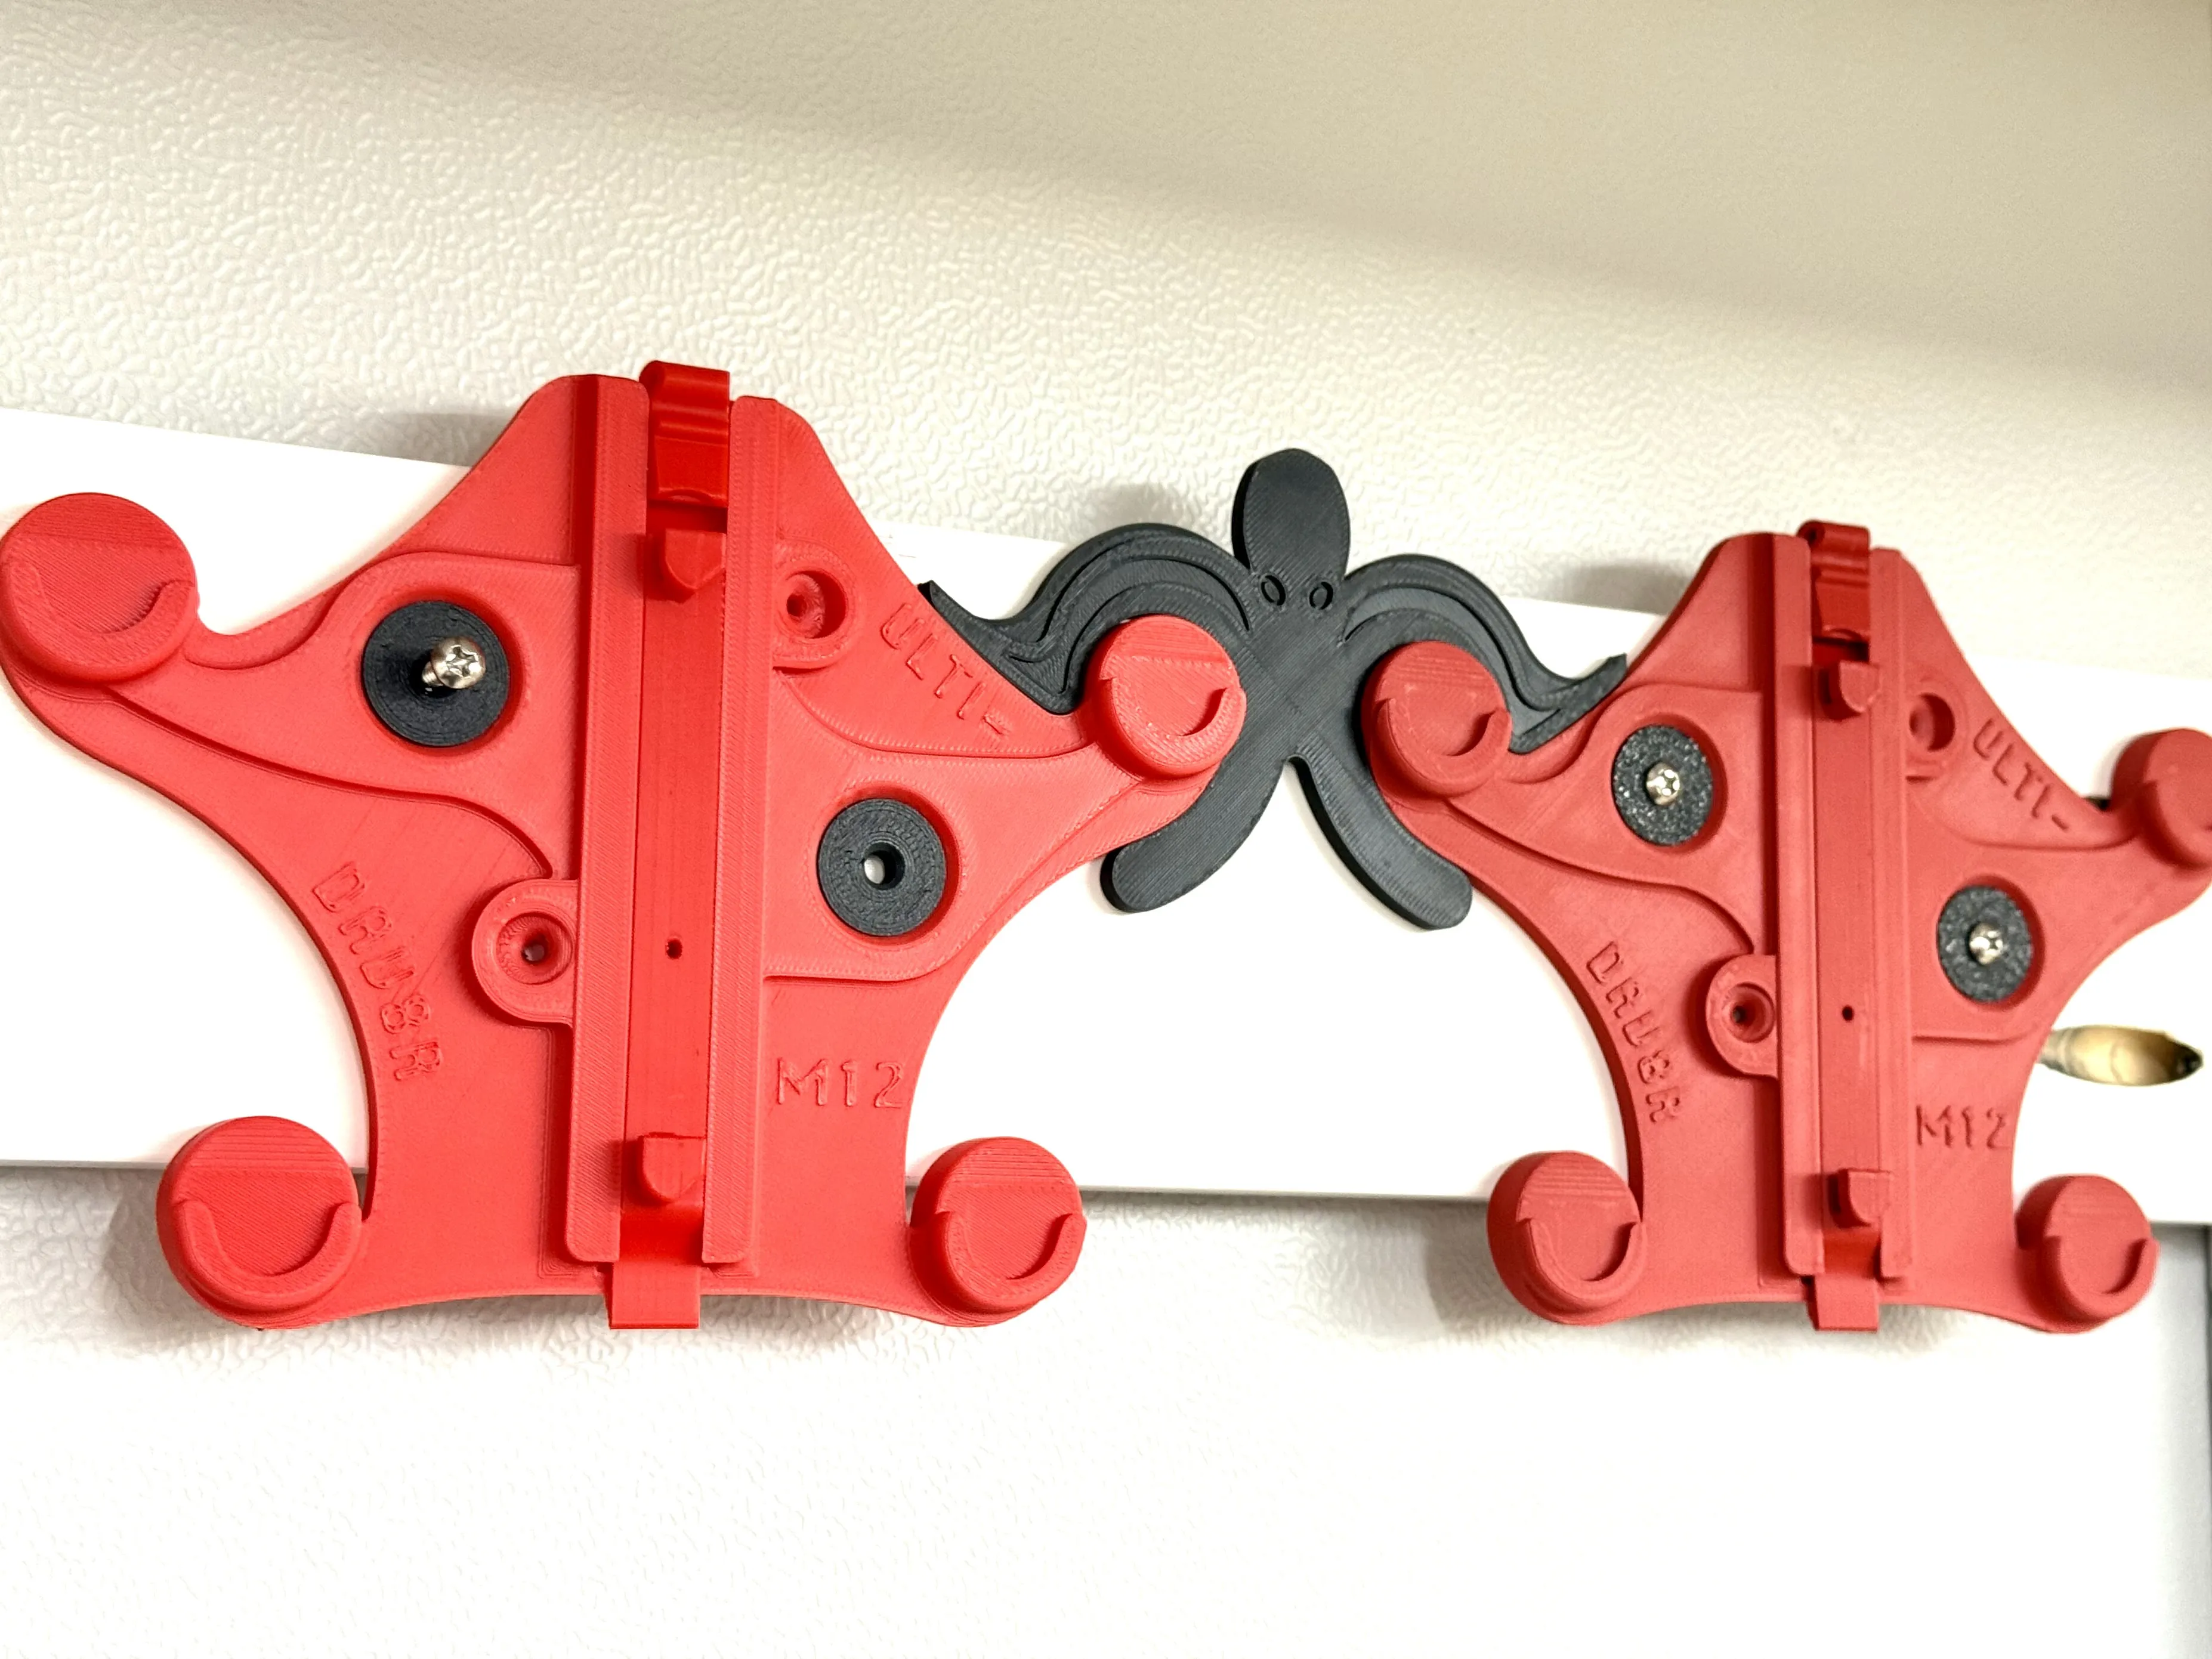
Also included is a nifty little octopus inspired installation alignment tool!
(Found on plate 2). If you have multiple chargers and want to line them up next to each other, you simply clip the tool between the two mounting plates to ensure proper positioning of the next mount to be secured. This guy can be left in position after aligning your last charger mount, or removed before installing the chargers.
M18/M12 Version coming soon!
Printing Info:
- Please print with fully calibrated filament (flow dynamics and rate). There are some slight tolerances built in, but if your filament is significantly over-extruded, you could have issues.
- Recommend PLA for ease in accurate printing and tolerances.
- I don't recommend changing any of the settings in the 3MF. The mounting interface that slides into the base is at risk of print failure without the included brim ears. If you are printing this from STL's, either manually add brim ears to all sharp points and contact areas on the mounting interface, or just add a 5mm outer brim to the entire part.
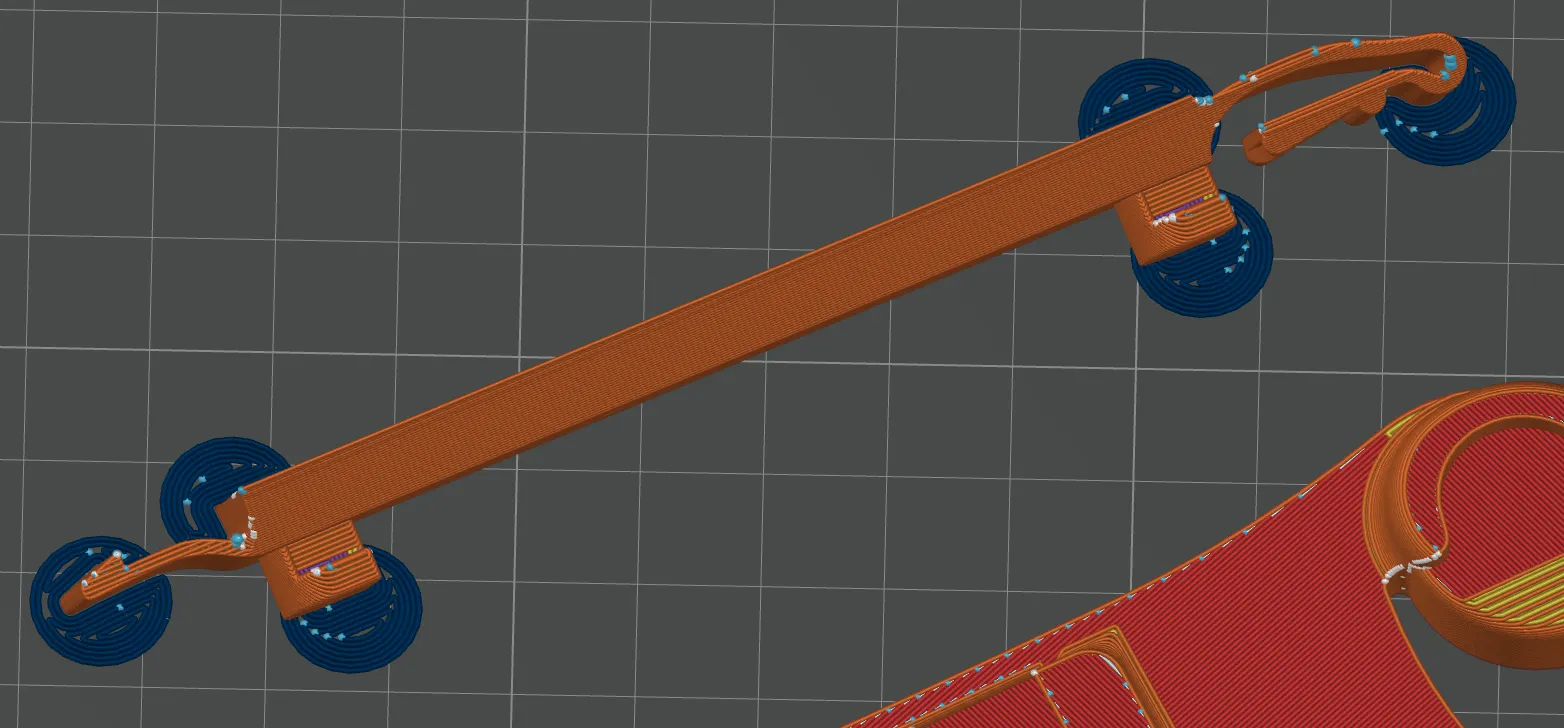
Printed successfully on both Cryogrip Glacier and BL Textured PEI plates without changing settings.
Examples printed in:
- Polymaker Panchroma Matte - Army Red
- BL Basic PLA - Red
- BL Basic PLA - Black (for the T-clips and washers)
Enjoy! Please share pictures of your installation and feedback.
Boost Me (for free)
Very much appreciate a boost. It helps and encourages me to bring more fun designs to reality!
License

You shall not share, sub-license, sell, rent, host, transfer, or distribute in any way the digital or 3D printed versions of this object, nor any other derivative work of this object in its digital or physical format (including - but not limited to - remixes of this object, and hosting on other digital platforms). The objects may not be used without permission in any way whatsoever in which you charge money, or collect fees.


Comment & Rating (21)