
Print Profile(4)

Description
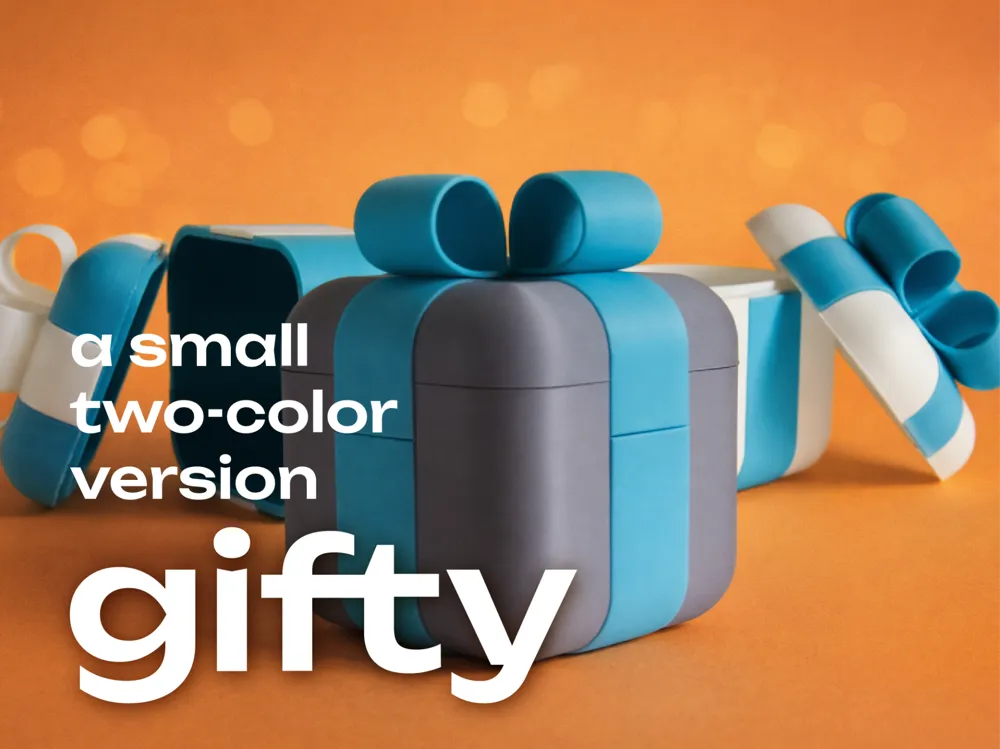
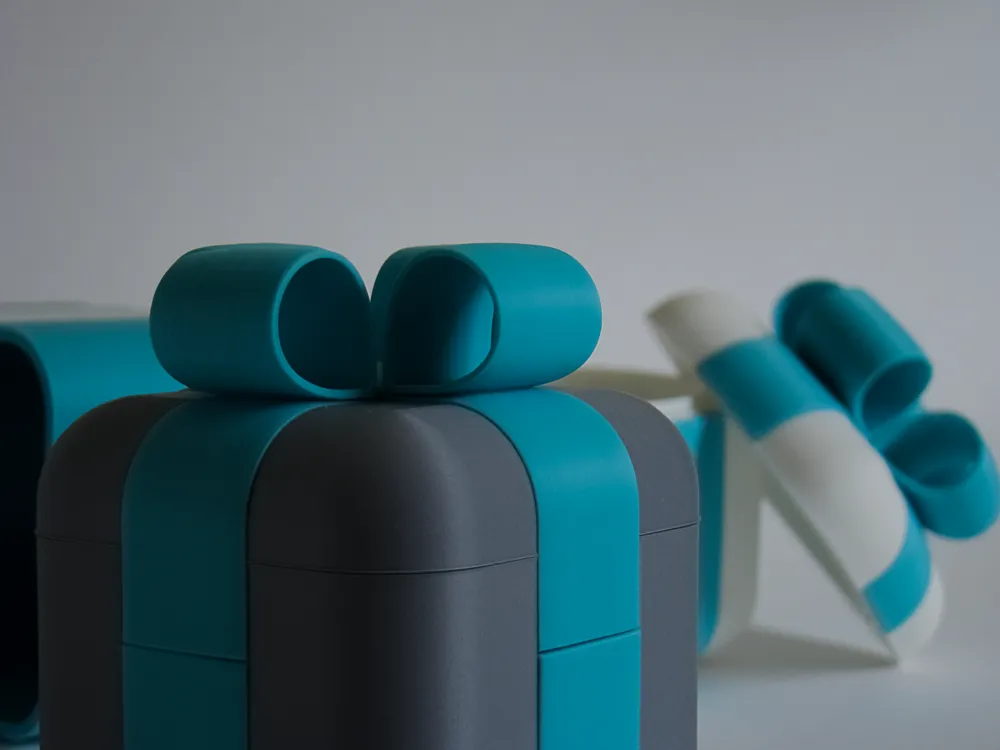
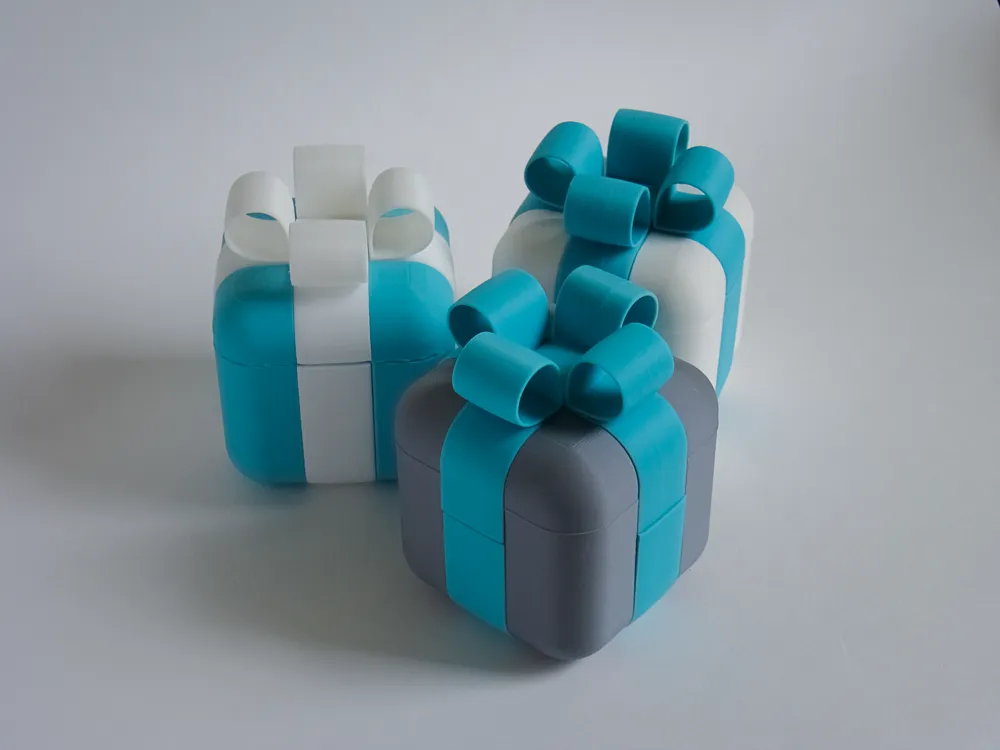
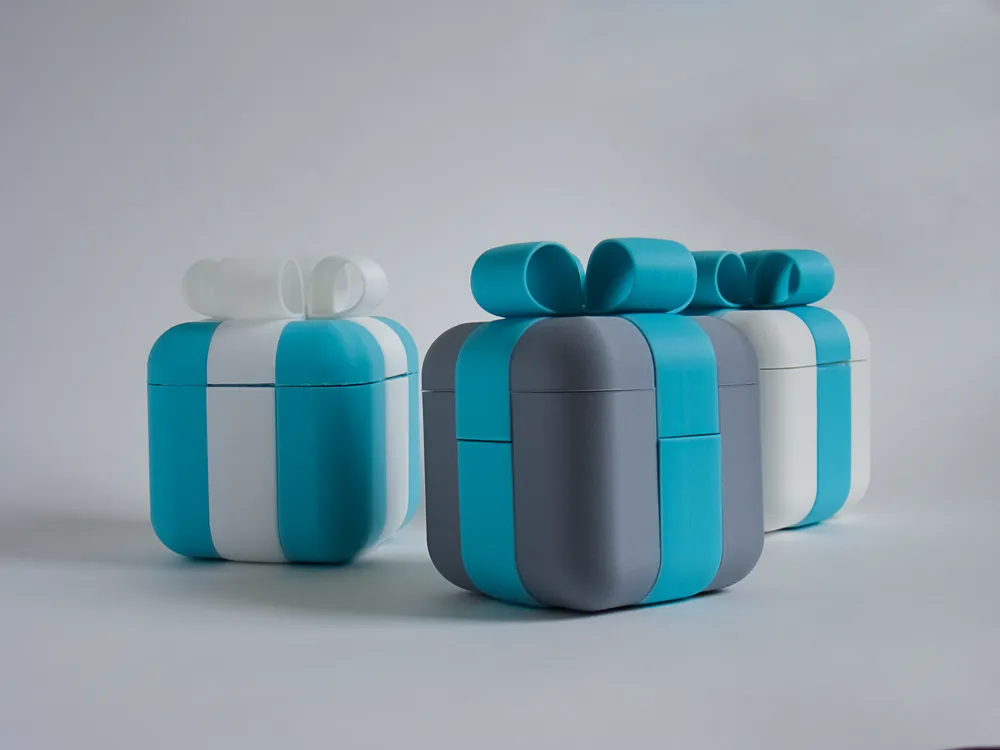
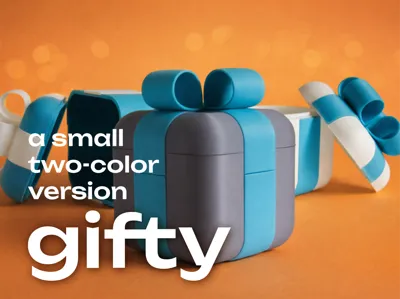
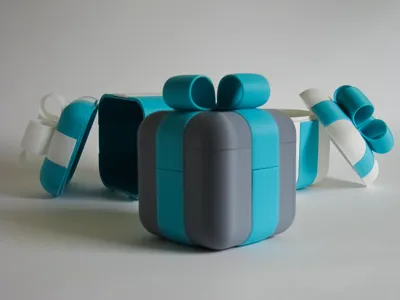
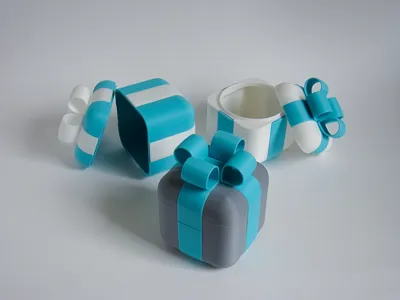
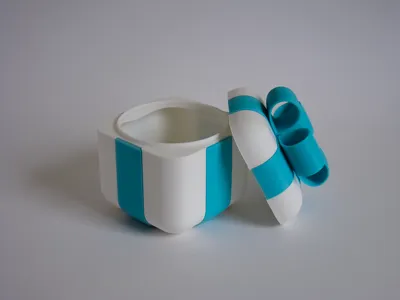
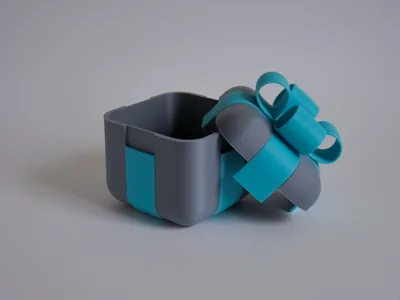
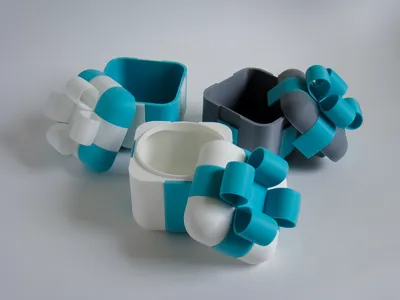
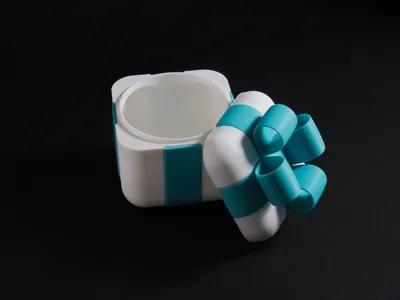
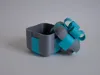
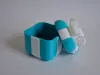
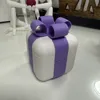
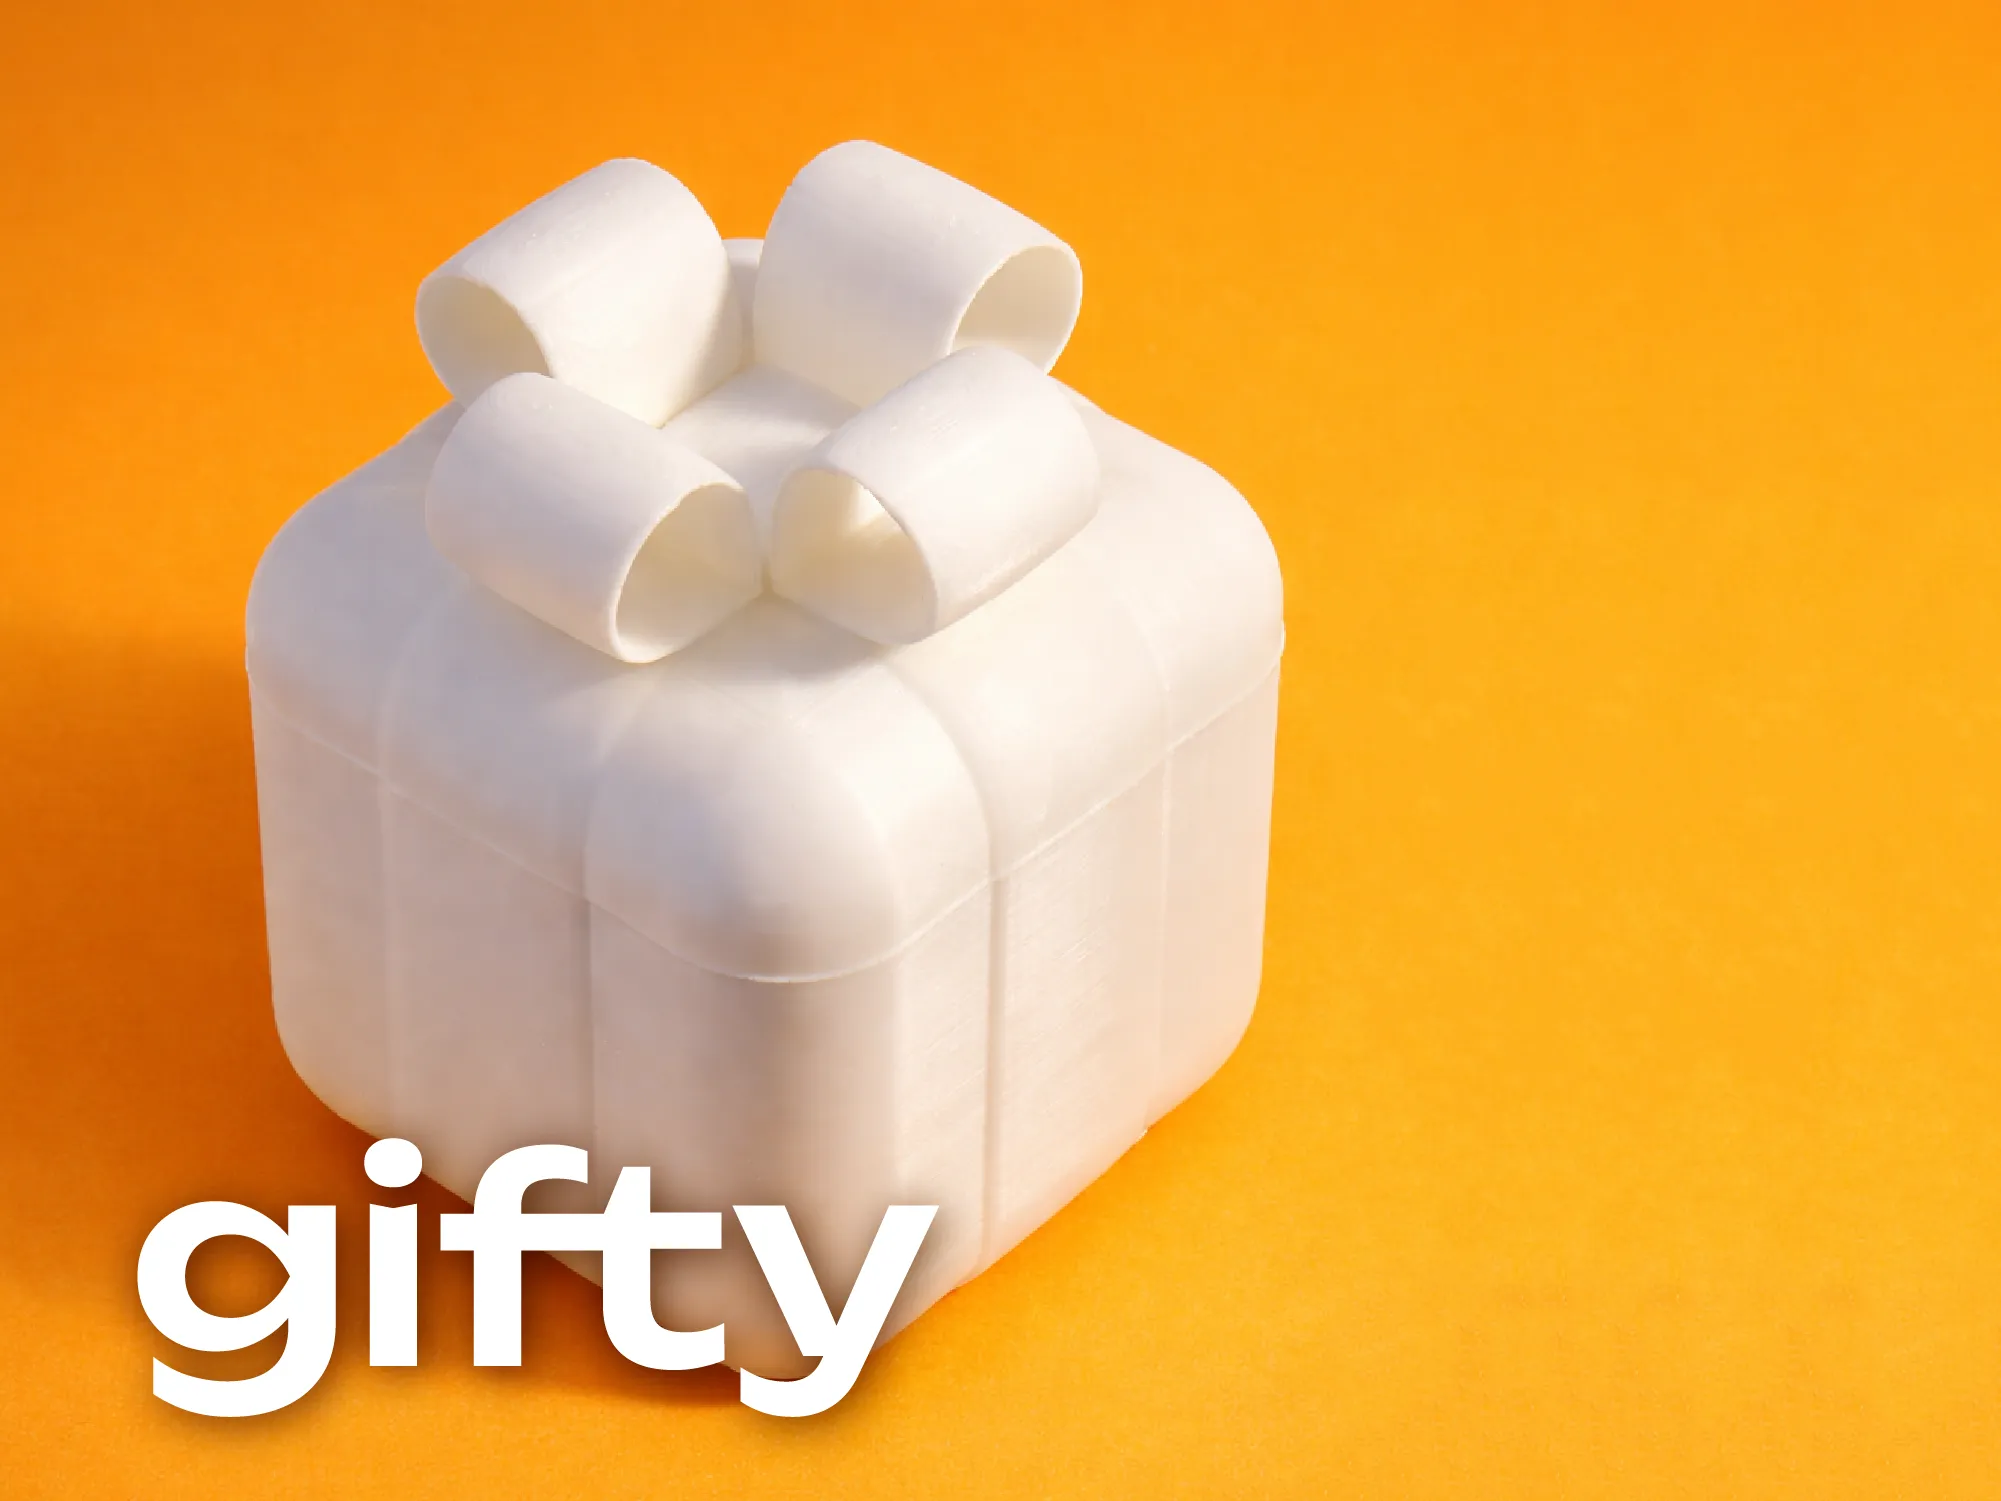
This model is a special two-color edition of the previously released Gifty container.
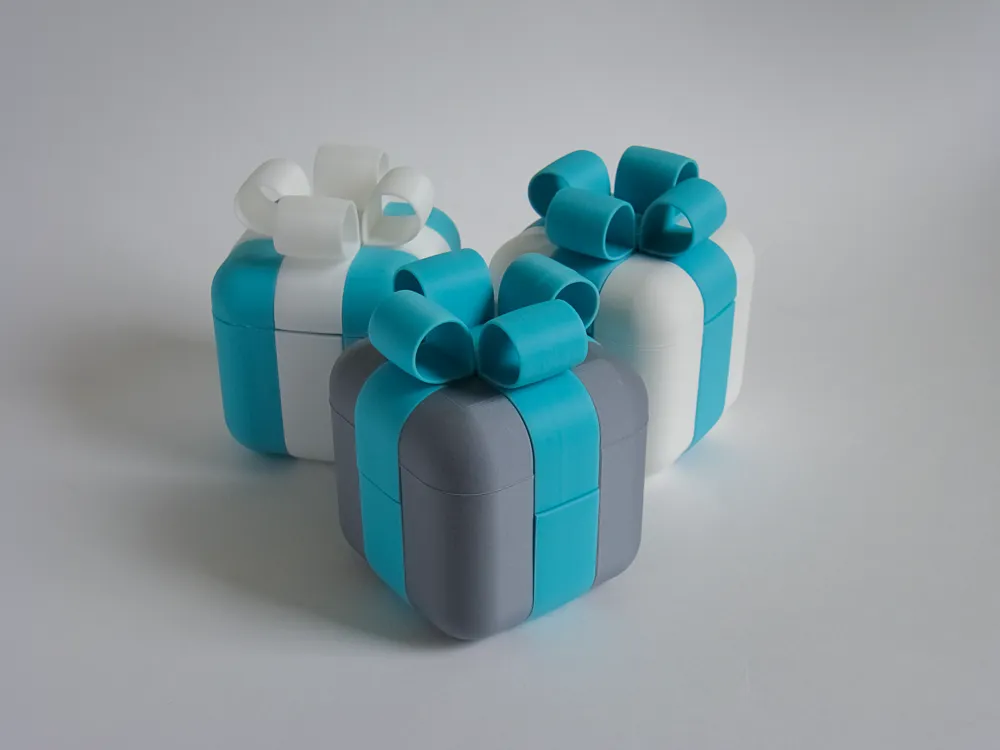
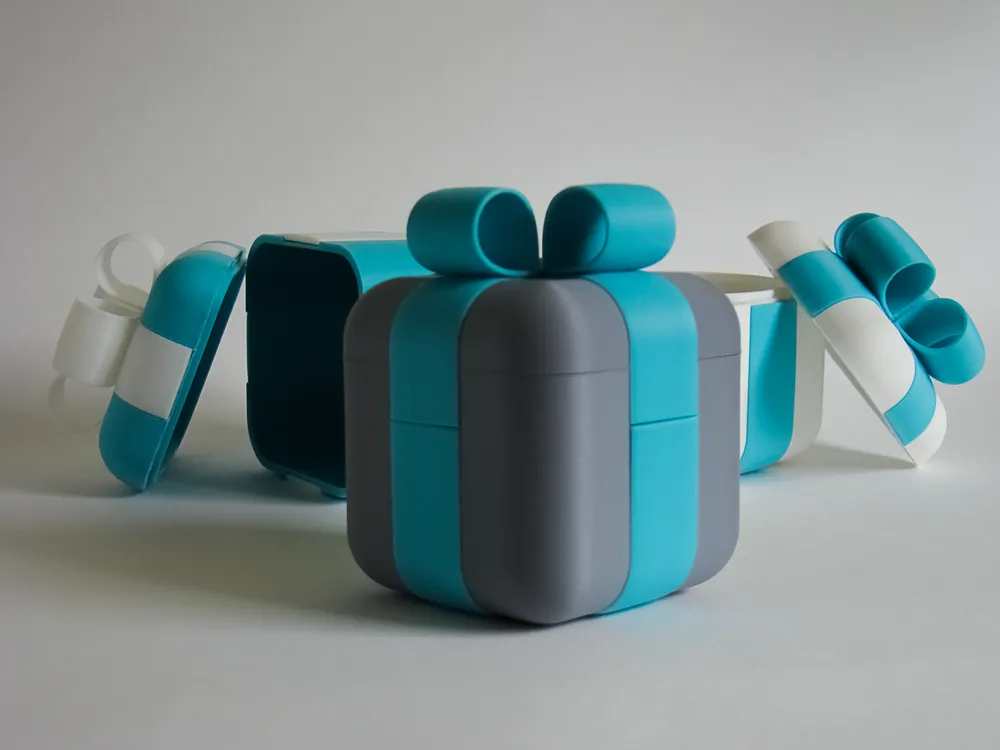
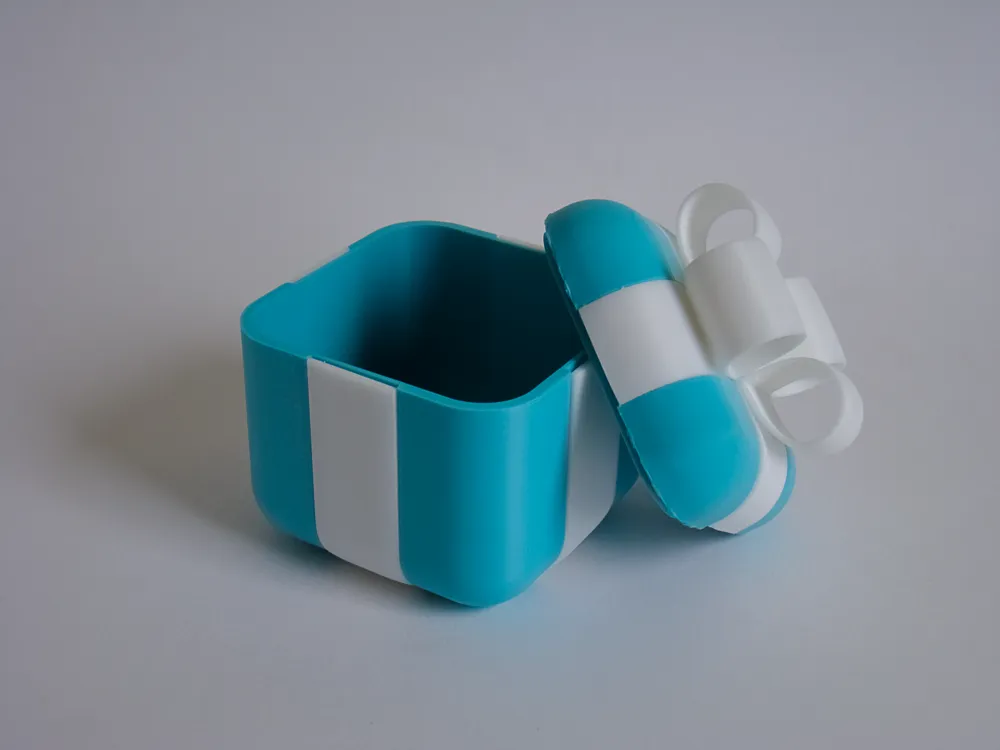
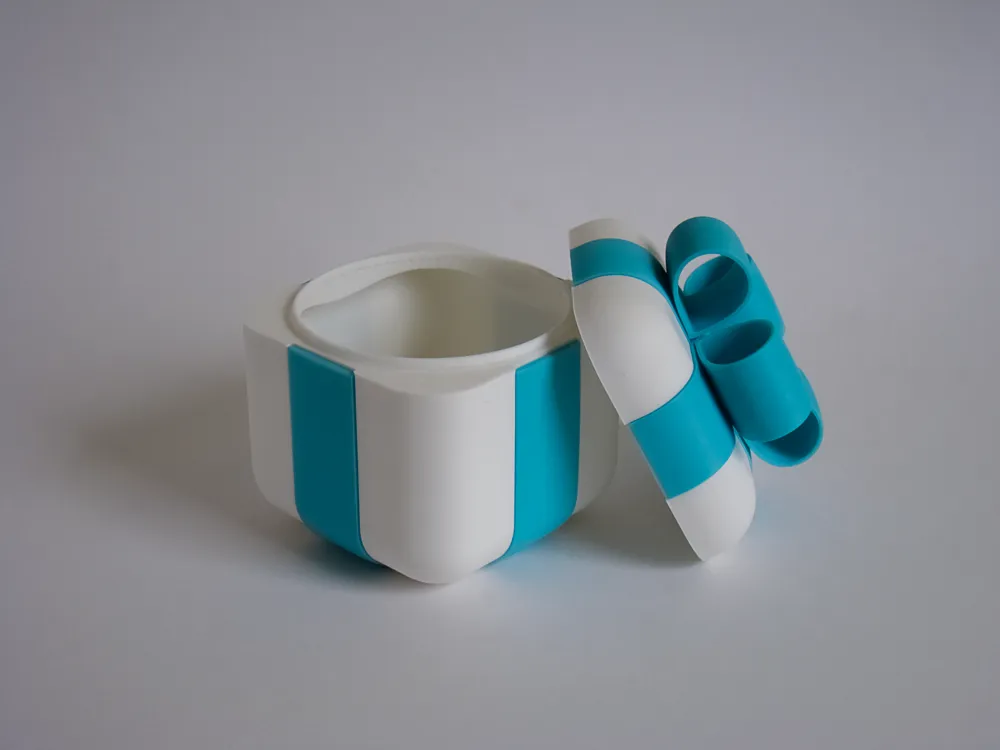
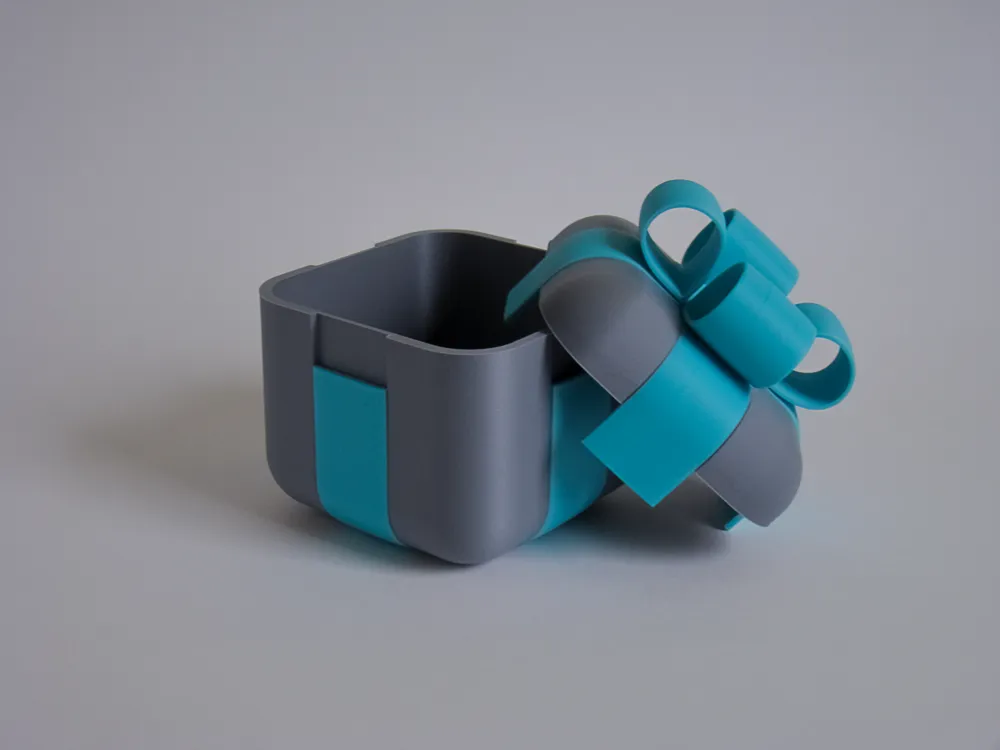
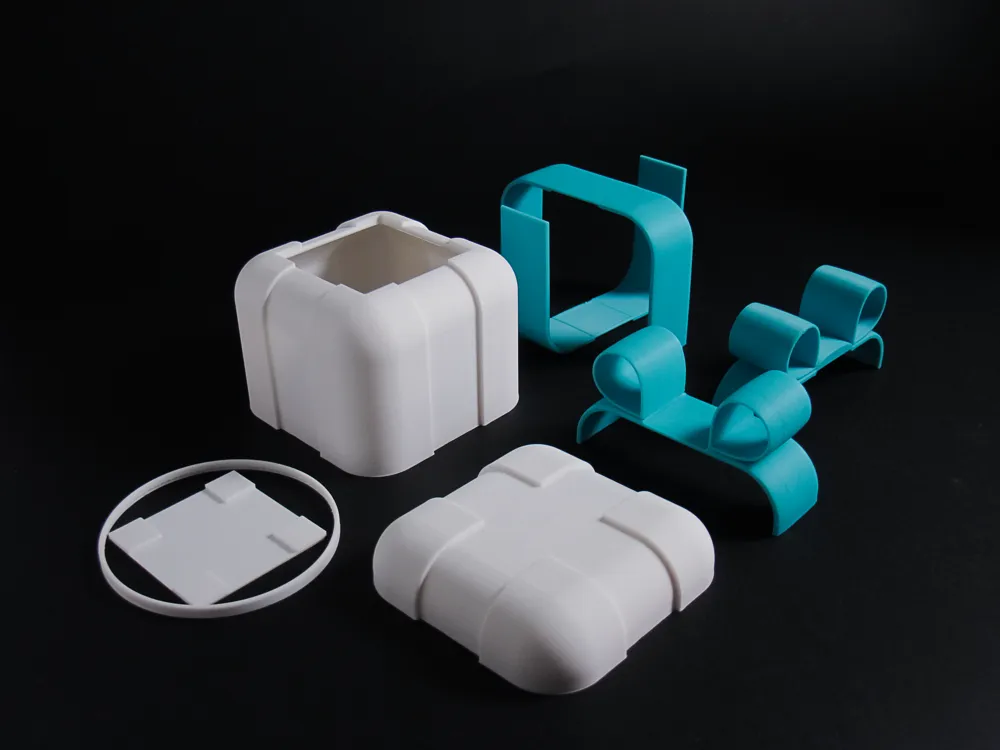
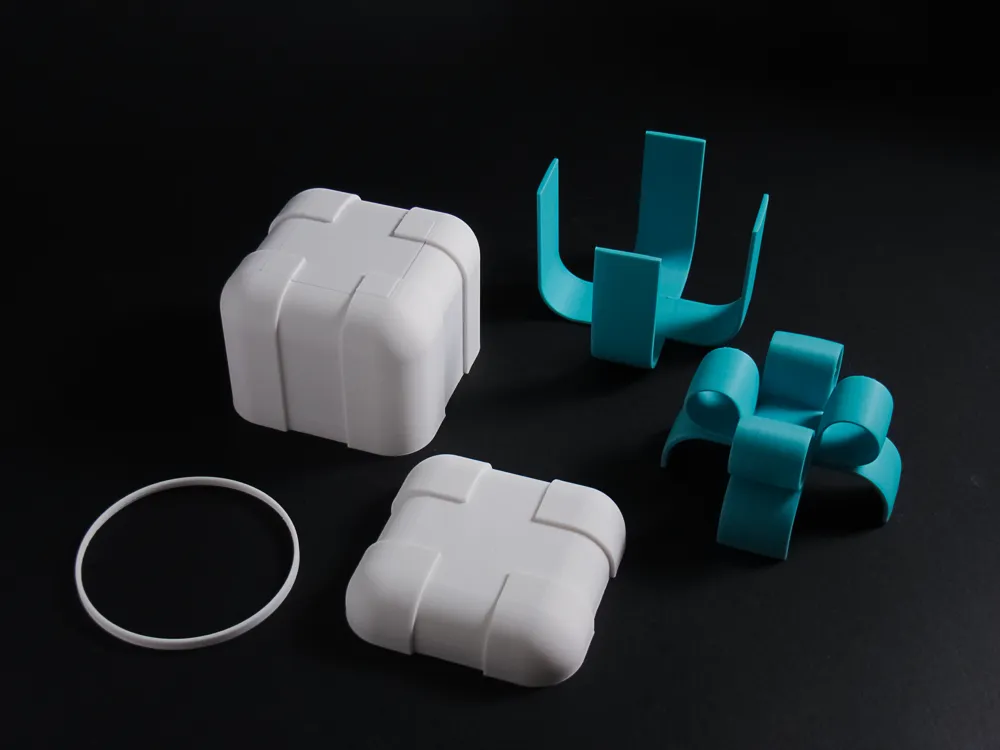
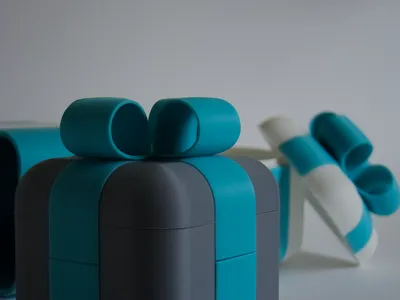
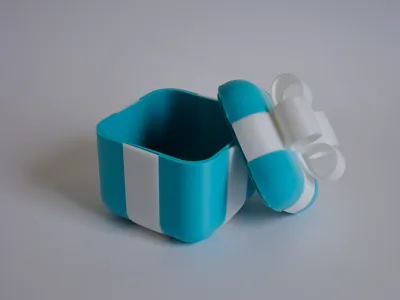
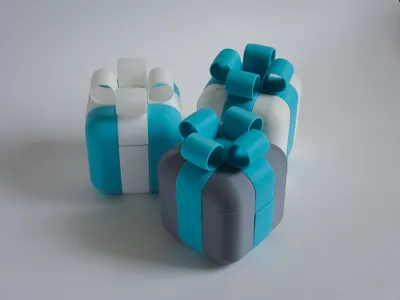
The original version was a two-piece design (box + lid), while this edition introduces separate decorative ribbon parts, allowing you to print the box and ribbon in different filaments for a true gift-like appearance.
This version comes in one carefully balanced size, suitable for both gifting and storage.
🎁 Available Versions
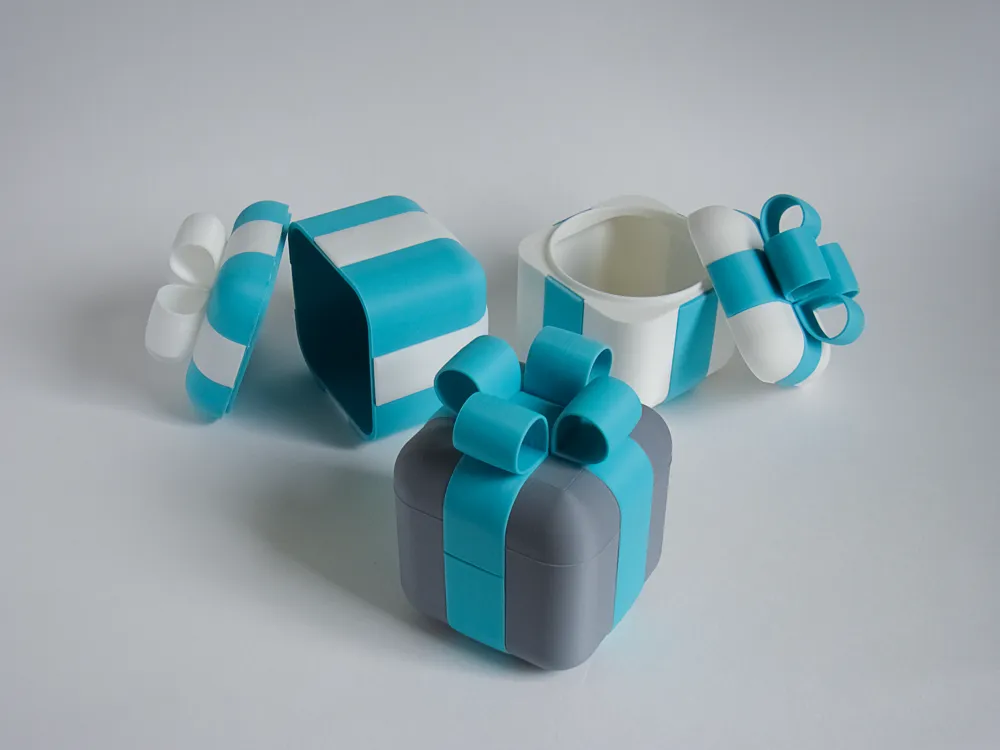
There are three design variations included:
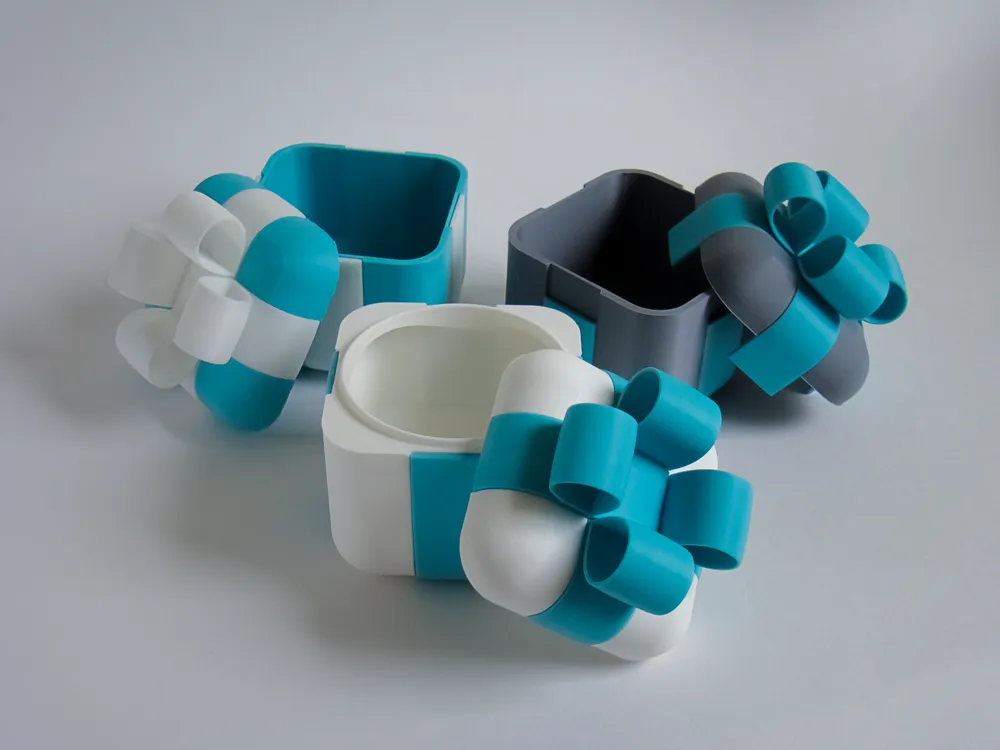
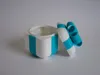
- Round-opening version
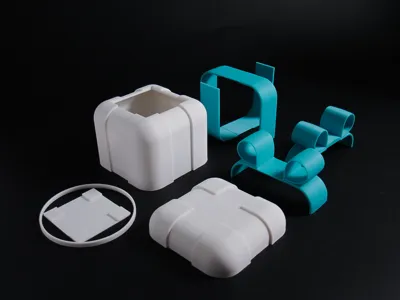
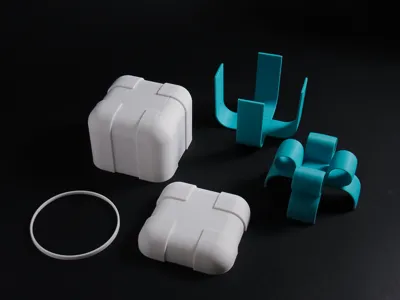
Features a circular opening and a separately printed locking ring that is glued to the lower part of the box. This ring engages with a groove inside the lid to hold it in place. - Shaped opening – lid bump lock
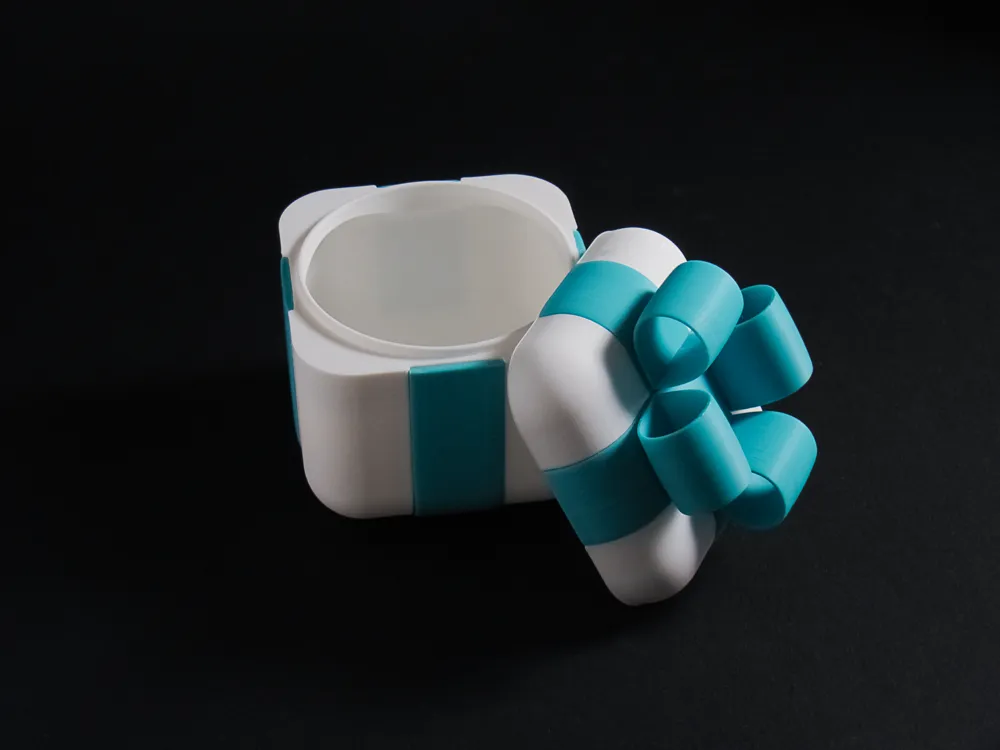
The opening follows the outer shape of the box. The lid is secured by a small protrusion on the lid itself. - Shaped opening – ribbon lock
The lid is held in place by the raised decorative “ribbon,” which slides into matching slots on the lower part of the box.
🧩 Alternative Bottom Option
Each print profile also includes an alternative bottom configuration, where the bottom is printed as a separate part and glued to the box.
This allows you to achieve a perfectly smooth inner bottom surface, at the cost of an additional assembly step.
🔧 Assembly Notes
After printing all parts:
- Dry-fit everything first
Assemble the box without glue to understand part orientation and assembly order. - Round-opening version
You may first complete the lower part by gluing in the locking ring before attaching other elements. - If using the separate bottom version
Glue the bottom to the box first, and only then proceed with attaching the decorative ribbon. Attaching the ribbon
There are two possible approaches:- Glue ribbon parts together first, then attach the assembled ribbon to the box
- Glue ribbon parts directly onto the box one by one
⚠️ Ribbon segments are not identical.
The piece that sits underneath must be glued first, and the overlapping piece is installed afterwards.
🖨 Printing Notes
- The model is designed to print with minimal supports, and some versions require no supports at all.
- Small ribbon parts may need extra bed adhesion — a brim is enabled for them in the print profiles.
- If you are using a Cool Plate, you can safely disable the brim.
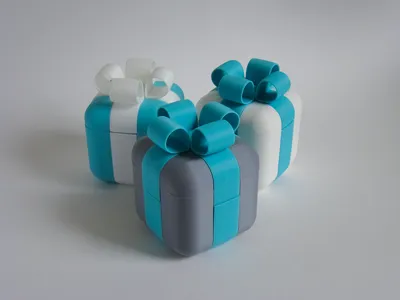
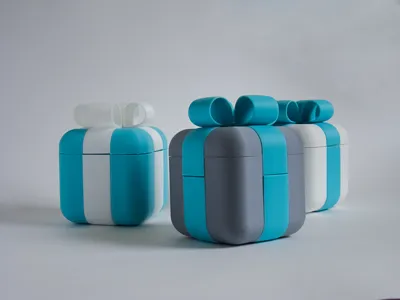
Mix and match colors to create your own unique Gifty combinations.
This model is based on the original single-color Gifty container, which served as the foundation for this updated two-color design:
https://makerworld.com/en/models/2304362-gifty-a-reusable-gift-box-container
License

You shall not share, sub-license, sell, rent, host, transfer, or distribute in any way the digital or 3D printed versions of this object, nor any other derivative work of this object in its digital or physical format (including - but not limited to - remixes of this object, and hosting on other digital platforms). The objects may not be used without permission in any way whatsoever in which you charge money, or collect fees.


Comment & Rating (4)