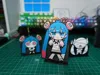
Fushimi-gokko - Articulated Desktop Toy


Print Profile(4)
Description
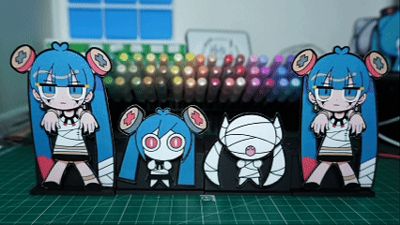
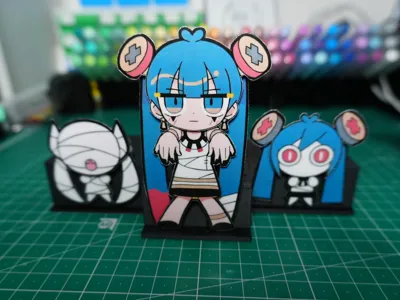
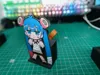
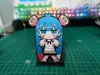
Articulated desktop ornament modeled after the PV of 【PinochioP】's 【Fushimi-gokko】.
There are two options: a wind-up version and a motor-driven version.
Please read the manufacturing process below before starting
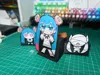
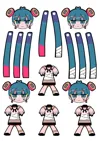
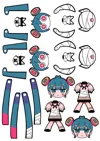
The printable decal template can be downloaded from the attachments below (due to my printer settings, the template was actually scaled up by 1.043 times; if the printed image is too large, please scale it down before printing) (UV stickers and similar prints require scaling down)
Parts list (accessories other than 3D printed parts)
Wind-up version: Requires purchasing a walking movement mechanism shown below separately and disassembling it to extract its internal structure


Motor-driven version: Requires purchasing a JS-30 DC6V100RPM motor, a battery holder for 2 CR2032 batteries (with switch), 2 CR2032 batteries, and 4 M3-12mm screws (for securing


Assembly Notes
Wind-up version
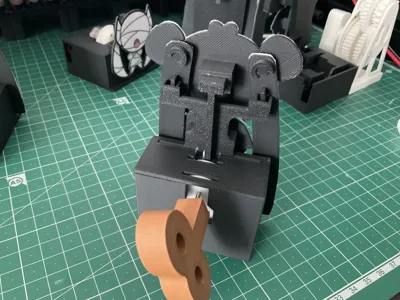
Overall schematic of the back (the twintail parts need to be secured with printed clips, don't clip them too tightly)

Disassembly diagram of the walking movement mechanism and schematic after combining with 3D printed parts (add a rotating handle and replace with a larger eccentric wheel)


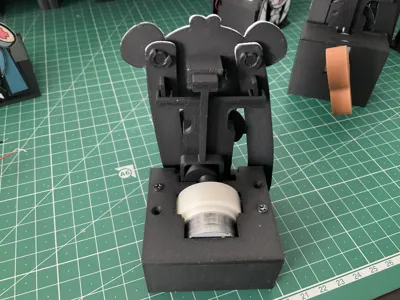
Motor-driven version
Overall schematic of the back (the twintail parts need to be secured with printed clips, don't clip them too tightly)

First, install the eccentric wheel onto the motor
After inserting the battery box, add a small piece of tissue on the left side to pad the position, making it easier to trigger the switch on the right later

Screw fastening part

Button batteries need to be inserted with one positive and one negative (otherwise, there will be no power supply) (refer to the instructions inside the box for details)

Documentation (2)
License
You shall not share, sub-license, sell, rent, host, transfer, or distribute in any way the digital or 3D printed versions of this object, nor any other derivative work of this object in its digital or physical format (including - but not limited to - remixes of this object, and hosting on other digital platforms). The objects may not be used without permission in any way whatsoever in which you charge money, or collect fees.
Comment & Rating (7)