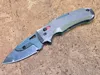
SIG SAUER K320 Inspired Folding Utility Knife


Print Profile(3)

Bill of Materials


Description
Special Thanks: Huge thanks to @MarkAdams for contributing a remix tailored for COAST SHIFT utility blades. Please note that these blades are primarily available in the US market. If you are using this specific blade type, feel free to download his compatible version!
About the Original
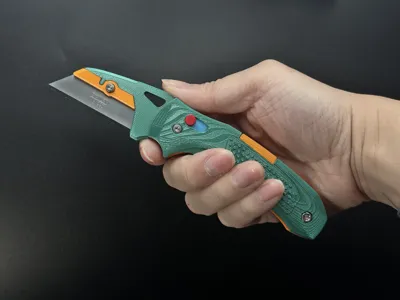
The original SIG SAUER K320, manufactured by Hogue, is a tactical masterpiece designed to perfectly complement the ergonomics of the famous P320 pistol series. Known for its rugged reliability and the signature Crossbar Lock (ABLE Lock), the K320 has become a favorite in the EDC community for its smooth action and superior grip texture.
The 3D Printed Version
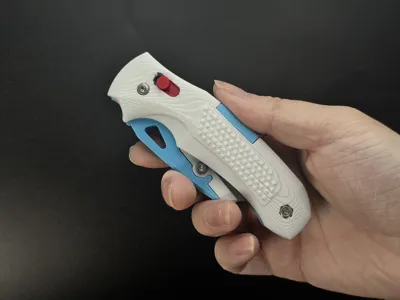
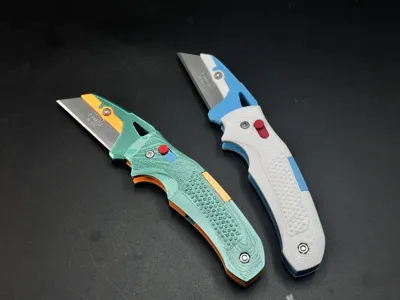
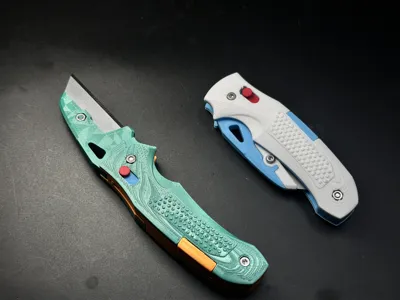
This project pays tribute to the K320's iconic aesthetic while being completely optimized for 3D printing.
- Engineered for Strength: I have modified the internal structure to suit FDM materials. Specifically, the handle liners feature an asymmetric interlocking design, significantly increasing the overall structural rigidity and durability compared to standard flat designs.

- Easy to Print: The model requires only two small support points, both of which are located internally. This ensures the external surfaces remain pristine and professional-looking.

Specifications & Hardware
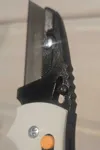
- Blade Compatibility: Standard Stanley-style utility blades (62mm length).
- Difficulty: Easy to print, straightforward assembly.
Hardware Required:
| Item | Specification | Quantity |
|---|---|---|
| Screws | M3 x 16mm | 2 |
| Screw | M3 x 6mm | 1 |
| Nuts | M3 Hex Nut | 3 |
Assembly Instructions
1.Parts Overview: Lay out all printed components and hardware.

2.Lock Bar Assembly: Snap the Locking Pin (Red) together with the Springs (Blue).

3.Liner Setup: Pass the Locking Pin assembly through the slots in the Handle Liner (Yellow).

4.Pivot Assembly: Slide the Blade Holder (Blue) onto the pivot axis of the Handle Liner.

5.Opposite Liner: Place the second Handle Liner on top and install the spring on the other side.

6.Scales Installation: Fit the Outer Scales onto both sides. Note: Carefully tuck the springs into their designated grooves to ensure smooth operation.

7.Securing the Handle: Use 2x M3-16mm screws and nuts to fix the handle assembly together.

8.Blade Installation: Slide the utility blade into the holder. Cover it with the Yellow Lock Plate and secure it using the M3-6mm screw and nut
Your K320 is now ready for action!


The strength of 3D-printed knives cannot be guaranteed and they are suitable only for light-duty tasks, such as cutting paper or opening Amazon packages. Unless otherwise specified, all of my knife designs are intended for light-duty use only.
My similar projects, click on the picture

Membership
License
You shall not share, sub-license, sell, rent, host, transfer, or distribute in any way the digital or 3D printed versions of this object, nor any other derivative work of this object in its digital or physical format (including - but not limited to - remixes of this object, and hosting on other digital platforms). The objects may not be used without permission in any way whatsoever in which you charge money, or collect fees.
Comment & Rating (230)