60°&90° sanding block good for windshield wiper


Print Profile(1)
Description
Designed after my own frustration: parking under trees means my wipers get filthy fast from dust, leaves, nuts, and tree sap. They turn hard and streaky in no time.Rather than replace them often, I made this tool to clean and restore the rubber—cheap, easy, and eco-friendly.
I designed multiple versions of this wiper blade refurbishment tool and tested them extensively.
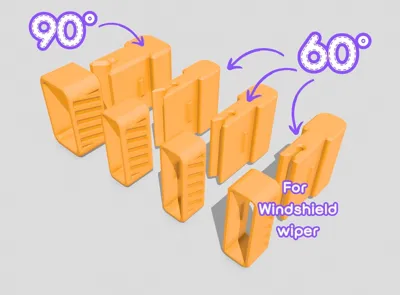
The smallest opening angle — 60° — proved to be the most effective for precisely sharpening and restoring windshield wiper rubber edges. It removes just the right amount of worn, rounded material to reveal a fresh, sharp lip that wipes cleanly again without streaking or noise.
The largest version with a 90° angle works great for other sharpening or deburring tasks that require a true right-angle edge (e.g., flat surfaces, square profiles, or general trimming). Print the version that suits your needs — or print both!
Great way to extend the life of your wiper blades, save money on replacements, and reduce waste.
Usage Instructions
To prepare and use this sanding/refurbishment block for restoring your windshield wiper rubber edges:
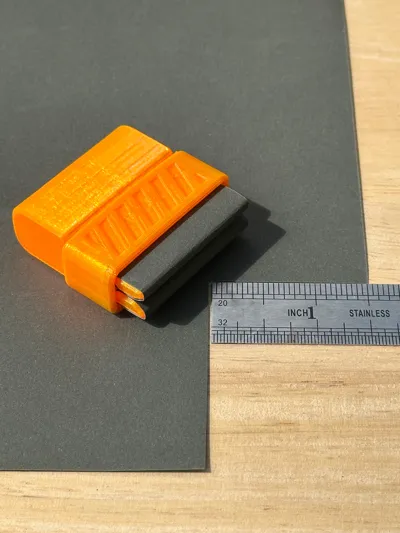
- Cut a piece of 400- or 600-grit sandpaper to approximately 1½ inches × 2⅛ inches (38 mm × 54 mm).
(Finer grits like 600 give a smoother finish; coarser like 400 removes material faster if the edge is very worn.) Fold the sandpaper in half (abrasive side in), then insert the folded edge into the narrow slot in the sanding block's opening.

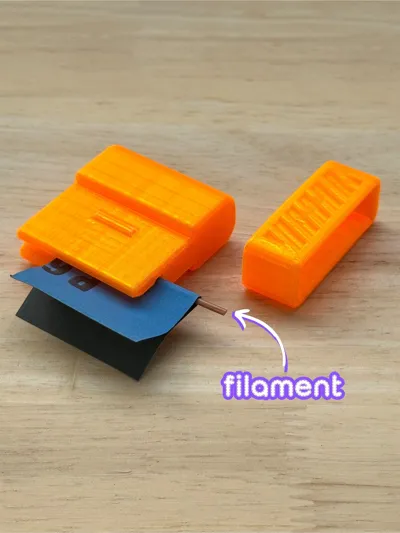
- Cut a 1½-inch (38 mm) length of 1.75 mm filament). Insert it into the round hole at the end of the narrow slot to secure and lock the sandpaper in place.
- Slide the outer retaining/fixing part over the sanding block. Pay attention to the correct orientation and make sure it snaps or locks securely into the notches/alignment features.
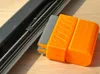
- To refurbish the wiper: Hold the tool firmly and gently slide it along the length of the wiper blade's rubber edge (from base to tip or tip to base—test what works best). Use light, even pressure and multiple passes if needed. For best results, wet the blade slightly with soapy water first to reduce friction and dust.
License
You shall not share, sub-license, sell, rent, host, transfer, or distribute in any way the digital or 3D printed versions of this object, nor any other derivative work of this object in its digital or physical format (including - but not limited to - remixes of this object, and hosting on other digital platforms). The objects may not be used without permission in any way whatsoever in which you charge money, or collect fees.
Comment & Rating (49)