
Mini Cupcake Kit Card • Print, Share & Build!
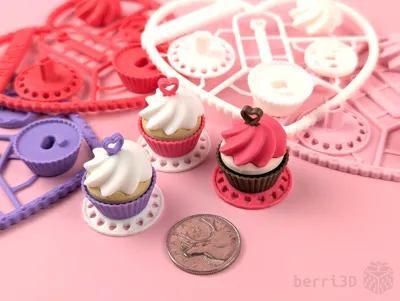
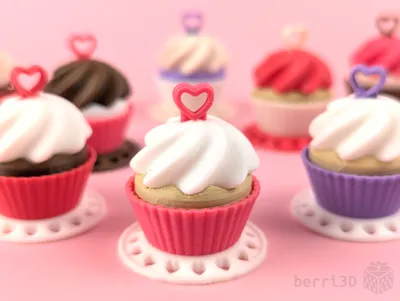
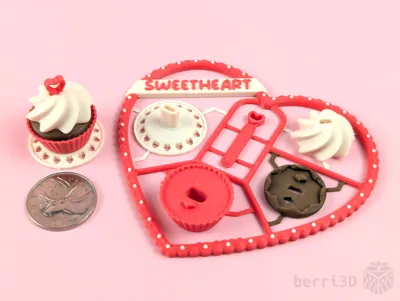
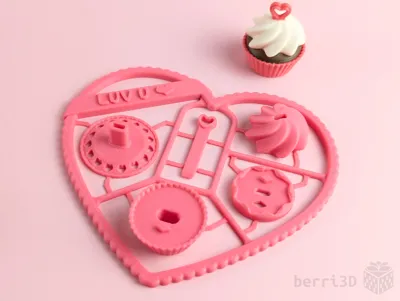
Print Profile(4)







Description

Update: Thank you so much for your support! I'm pleased to announce that my little model was chosen as an Excellent Participation winner in the Layered with Love contest. Congrats to all the winners! There were a lot of fantastic entries and I'm humbled to have been selected🥰
Want more cupcakes? Please check out my new 🍀 Lucky Clover Mini Cupcake Kit Card 🍀.

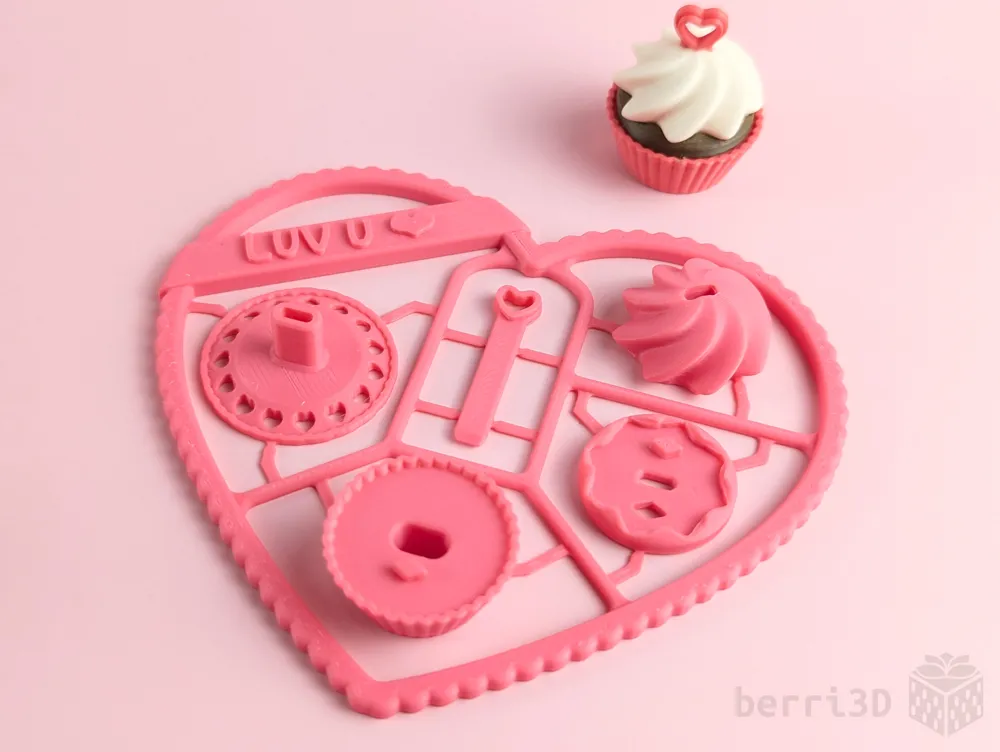
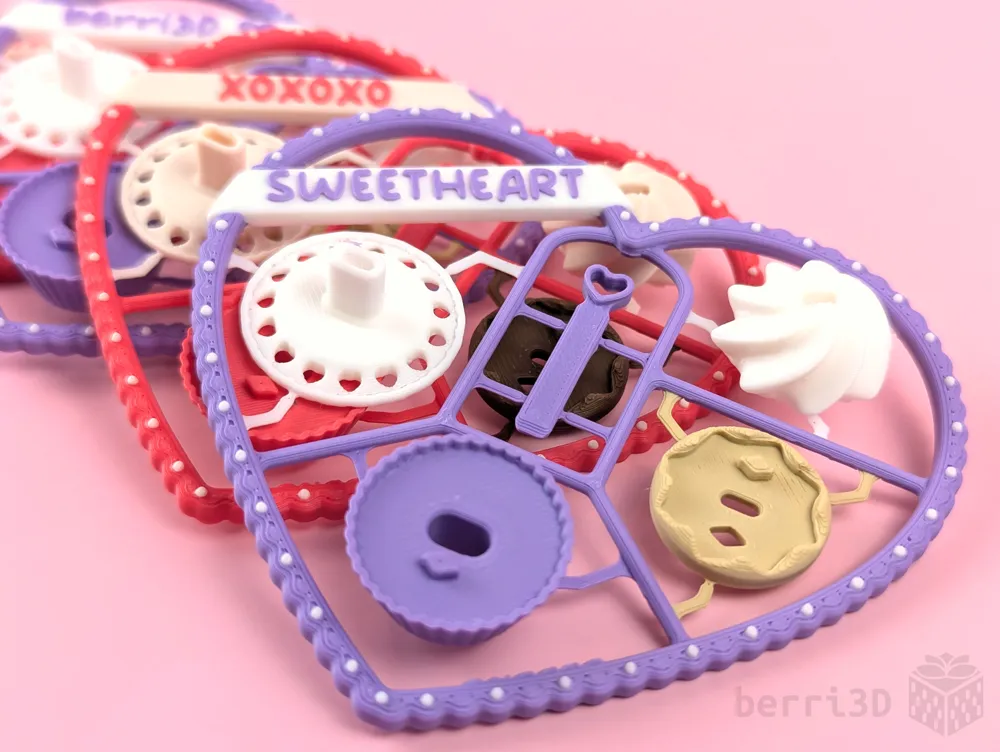
This little cupcake kit card was designed around a simple idea: the best Valentine's gift is something you make together.
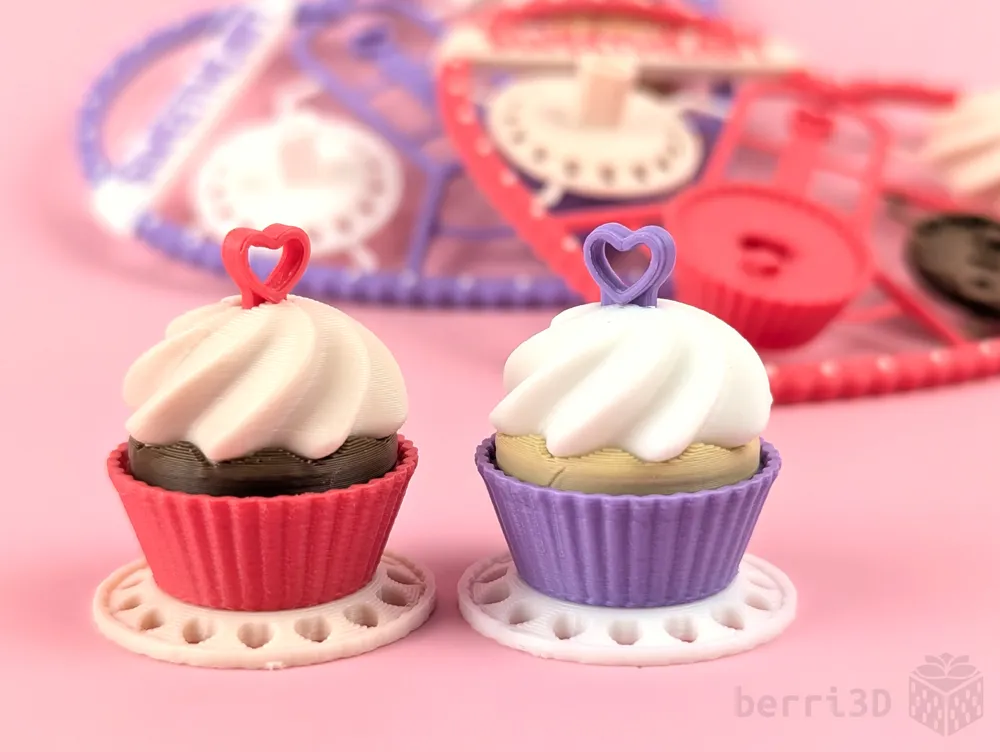
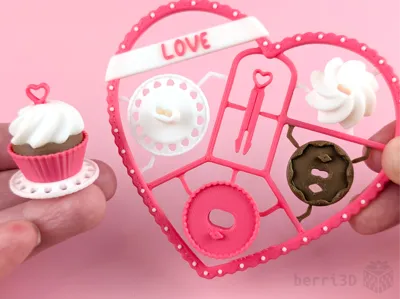
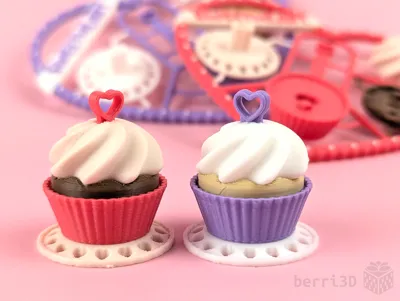
Print a card for someone you love. Hand them the heart. Watch them pop out the pieces, mix and match colours with yours, and build their own tiny cupcake to keep. Building together is the gift; the cupcake is the keepsake.
💕 Designed for sharing: with a partner, a friend, a coworker, a classmate, or anyone who deserves a handmade "I was thinking of you." Print one. Print a dozen. Trade parts. Make something together.
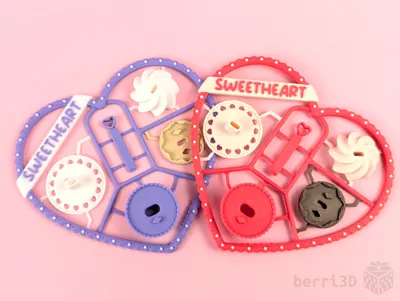
- Three ways to print:
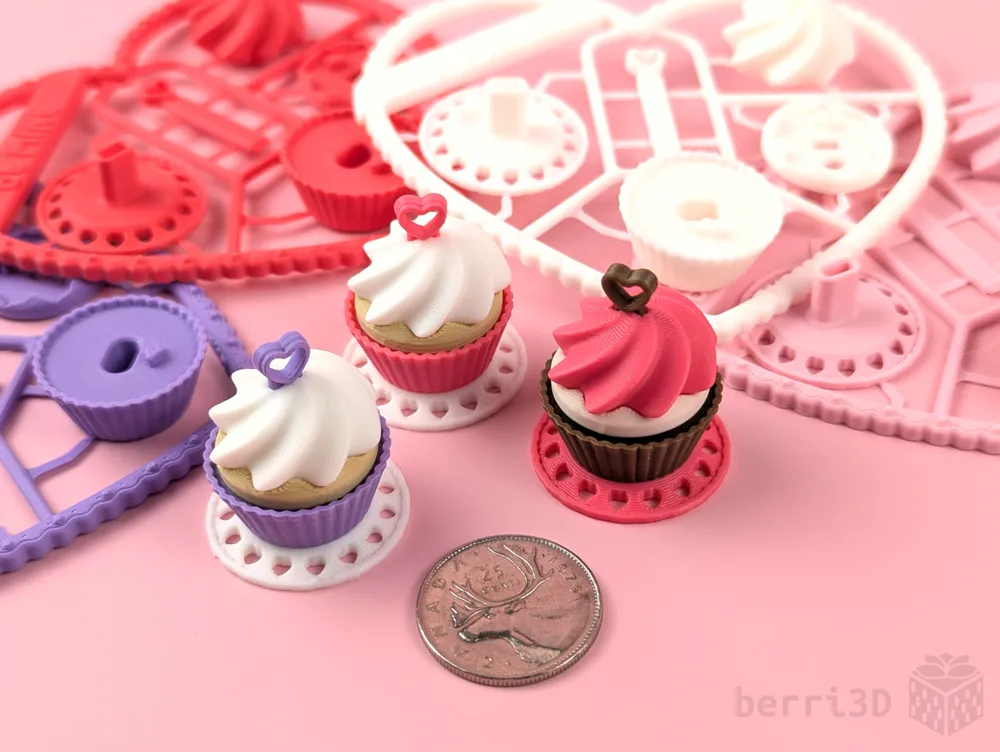
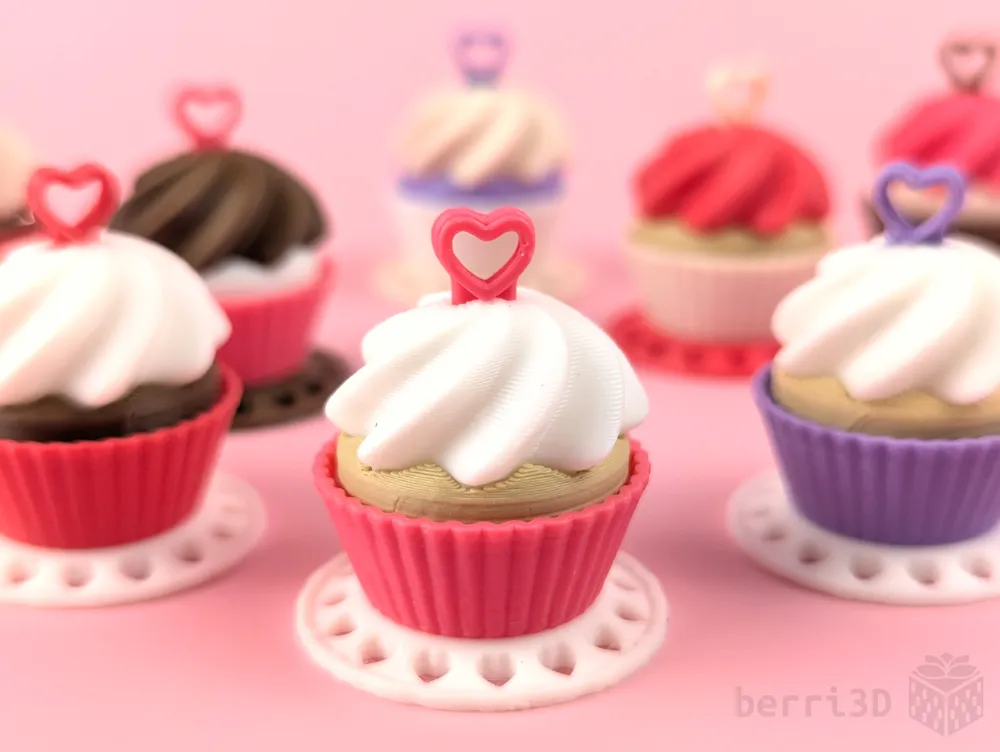
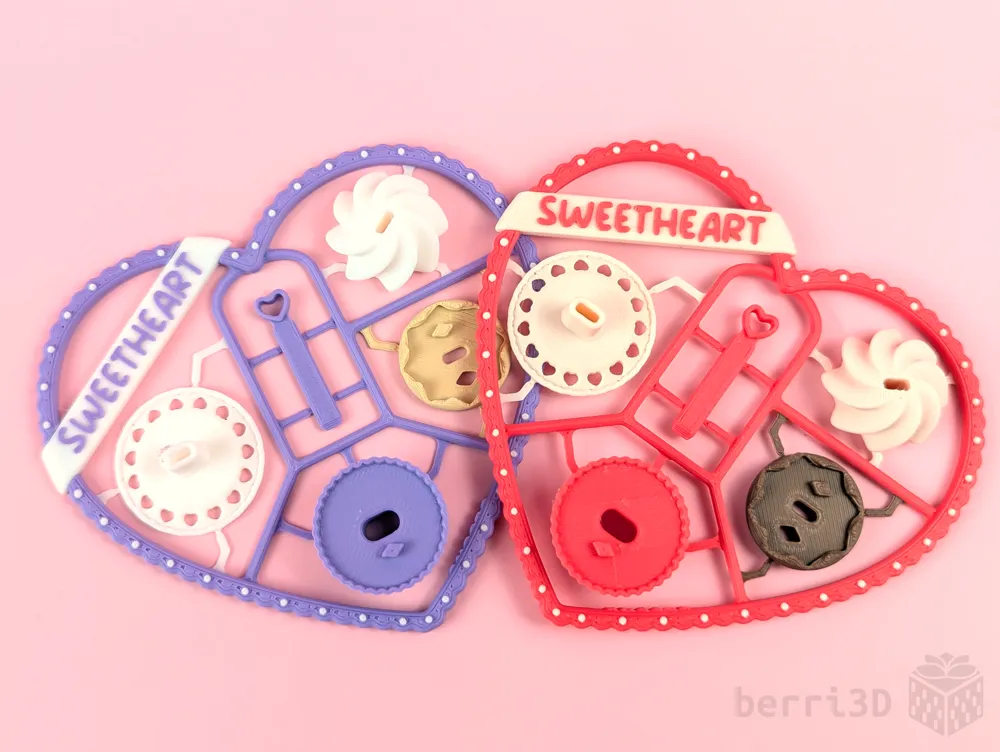
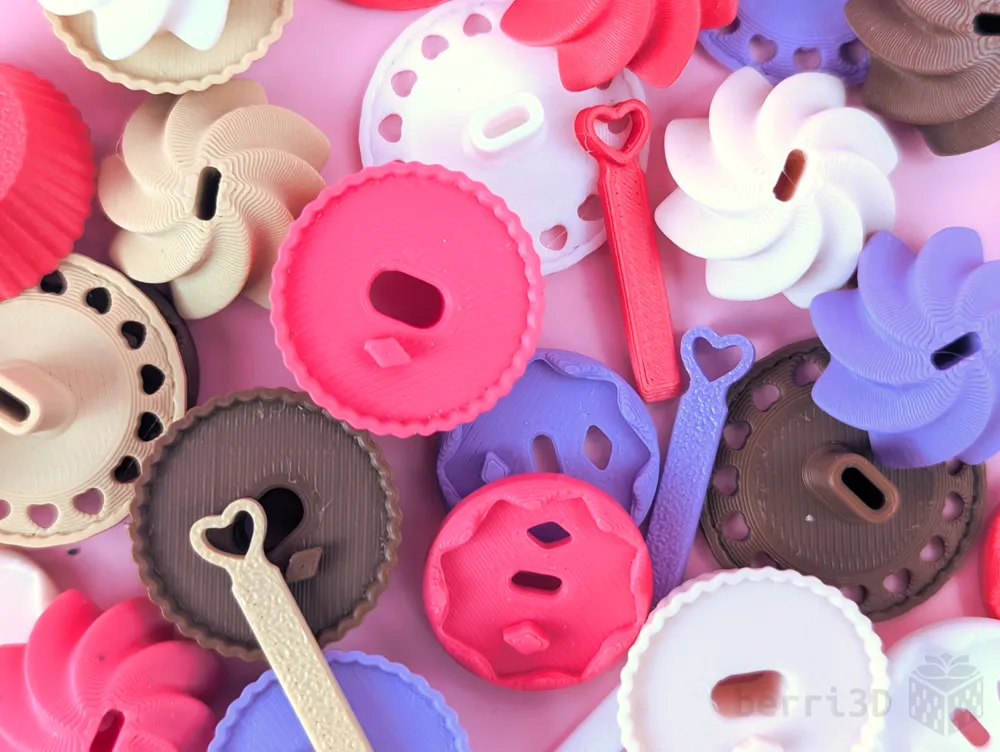
- Multi-colour (AMS) kits: mixed colours, ready to build
- Single-colour “Party Pack”: print, trade, build!
- Separate parts: mix, match, no waste
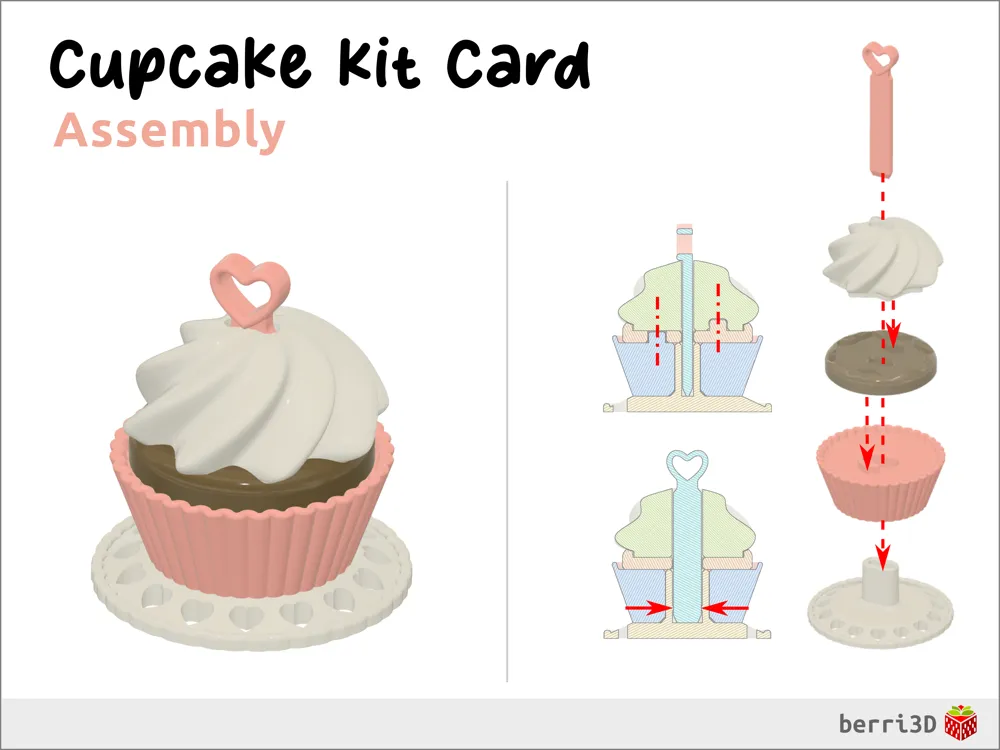
- Snap fit: no glue needed
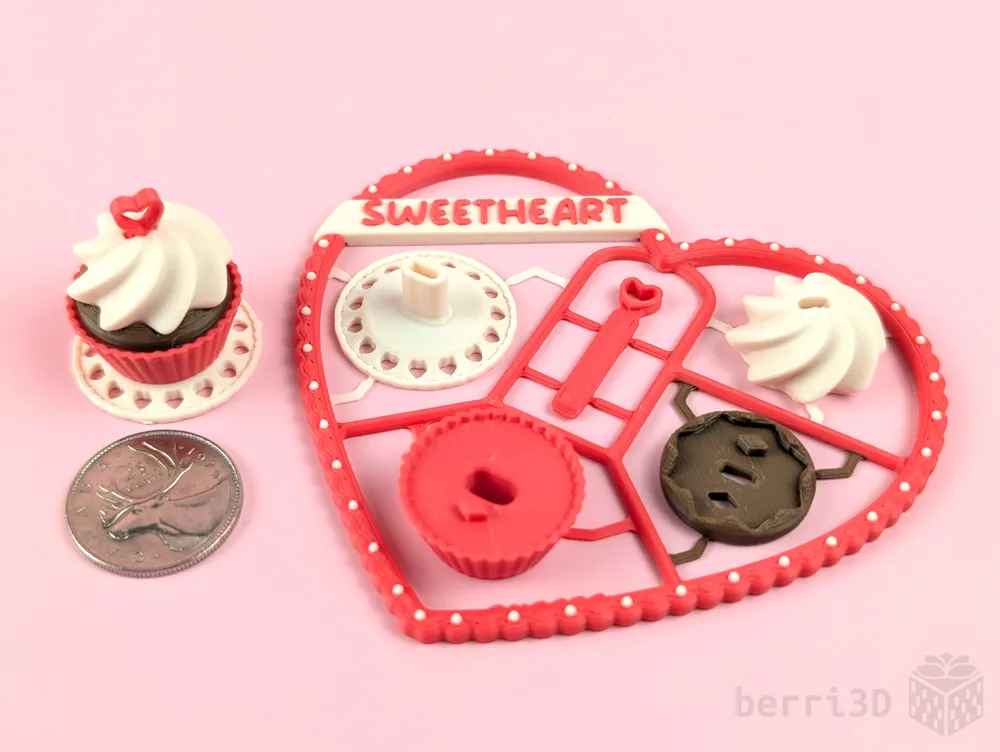
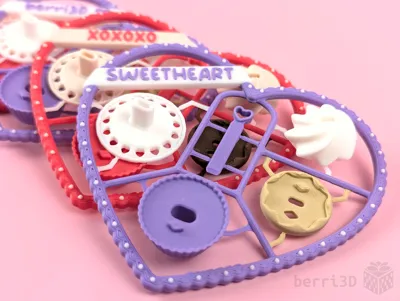
- Customizable ribbon text: write your own message
- No scissors: parts detach easily from the frame
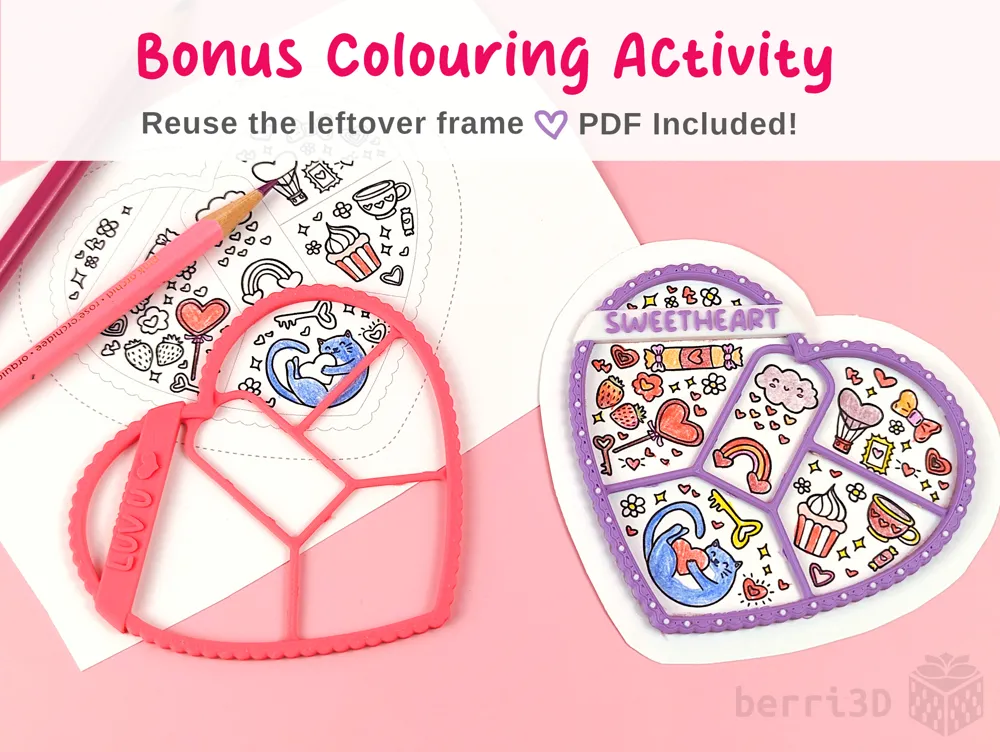
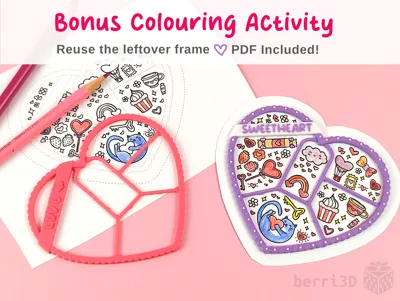
- Bonus activity: reuse the leftover frame as a keepsake coloring card
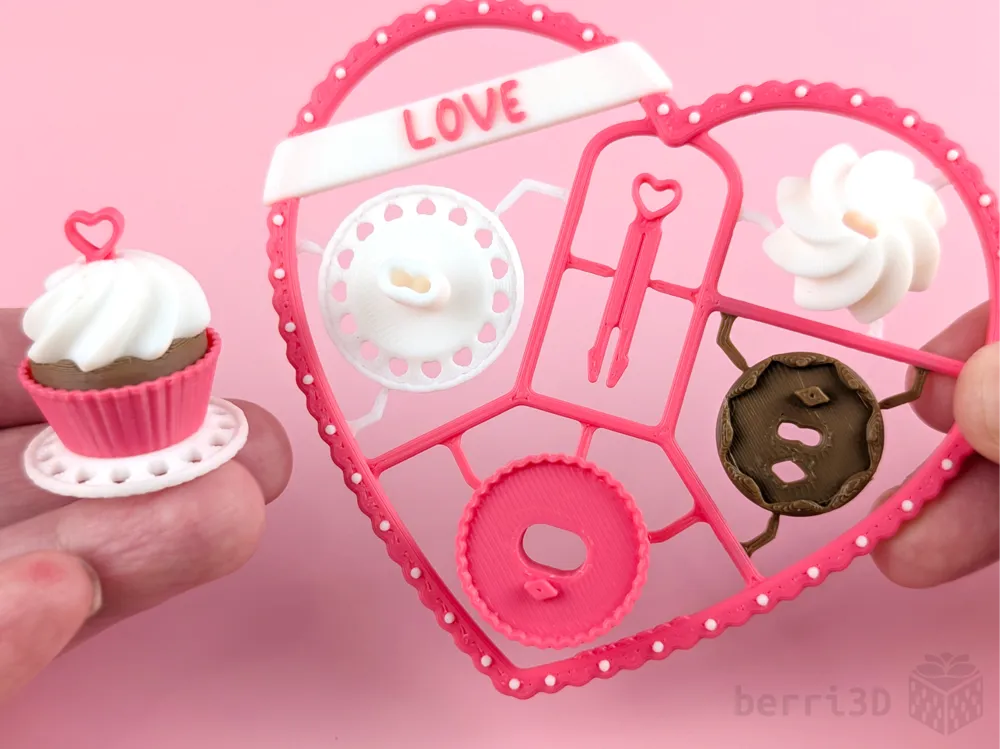
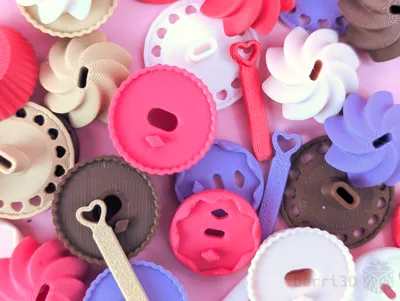
Note: I redesigned the connecting peg to make it easier to insert and provide a more secure connection. This means that many of the photos show the old style of peg. The redesigned peg is in the first photo for reference.
⚠️ IMPORTANT Printing Information
- Small parts, choking hazard, may be difficult for little fingers to build. Recommended ages 7+ with supervision.
- Please read “Printing Tips” first before batch printing: save yourself heartache by identifying fit issues before committing to a full plate.
🛠️ Assembly
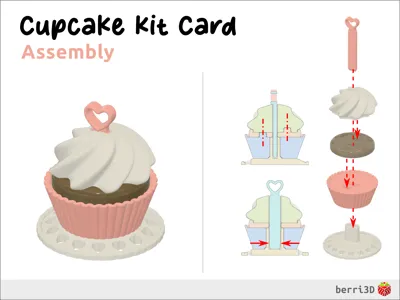
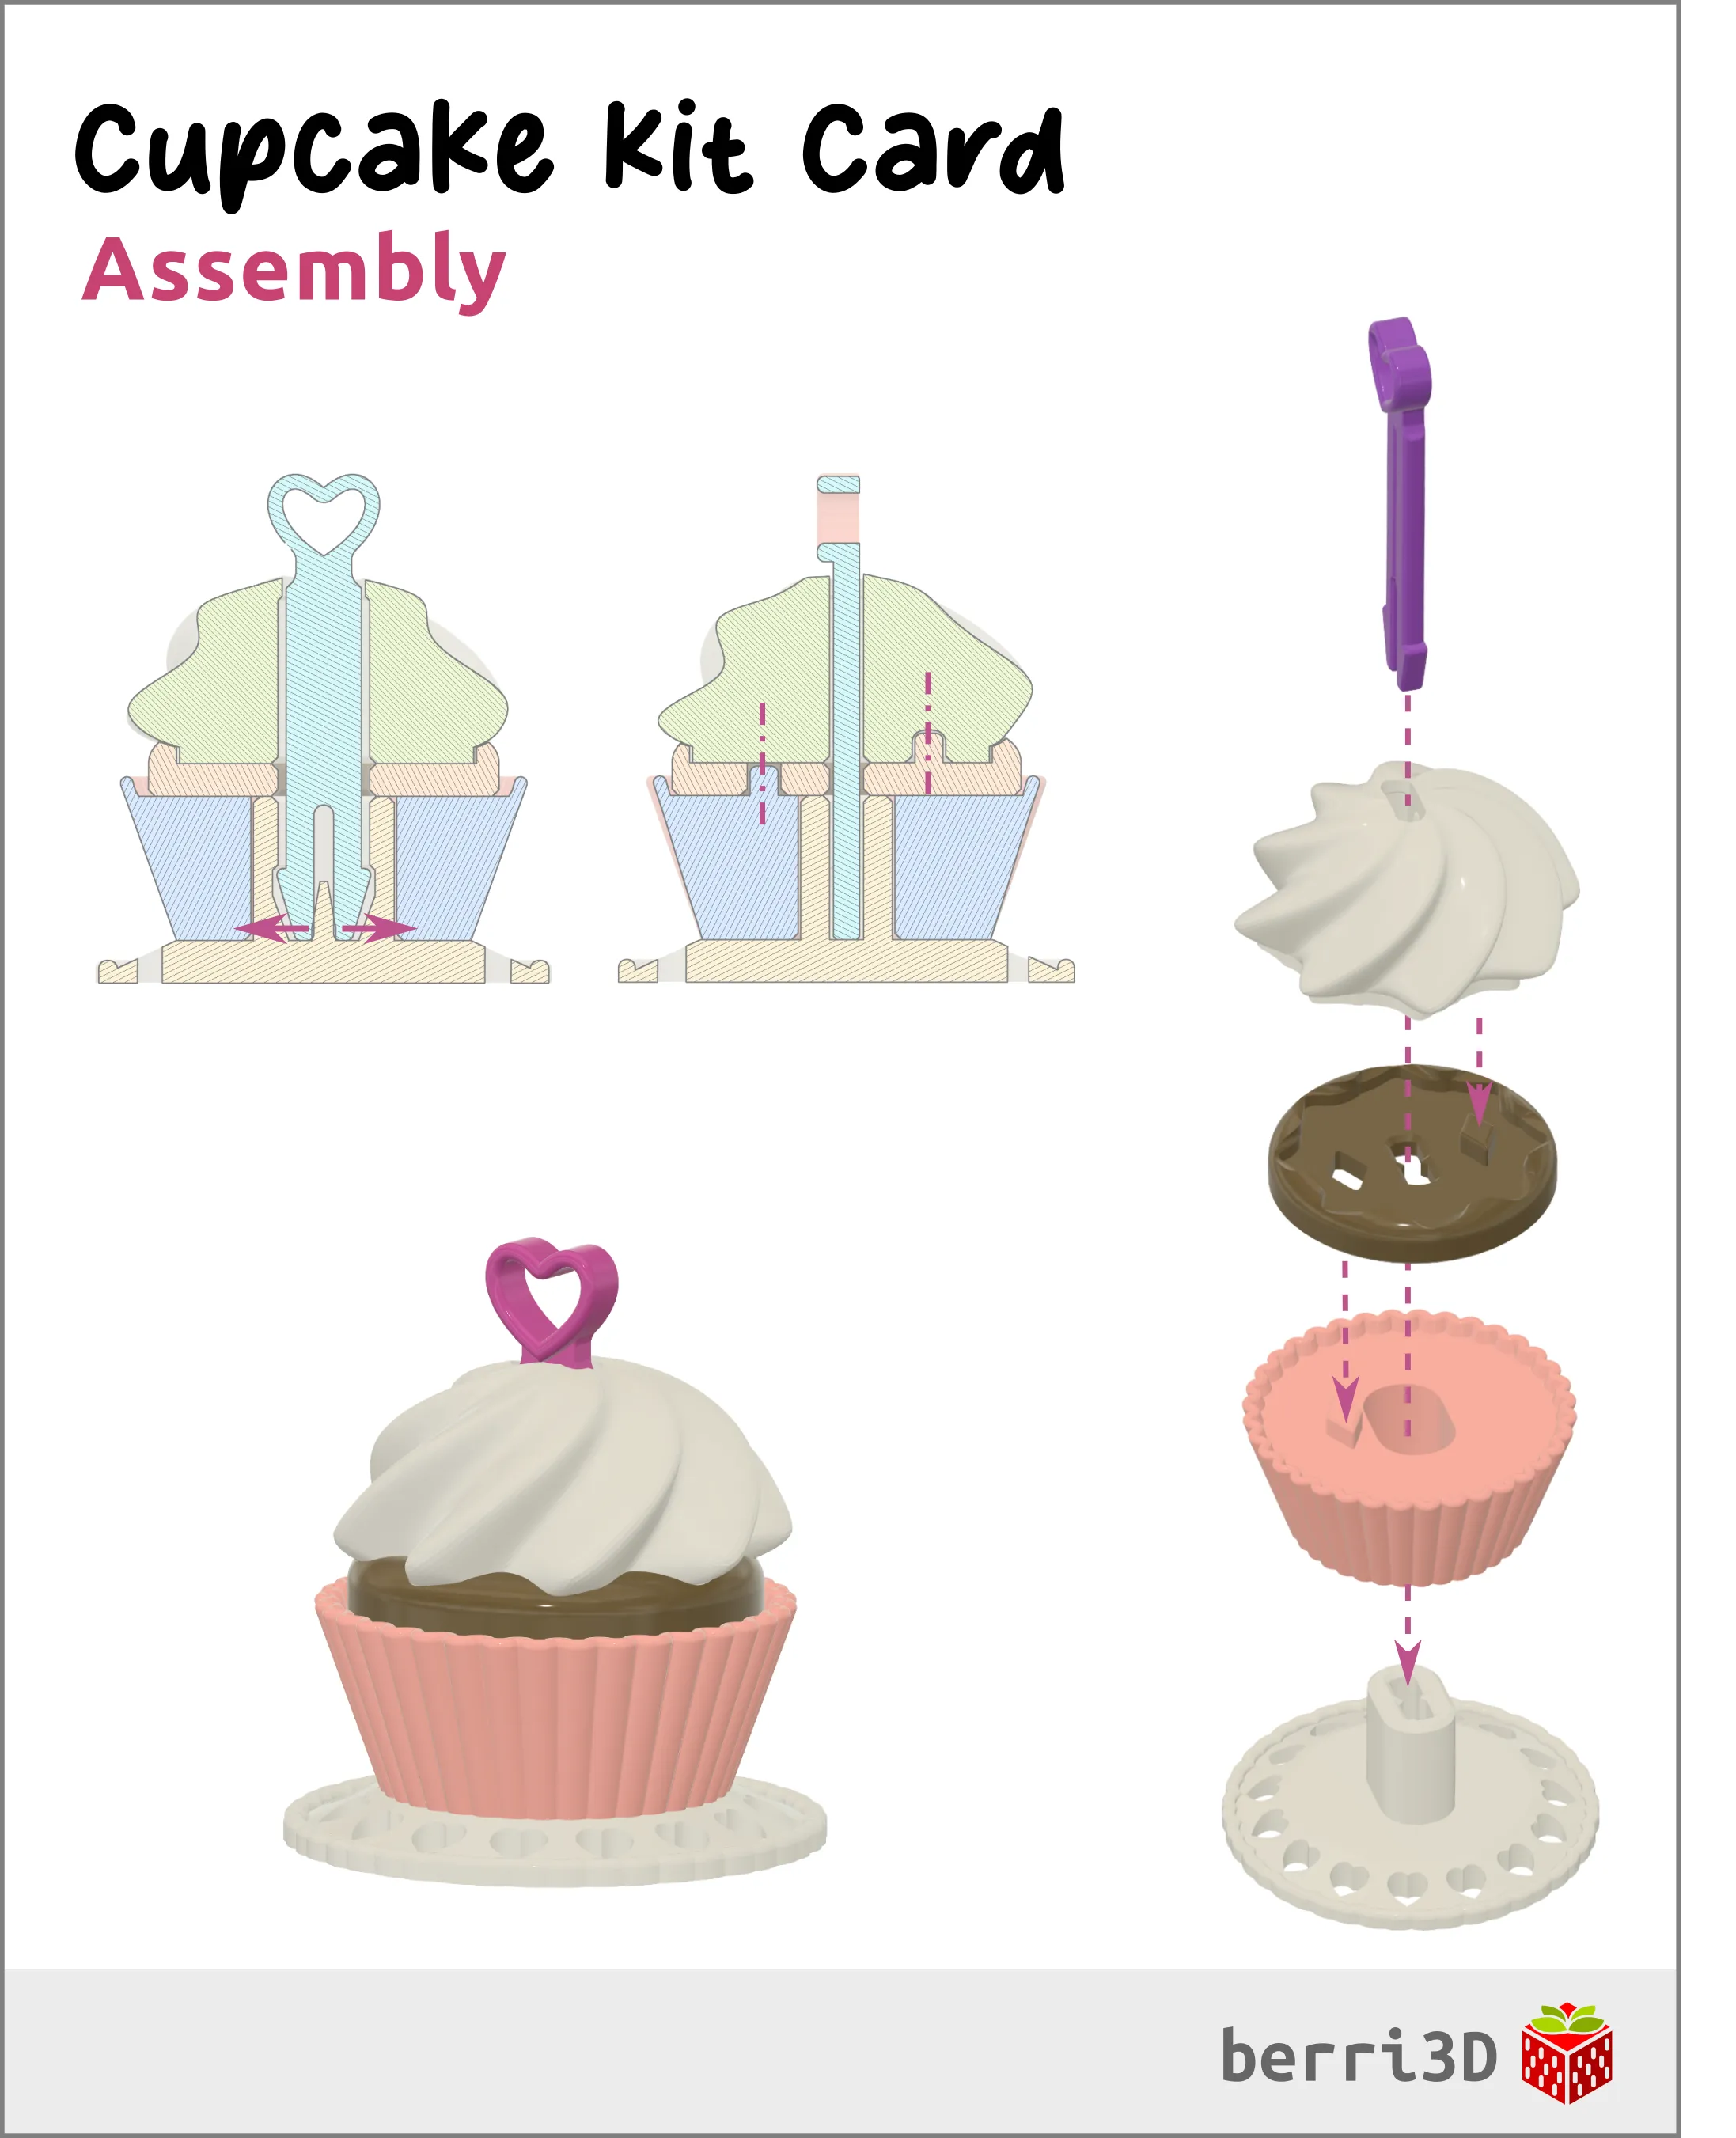
The heart-shaped peg is what holds everything together. You should be able to feel it go all the way down before it clicks into place. It may resist a little but then it should go home. You'll know it worked because the peg won't be able to come out again. If the rest of the cupcake “wiggles” slightly, this is by design so as to accommodate flow differences across filament brands and types.
🧰 Printing Tips
How well a kit card fits together depends heavily on your machine, filament brand, and filament type/colour. I do my best to make models that assemble smoothly across a range of filaments, but sometimes tuning by the end-user (that’s you) may be required.
- Print individual pieces first: use the colours you will be using and testing fit between them. This will help save you filament by identifying fit issues before committing to a full multi-colour plate.
- Adjusting fit: To tweak the fit between the parts, it may be necessary to adjust flow rate in small increments up or down for any troublesome colours. Note: I don't recommend using X/Y hole/contour compensation due to the small perimeters this model uses..
- Be careful not to break cards when removing from the plate. I designed them with easier tearaway connectors which can break prematurely, especially if you're not gentle when removing. Tips to avoid breakage:
- Use a textured plate
- Let the plate cool completely
- Flex plate gently if they're still attached. Go slowly and bend in all directions until they pop off.
✏️ Customizable Text
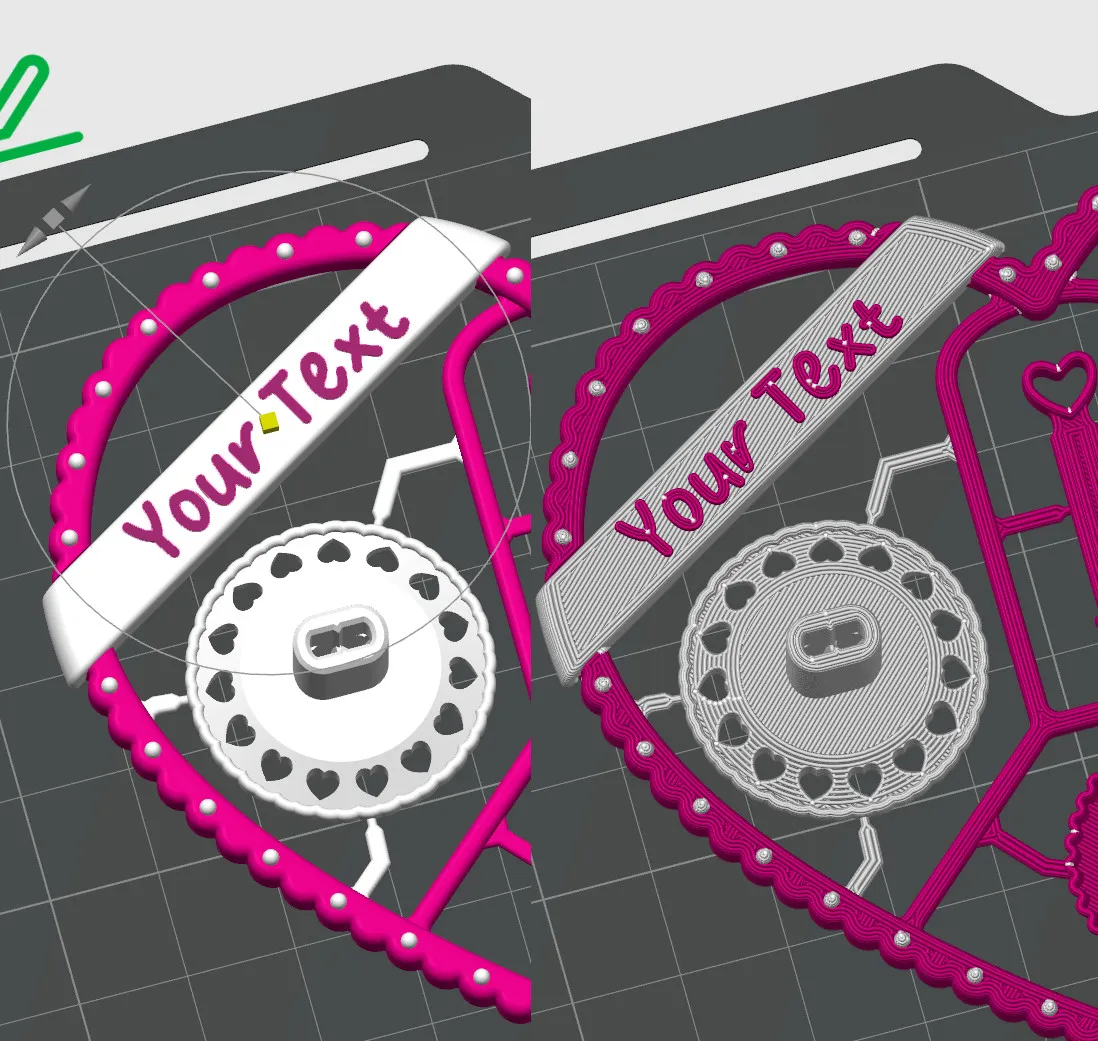
The ribbon text can be changed to suit your needs. You will need to download it into Bambu Studio (not Handy) to change it there. If you've never done it before, this video is a good all-round primer on how to do it. Just remember to check the Preview tab to see how the sliced font looks. If it doesn't look good on-screen, it won't print any better 😥
💝 Bonus Activity
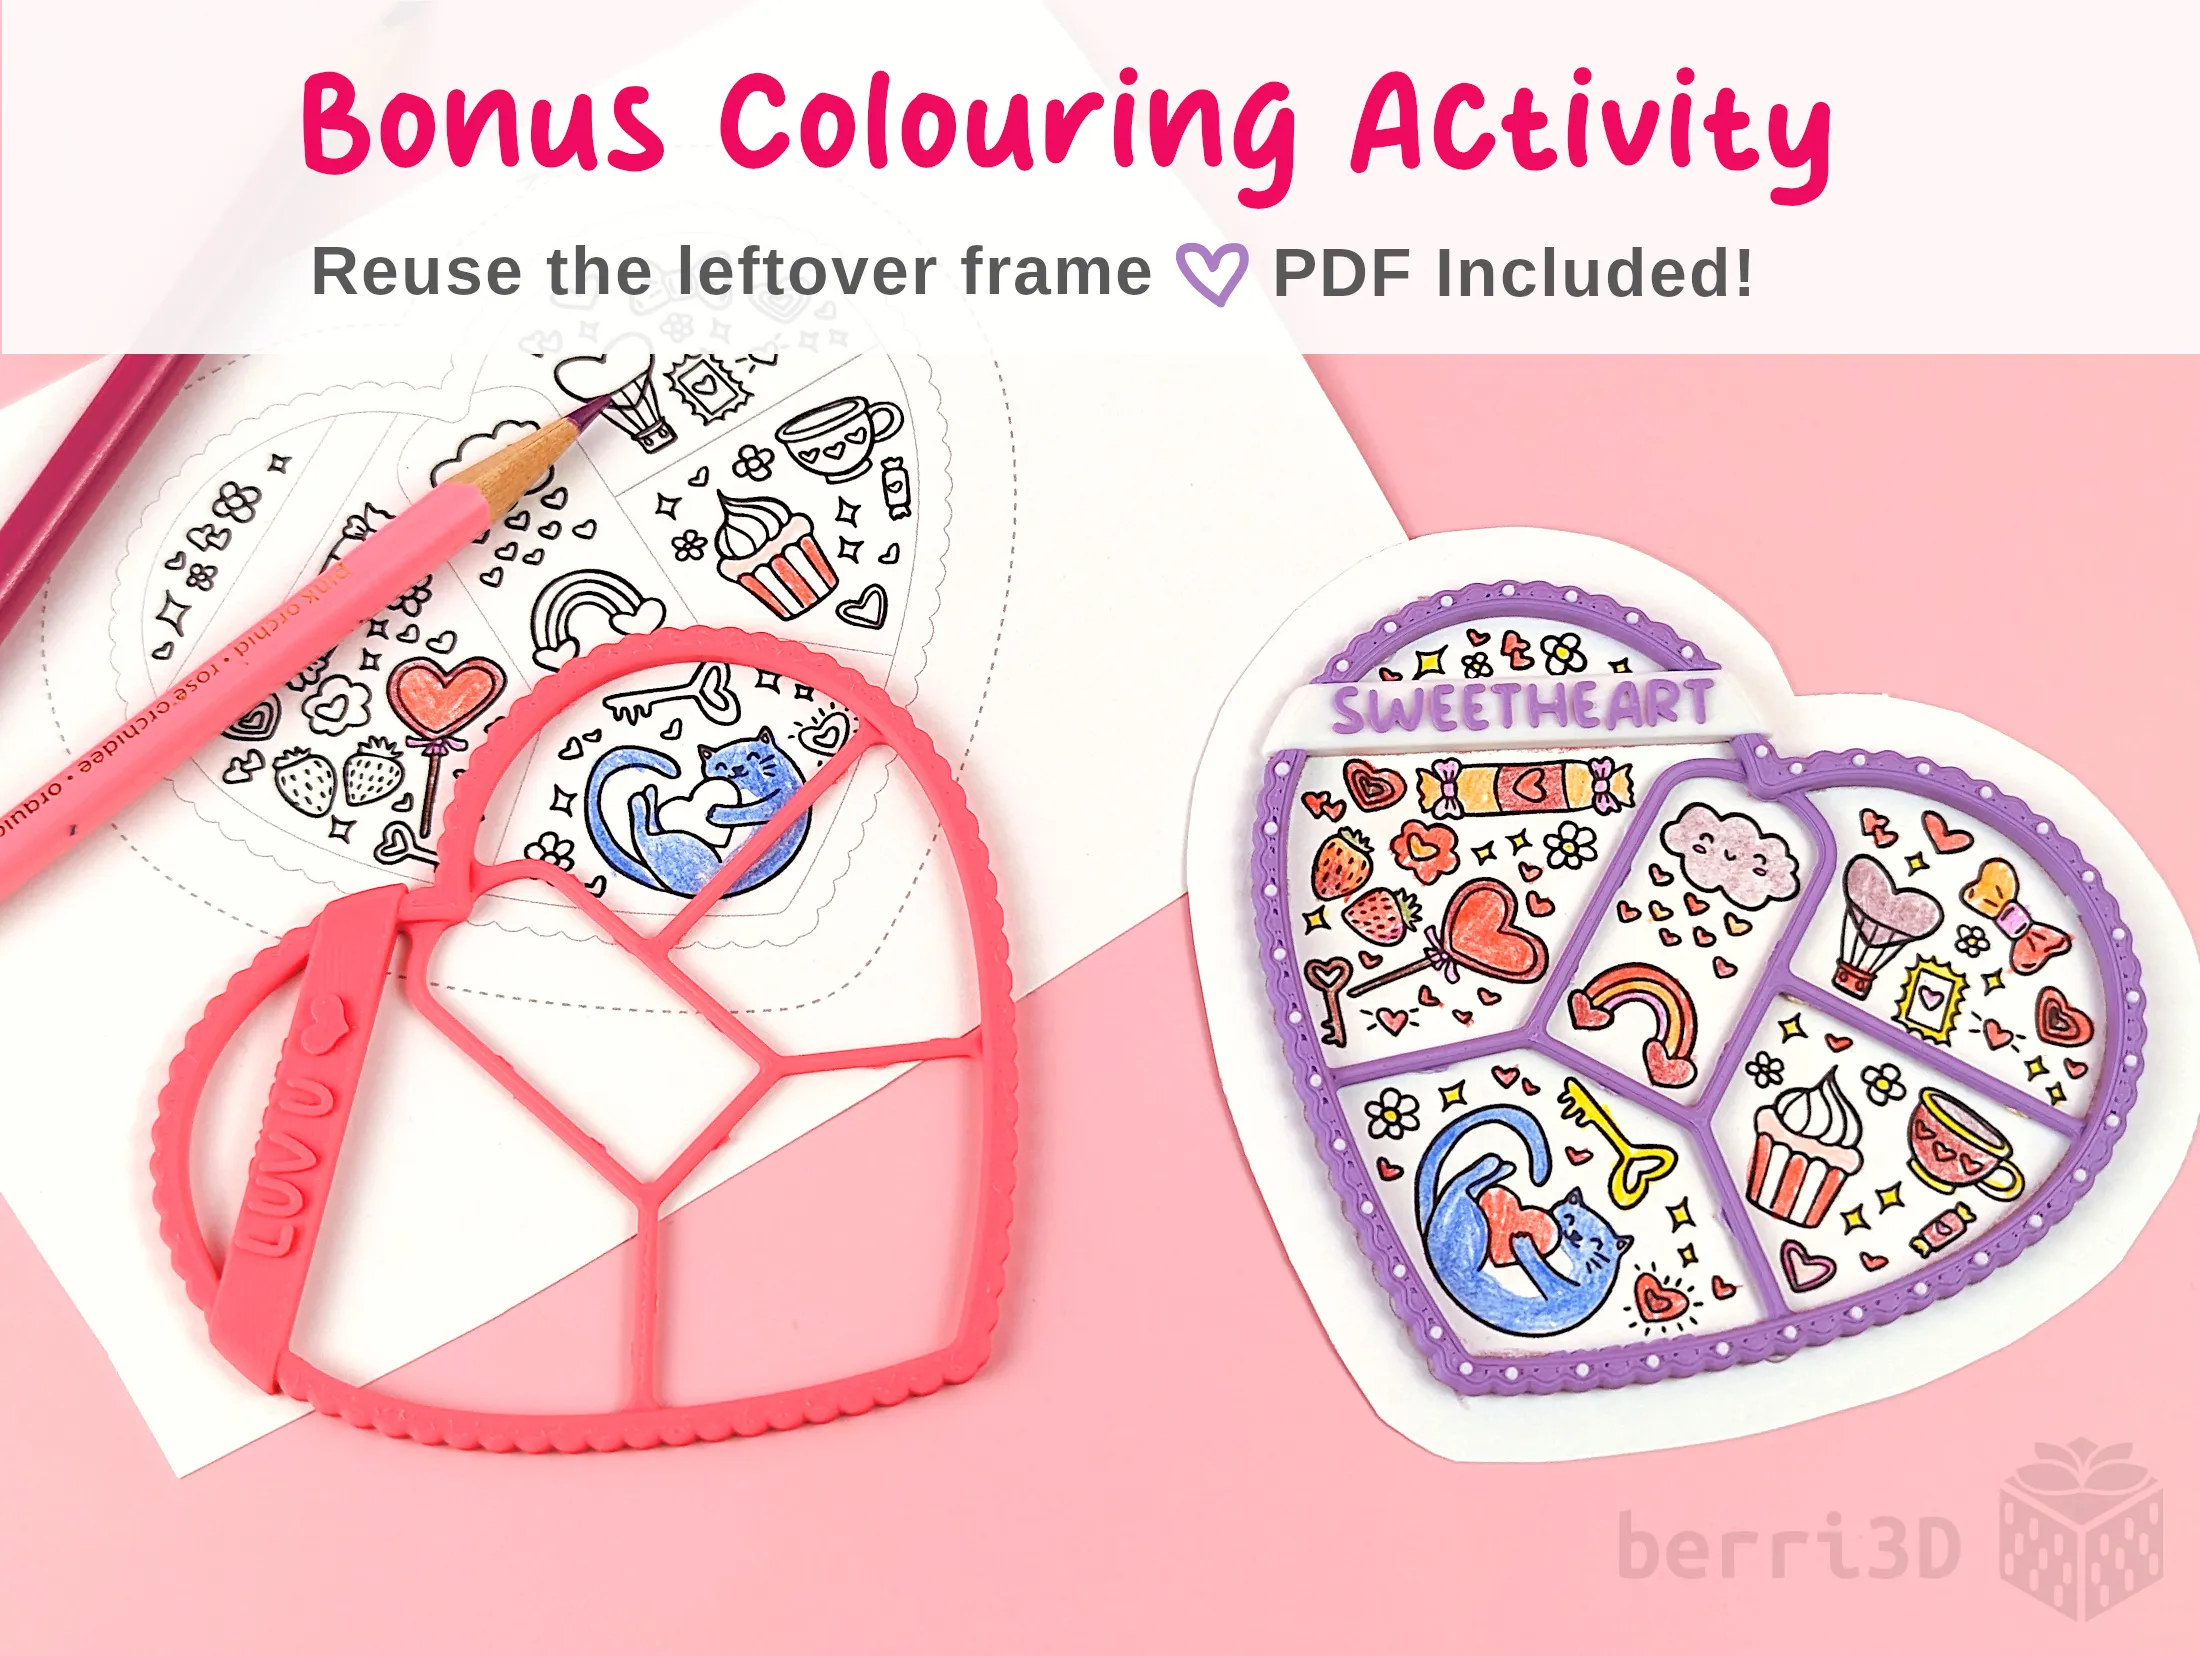
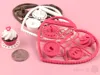
Don't throw the leftover frame away! Reuse it with the activity pack (download from RAW files or click the documentation link at the bottom of this page). The downloaded version includes a SVG of the outer outline for use with cutting tools such as the H2's cutting upgrade kit or with other electronic cutters.
Some tips for the best results:
- Use cardstock: stiffer and more durable)
- Adult help may be required: the frame can be a bit fiddly to apply glue and line up.
- No paper printer: Trace the frame and make your own design!
🖨️ Process Settings
These are the settings I used to prototype the model and create the print profiles. You can change them if you download the 3mfs.
| Setting | Value | Reason |
|---|---|---|
| Layer height | 0.2 | Chosen as best overall balancing quality and print speed. |
| Wall generator | Classic | Default; prototyped with this generator. Changing to Arachne may make parts not fit |
| Only one wall on top surfaces | Not Applied | Results in a nicer top surface to parts. |
| Sparse infill density | 10 | They're teeny, they don't need to be sturdy |
| Sparse infill pattern | Gyroid | Strong in all directions and is offset from layer below (no nozzle scraping) |
| First layer speed | 20 mm/s | Slower speed allows complicated first layers enough time to cool and adhere. |
| Outer wall speed | 100 mm/s | Slower outer wall is better for overhangs. You can increase this speed but the quality may not be as nice. |
🧁 About the Model
After reading the Layered With Love theme, I was inspired to rethink how kit cards could be more than just a solo activity. They could also be the gift, the wrapping, the tag, and an opportunity connect with other people. With this in mind, I designed every part of this kit card to be just that: a neatly wrapped personalized package ready to spark joy and connection.
Imagine my delight when a friend, who had taken my leftover prototypes to their workplace, reported that a bunch of normally serious adults transformed into giddy kids swapping colours to get the “perfect” icing for their cupcake. It was exactly what I had designed for, hoped for, and it was heart-warming to see it happen. I hope you, too, have the opportunity to share joy by building something special with the people in your life! 💝
🥰 How to Support me
If you appreciate the work I did to bring this model to you, please consider supporting me on Ko-fi. Even a small tip will help offset the cost of prototyping filaments. Alternatively, a like or a boost is another easy way to say “hey, you don't entirely suck.”

⭐ Licensing
If you wish to sell my models, you may purchase licensing rights through my official Ko-fi page.
This model is shared using my own Personal-Use License which supplements (but does not replace) MakerWorld’s Standard Digital License. My license is fundamentally the same (no public remixes, no file sharing, no selling) but includes specific exceptions and allowances not covered by the Standard Digital License.
Licenses offered through third-party websites (e.g. Cubee3D) are not authorized and are not valid.
Boost Me (for free)
🚀= 💪🐹 👍 = 🦵🐹 My models are created on a smoking hot Compy386 powered by Hunrod the Unusually Swole Hamster™. Every boost and like makes Hunrod stronger.
Documentation (1)
License

You shall not share, sub-license, sell, rent, host, transfer, or distribute in any way the digital or 3D printed versions of this object, nor any other derivative work of this object in its digital or physical format (including - but not limited to - remixes of this object, and hosting on other digital platforms). The objects may not be used without permission in any way whatsoever in which you charge money, or collect fees.


Comment & Rating (37)