
The Ultimate Bar Collection
Print Profile(11)
Bill of Materials





- Steel/aluminium rods x 2:
Description
Boost Me (for free)
Boosting this design is free for you, yet it makes a huge difference for me. Thanks for helping me keep creating!
Membership
Commercial License
If you find my designs interesting and useful, and would like to see more in the future, please consider giving me a boost and becoming a supporting member.
Also, if you need parts for any of my designs, please use the BOM link provided on the model page when buying. This gives me a small commission.
The Ultimate Bar Collection
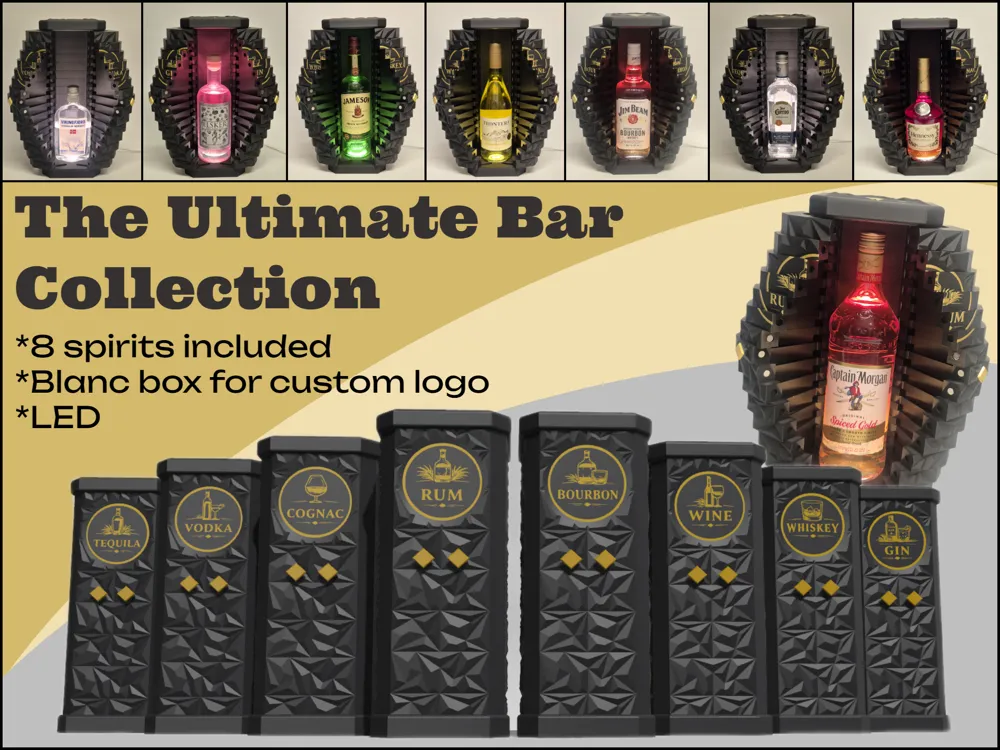
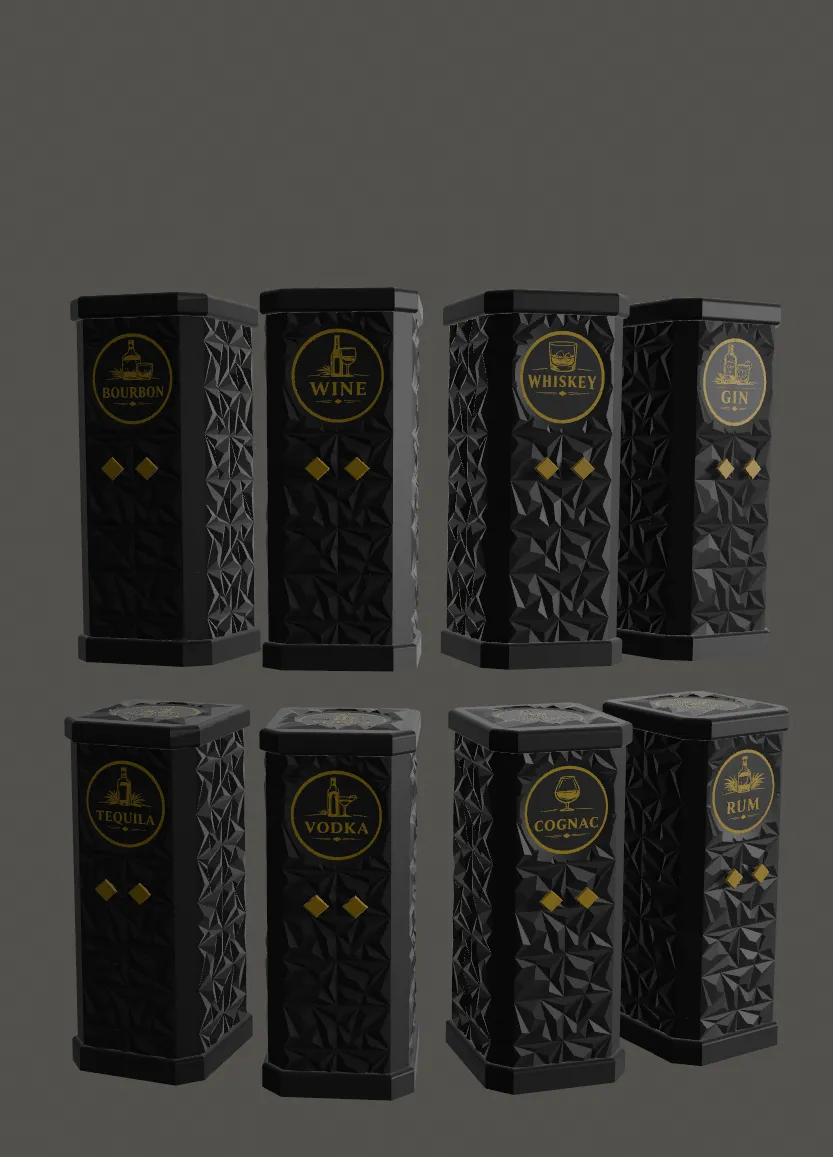
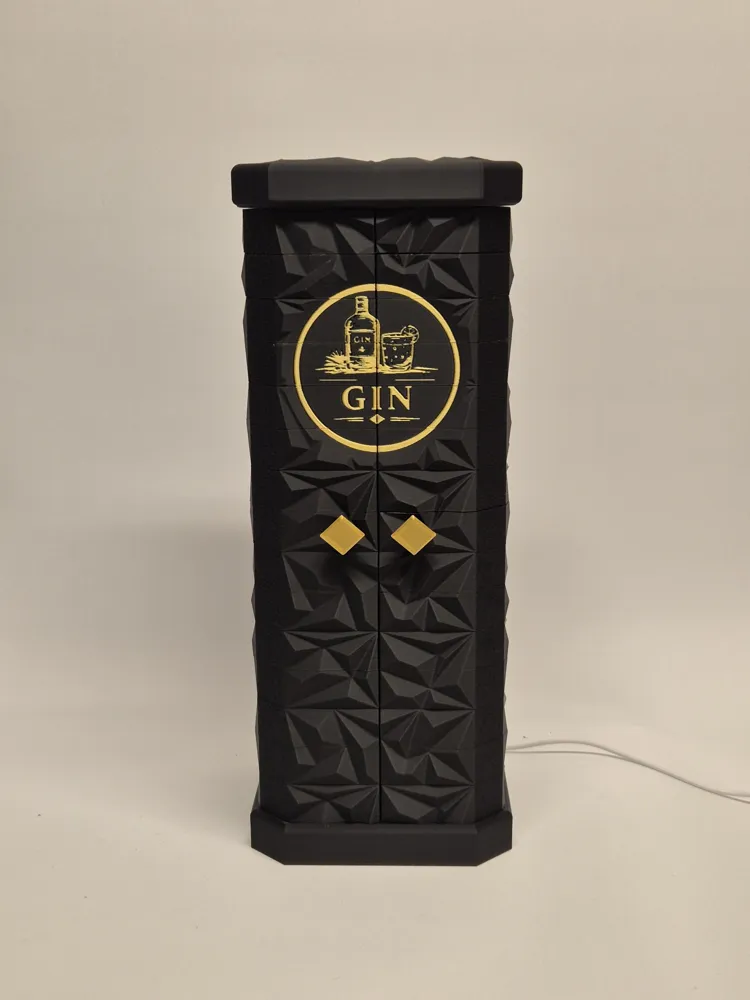
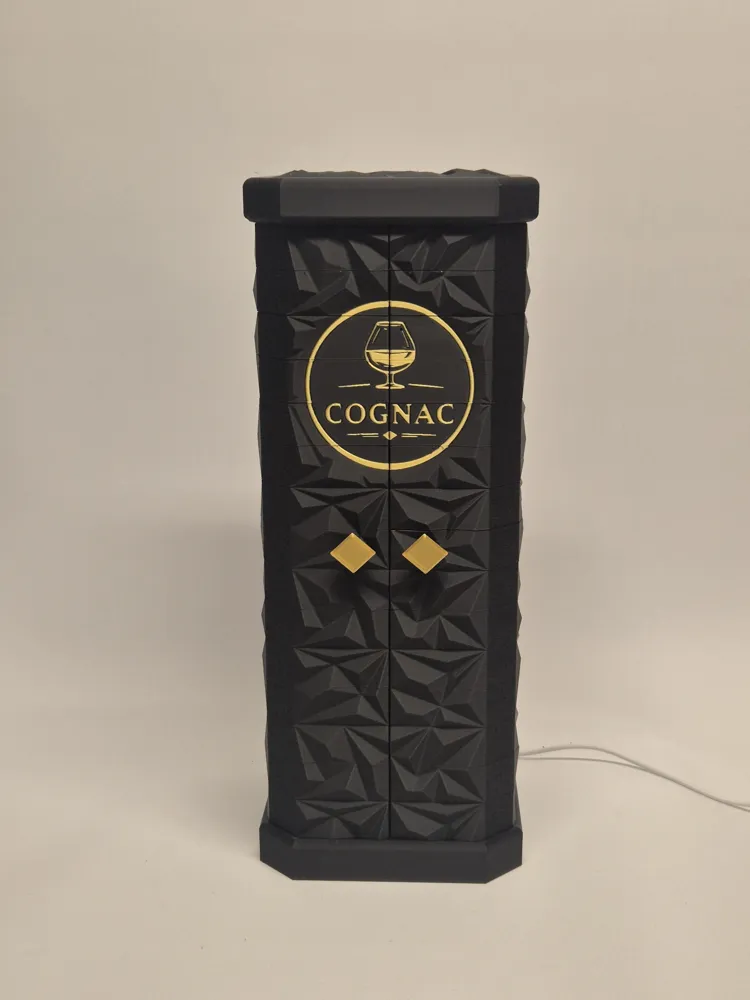
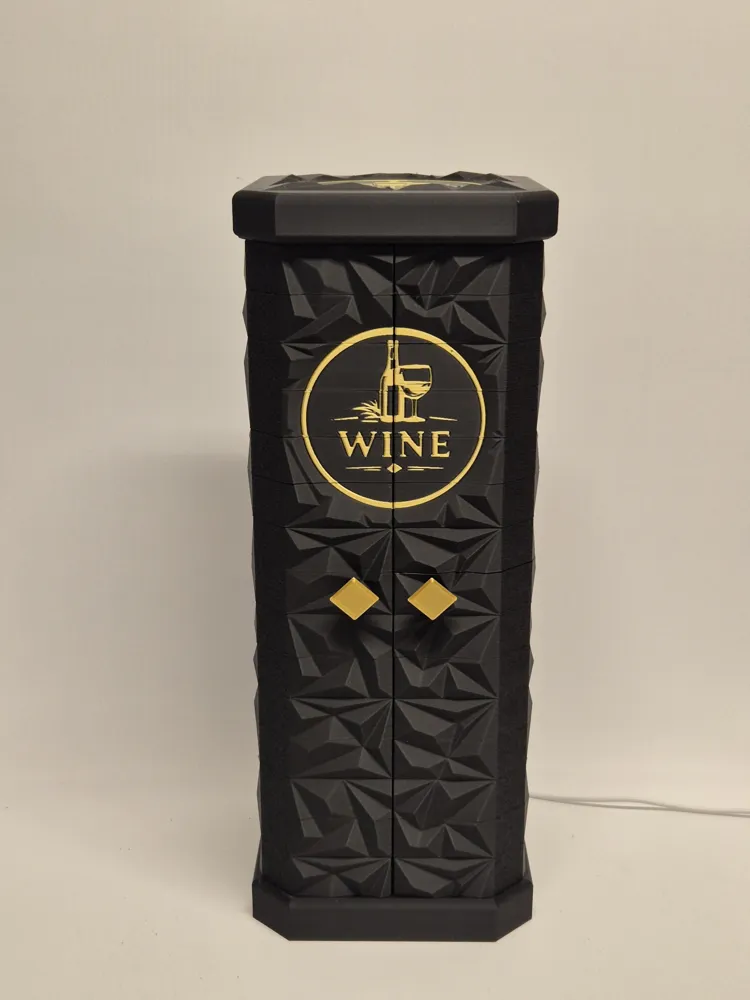
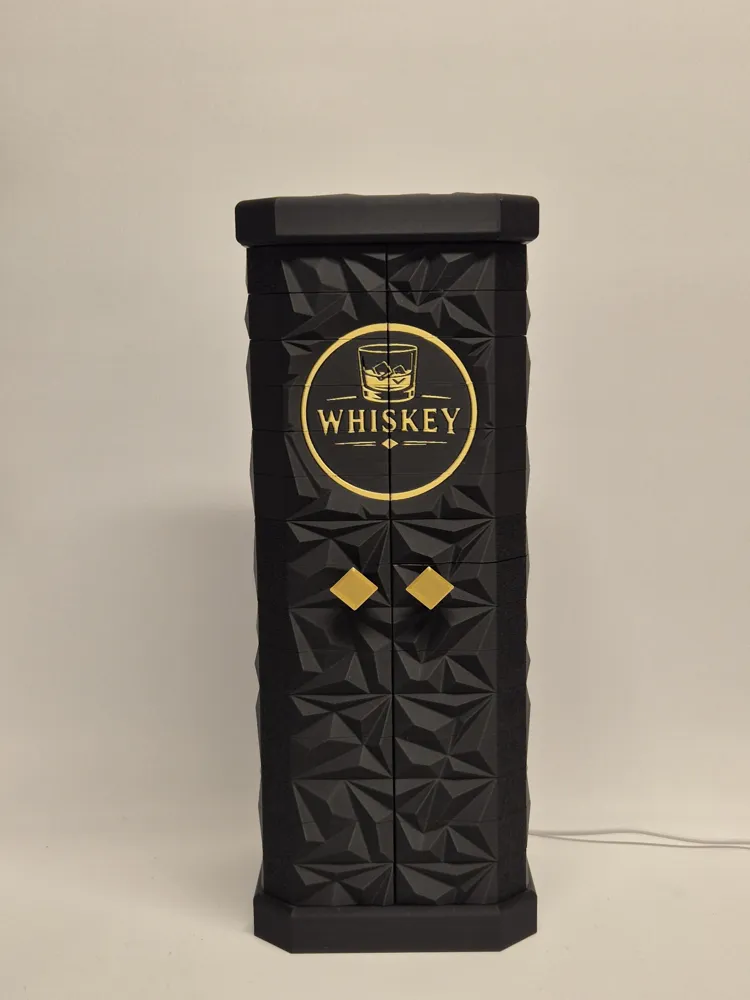
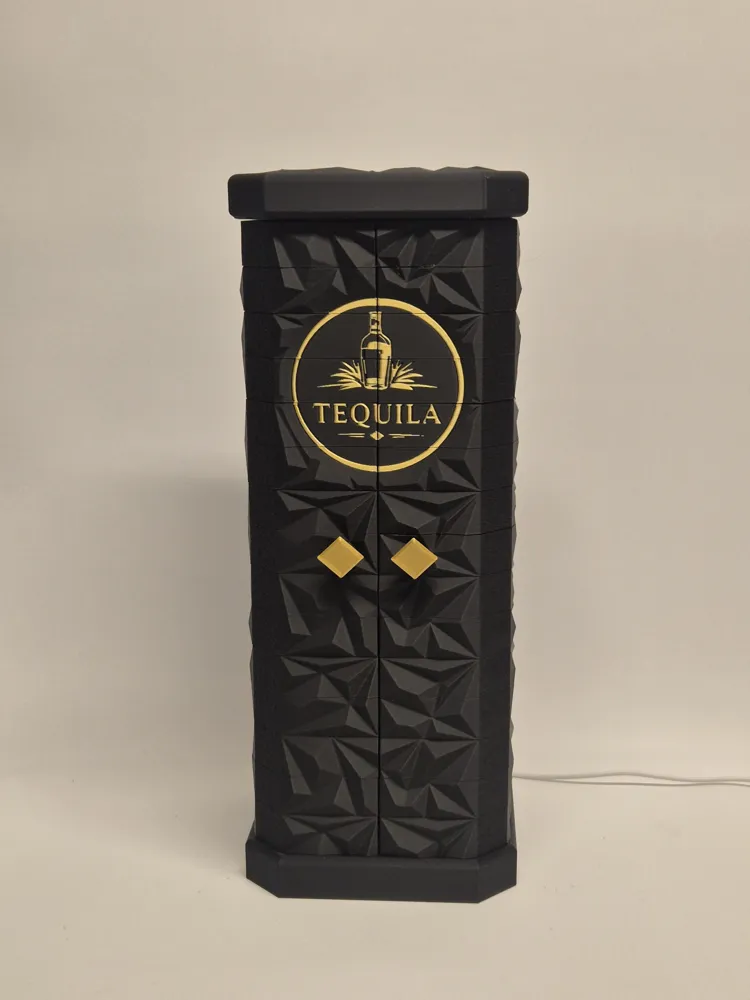
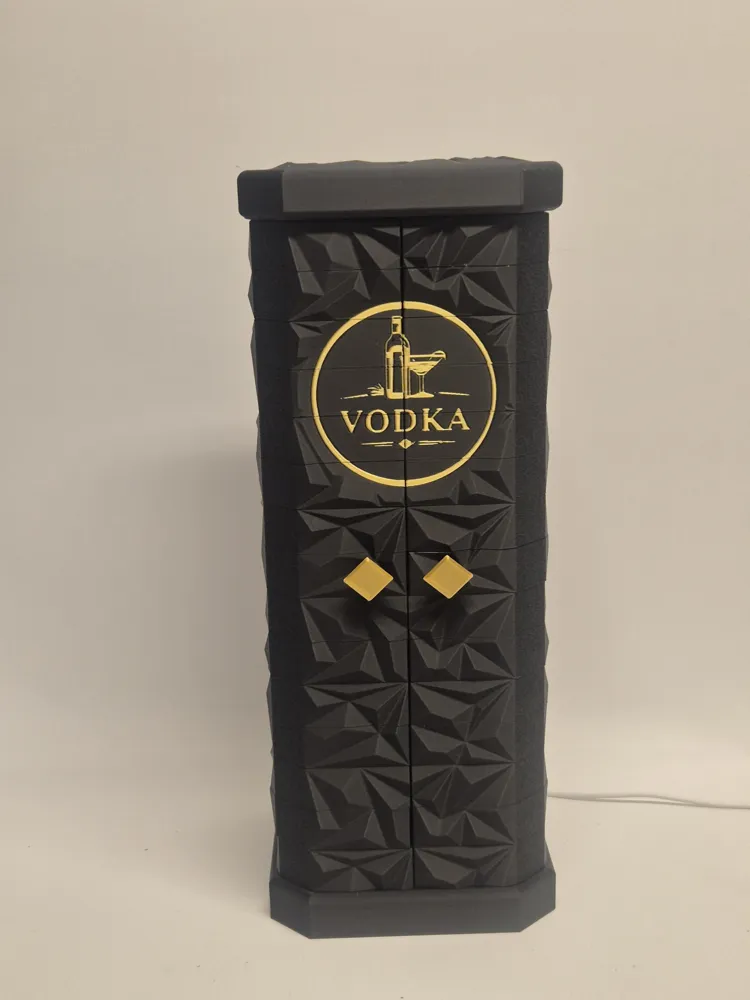
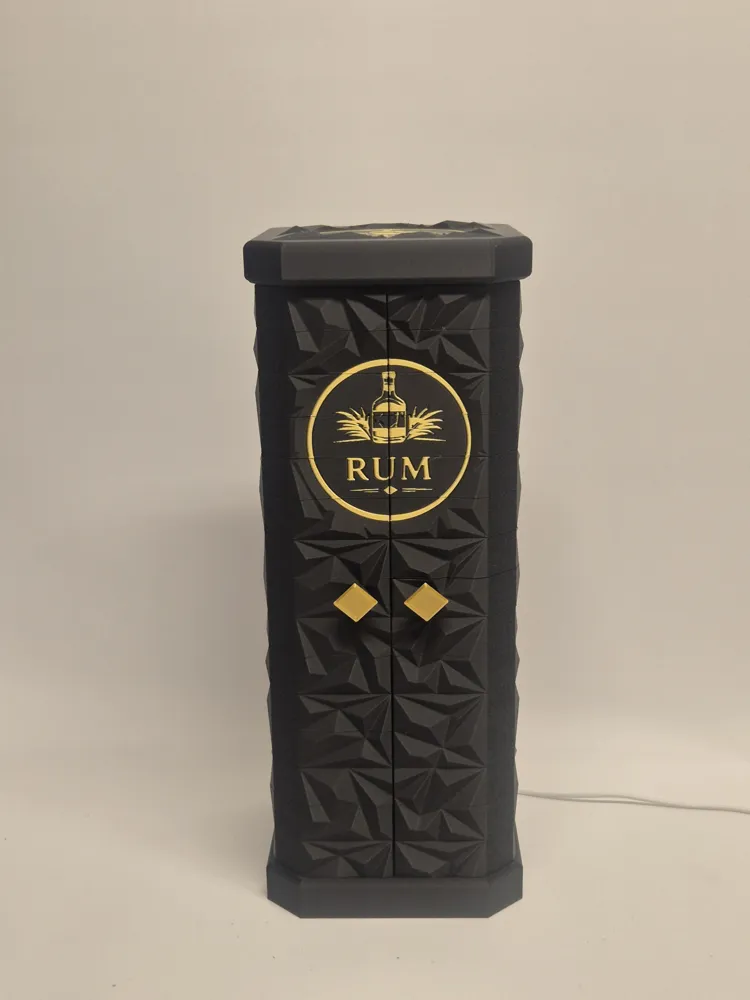
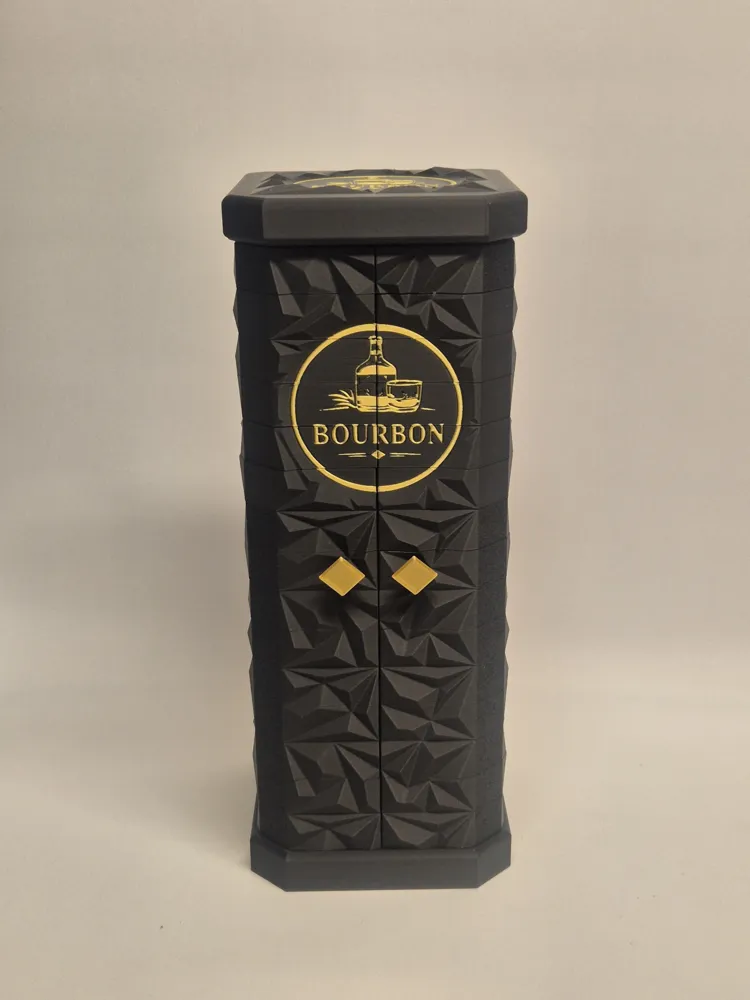
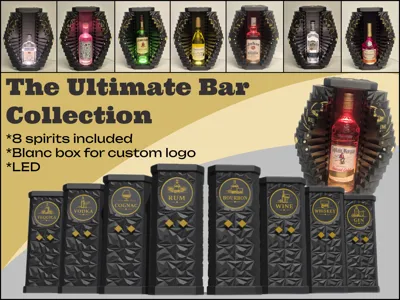
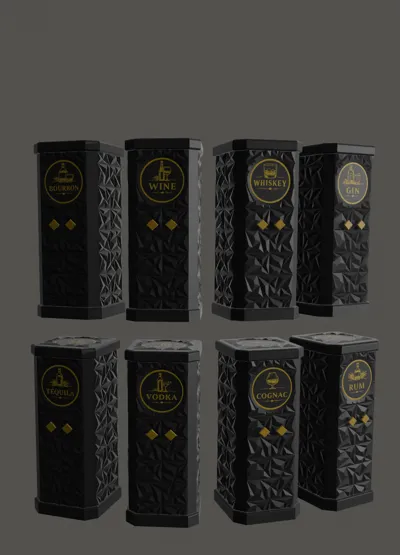
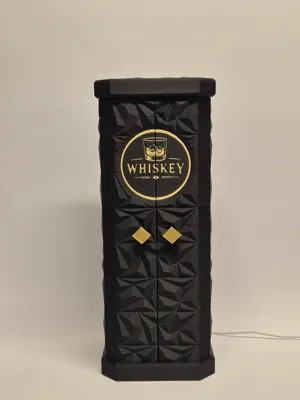
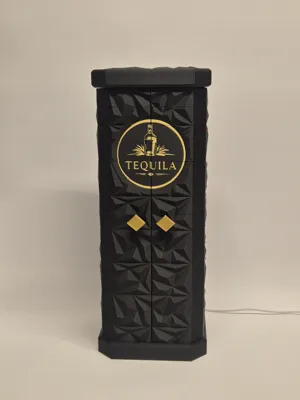
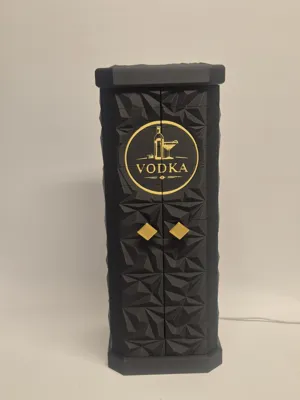
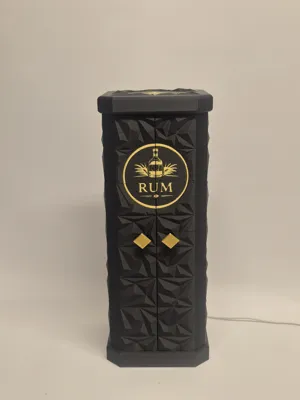
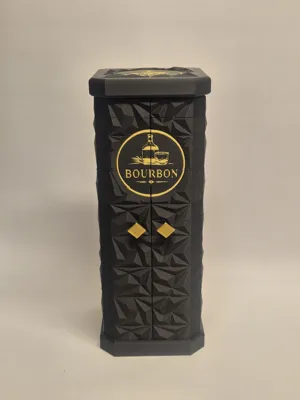
Transform your space into the ultimate lounge. This isn't just a 3D print, it’s a centerpiece. Designed for enthusiasts who appreciate both fine spirits and precision engineering, the Ultimate Bar Collection features 8 unique, geometric pods tailored for every major spirit. Each unit features a mechanical opening and integrated LED housing to illuminate your favorite bottles from the inside out.
Features
- LED Compatible: Includes an alternative base specifically for the LED Lamp Kit 001 to give your bottle a golden glow.
- Cutout for LED in the lid : There is a cutout in the lid to fit the KC007 wireless LED
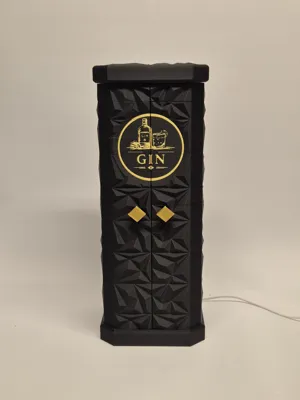
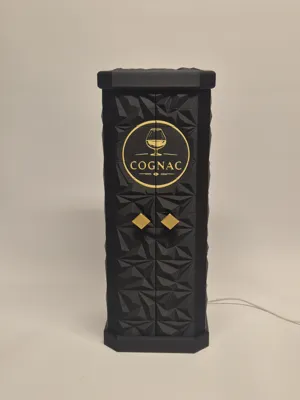
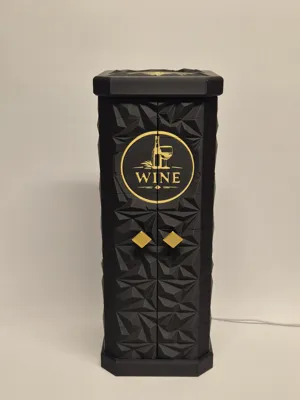
- The Set Includes: Whiskey, Wine, Gin, Bourbon, Cognac, Vodka, Tequila, Rum and a clean box for custom text.
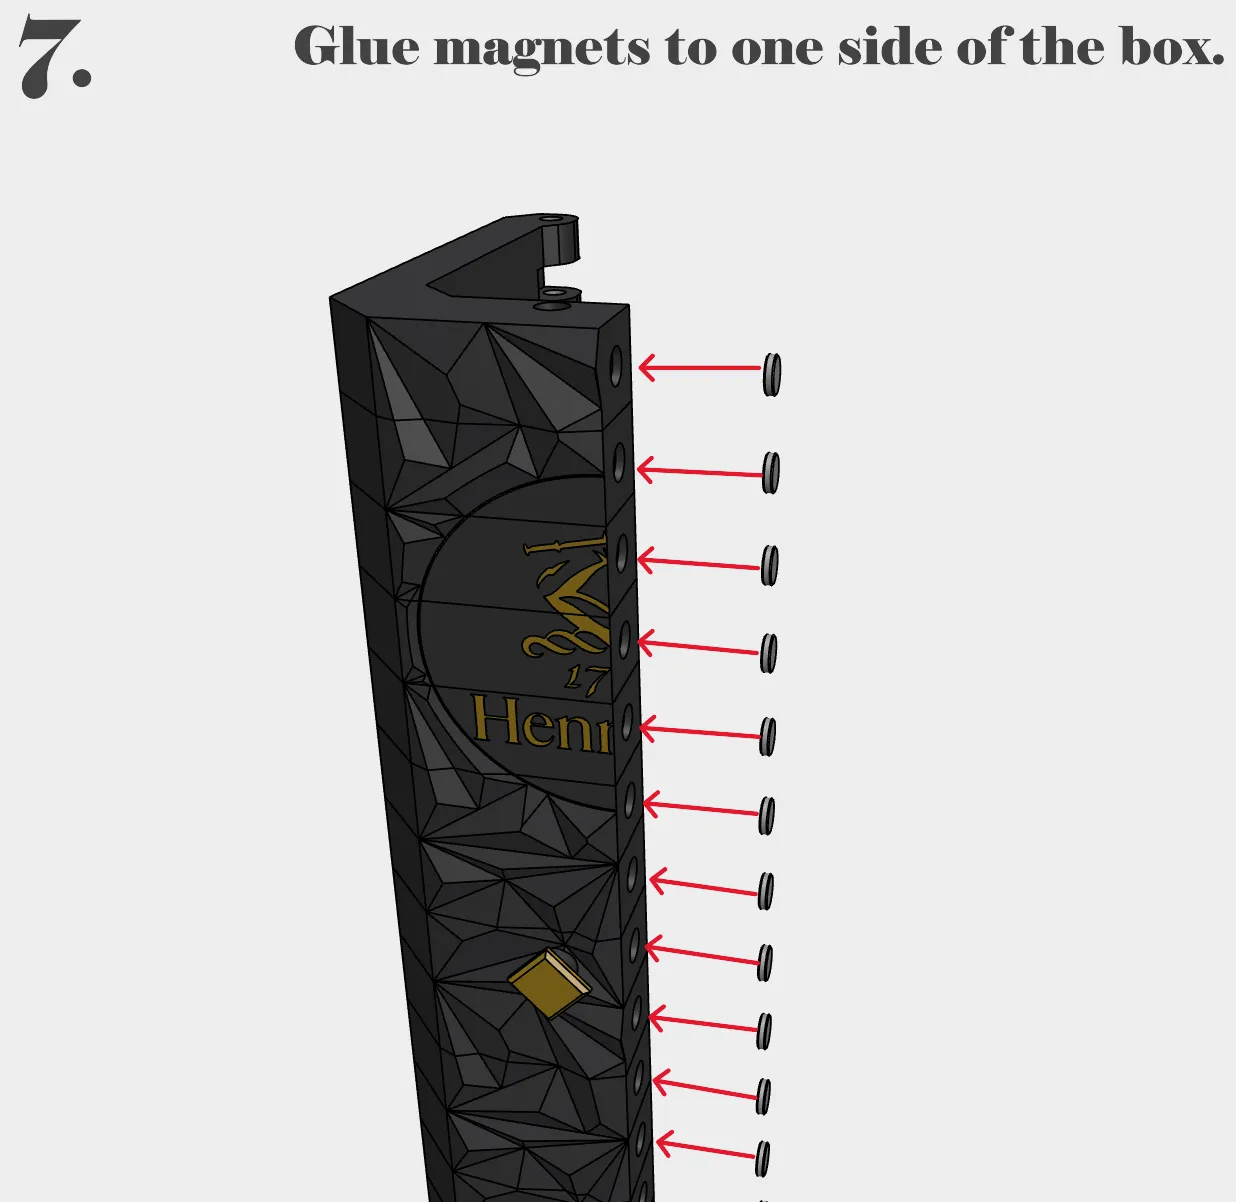
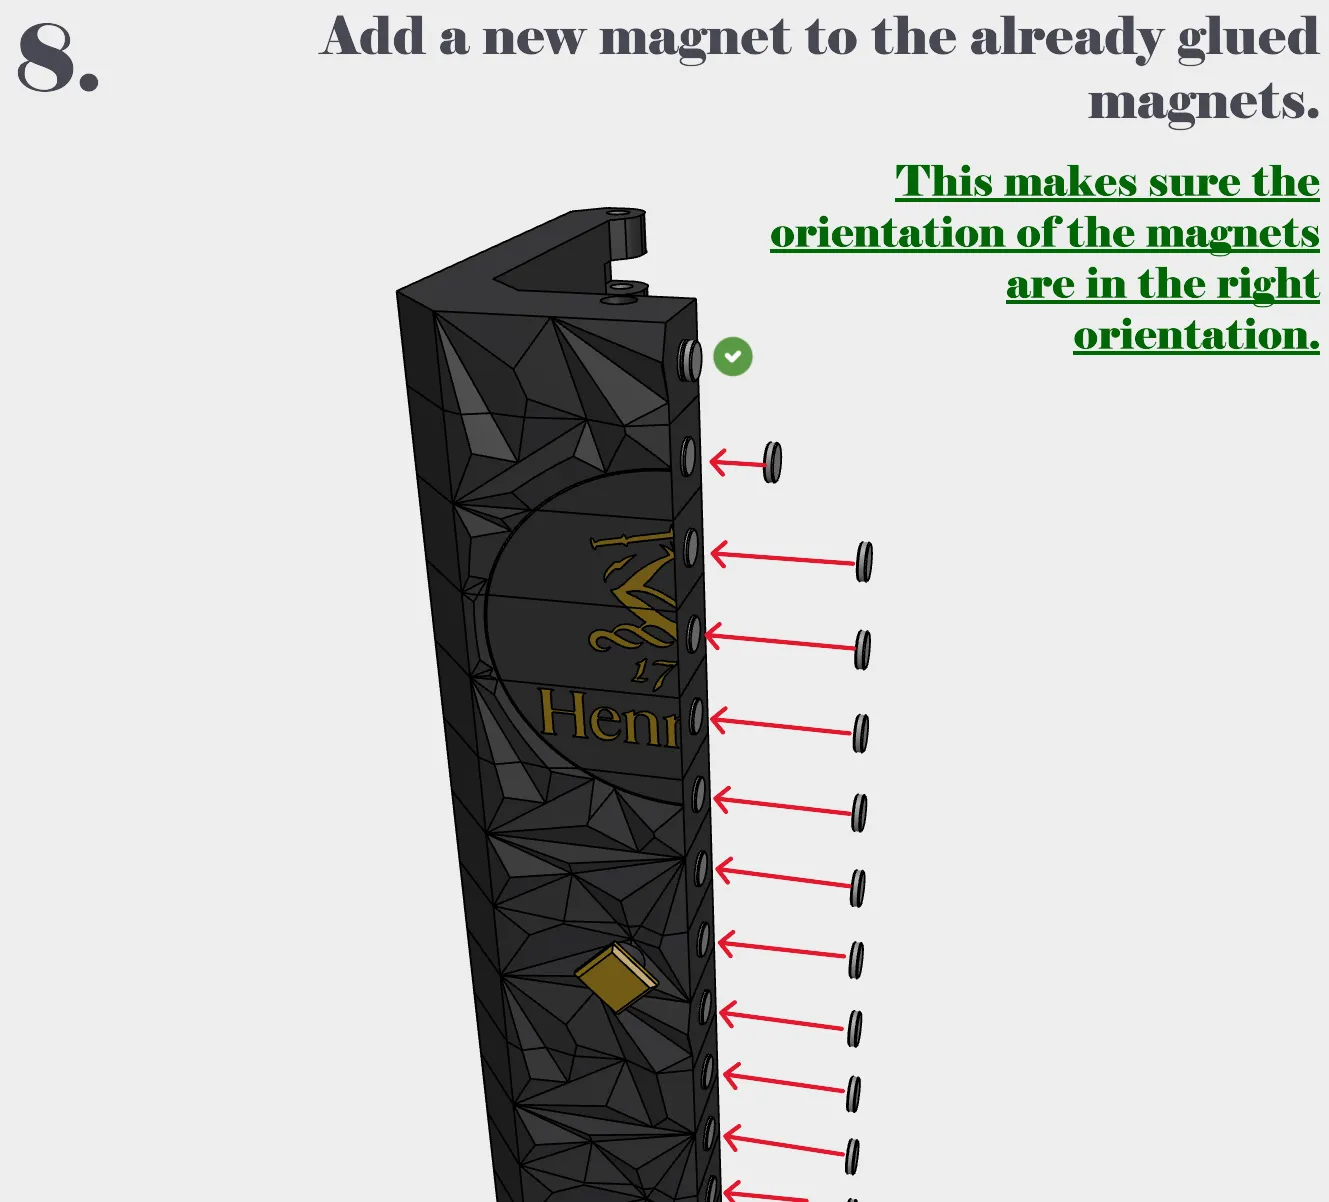
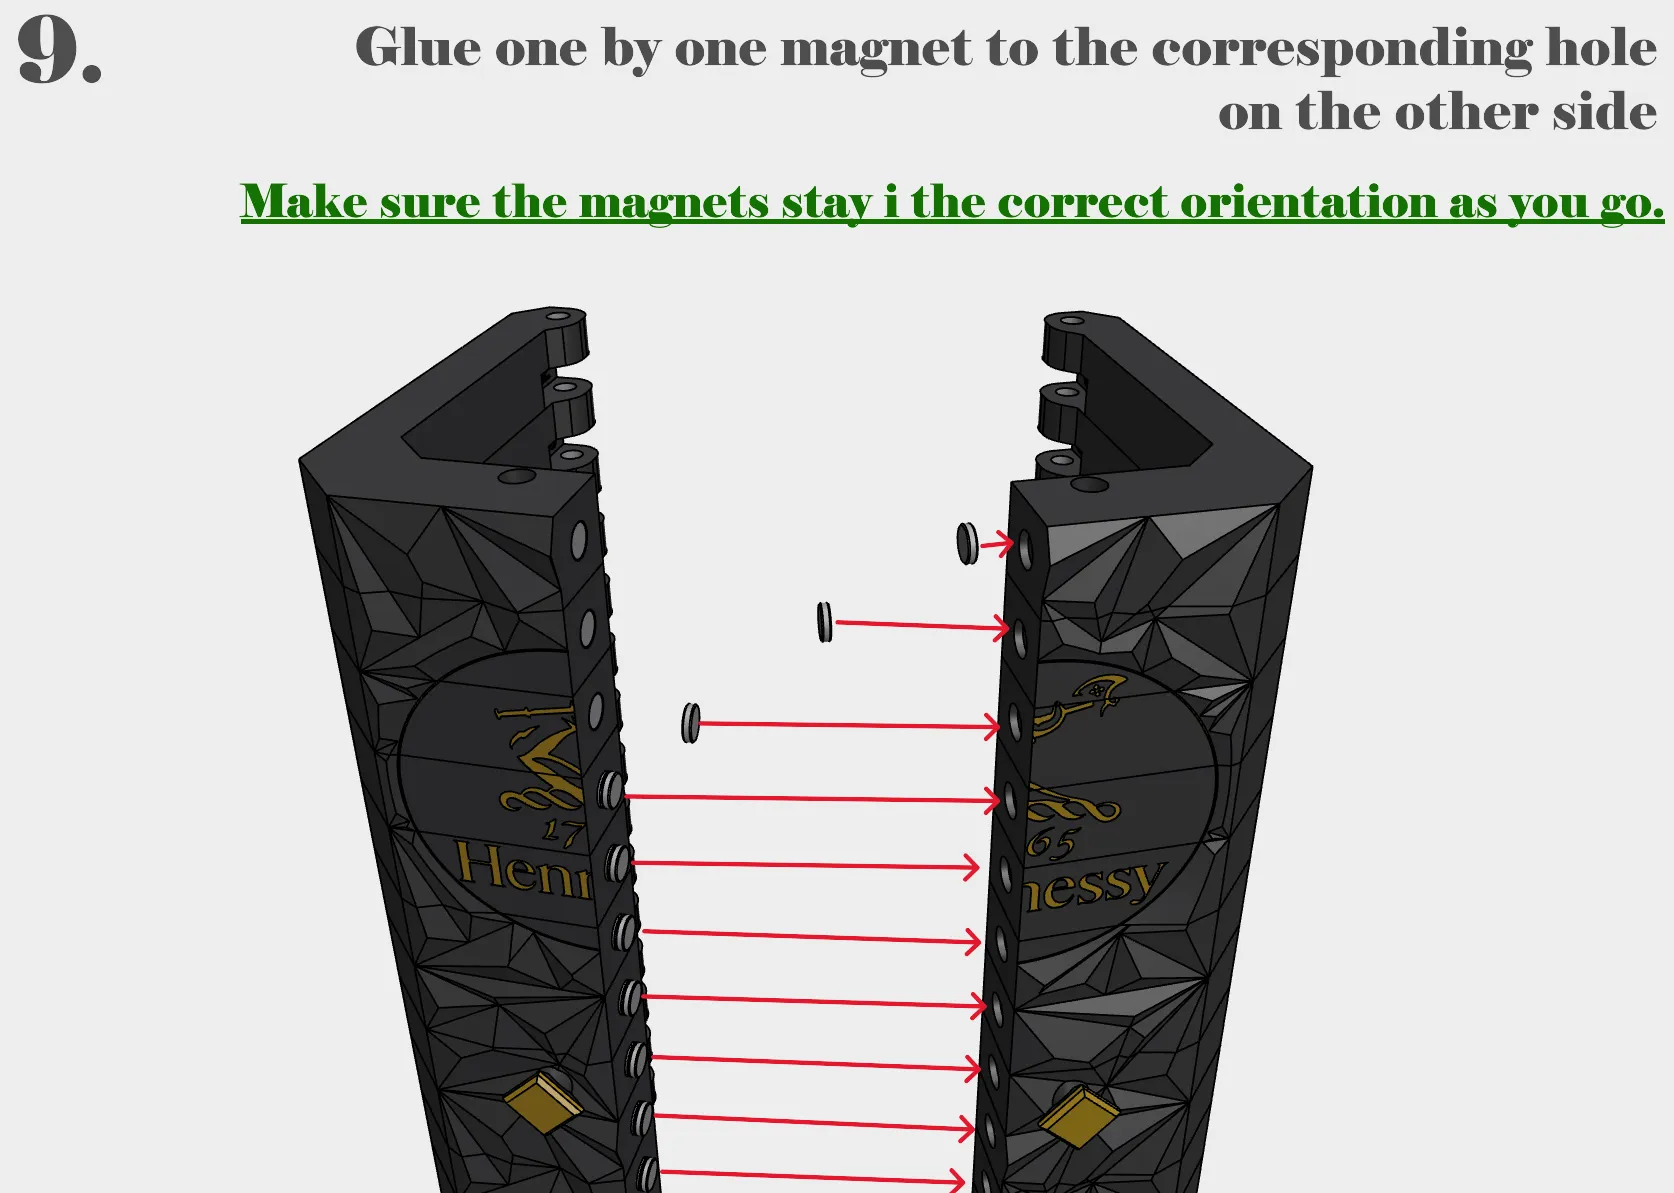
- Magnetic Snap: Optimized for 8x2mm magnets to provide a satisfying, secure "click" when closing the doors.
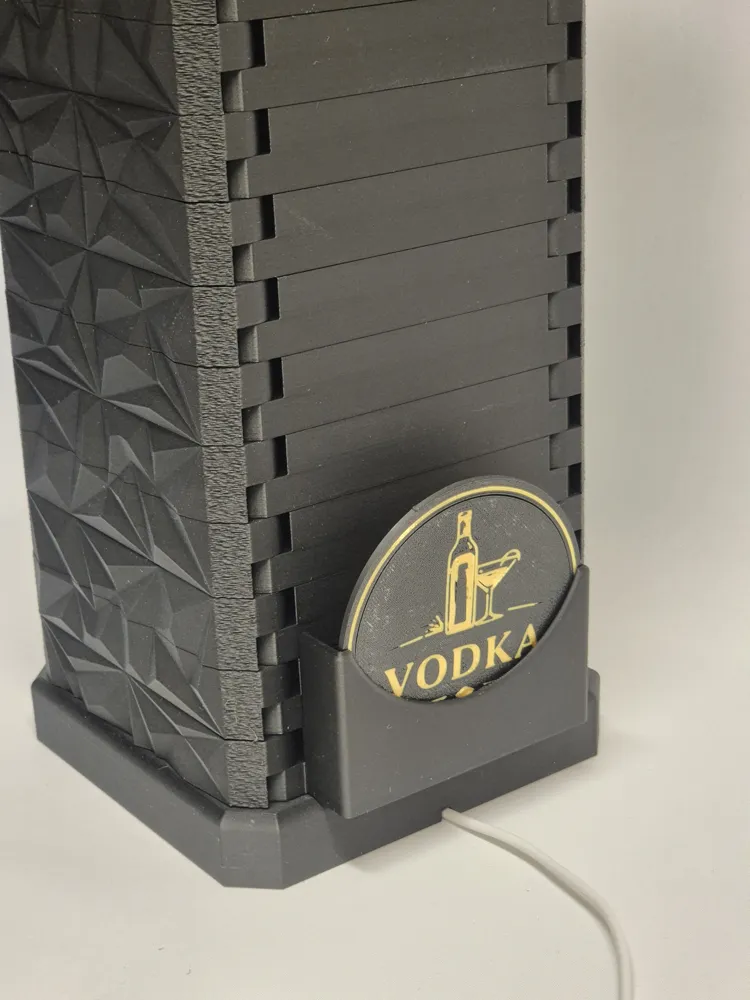
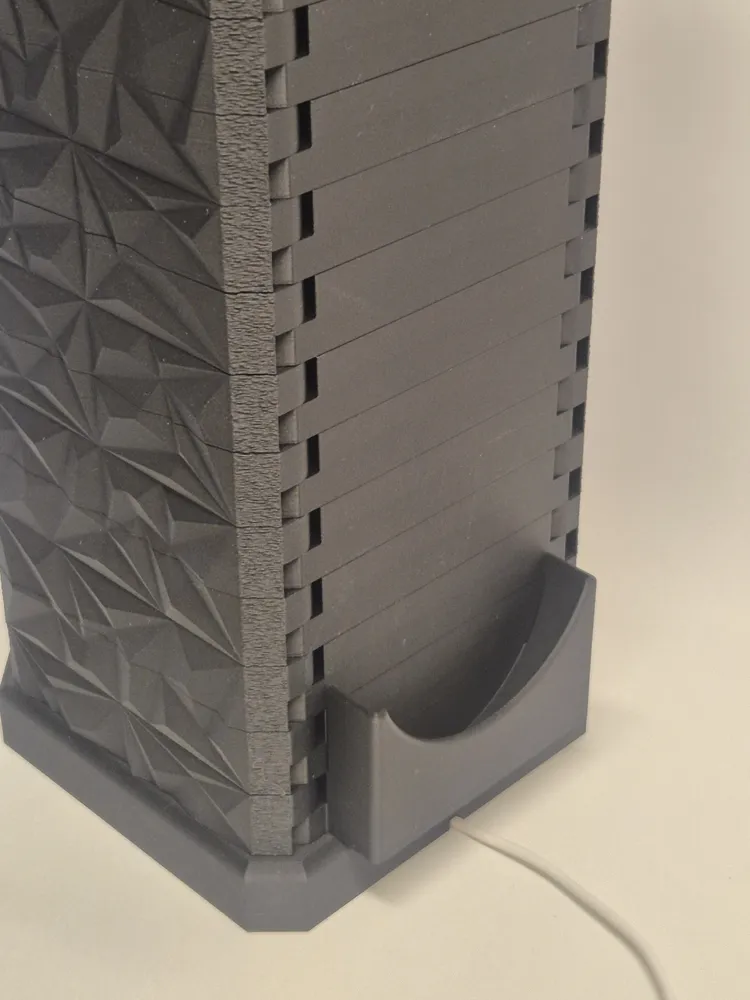
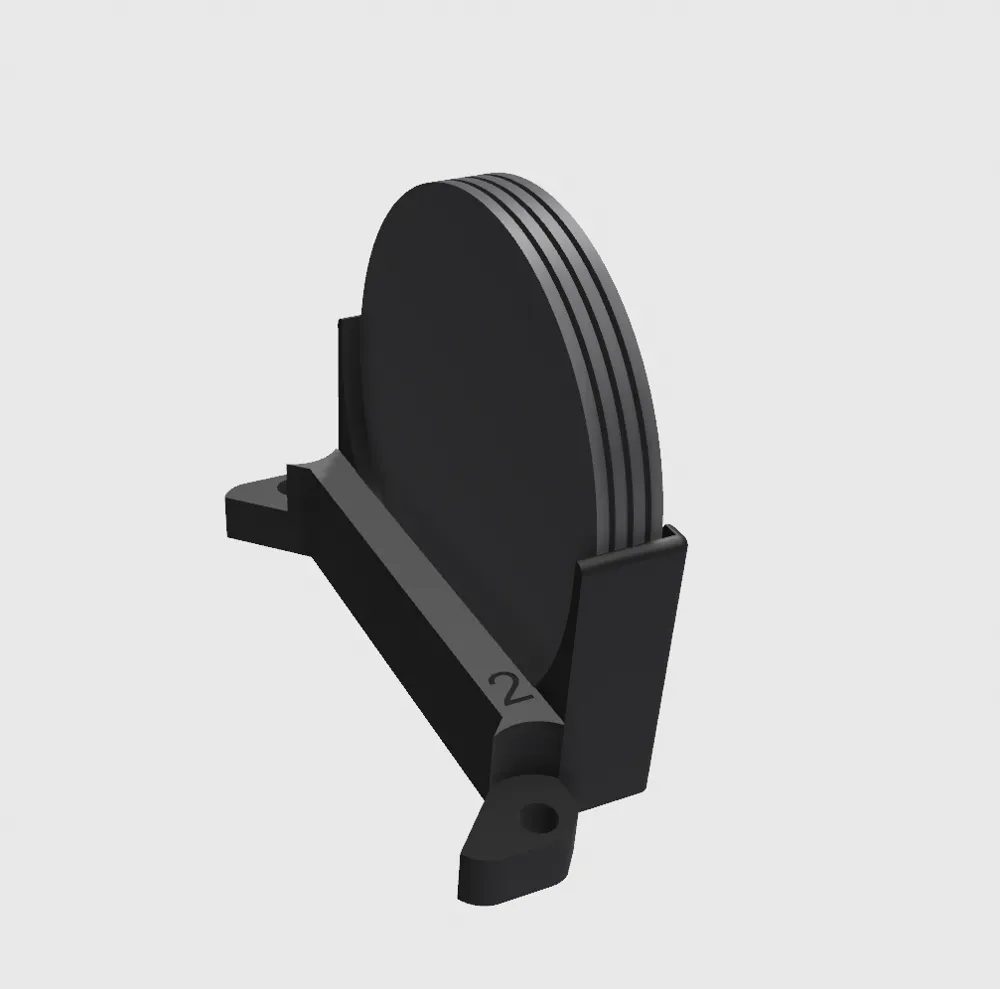
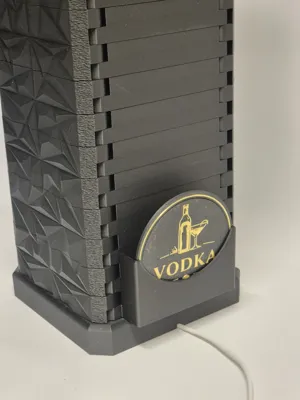
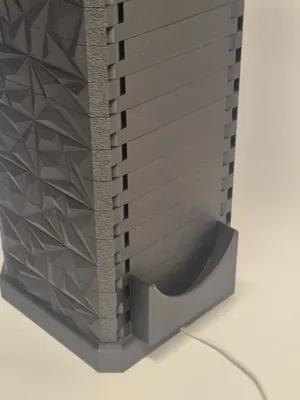
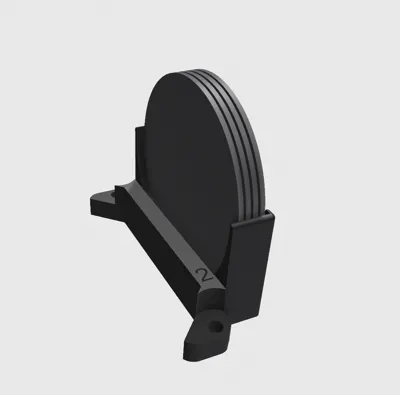
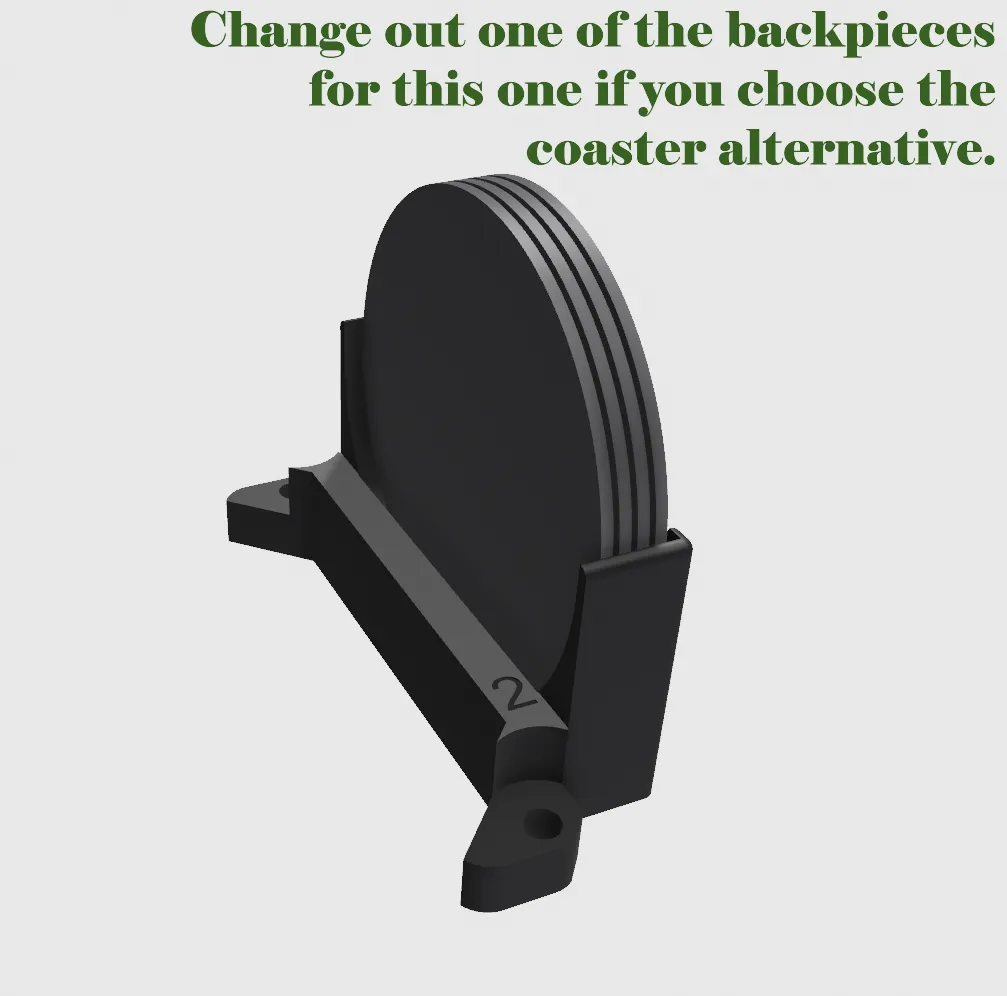
- Coaster holder : Alternative backpiece that fits 6 coasters.
- Custom : A blank box were you can add your own design.
- Assembly guide : Follow the detailed assembly guide below.
- Internal dimensions: 100x100x300mm / 3,9x3,9x11,8 inch
Technical Specifications :
| Component | Quantity | Notes |
|---|---|---|
| Base | 1 | Standard or LED-compatible |
| Top | 1 | With cutout for LED |
| Knobs | 2 | |
| Pins | 2 | For parts 31 and 32 |
| Back Parts | 15 | |
| Door Parts | 30 |
Hardware Required
- Steel Rods: 2 pcs (ø6mm x 350mm long)
- Magnets: 30 pcs Round 8x2mm (Required for door closure)
- Adhesive: CA Glue (Superglue) for magnets and final assembly.
- Lighting: Optional LED Lamp Kit 001 and/or Kc007 LED
- Filament : I used Bambu's filament for this project. All the colors can be found in BOM.
Want it to look exactly like the photos? Use these filaments :
- Bambu Lab PLA matte Charcoal or Basic black
Bambu Lab PLA silk + Gold
You can find them in BOM
Custom Box :
For the custom box (No logo) You can add your own SVG or text in the slicer, you could paint/draw on it or you can cut out vinyl stickers to apply. Show me in the comments how you did yours!
You can find the steel rods you need here → (affiliate link)
If Bambu i out of stock, buy LED here → (affiliate link)
If Bambu's 8x2mm magnets are out of stock! You can find some here → (affiliate link)
Assembly Tips
- Alignment: Ensure your steel rods are clean and straight for the smoothest door rotation.
- Supports : Make sure all the supports are removed before assembly.
- Magnets : Be sure to orient the polarity of the magnets under assembly.
- Rod length : Before gluing the top on, double check that the rods aren't to long.
- Tolerance : Printers and filaments can behave differently. In rare cases, the holes can be a bit to tight because of settings. If this happens, i recommend using a drill with a 6mm drill bit. Just run it through the hole a few times and you should be fine.
One's you have printed all the parts and acquired the accessories you need, just follow the assembly guide down below.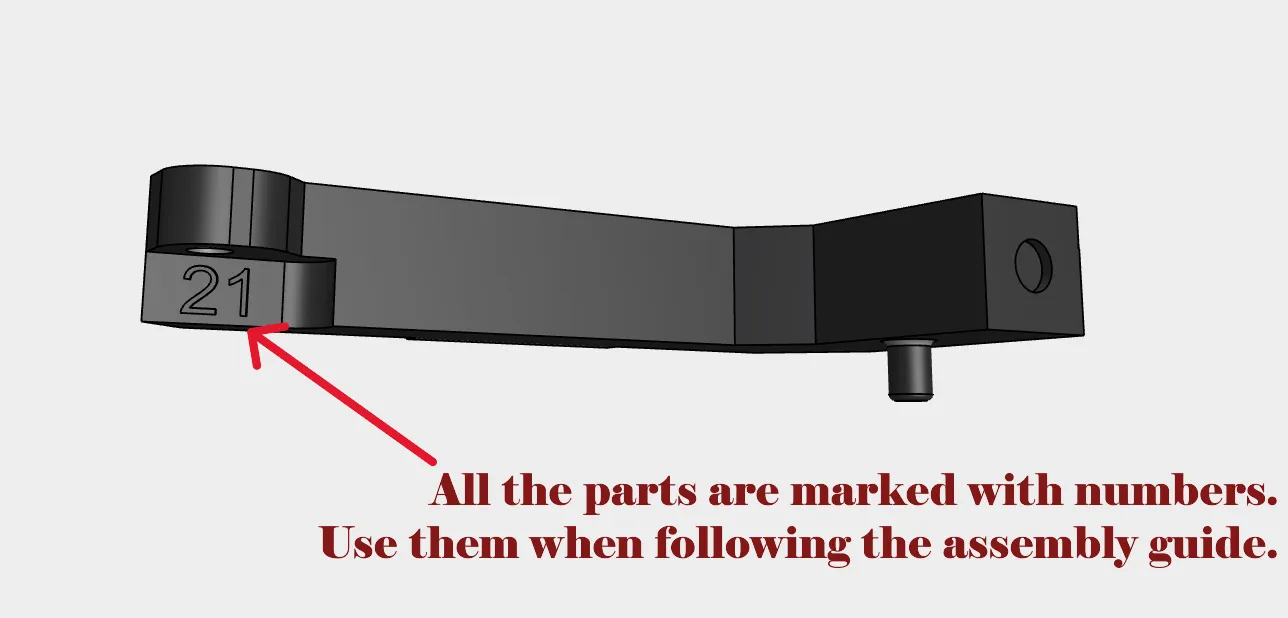
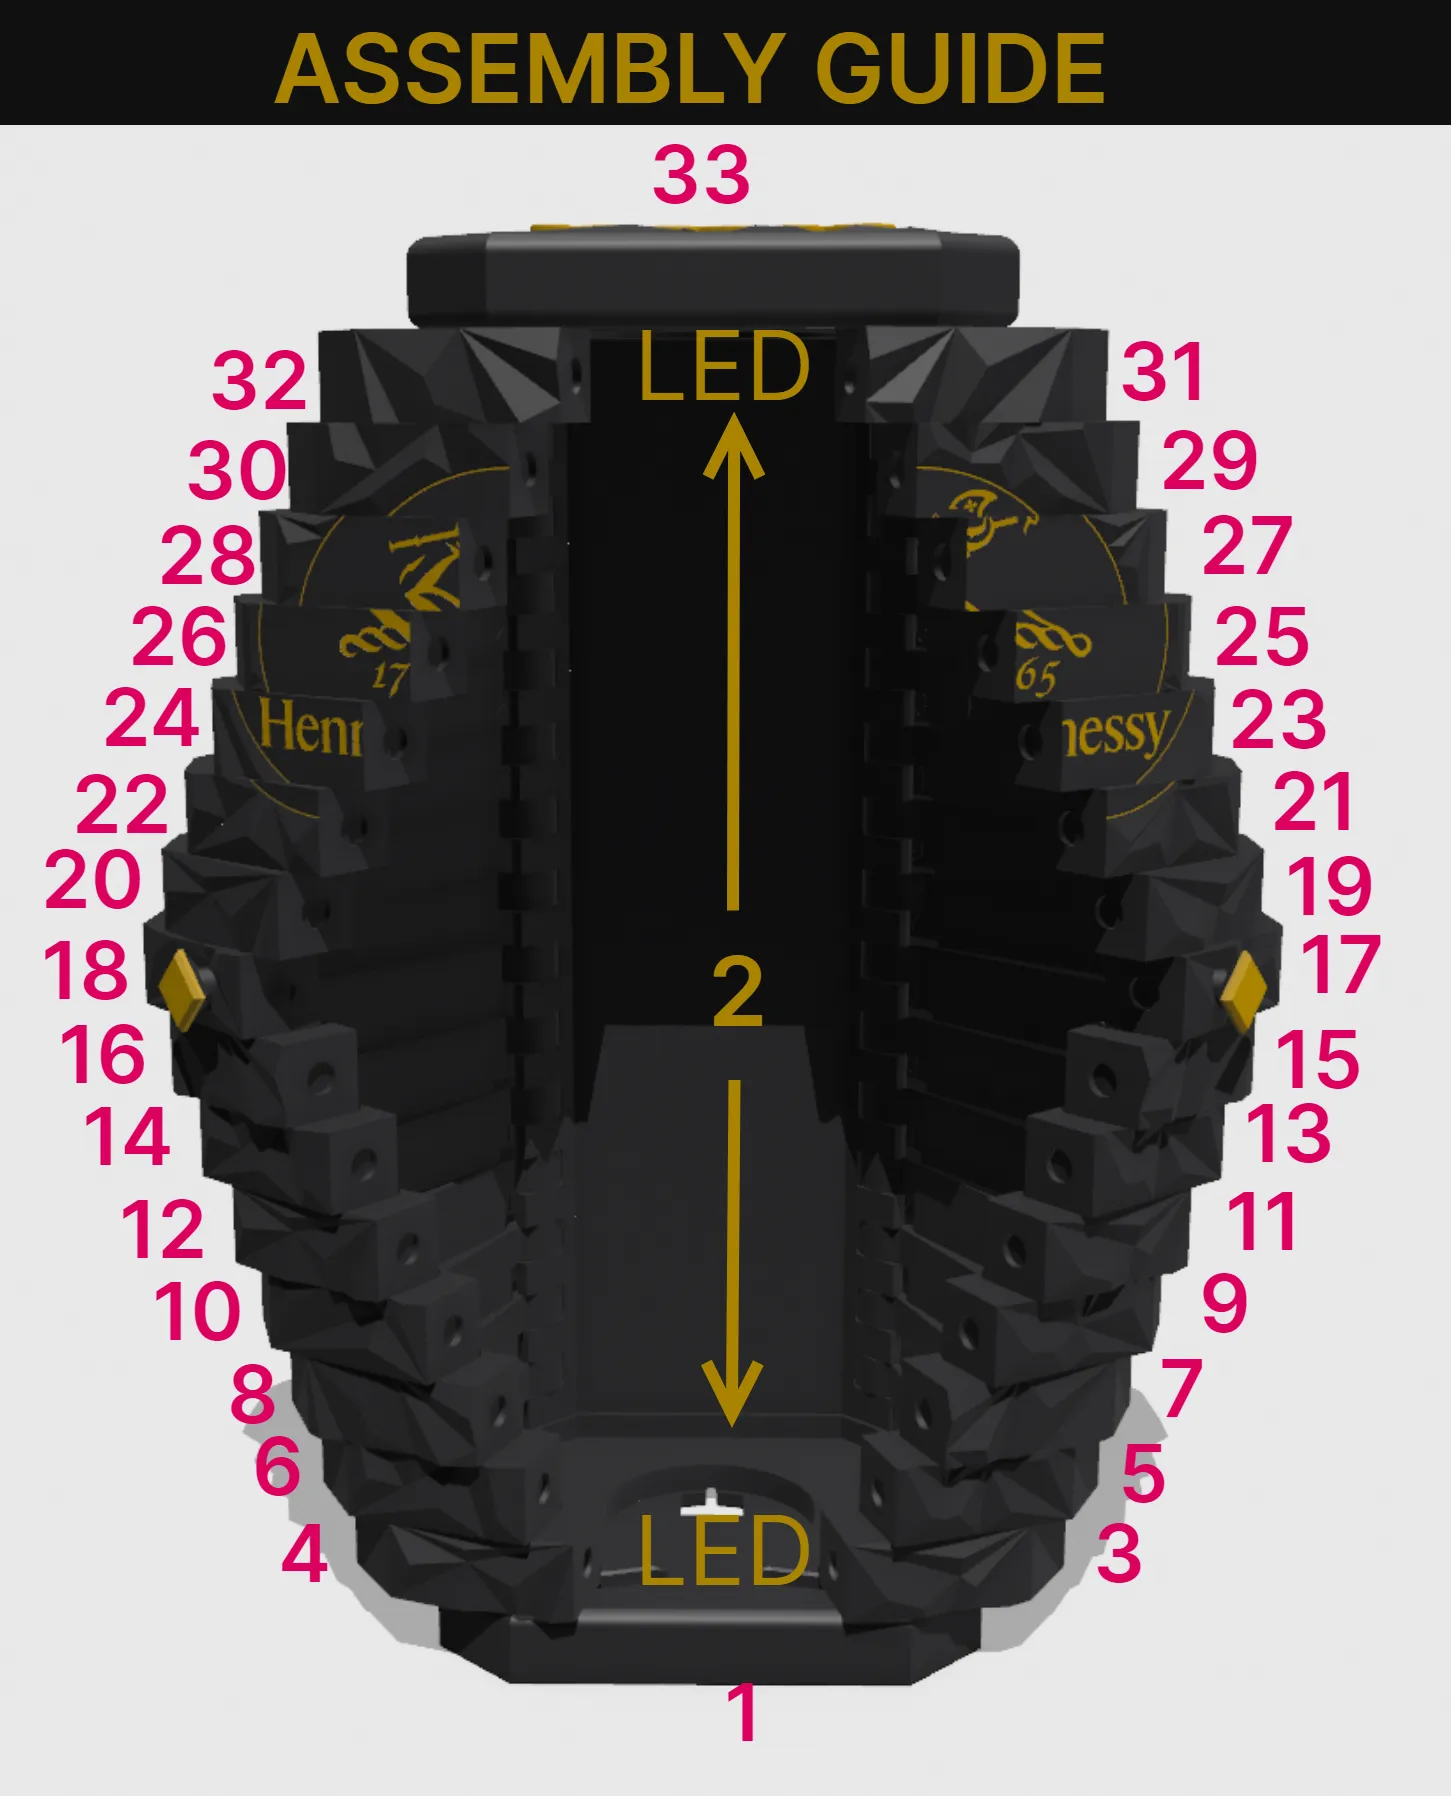
Start :
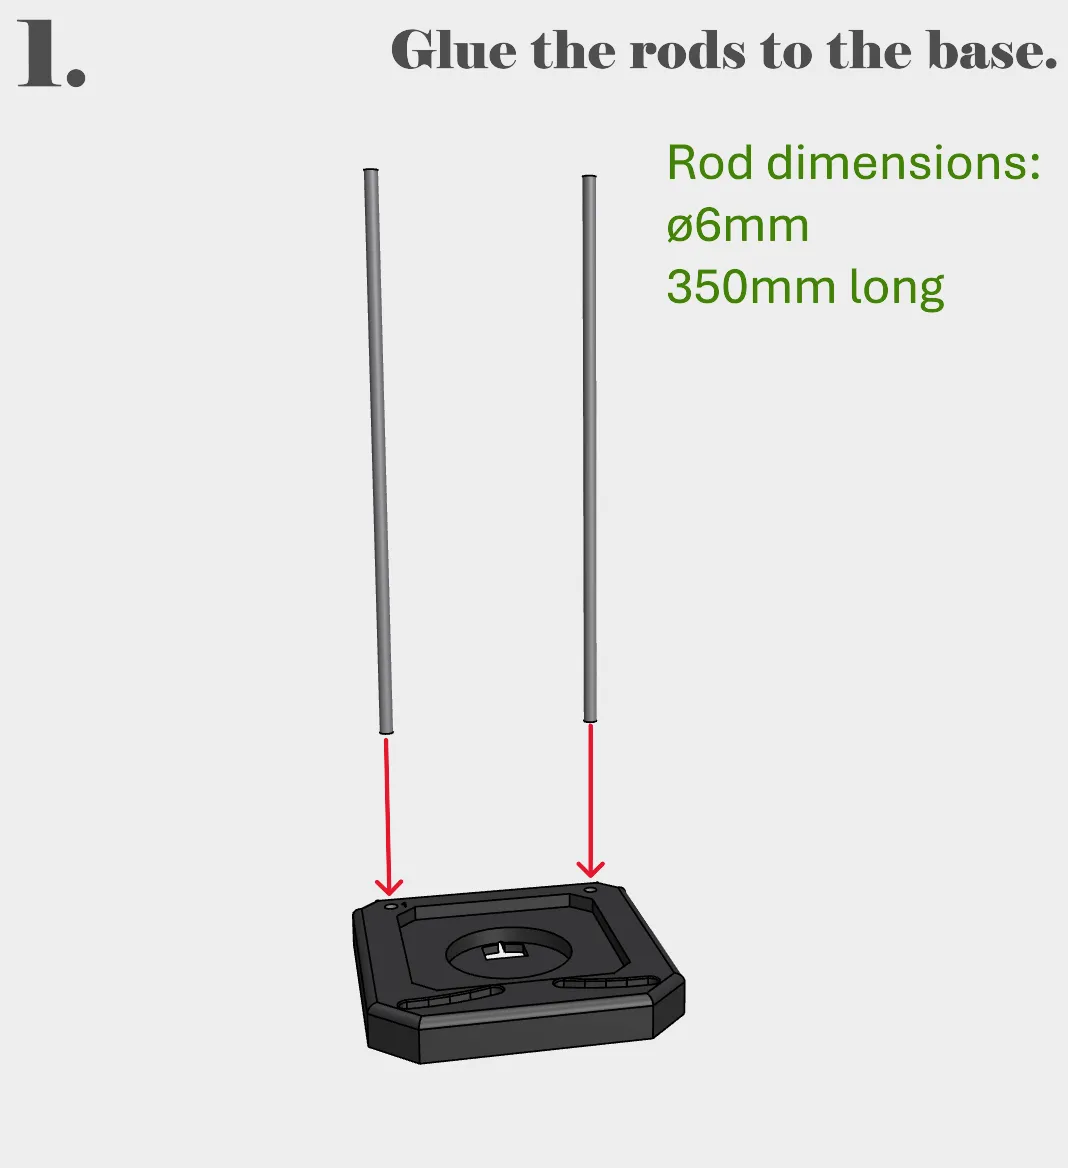
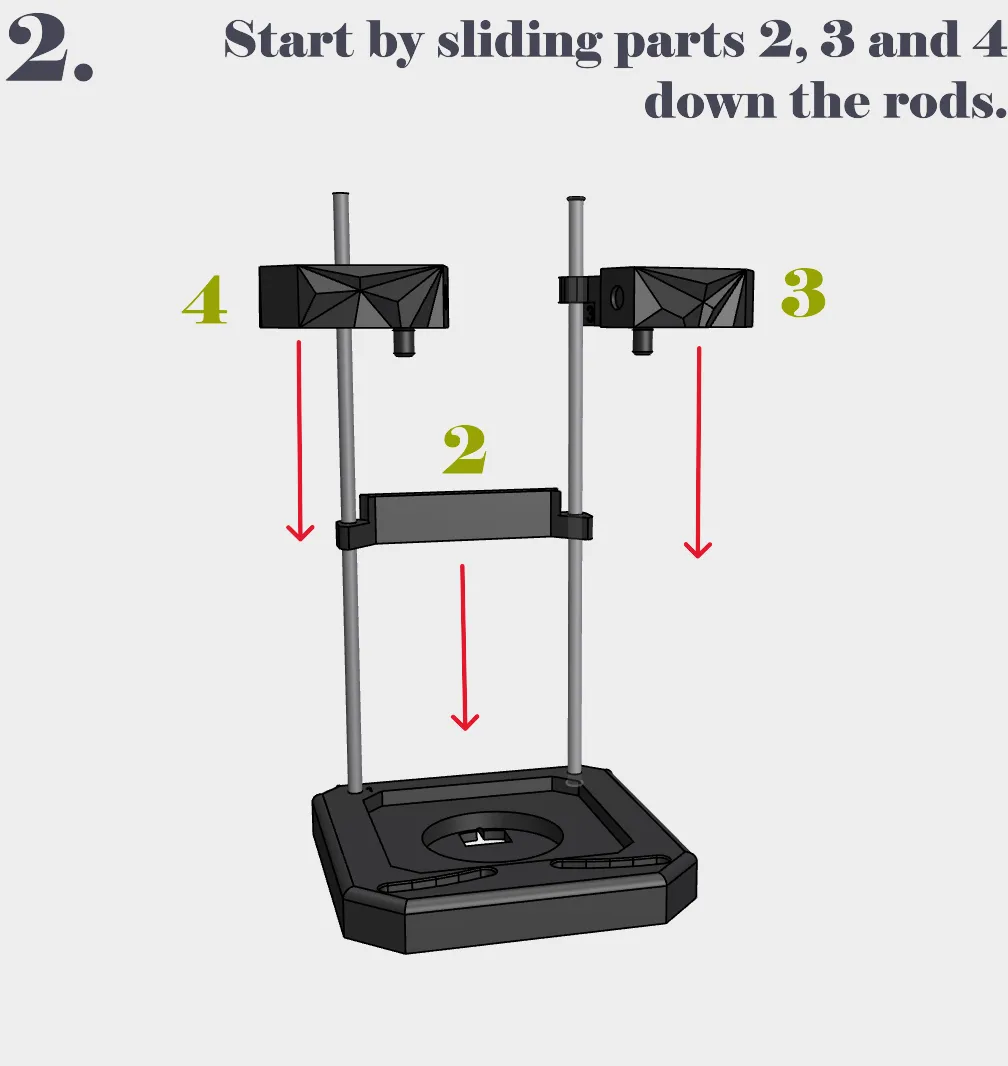
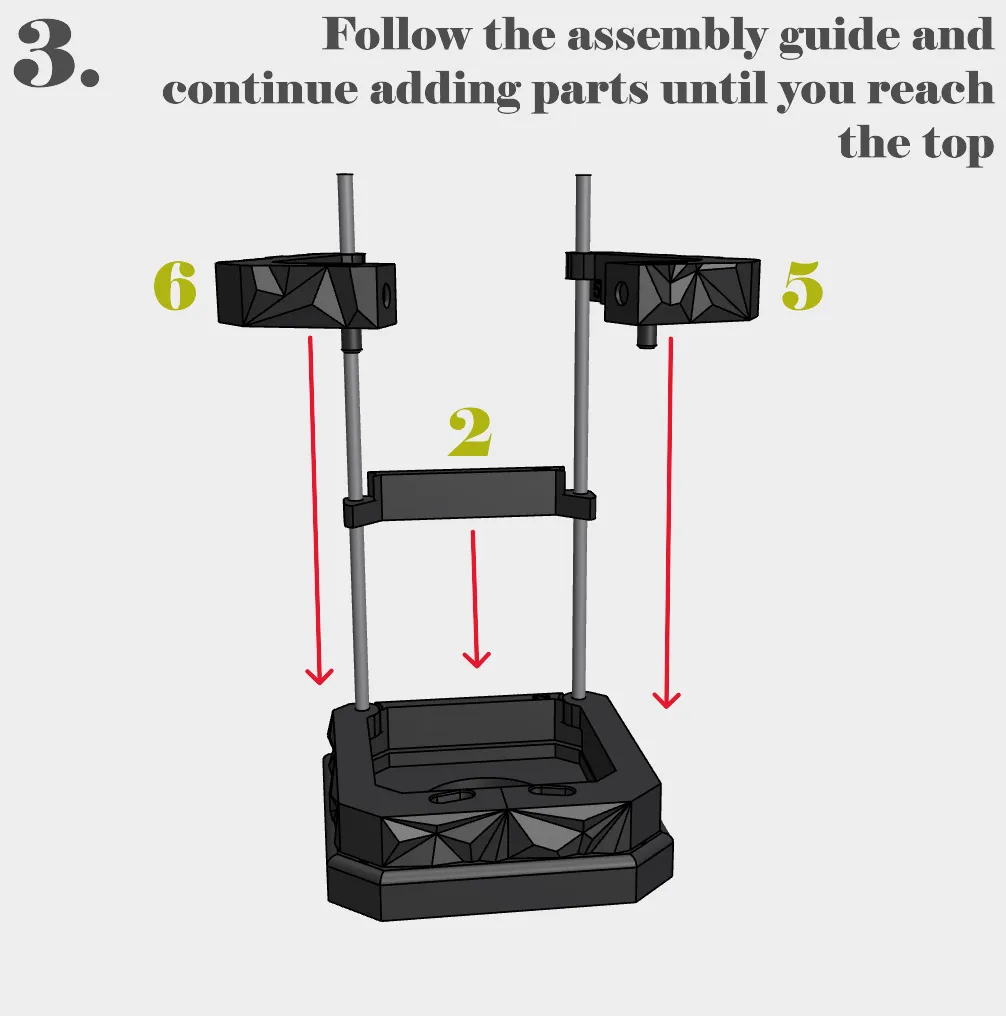
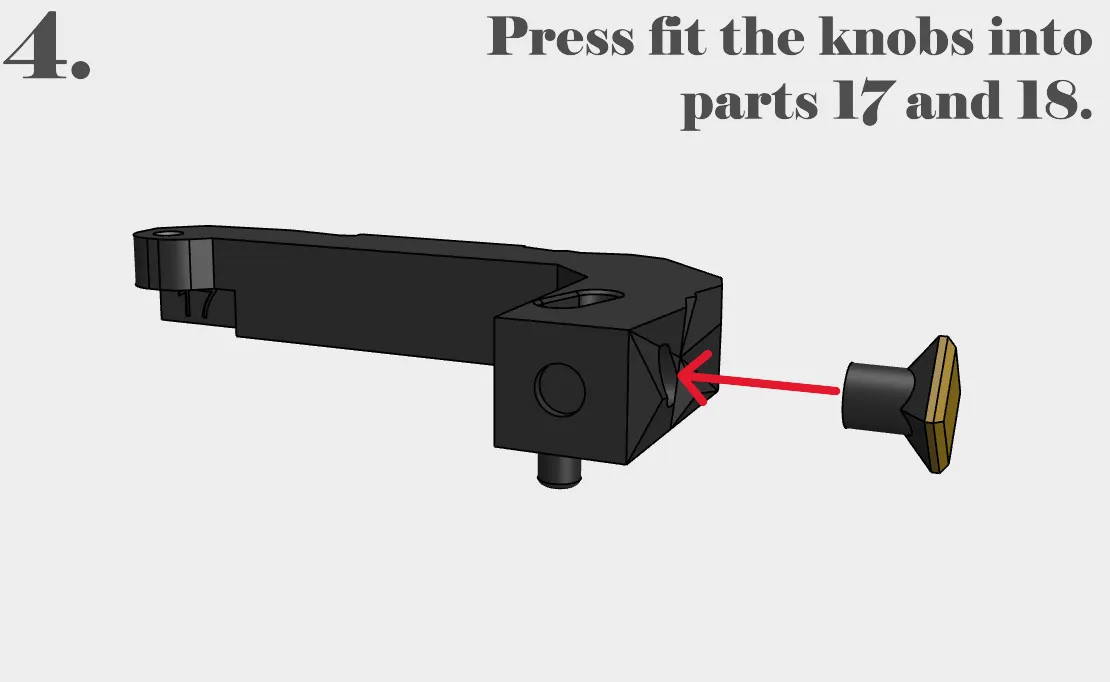
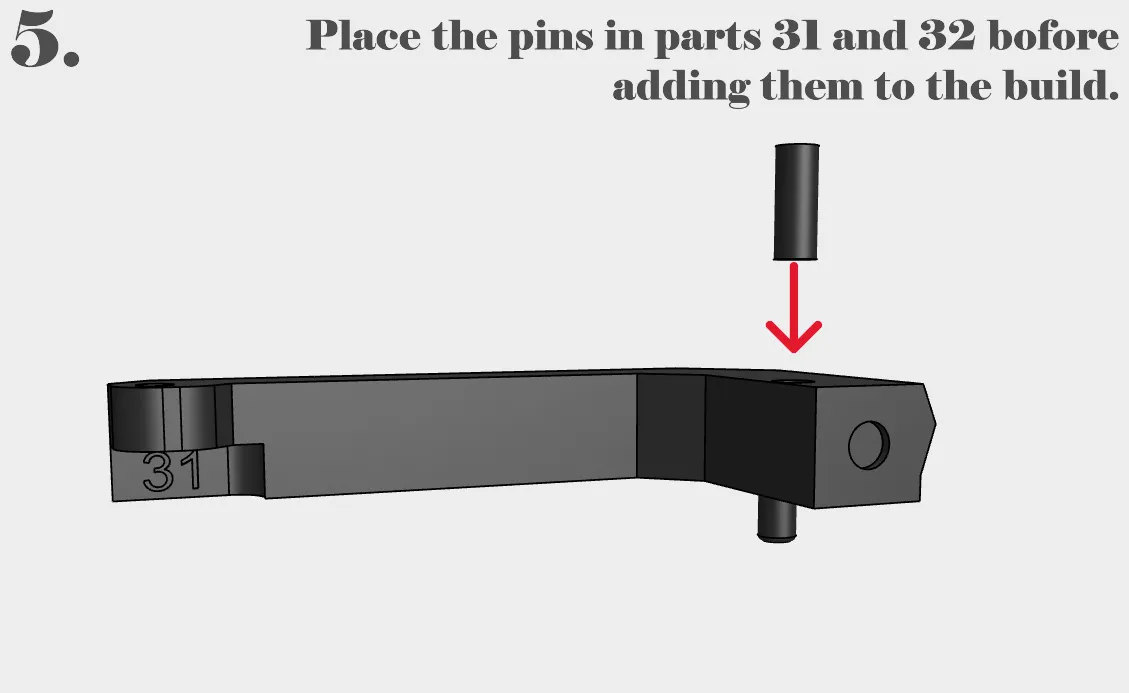
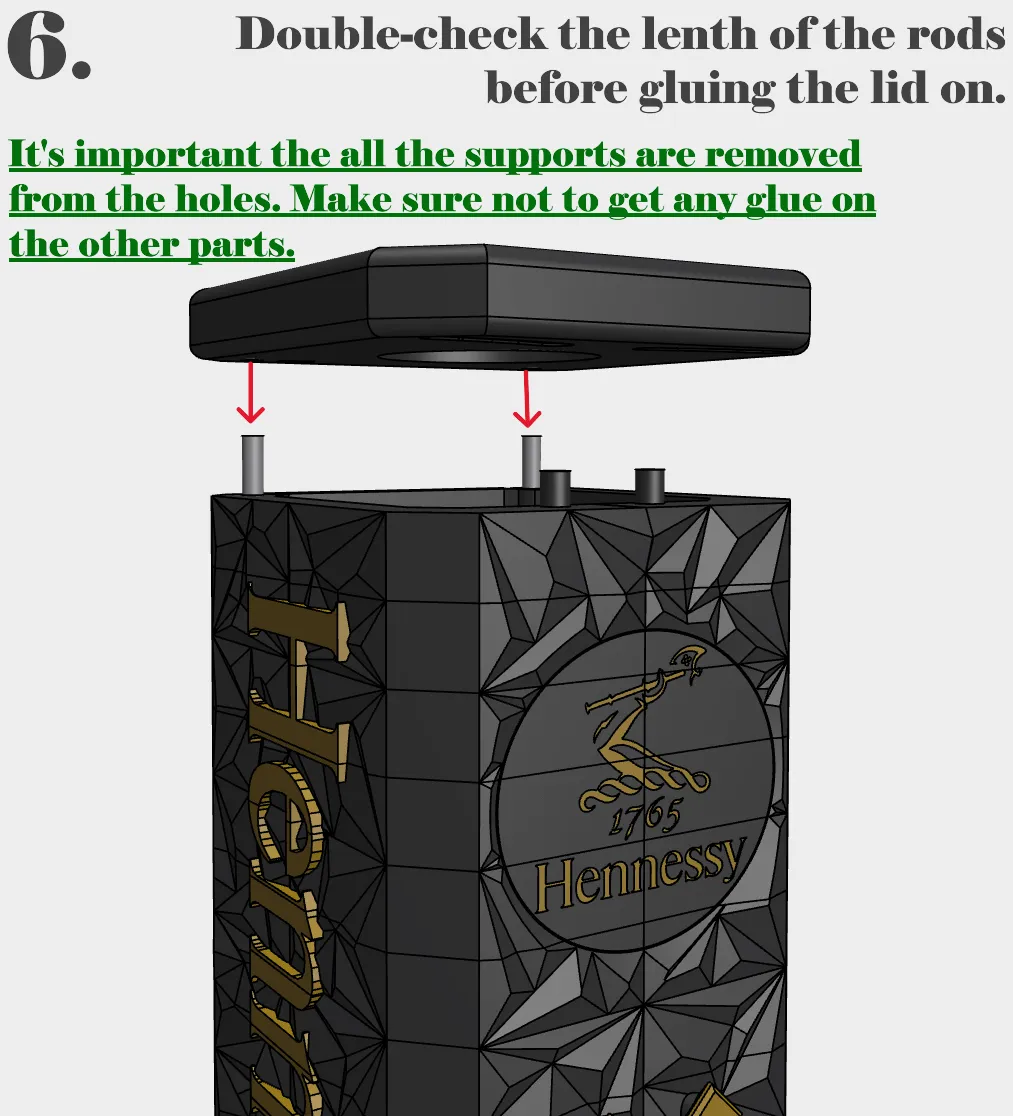
When you're done, it should look something like this.
Follow me if you want to see more of my designs in the future!
License

You shall not share, sub-license, sell, rent, host, transfer, or distribute in any way the digital or 3D printed versions of this object, nor any other derivative work of this object in its digital or physical format (including - but not limited to - remixes of this object, and hosting on other digital platforms). The objects may not be used without permission in any way whatsoever in which you charge money, or collect fees.


Comment & Rating (162)