
Dock SUNLU Filament Welder Connector V2 skadis
Print Profile(1)
Description


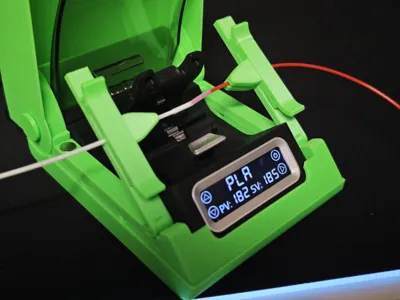
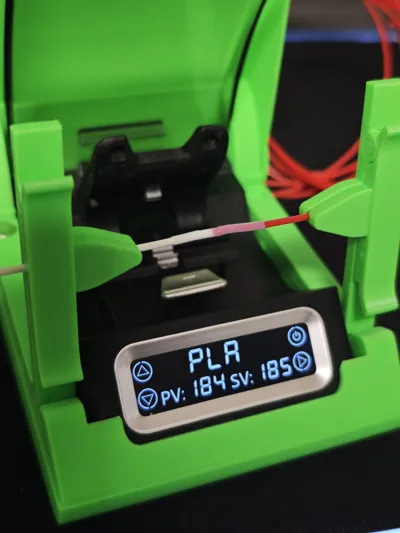
This is Version 2 of the dedicated 3D printed box for the SUNLU filament welder, designed to make filament splicing cleaner, more repeatable, and significantly easier to manage, especially during multi-color or multi-material jobs.
The V2 focuses on better accessibility, improved filament control, and higher splice quality, while keeping the same compact and modular philosophy of the original design.
The station can be used as a stand-alone desktop unit or clipped directly onto an IKEA SKÅDIS pegboard, allowing you to keep the welder exactly where you need it and free up valuable workspace.
Function and main features
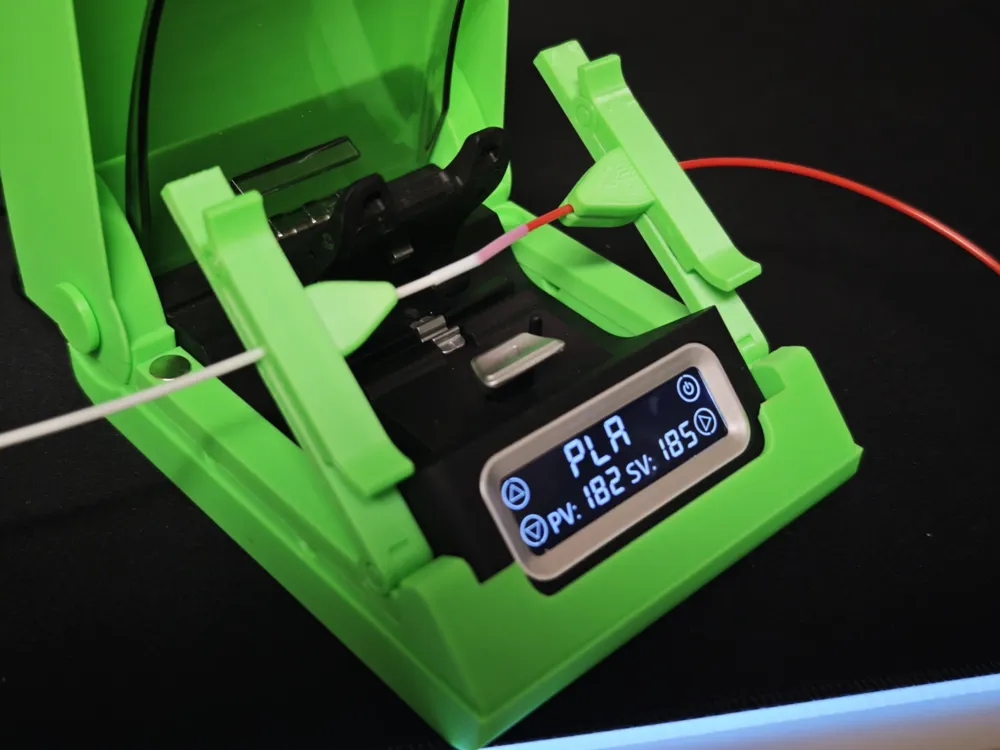
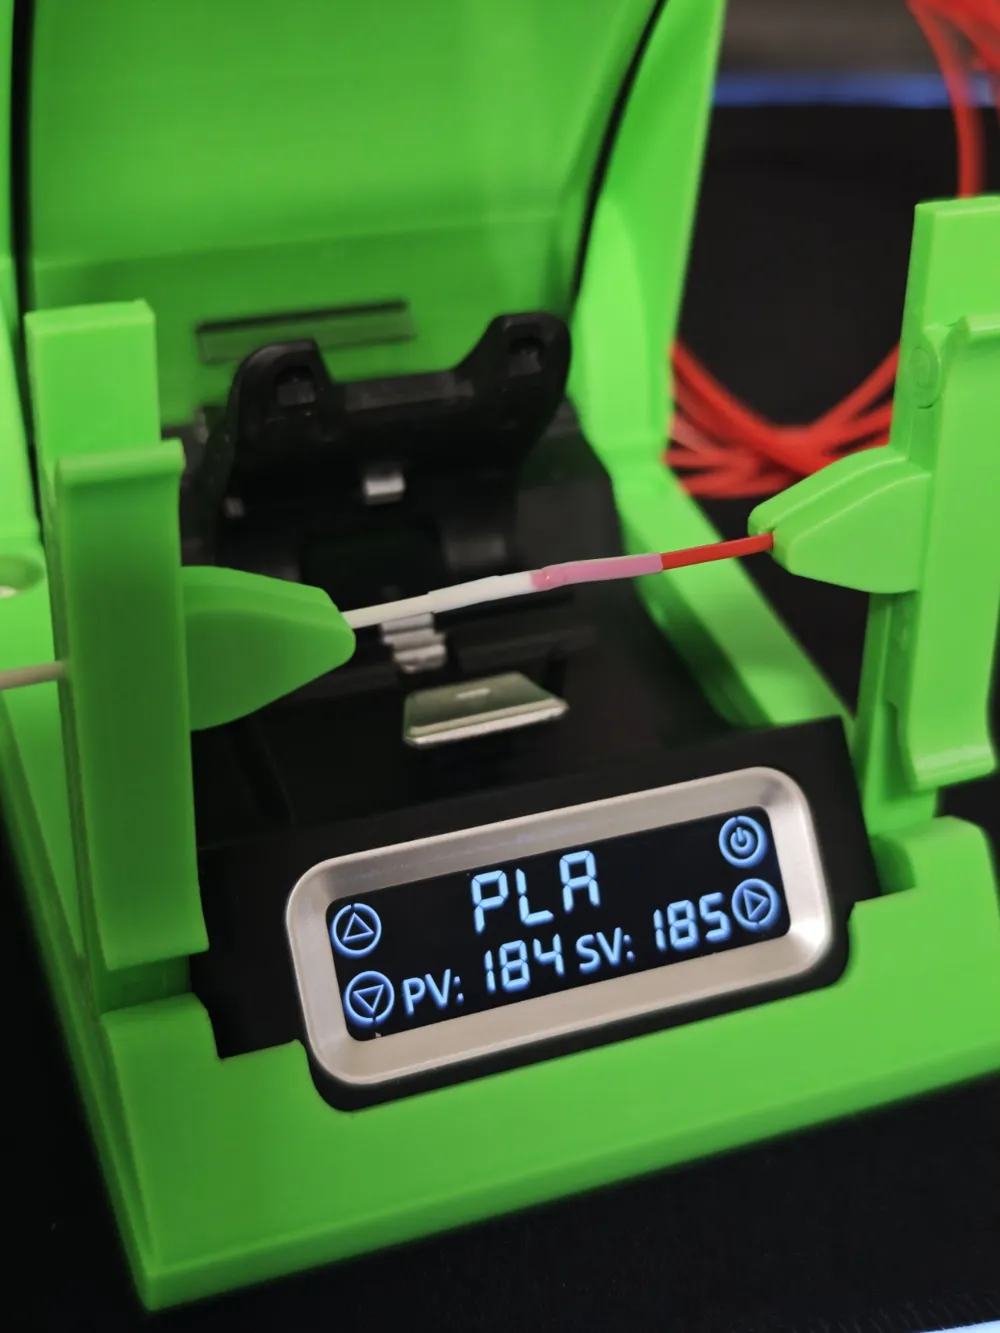
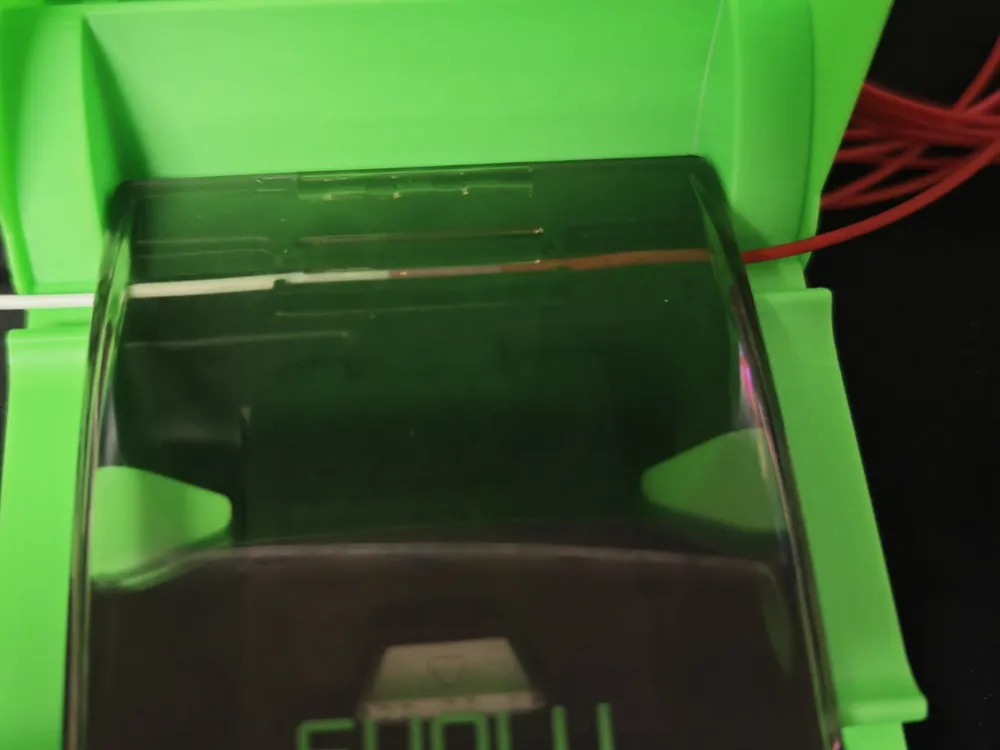
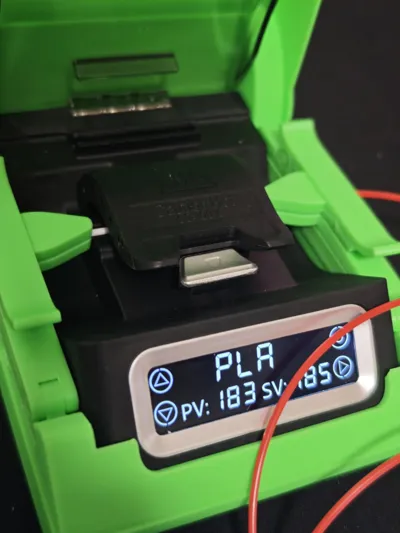
The box securely holds the SUNLU welder body and adds two side magnetic crocodile clamps that keep both filament ends perfectly aligned and tensioned during welding, dramatically reducing failed splices and misaligned joints.
Dual-action crocodile clamps (V2 upgrade)
The crocodile clamps now support two distinct working positions:
- Welding position
Holds the filament firmly in place during welding, preventing any movement while heat is applied. - Cooling position
After welding, the clamps can be lifted while still holding the filament aligned, allowing the joint to cool naturally without deformation.
This is a major improvement compared to V1:
- Cleaner and more consistent welds
- Reduced risk of weak joints
- Helps prevent hotend jams and clogs caused by poorly aligned splices
Improved lid opening (V2 upgrade)
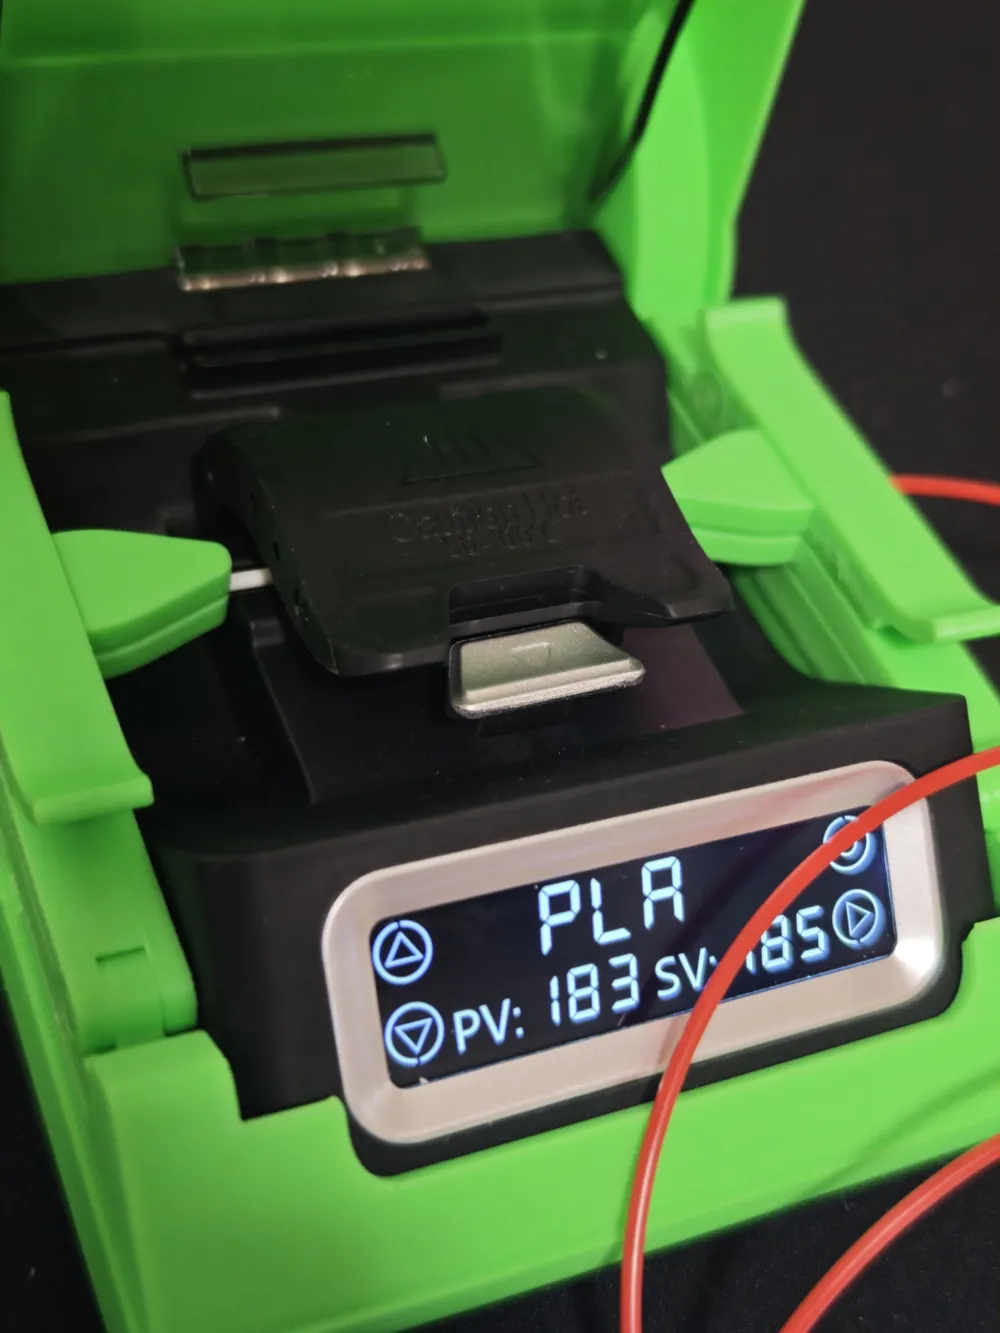
The lid opening has been redesigned to provide full and unobstructed access to the cutter after welding.
This makes trimming the filament faster, easier, and safer, without awkward angles or limited working space.
The top cover remains optional:
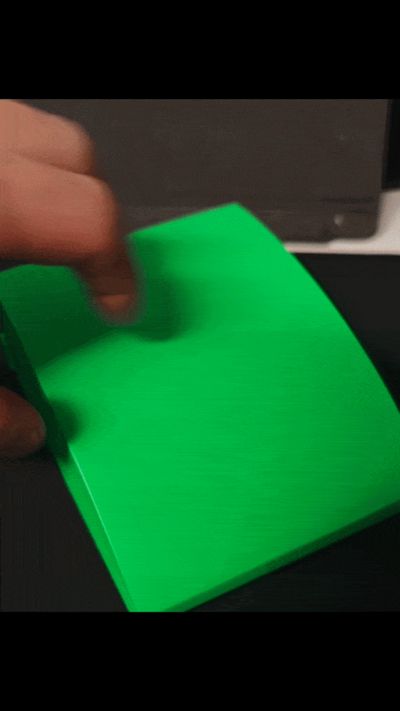
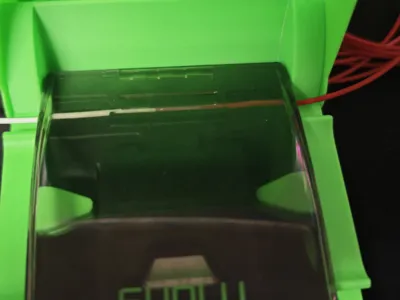
- Print it for a clean, dust-protected look
- Or leave the station open for quicker access during frequent splicing sessions
Accessories and modularity
An additional SKÅDIS-mount container is included in the print files to store:
- welding connectors
- the power cable
This keeps all accessories organized and always together with the tool.
The design is available in:
- SKÅDIS version
- Desk version
Assembly and magnets
- No glue is required for the main assembly
- It is strongly recommended NOT to glue the side crocodile clamps to the base
They must remain removable to allow the SUNLU welder to slide in and out of the box
Under each magnetic clamp there are dedicated access holes that allow you to lever the clamps out easily for removal or maintenance.
The magnet seats are designed for standard 8 × 3 mm round magnets
(actual size used is approximately 8 × 2.7 mm).
Glue is not required, but can be used if you prefer extra retention.
👉 Compared to V1, Version 2 uses two additional magnets, providing:
- improved stability
- stronger holding force during operation
Clamp fit adjustment (important note)
Due to printer tolerances and material differences, clamp fit may vary slightly.
- If the crocodile clamps feel too loose, apply a very small amount of glue to the base pins where the clamps snap in
- Let the glue dry completely
- ⚠️ DO NOT glue the clamps in place
The glue is only used to slightly increase friction
If the fit becomes too tight after this adjustment:
- Lightly sand or file the pins until smooth and controlled movement is restored
This allows fine tuning based on your printer and filament.
Printing guidelines
The included print profile is fully tuned for correct clearances and reliable operation.
⚠️ Do not modify the profile, or parts may not fit or move as intended.
Recommended materials:
- PLA
- PETG
The crocodile clamps are the most delicate parts of the print:
- They must be printed exactly in the provided orientation
- Use well-calibrated filament
- After printing, let them cool completely
(placing them in the freezer for about 5 minutes can help) - Carefully free the movable jaw using gentle up-and-down movements
- Do not flex or force the parts while still warm
Use controlled, alternating movements instead of brute force
With this accessory, your SUNLU filament welder becomes a compact, tidy, and far more ergonomic splicing station.
Filament stays aligned and tensioned, welds are cleaner and more consistent, and the entire setup fits neatly on your pegboard or workbench—ready for your next color or material change.
License

You shall not share, sub-license, sell, rent, host, transfer, or distribute in any way the digital or 3D printed versions of this object, nor any other derivative work of this object in its digital or physical format (including - but not limited to - remixes of this object, and hosting on other digital platforms). The objects may not be used without permission in any way whatsoever in which you charge money, or collect fees.


Comment & Rating (52)