
Print Profile(1)
Description
ATTENTION BEFORE ANY USE
If you are not sure what you are doing, be accompanied by an adult or someone who is proficient in the subject.
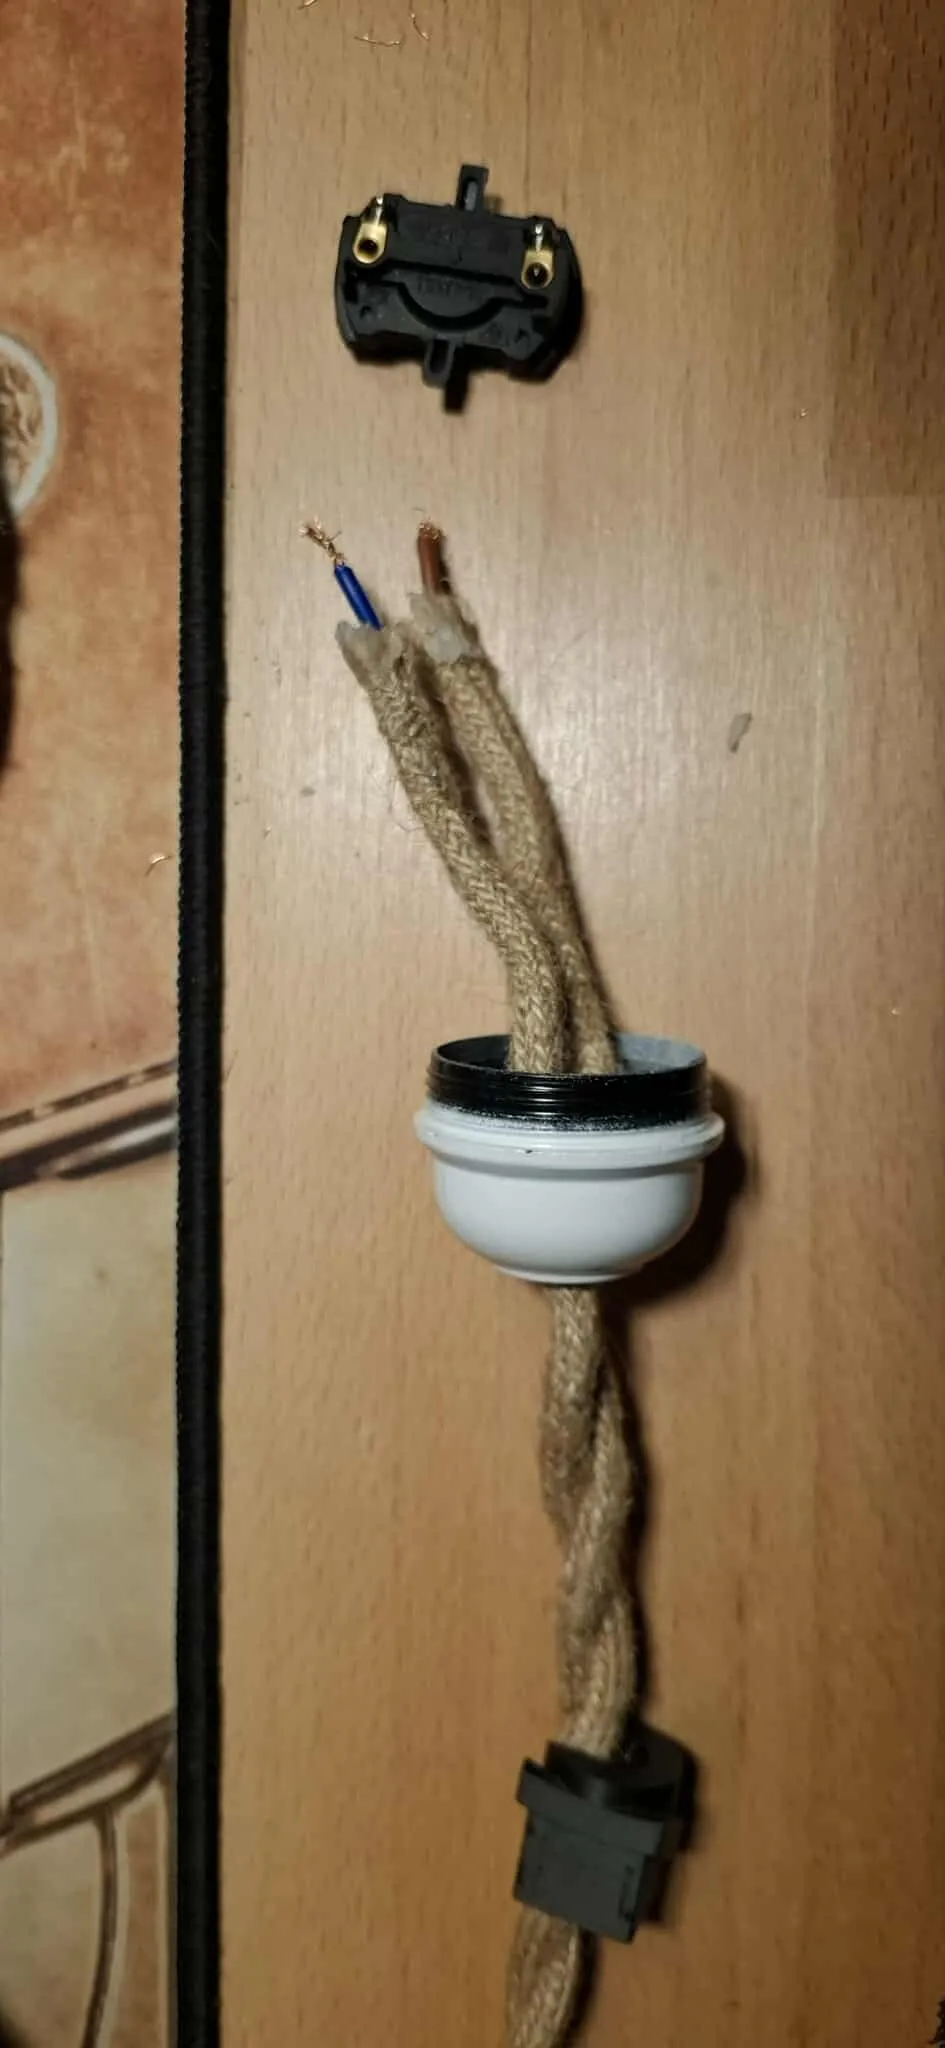
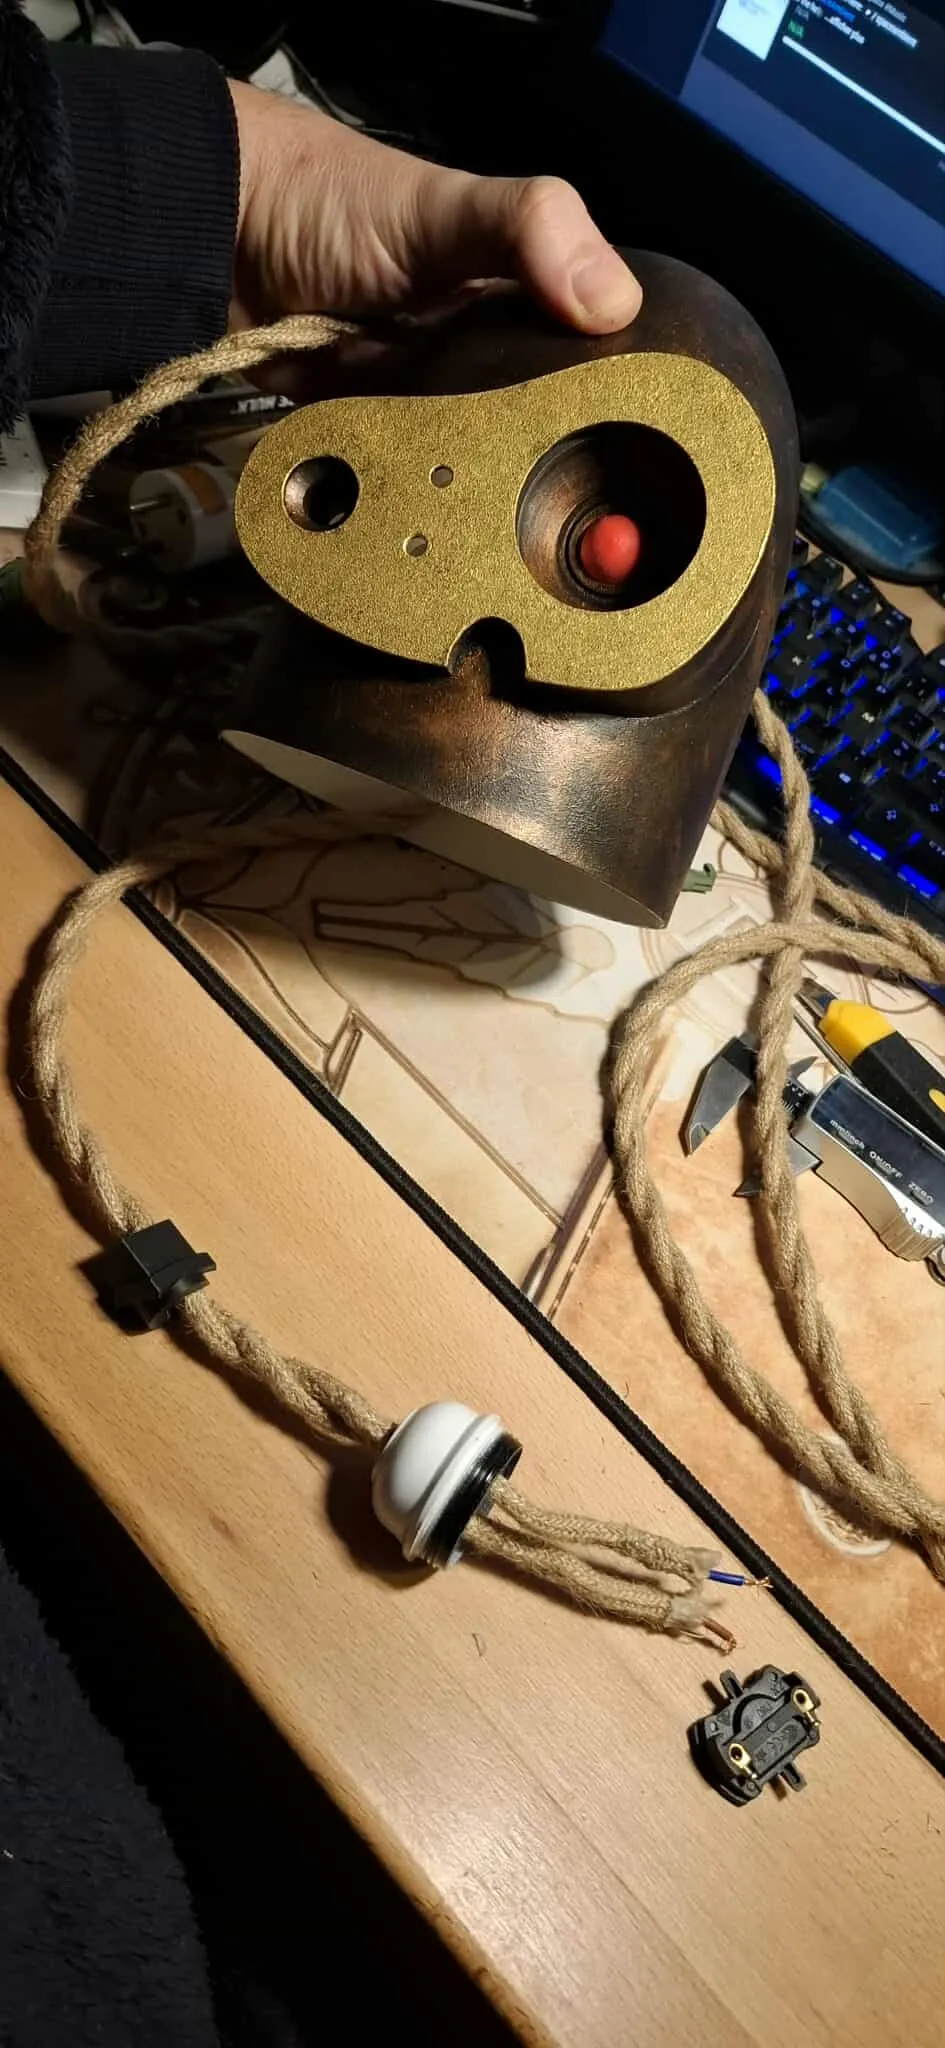
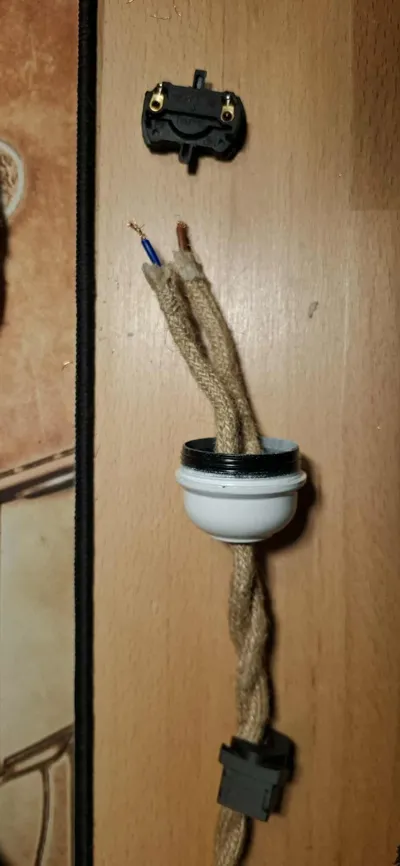
Please do the electrical assembly without connecting to the mains first.
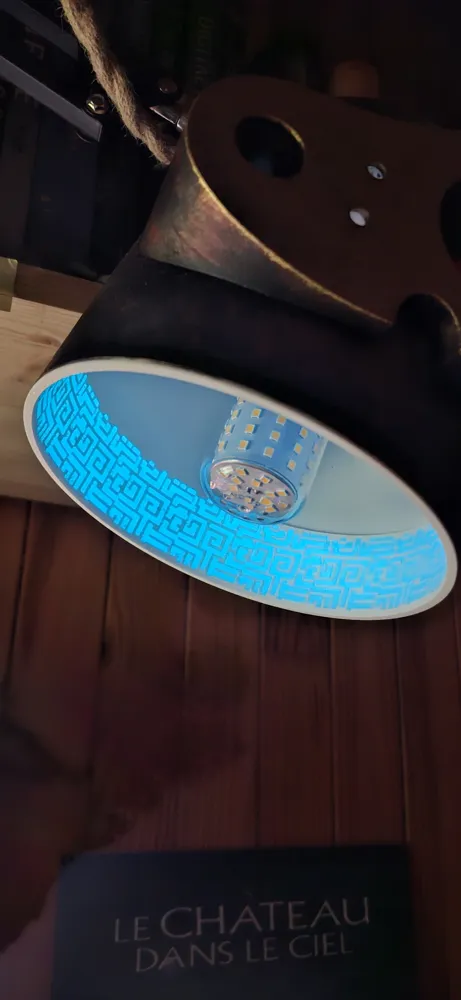
Use an L.E.D. bulb to avoid heating the 3D print during use. (PLA does not like temperatures above 50°C, it softens)
In France, it's Brown and Blue for wiring; in other countries, I don't know. RTFM.
I cannot be held responsible for damages.
Hello :)
Sorry for the welcome with bold & red text, but it's important (there are children and it's dangerous).
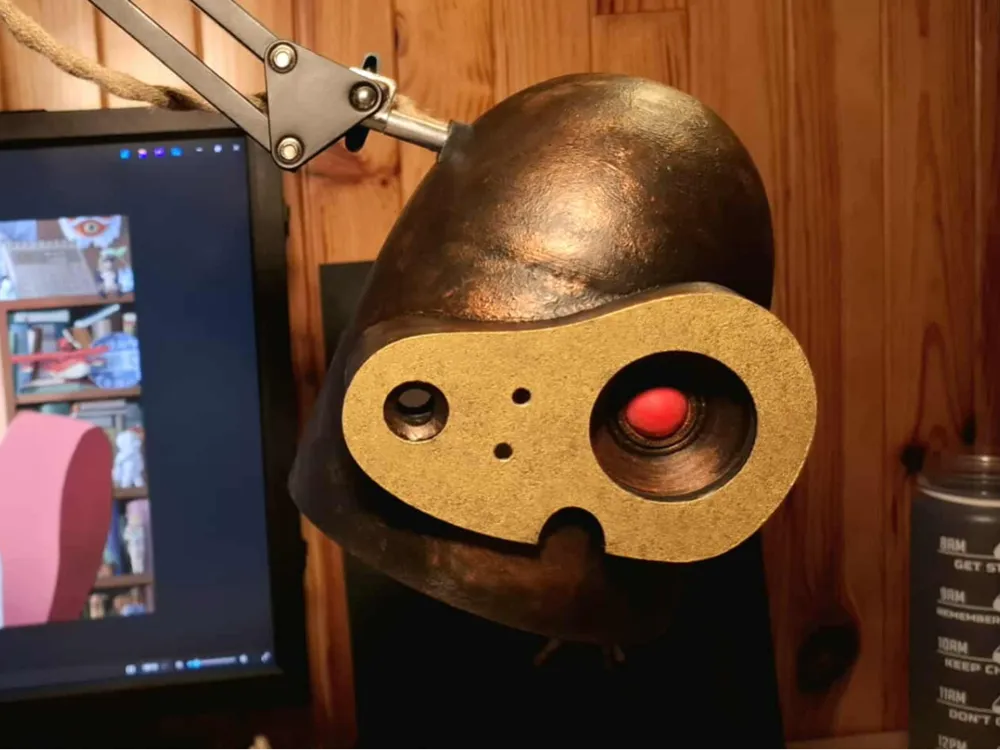
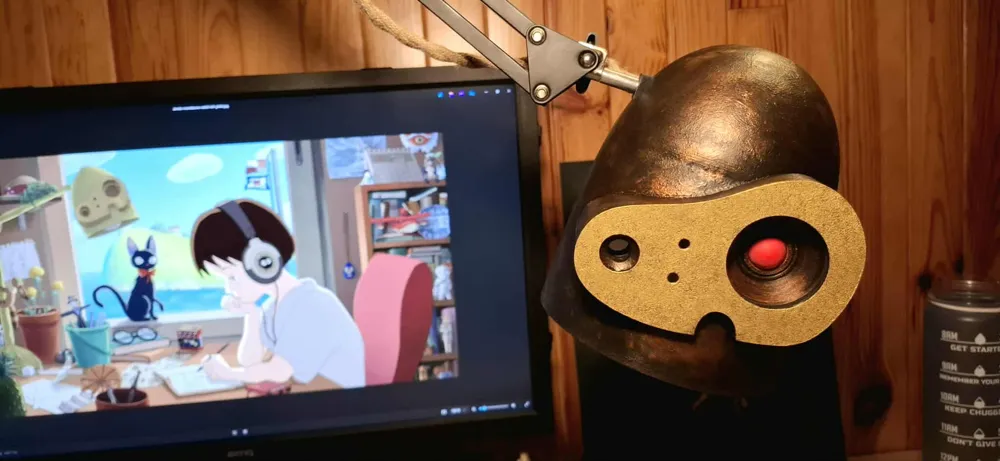
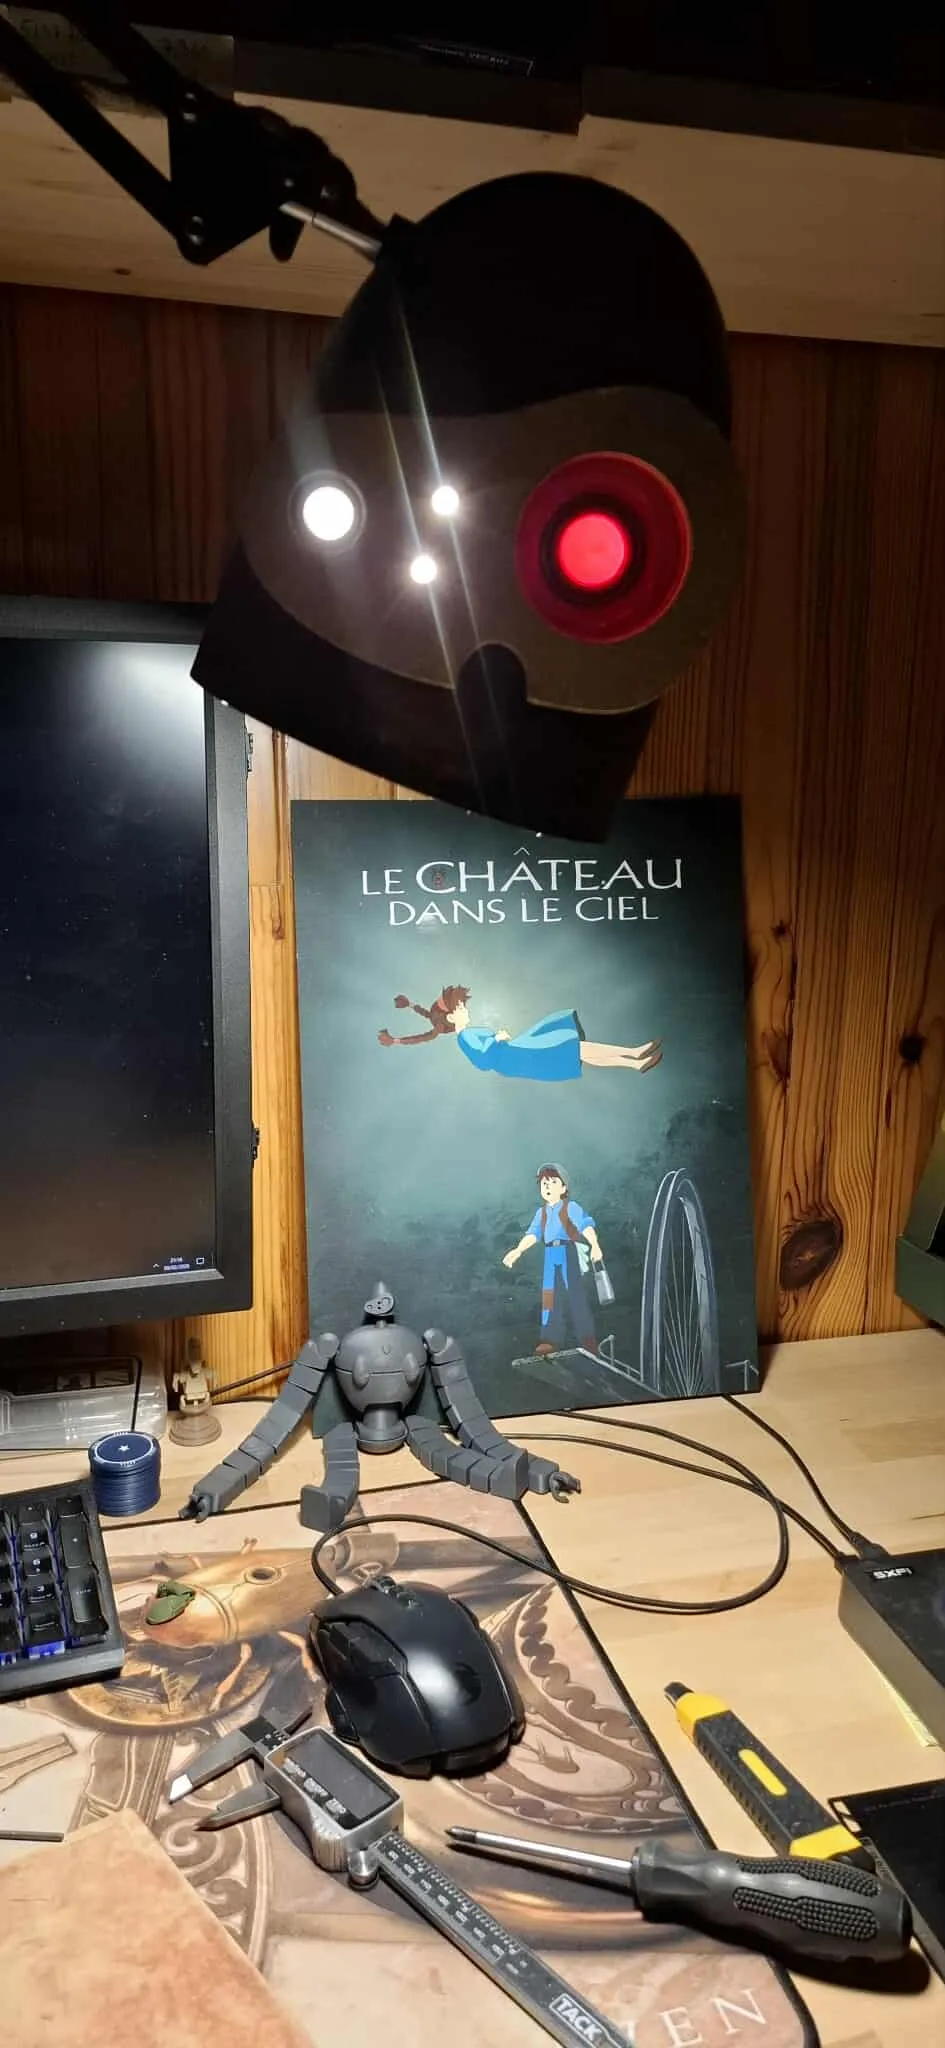
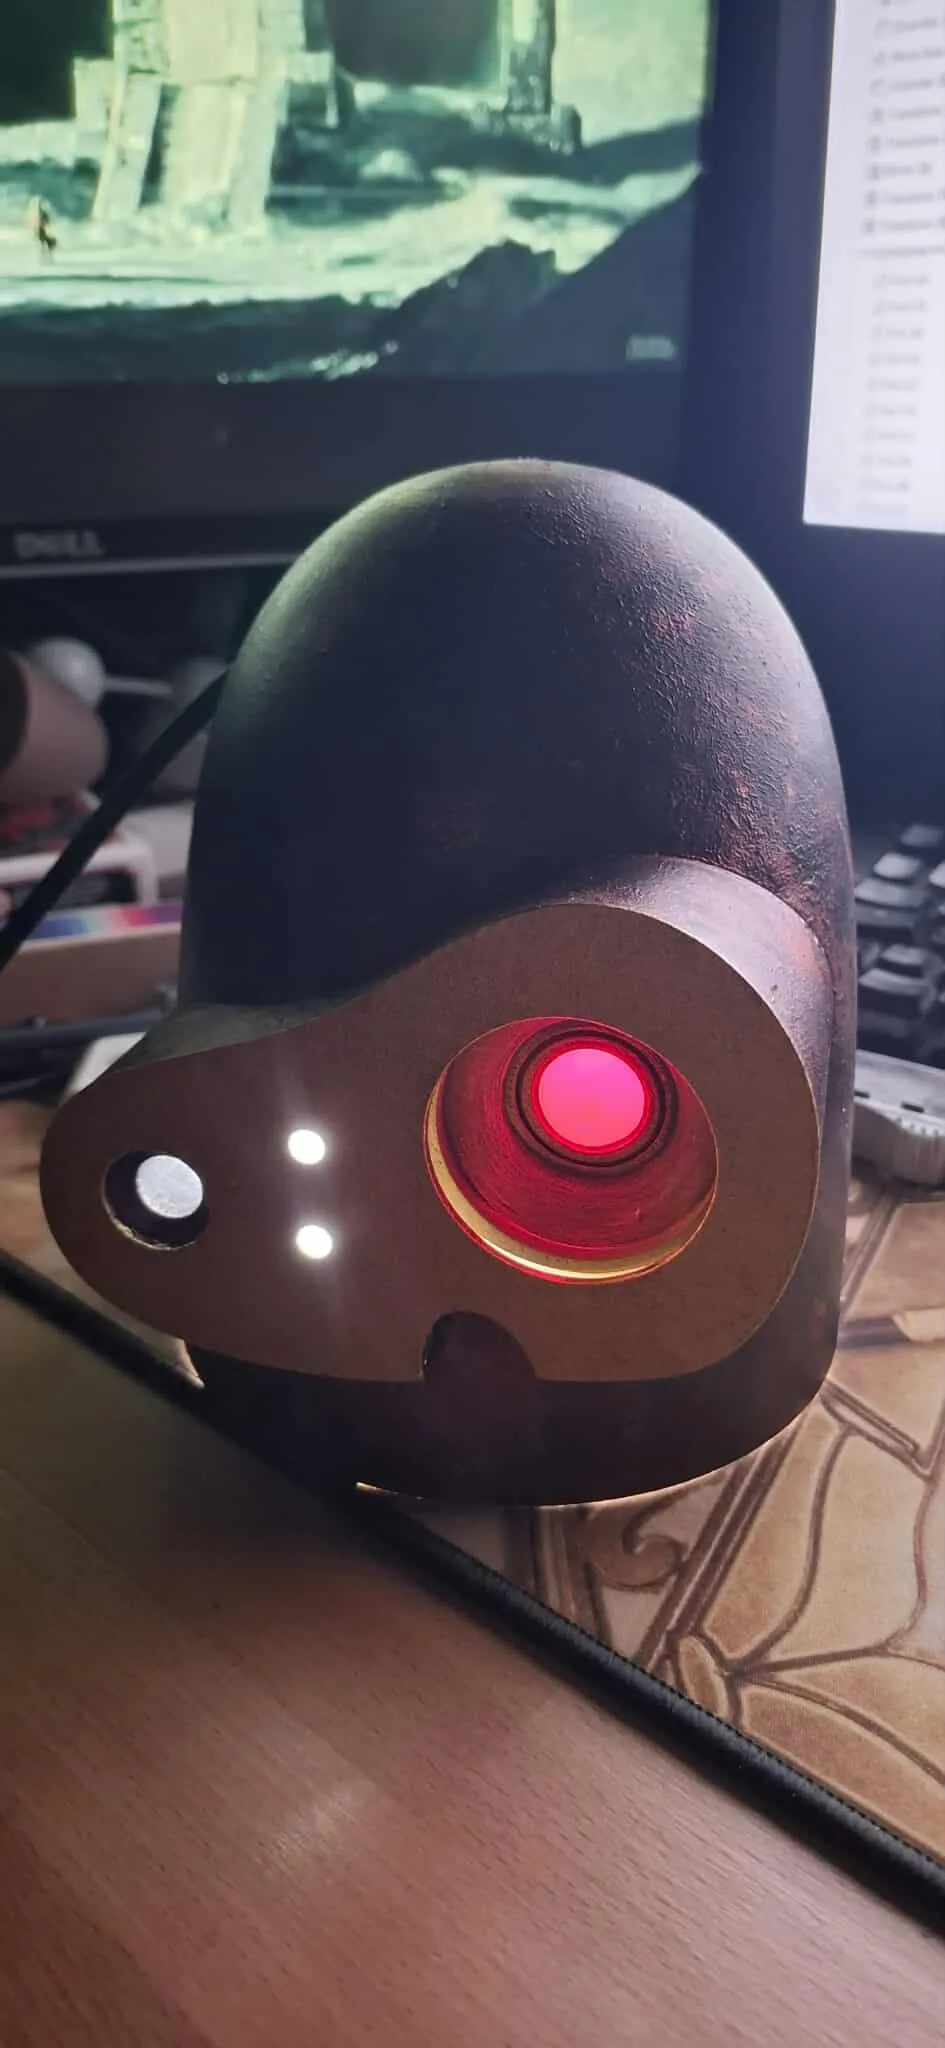
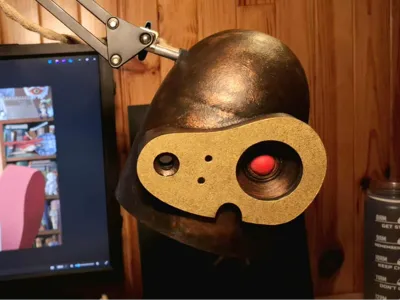
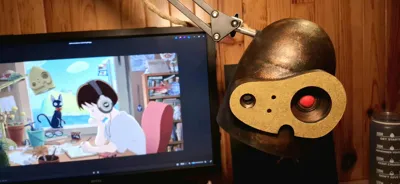
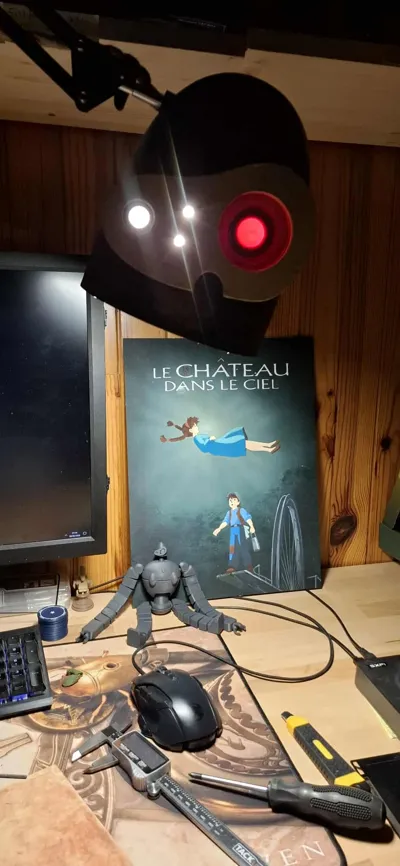
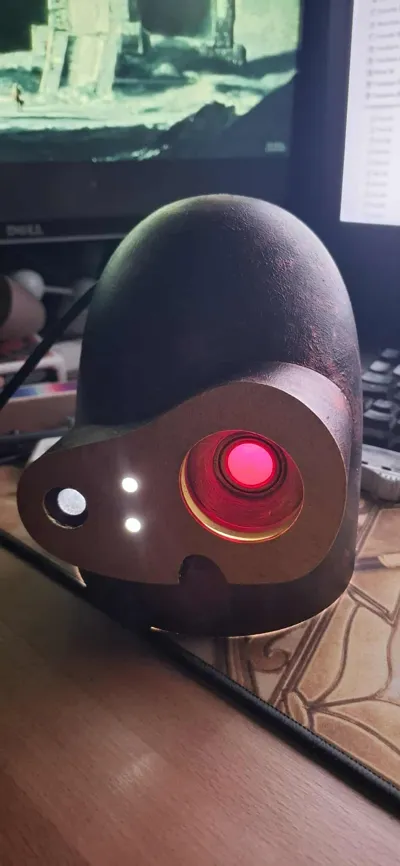
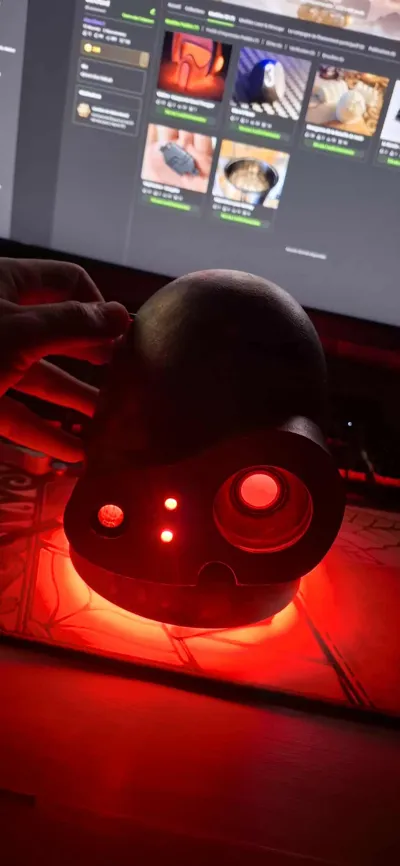
I've wanted this lamp to light up my desk for a while, ever since I saw it in a nice drawing.
So, without further ado, I'm modeling it :)
I have deliberately left several options to make it accessible to as many people as possible.
There is a support piece for the LED Lamp Kit Collection lamp model. But it doesn't illuminate much, it's up to you.
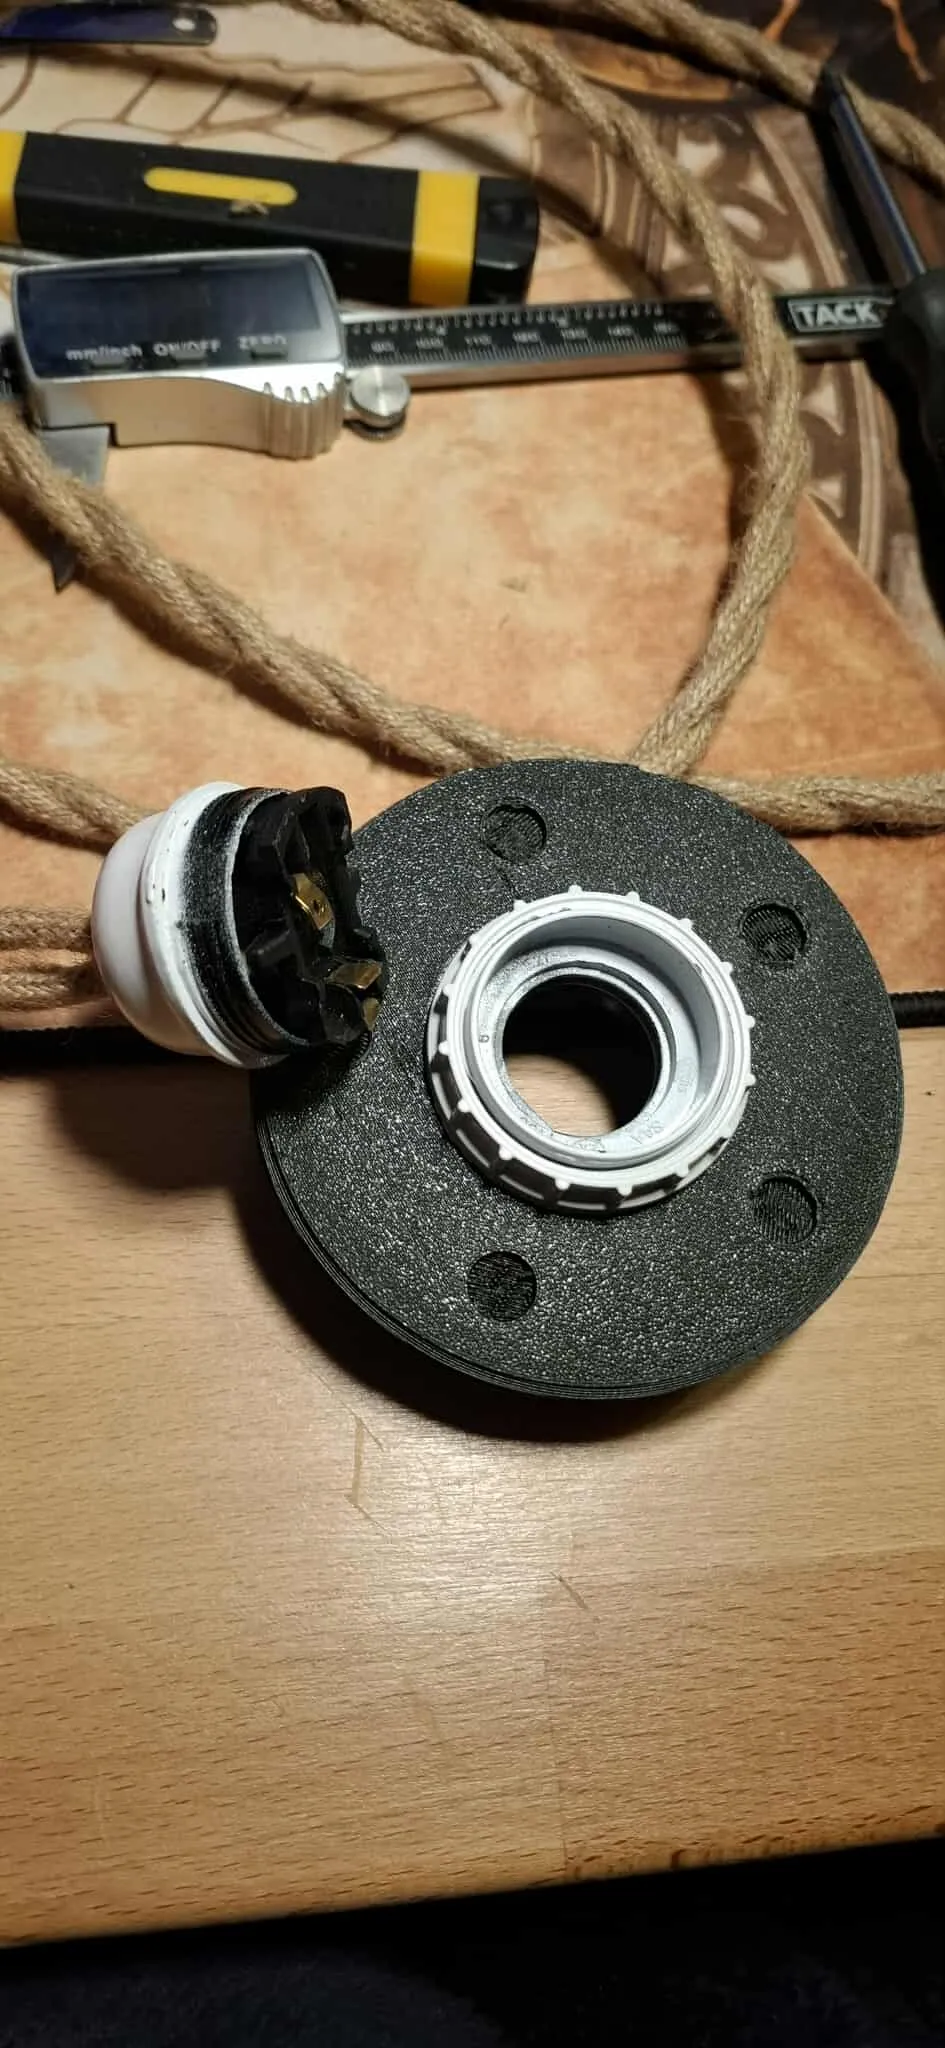
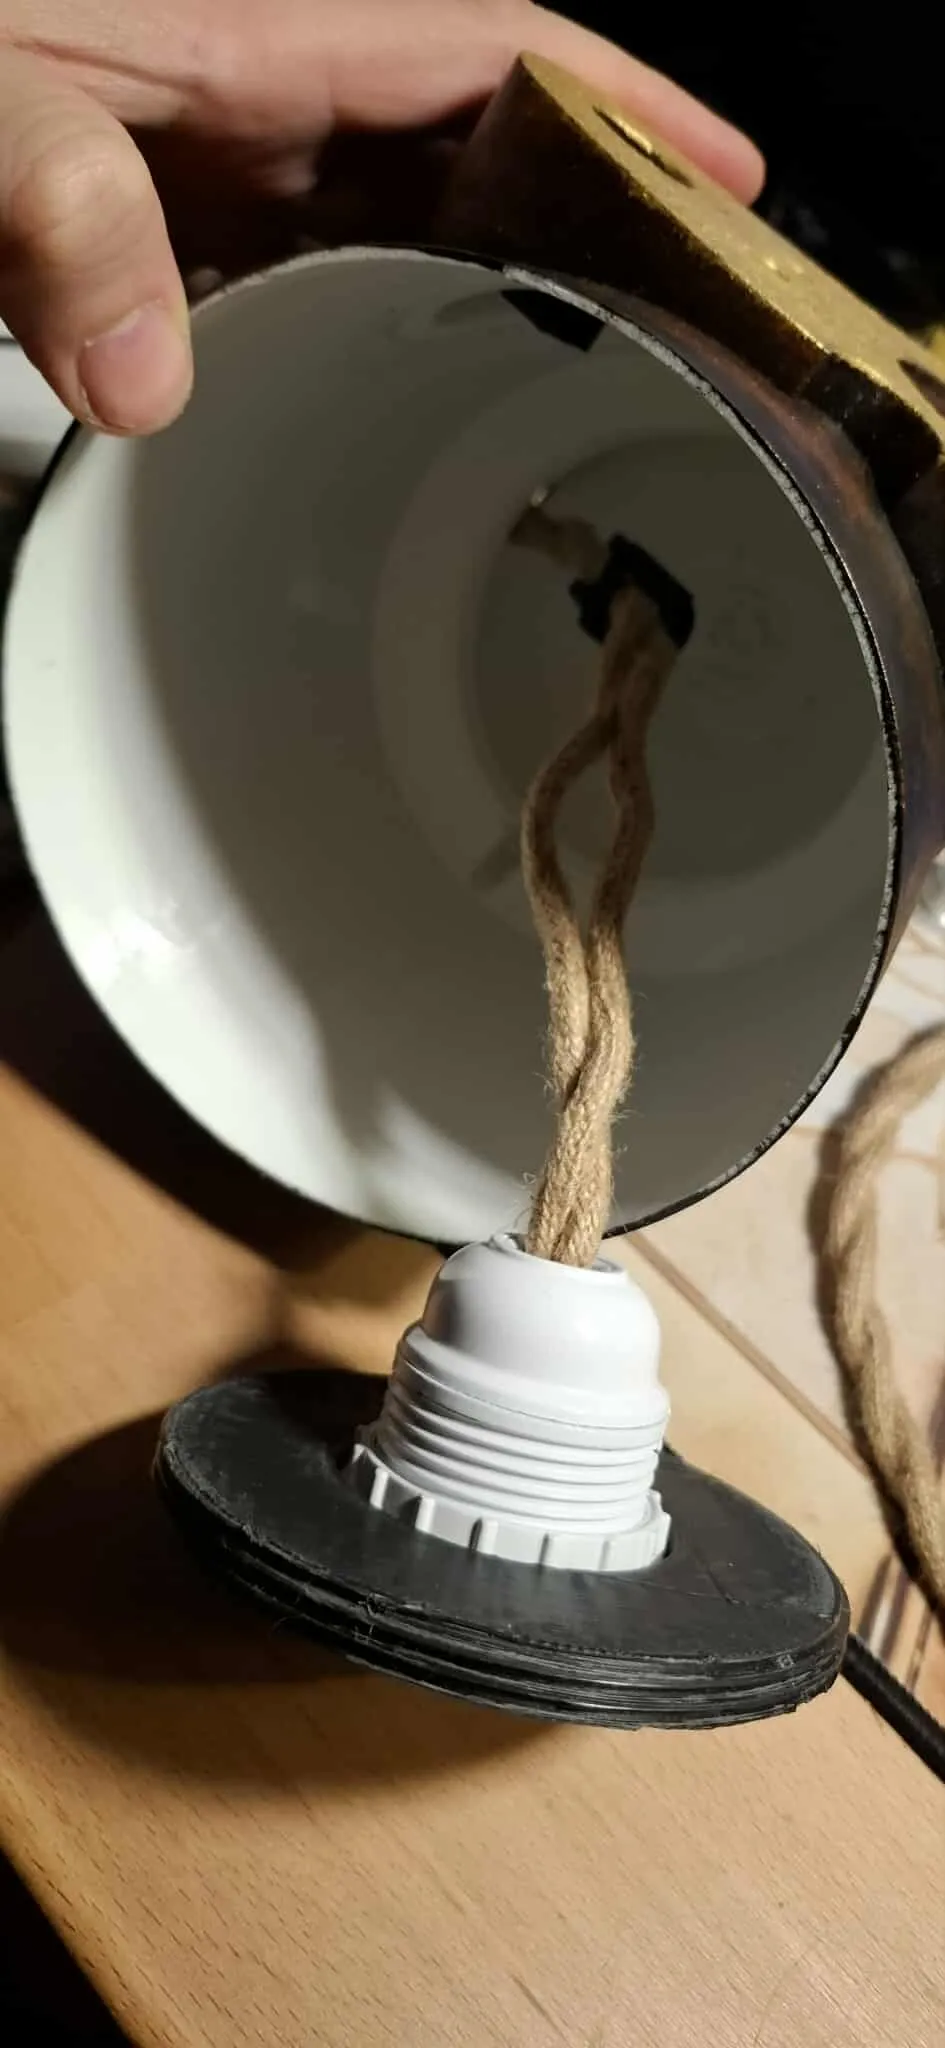
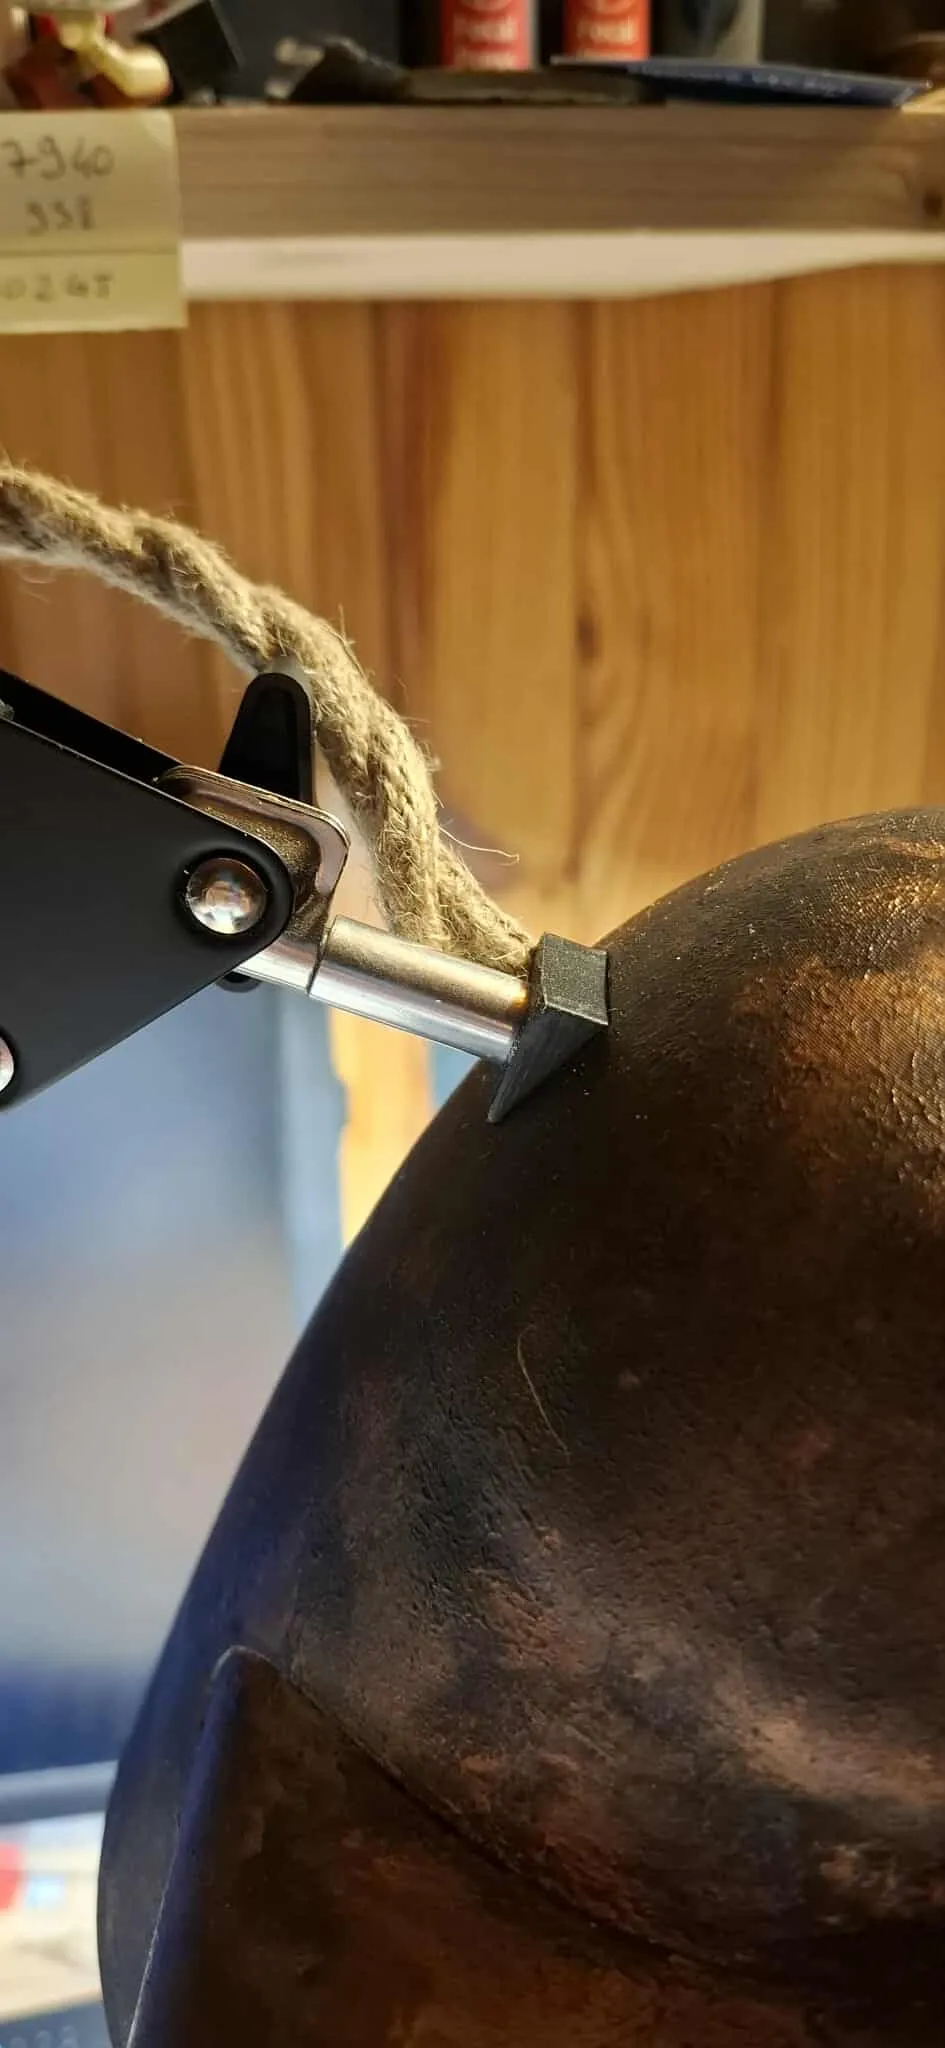
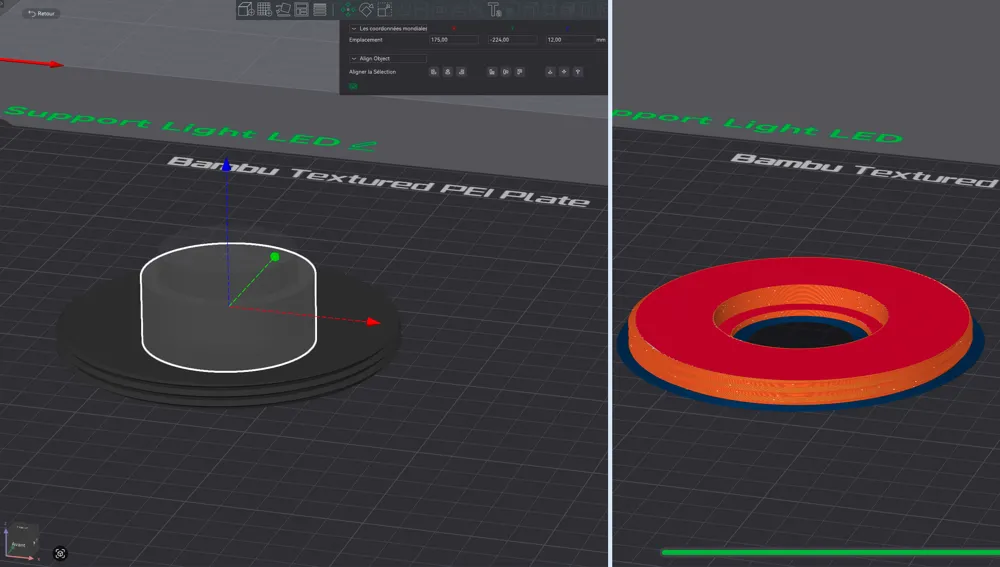
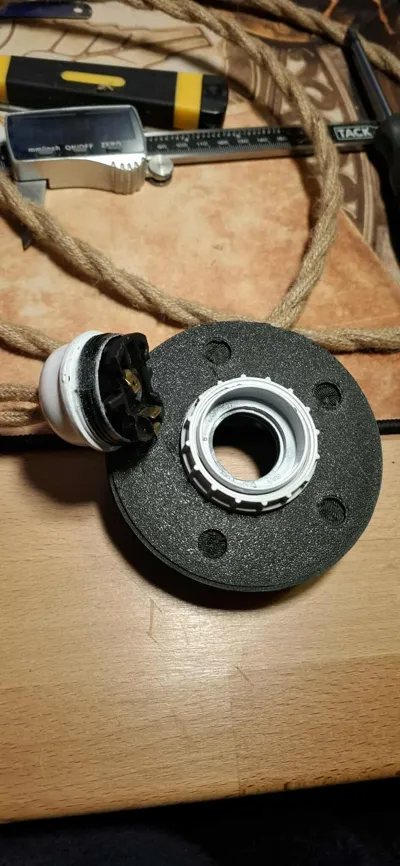
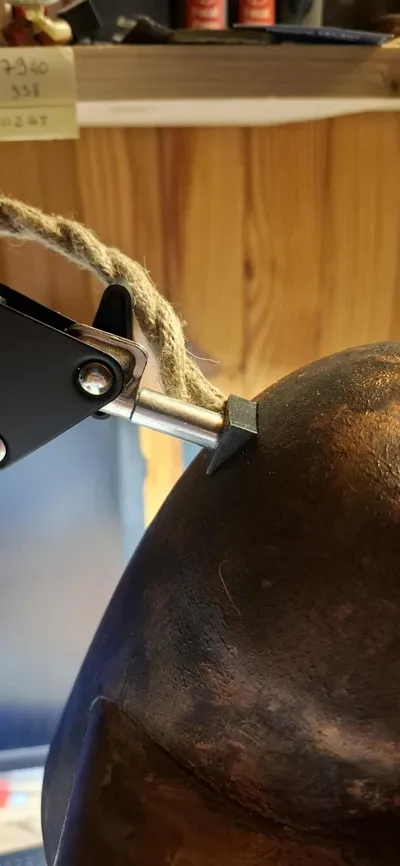
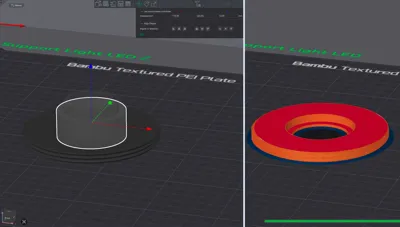
On tray number 5, you have negative cylindrical shapes, which allow for material subtraction. This gives you the choice of diameter based on the bulb base you are using :) Tray N°1 also includes a boolean element for the attachment support if you want to attach it to the right (slide the rectangle to the right edge of the head) or further back (rotate this rectangle, but from the center; you first need to center the object, yes it's a bit technical).
The largest cylinder, which is 50mm in diameter by 20mm high, is at a height of 12mm (the "m" key once selected) because:
20 / 2 = 10mm
10 + 2 = 12mm
to leave a rim where the lamp socket rests.
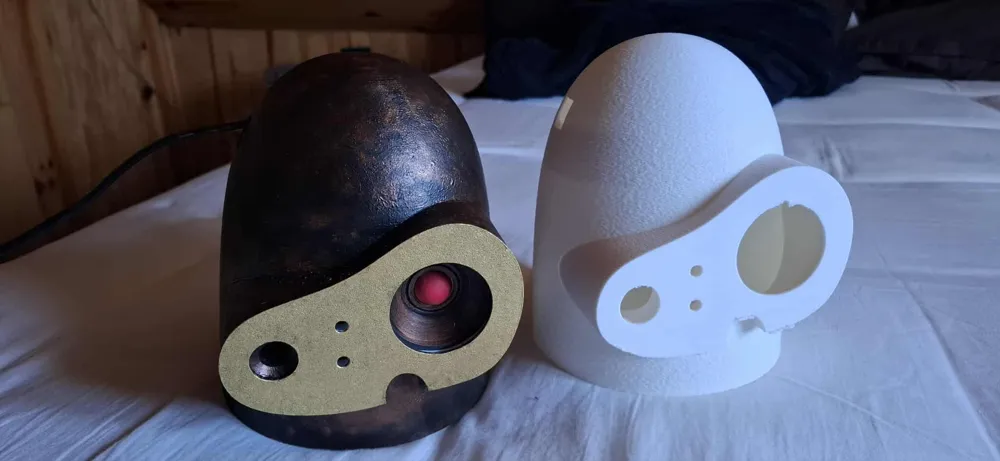
You can see in an image I posted, the result of the operation in the Bambu Studio slicer preview.
Diffuser elements trays 3 & 10 are to your liking for color :)
I haven't tested the diffuser on tray 3; a white paint (or orange for a warmer color, e.g., 3000K) is sufficient in my opinion.
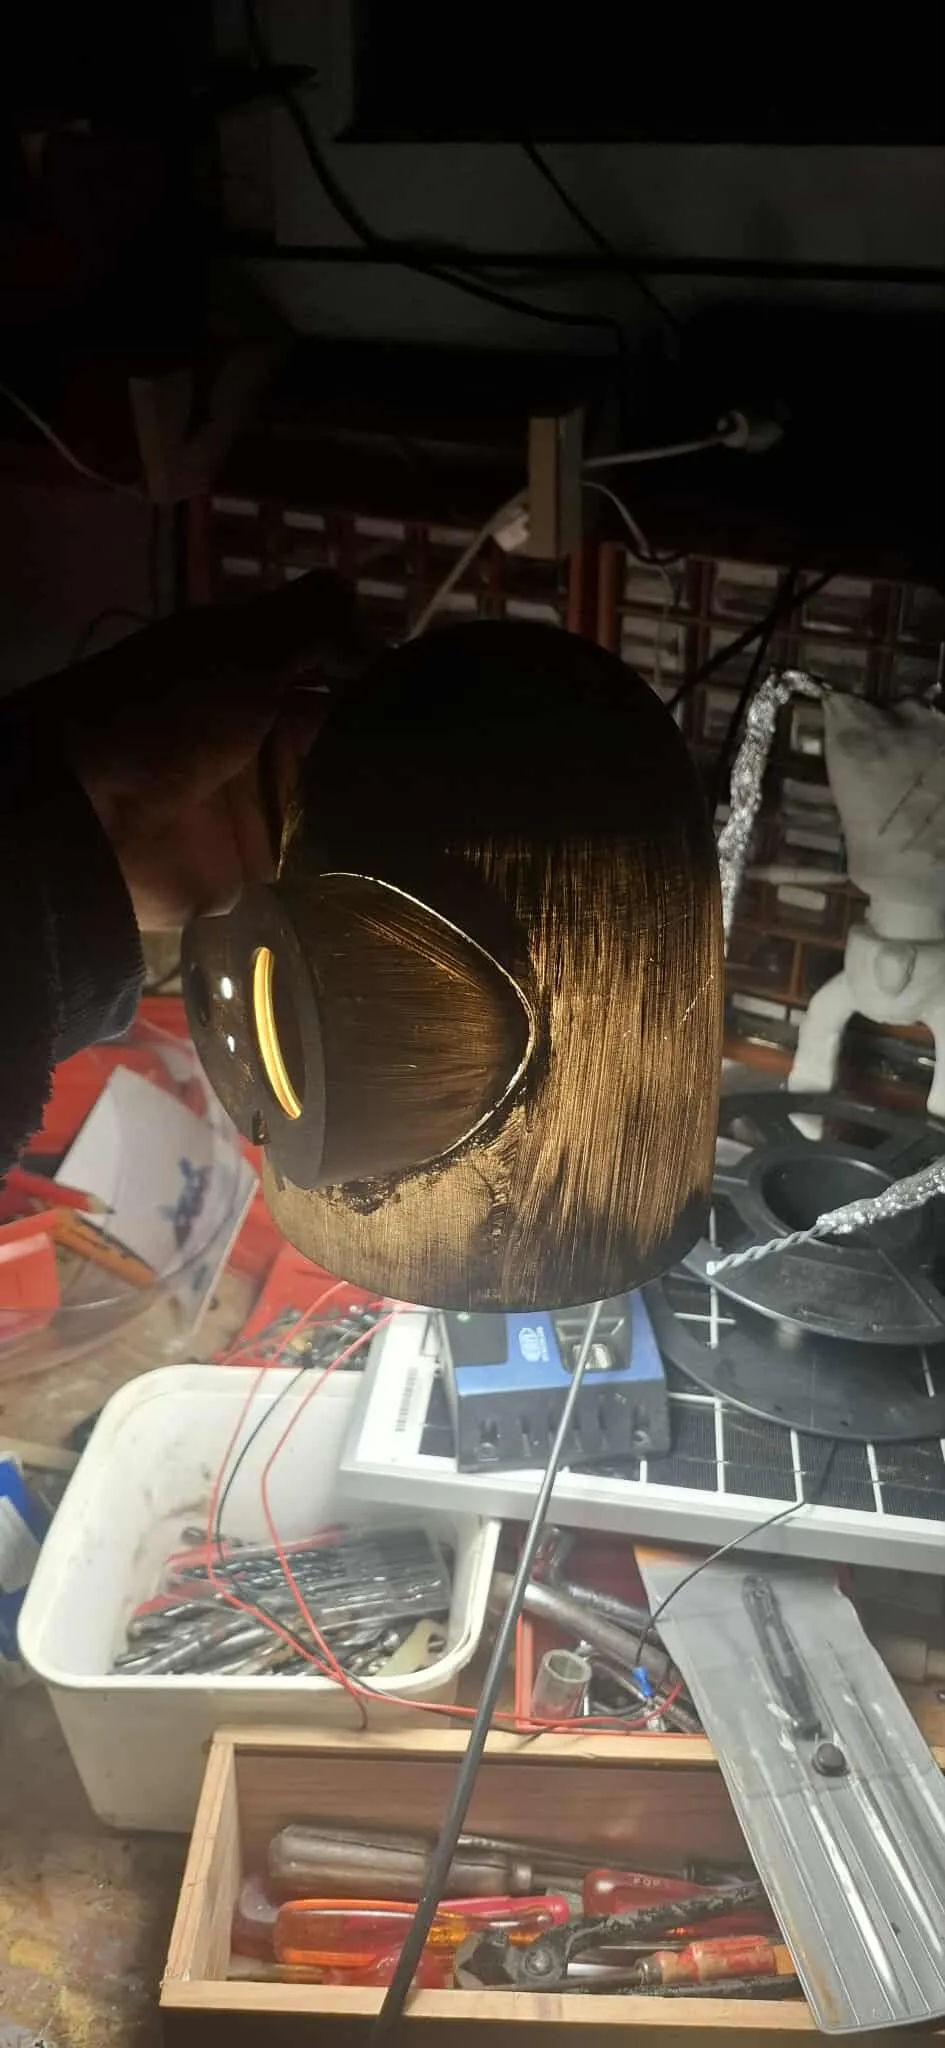
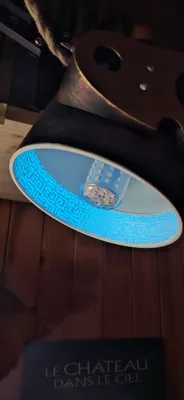
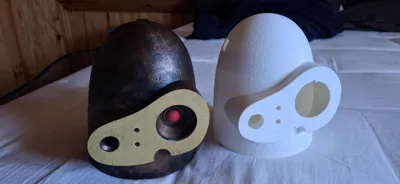
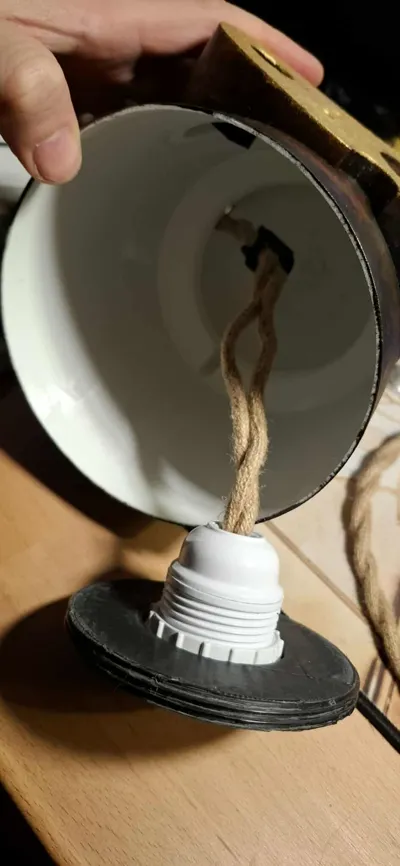
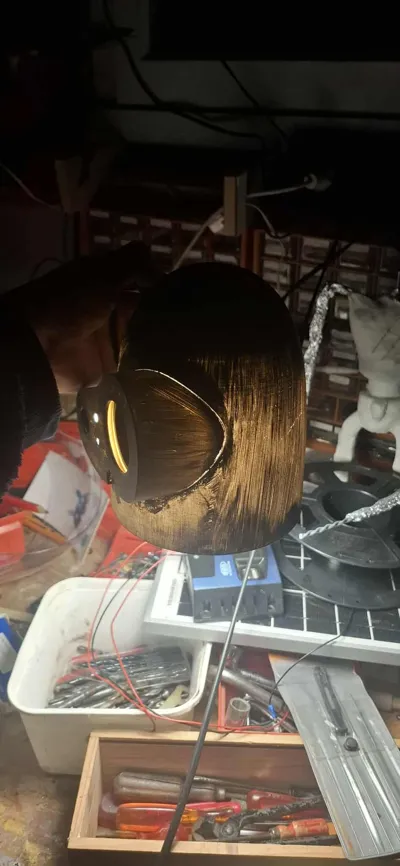
The paint is important to avoid seeing light through the print; you have an image that clearly shows what I'm talking about, and it's not pretty :D
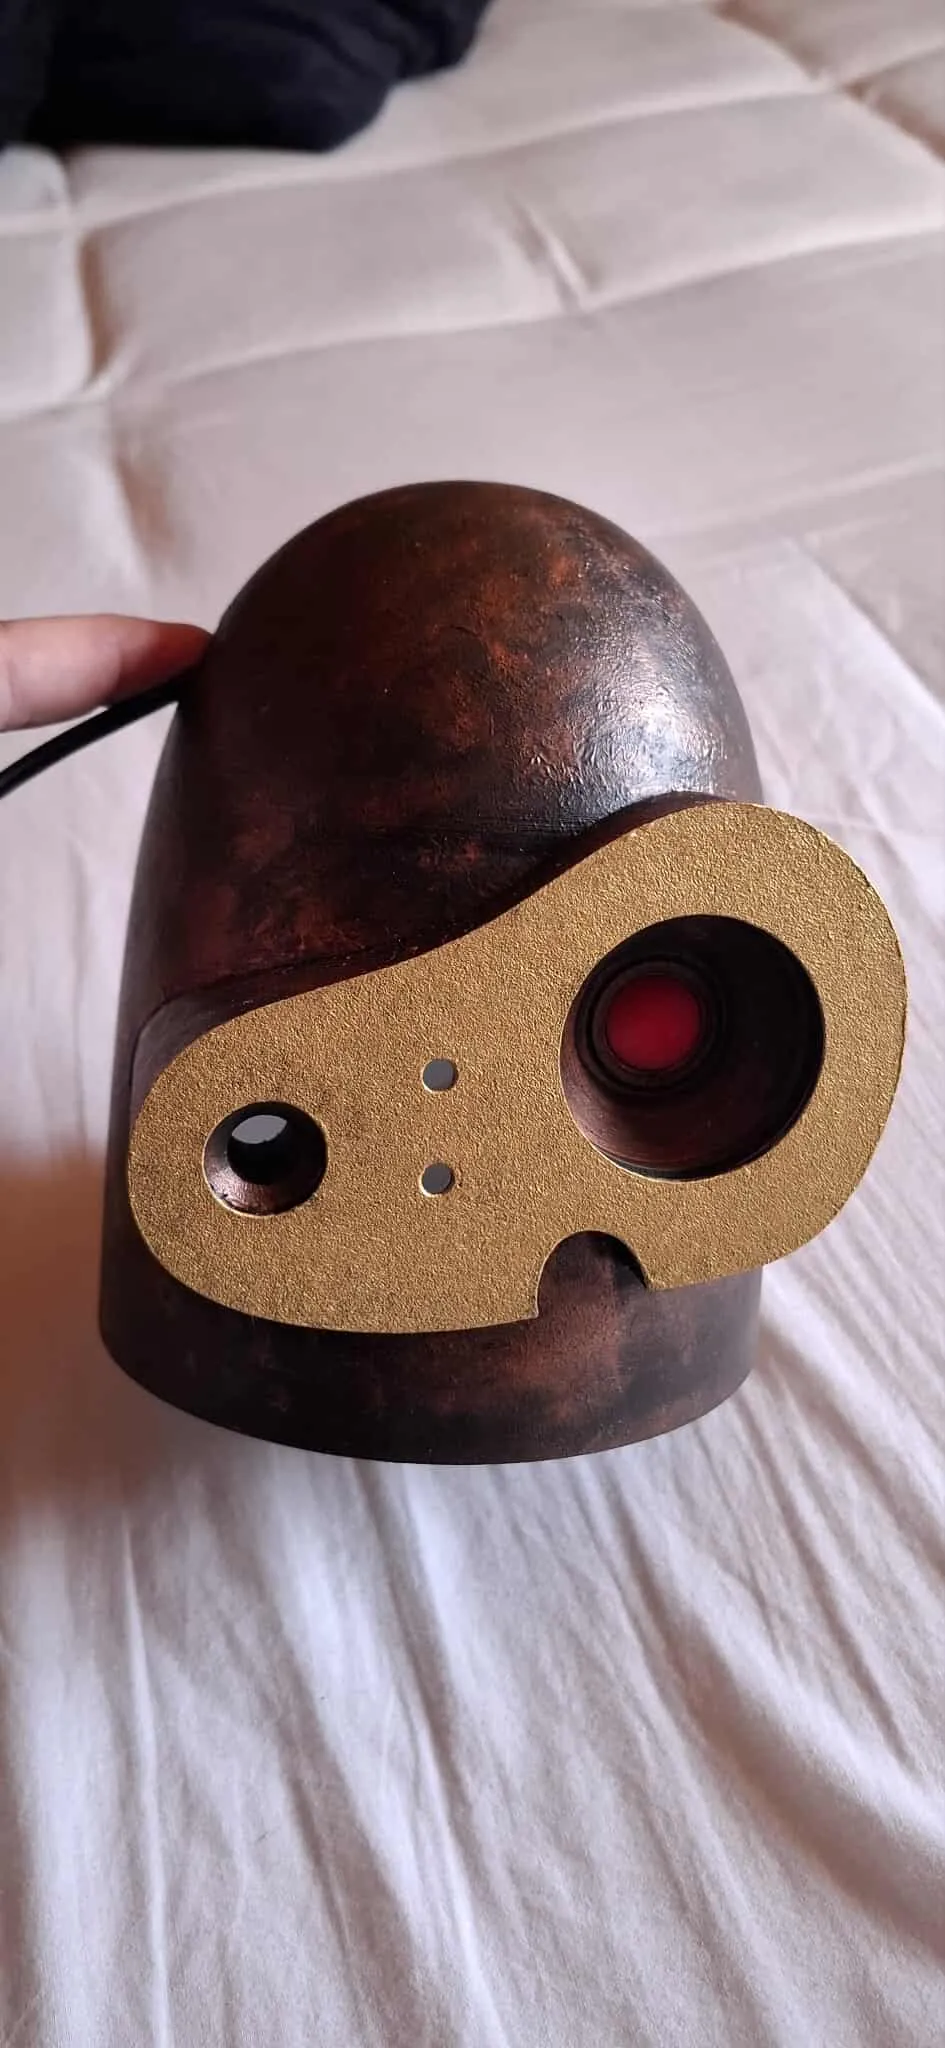
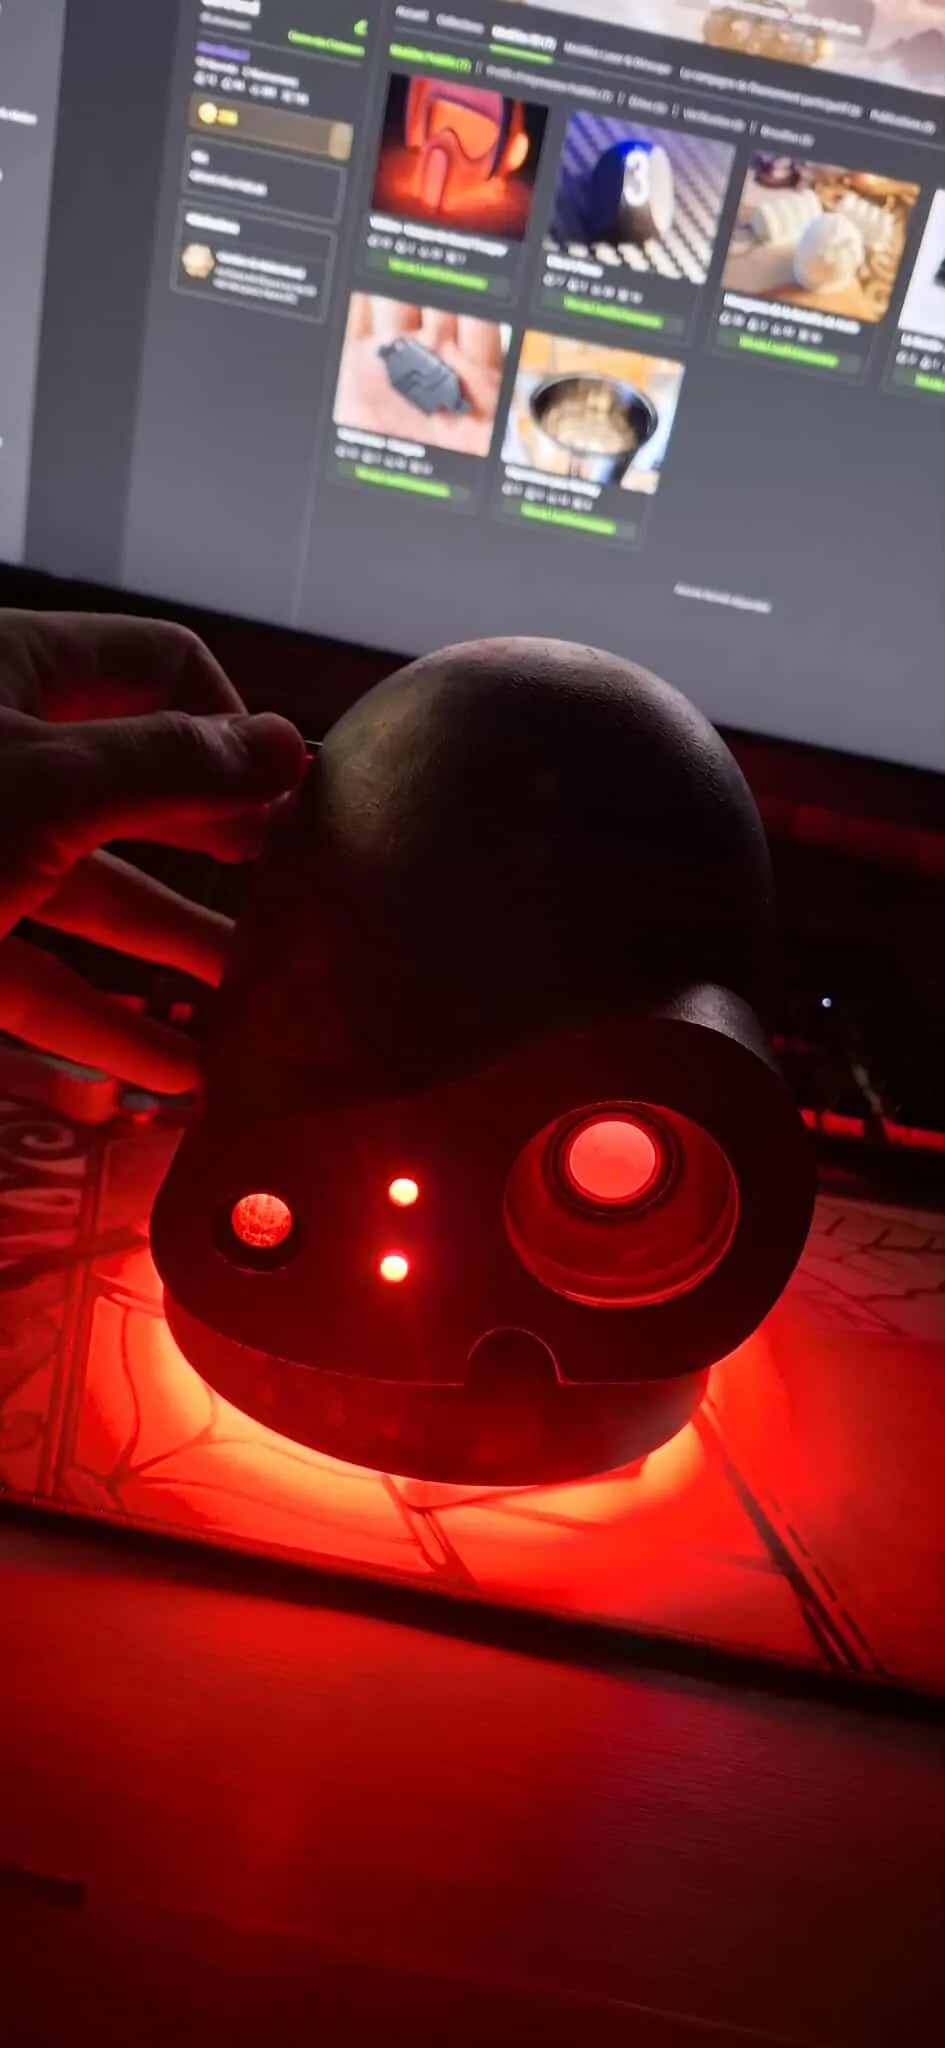
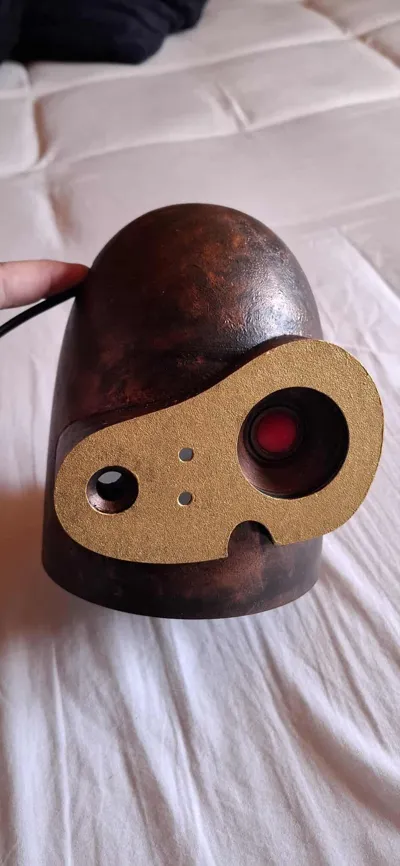
I painted 3 good coats. It's up to you to choose the colors to bring your robot to life (or not) :) (mine might be a bit dark).
Perhaps print in white / cream or orange to have a light interior and good diffusion of light.
I tried as much as possible to avoid requiring supports; avoiding waste is important to me. You can add them for the head; I admit the underside is very ugly, but it remains inside and therefore has no aesthetic importance. If you have concerns about the top of the eyes, check the option.
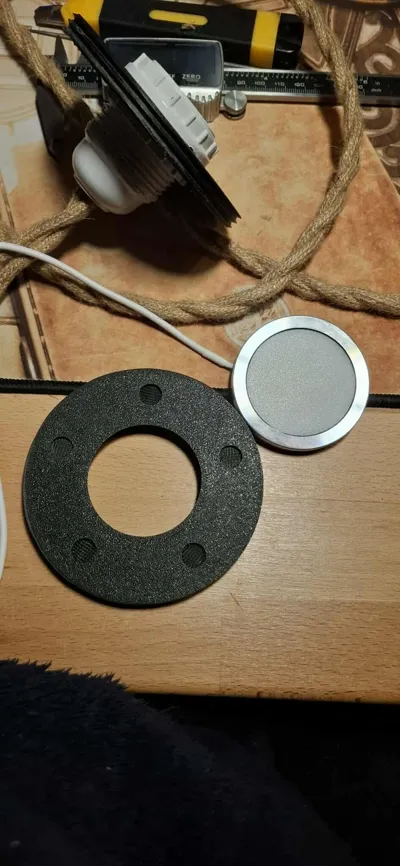
The screw threads require a bit of sanding and adjustment to turn smoothly.
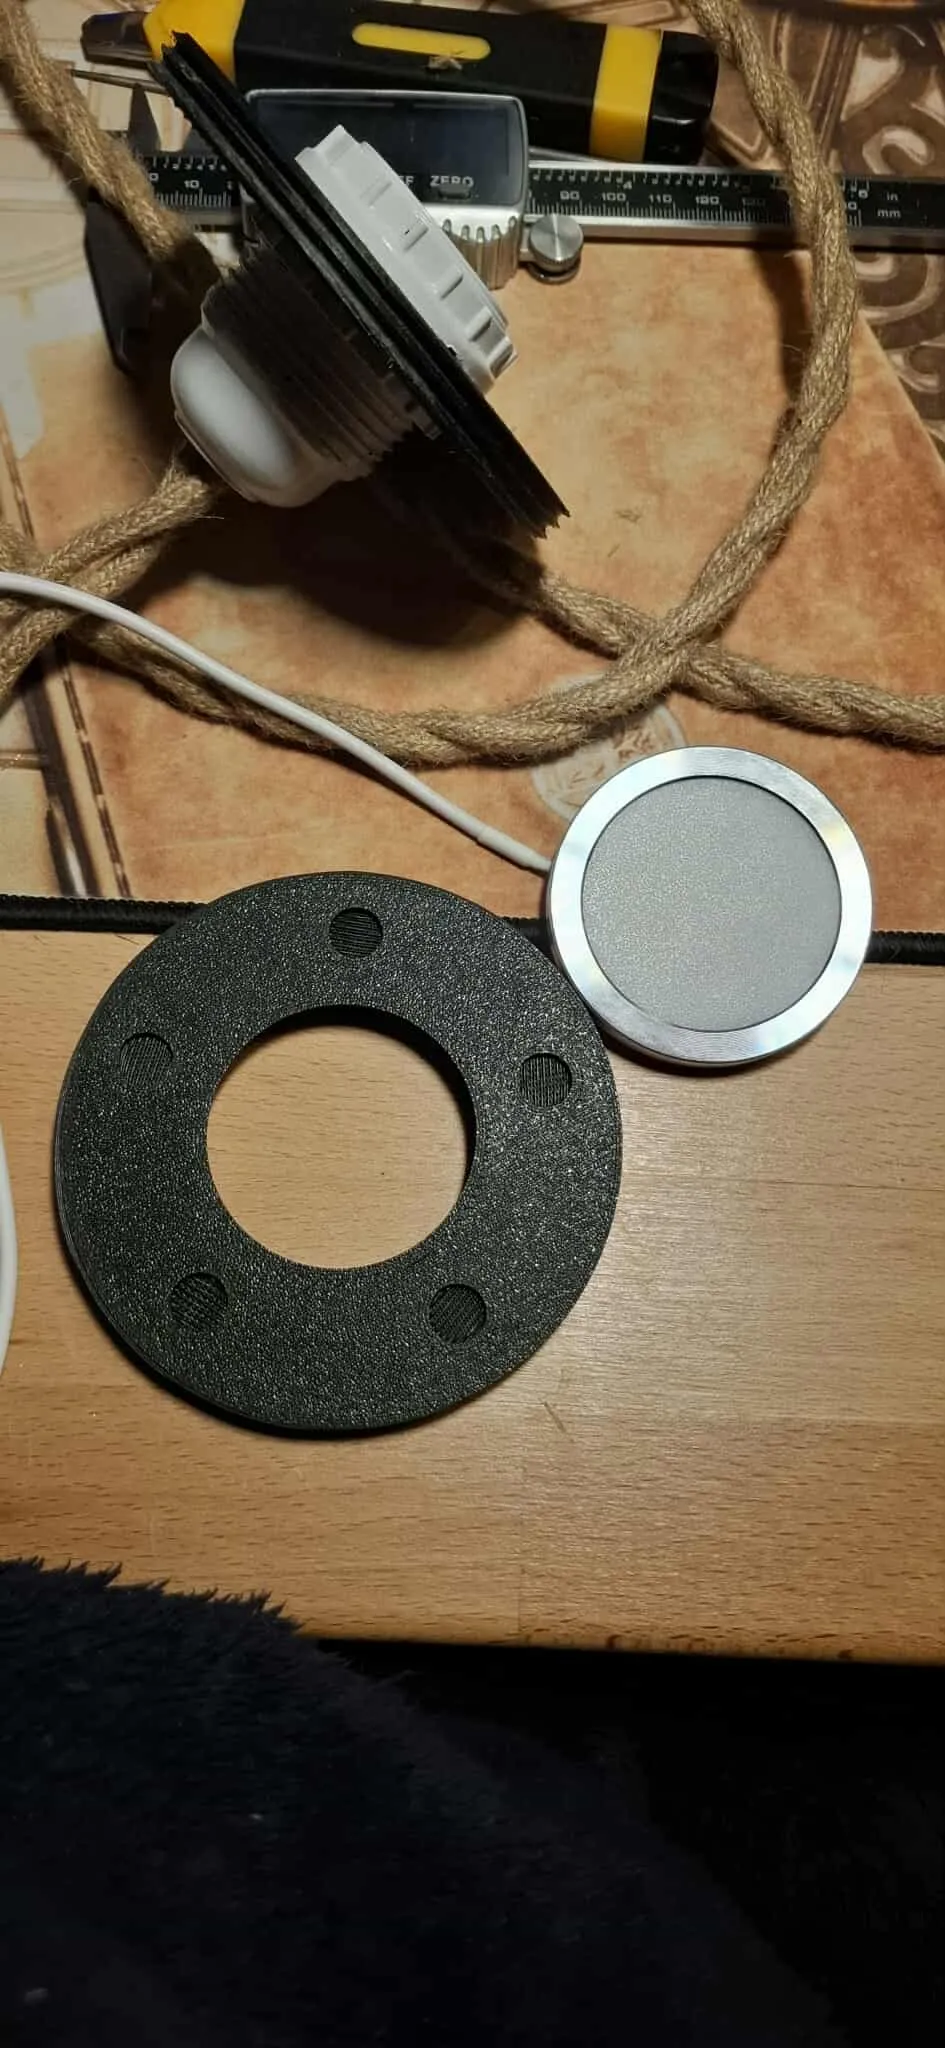
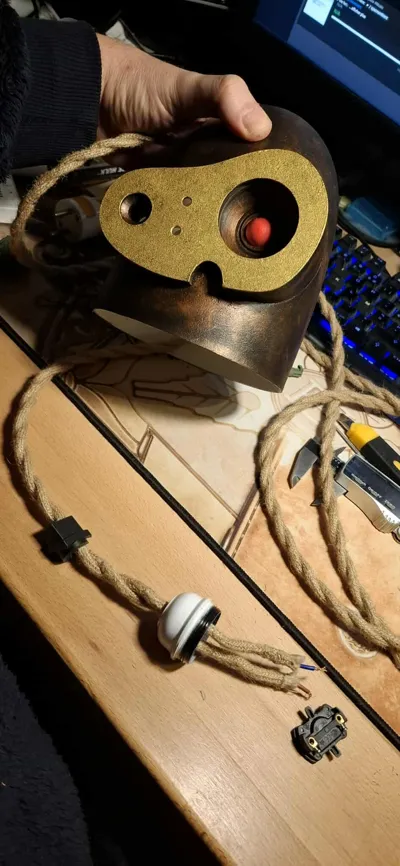
It's obvious, but it's nice to remember that you need to plan for a switch; it's more convenient to turn off the lamp :D My electrical cable is three meters long. To avoid twisting the cable too much when screwing the support, you can turn this piece in the opposite direction, just before you start screwing it in, and thus there will be less twisting :)
I am open to any suggestions for the attachment support piece. Modeling it to make a generic model that adapts to many people is not easy. I will add parts as requested.
I hope that copyright will not be an issue for this model.
Clearly, this model requires a bit of DIY and painting. But making this model with your loved ones adds even more charm.
There you go! I hope you have a lot of fun and enjoy it as much as I did :)
License

You shall not share, sub-license, sell, rent, host, transfer, or distribute in any way the digital or 3D printed versions of this object, nor any other derivative work of this object in its digital or physical format (including - but not limited to - remixes of this object, and hosting on other digital platforms). The objects may not be used without permission in any way whatsoever in which you charge money, or collect fees.


Comment & Rating (0)