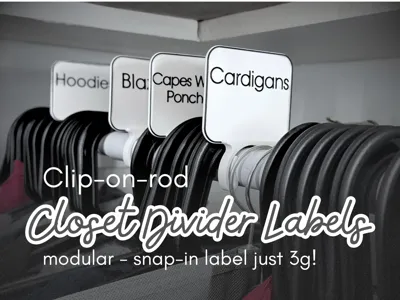
Closet divider labels - clip-on-rod - modular


Print Profile(5)


Bill of Materials


Description

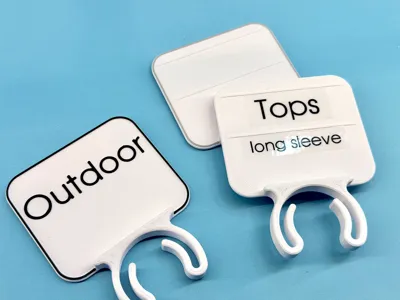
Organize your closet or clothing rack with customizable divider labels which clip securely onto the rod.
This model uses the same modular label design as my Plant Label Stakes.
Multiple options
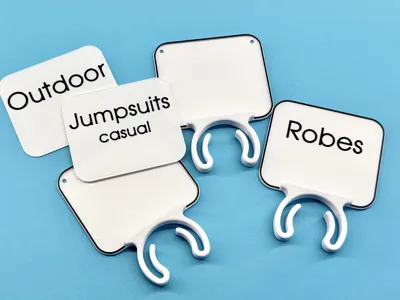
Divider with snap-in label - print blank dividers with 3d printable labels which snap in to the frame. Reorganize and recategorize as often as you want with minimal waste - each label is less than 3 g of filament.
Customize the text or choose from dozens of provided labels:
- clothing categories and subcategories
- adult sizes
- baby sizes
- status/actions
- seasons
Divider with guides for positioning stick-on label - if you prefer to use stick-on labels these blank dividers have subtle raised lines to help with straight, even application. Designed with P-touch 18mm and 12mm labels in mind.
Blank divider - customize however you want!
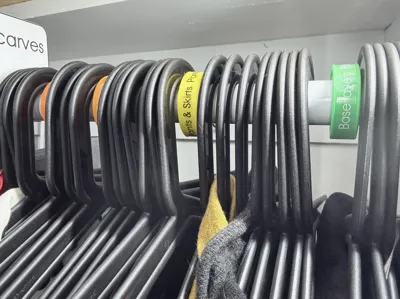
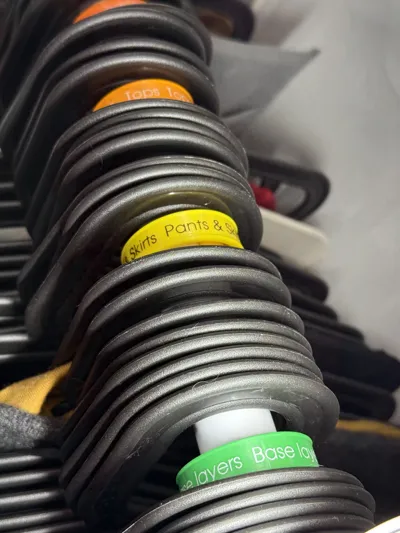
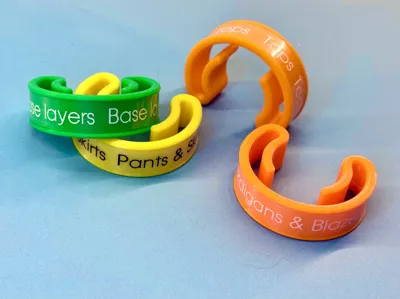
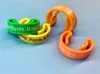
Low profile mini dividers - no vertical labels, just the clip with a groove to apply a sticky label to. Print in different colours and/or use 9 mm or 12 mm sticky labels.
Dimensions
The divider label area is 70 mm x 60 mm.
Two sizes of spring clips are provided. The small should hold snugly to a round rod between ⌀ 22 mm and 26 mm (7/8 in to 1 in). The large should hold snugly to a round rod between ⌀ 26 mm and 33 mm (1 in to 1 5/16 in). These two sizes should cover most standard round rods.
Not sure if these will fit? Print the test clip first to make sure there is enough tension to hold the dividers upright.
Text
The labels as shown use Atlanta font, mostly in 16 mm for the main text, and 10 mm for smaller text. The main text is centred on the X axis and 11 mm on the Y axis.
To modify the text:
- Open the file in Bambu Studio.
- In the Process panel switch to editing by Object.
- Click on the Text part of the object to select it.
- Click on the Text tool in the toolbar.
- Adjust the content, font, size, etc as desired.
- In the Process panel click on the name of the object to select the whole label.
- Click on the Move tool in the toolbar.
- Use the Align vertical centre button to centre the text on the label.
Printing
This model has been tested in Bambu PETG HF. Because this uses a compliant mechanism spring to grip the rod it should not be printed with PLA, which will creep and not maintain its tension over time. Use PETG or another material that will maintain its shape under tension.
The yellow modifier part is used to change the top surface of the clip to concentric so that it prints more smoothly.
The main print profile is for AMS, with minimal colour changes. An alternative profile for no AMS and pauses for manual colour changes is included.
Make sure your nozzle is clean, to prevent blobs which may interfere with the snap fit of the labels. Make sure your plate is clean and the bed is level. I recommend printing on a smooth plate with a thin layer of glue, though I imagine the textured plate would be fine too.
Allow the plate to cool before removing to avoid bending or warping the labels, which are very thin.
Print profiles
- Size test
- Divider with snap in label for AMS
- Divider with snap in label no AMS (coming soon)
- Divider with guides and blank for AMS
- Divider with guides and blank no AMS
- Low profile mini dividers
Assembly
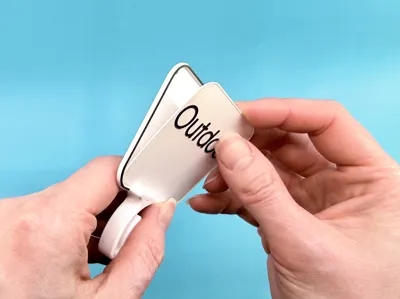
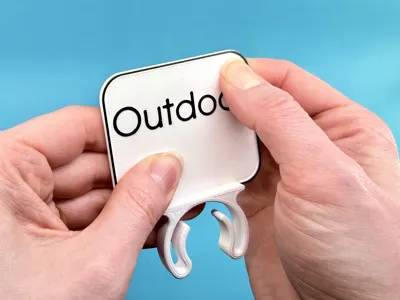
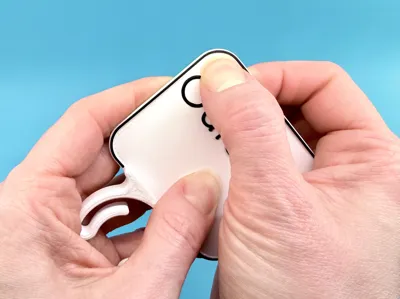
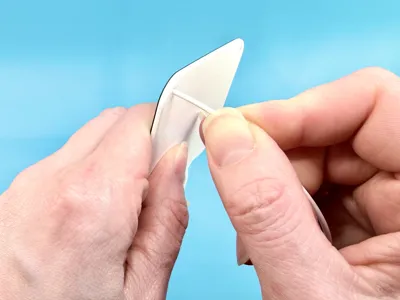
Insert the bottom of the label into the frame then press down around the edges until the label clicks into place. Use your fingernail or a flat tool.

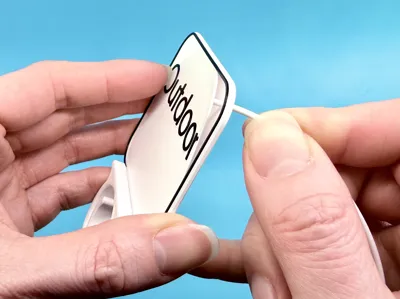
To remove the label, poke a piece of filament or a small, pointed tool through the holes on the backside to gently pop the corners of the label out of the frame.

I welcome your comments and feedback! I'm new to 3d printing and modelling. Your input helps me improve.
If you print it and find it useful, please rate! I would also love to see your photos!
Boost Me (for free)
If you found this well constructed and it solved a problem for you, you can Boost me for free! Boosts are a great motivation to keep sharing functional prints to make your life a little easier and contribute to the community. Thanks!

Check out my collections of other models:


License
You may create derivative works based on this object, provided that all such derivative works are published exclusively on the MakerWorld platform and include proper attribution to the original creator. You may not share, upload, host, distribute, or publish this object—or any derivative work of this object—on any other digital platform, marketplace, or distribution channel. Commercial use of this object and any derivative works is strictly prohibited. This includes, but is not limited to, selling, renting, sublicensing, or using the object in any context in which you receive monetary compensation or other financial benefits.
Comment & Rating (19)