
【Customizable】2026 Year of the Horse Spring Festival Couplets
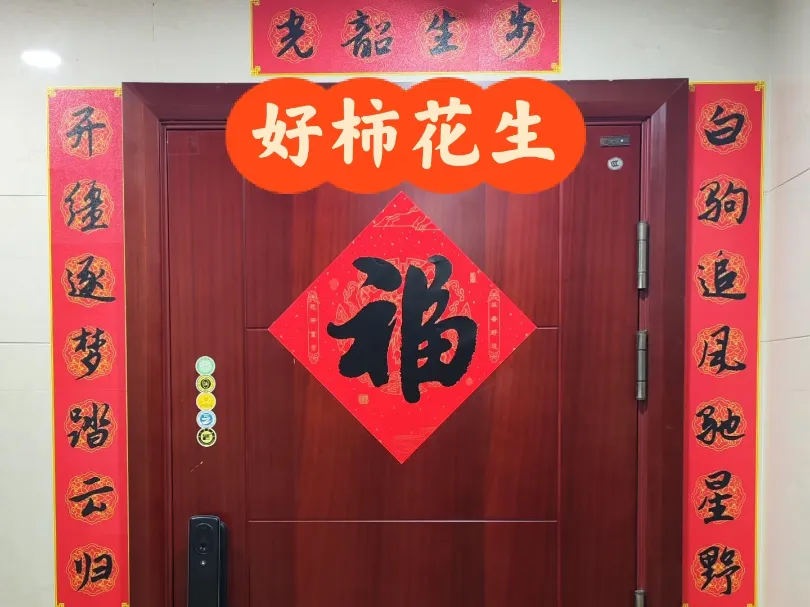
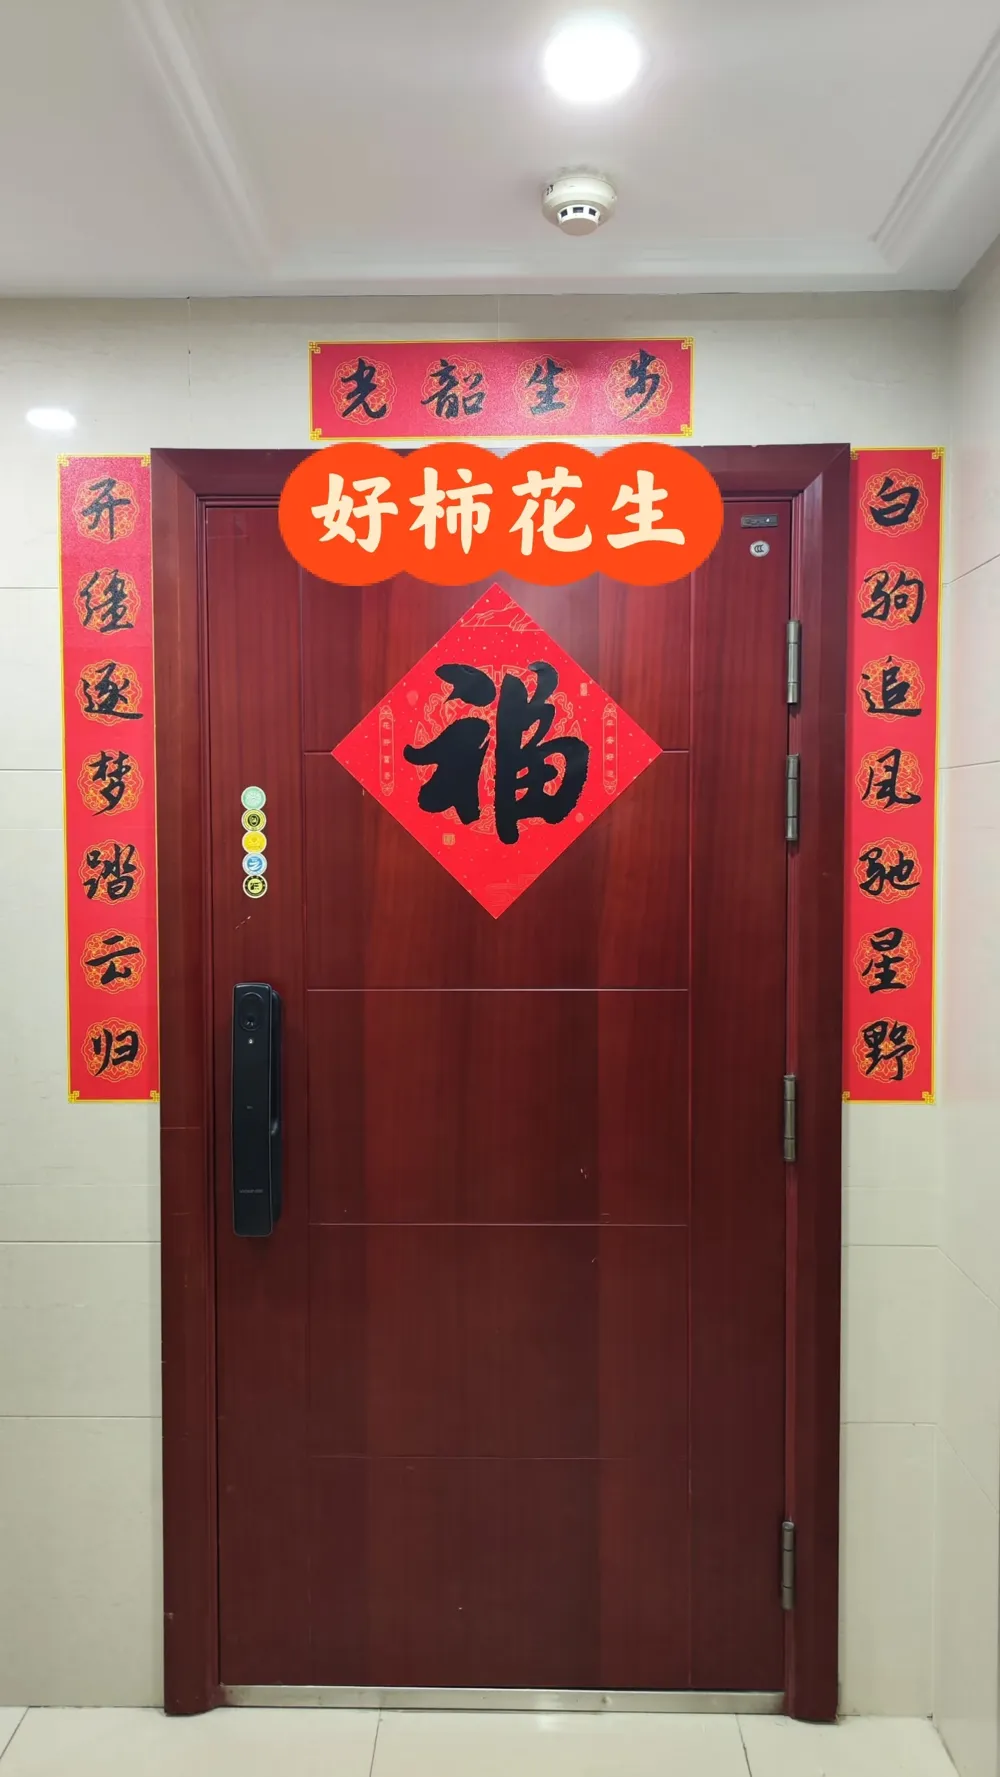
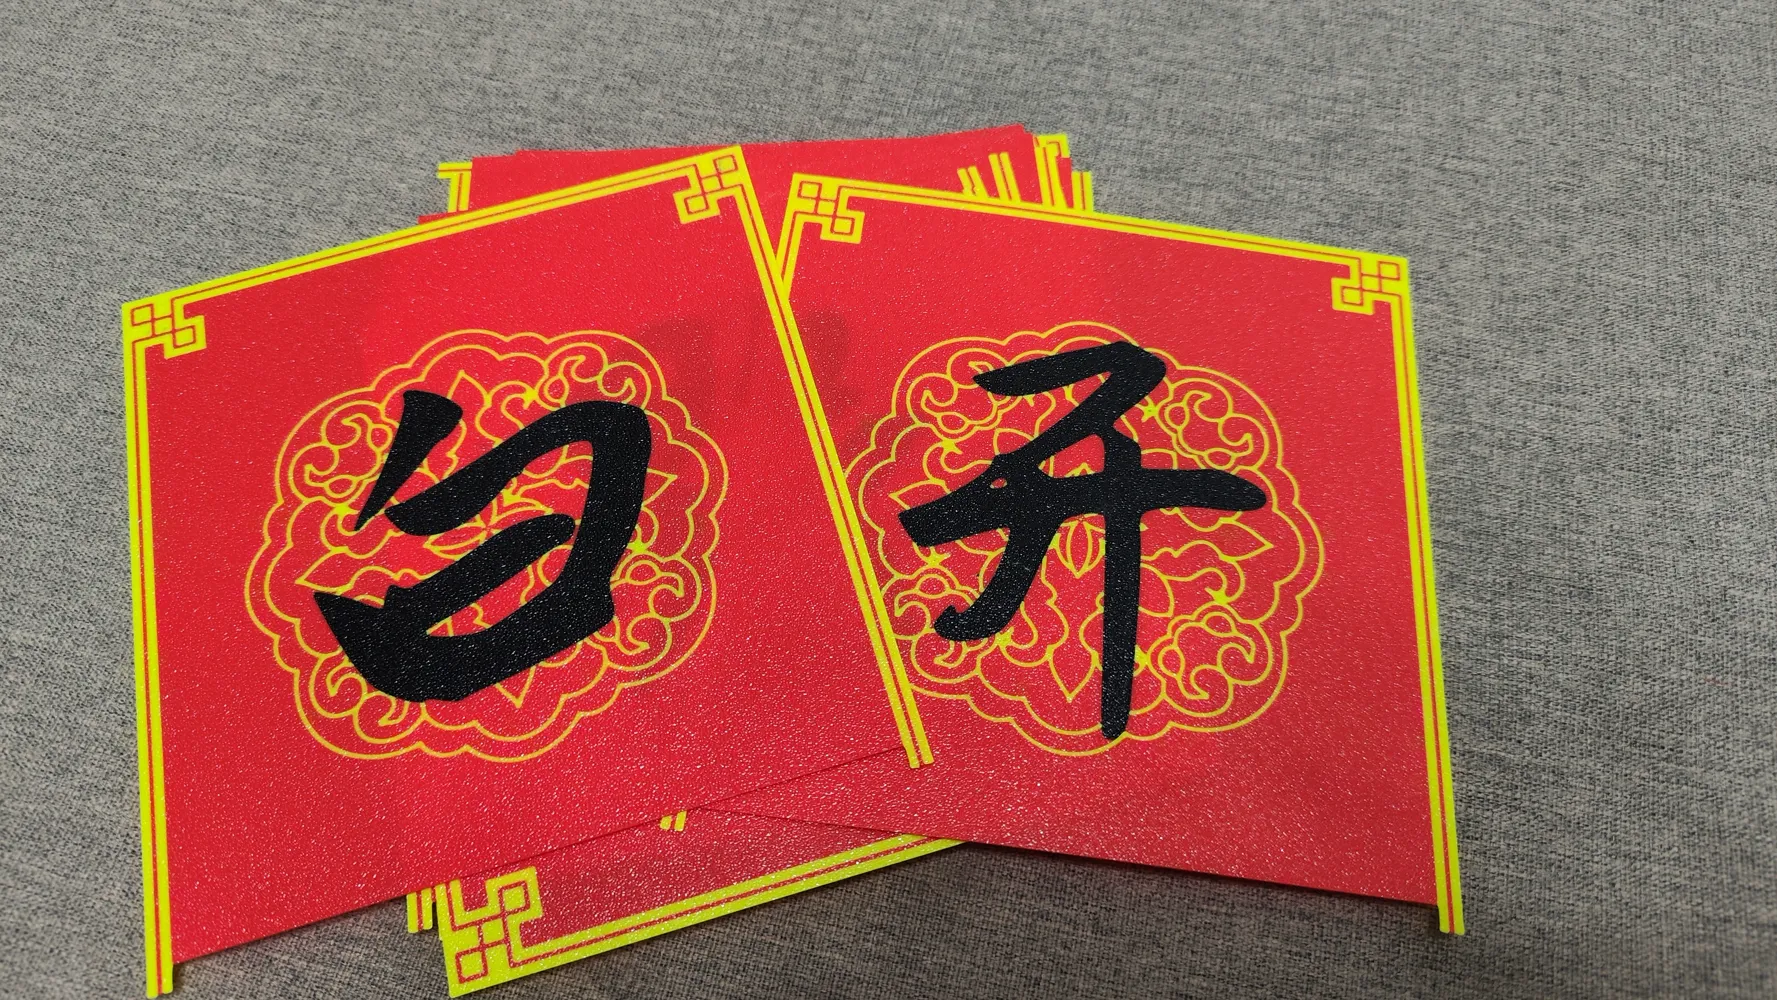
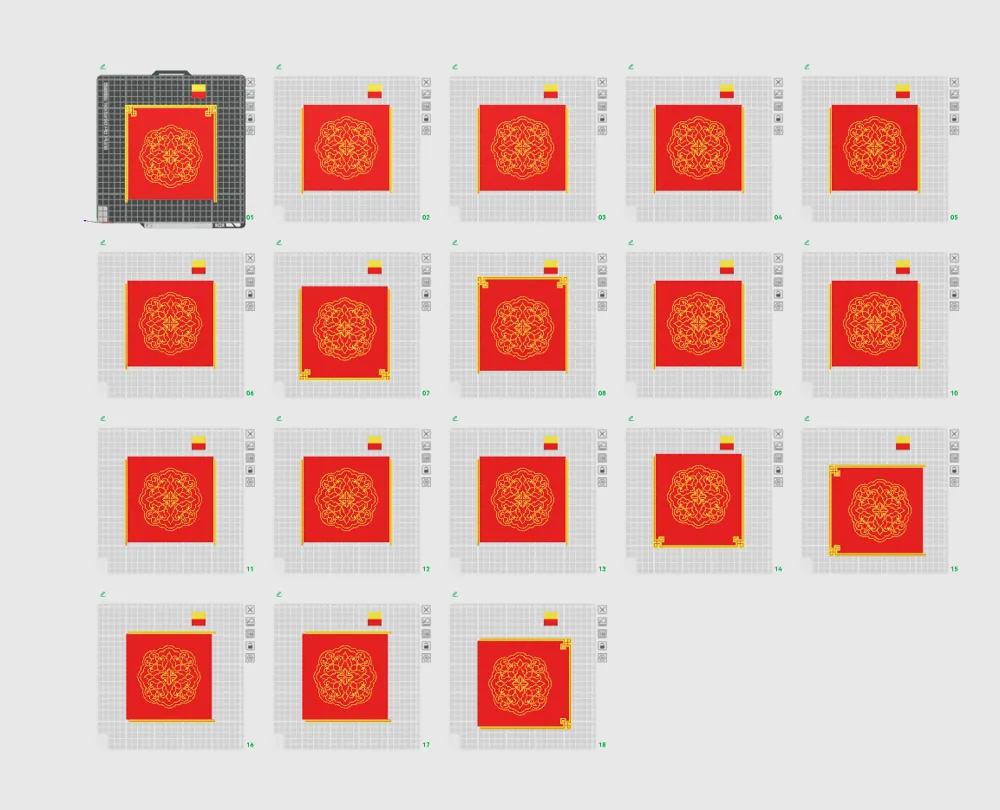
Print Profile(2)
Description
Please read the following instructions before printing:
I. Instructions before printing:
1. To ensure optimal printing results, it is best to clean the build plate before each print.
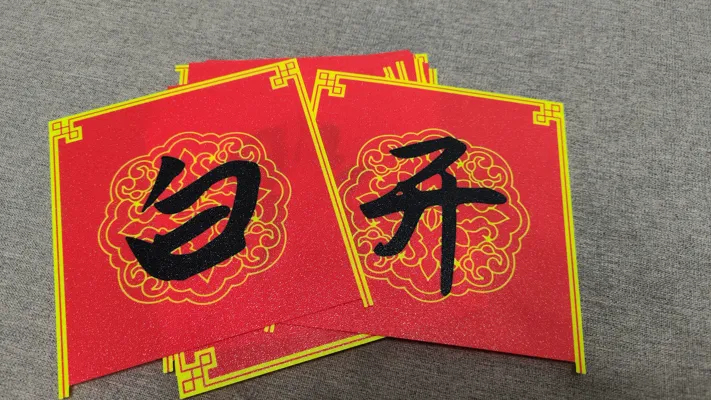
2. I print face down, and with a textured build plate, the finished surface will have a glitter effect.
3. I used PETG in cinnabar red + lemon yellow + black.
II. Customization instructions:
1. First, download and install the fonts you need. If using iFonts, select a brush script font (some fonts are free).

2. Open my blank version model in Bambu Studio.
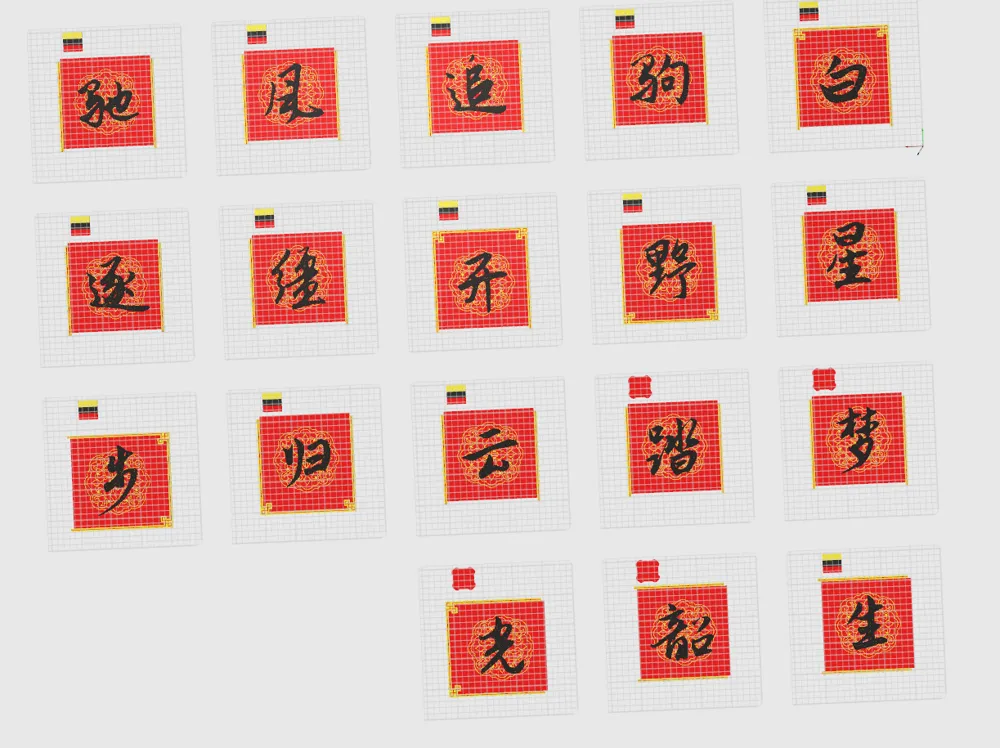
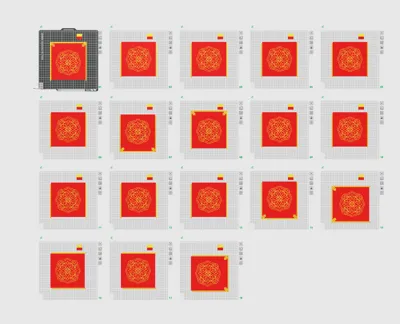
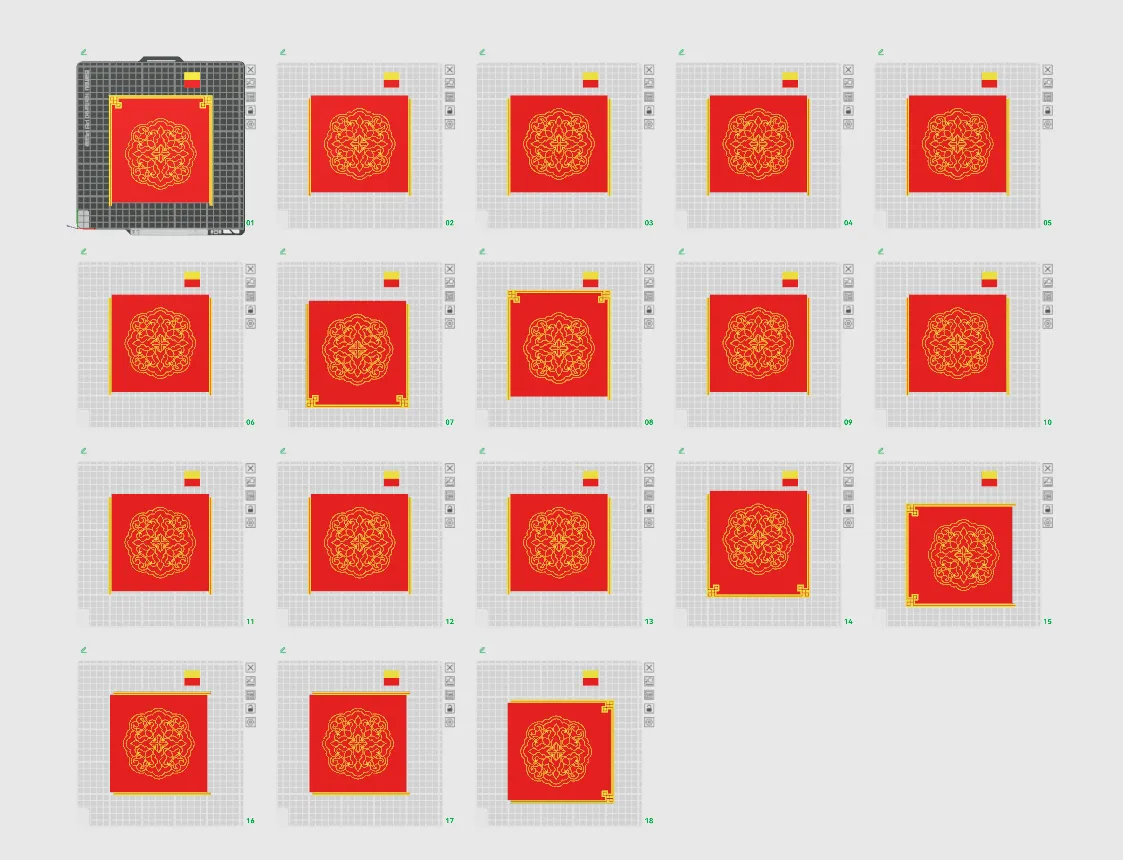
The front upper and lower couplet panels, with the last four pieces reserved for the horizontal banner.
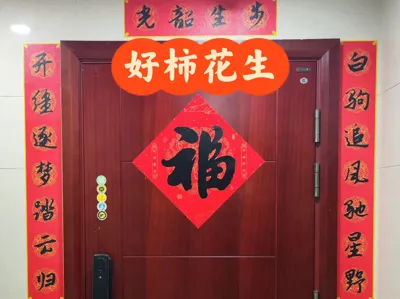
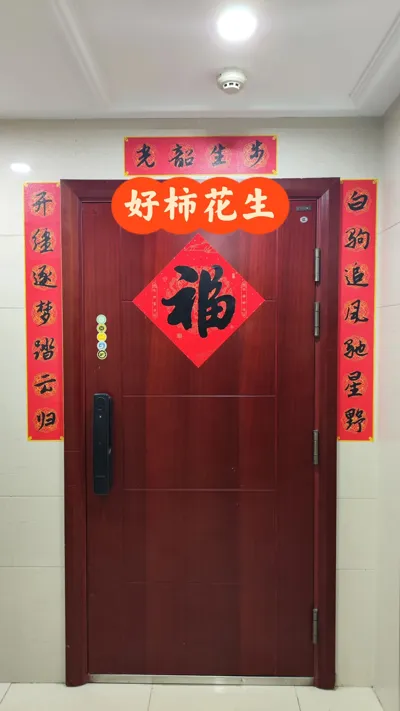
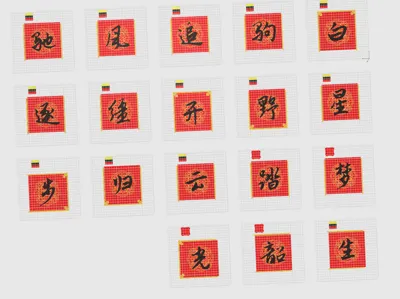
My couplets are 7 characters long; if you need to adjust the character count, simply duplicate the middle panel.
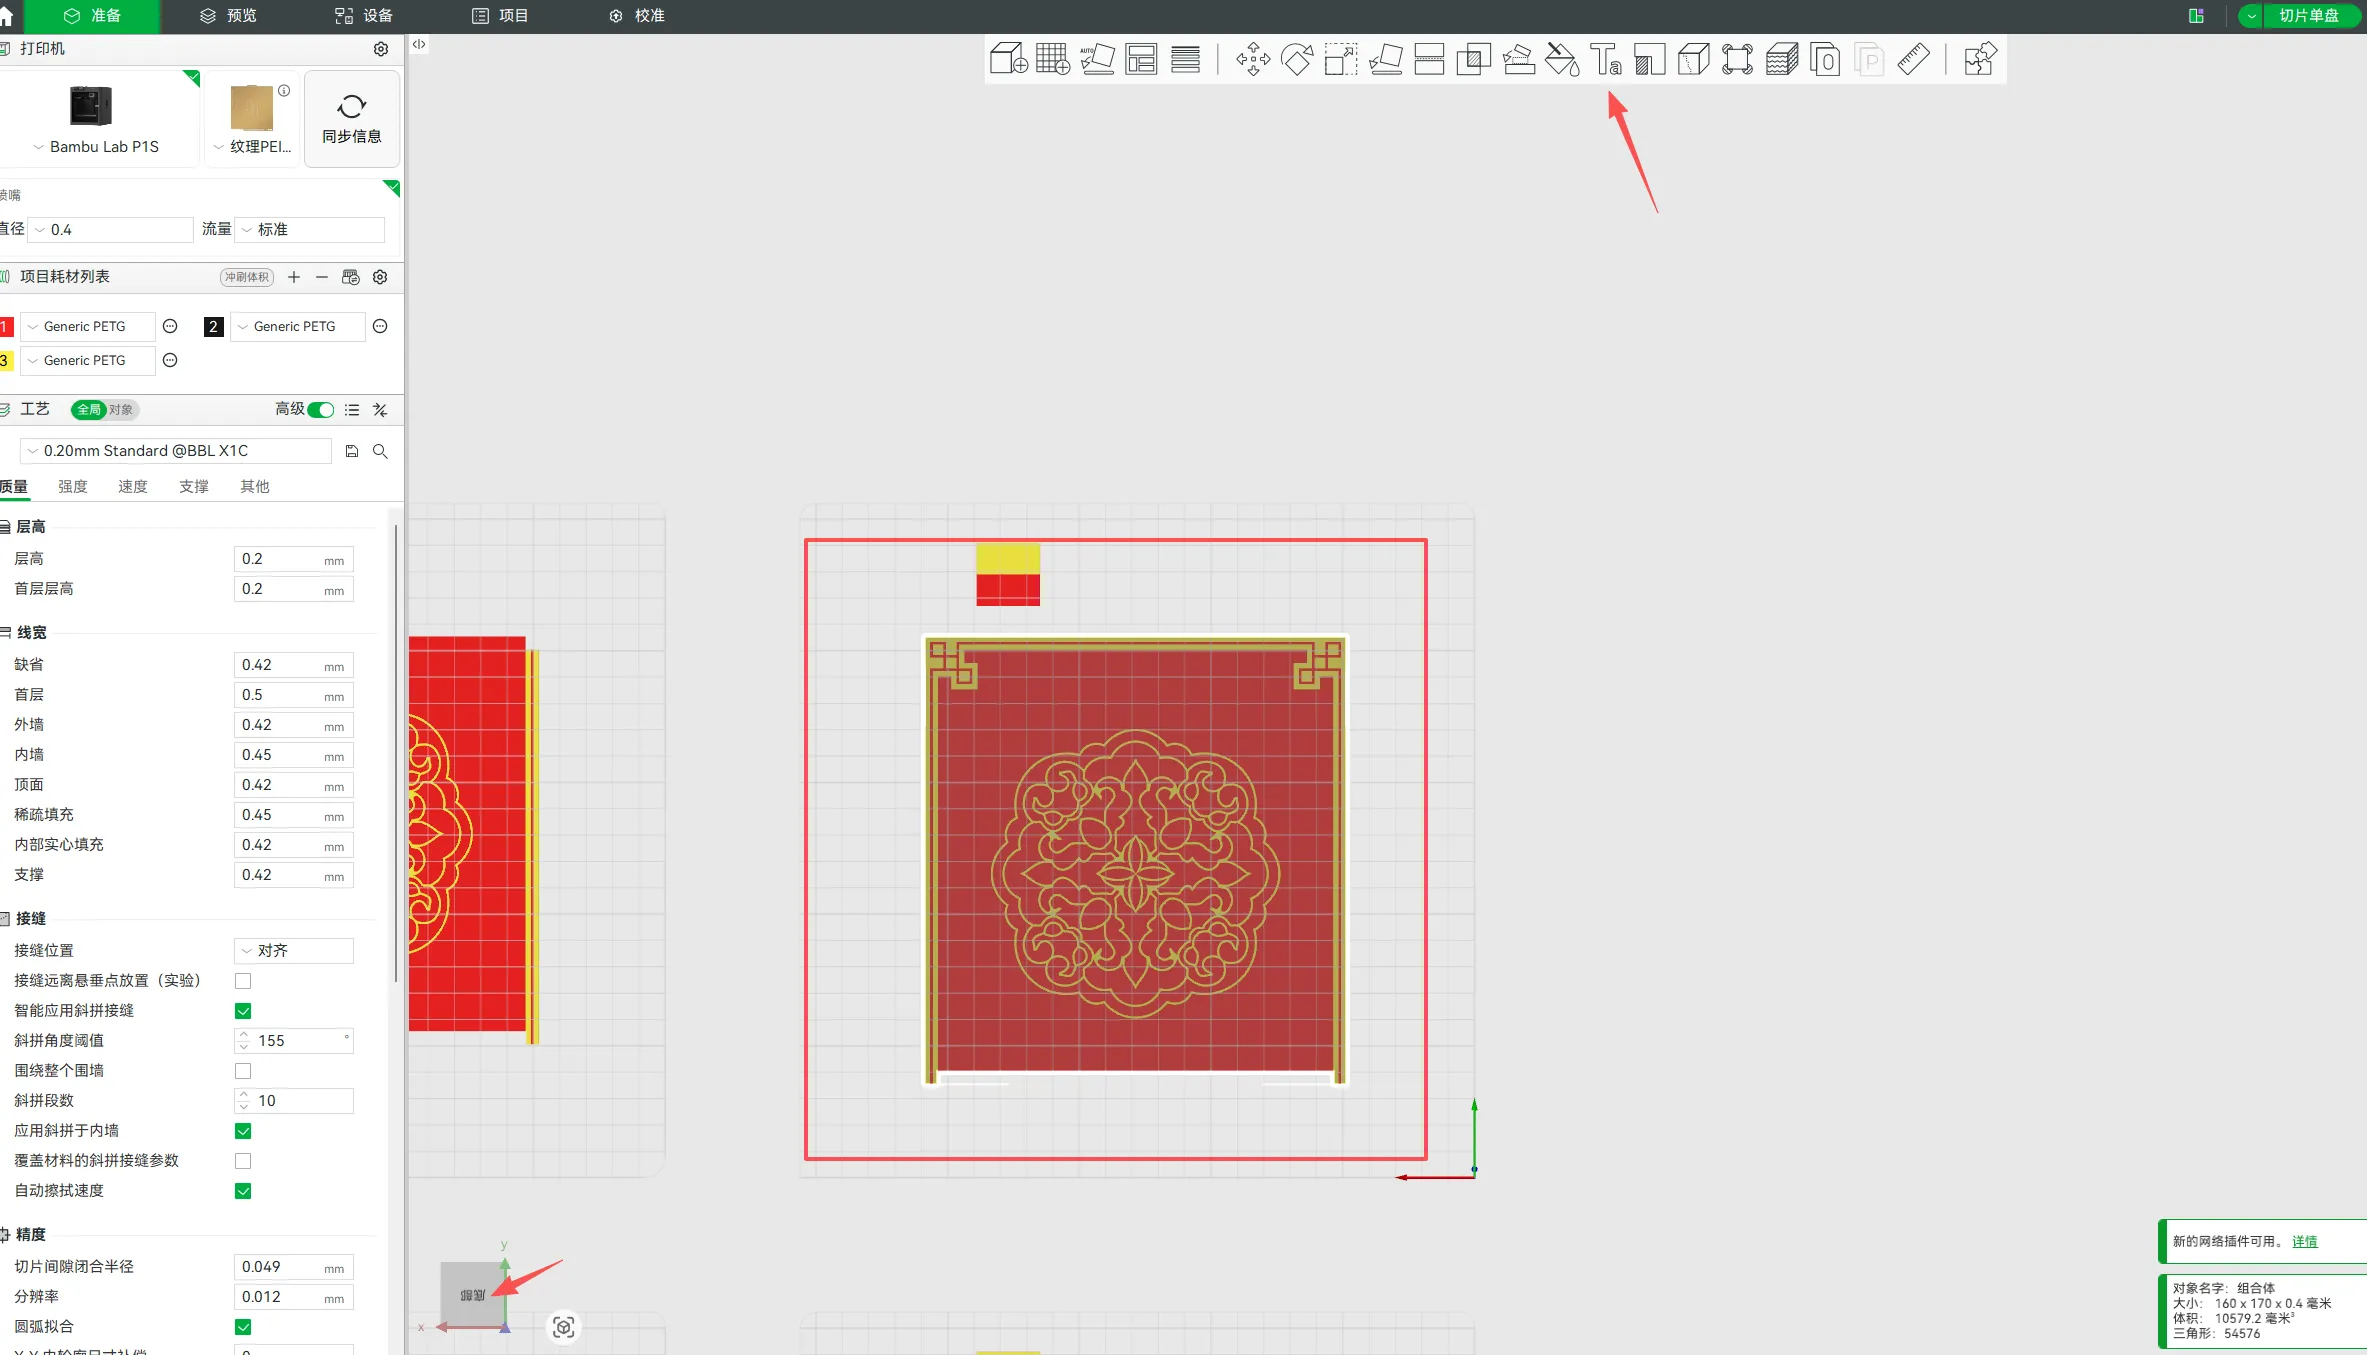
3. I use a face-down printing method, so you need to write the text on the bottom surface of the panel. First, rotate the view to the bottom. Then, select a panel model. Finally, click the 'Insert Text' icon above.
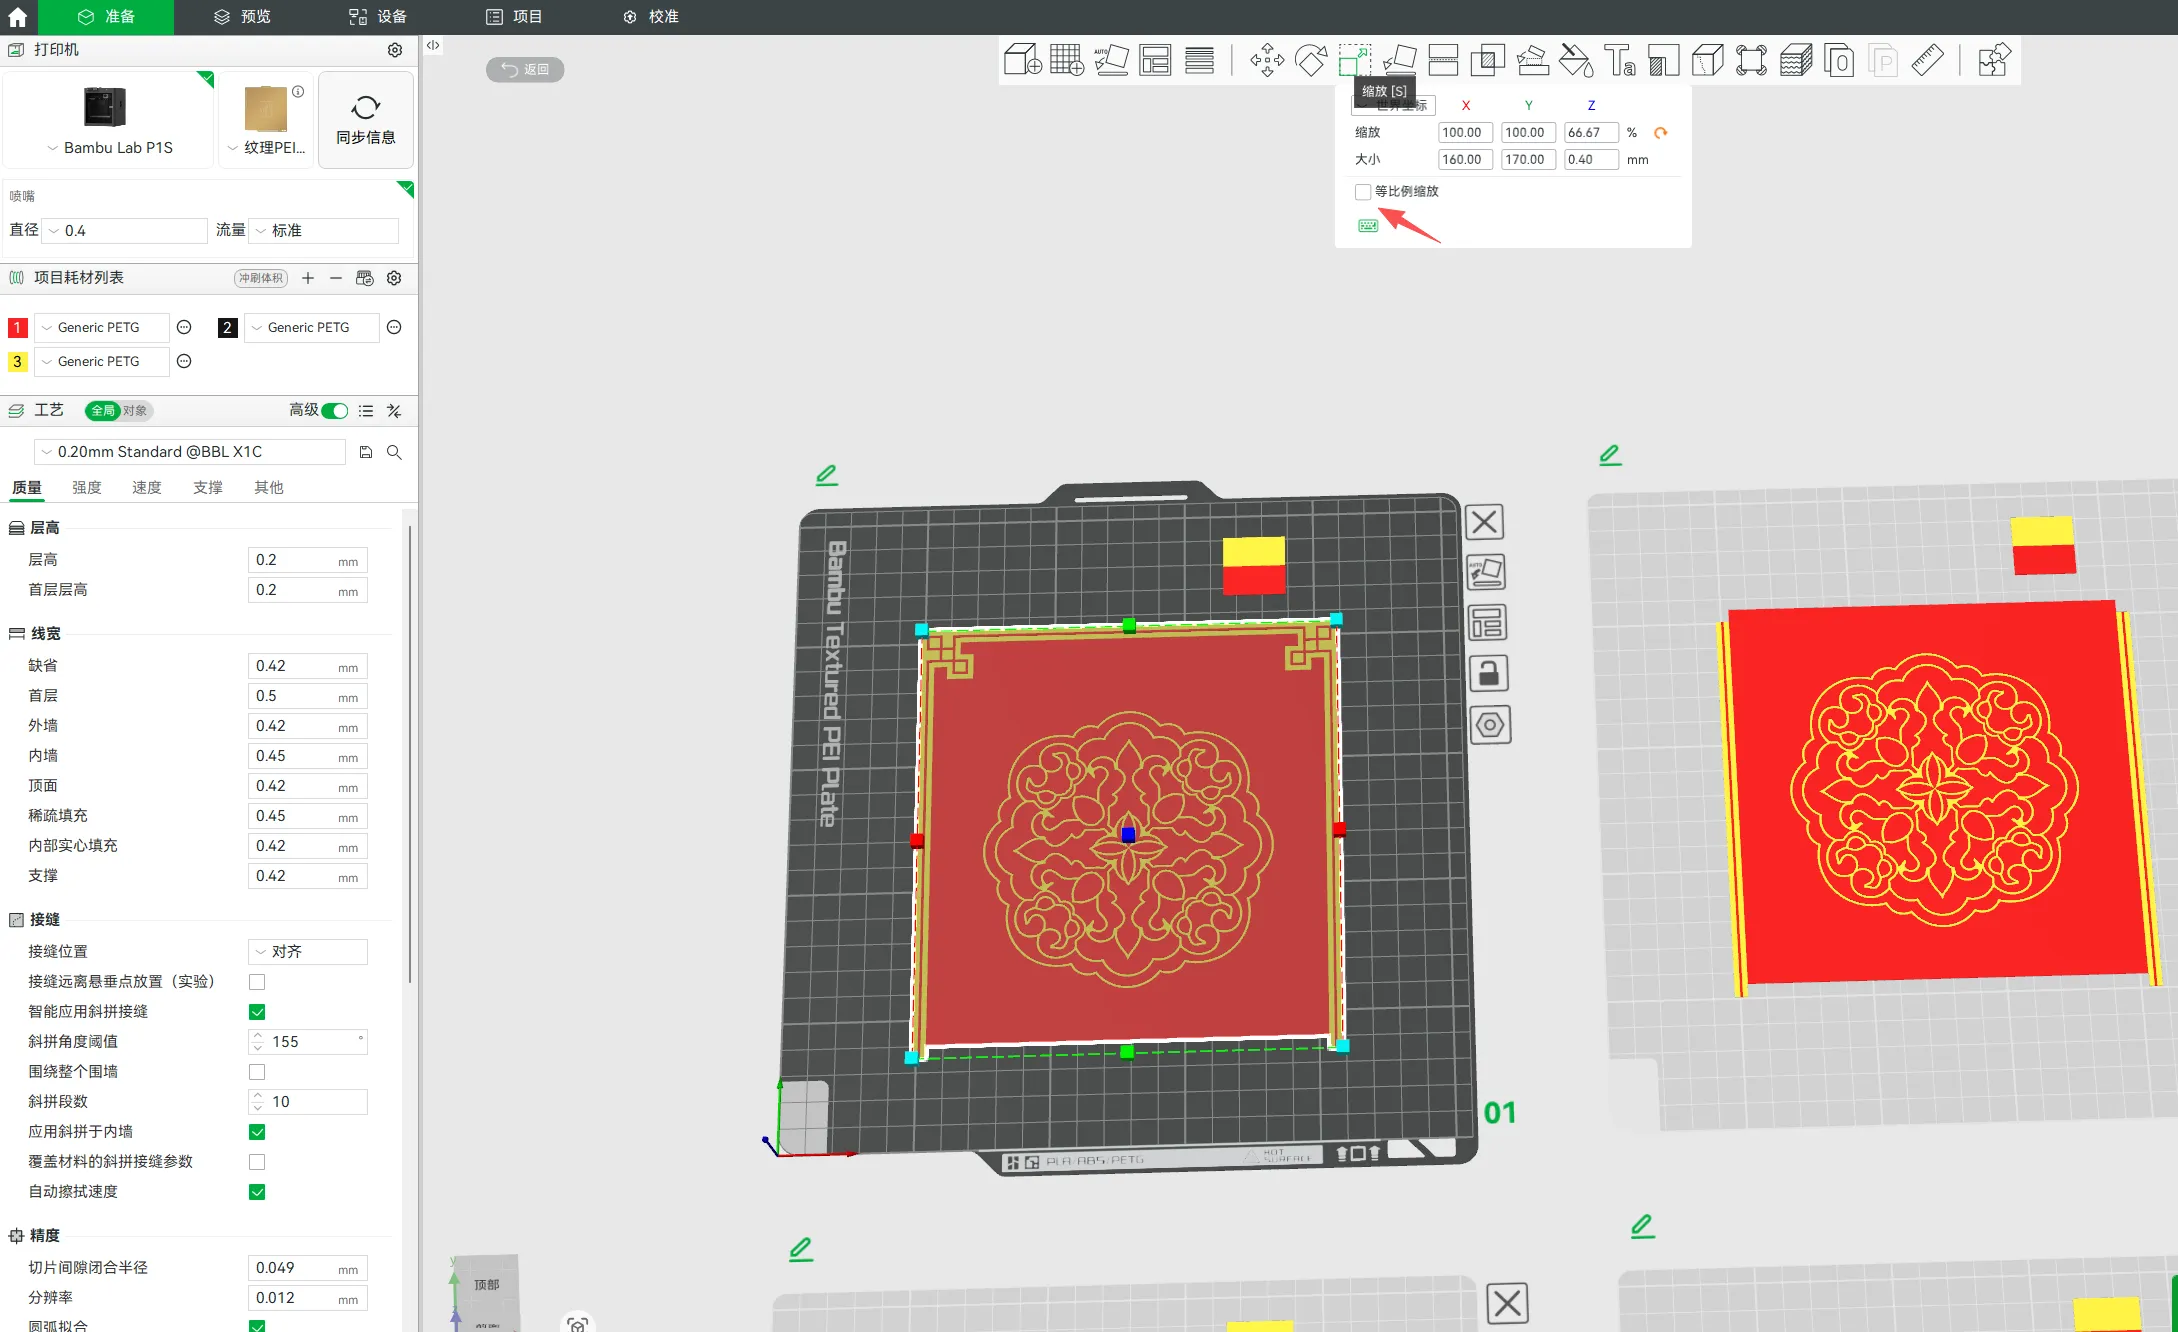
4. Adjust size
a. You can uncheck 'Proportional scaling'.
b. To ensure the base pattern is circular, the scaling ratio of the X and Y axes needs to be consistent.
c. Adjust the Z-axis thickness as needed and remember this value, as it will be used when setting the text below. (The thickness must be at least two print layers; for example, if I print with 0.2mm, the thickness is set to 0.4mm).
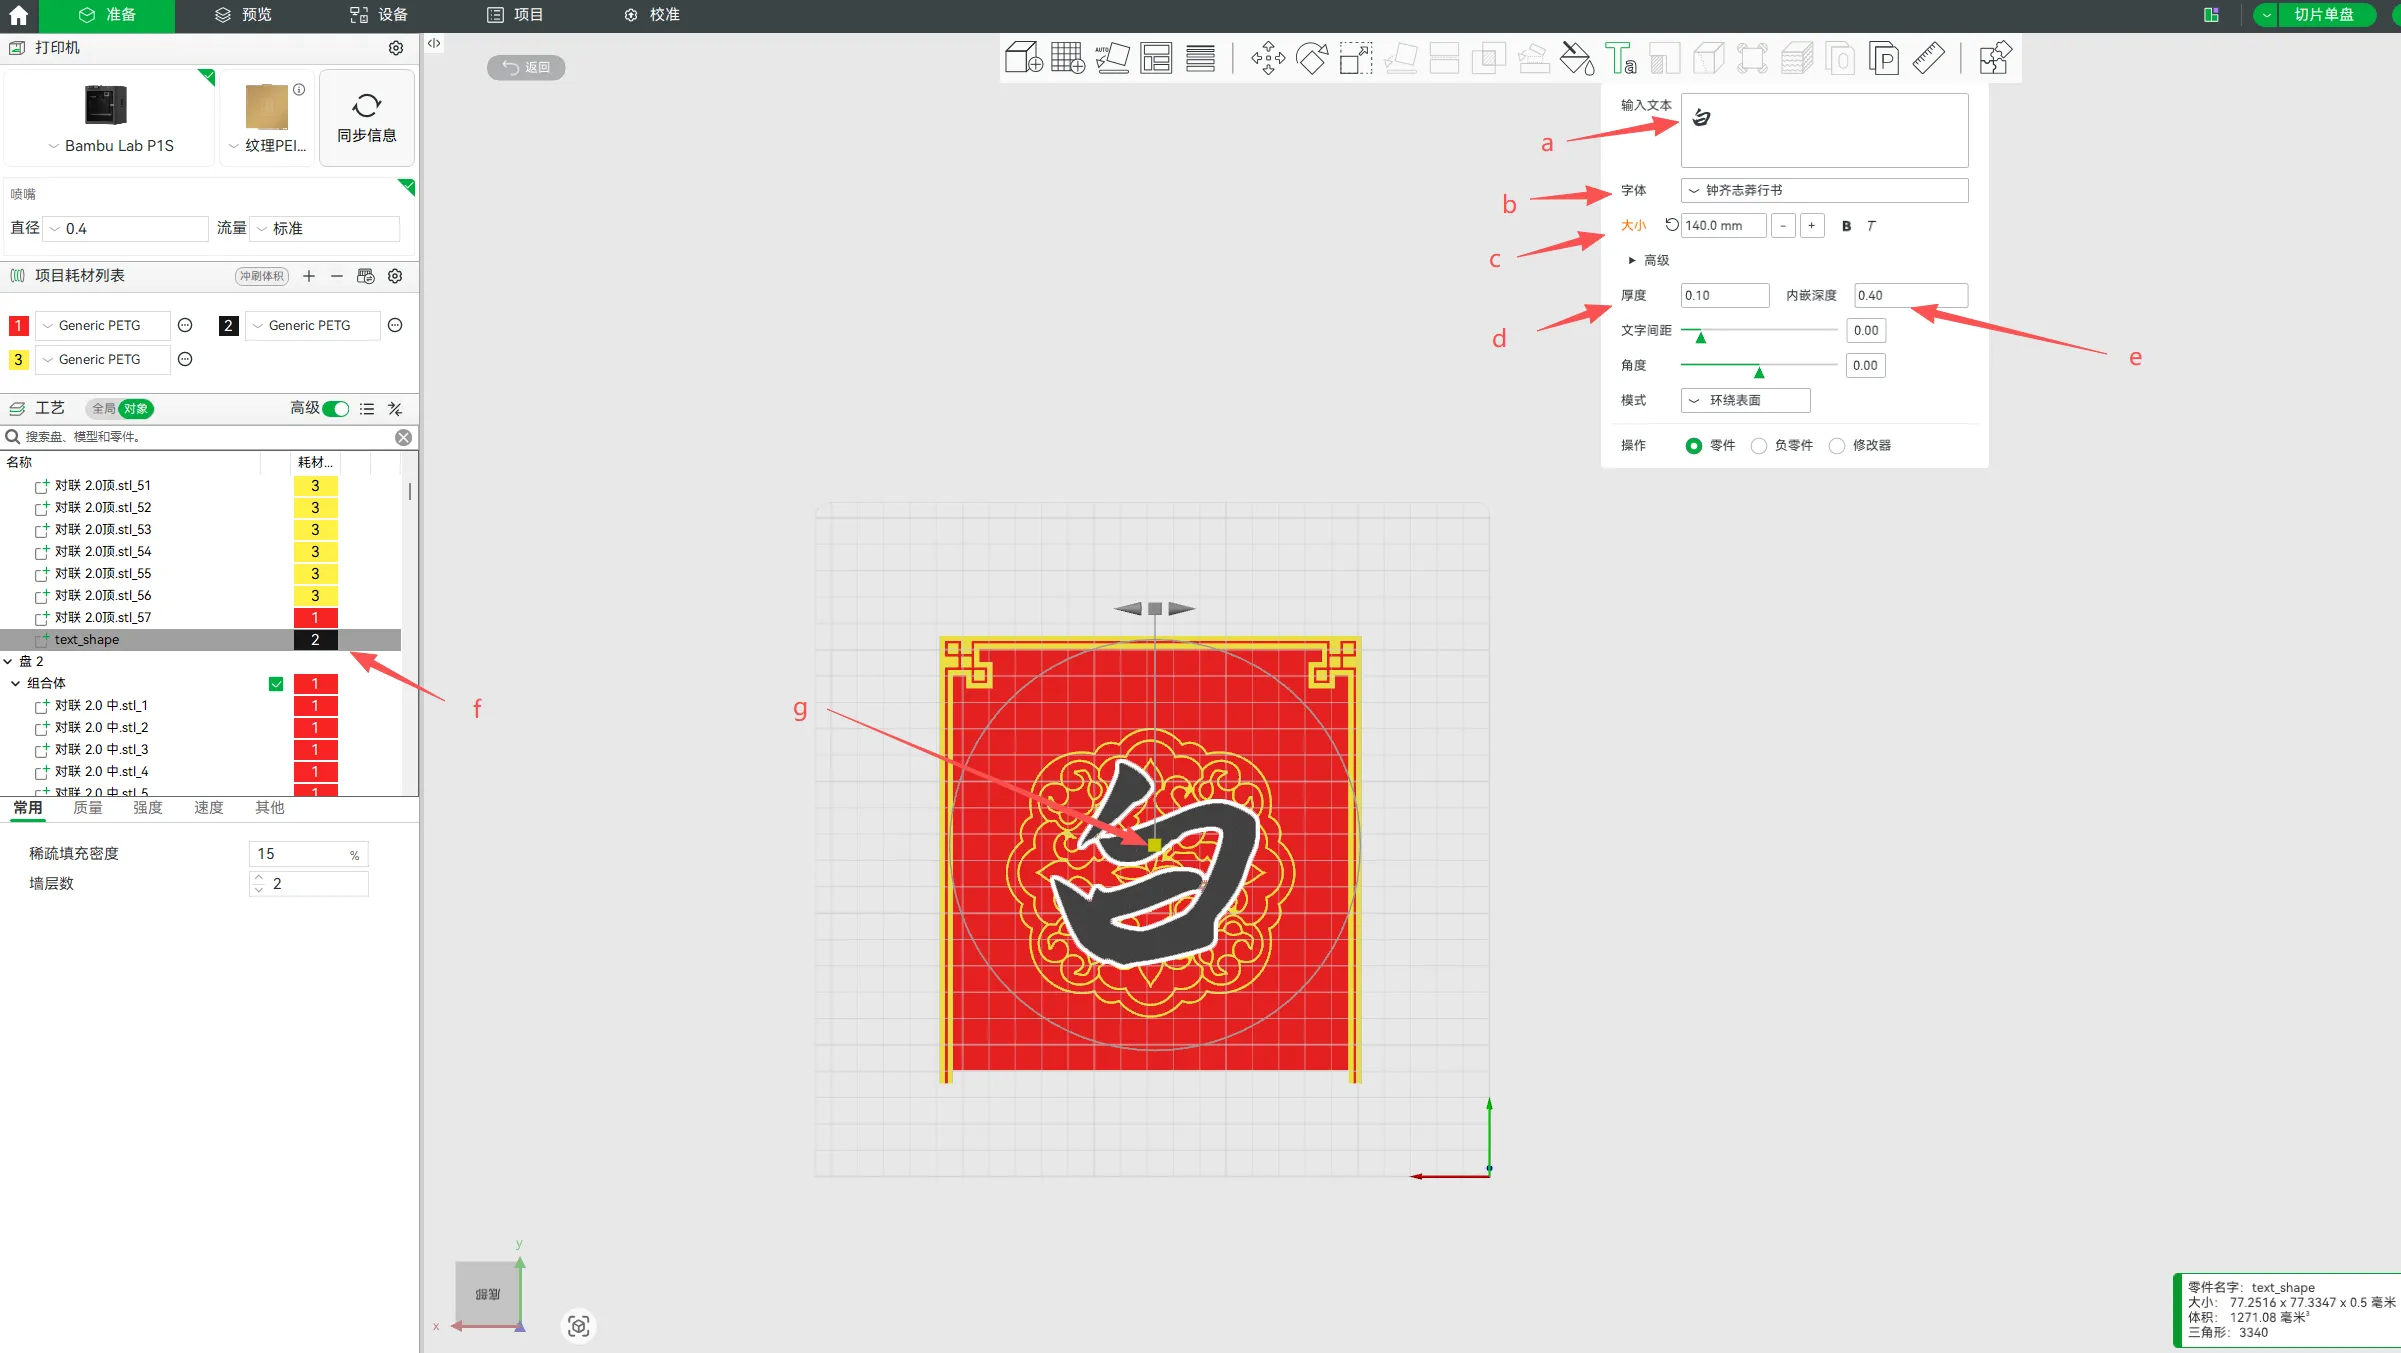
5. Start editing text:
a. Enter text content
b. Select the previously installed brush script font
c. Adjust font size (different fonts require different size settings, and different characters within the same font may also have different sizes; experiment with each character to find the appropriate size).
d. The minimum thickness setting of 0.1mm is sufficient.
e. For the embedded text thickness, you can choose the same thickness as the panel; here I used 0.4mm.
f. In the side object panel, change the text color to black (or any other color you need).
g. Move the text to the center of the base pattern.
5. Follow the steps above to adjust the text and size for all panels.
III. Assembly:
1. Stick a piece of clear tape on the back of one panel.
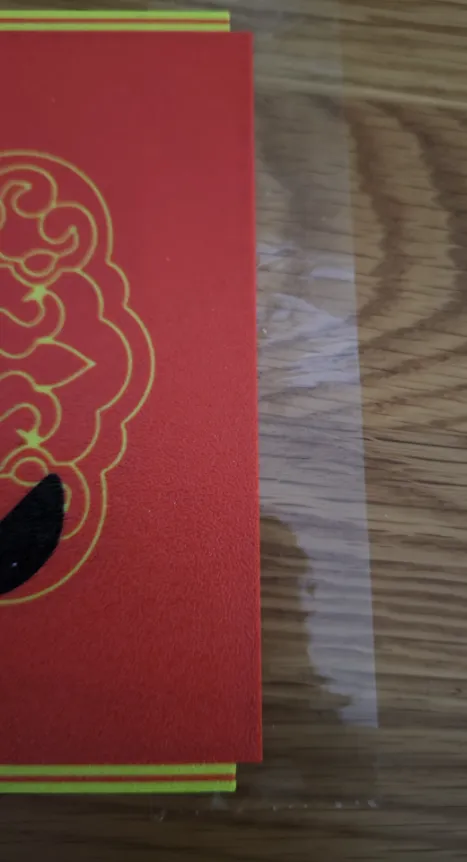
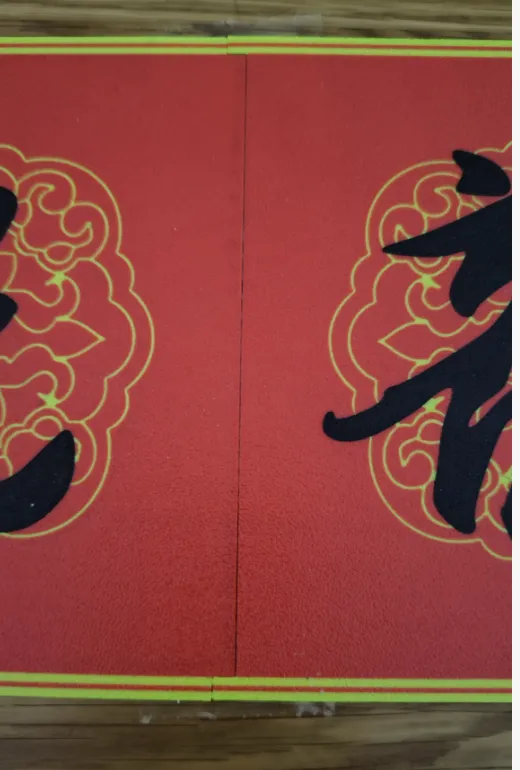
2. Align and attach the other panel. Then trim off the excess tape from both ends.
License

You shall not share, sub-license, sell, rent, host, transfer, or distribute in any way the digital or 3D printed versions of this object, nor any other derivative work of this object in its digital or physical format (including - but not limited to - remixes of this object, and hosting on other digital platforms). The objects may not be used without permission in any way whatsoever in which you charge money, or collect fees.


Comment & Rating (0)