Shanghai Tower - No AMS, No Hardware Shanghai Tower-No AMS


Print Profile(1)
Description
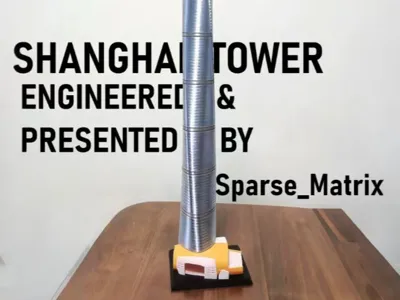
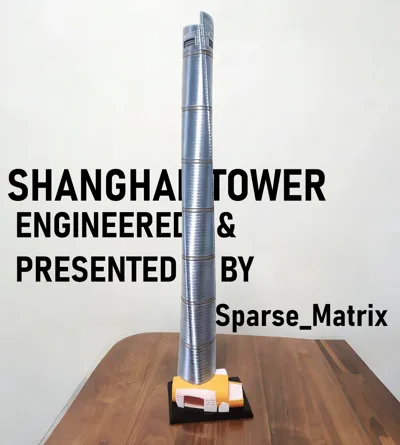
Shanghai Tower Model - No AMS, No Hardware
Shanghai Tower-No AMS
Height: 66cm
height: 66cm
What you need: Transparent PETG material (colorless & blue), a hammer. Applying glue to the print plate is highly recommended. If you cannot ensure the model won't be accidentally knocked off, it is recommended to apply glue (e.g., super glue) to the connections of the model.
I've been looking for models for Shanghai Tower for a while and nothing suitable was found so I made this myself. You can see the brilliant texture and can even see the core under the sun.
Printing instructions
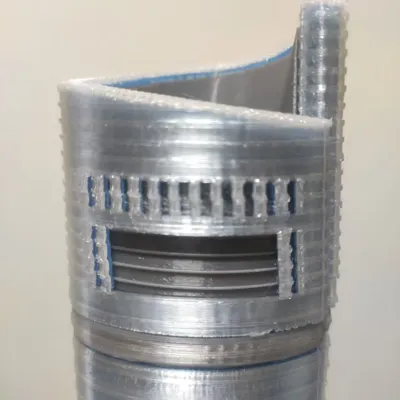
For Material 2 (blue) and Material 3 (white), please be sure to use transparent PETG of the corresponding colors so that the interior can be seen.
Material 5 (beige) is opaque PETG and can be replaced with white.
##VERY IMPORTANT!! First, print the laminated glass rings of Plate 4, because during the printing of Plate 3, the print needs to be paused according to the pause settings in the print profile, then place the glass rings and continue printing.
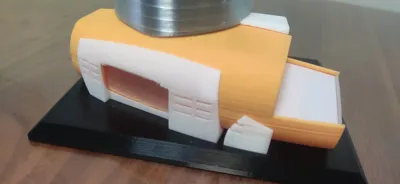
Then print the window parts of Plate 5 and Plate 8, because Plate 7 will pause 3 times during printing. In sequence, place the 'floor' part of Plate 5 in front, insert the 'side window' of Plate 8 on the left side, and insert the 'front up' of Plate 8 in the front (you need to bend it slightly to find the correct angle for insertion).
When printing the 'floor' of Plate 5, the face facing down should still face down when inserted. For all windows of Plate 8, the face facing down during printing should face outwards when installed. If you are unsure about the direction of the 'side window', you can compare it on the 'side' of Plate 5.
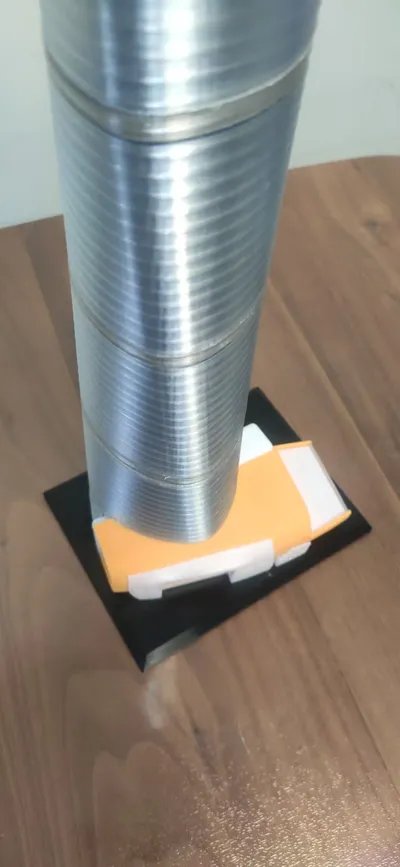
Applying glue is highly recommended, even for parts with a large base area, as I have already wasted a plate due to warping.
The tolerance for the upper layers of the blue curtain wall is a bit small; actual testing shows they can be hammered in.
It is recommended to apply glue between every two layers of the core cylinder to prevent them from being knocked off and to maintain the texture.
Do not use vase mode or reduce fan speed or print speed to achieve a more transparent shell, as this will reduce the cooling rate and result in an incorrect shell shape.
Except for Material 2 and Material 3, which require PETG for texture, other filaments can be replaced as appropriate (the transparent blue of Material 2 will bring a lovely light blue hue to the curtain wall).
Comment & Rating (2)