
Wet Palette (Army Painter)
Print Profile(1)
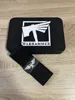
Description
When I wanted to get into the miniature hobby, I saw wet palettes in seemingly every tutorial. It quickly became clear: if my miniatures were going to look halfway decent, I needed one too 😄
However, I was too stingy to immediately spend 30 € on a ready-made wet palette. So I thought to myself: There must be another way. And indeed – there are countless models and variations for 3D printers.
So why bother designing something myself anyway
It's simple: I wanted a different look. Plus, my inner perfectionist was simply not satisfied with many existing models – especially regarding print quality, details, and overall impression.
Boost Me (for free)
So I set myself some clear goals and got to work with the help of good templates. Below, I explain what sets my model apart from other wet palettes, and if you like it, I'd appreciate every boost!
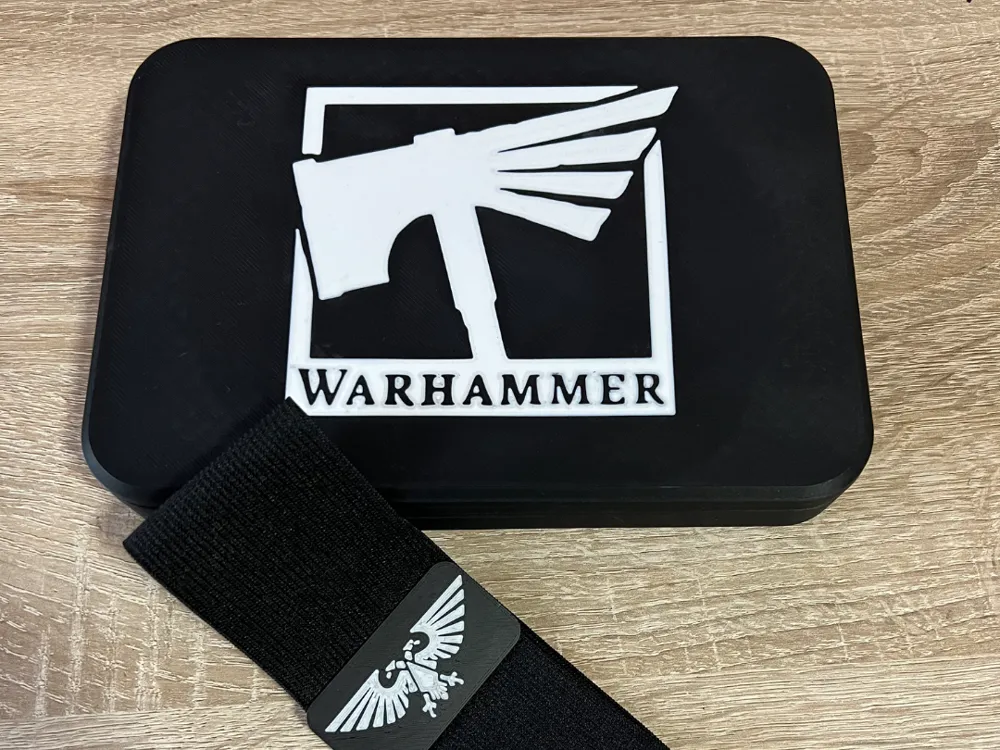
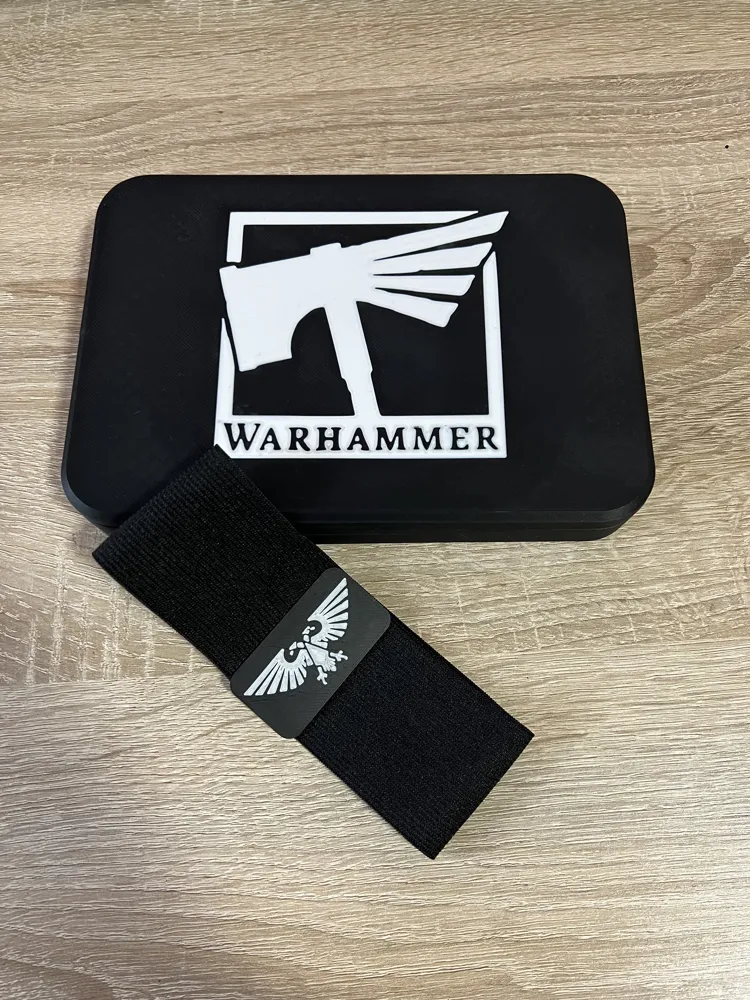
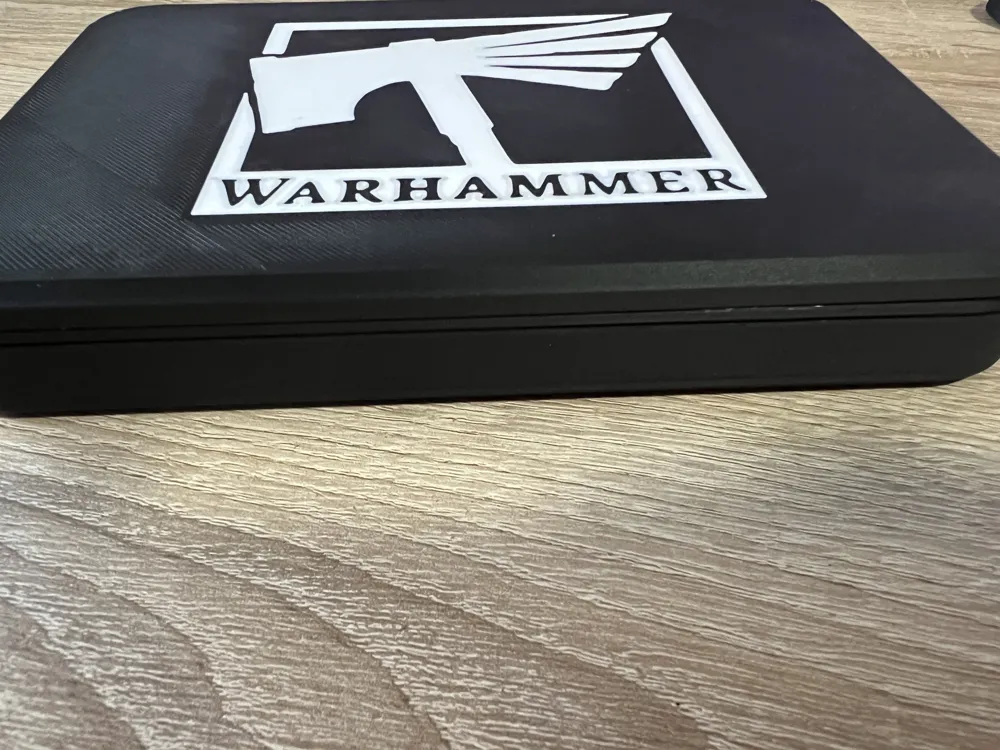
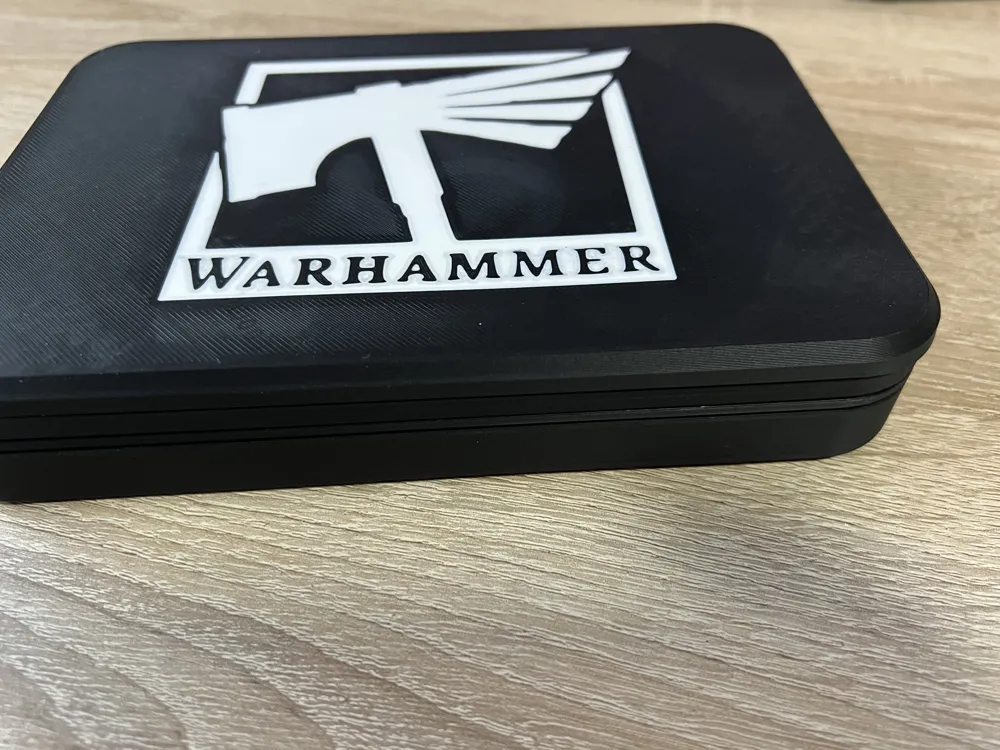
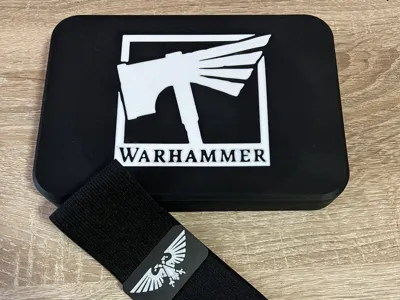
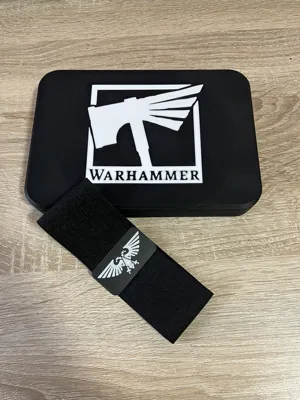
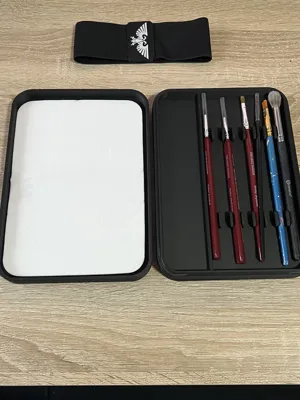
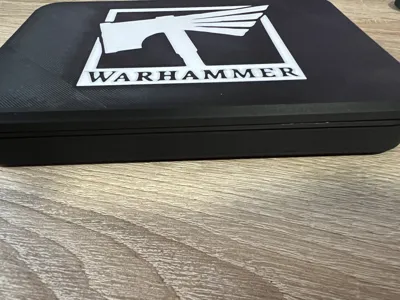
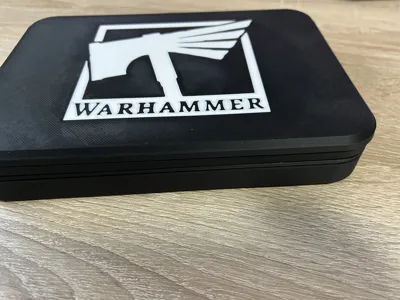
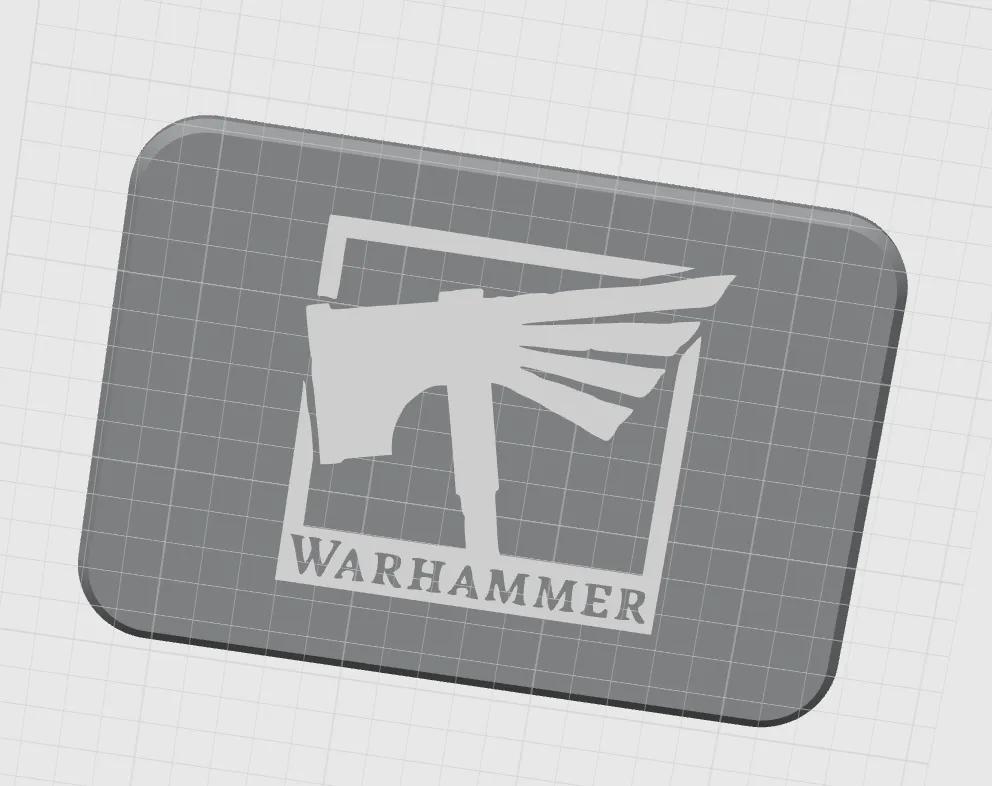
1️⃣ I wanted a logo
Of course, it's not rocket science – but without one, the box felt too boring to me. I simply didn't find the often-used, generic “Wet Palette” design visually appealing. With a clear reference, it's immediately obvious what the palette is for.
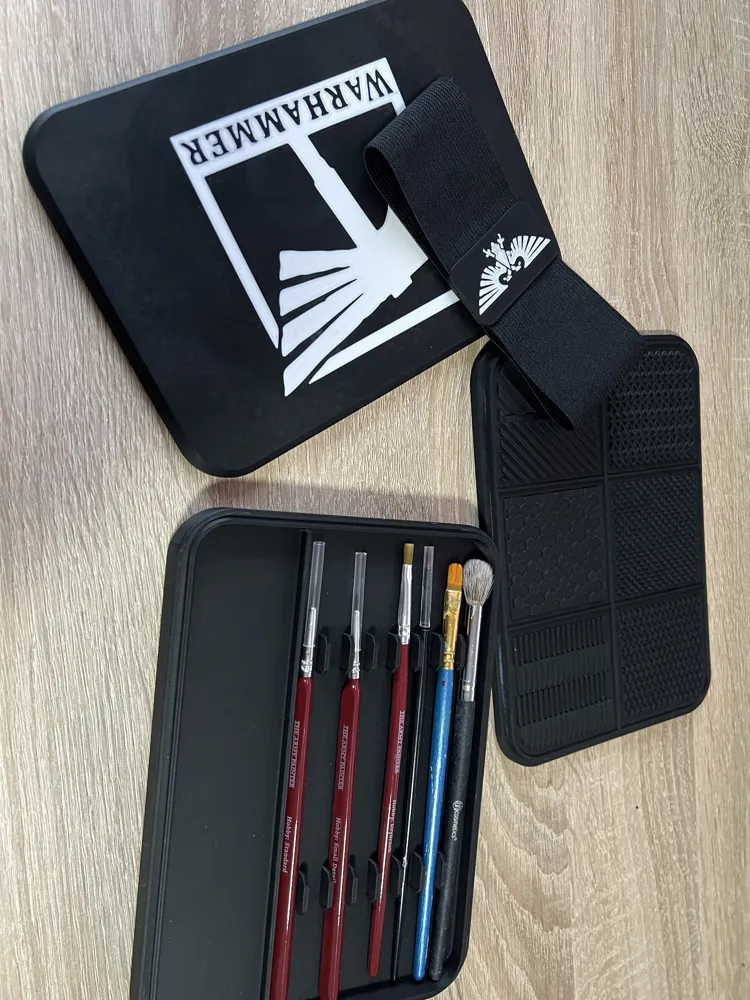
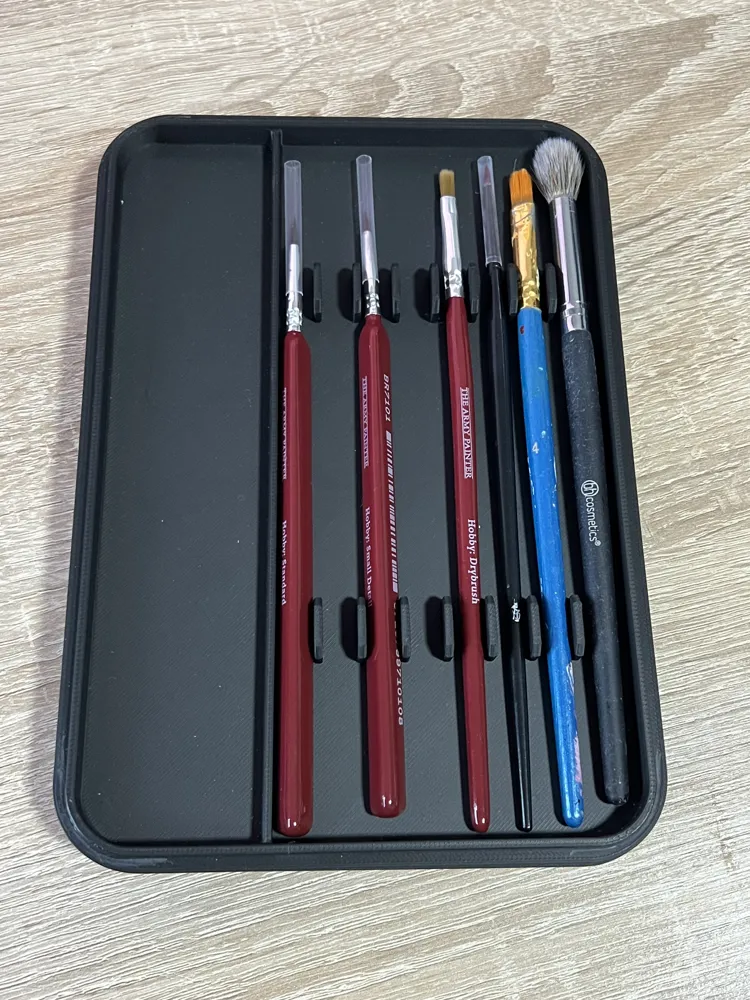
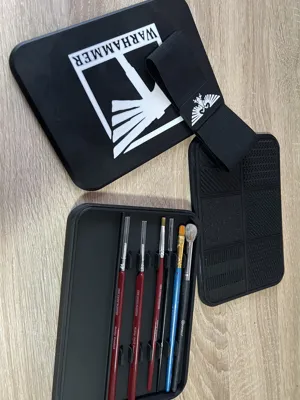
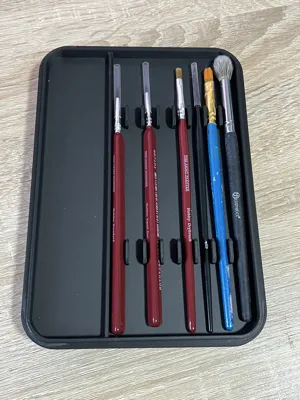
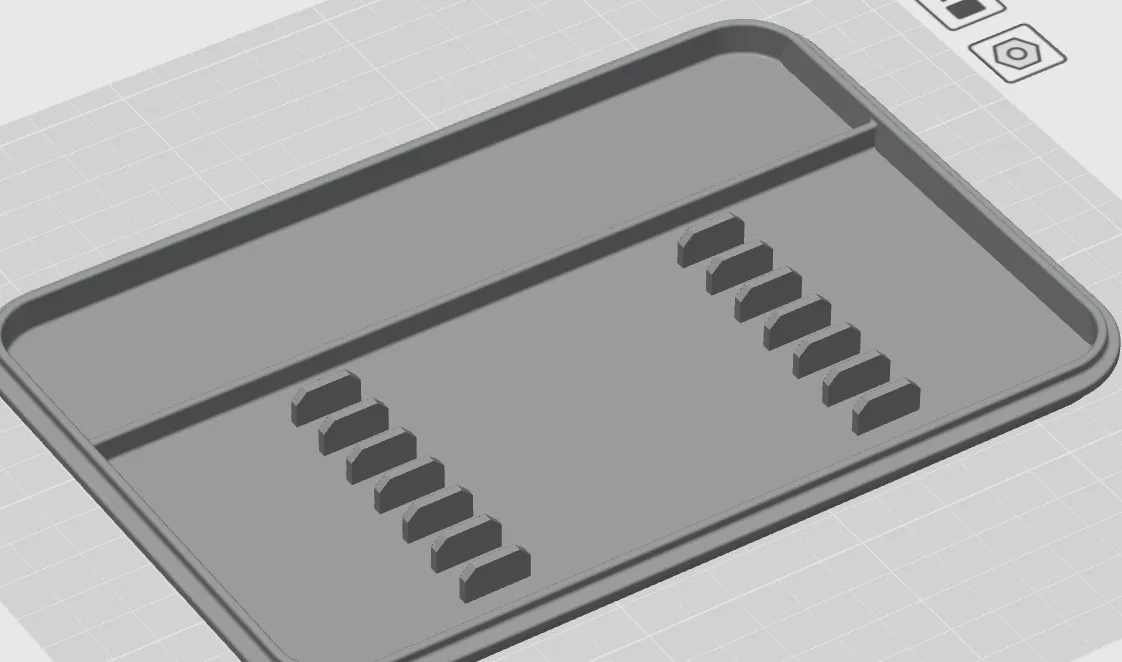
2️⃣ I wanted a proper brush holder
Many existing models only have one large and one small compartment for brushes or accessories.
I found the inspiration from Army Painter with individual brush slots much more thought out – so these spacers absolutely had to be integrated into my remix. This way, the brushes lie neatly, securely, and tidily.
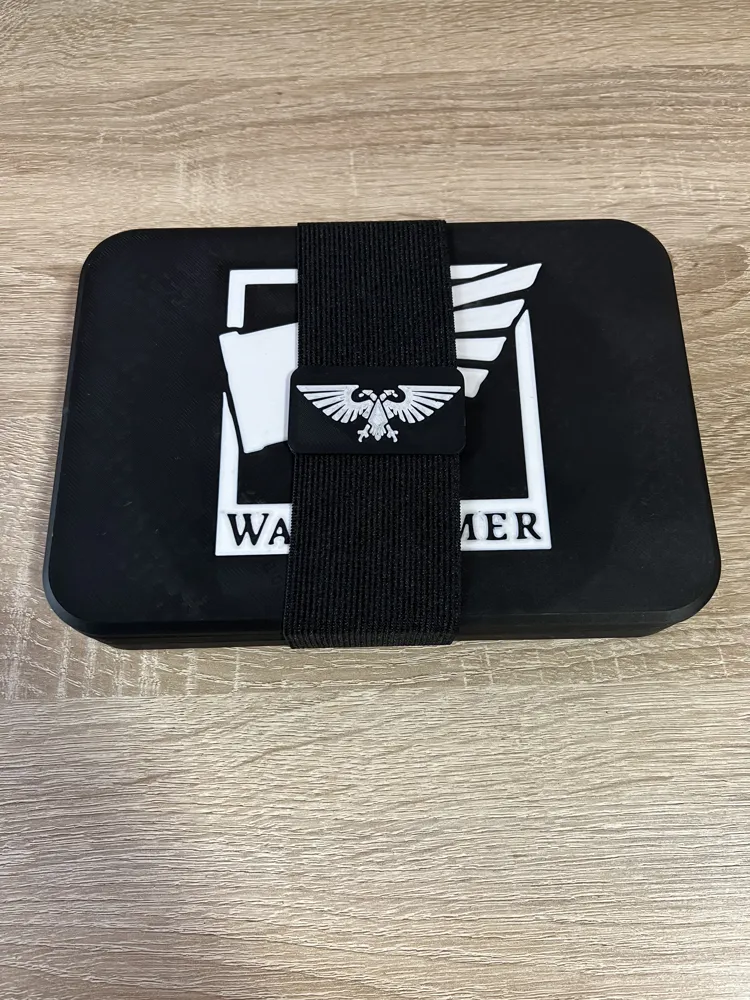
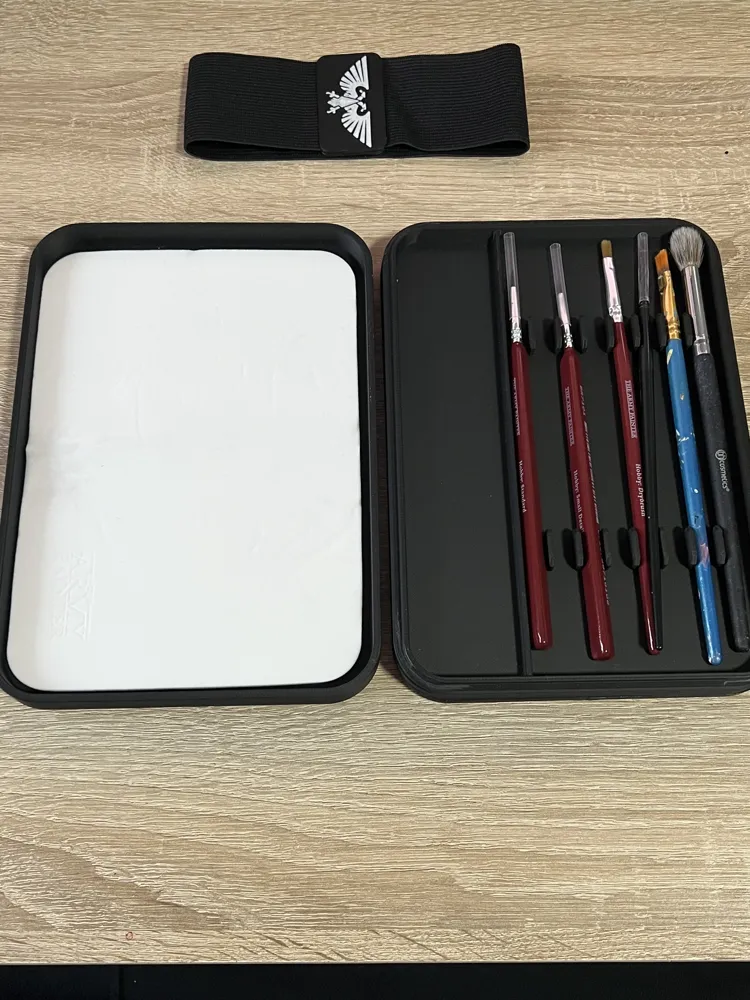
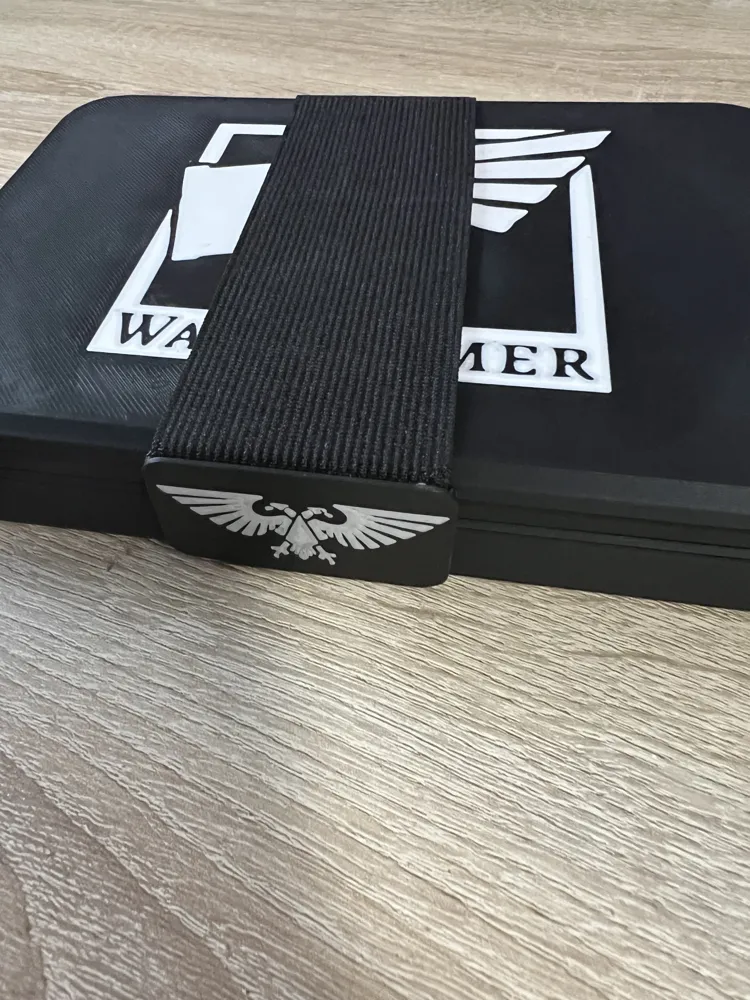
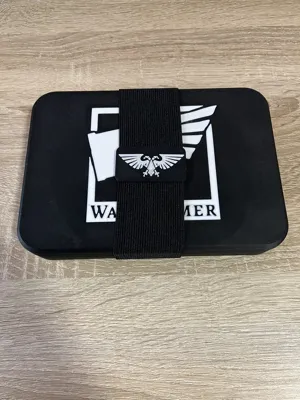
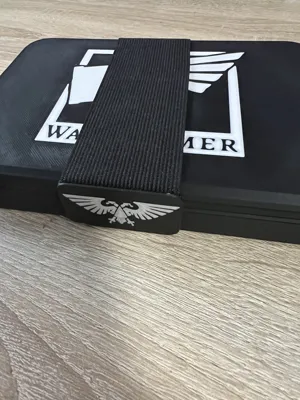
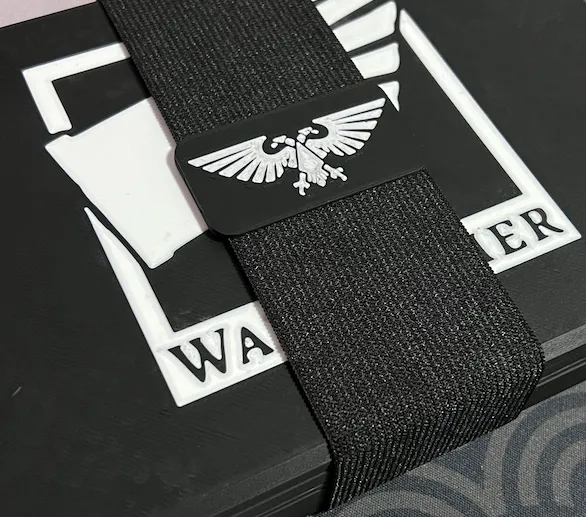
3️⃣ I wanted a fixation with an elastic band
Here too, the Army Painter palette served as a model.
However, a normal, round elastic band was out of the question for me. I wanted a flat, fabric-based elastic band– fortunately, I still had remnants from a previous helmet project.
Simply gluing the ends together works, but it looks unsightly. So I quickly designed a suitable cap that conceals the connection and covers it with a logo.
Result: clean, stable, and visually coherent.
4️⃣ Everything should be printable flat and with as little support as possible
A major problem with many models is printing them vertically. While this sometimes saves on support, it often leaves visible marks that ruin the high-quality impression. Therefore, I developed a separate solution for each component:
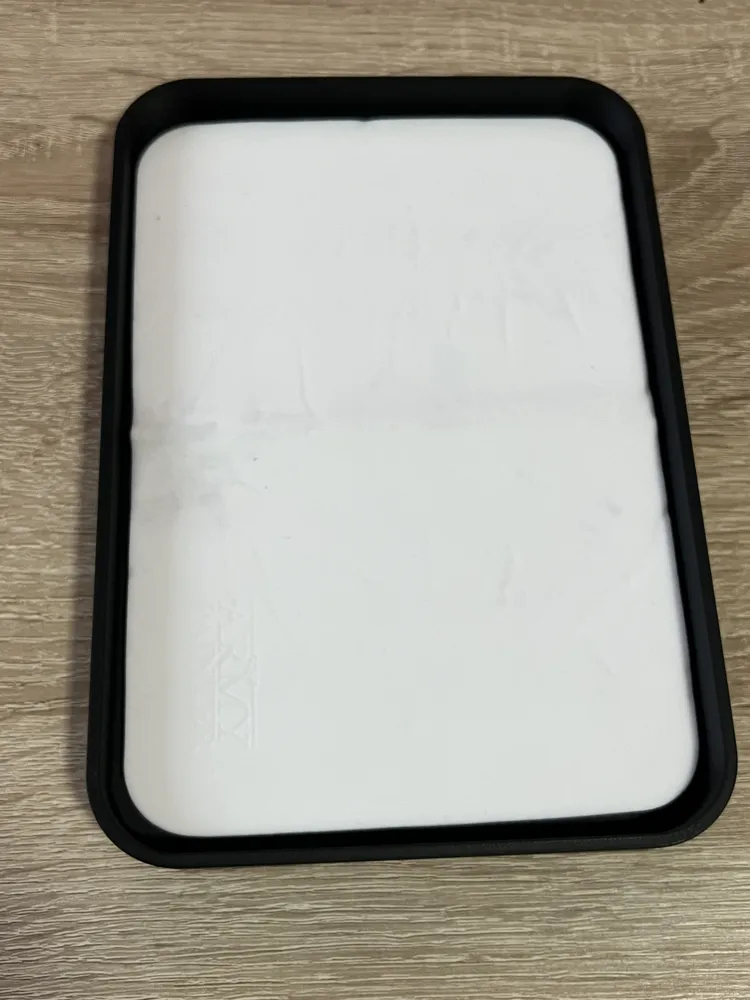
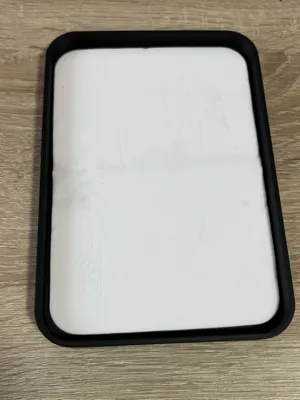
Lid
This was simply flattened, and the curve became more angular. Additionally, it is printed upside down so that the top surface benefits from the smooth print bed. No support needed, perfect surface.
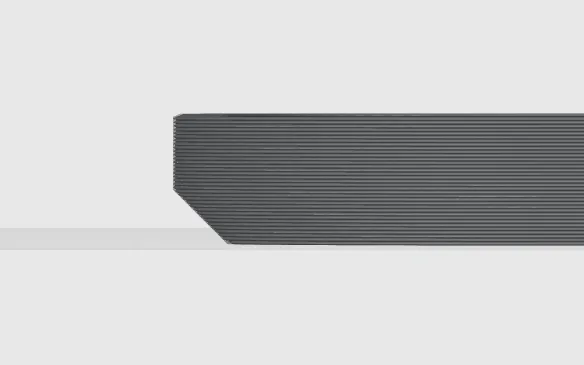
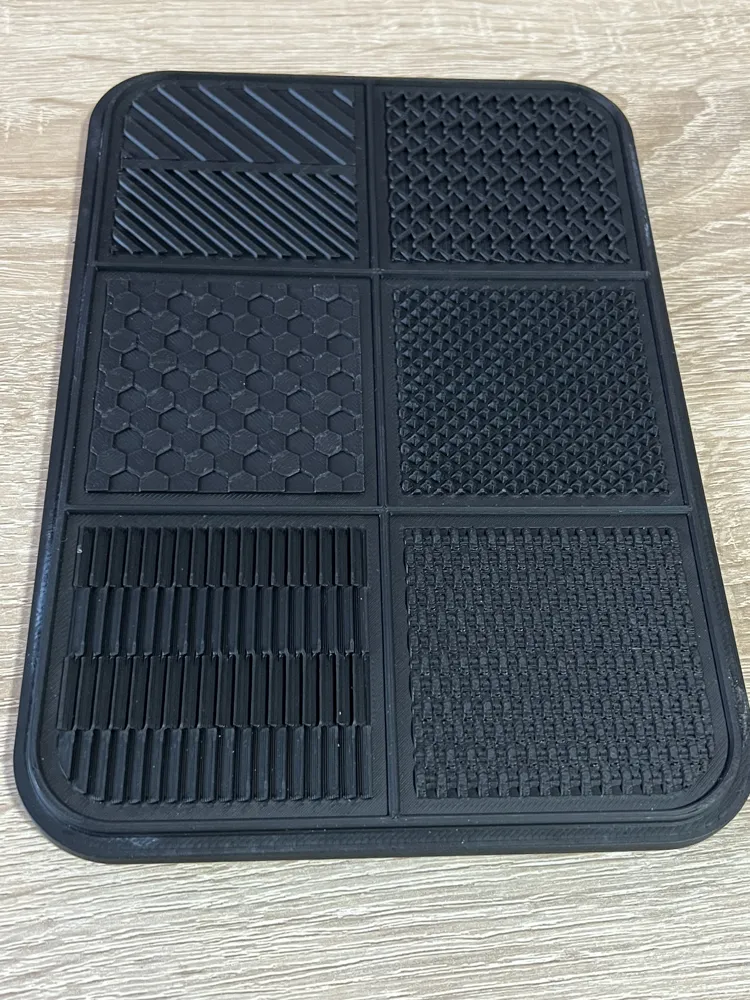
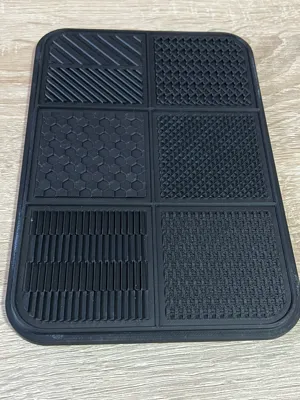
Dry-Brush Module
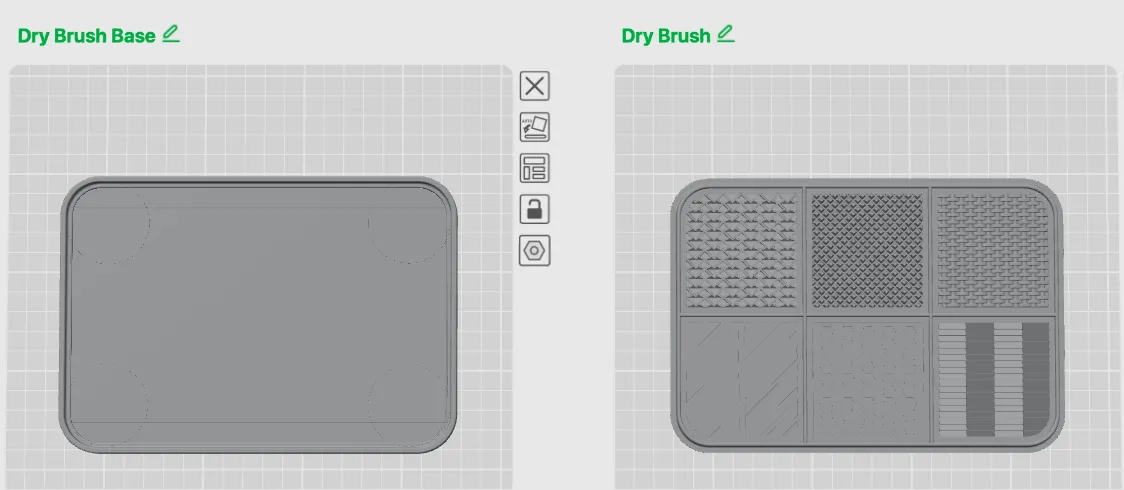
This part had to be made a bit thicker and was split. This way, it can be printed flat and completely without support.
After printing, both parts are simply glued together with superglue. The seam is invisible – just make sure to glue centrally so that the fit is correct.
Brush Holder
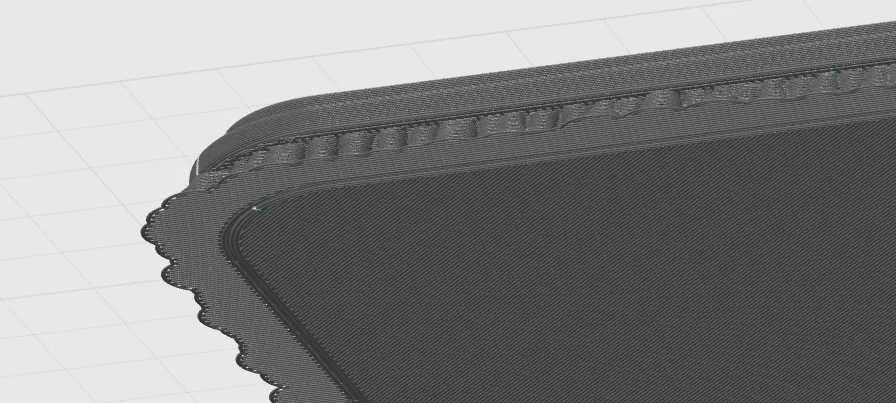
Support cannot be completely avoided here. Minimal support is needed all around, but it only sits on the bottom edge. After removal, nothing of it is visible.
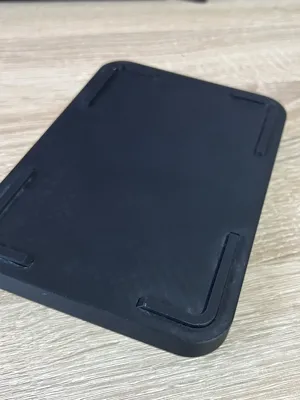
Base
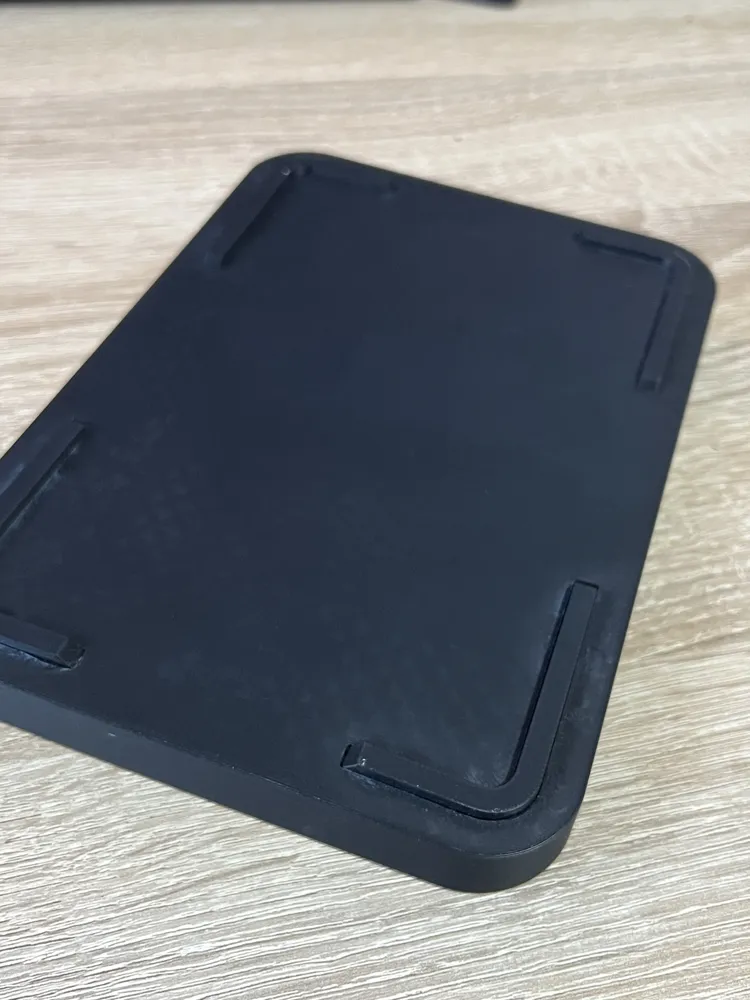
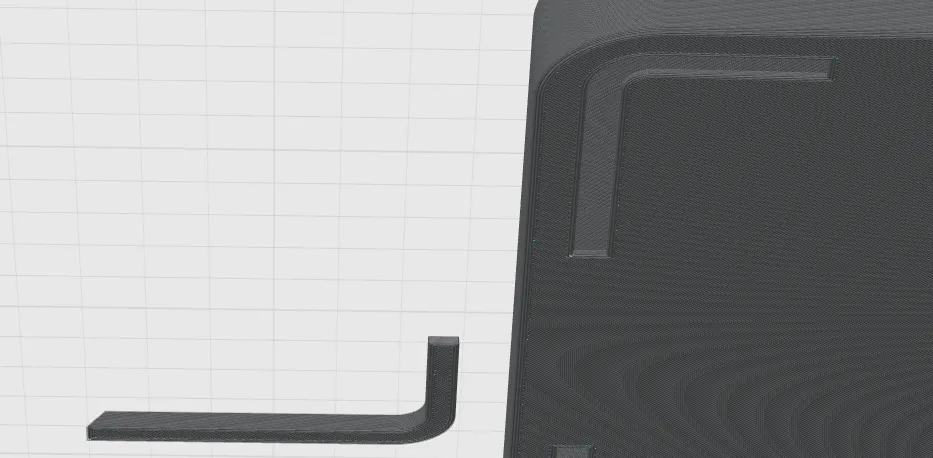
The feet are practical but require unnecessarily large amounts of support or force vertical printing.
The solution: separate feet.
There are recesses in the base, and the feet are simply glued in after printing. This keeps the print clean – and fully maintains its function.
Important Notes
Thank you for reading this far! I hope you enjoy the wet palette as much as I do. Finally, a few important notes:
- The logo used is solely for visual design and thematic classification. This model is an unofficial fan design and is in no way connected to Games Workshop. Logos and all associated terms are registered trademarks of the Games Workshop Group.
- The palette can only be assembled in a fixed sequence:
- Base, brush holder, dry-brush unit, lid.
- The dry-brush unit is optional and can be omitted.
- The dry-brush unit cannot be swapped with the brush holder as their size and design (split) differ.
- Due to printer tolerances, the fit at the corners might be a bit tighter. If it's too tight, I recommend carefully warming the corners with a heat gun (not to the melting point!) and then assembling the parts.
- The elastic band used is 50 mm wide and 300 mm long. The length can be adjusted according to the desired fit.
This remix is based on


License



Comment & Rating (20)