Social Media Picture Frame - PARAMETRIC & NO AMS!


Print Profile(5)
Description
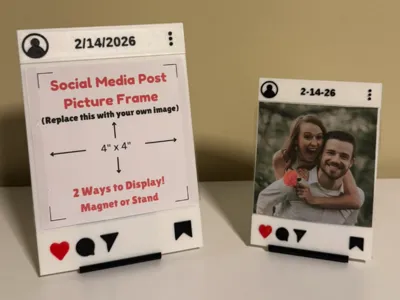
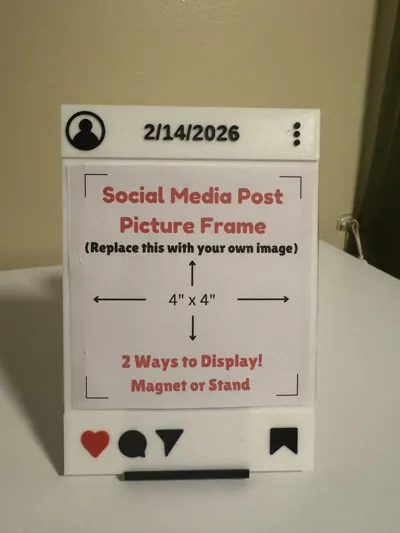
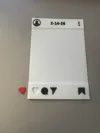
Social Media Picture Frame - Choose your own size!
Simply input the size of your picture, and input your date or word, and then print your own customized picture frame!
After printing, simply tape/glue your picture to the body of the print. Use a stand (in another print profile I uploaded) or glue a magnet to the back!
If you don't want to customize it yourself, I have uploaded a couple generic sizes ready for printing in their own profiles!
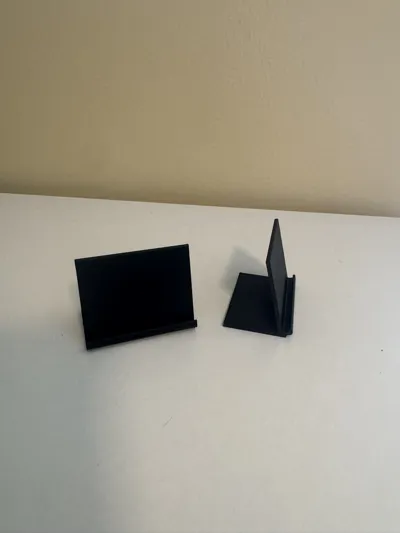
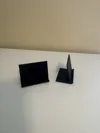
Remember to also print a stand! (Printing it in white would help it blend in more)
AMS INSTRUCTIONS - PLEASE READ!
*For Non-AMS, read the second set of instructions below
- Download the 5 associated icons (share, save, profile, heart, and chat) stl files from this page.
- Click “Customize” Button on the model.
Inside the Parametric Model Maker - click the “Upload File” Button for each of the 5 icons, and upload the related stl file.
(Under profile, upload the profile.stl and chat is chat.stl, and so on!)

- Add your image width and height in the input boxes - use millimeters! (see tip below)
- It will scale for you!
- Change the text to your own date, or short phrase.
- Click “Generate”
- Download your customized picture frame as a 3mf and open it in Bambu Studio. It will be automatically colored for you.
- Print it out, then either attach a magnet to the back or print a stand for it (separate print profile)
Helpful Tip:
Keeping the ratio of the picture area closer to a square ratio will result in better model results. If you have a tall picture, make the frame wider to ensure there is room for all the icons & text
-----------------------------------------------------------------------------------------------------------------
NON-AMS INSTRUCTIONS - PLEASE READ!
- Download the 5 associated icons (share, save, profile, heart, and chat) stl files.
- Click “Customize” Button on the model.
Inside the Parametric Model Maker - click the “Upload File” Button for each of the 5 icons, and upload the related stl file.
(Under profile, upload the profile.stl and chat is chat.stl, and so on!)
- Add your image width and height in the input boxes - use millimeters! (see tip below)
- It will scale for you!
- Change the text to your own date, or short phrase.
Click “Generate”
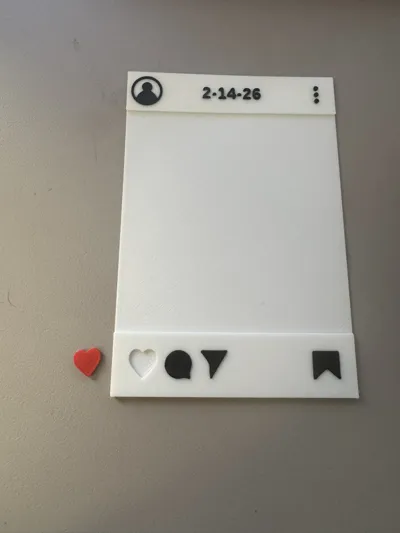
NOTE: The heart with generate on the outside of the picture frame. This is expected, so it can be printed separately.

- Download your customized picture frame as a 3mf and open it in Bambu Studio.
- Once in Bambu Studio, select the object, and click “Split to Objects” from the top toolbar.
- Move the heart to a new plate & print it out
Slice the picture frame, and move the slider to layer 11 (where the text/icons start) and right click the “+” sign and click Change Filament and select a black filament

- Print it out, then either attach a magnet to the back or print a stand for it (separate print profile)
Helpful Tip:
Keeping the ratio of the picture area closer to a square ratio will result in better model results. If you have a tall picture, make the frame wider to ensure there is room for all the icons & text
Boost Me (for free)
If you enjoyed the model and making process, please consider boosting the model! Thank you!
License
You shall not share, sub-license, sell, rent, host, transfer, or distribute in any way the digital or 3D printed versions of this object, nor any other derivative work of this object in its digital or physical format (including - but not limited to - remixes of this object, and hosting on other digital platforms). The objects may not be used without permission in any way whatsoever in which you charge money, or collect fees.
Comment & Rating (0)