Retro Console Controller Bottle Openers | NES SNES


Print Profile(2)

Description
Boost Me (for free)
Boosts help me prototype and create useful and free models for the community. Please consider it. I appreciate all the love my models have been getting lately! Some folks have been asking about a commercial license—I need to hit 200 followers to unlock that feature on MakerWorld. Every follow helps and is greatly appreciated! 🤝
Description:
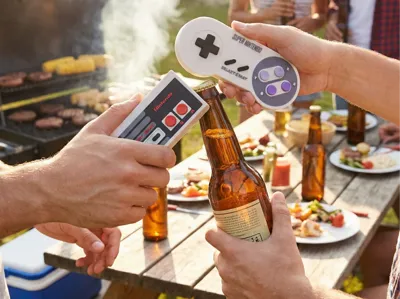
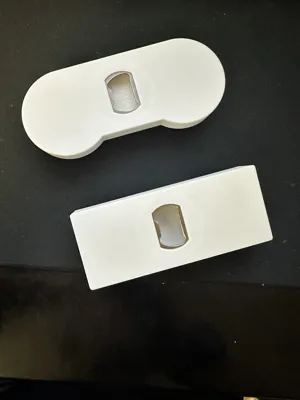
Level up your bar or kitchen with these retro-inspired magnetic bottle openers!
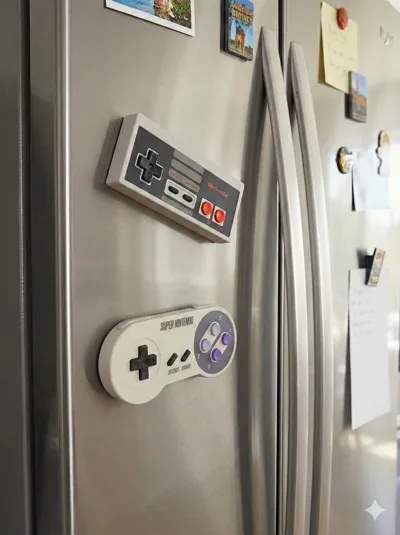
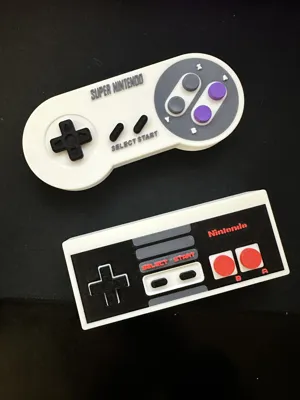
This set includes designs modeled after the classic NES and SNES controllers. They are designed to live on your fridge door, doubling as awesome retro decor when not in use.
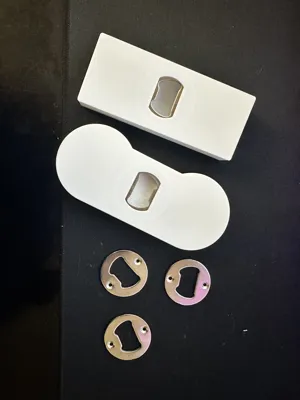
⚠️ IMPORTANT: Hardware Required These models are designed around a specific metal bottle opener insert. This part is non-negotiable as the internal recess is modeled exactly to its dimensions.
- Required Bottle Opener Insert: Amazon Link
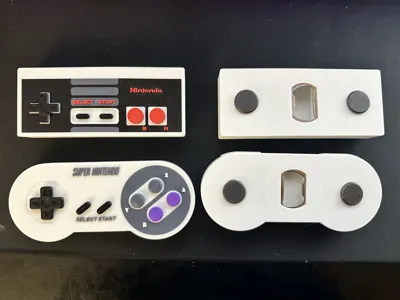
Two Variants Available:
- Magnet Ready: Features pre-modeled holes specifically for these magnets: Amazon Link.
- Flat Back: A clean back surface for those who don't want magnets or prefer to drill/remix their own recesses for different magnet sizes.
🖨️ Printing & Assembly Instructions (Critical) This is an embedded print. You will insert the metal bottle opener during the printing process so it becomes permanently trapped inside the controller.
- The Pause: The provided print profiles include a pause command at the specific layer height just before the recess is bridged over.
- Installation: When the printer pauses, drop the metal bottle opener insert into the cavity.
- Resume: Resume the print. The printer will print over the top of the metal insert, locking it in place.
- Magnets: If using the magnet version, glue your magnets into the holes on the back after the print is finished.
🔴 Slicing Note: You MUST verify that you have a "Pause" at the final layer before the recess is covered. If you miss this step, the printer will try to print over empty air or your extruder will collide with the metal insert!
License
You shall not share, sub-license, sell, rent, host, transfer, or distribute in any way the digital or 3D printed versions of this object, nor any other derivative work of this object in its digital or physical format (including - but not limited to - remixes of this object, and hosting on other digital platforms). The objects may not be used without permission in any way whatsoever in which you charge money, or collect fees.
Comment & Rating (5)