
DIY Powerbank MK1 "GRENADE"
Print Profile(1)
Bill of Materials





Description
Check out the full collection here:
https://makerworld.com/it/collections/21153900-diy-powerbank
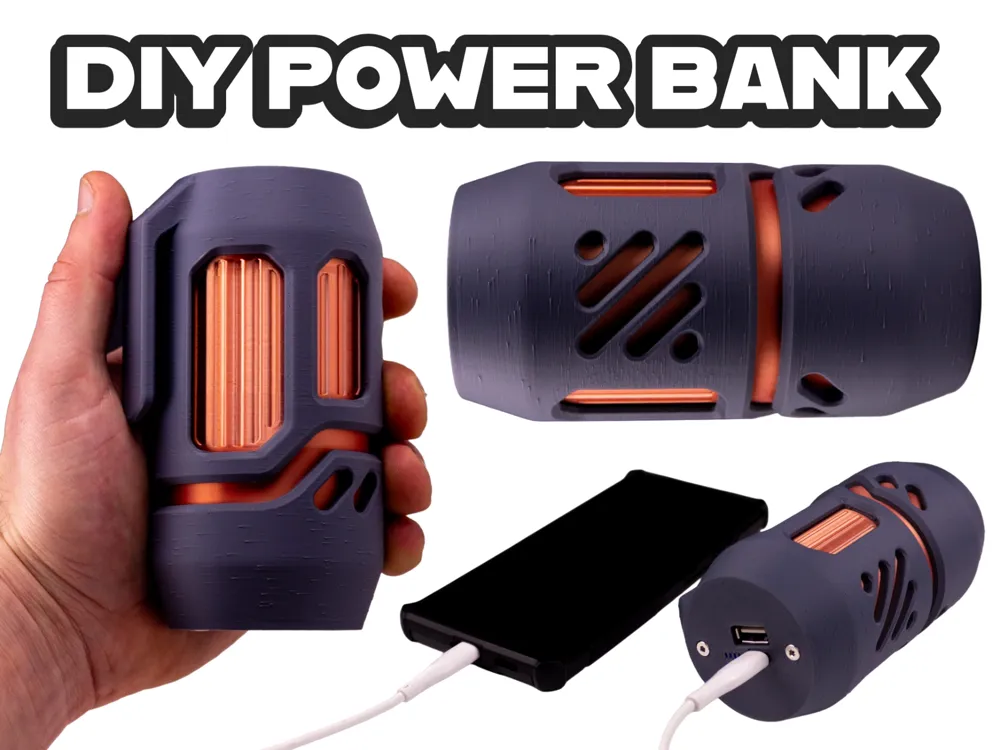
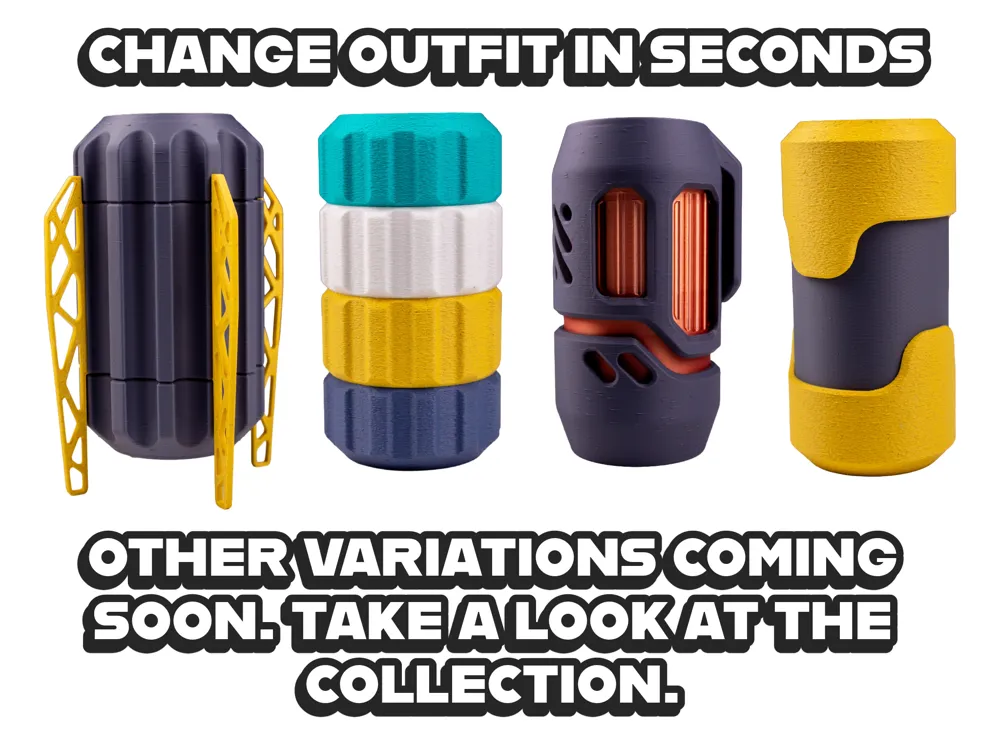
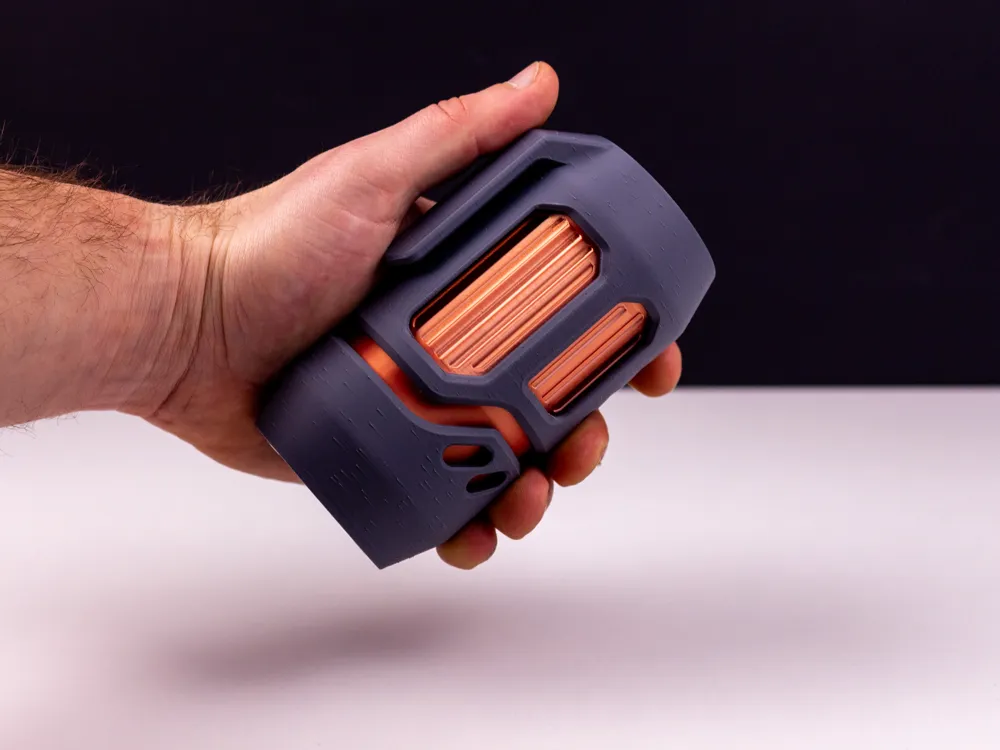
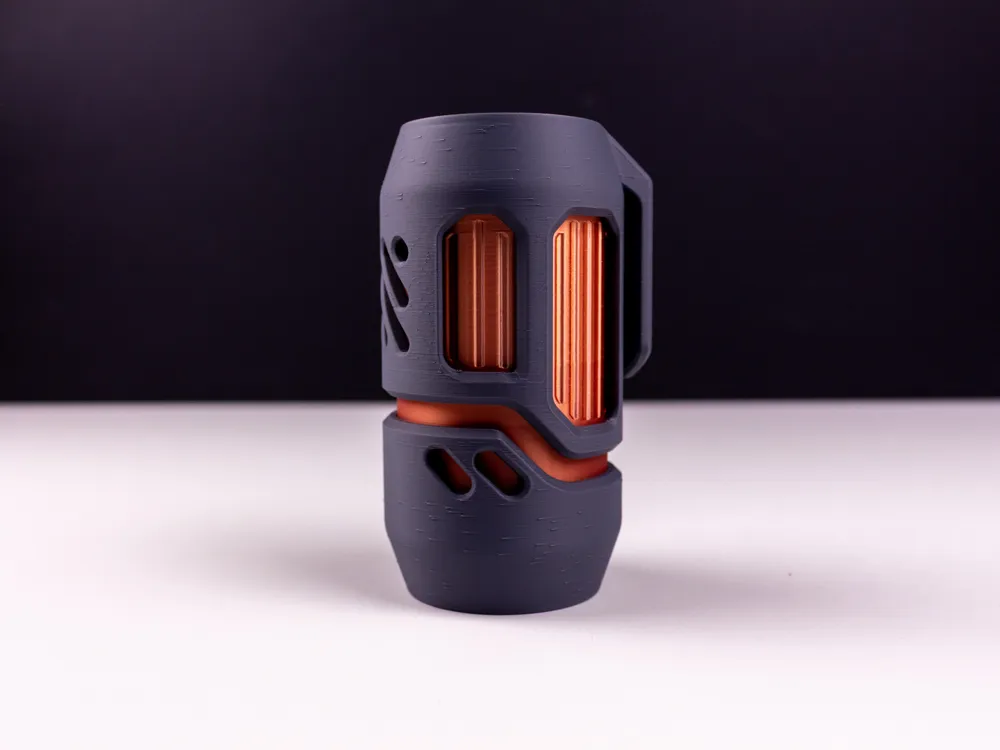
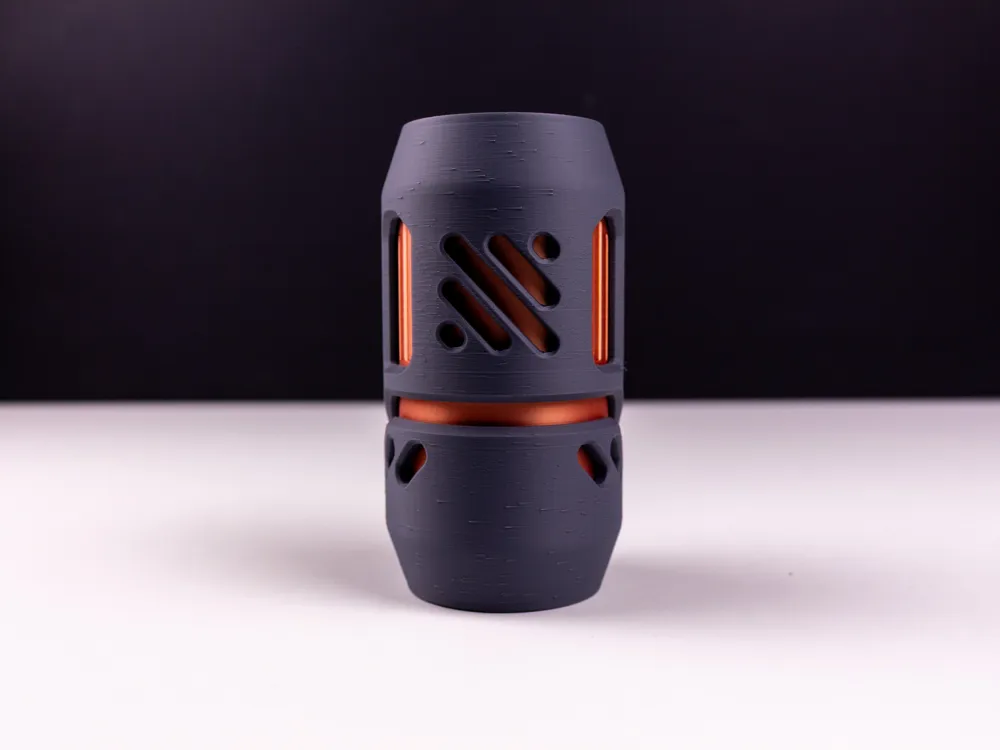
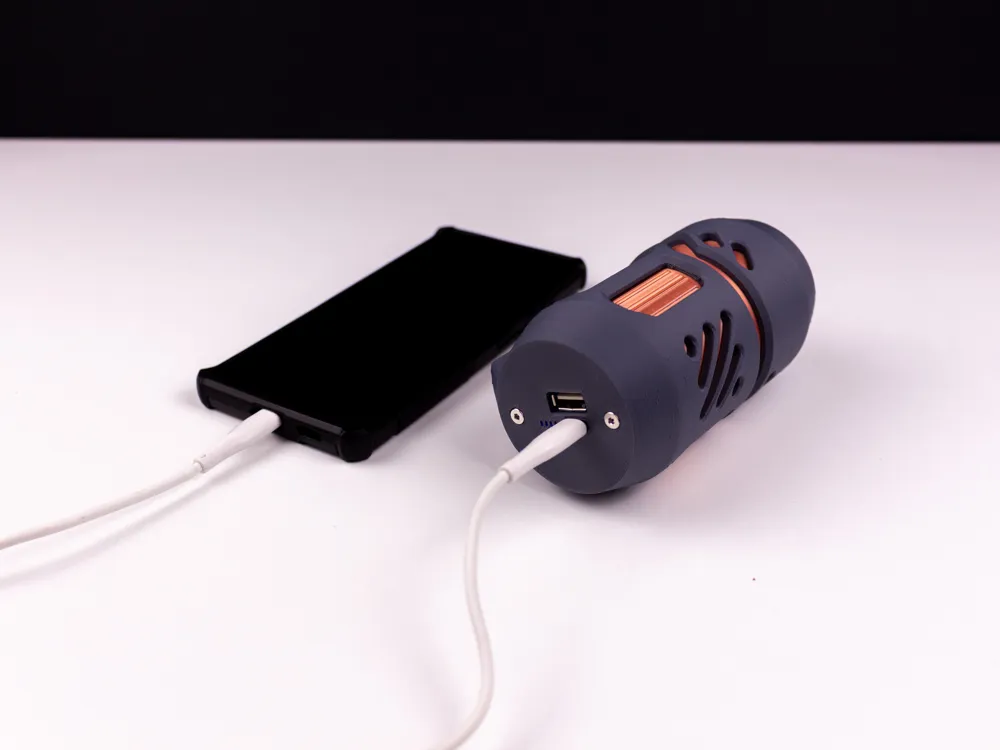
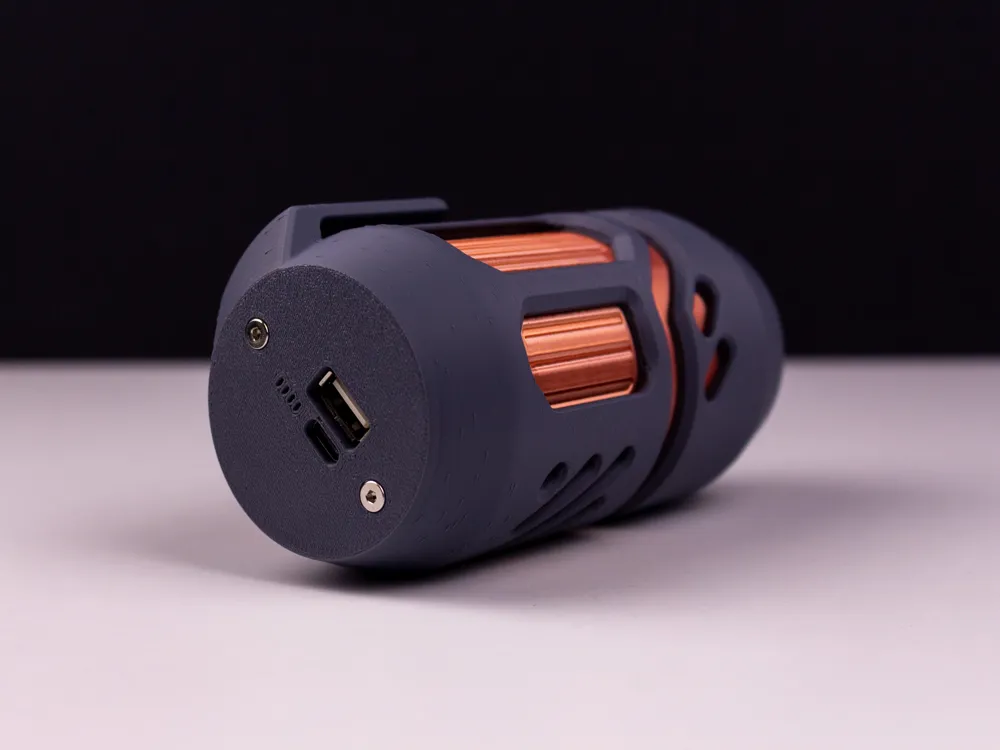
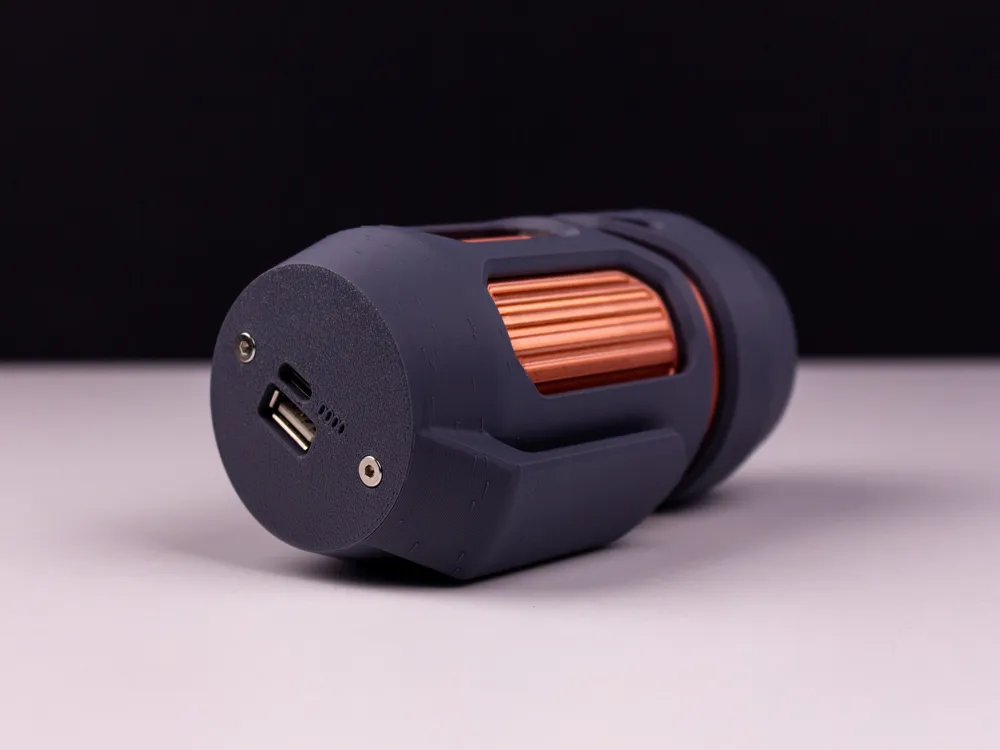
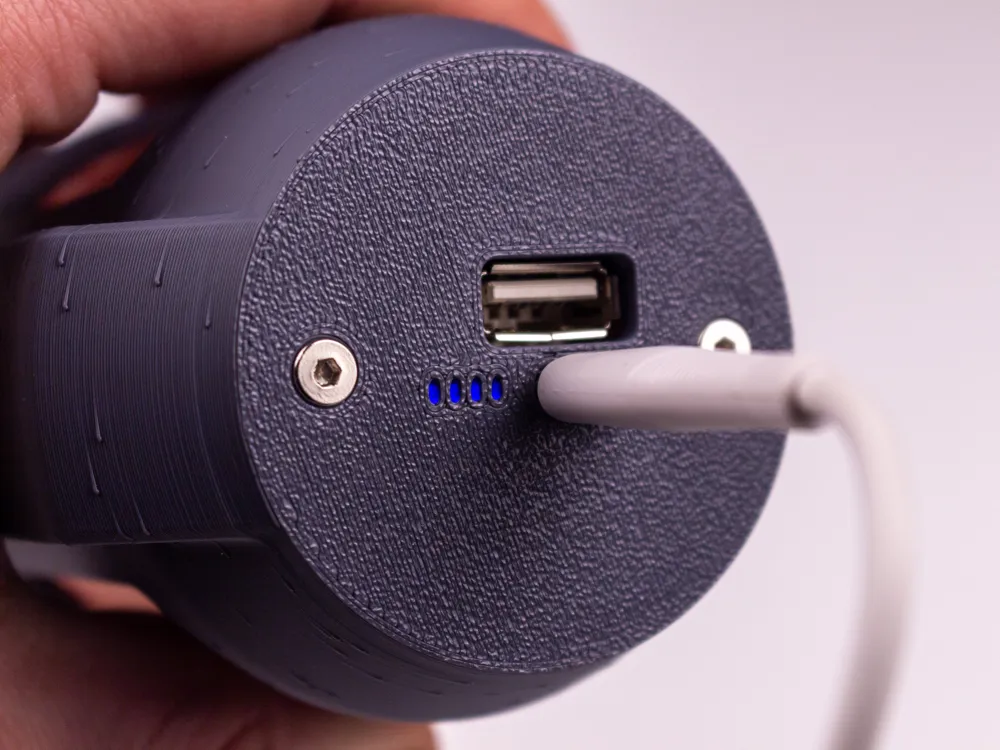
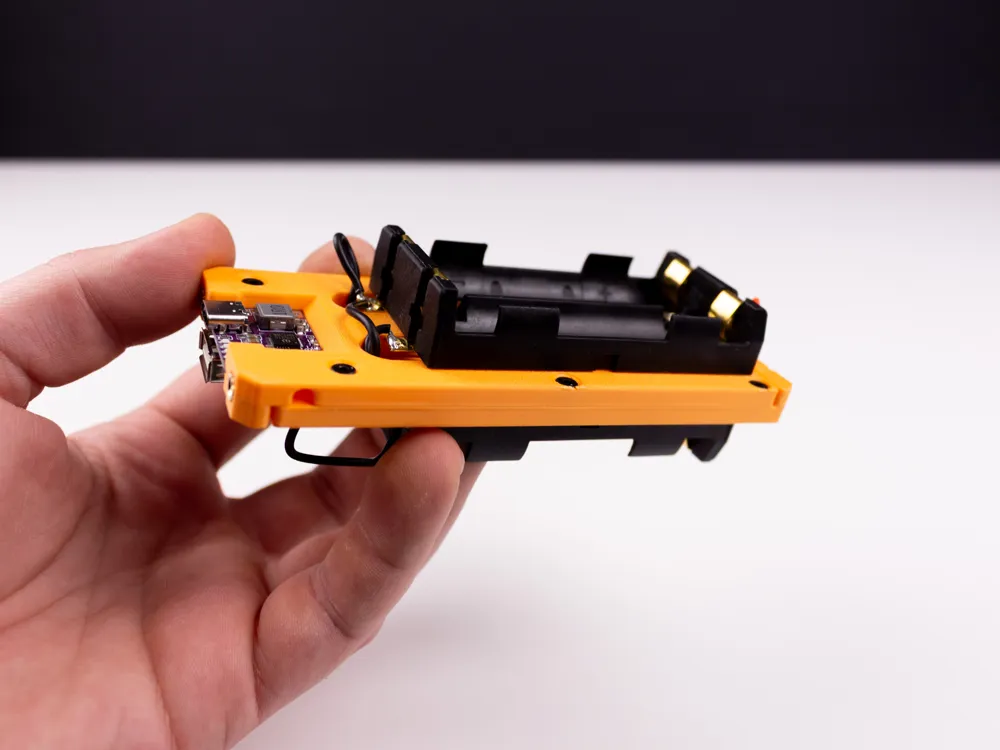
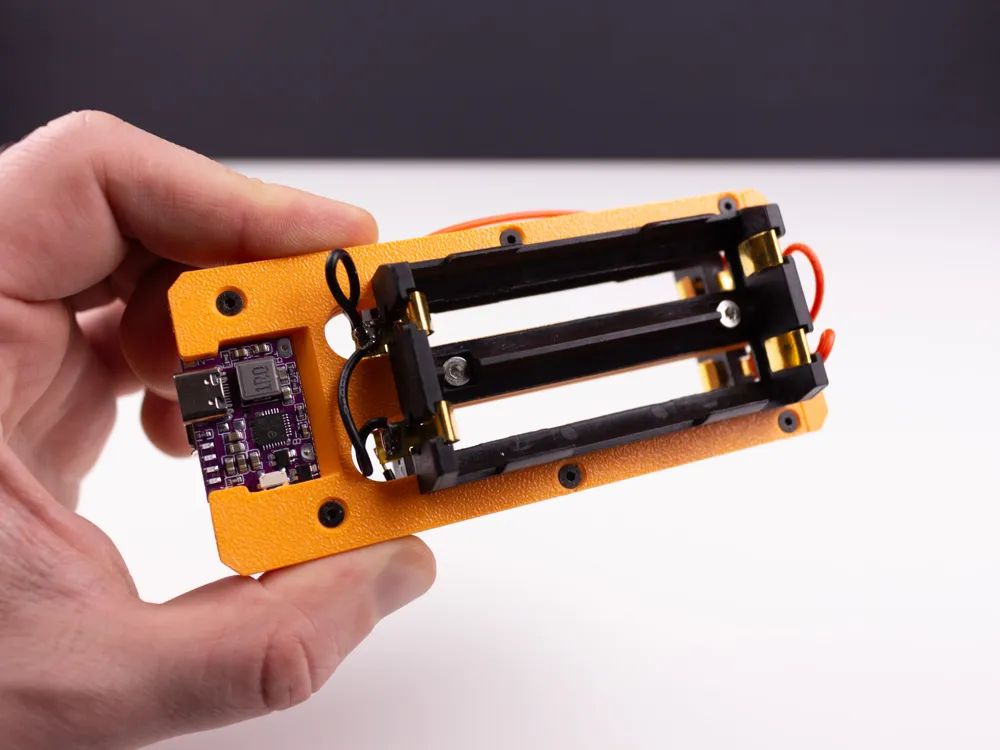
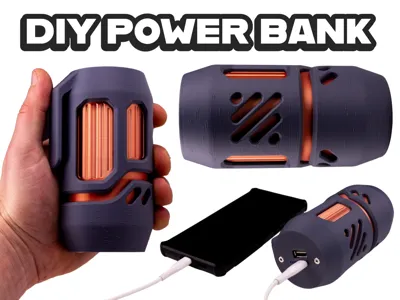
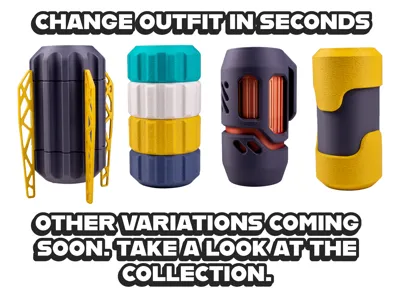
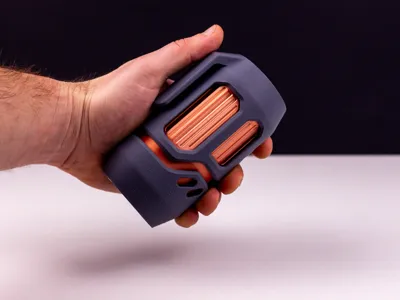
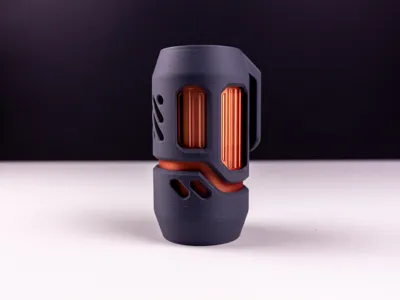
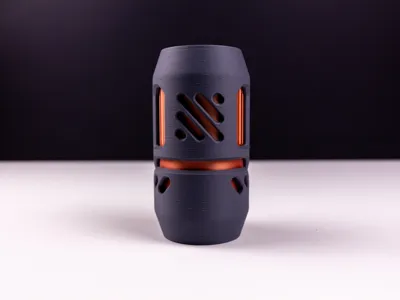
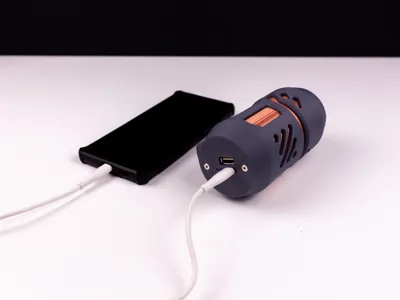
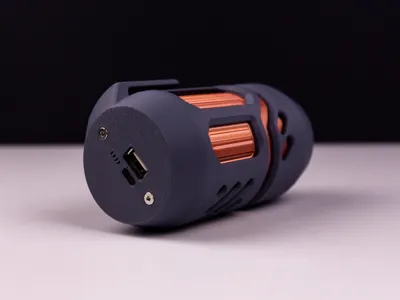
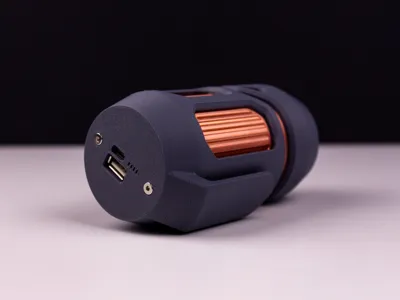
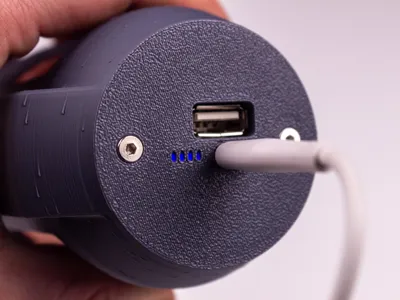
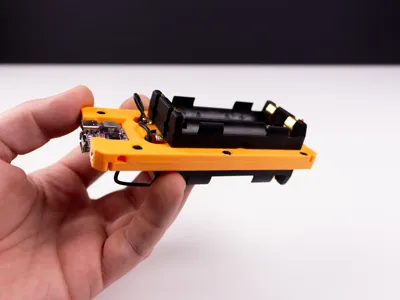
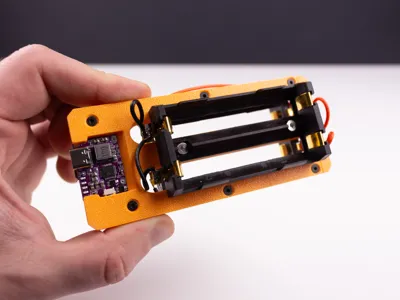
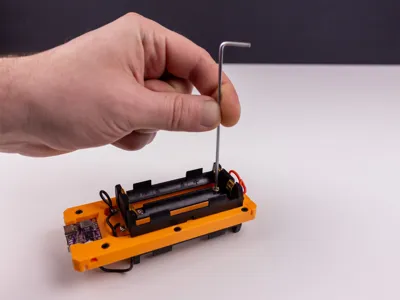
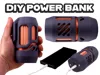
Hi Makers! 👋 Welcome to the ultimate DIY 3D Printed Powerbank project! This modular design lets you build a powerful, customizable portable charger for under $25/€20. The core structure holds the electronics, while the outer shell can be swapped instantly to match your style.
📺 Watch the Full Assembly Video Guide:
💰 Estimated Cost
- Around €20 / $25 (excluding filament & batteries).
🛠️ Skills Required
- Soldering: Basic level (connecting wires to pads).
📋 Bill of Materials (BOM)
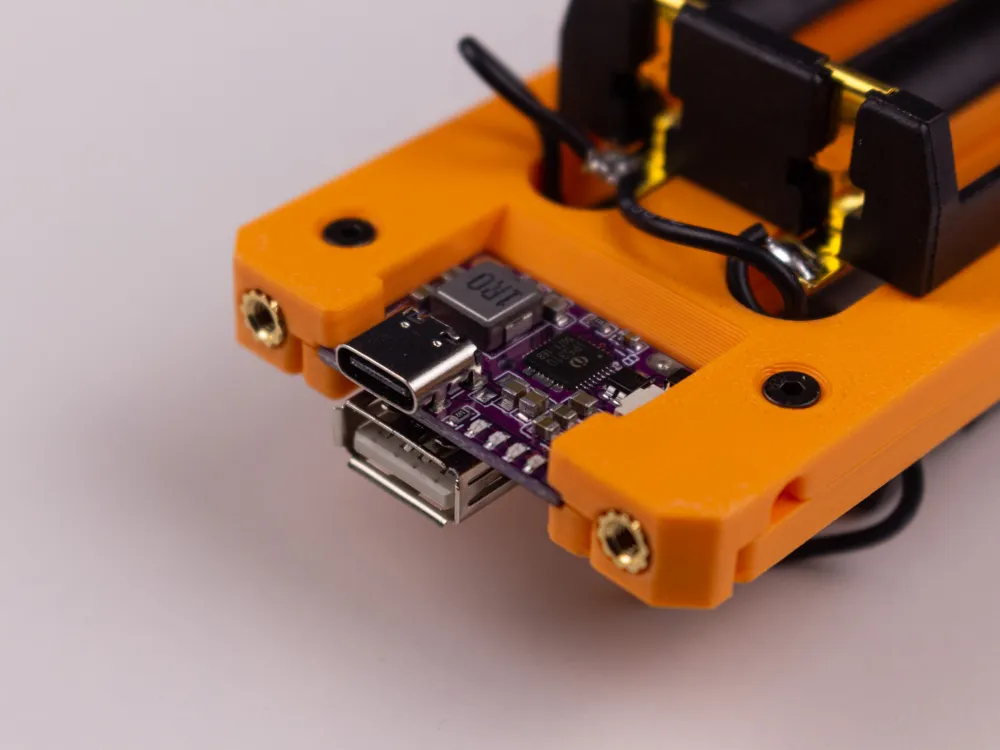
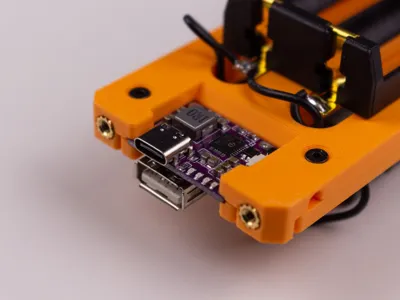
⚡ Charging Board (USB-C + USB-A):
Choose one link:
🔗 Link 1: https://it.aliexpress.com/item/1005005056102340.html
🔗 Link 2: https://it.aliexpress.com/item/1005005023981835.html
🔗 Link 3: https://it.aliexpress.com/item/1005009685351363.html
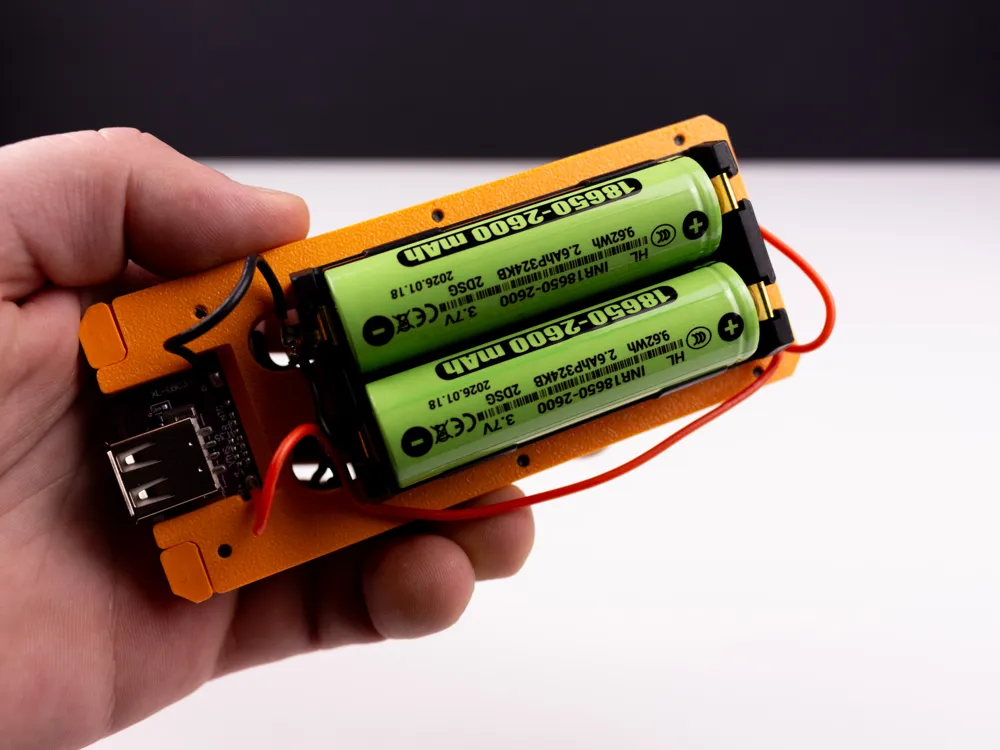
🔋 2x Dual 18650 Battery Holders:
Choose one link:
🔗 Link 1: https://it.aliexpress.com/item/1005008870018574.html
🔗 Link 2: https://it.aliexpress.com/item/1005007822476685.html
🔗 Link 3: https://it.aliexpress.com/item/1005005301516019.html
Other Components:
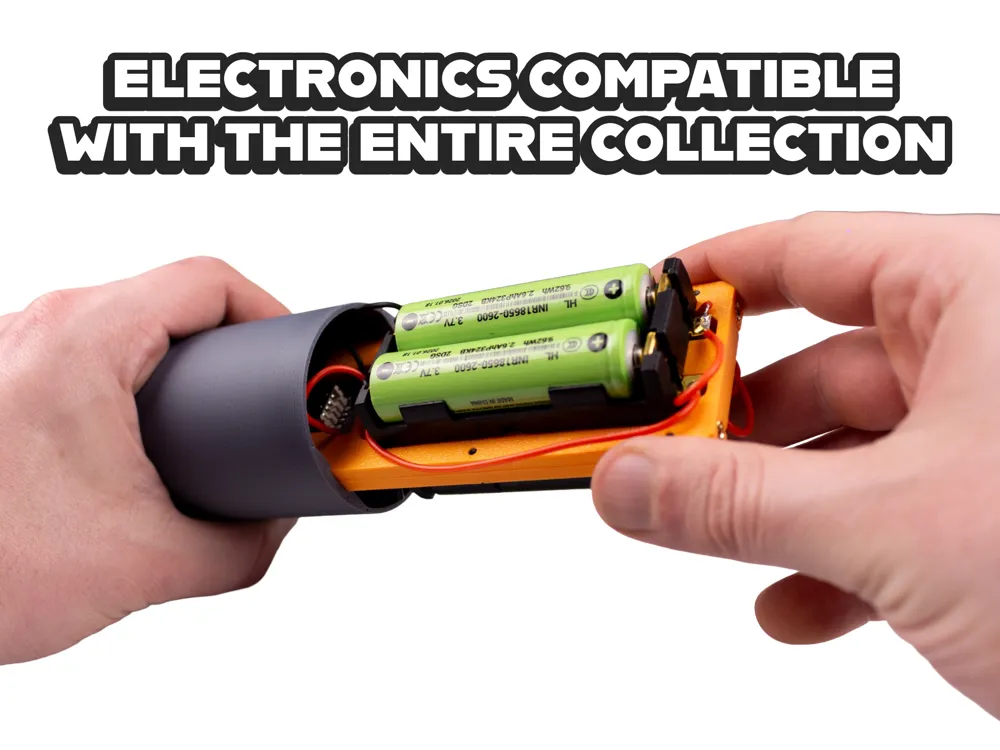
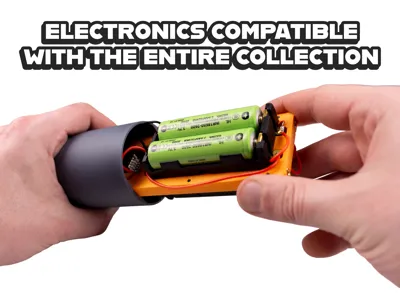
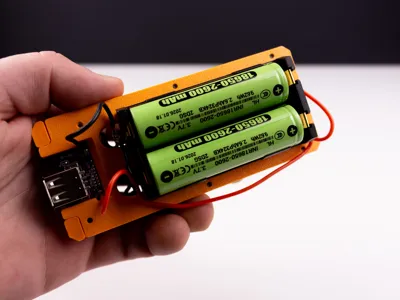
🔹 4x 18650 Batteries (Standard flat top - IMPORTANT: Do NOT use button top batteries!)
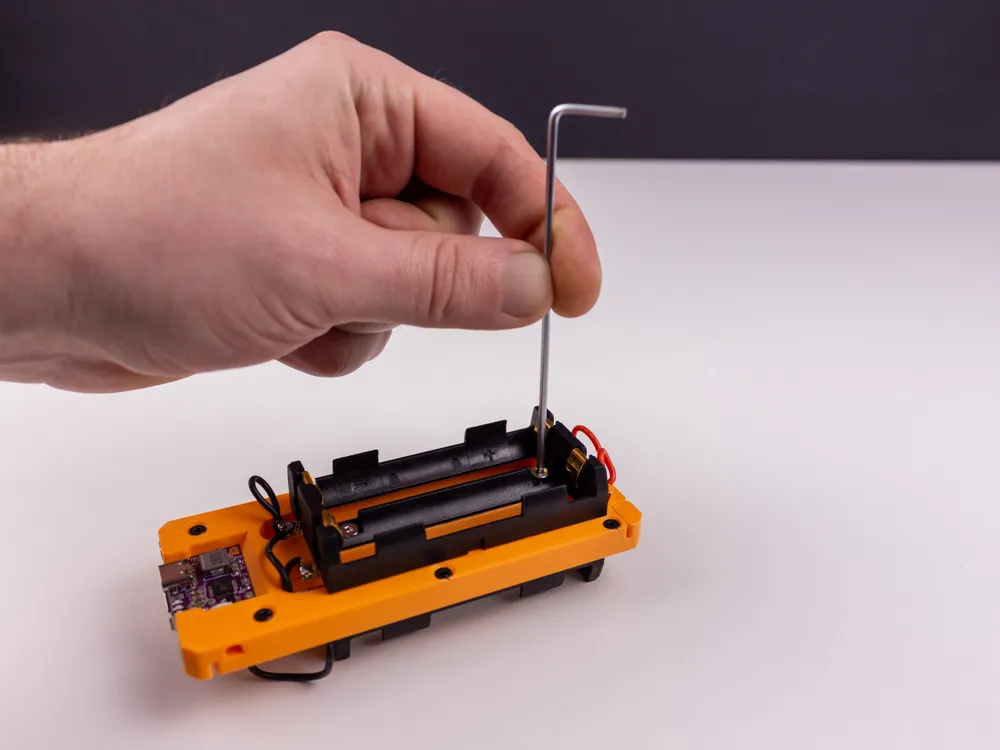
🔹 8x Heat Set Inserts M3x5x4
🔹 8x Countersunk Screws M3x6
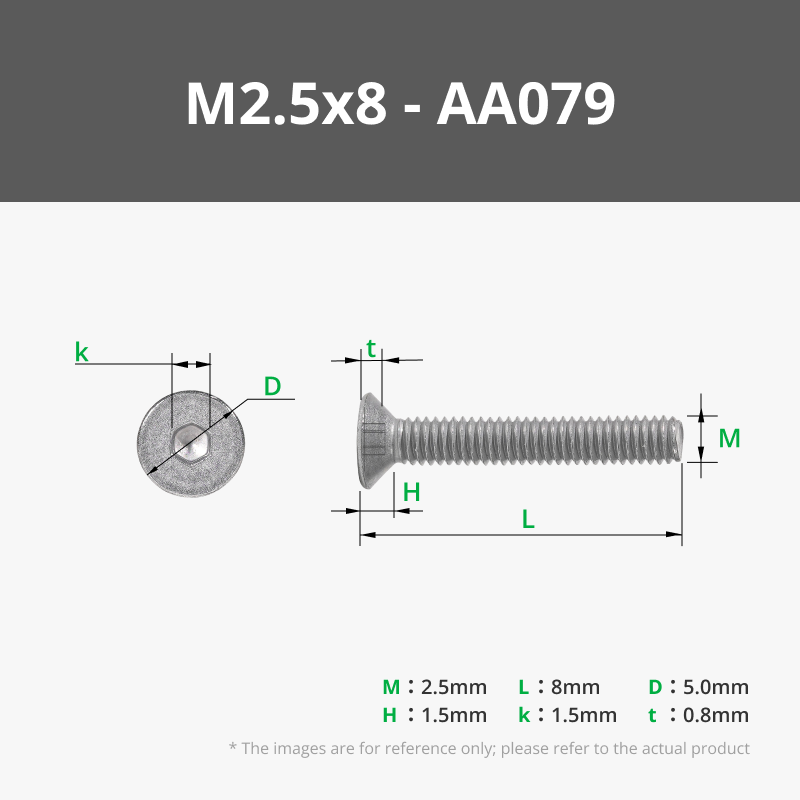
🔹 7x Countersunk Screws M2.5x8
🔹 Electrical Wire (choice of gauge)
🔹 Solder
⚠️ IMPORTANT SAFETY NOTES ⚠️
WIRING CONFIGURATION:
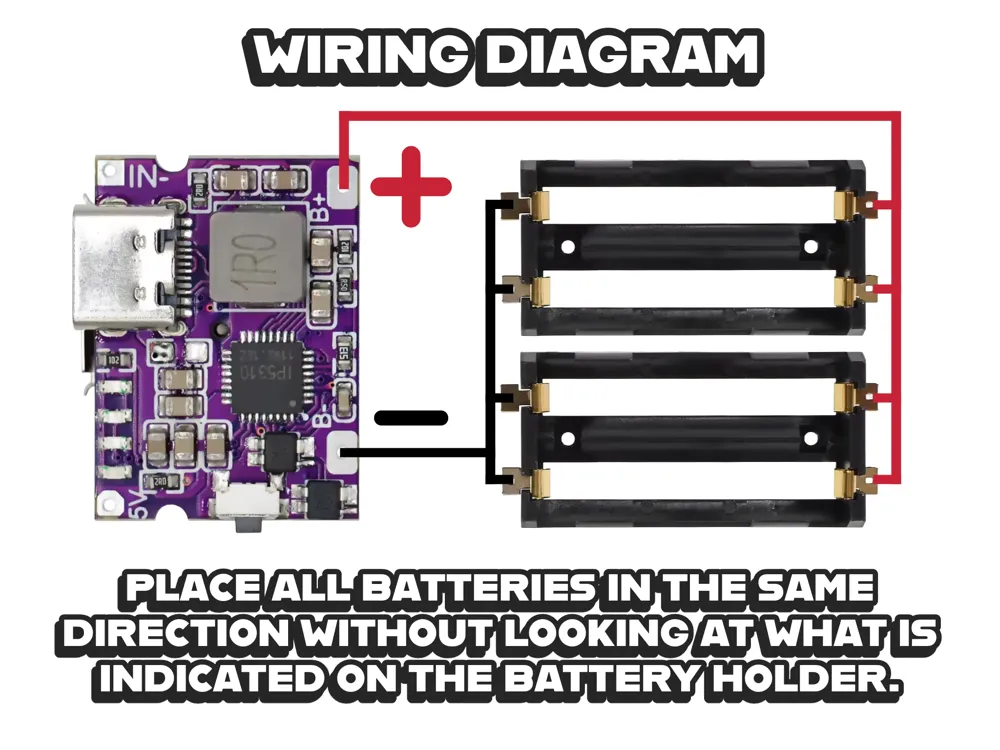
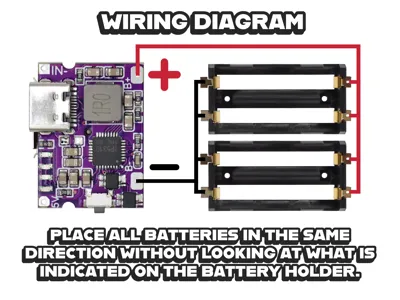
Batteries MUST be connected in PARALLEL. Connect all POSITIVE (+) poles together and all NEGATIVE (-) poles together.
DO NOT CONNECT IN SERIES!
DO NOT REVERSE POLARITY!
Doing so will damage the board instantly and may cause fire or injury.
BATTERY ORIENTATION:
Insert all 4 batteries in the SAME DIRECTION. Always verify the actual + and - on the battery itself. Do not trust the markings on the plastic battery holders, as they may be misleading for this parallel setup.
Happy printing! 🚀
Boost Me (for free)
License

You may create derivative works based on this object, provided that all such derivative works are published exclusively on the MakerWorld platform and include proper attribution to the original creator. You may not share, upload, host, distribute, or publish this object—or any derivative work of this object—on any other digital platform, marketplace, or distribution channel. Commercial use of this object and any derivative works is strictly prohibited. This includes, but is not limited to, selling, renting, sublicensing, or using the object in any context in which you receive monetary compensation or other financial benefits.


Comment & Rating (26)