
V6 Engine Beer Display with Rotating Crankshaft
Print Profile(1)
Bill of Materials










Description
Membership
All Commercial License Memberships are currently SOLD OUT. The next opportunity to join is expected in 2027, unless availability changes earlier. Thank you for your interest and support.
Follow me on MakerWorld for more of my designs, drops, and future releases! : makerworld.com/en/@3DMakerSpace/upload


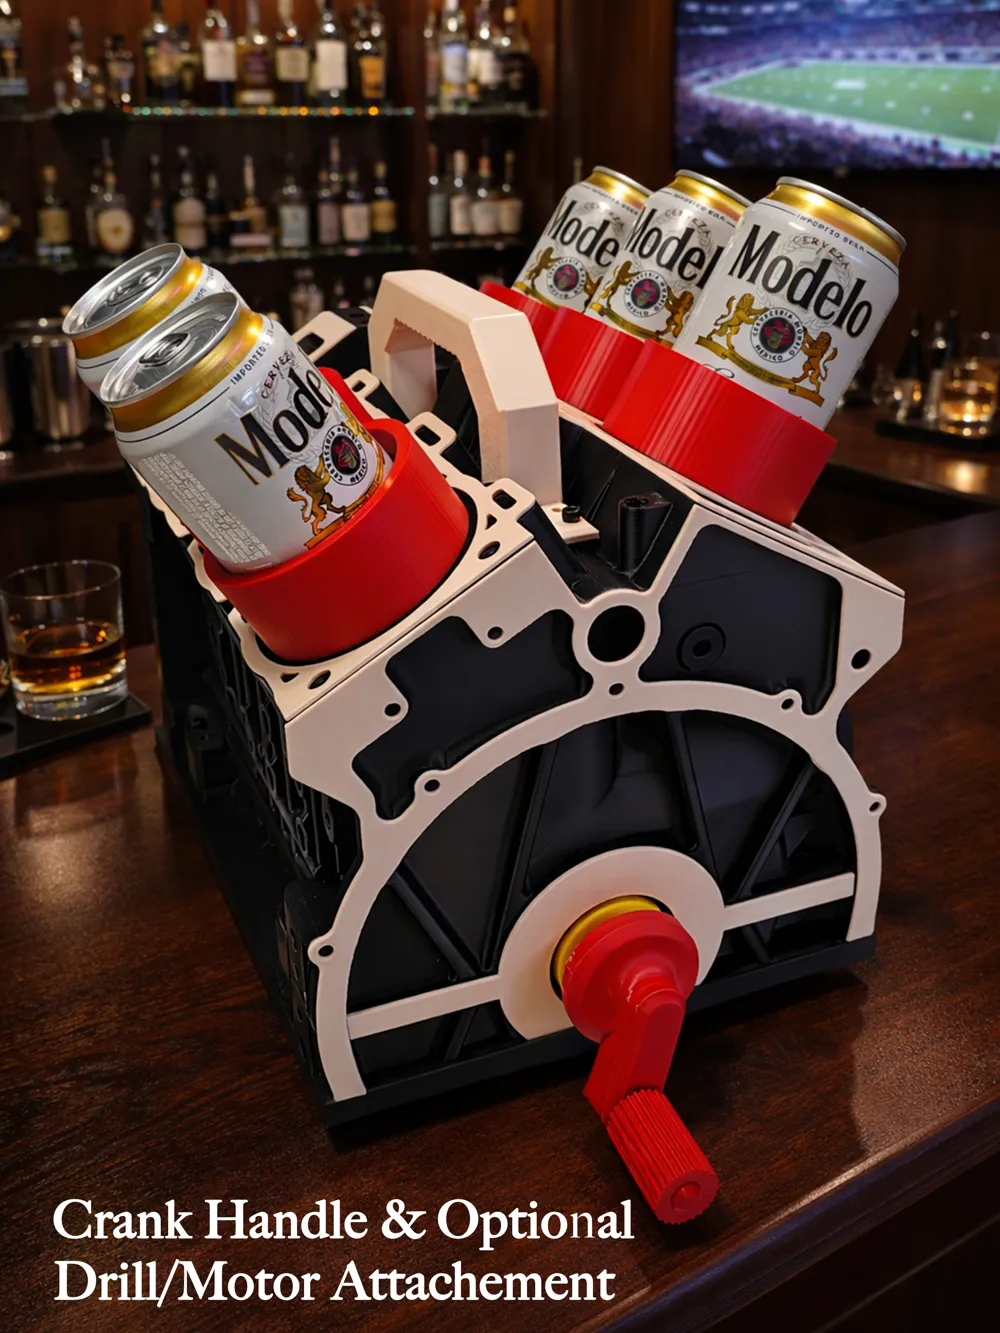
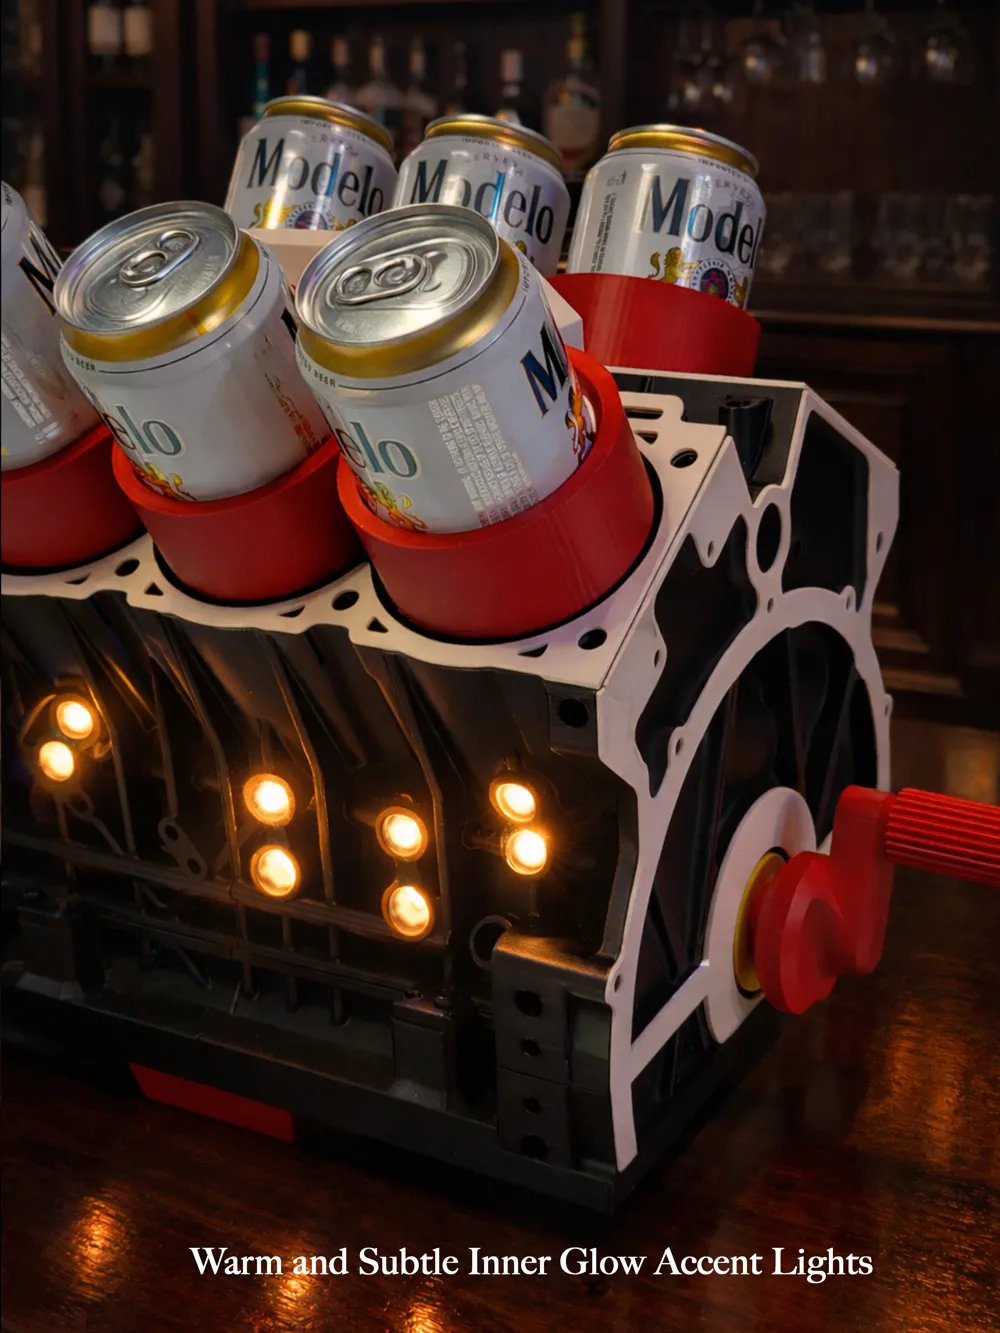
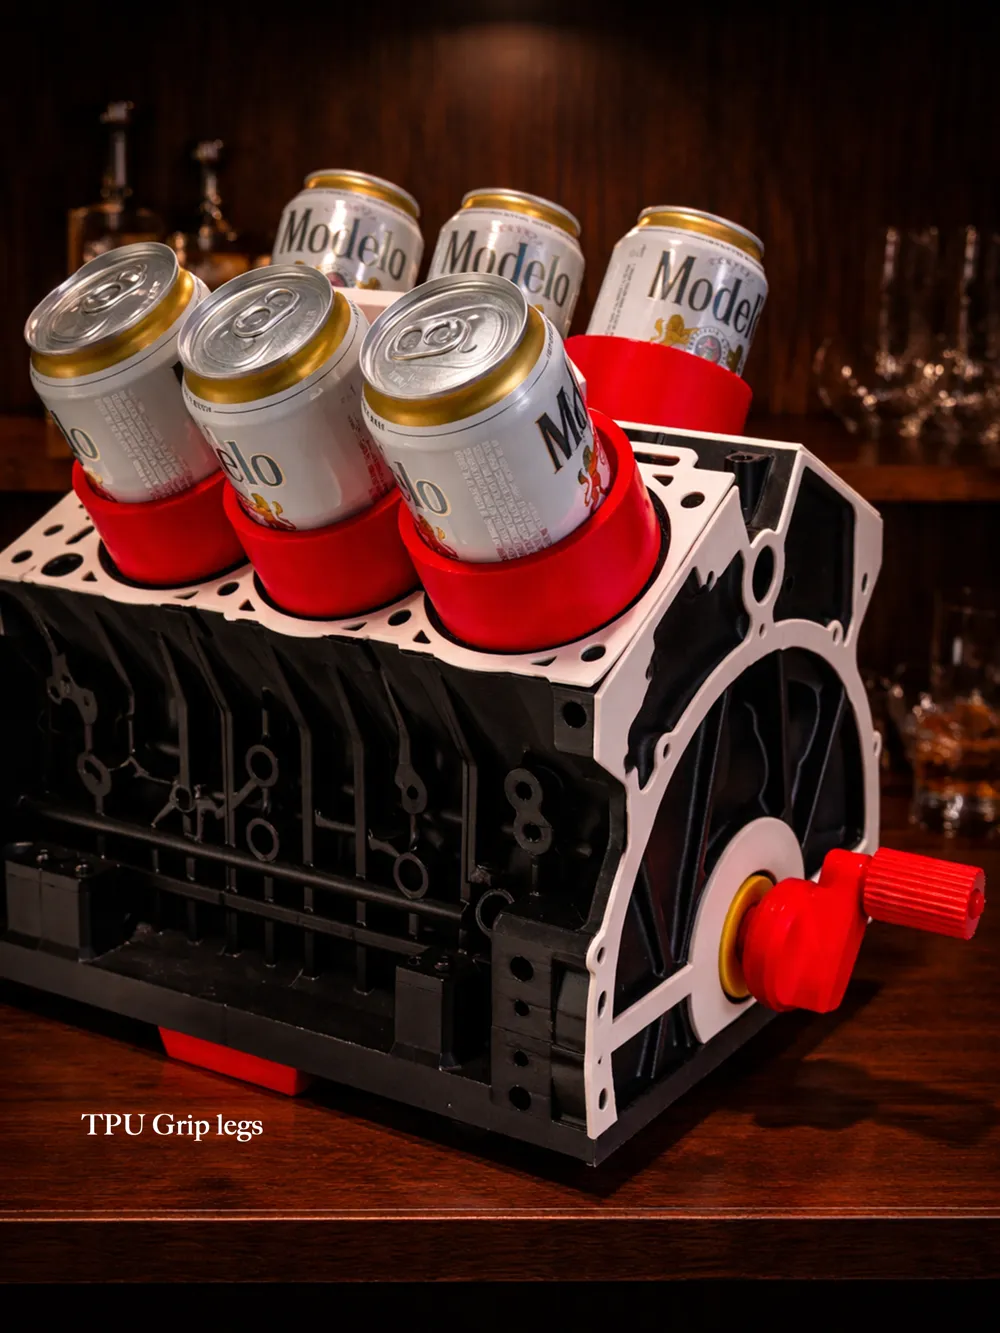
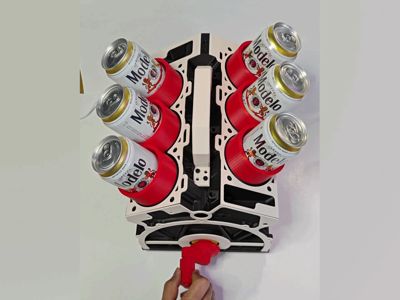
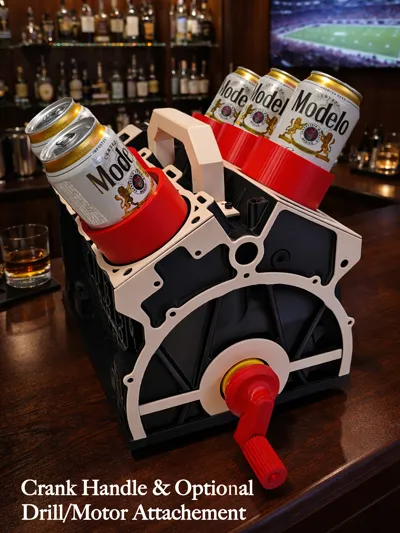
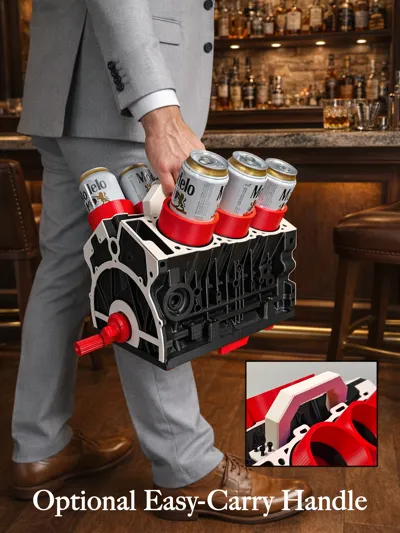
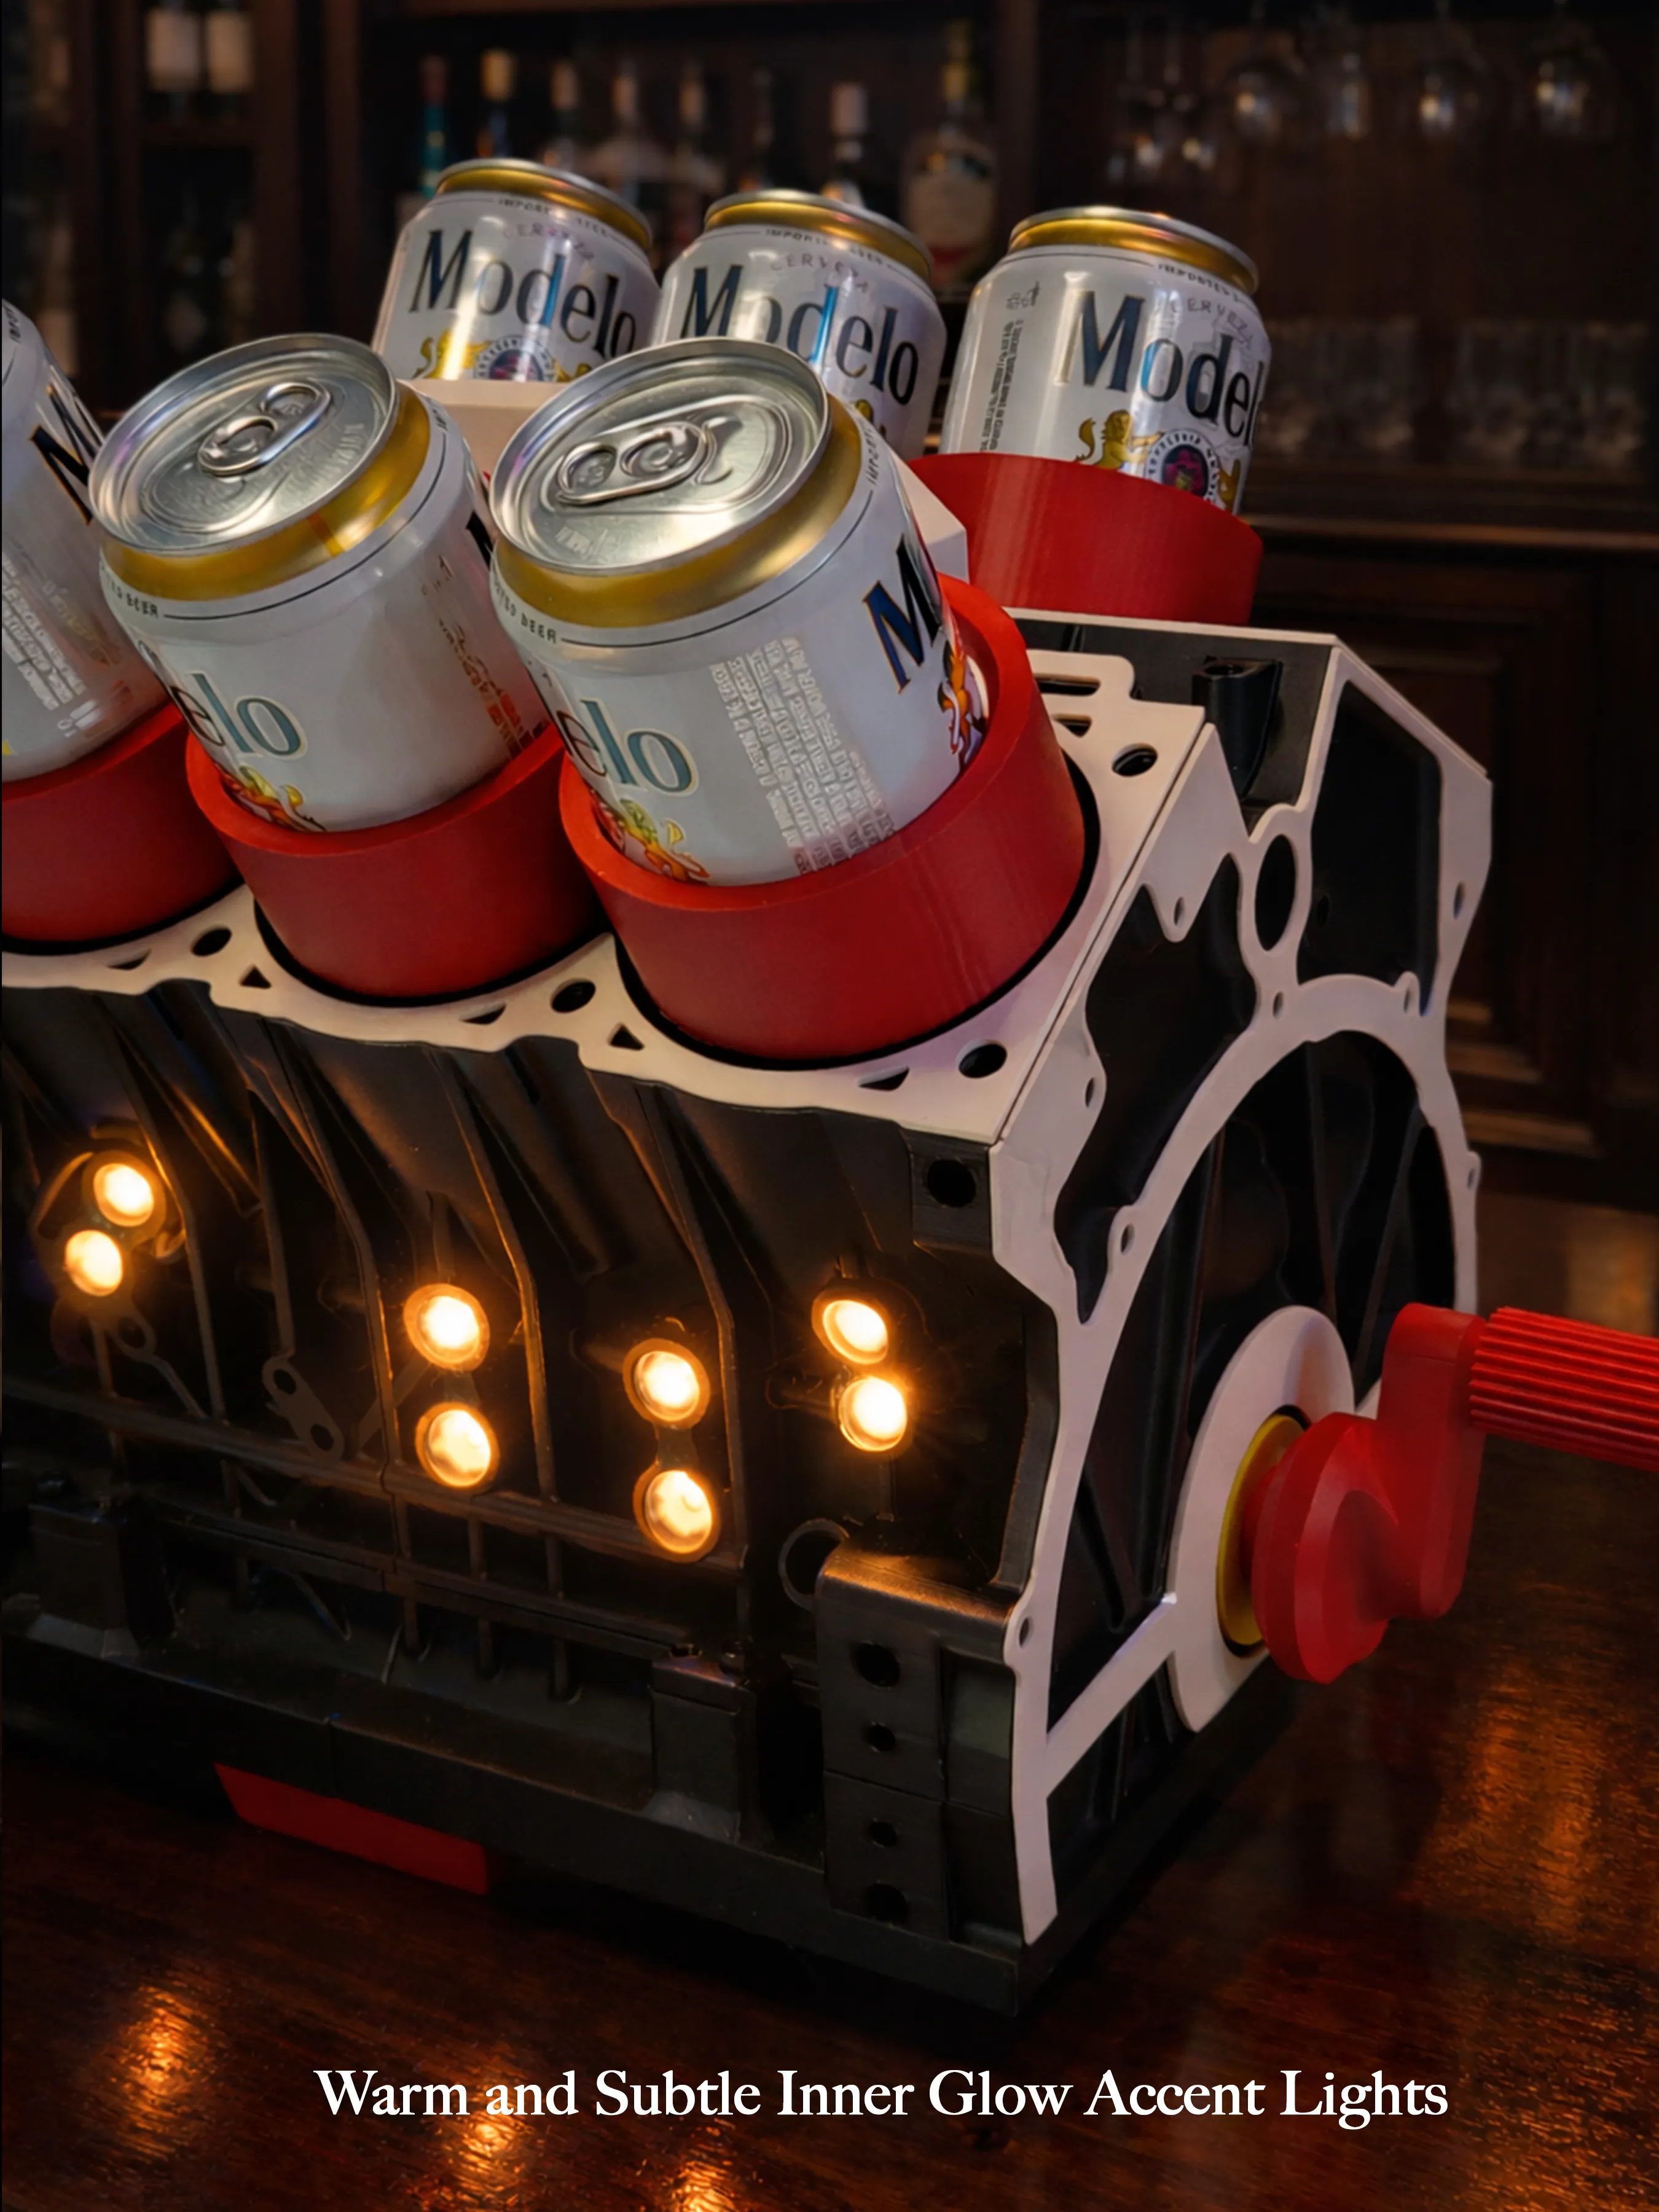
What if a working V6 engine block could live on your bar counter instead of under a hood? This fully 3D-printed display transforms mechanical motion into a conversation piece - a rotating crankshaft, piston rhythm, and six perfectly aligned chambers ready to hold your favorite cans or bottles. Turn the crank by hand or attach a drill/motor and watch the “engine” come alive while your drinks stay perfectly staged.
It’s equal parts mechanical sculpture, bar centerpiece, and functional holder.
 |  |
Why I Made This ?
I am an engineer and I wanted something that blended my engineering passion with bar culture - a piece that makes people stop, stare, and then ask:
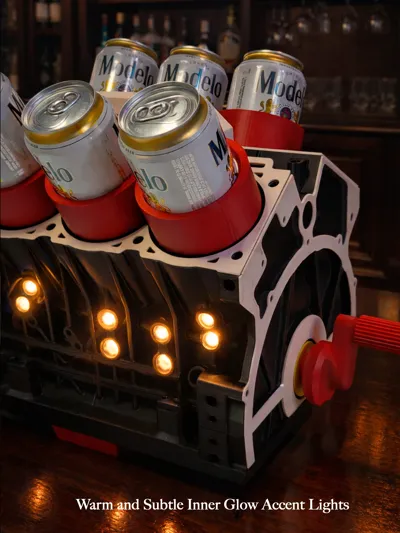
“Wait… does it actually move?” Yes. It does and infact glows too! And it holds your drink while doing it.
Boost Me (for free)
Started as a fun idea… turned into weeks of design work, many failed prints, and a real financial investment to prototype and perfect.
Every BOOST truly helps keep creations like this running. Thank you for supporting the build❤️
Designed for Real-World Bar Displays
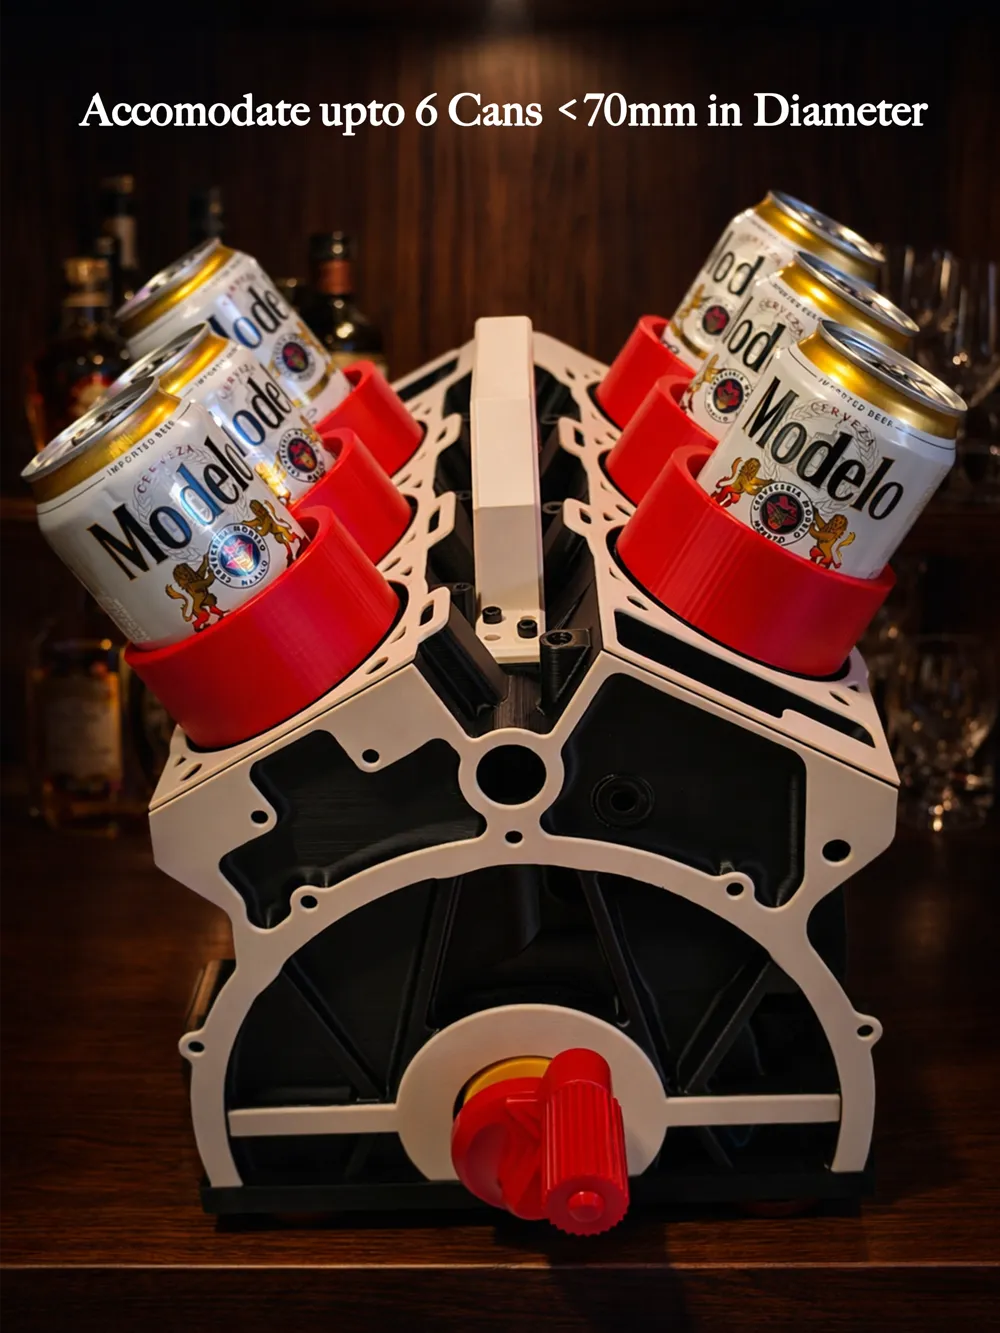
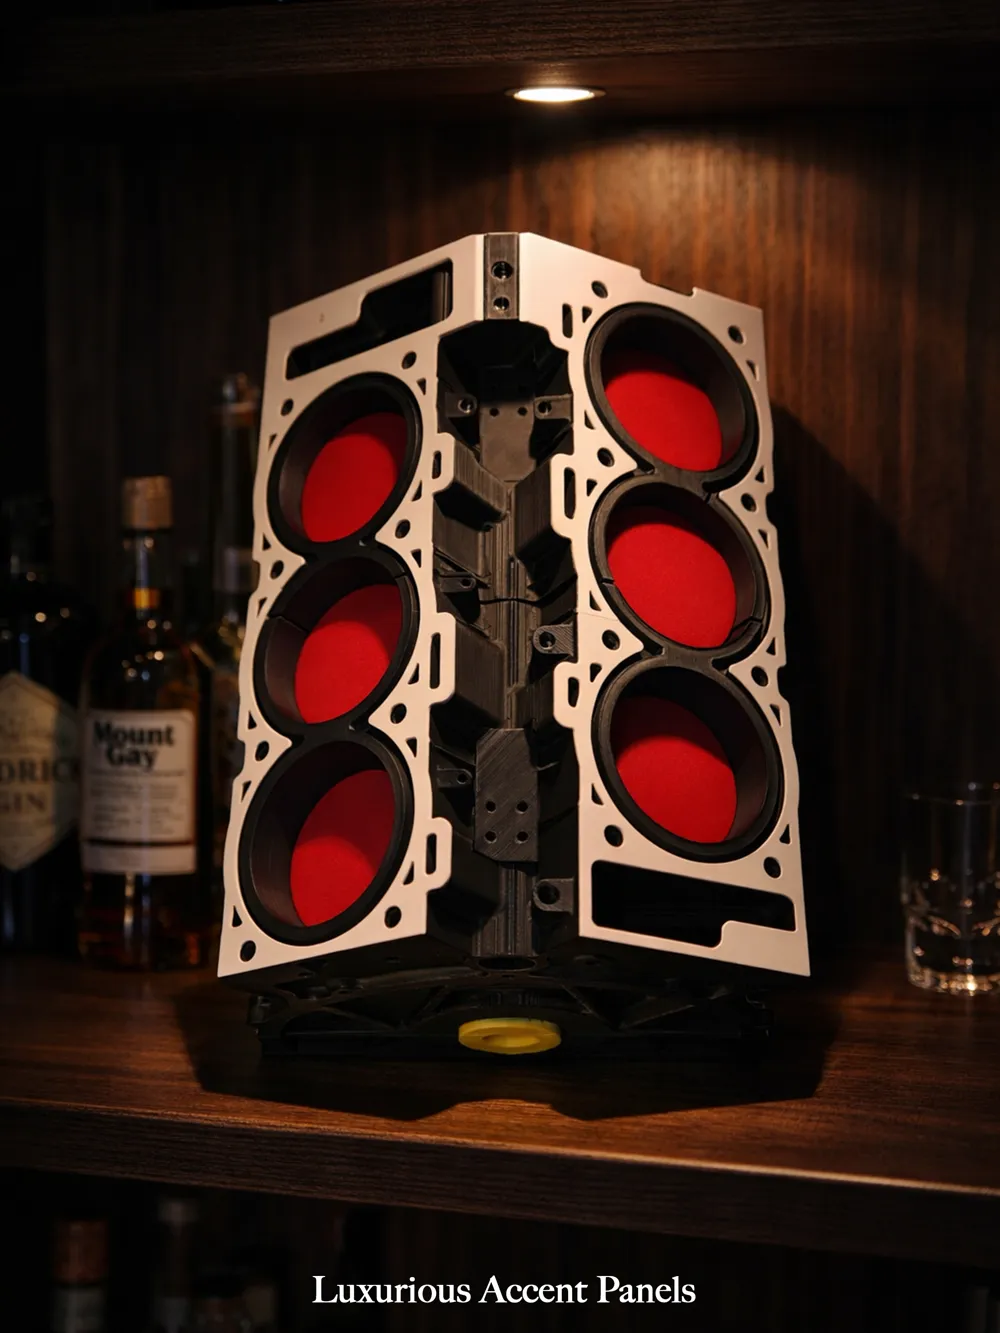
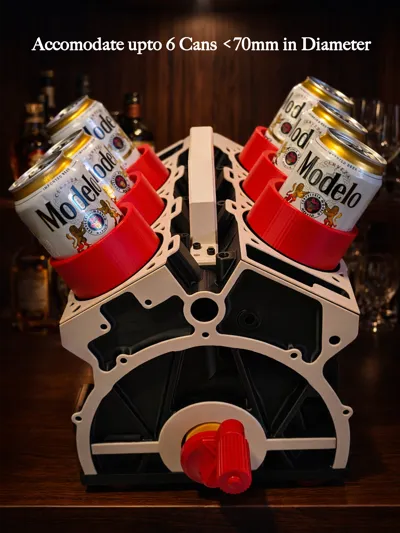
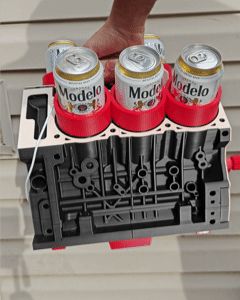
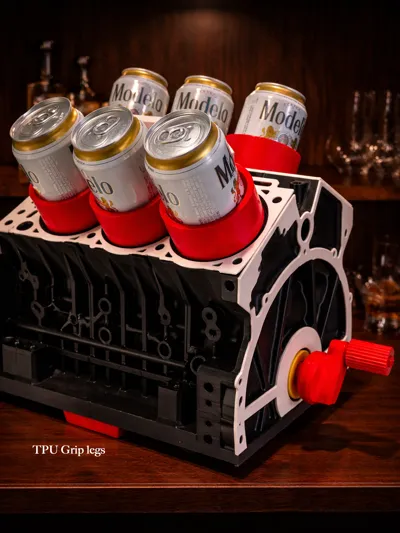
- Holds up to 6 cans or bottles
- Compatible with containers under 70 mm in diameter
- Ideal for home bars, commercial bar displays, parties, garages, and display shelves
Looks like a true V6 engine block in working motion
Fully 3D-Printed & Easy to Build
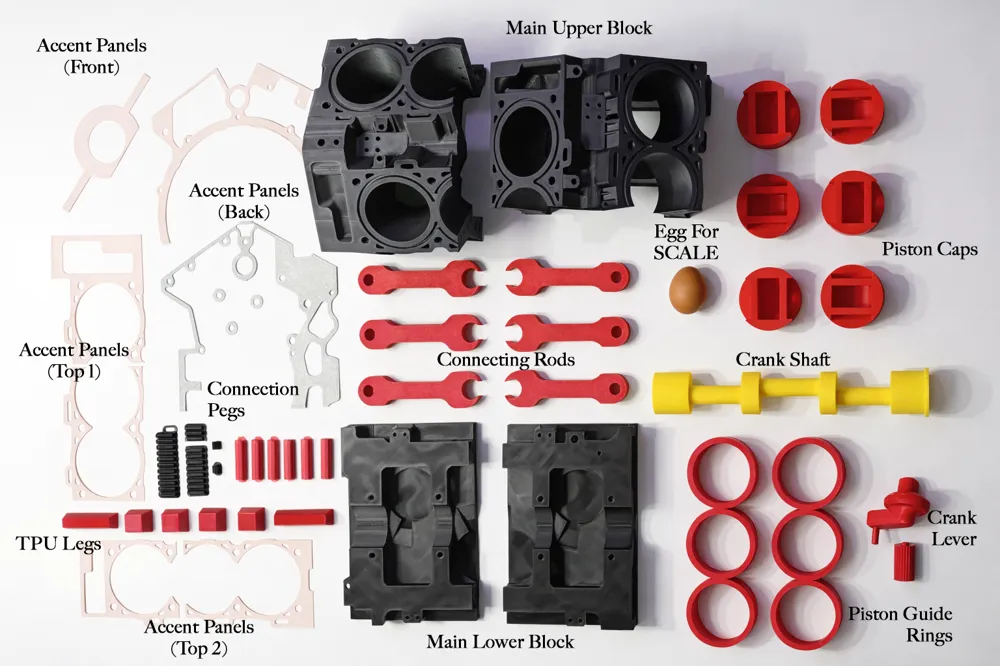
- No AMS required - all parts print separately
- Straightforward assembly with clean mechanical alignment (Refer to Assembly Instructions below)
- Optional crank handle OR drill/motor attachment for rotation
Engineered to feel like a mini functional machine, not just décor
Glow From Within
Integrated mounts for 3× Bambu LED-001 lamps illuminate the engine block from inside, giving the engine a dramatic internal glow - perfect for dim bar lighting and night displays.
Assembly Instructions
Step 0:
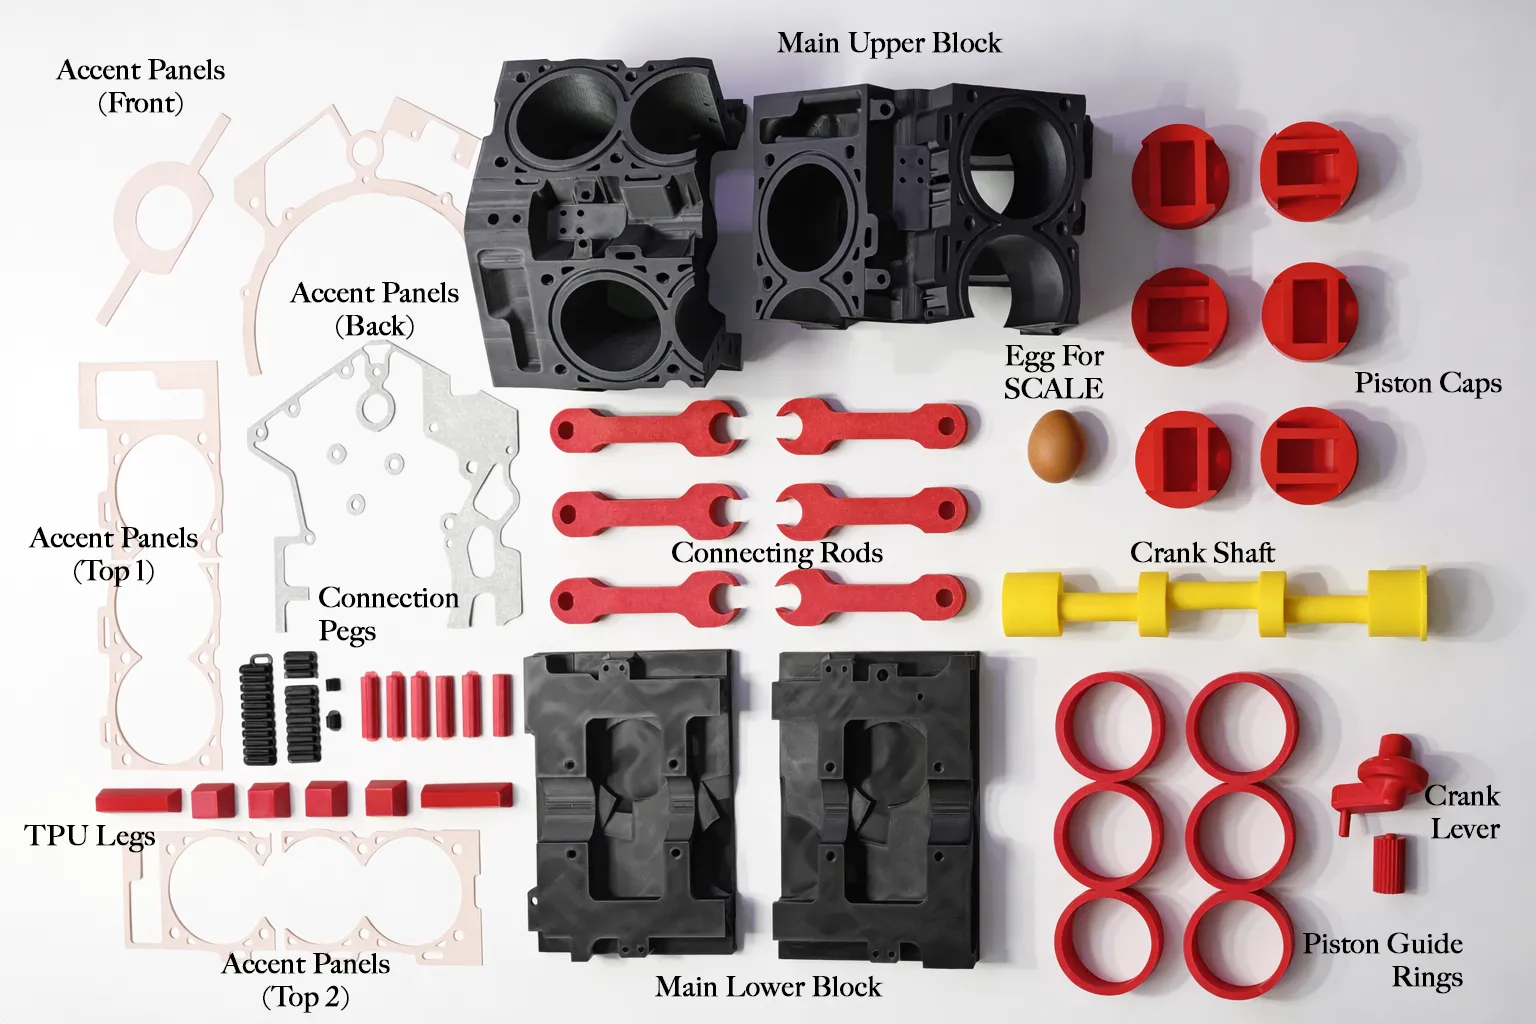
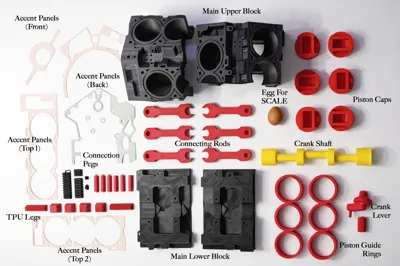
Print all the parts given in the print profile. (I didn't have a banana, so an egg for your scale reference 😉 )
Step 1:
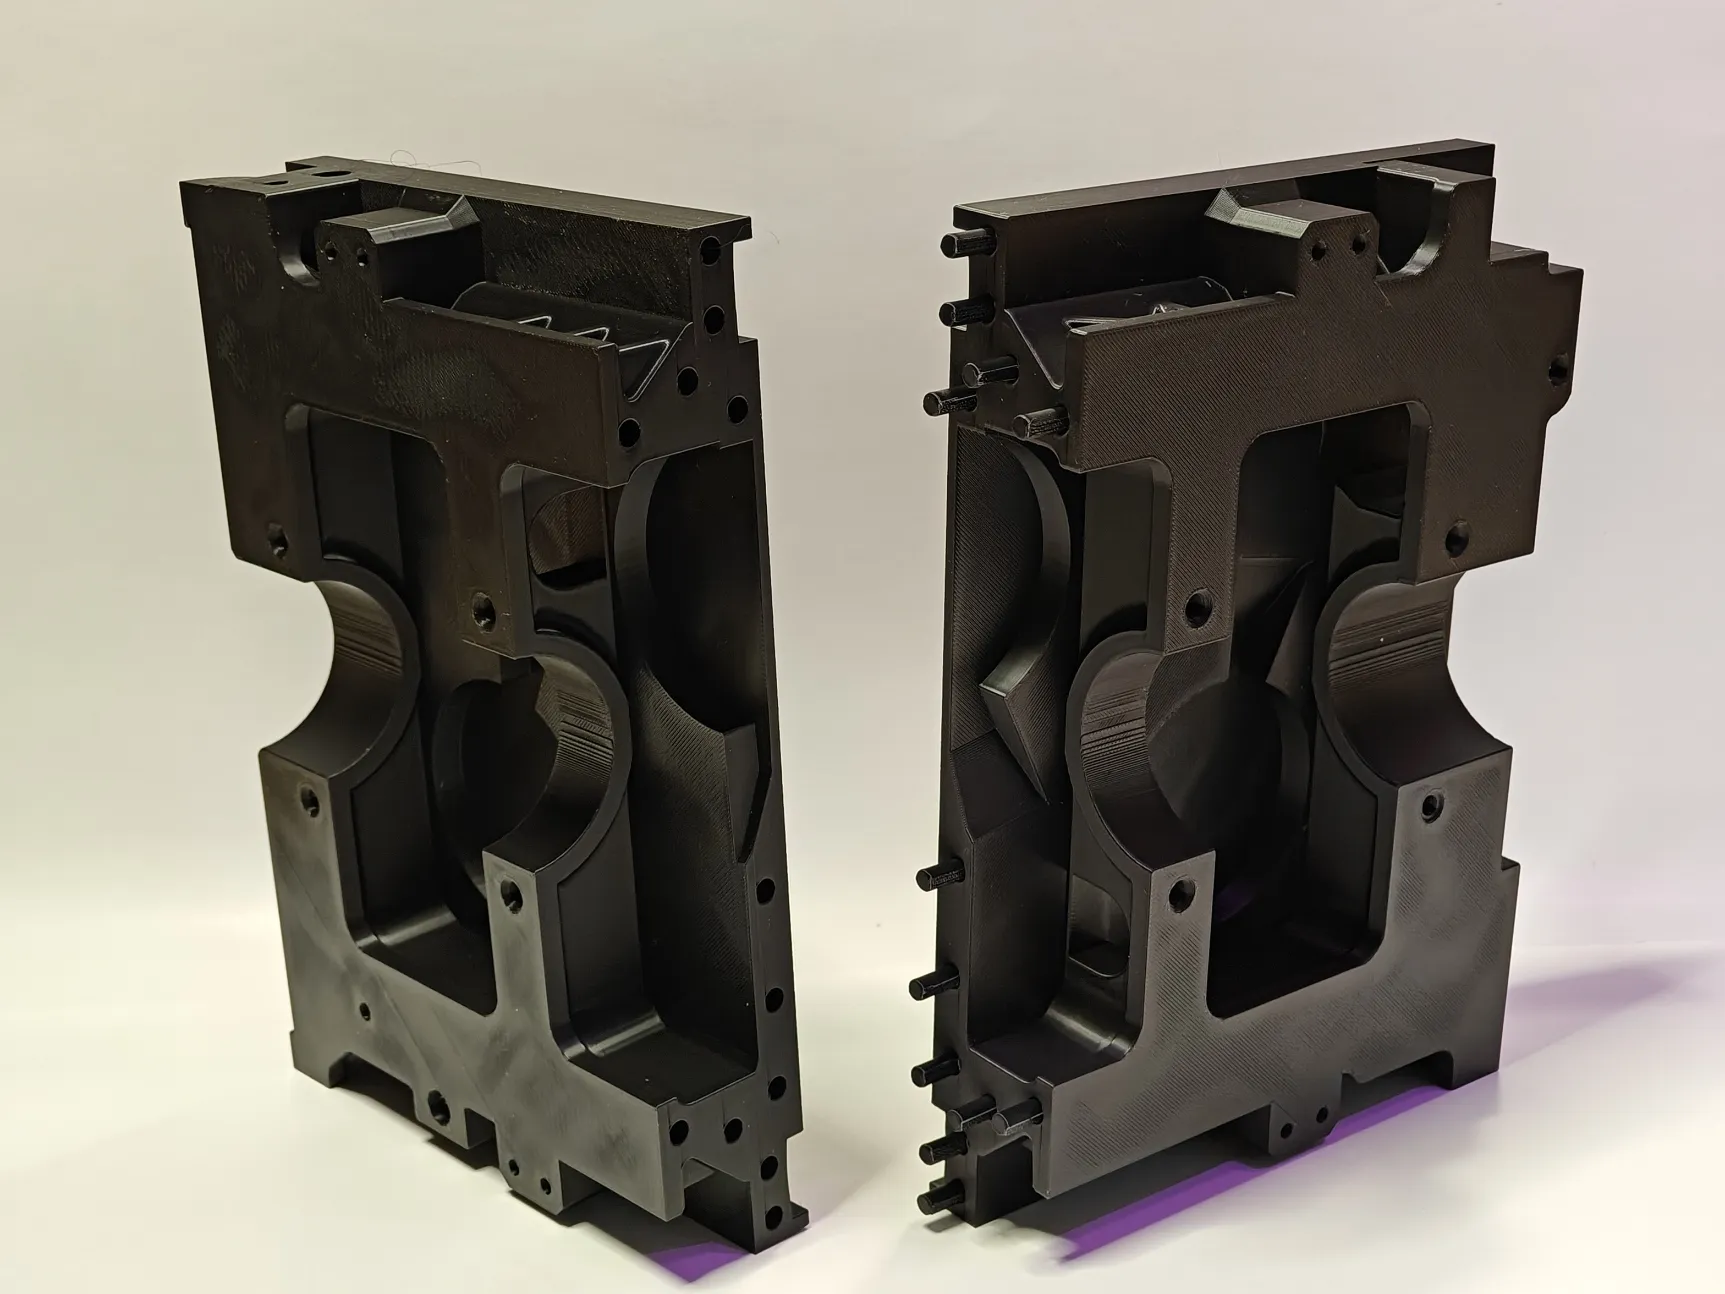 | 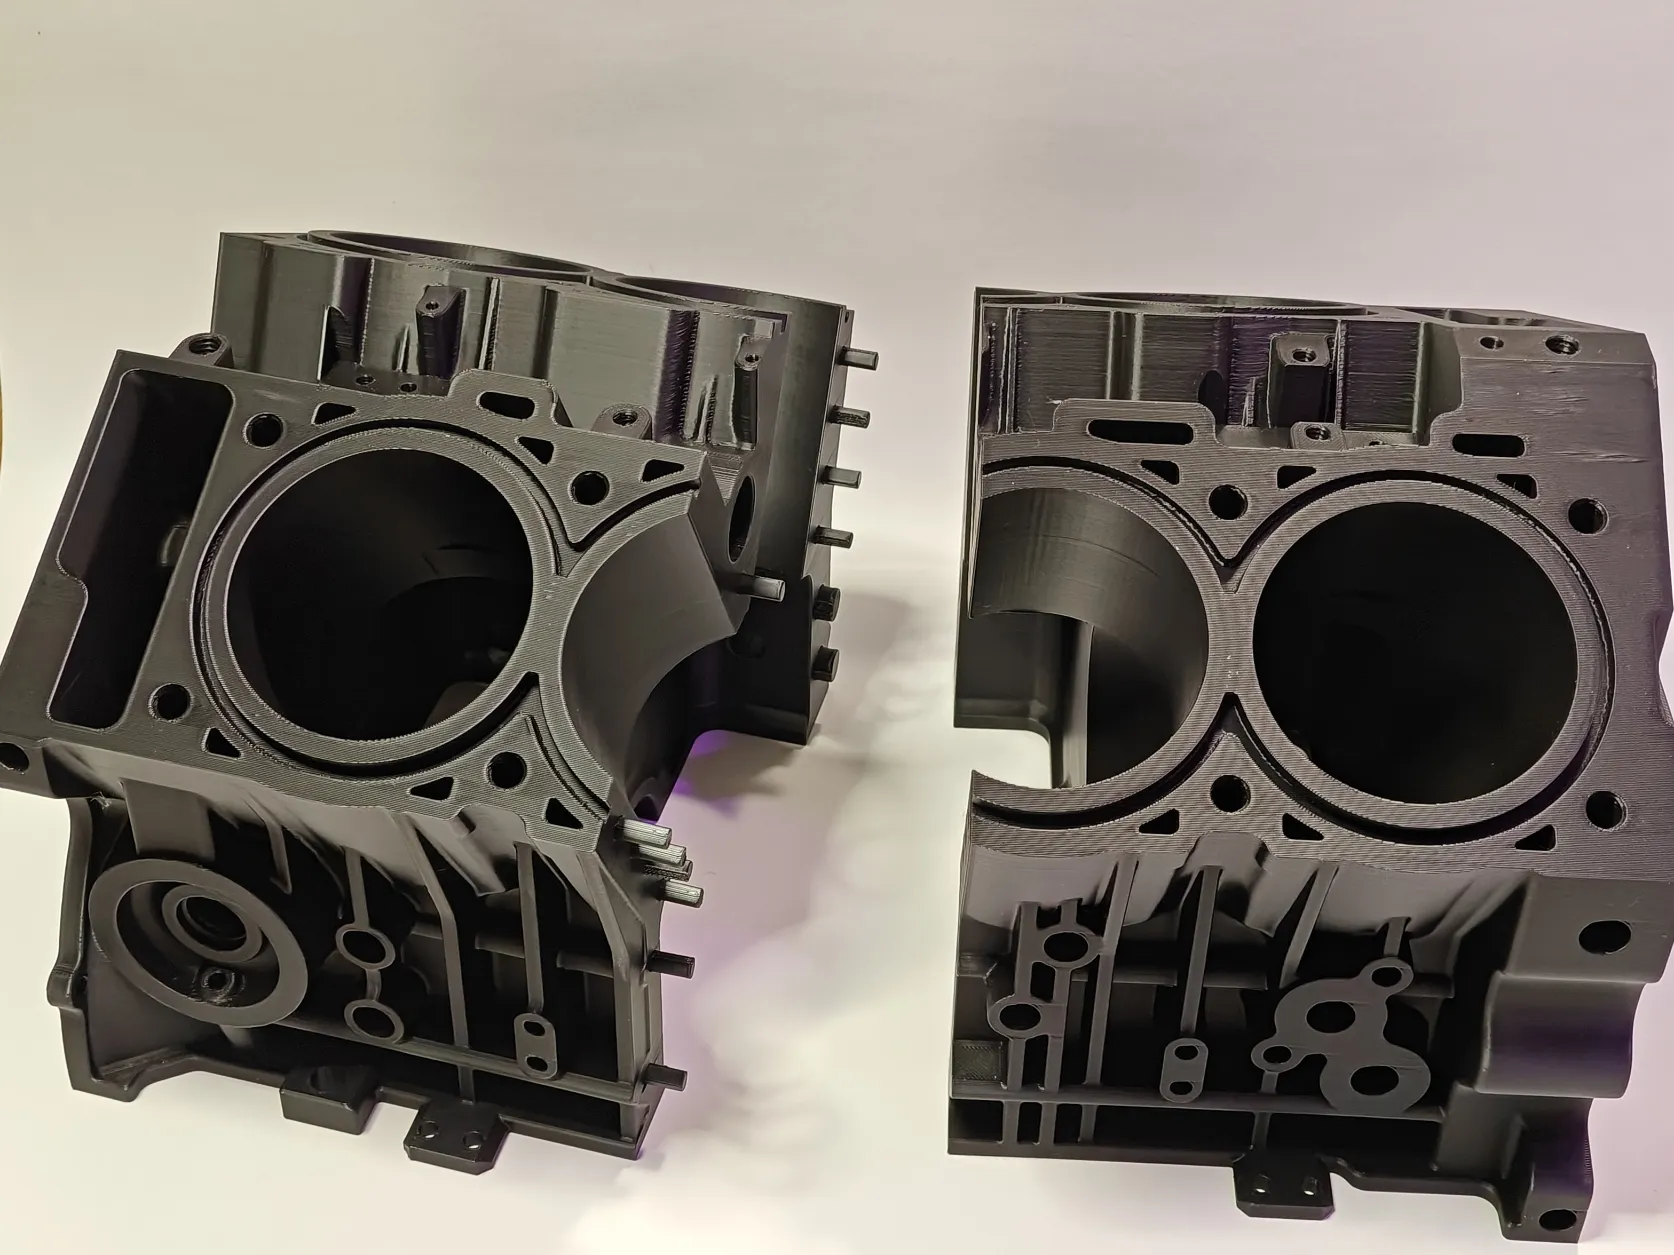 |
Connect both the halves of the main upper and lower blocks on the engine using the connecting pegs provided. Make sure to use a mallet to hit it in for a perfect, snug fit and alignment of both halves.
Step 2: (Optional: For those who want an inner glow)
 | 
|
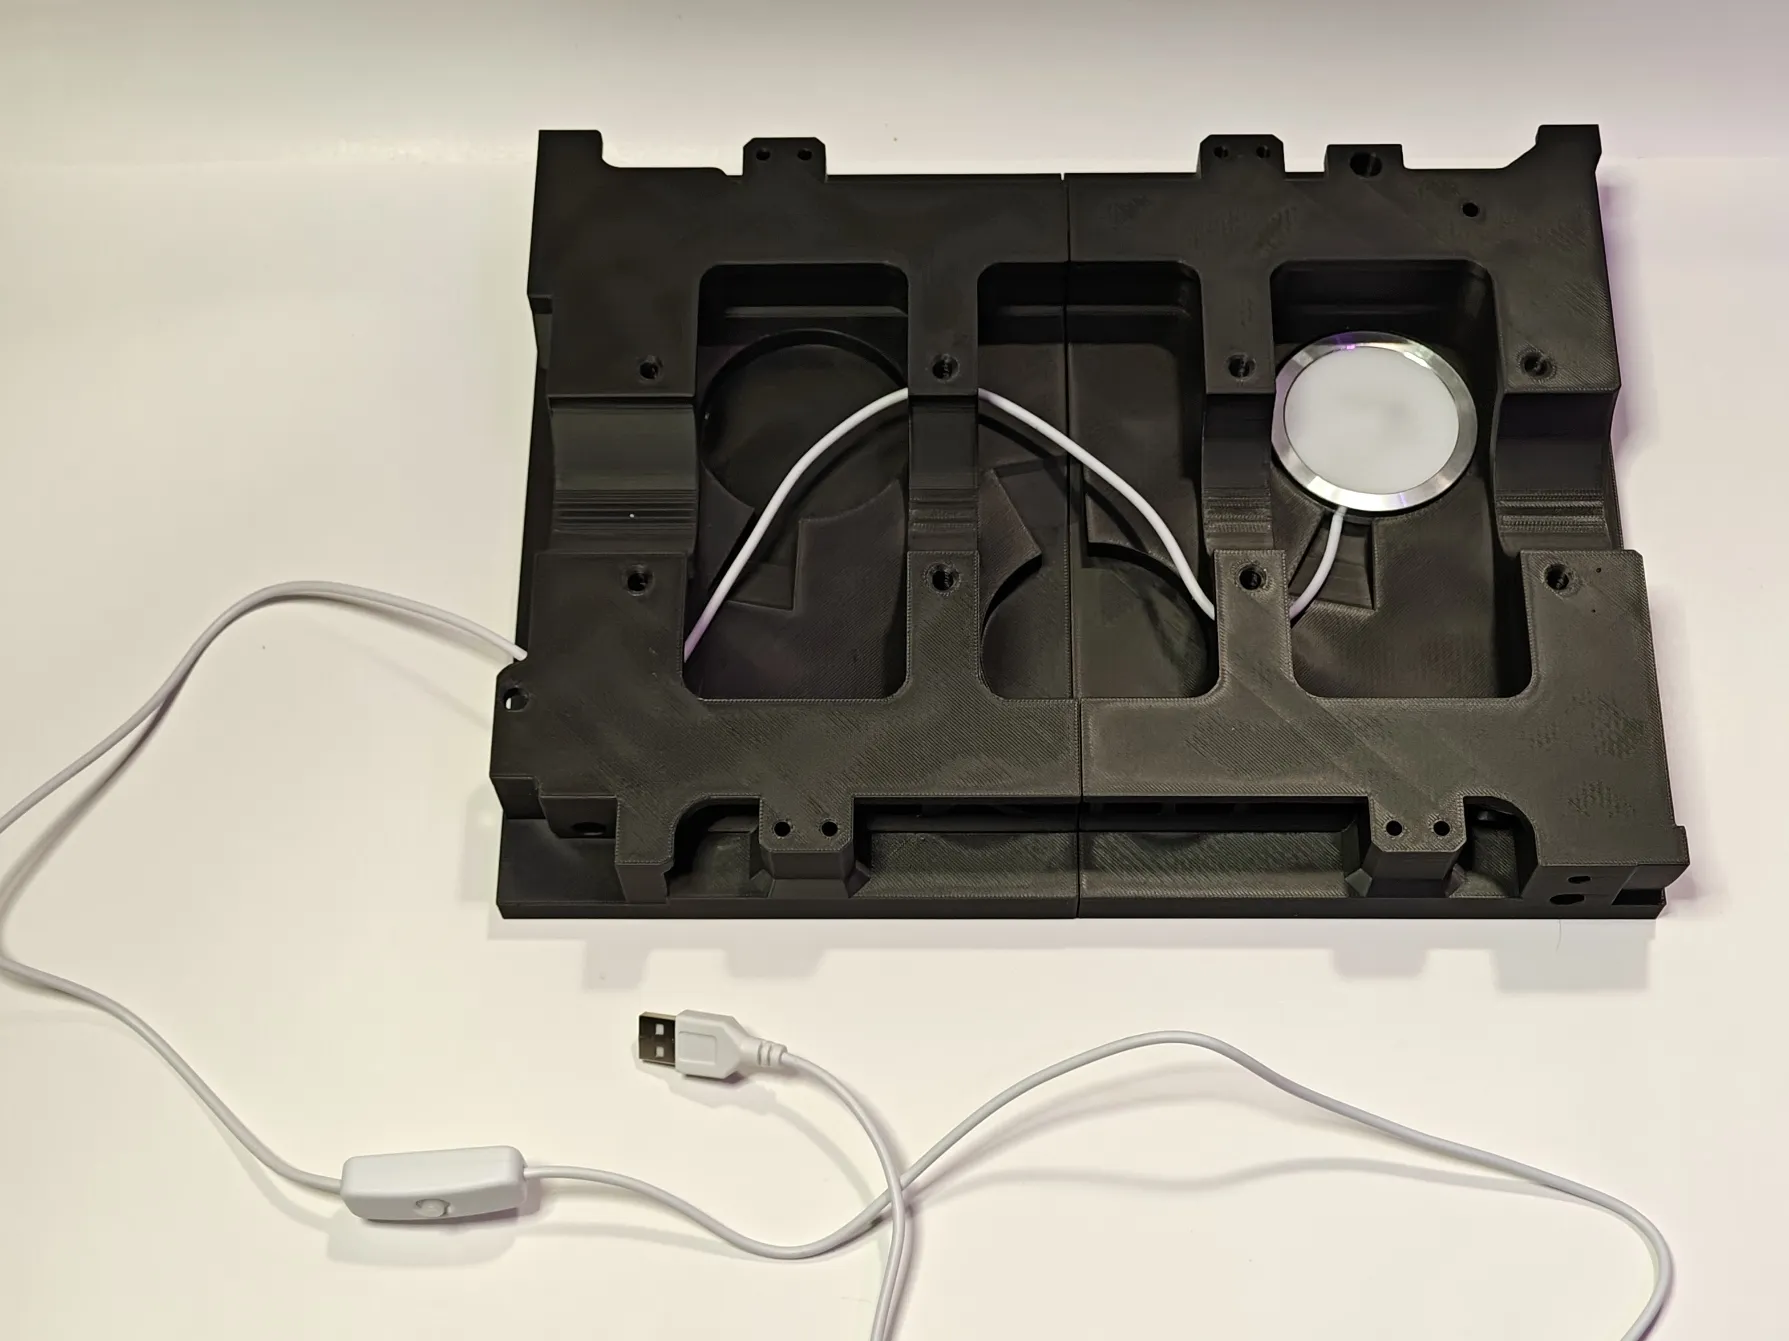
Insert 3x Bambu LED 001 lights (Available for purchase through the BOM for this model). Pull the light wires through the wire channels provided and pull them out through the back slot. Make sure to gently pull the wires to ensure a tight fit.
Step 3:
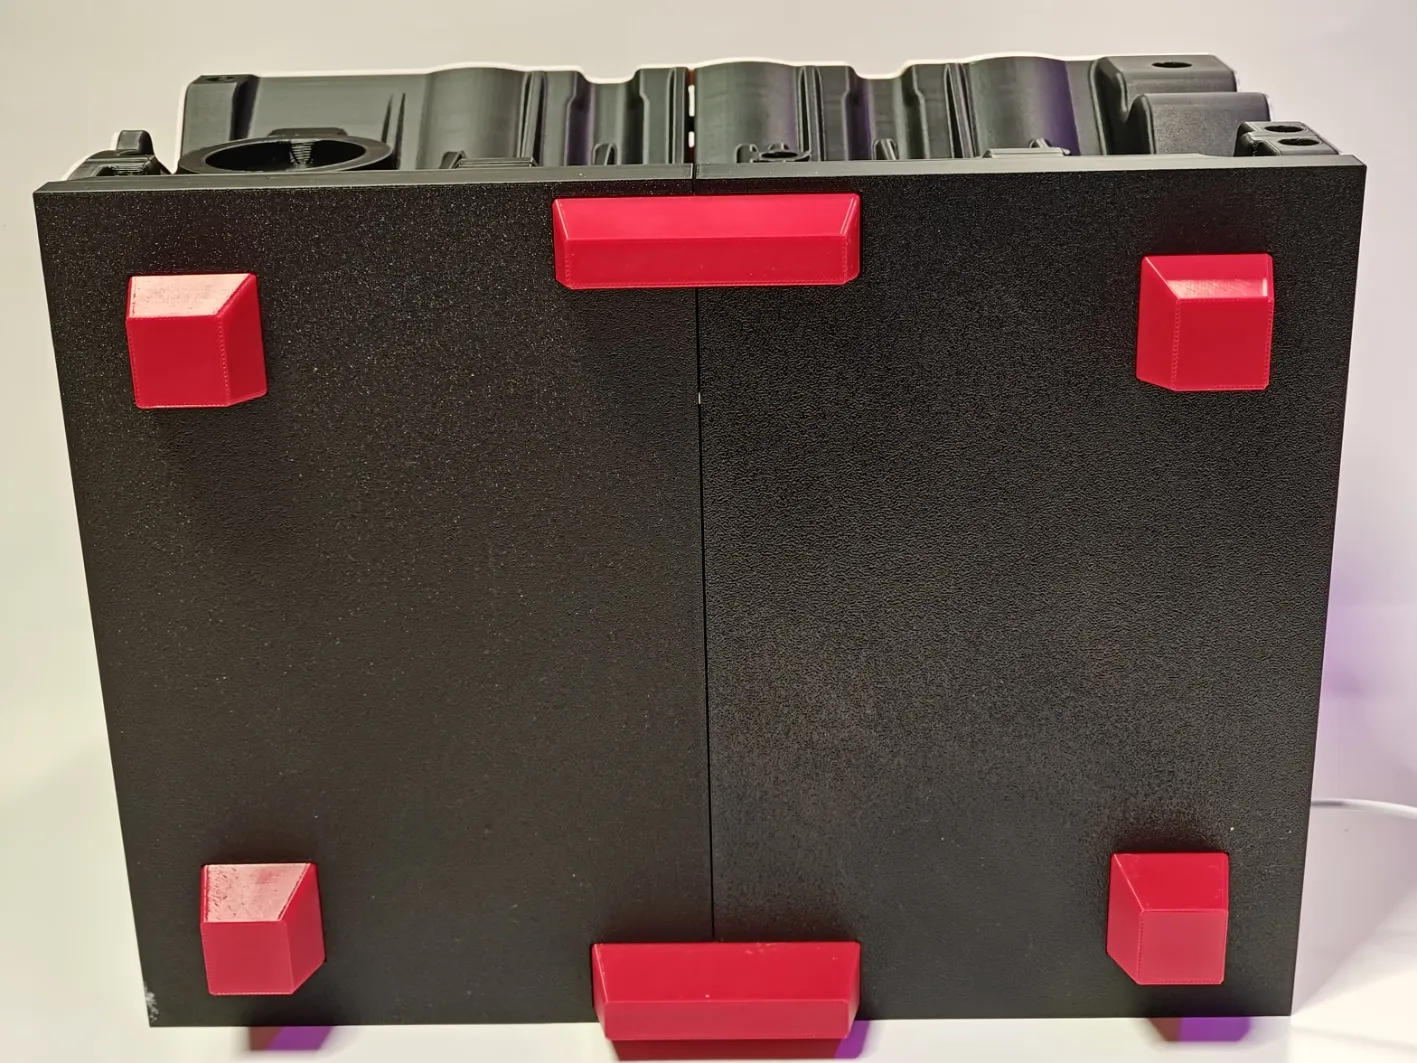
Attach the TPU Legs to the base of the lower block using superglue. There are slots provided for perfect fit.
Step 4:
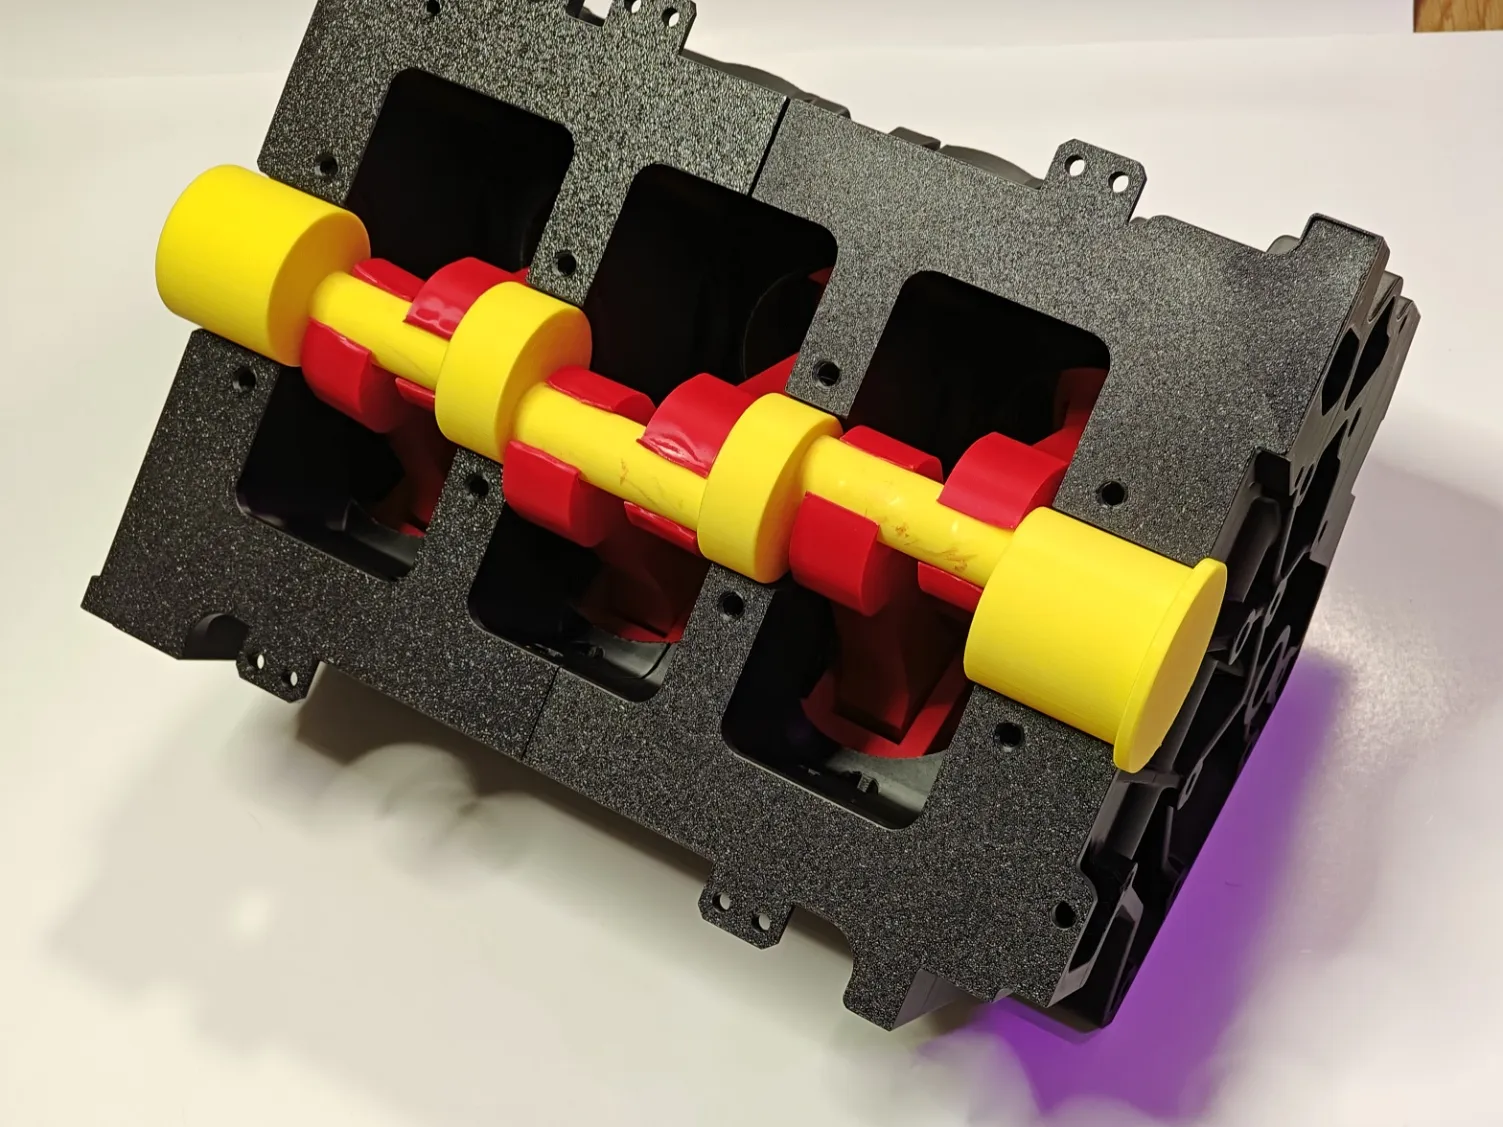 | 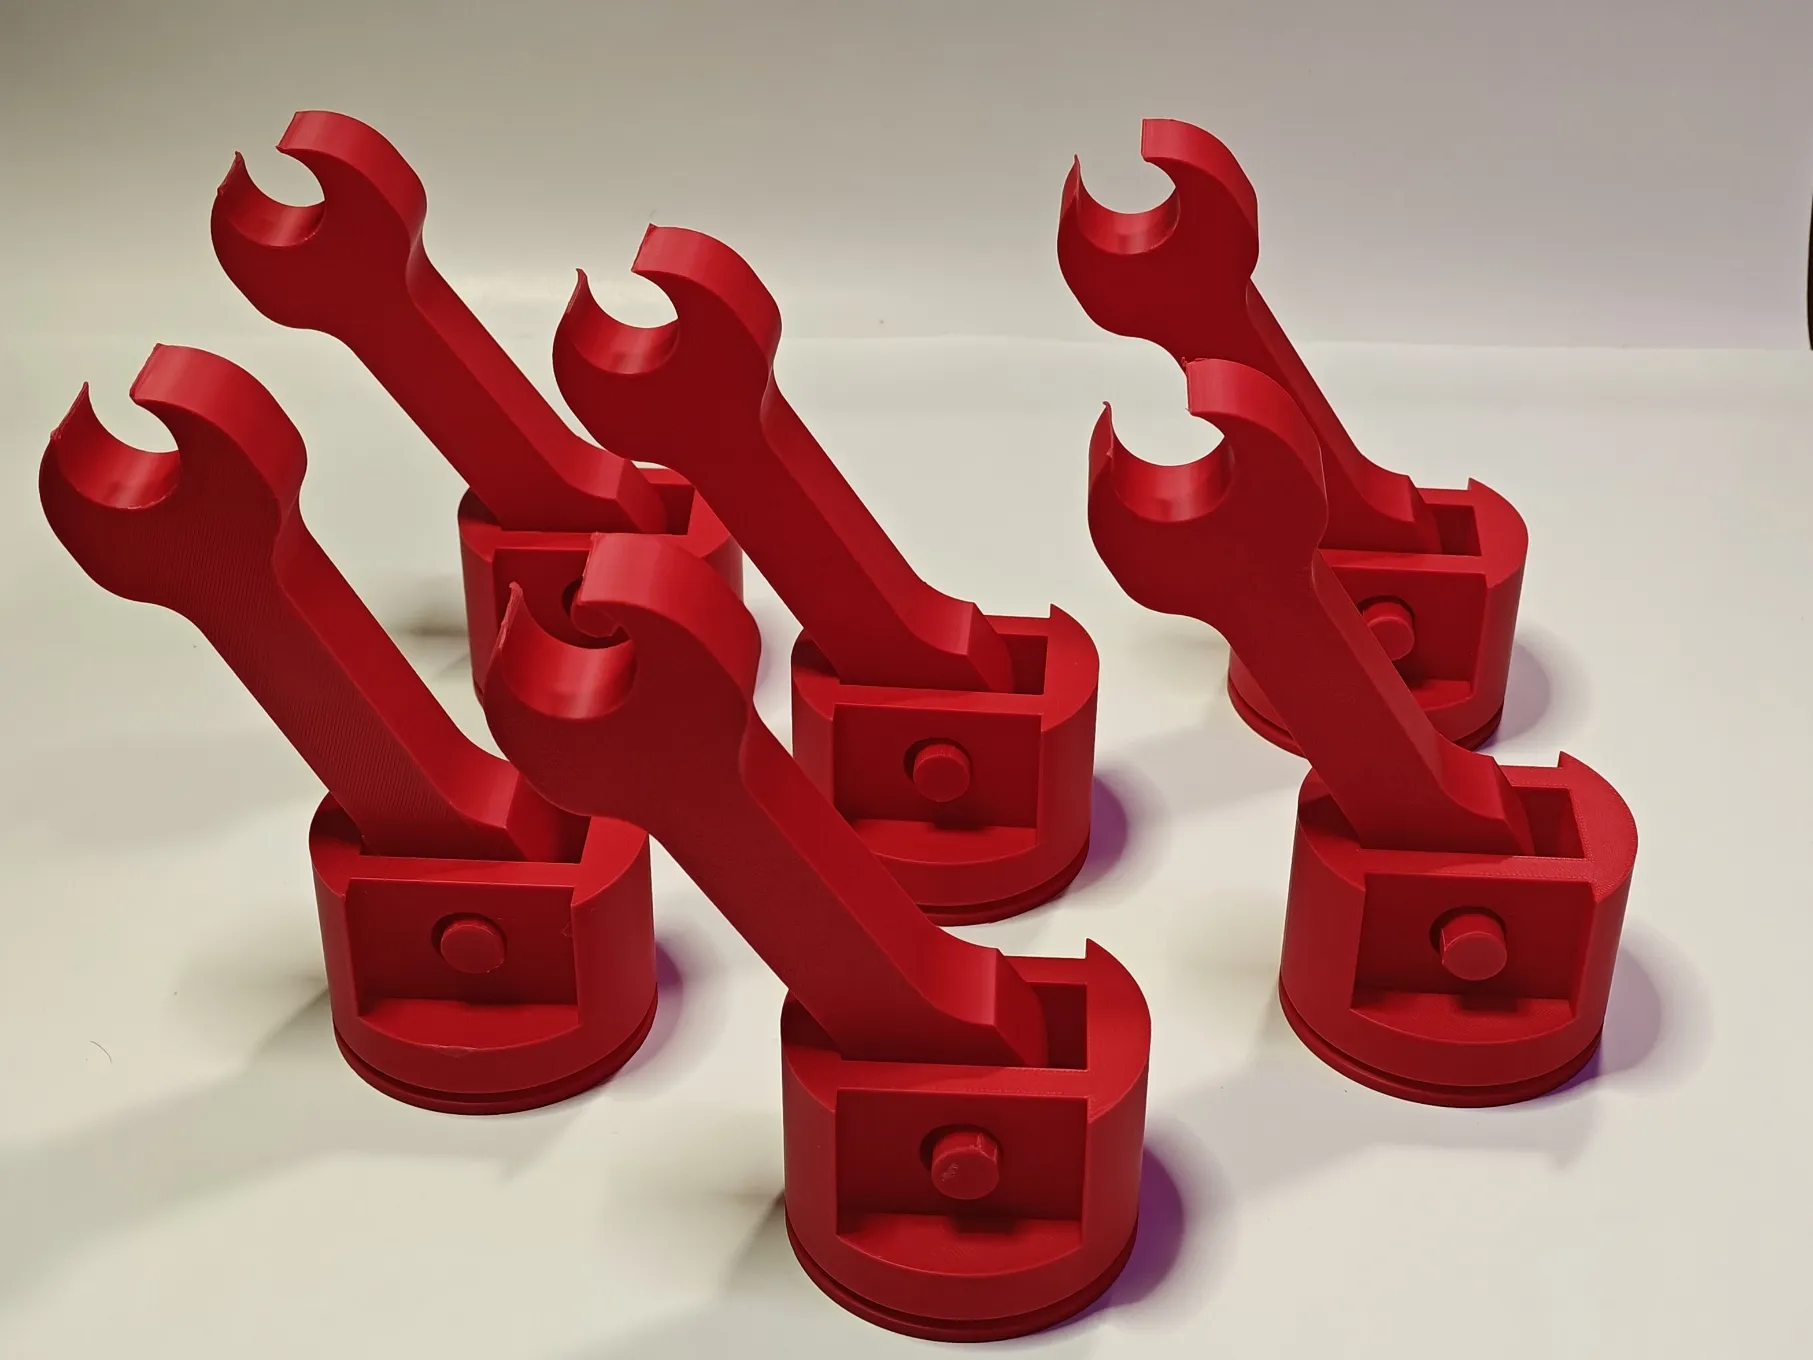 |
Place the yellow central shaft into its slot at the centre base of the upper block and put the pistons through their holes and connect the connecting rods to the yellow central shaft. There are two ways to do this:
- Brute force : Try to use your force to push the red connectors starting at an angle and then snap them onto the yellow shaft.

Heat treat: Follow like I did in this video. Slightly heat the red connector tip and snap onto the yellow shaft. If you by mistake burn it a little or plastic melts, dont worry. Anyways this part will be hidden inside.
Step 5:
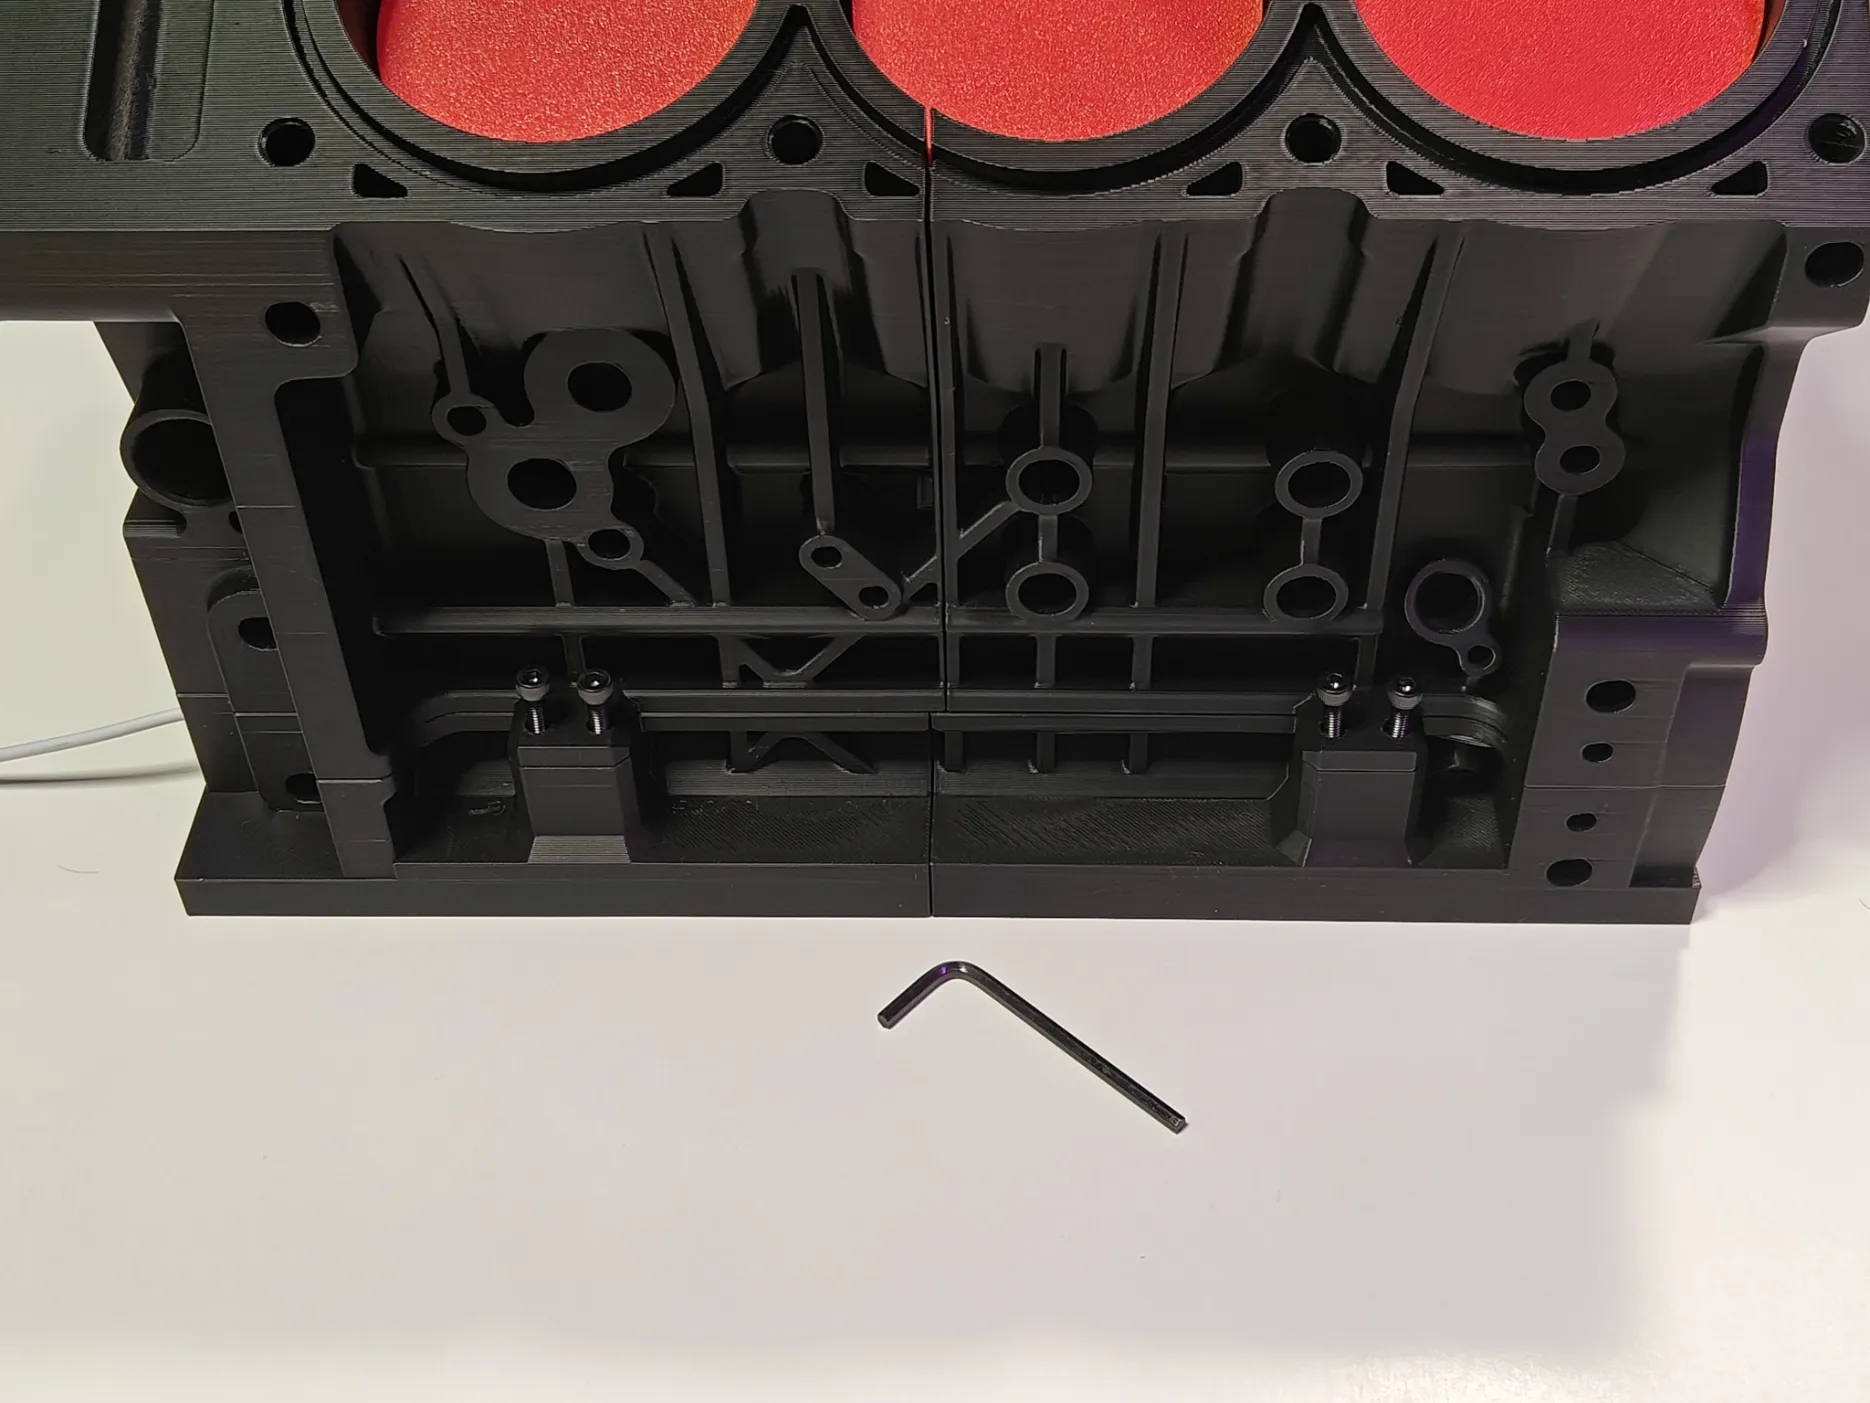
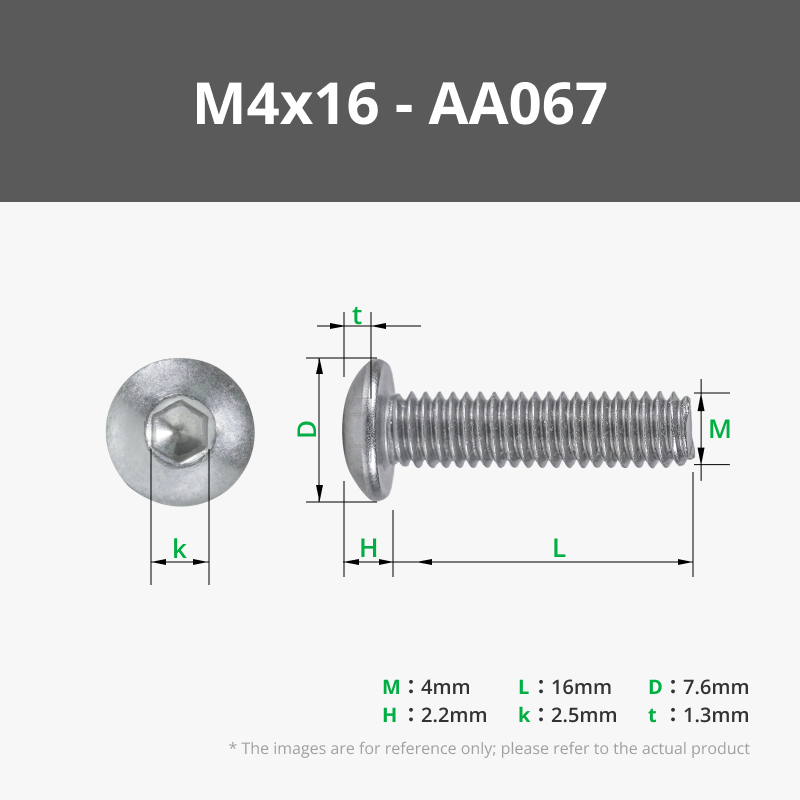
Secure and tightly screw the upper casing to the bottom part of the casing using 8x [M4 x 16] Screws. Make sure they are tightned properly.
Step 6: (Optional)
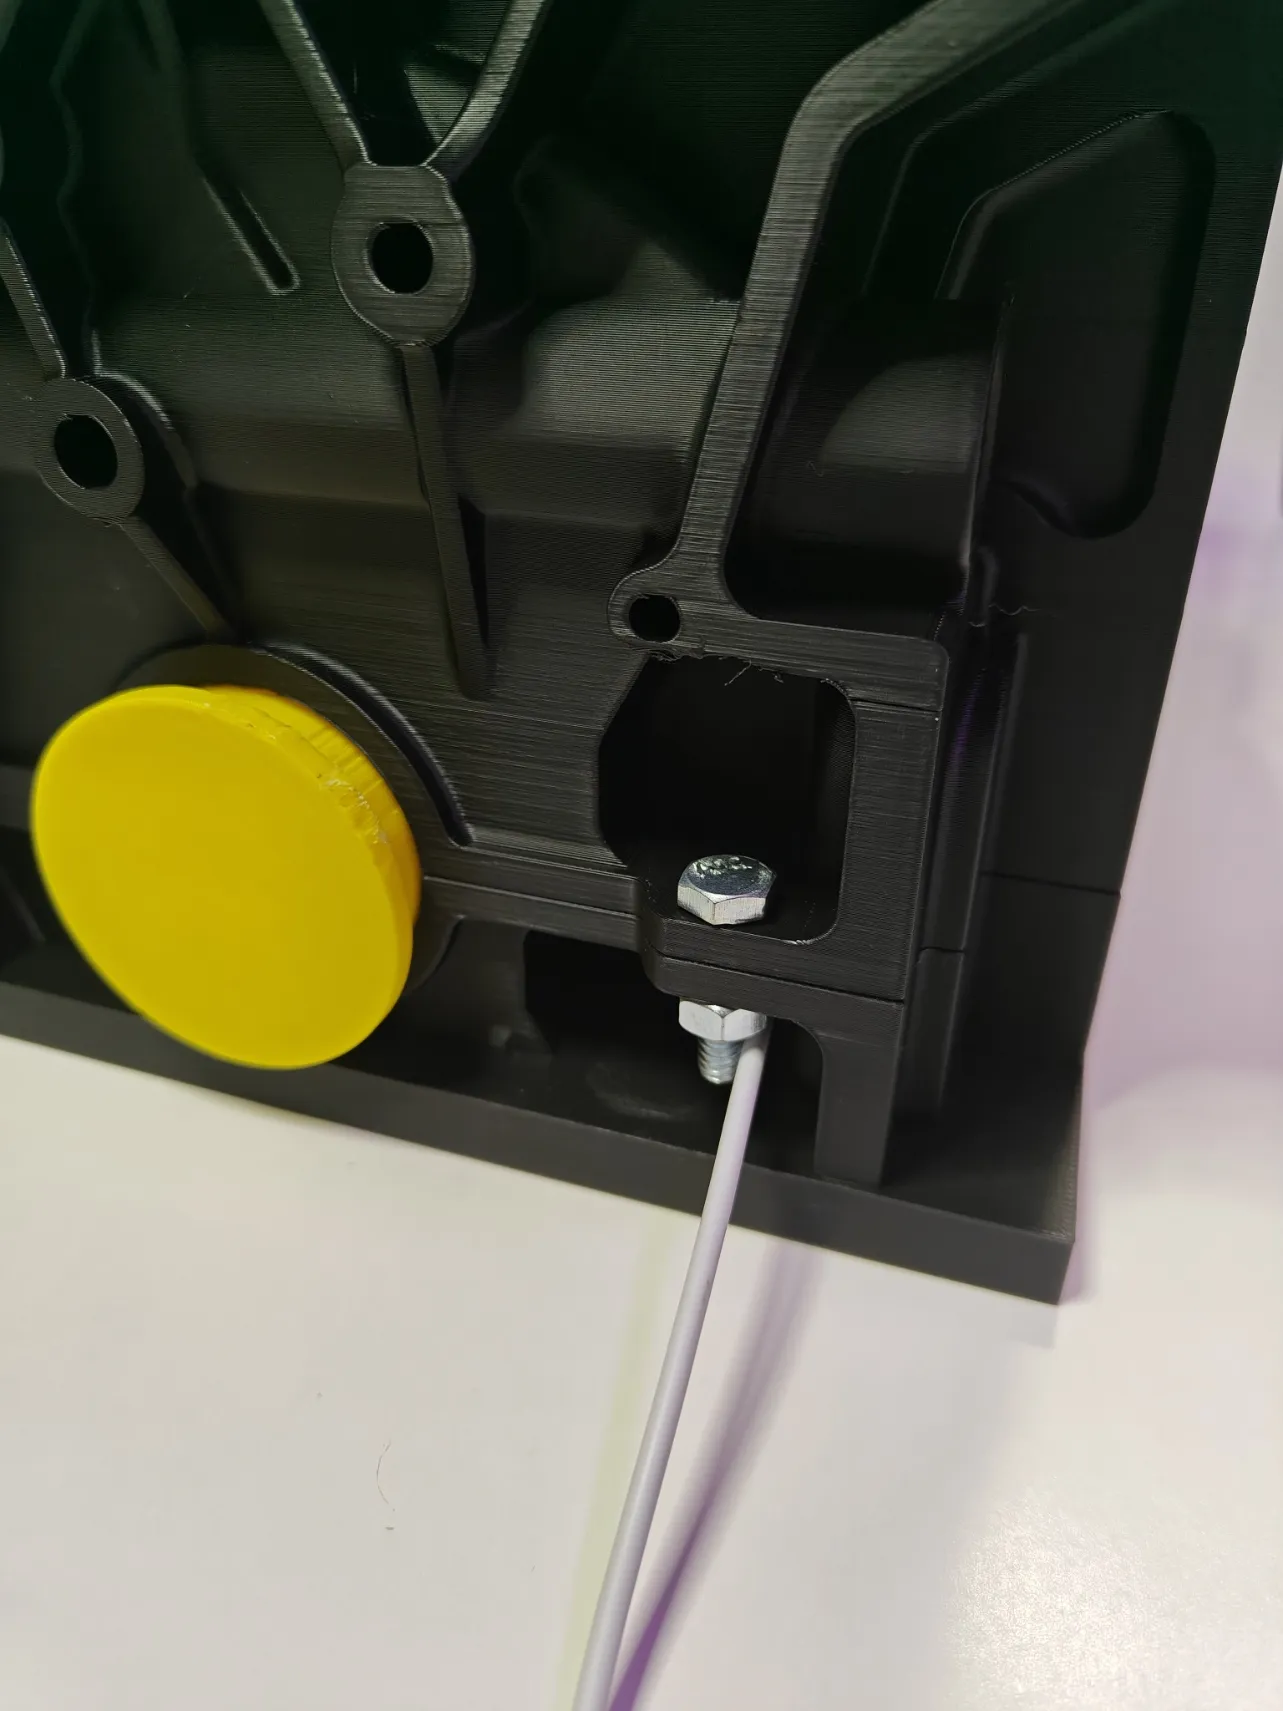 | 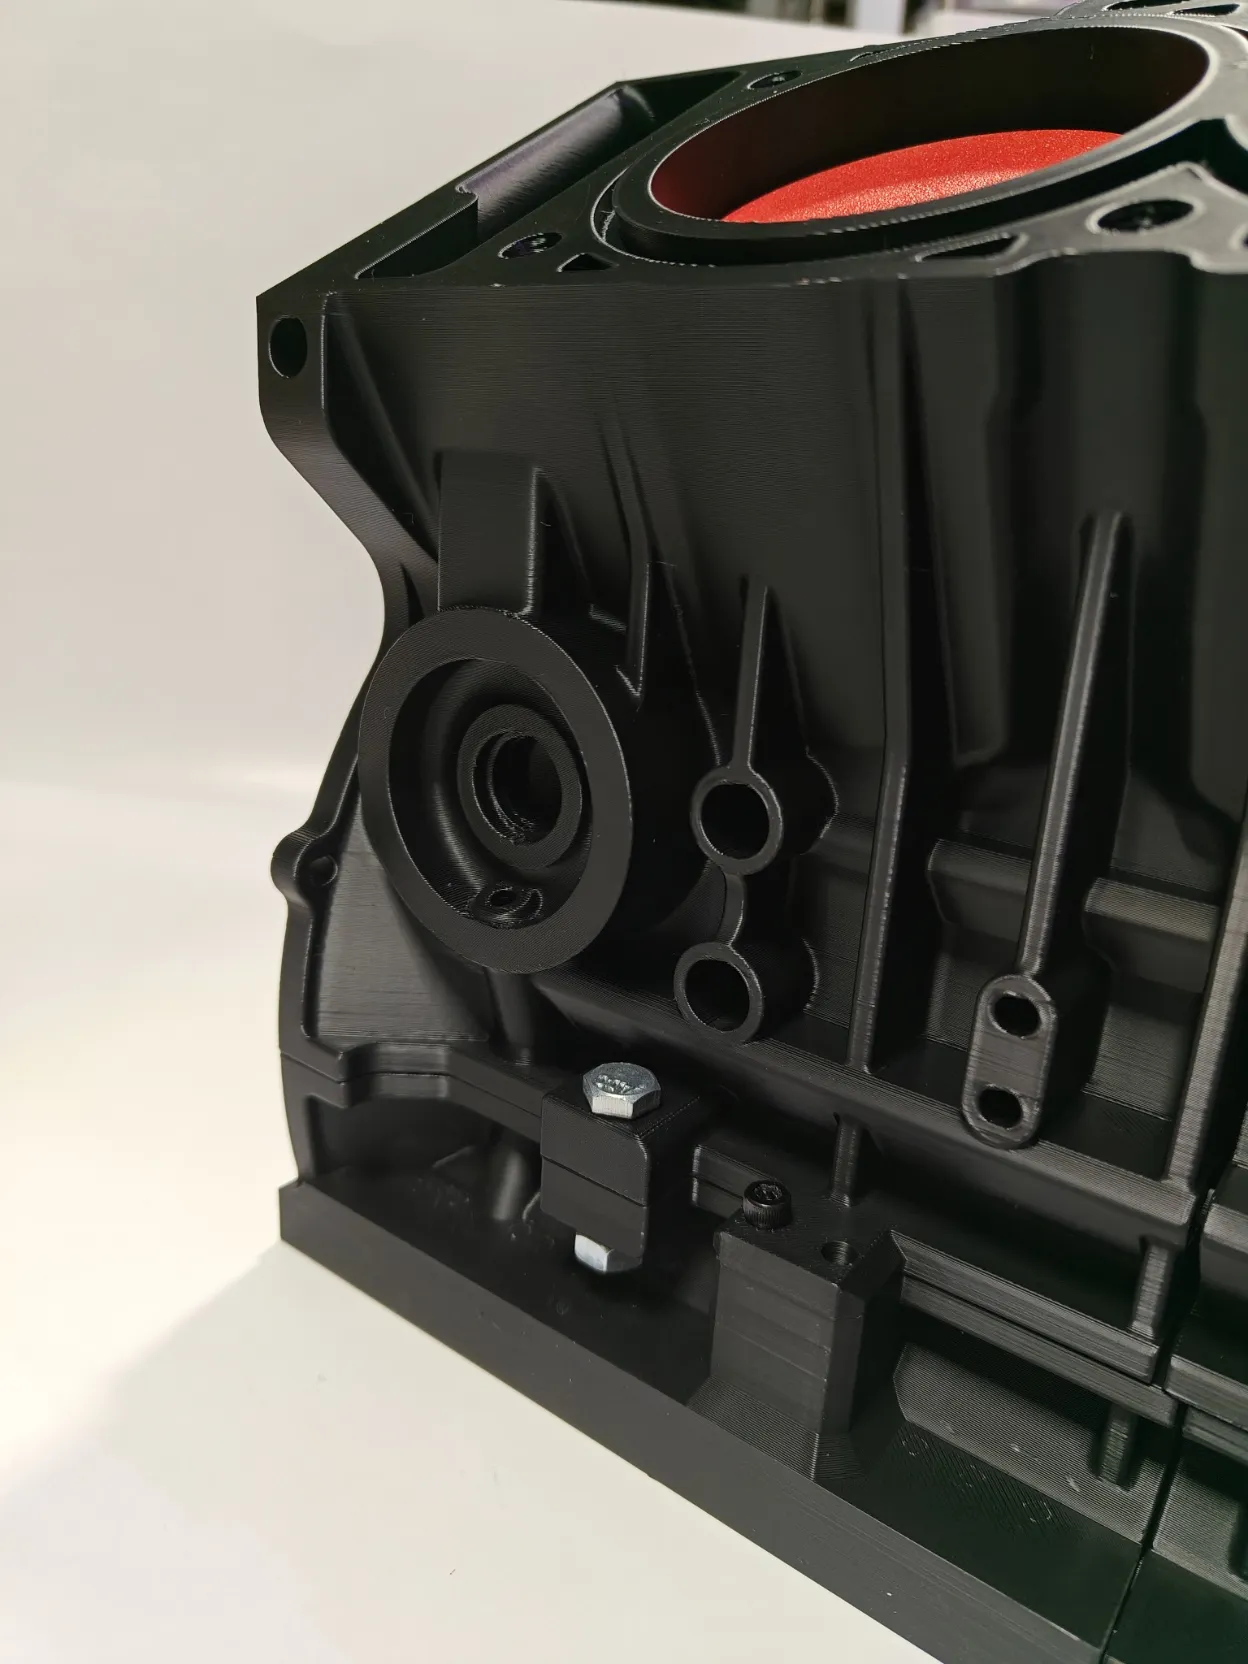 |
Add additional automotive screws for looks as well as for additional securing. This is mostly for aesthetic purposes. If you don't like it, you can skip this step!
Step 7:
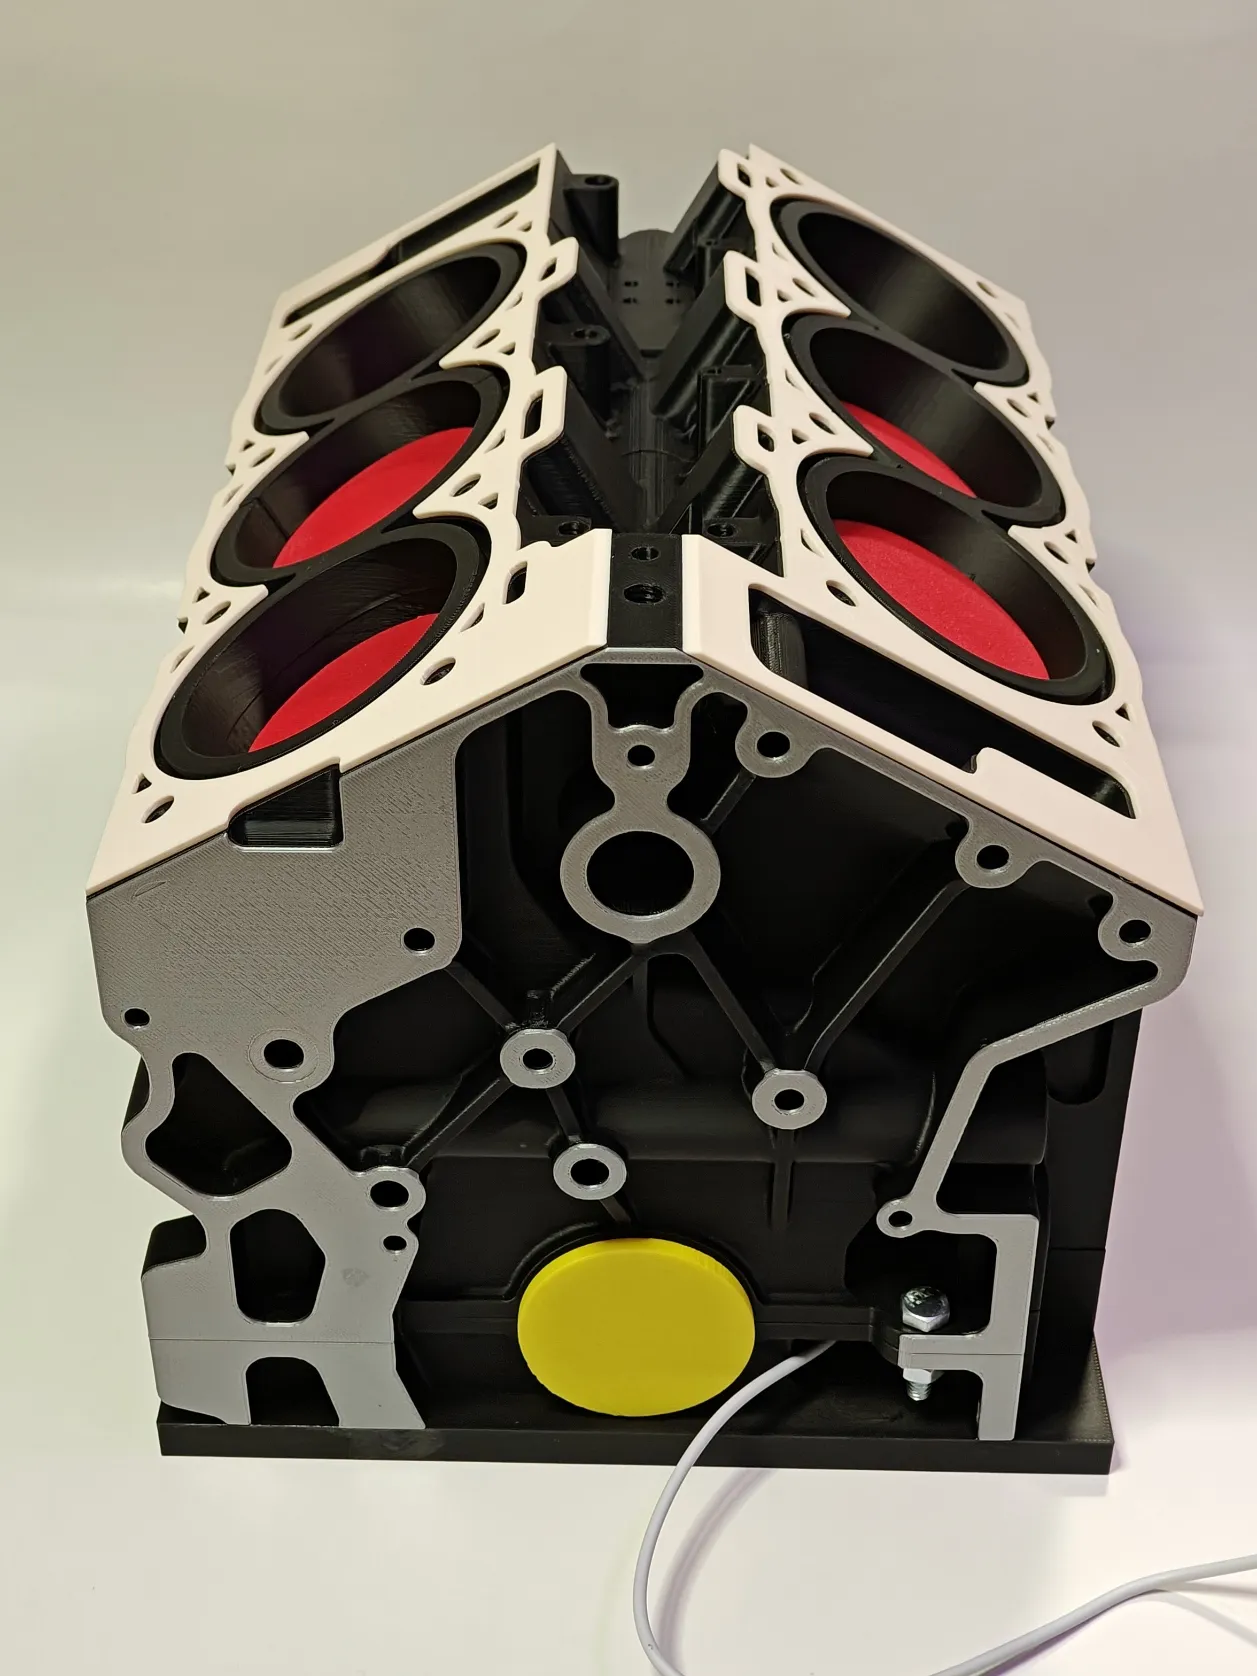 | 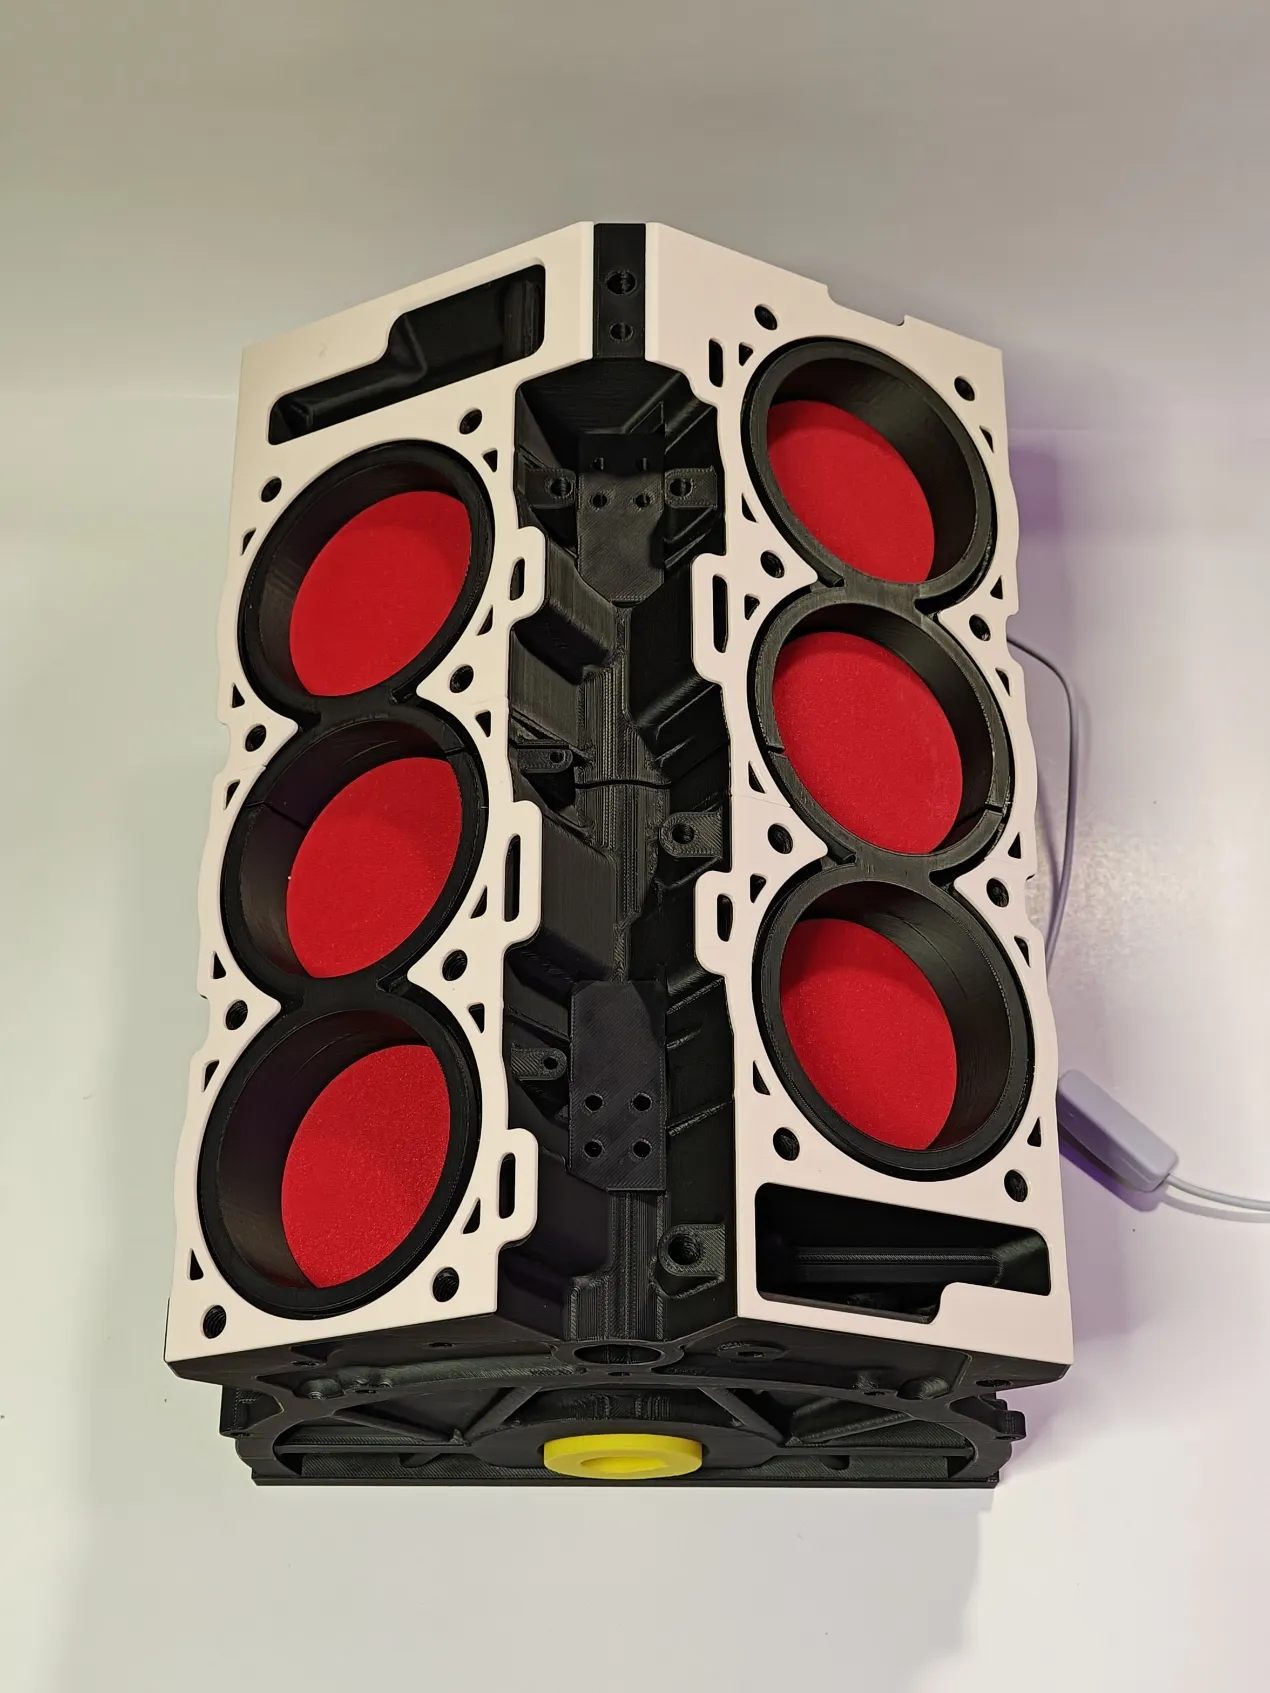 | 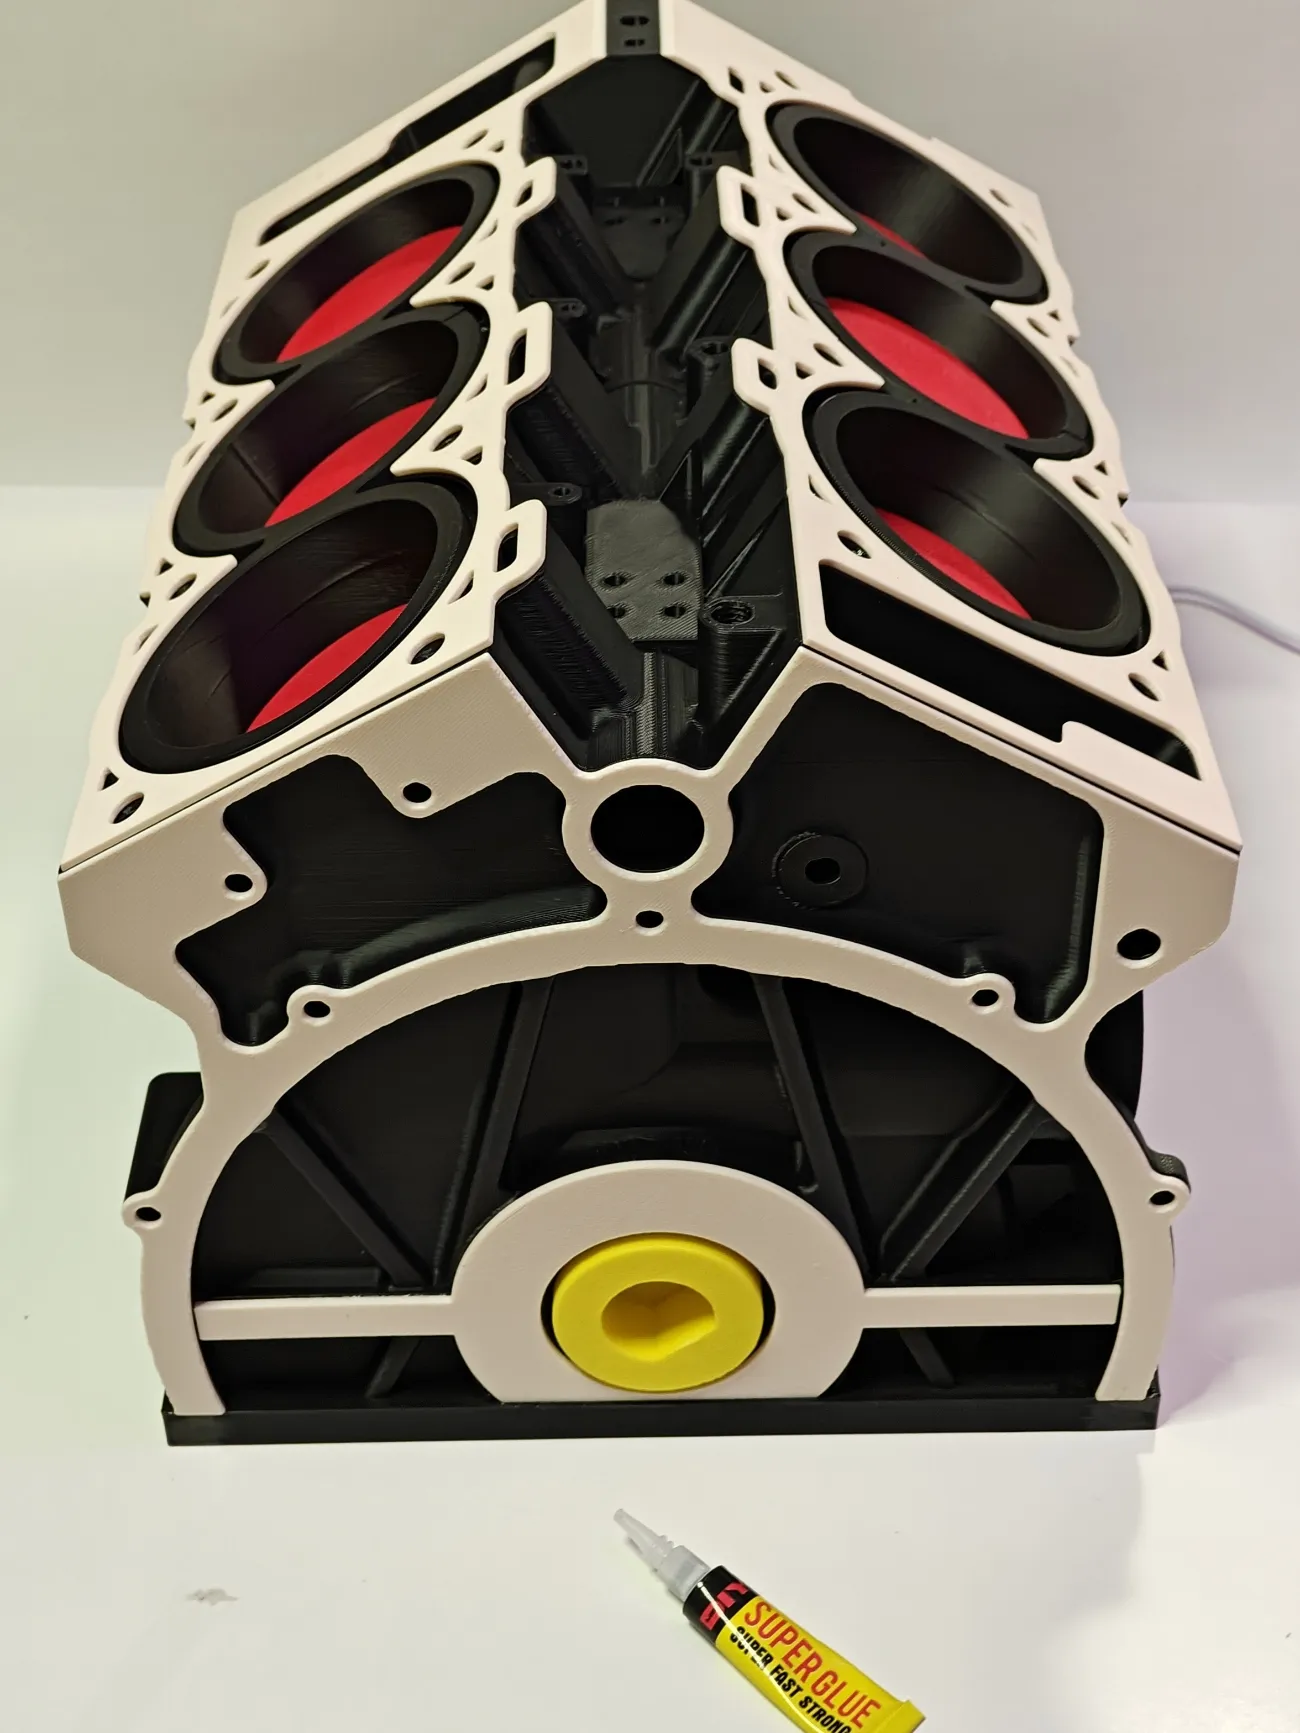 |
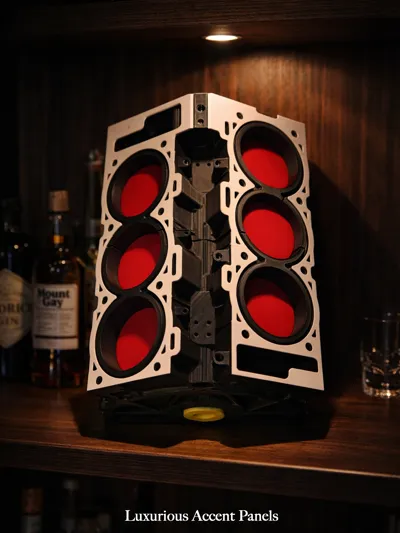
Use superglue to attach the accent panels to the top, front, and back sides as shown. Make sure to perfect the alignment for a good finish!
Step 8:
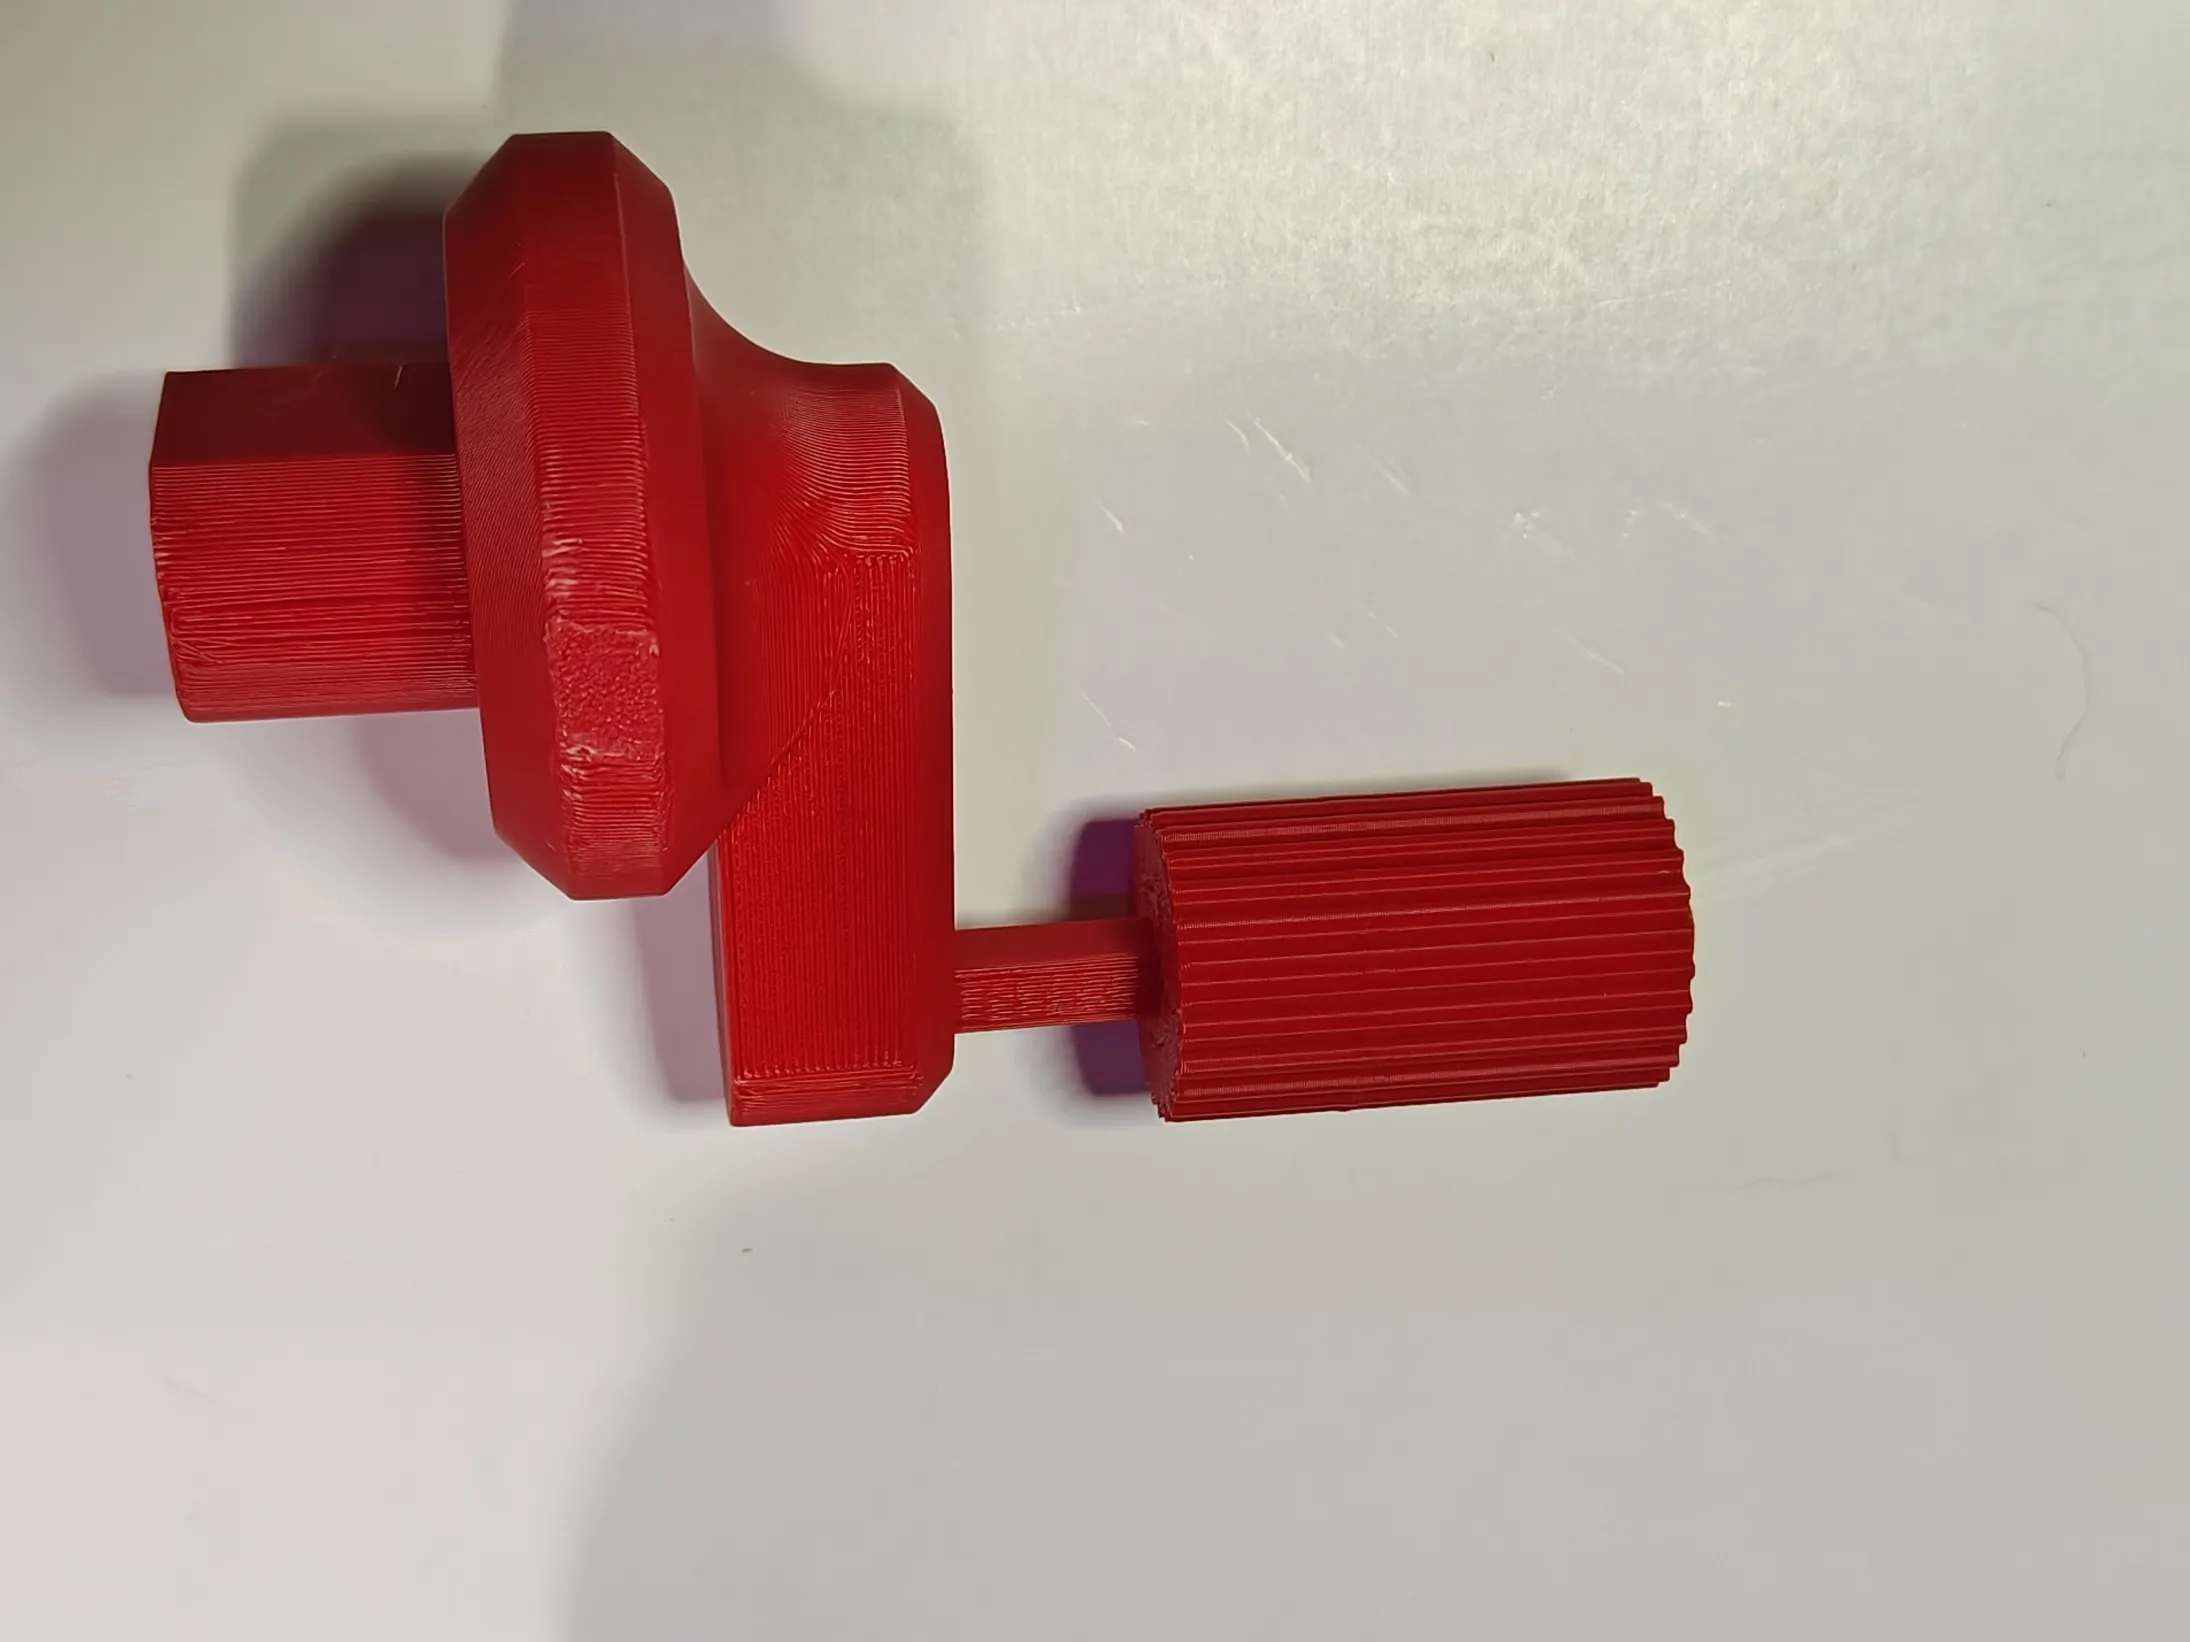 | 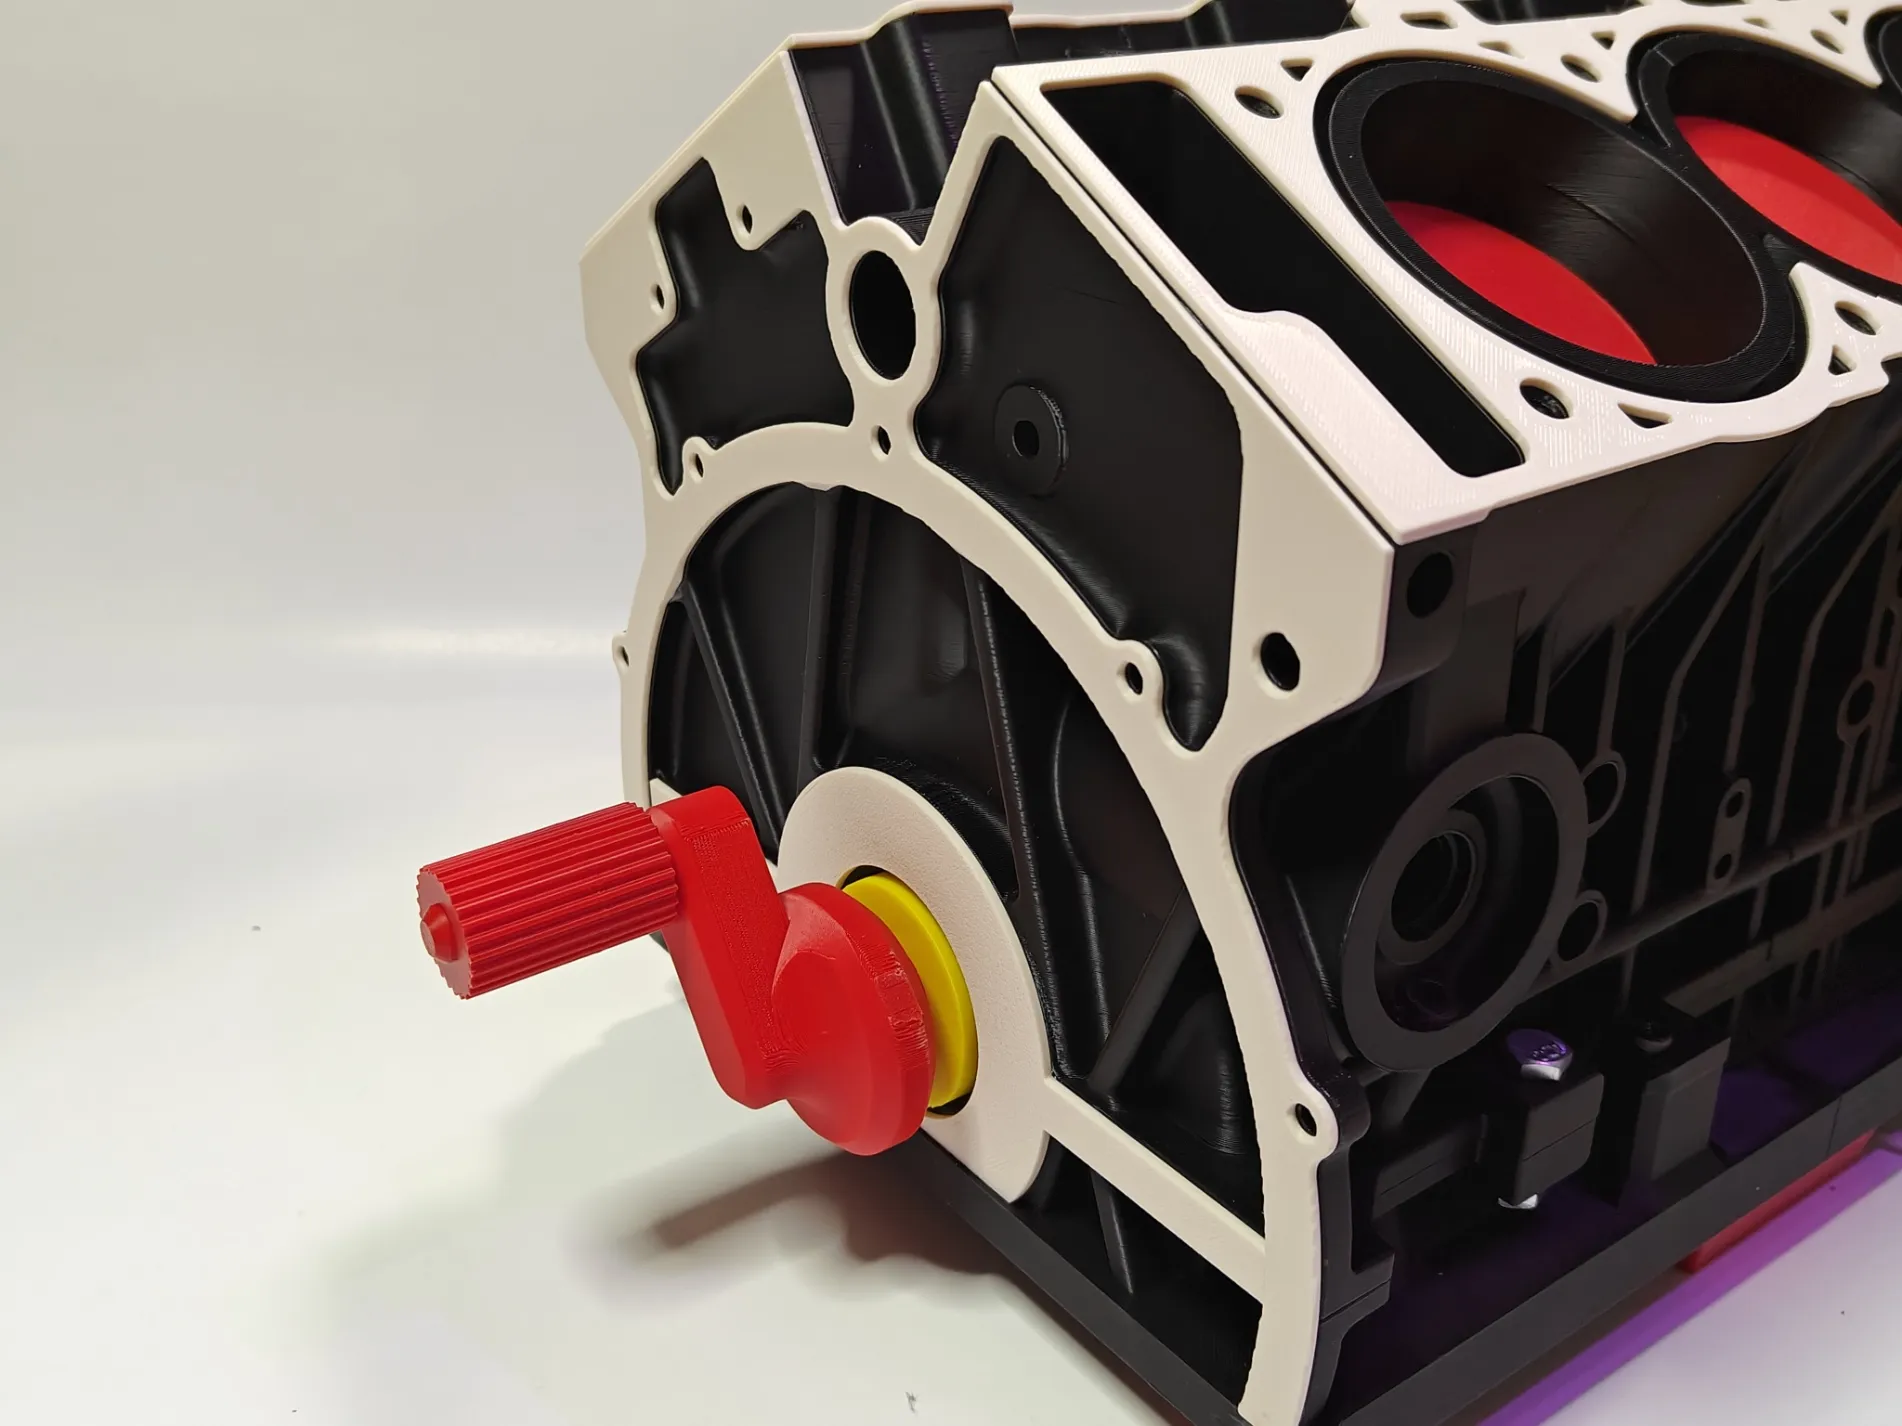 |
Attach the Crank Handle knob to the main body and push it into the slot provided on the main crank shaft. (You can also use the drill attachment given to connect to a drill or have a motor attached for a permanent display!
Step 9:
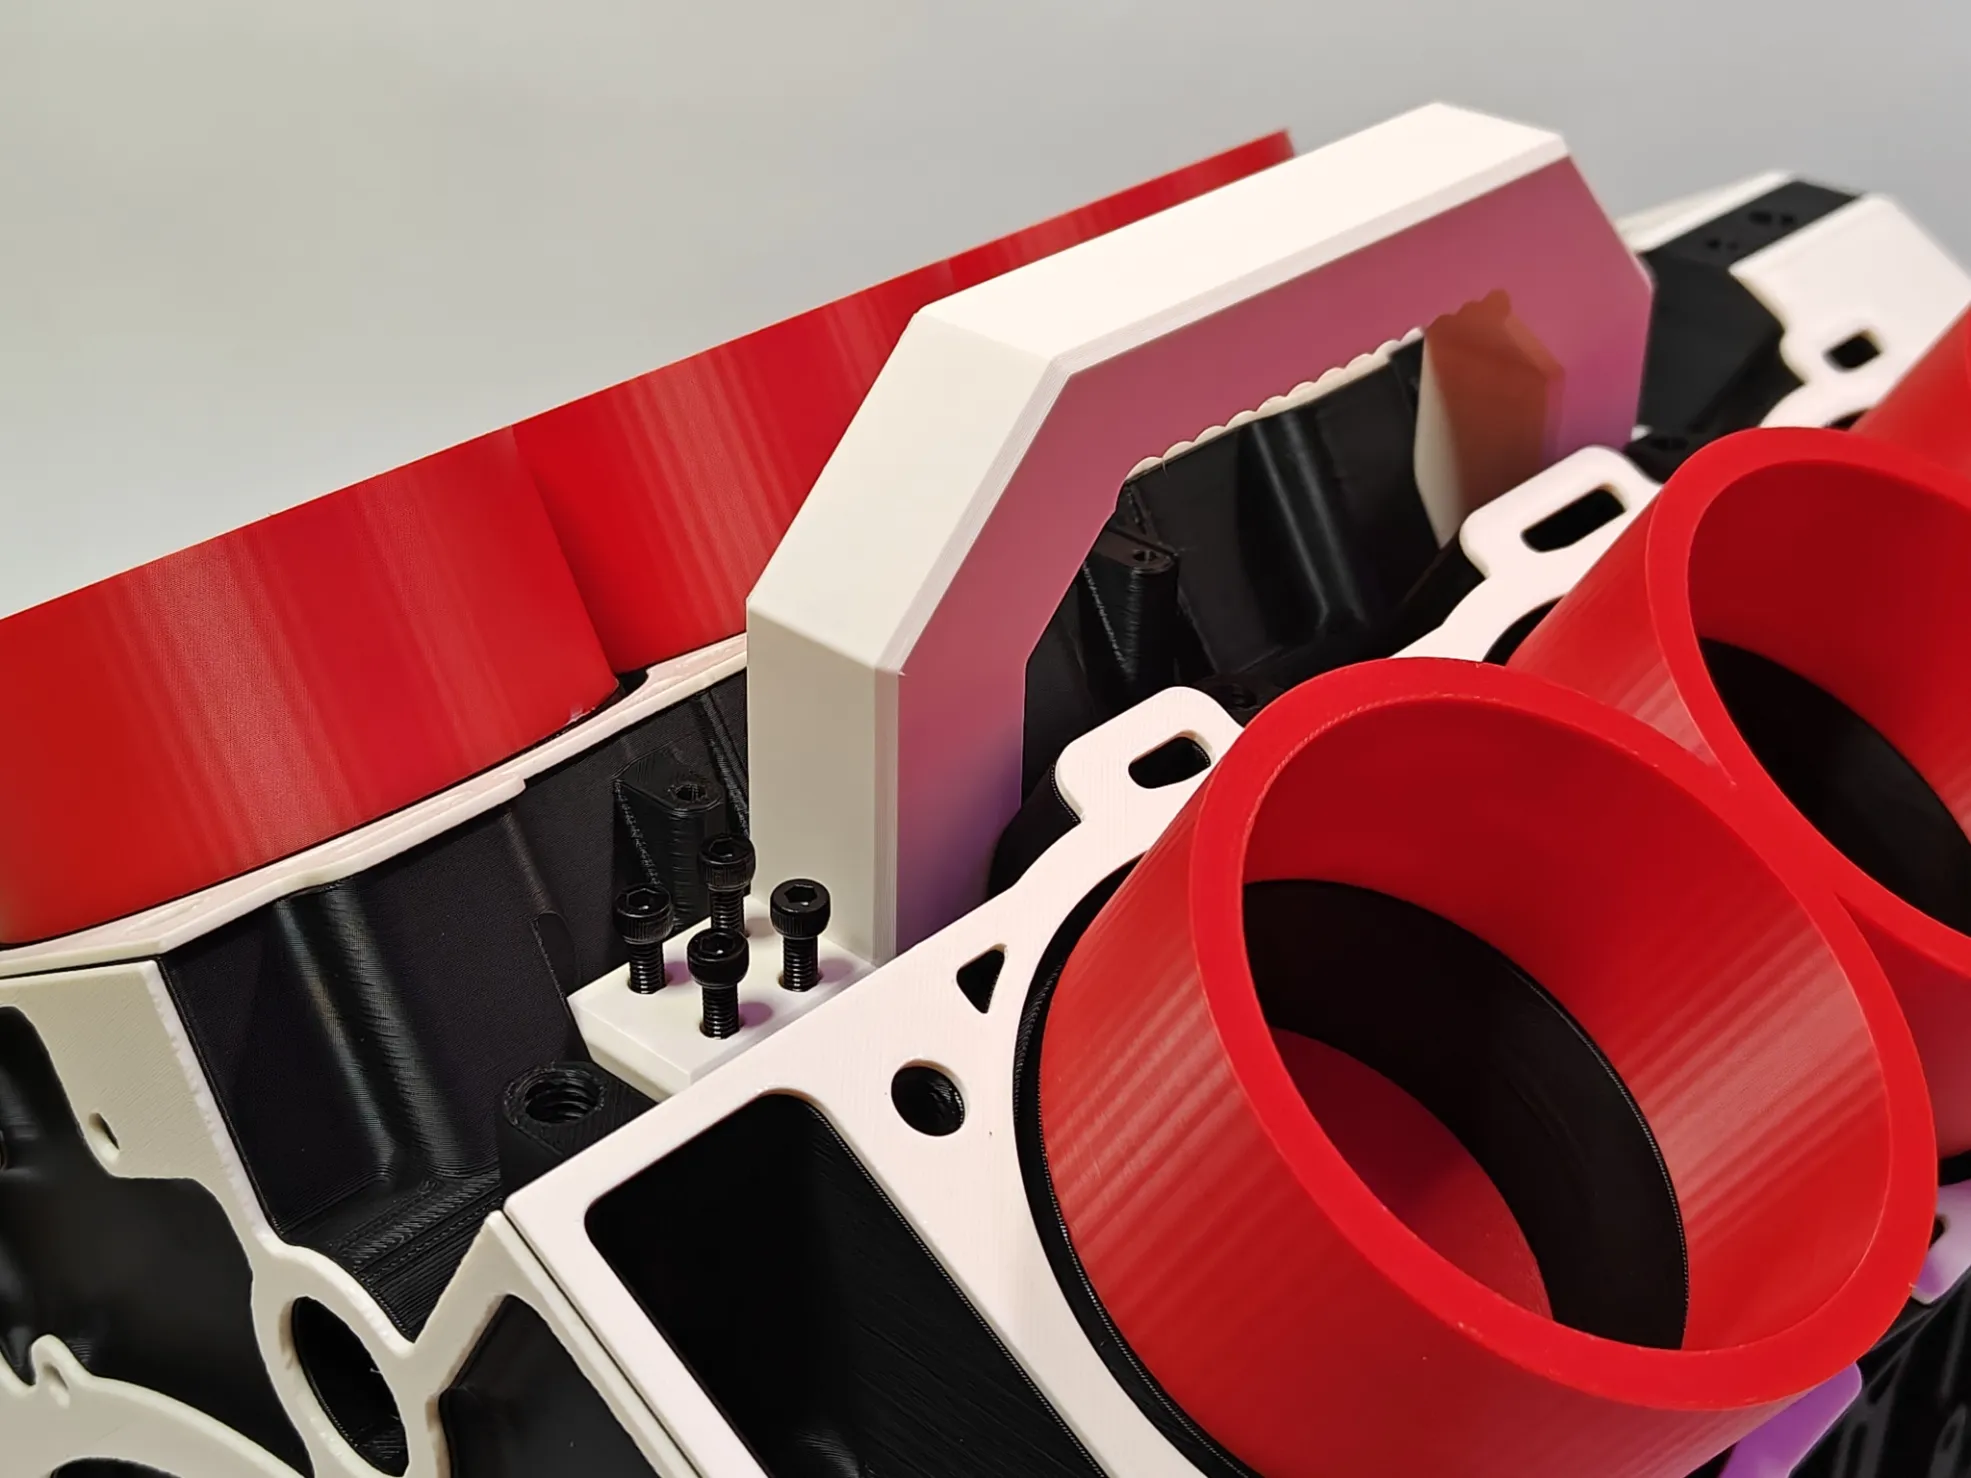
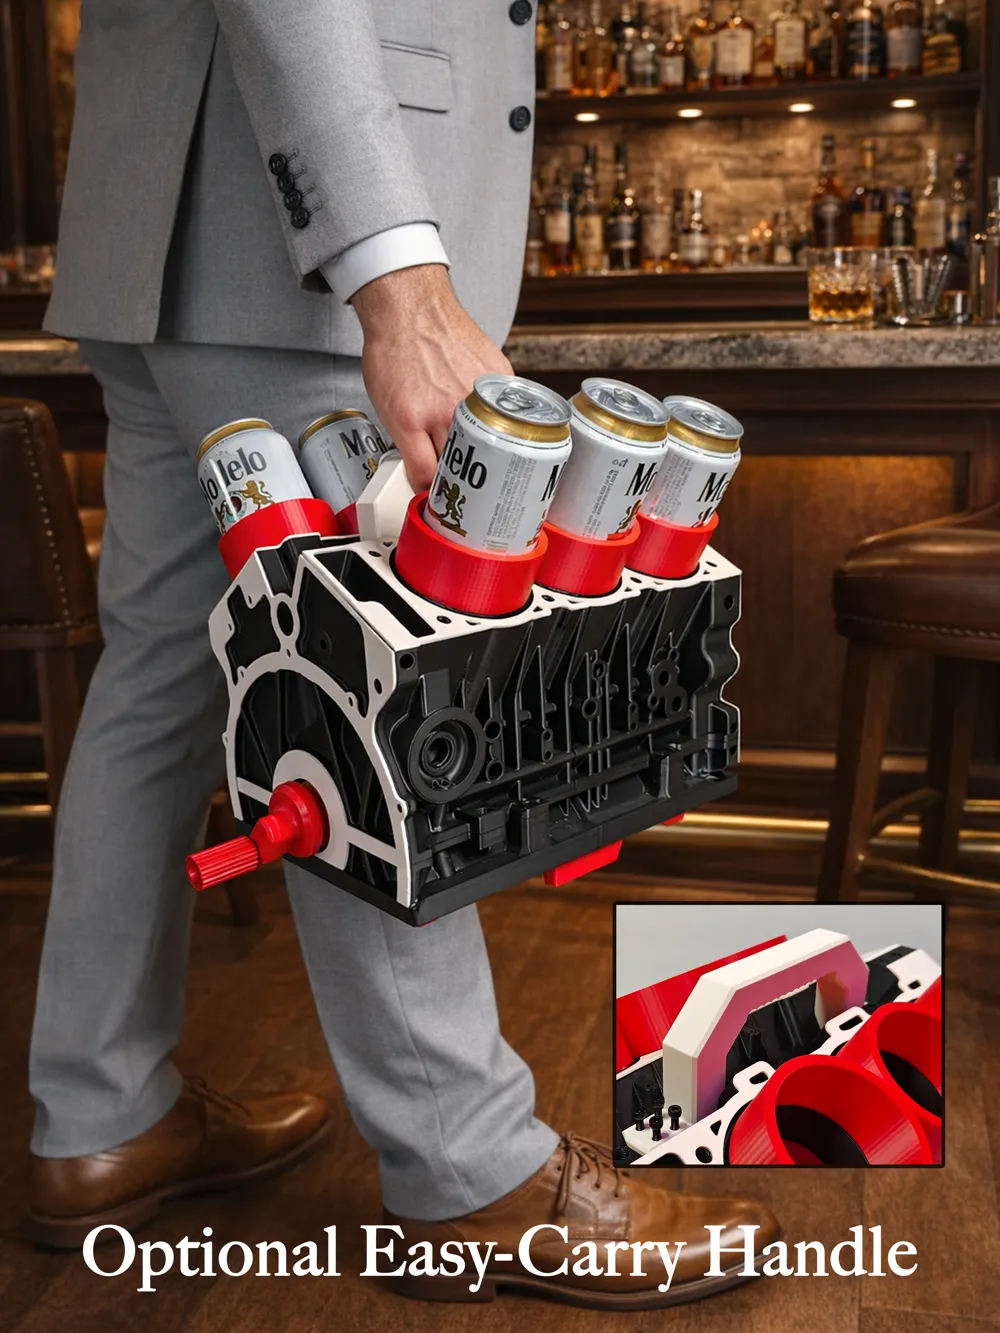
Attach the optional Easy grip heavy-duty handle provided using 6x [M4 x 16] Screws (link) to its slot at the top of the engine block.
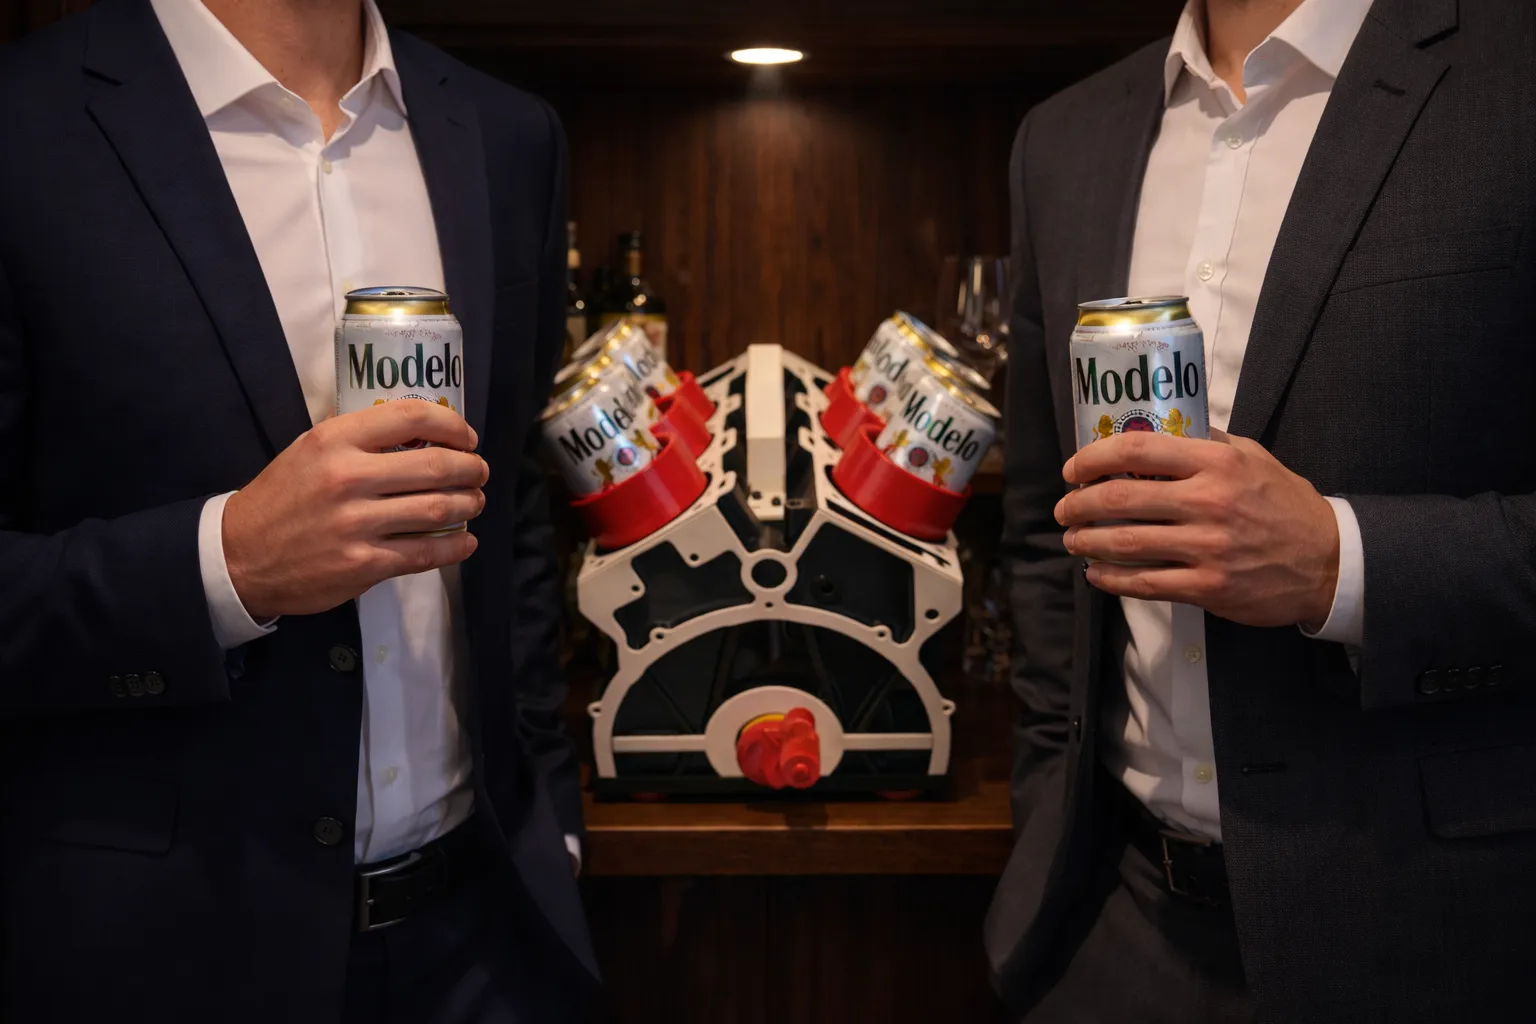
Attribution: I was inspired by the Prussa Engine Block V6 to make this build!
HOPE YOU LIKED MY BUILD! PLEASE CONSIDER BOOSTING IF YOU LIKED IT !
Boost Me (for free)
Please consider boosting this model if you liked it!
License

You shall not share, sub-license, sell, rent, host, transfer, or distribute in any way the digital or 3D printed versions of this object, nor any other derivative work of this object in its digital or physical format (including - but not limited to - remixes of this object, and hosting on other digital platforms). The objects may not be used without permission in any way whatsoever in which you charge money, or collect fees.


Comment & Rating (80)