Morandi Bridge Genova Lillabo Brio Ikea


Print Profile(1)
Description
Boost Me (for free)
boost me if you like my project
Membership
Want to support my work or sell prints of my designs? As a subscriber, you will: 🛠️Help me create more free, high-quality models. ✨Unlock exclusive perks. 💼Acquire commercial rights.
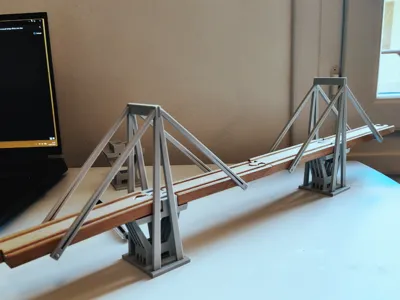
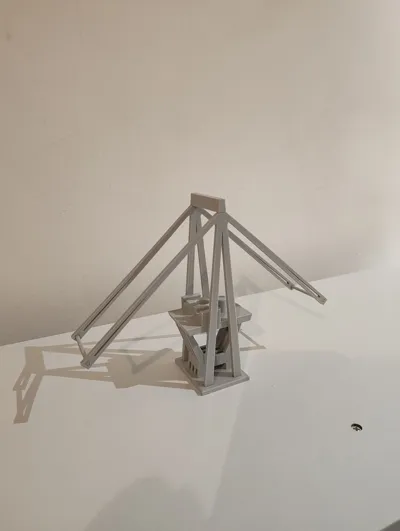
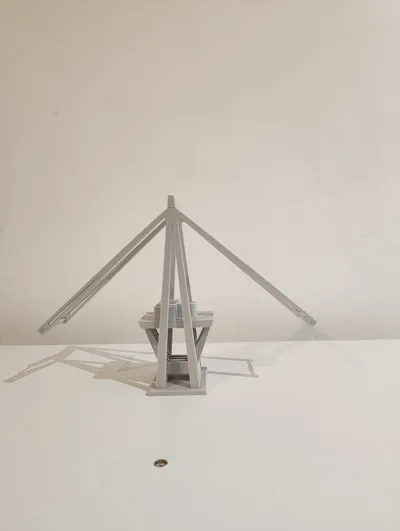
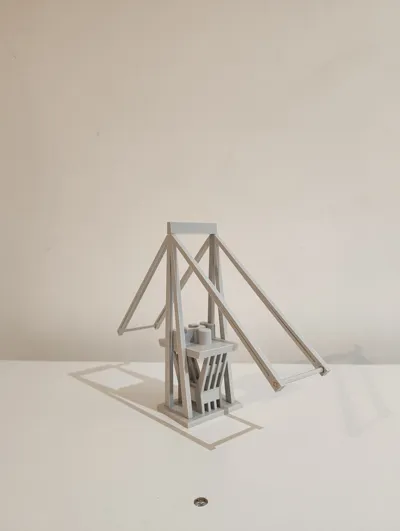
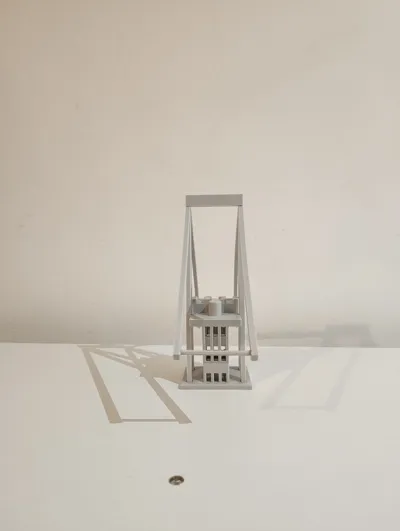
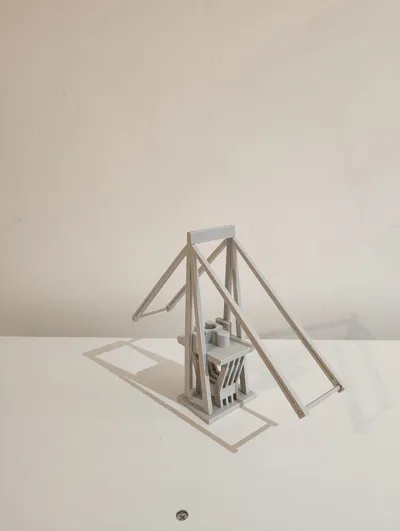
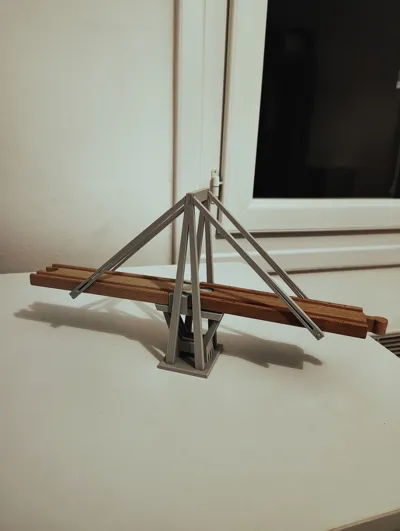
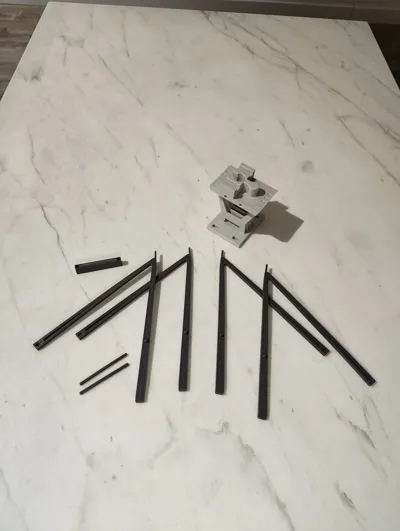
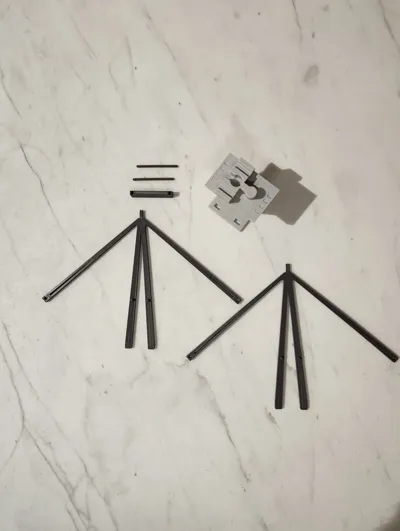
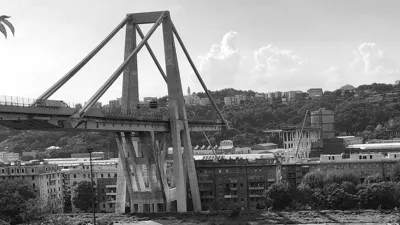
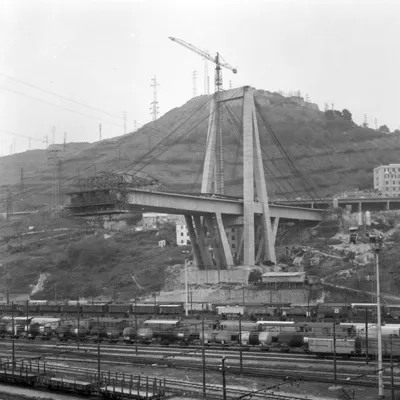
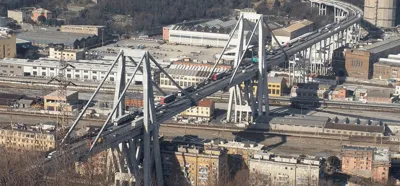
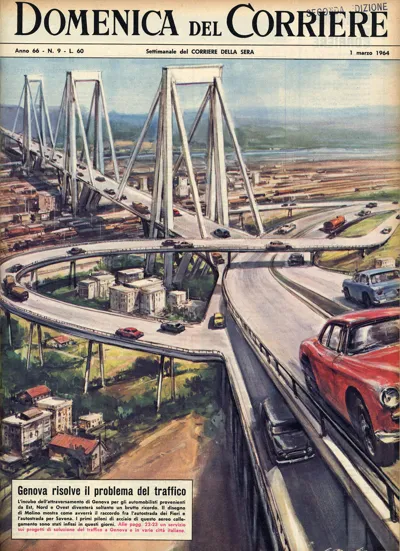
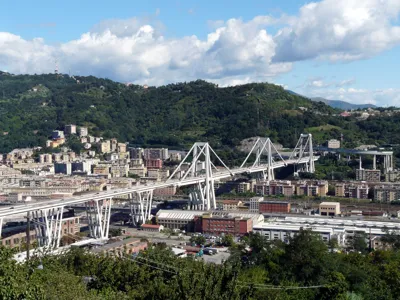
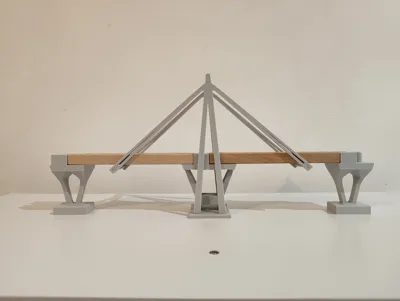
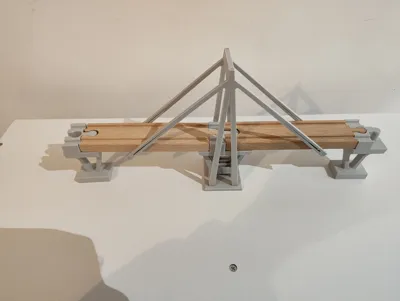
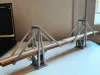
This is a faithful reproduction of the Morandi Bridge in Genoa (Italy), which tragically collapsed in 2018, compatible with the Ikea Brio Lillabo model. Since I've been away from Genoa (and Italy) for a long time, needing to build some models to expand my son's play possibilities with these toy trains, I decided to study and reproduce this magnificent bridge from the 1960s designed by Riccardo Morandi. I nostalgically remember my years at the University of Architecture in Genoa, when I saw this enormous bridge rising above the buildings, time passed and a great tragedy occurred. The bridge is composed of two semi-independent structures like the original; you can use it in its complete version (by printing printing plate 2 twice) or in the version without cables using only the parts of printing plate 1. To better understand how it developed, I've added some historical photos and newspaper covers dating back to the 1960s. My advice is to use the structures without cables at the ends (the beginning and end of the bridge) and use the complete structure in the center. Alternatively, you can use my model available at this link:
https://makerworld.com/en/models/2378757-brio-ikea-brutalist-pillar-for-bridge#profileId-2604503
This model isn't perfect if you only consider the Lillabo Brio game, but it's primarily intended to be an aesthetically faithful reproduction of the original, celebrating a memory of mine. It's still perfectly usable. For assembly, I'll share a short video explaining how to do it.
I also recommend securing the support rods under the road with a couple of drops of superglue.
License
You shall not share, sub-license, sell, rent, host, transfer, or distribute in any way the digital or 3D printed versions of this object, nor any other derivative work of this object in its digital or physical format (including - but not limited to - remixes of this object, and hosting on other digital platforms). The objects may not be used without permission in any way whatsoever in which you charge money, or collect fees.
Comment & Rating (0)