
Large Gridfinity Shelf for SKÅDIS Pegboard
Print Profile(3)
Description
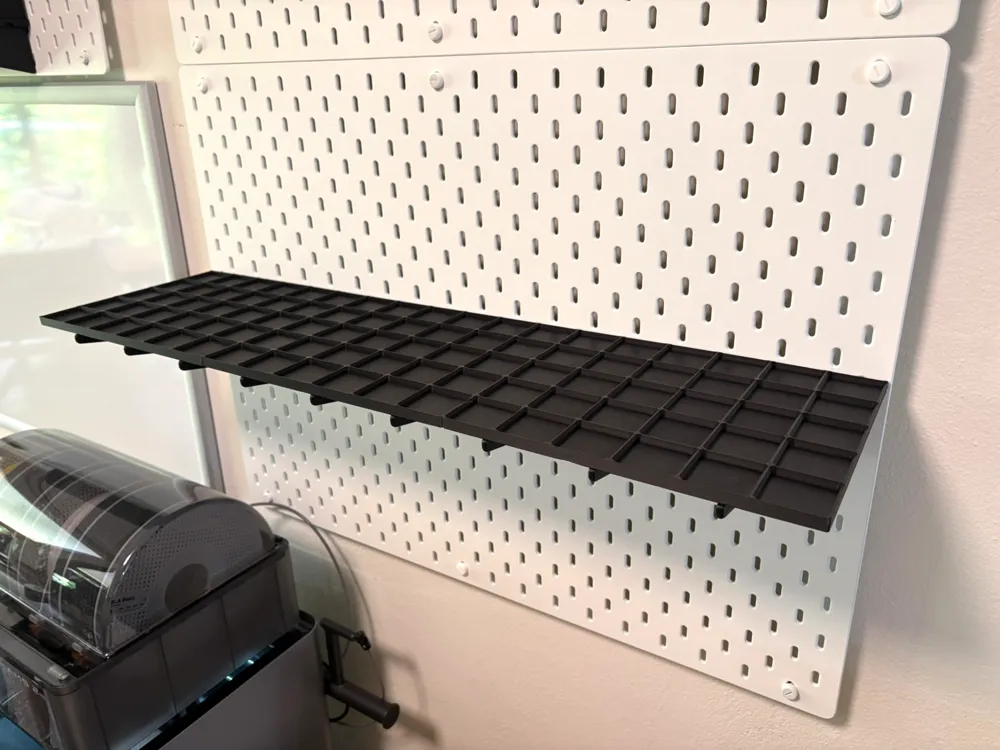
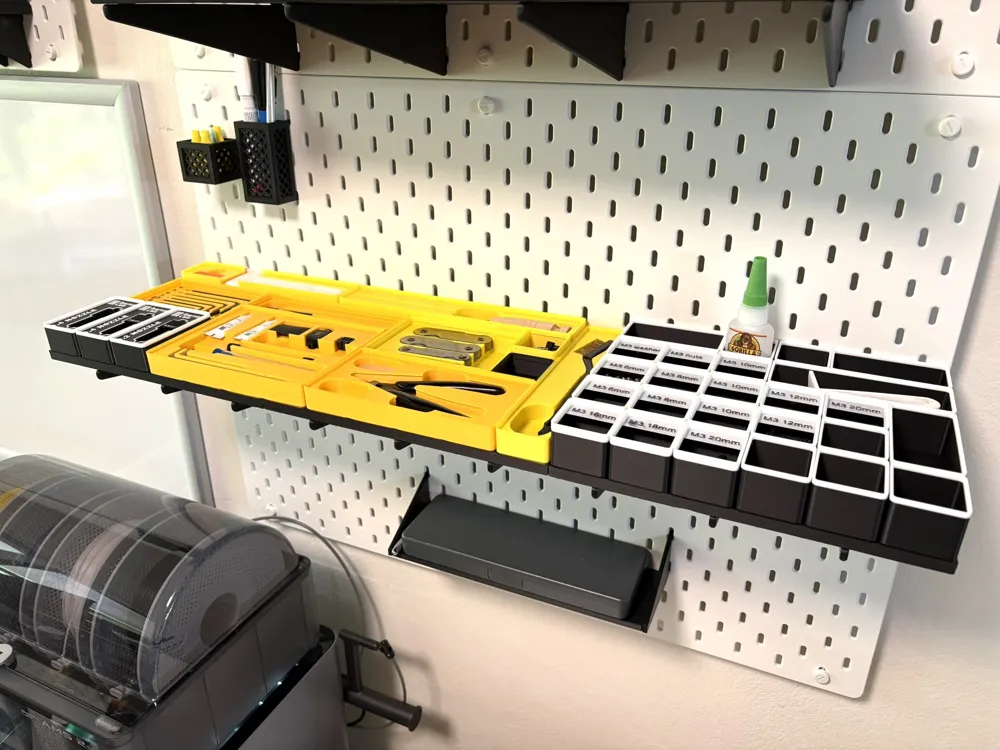
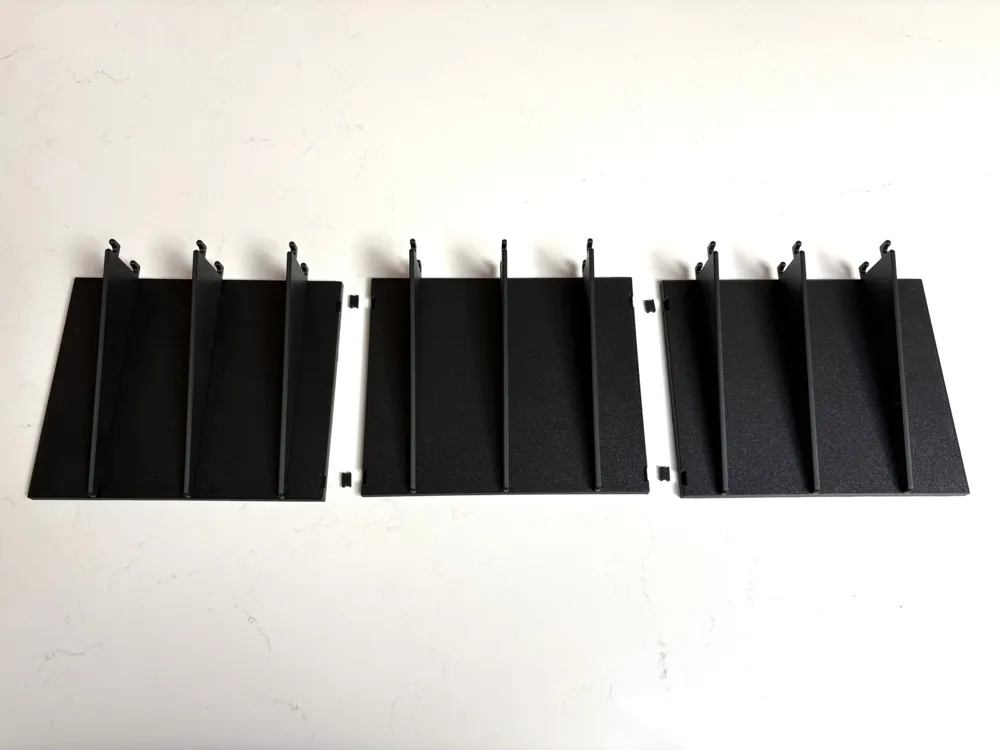
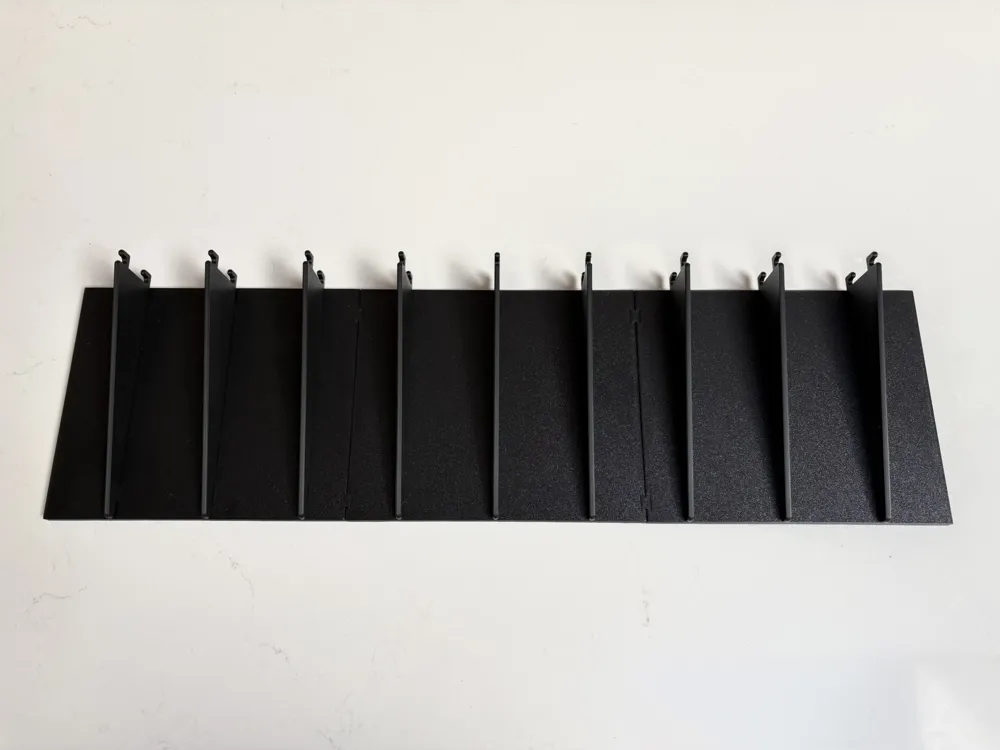
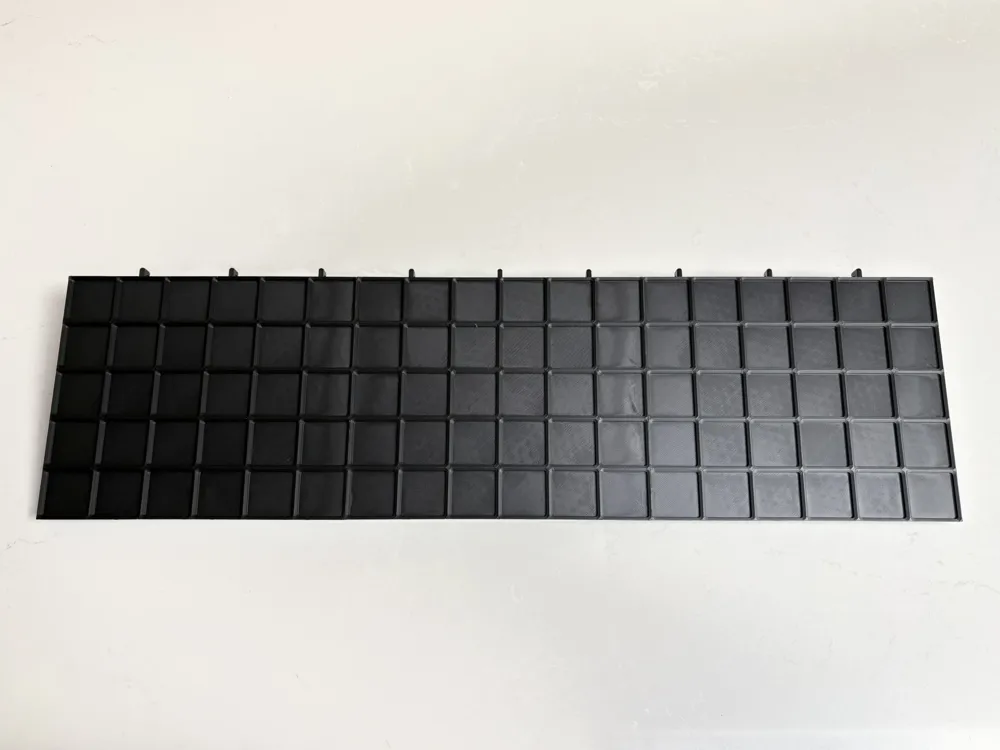
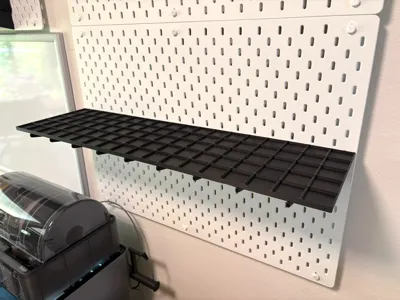
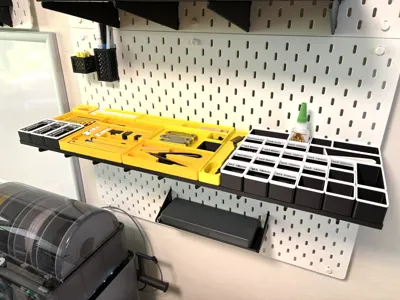
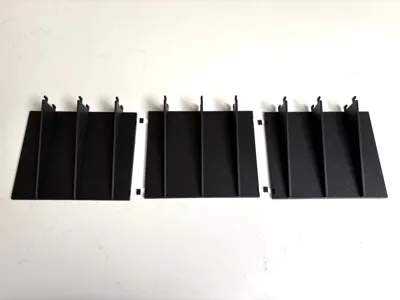
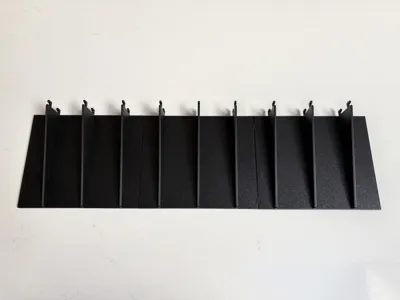
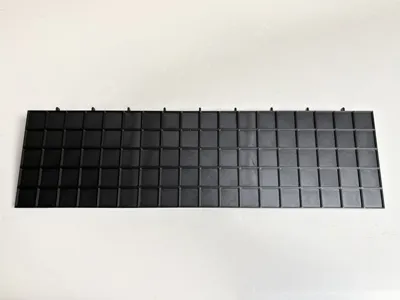
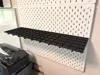
This model is for a strong and large Gridfinity shelf, connecting to a pegboard compatible with Ikea SKÅDIS. The shelf is 18 Gridfinity units wide (756mm) which is just short of the width of a large SKÅDIS board (760mm). The brackets go under the shelf to provide strong support without interrupting the Gridfinity matrix.
The shelf comes in parts so can be printed on a 256x256 build plate. This was a challenging model to design with nice aesthetics, strength and size as Gridfinity squares are 42mm x 42mm, but SKÅDIS slots are at 40mm centre-to-centre.
No print support needed! No additional hardware needed! Easy to assemble! Works perfectly in PLA Basic!
The shelves are large so there is a risk of bed adhesion / warping issues. I've not seen this problem, but make sure your build plate is clean. If you see this problem, consider painting brims on shelf corners.
This model has three print profiles: 18x5, 18x4 and 18x3 Gridfinity squares. My source CAD is parametric, but unfortunately not compatible with MakerLab. If there is demand I can upload additional sizes. Let me know.
Assembly
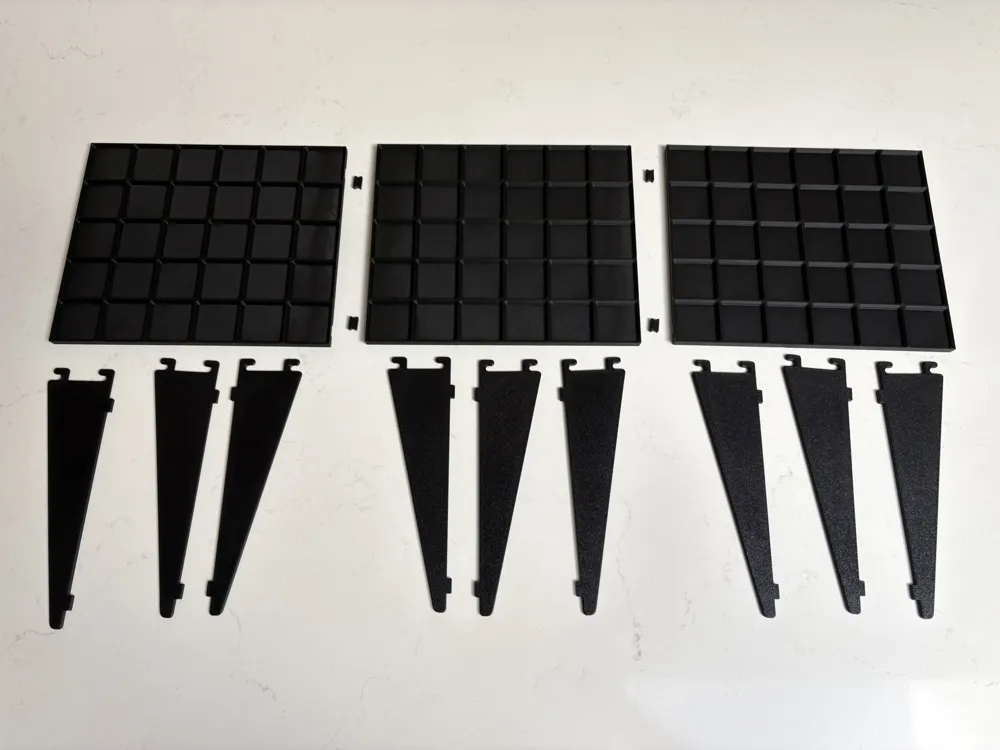
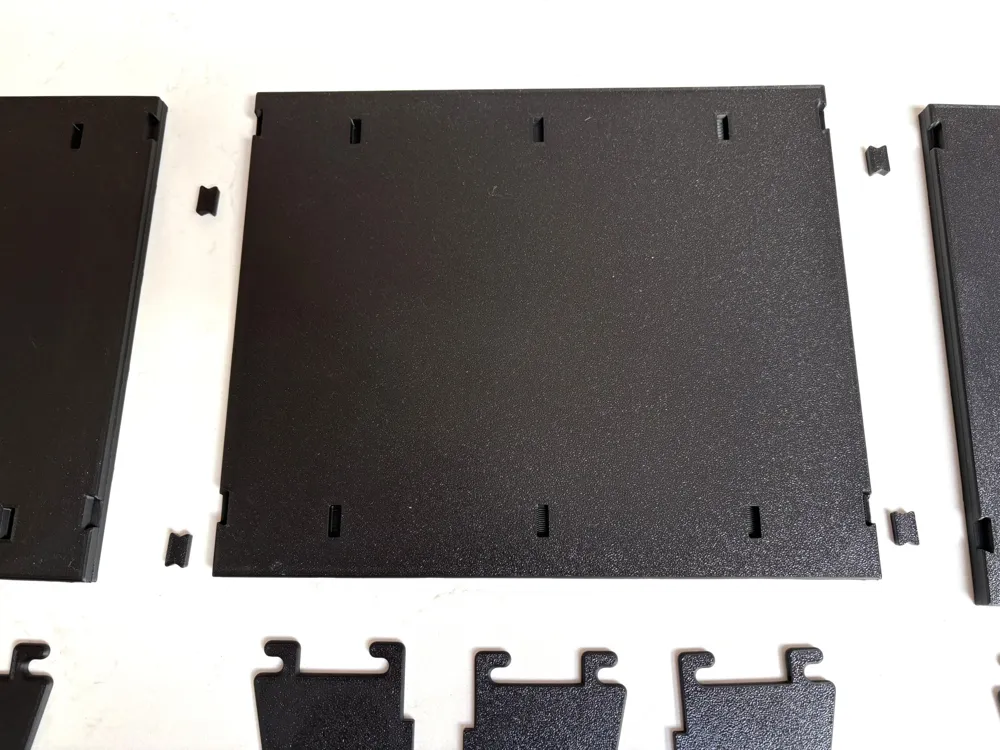
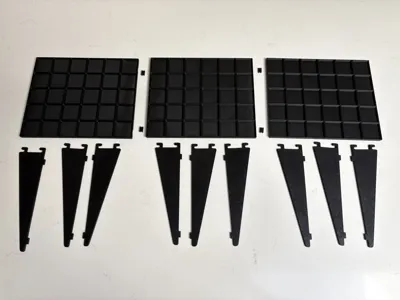
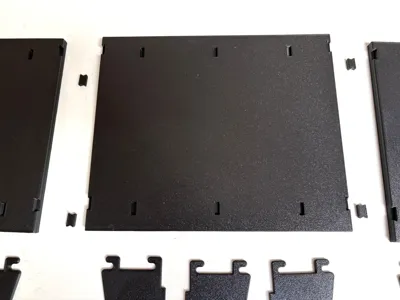
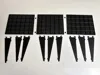
The shelf and the brackets are printed separately, connected together using a tight press fit. The three parts of the Gridfinity surface are also printed separately, connected together using dovetail wedges. Alternatively, you may like to keep the three shelves separate.
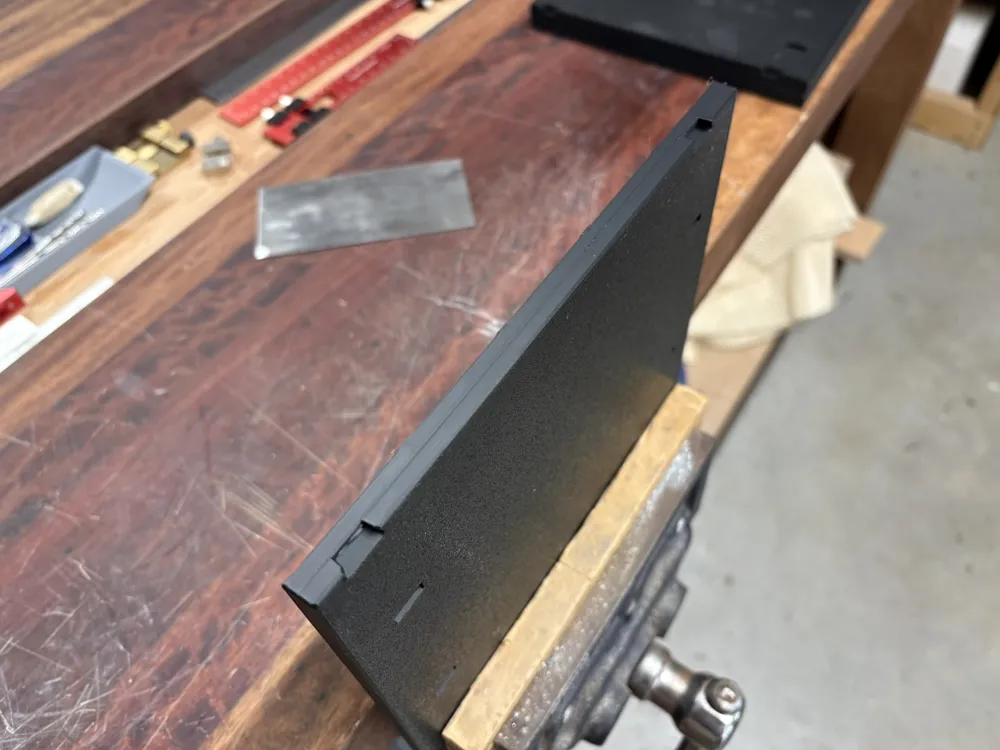
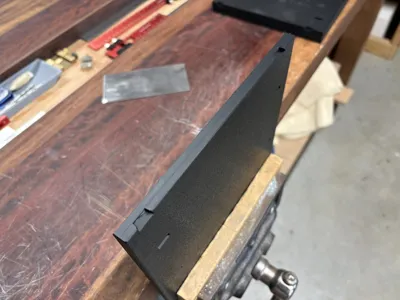
Where the Gridfinity surfaces join, sometimes a joining surface may be marred by print artefacts. When this happens for me, I just use a scraper to lightly smooth the surface. See the last photo for an example.
If your printer leaves connections a little loose, you may like to add some CA glue to secure the components. If your printer leaves the connections a little tight, you may need gentle tapping to connect them (e.g. using a rubber mallet or similar).
License

You may create derivative works based on this object, provided that all such derivative works are published exclusively on the MakerWorld platform and include proper attribution to the original creator. You may not share, upload, host, distribute, or publish this object—or any derivative work of this object—on any other digital platform, marketplace, or distribution channel. Commercial use of this object and any derivative works is strictly prohibited. This includes, but is not limited to, selling, renting, sublicensing, or using the object in any context in which you receive monetary compensation or other financial benefits.


Comment & Rating (9)