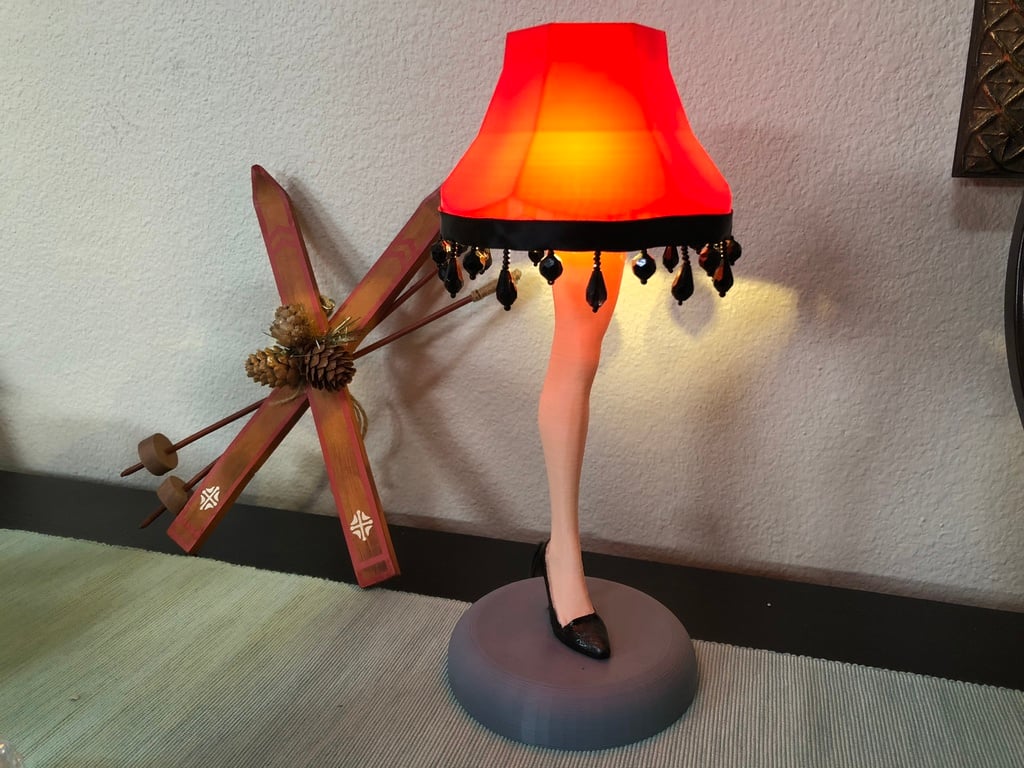
Leg Lamp


Print Profile(1)

Description
I started my leg lamp mission last year. I found many different makes and remixes.
after printing about 10 legs, I finally got it just perfect (for me anyways)
I have added all my favorite parts from each re-mix and also added some moderations of my own. I also painted the shoe in the software if you aren't much of a painter.
If you have never made a lamp before (like me) it actually was very easy.
I sanded all parts before gluing together to insure a perfect fit. I bought a skin color acrylic paint for touch ups on my Christmas story leg but for my sally leg, I could hide a lot more with her stitches I made from my cricut. I also added the cricut file for you under the documents part.
You will need some M4 nuts and bolts to attach the leg to the base.
Insert the M4 size nut into the bottom of the shoe, test first to make sure they fit nice then put a dab of super glue and the nuts in. if they do not fit, I just went around the edge lightly with an knife until it fit, remember check before gluing!
Here is a sample of the basic lamp kit I used,
For the Sally lampshade, I sublimated the pattern on a piece of polyester and used modpodge to glue it to a cheap shade I purchased at walmart.
I'm sure there is better ways, that's just what I did.
please note- for the scaled down table version, I think I used m2 nuts and bolts but dont quote me. You may need to make some adjustments with hardware but the same lamp fitting was used. I just drilled out the hole a bit wider.
feel free to leave me a message or comment with any questions, just incase I've missed something…
Happy Printing… and enjoy
Documentation (2)


Comment & Rating (76)