
brick raised baseplate / castle mound / Foundation
Print Profile(1)
Description
Description
Bring your brick builds to the next level - literally!
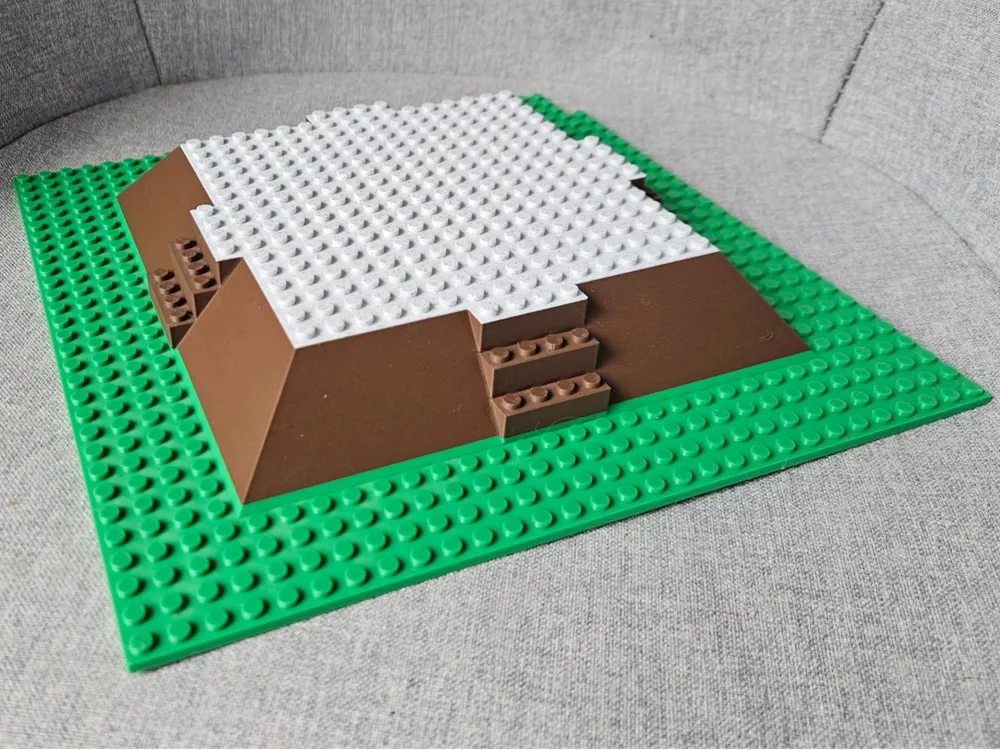
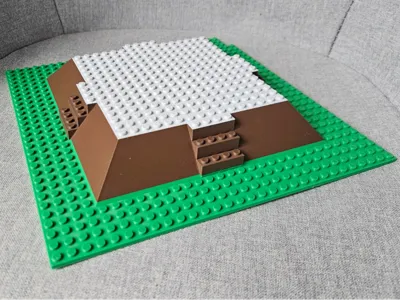
I designed this custom raised baseplate to add natural-looking terrain and verticality to my dioramas. Instead of building on a flat surface, this model provides a solid central "mound" shaped like a truncated pyramid, complete with integrated stairs on all four sides.
I originally designed it to serve as a foundation for a medieval castle (giving it that classic fortified "motte-and-bailey" look), but it works beautifully for elevating a standard house, a watchtower, a spooky mansion, or a forest outpost.
Key Features:
- Spacious Top Platform: A perfectly flat 16x16 stud area at the top, ready to host your buildings.
- Minifigure-Ready Stairs: Symmetrical staircases on all 4 sides, scaled perfectly for Minifigures to climb up to the main gate.
- Sturdy Slopes: The clean, sloped sides create a great transition between the ground level and your elevated build.
- 100% System Compatible: Designed with exact stud spacing to interlock seamlessly with official bricks.
Print Settings & Calibration Tips:
- Filament Matters: Be aware that clutch power (how well the bricks stick to the studs) varies significantly depending on the filament and slicer profile you use. For instance, I found that Bambu "PLA Marble" printed with default Bambu Studio settings resulted in almost zero grip! Standard PLA or PETG generally provide much more reliable friction.
- Print the Test Plate First! Before committing a huge amount of time and filament to the main castle mound, please print the included small test plate. It uses less material and allows you to verify that your official bricks snap on firmly.
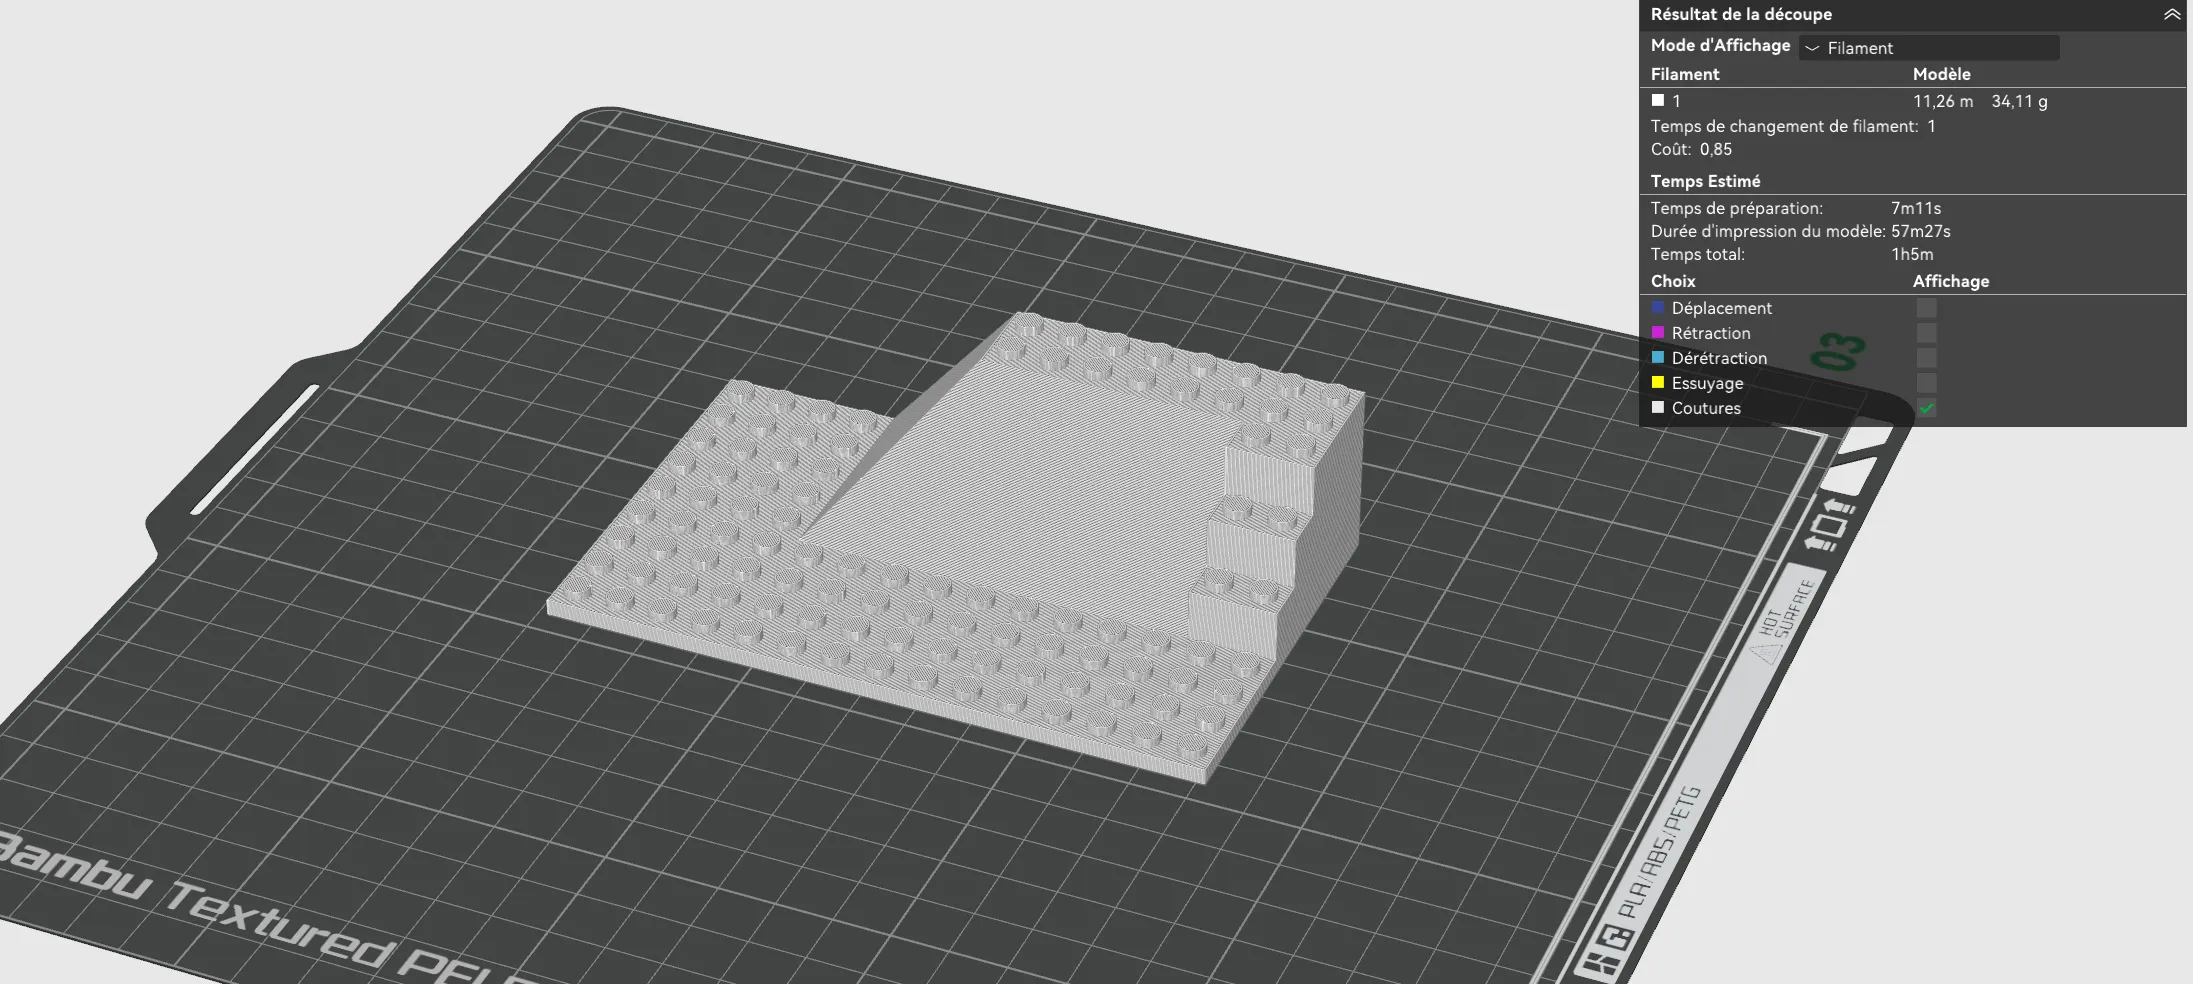
- Fine-Tuning the Fit: The model dimensions are optimized for typical PLA/PETG plastic shrinkage. If your test piece ends up being too tight or too loose, the easiest way to fix it without scaling the whole model is to slightly adjust the X-Y Contour Compensation (or Horizontal Expansion, depending on your slicer) by a fraction of a millimeter.
License

You may create derivative works based on this object, provided that all such derivative works are published exclusively on the MakerWorld platform and include proper attribution to the original creator. You may not share, upload, host, distribute, or publish this object—or any derivative work of this object—on any other digital platform, marketplace, or distribution channel. Commercial use of this object and any derivative works is strictly prohibited. This includes, but is not limited to, selling, renting, sublicensing, or using the object in any context in which you receive monetary compensation or other financial benefits.


Comment & Rating (2)