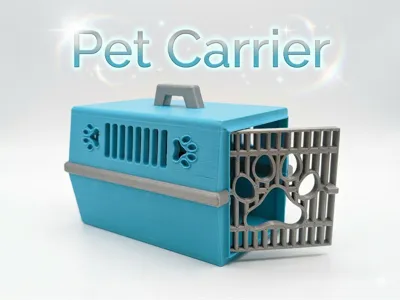
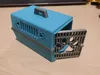
Mini pet carrier cage for flexi pets


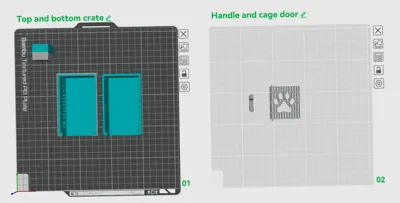
Print Profile(3)
Bill of Materials


Description
*** The MADE4ME3D Patreon is now live for commercial sales subscription: https://www.patreon.com/Made4Me3D ***
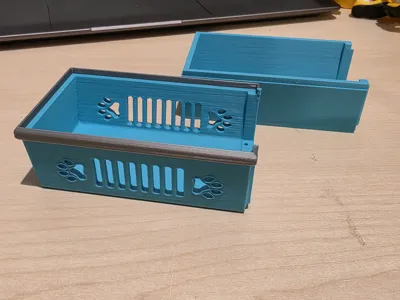
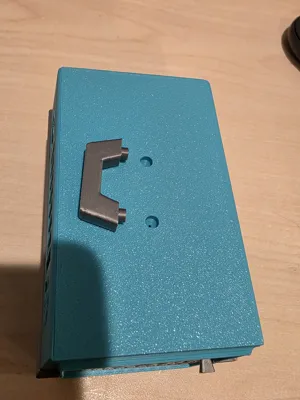
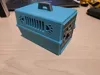
The best pet carrier, easy to print, easier to assemble. Can be printed with or without AMS!
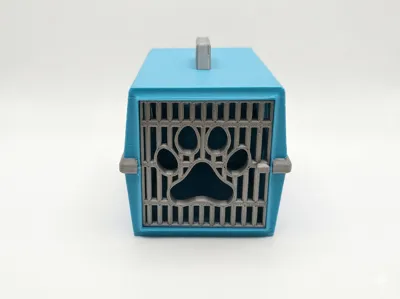
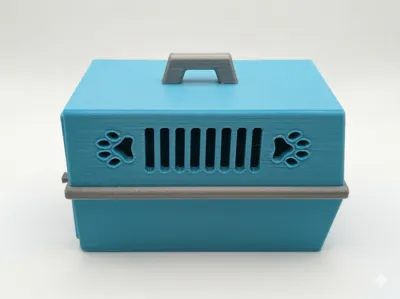
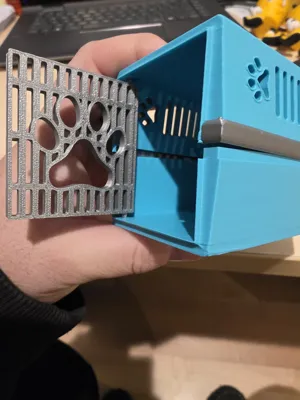
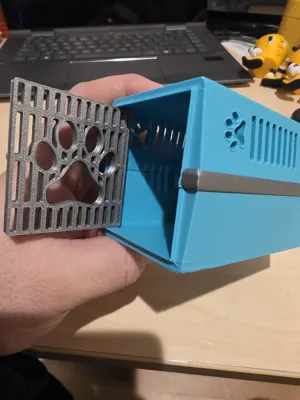
This easy to print flexi pet carrier comes in 4 parts: The main crate is 2 - top and bottom, the second plate for cage door and carrying handle.
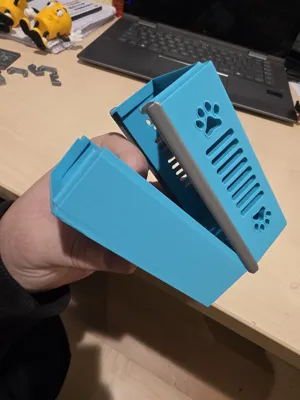
Other models print as one unit and cause drooping in the ceiling, their doors don't stay in and they require glue.
This model can be assembled without glue! That means you can remove the carrying handle to stack multiple, one on top of the other!
I've included two print profiles, one with the connecting brim painted - will require AMS, and one without the painting - no AMS required!
Please check out my other models and playsets:
https://makerworld.com/en/@ChubbaBubba/upload
Boost Me (for free)
Like this model?
Please leave a boost to help support future builds and keep things free for printing!
your help and support is greatly appreciated!
TO ASSMEBLE:
Line up the back of the top and bottom of the carrier, leave enough room in the front to line up the cage door pins with the two small holes at the mouth of the carrier. gently push the two halves together. The cage door will be slightly tight to open and close but wiggle it back and forth a couple times and it will free up.
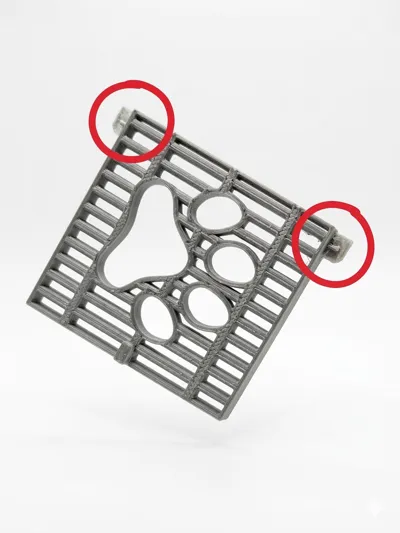
NOTE:
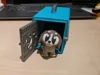
In the below picture you will see that small supports are used to support the pins for the cage door - circled in red - make sure to remove these before clicking the assembly together. DO NOT break the cage door mounting pins off.
Additionally, some printers tolerance is different and the top handle may require glue if not a snug press fit. different filaments will sometimes be slightly smaller then others. If I increase the size of the pin, with some filaments you will no longer be able to fit it into the holes.

Flexi created by 3DGOD
License
You shall not share, sub-license, sell, rent, host, transfer, or distribute in any way the digital or 3D printed versions of this object, nor any other derivative work of this object in its digital or physical format (including - but not limited to - remixes of this object, and hosting on other digital platforms). The objects may not be used without permission in any way whatsoever in which you charge money, or collect fees.
Comment & Rating (91)