
Small Model Figure Light Box Photobox with Fill Light Function for Bambu Lab Lithophane Light Panel Kit|Lithophane Light Panel|Photobox|Fill Light|Shooting Kit
Print Profile(1)
Description
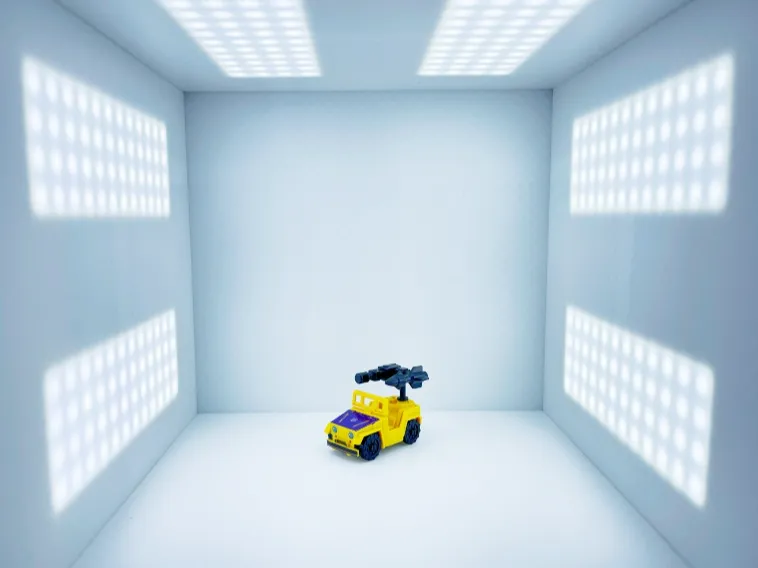
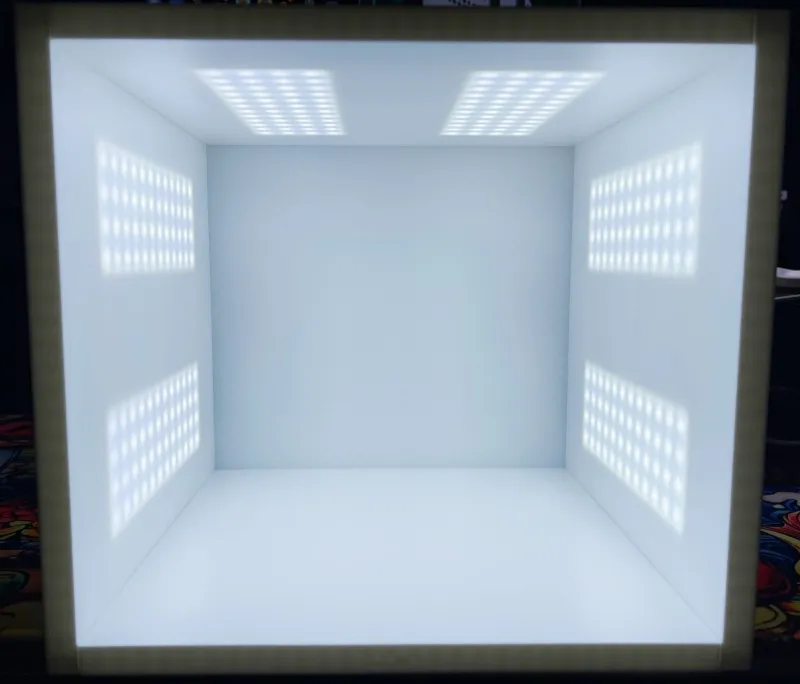
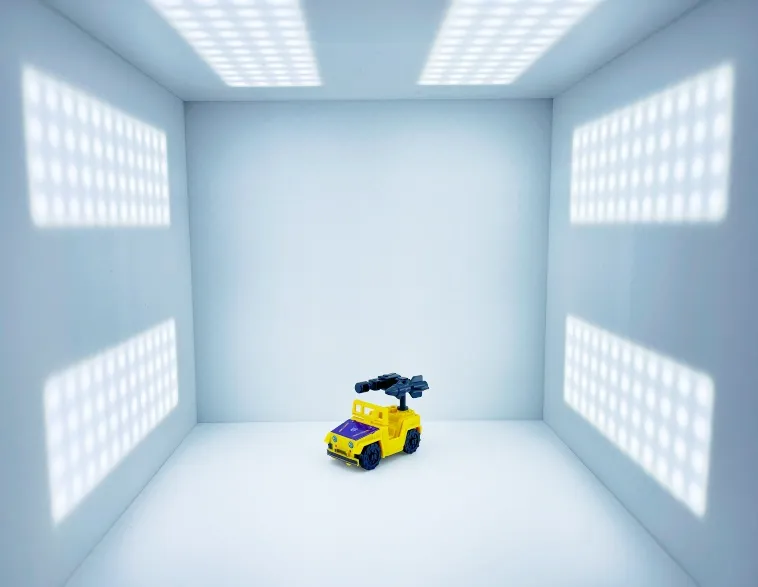
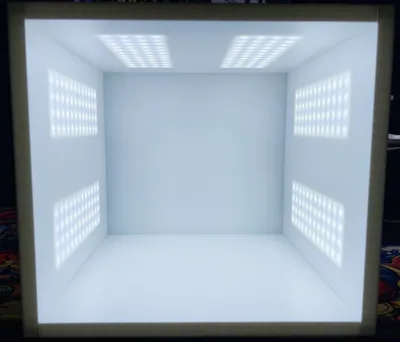
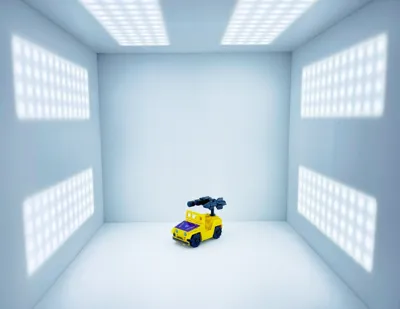
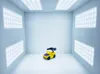
Do you have an idle lithophane light panel kit on hand? Are you worried about how to use the lithophane light panel kit you have? Are you troubled by not having a good photobox for shooting model figures? Are you always worried about fill light every time you photograph model figures? Then this design can solve all your above problems at once: a small model figure photobox with fill light function, adapted for Bambu Lab lithophane light panels, is here!
Boost Me (for free)
If you find this design useful, please give me a boost. Your boost is the motivation for me to design models. Giving roses, a lingering fragrance remains in hand. Thank you for your boost and support!
This model design is based on Bambu Lab's lithophane light panel kits KC009 and KC010. The light panel size and power cables in these two kits are the same; only the number of accessories included in the two kits differs. So, no matter which of these two kits you have on hand, it will work. The kit I have was a free gift from Bambu Lab when I bought a 3D printer. Several sets were given out before, and I thought that having lithophane light panels all over the house would take up too much space, and powering them would also be troublesome. So this kit has been idle. Since I often photograph model figures, models, and small 3D Printed items, every time I had to take out a large photobox, set it up, and consider lighting, which was very inconvenient. To facilitate daily shooting, I considered whether I could use the idle Bambu Lab lithophane light panel kit to design a photobox with a fill light function. Thus, this photobox came into being.
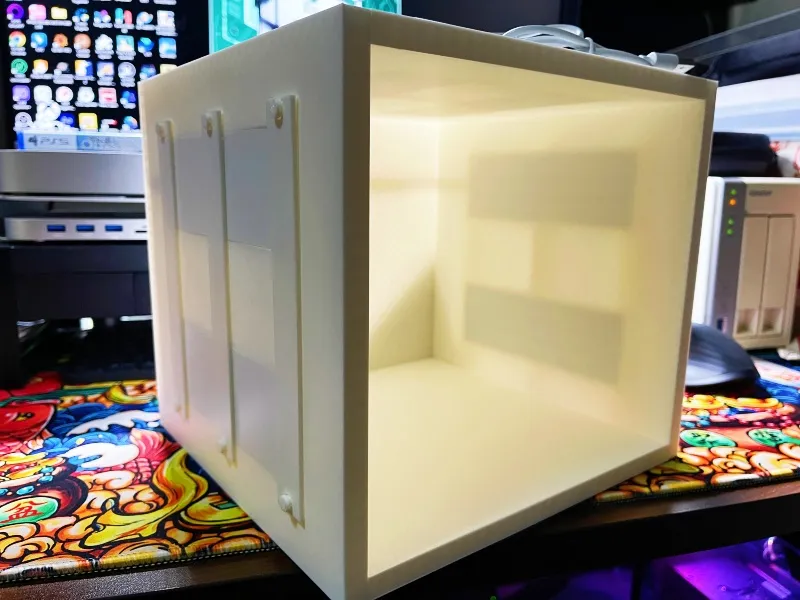
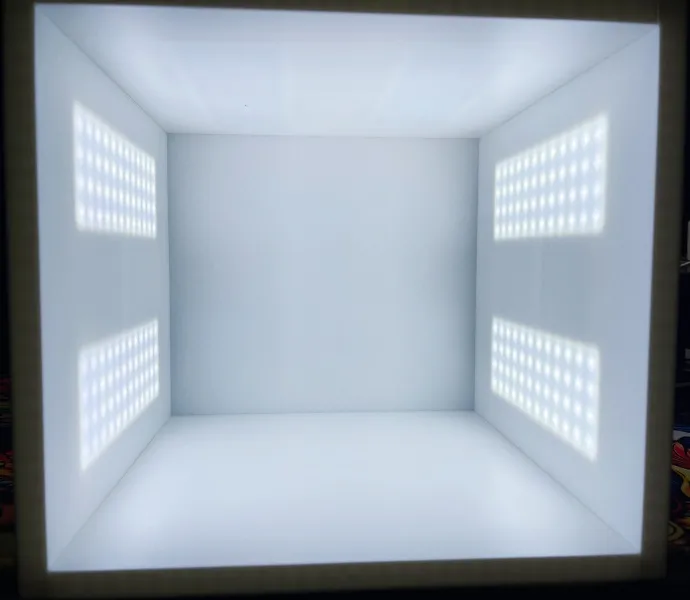
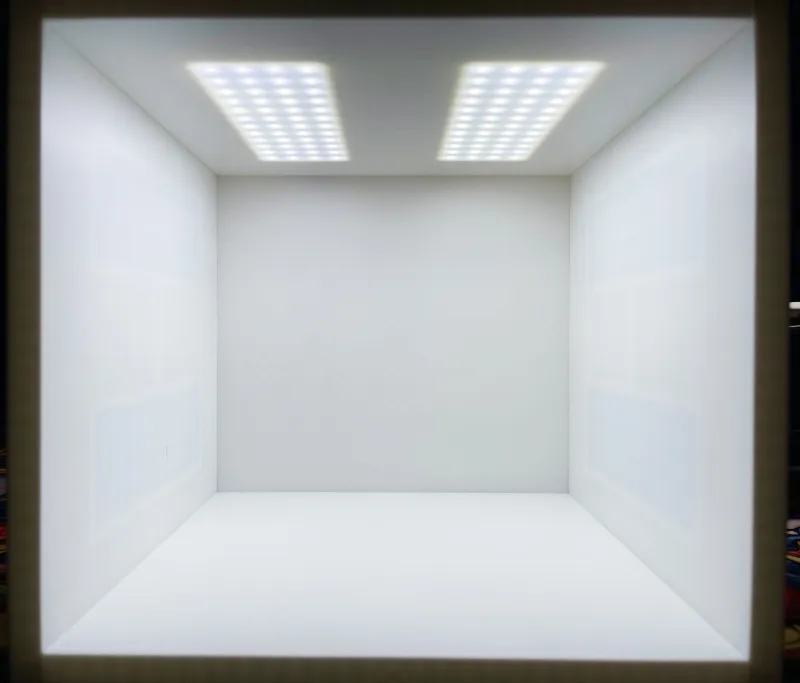
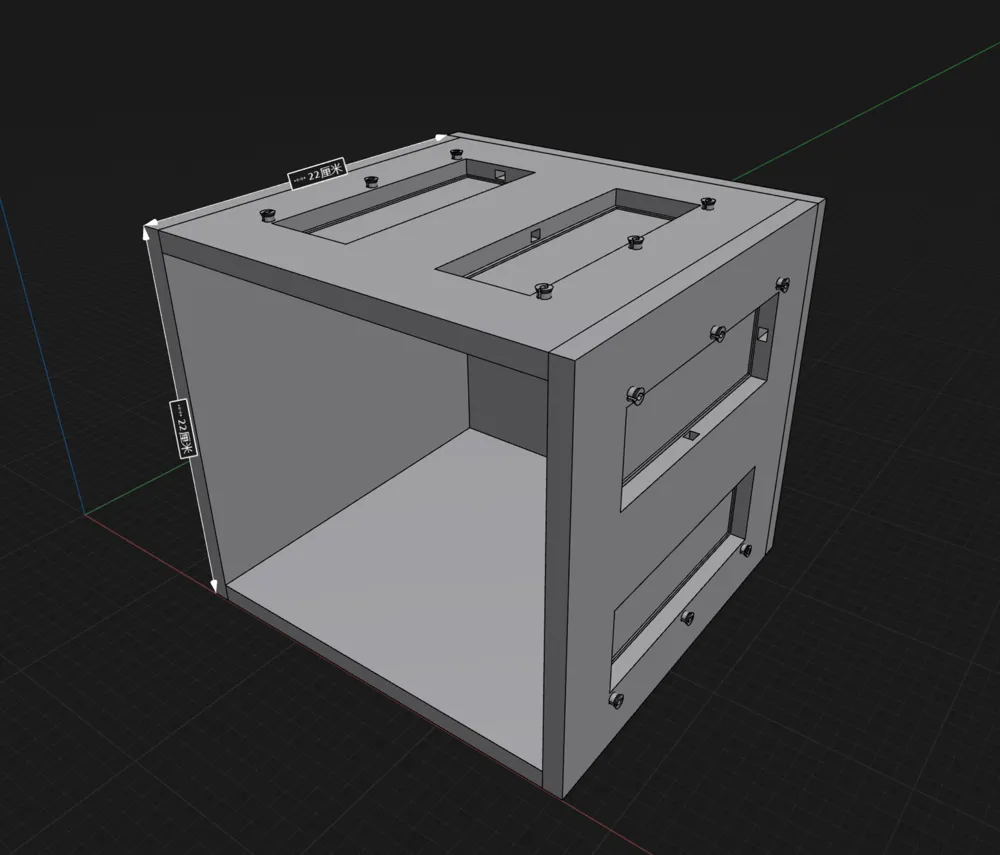
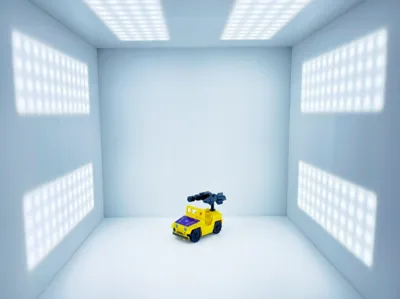
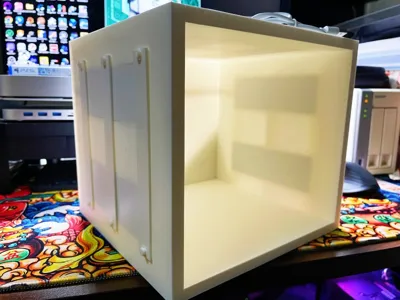
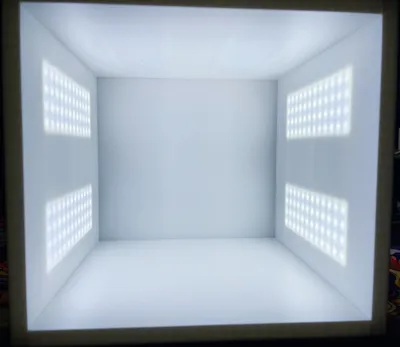
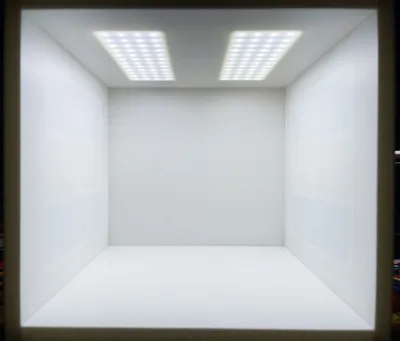
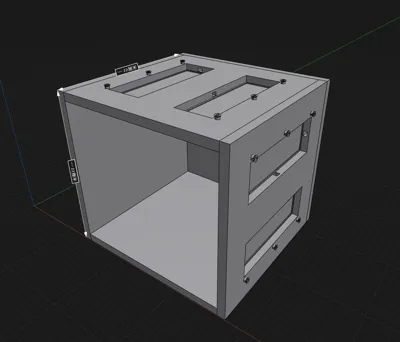
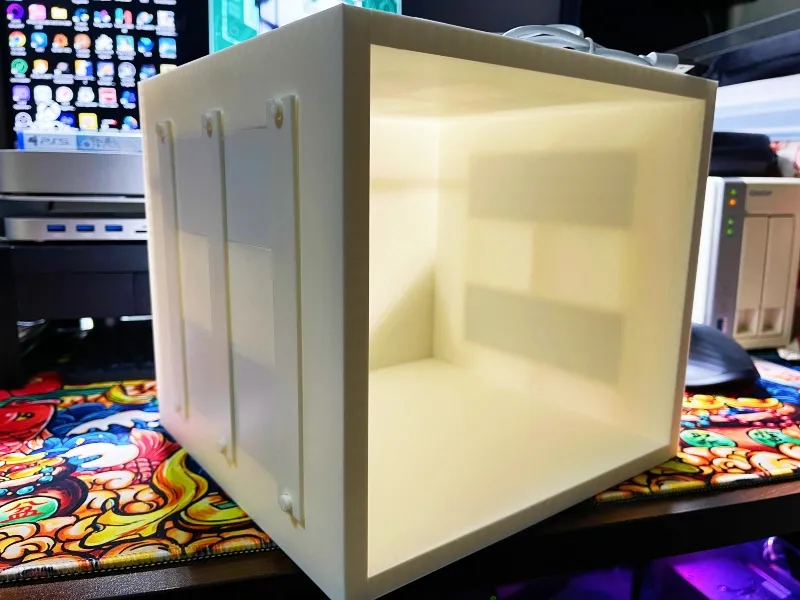
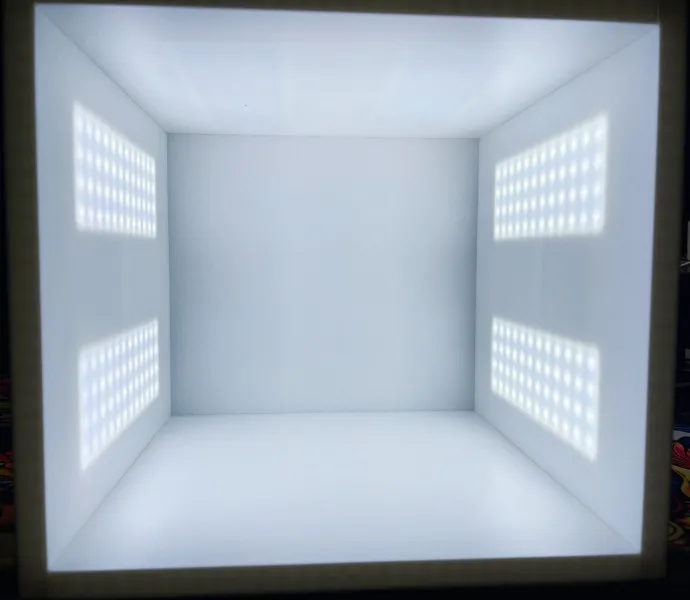
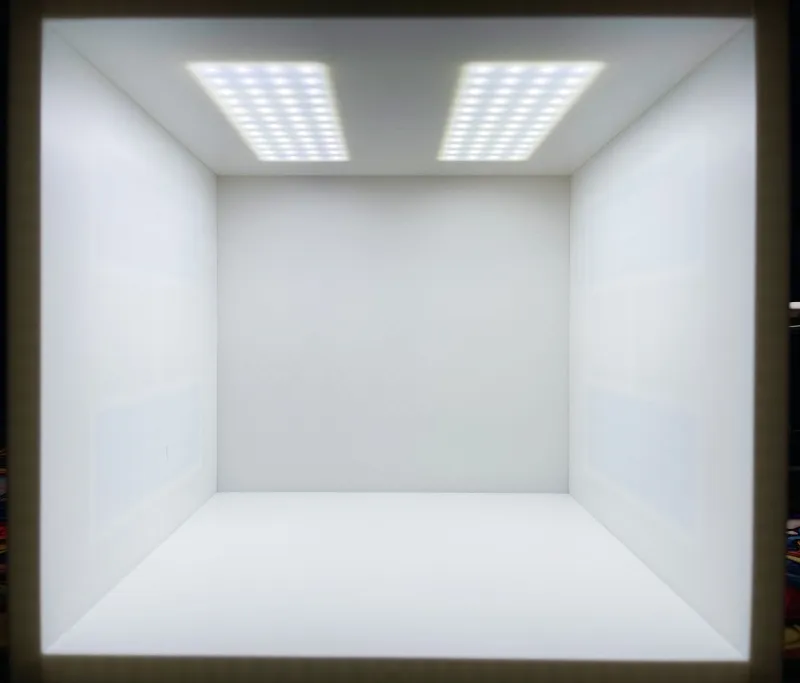
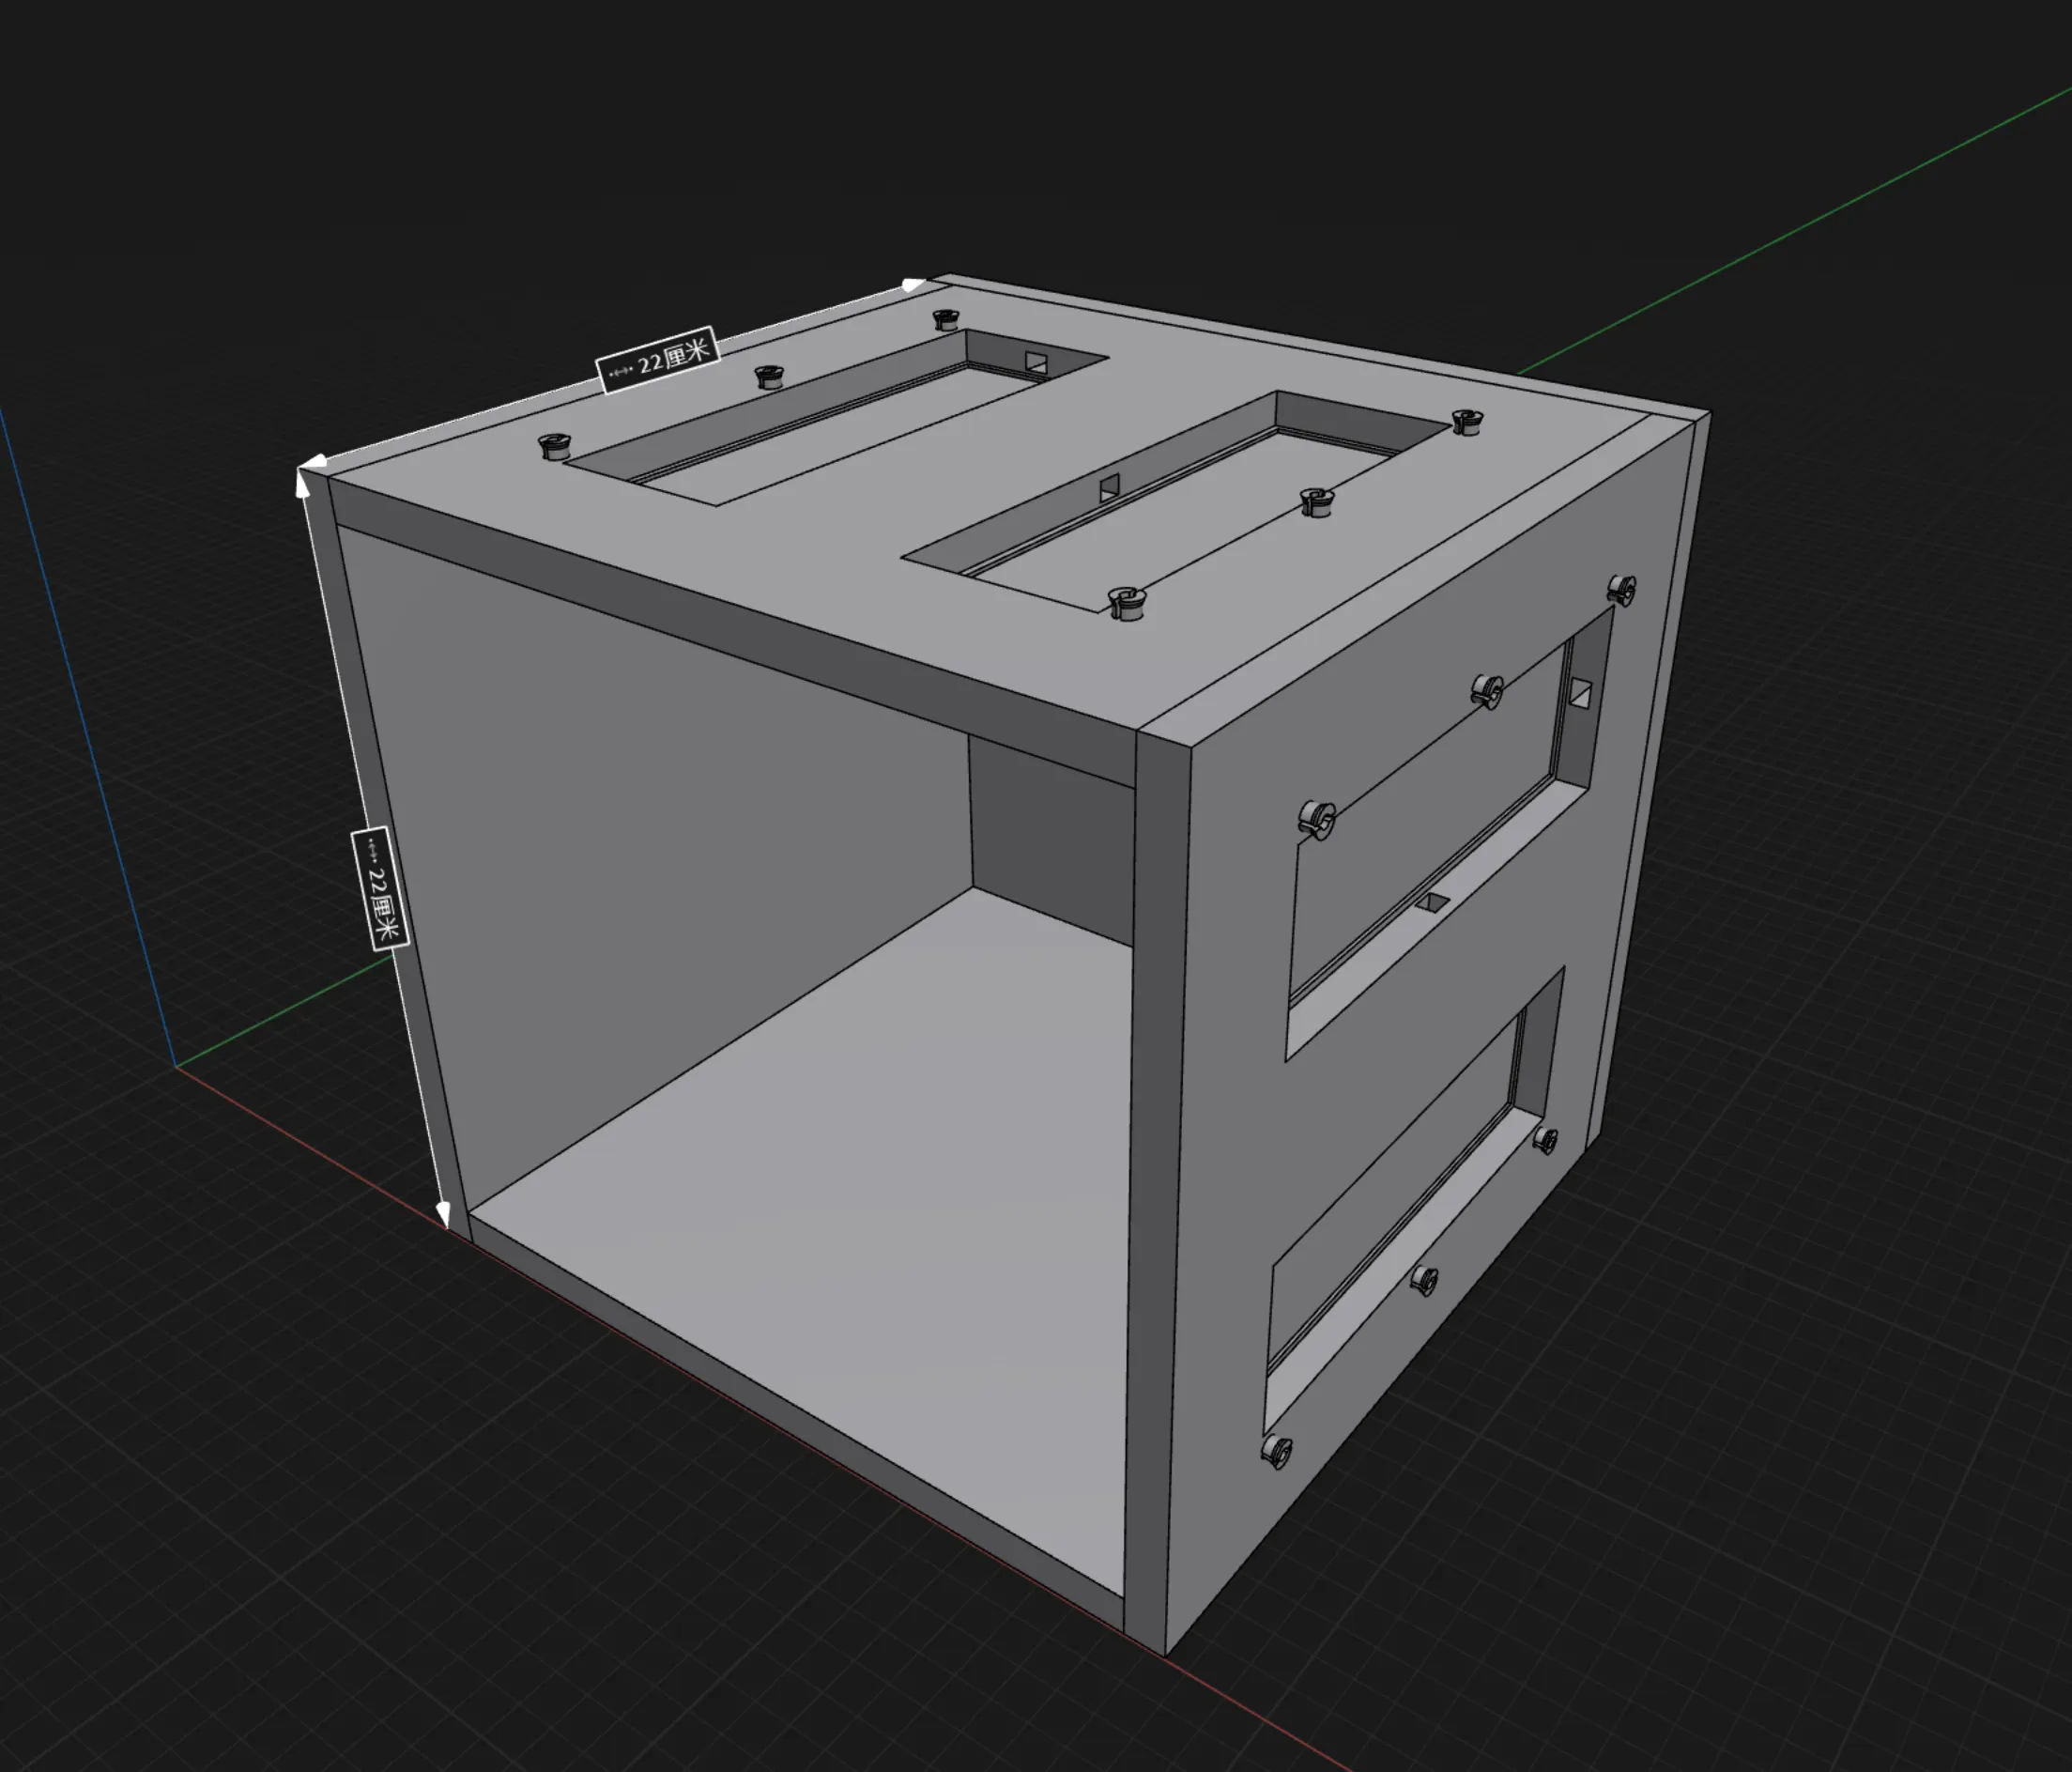
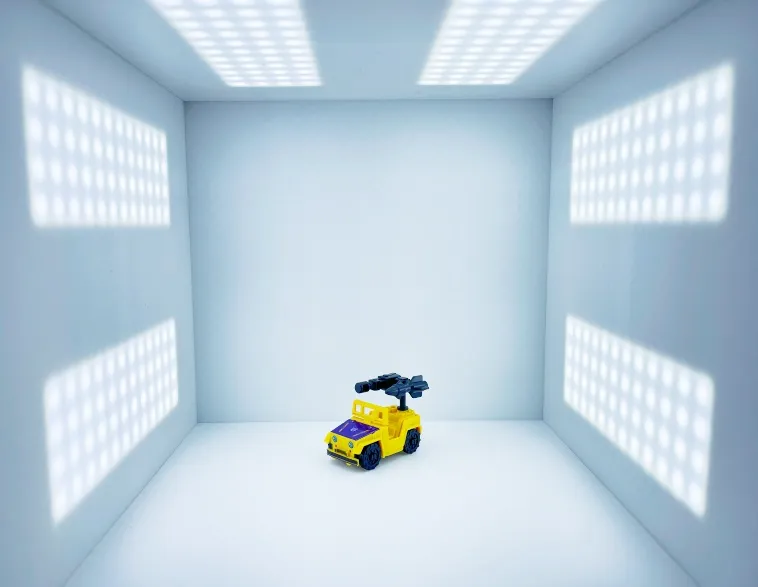
Because I do not have a large machine, this photobox is designed based on the Bambu Lab P1S. The photobox is a square design, 22CM in length and width, with 2 LED light panels embedded on the left, right, and top sides, respectively, serving as light sources. The LED light panels on the left and right sides are connected in series and controlled by one switch. The LED light panel on the top is a separate switch design, totaling two independent control switches with USB 2.0 interfaces. Originally, I considered designing the light panels to be embedded, but considering future maintenance and replacement needs, as well as the demand from many friends for color temperature control and the desire to use multi-color temperature light panels, I designed it to be easily replaceable and maintainable.
Through testing, the best material for the photobox is Bambu Lab PLA Basic Jade White (10100), as it neither affects light transmission nor causes obvious reflections. When all lights are on, the light inside the photobox is uniform and soft. If an additional light source is added directly in front during shooting, the subject can be photographed without shadows. It is not recommended to print with matte materials because matte materials absorb light, leading to uneven lighting inside the photobox. Regular PLA material should be used for diffuse reflection of the light source to make the light more even. For PETG material, matte would be suitable, but overly glossy PETG material is not recommended, as it will cause excessive reflection and affect the shooting effect. For friends who pursue specific backgrounds, you can print a first-layer test in green, blue, or other desired colors as a background sheet. Printing with matte materials is recommended to reduce reflection.
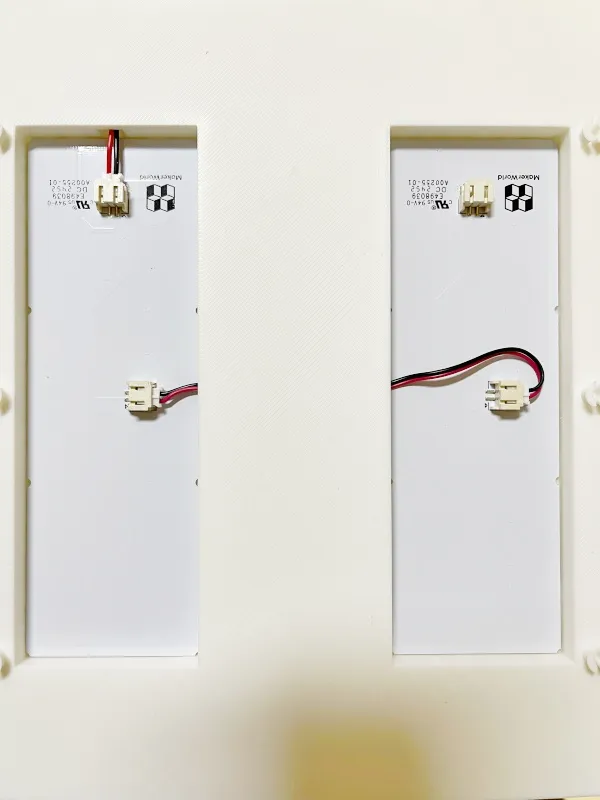
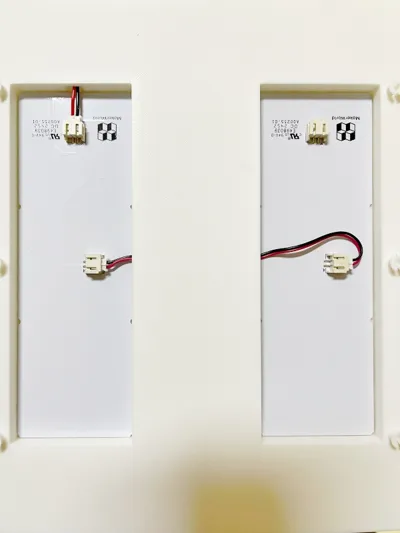
Since Bambu Lab's lithophane light panel kit does not support brightness and color temperature adjustment, friends who pursue specific color temperature and light intensity can purchase alternative light panels with adjustable color temperature and brightness. There are many available on Taobao and Pinduoduo; just search for LED light panels compatible with Bambu Lab's lithophane light panel kit. However, please pay attention to the dimensions. The size of a single light panel should be 144mm long and 48mm wide. Other sizes may not be installed correctly, so please be sure to check the light panel dimensions when purchasing.
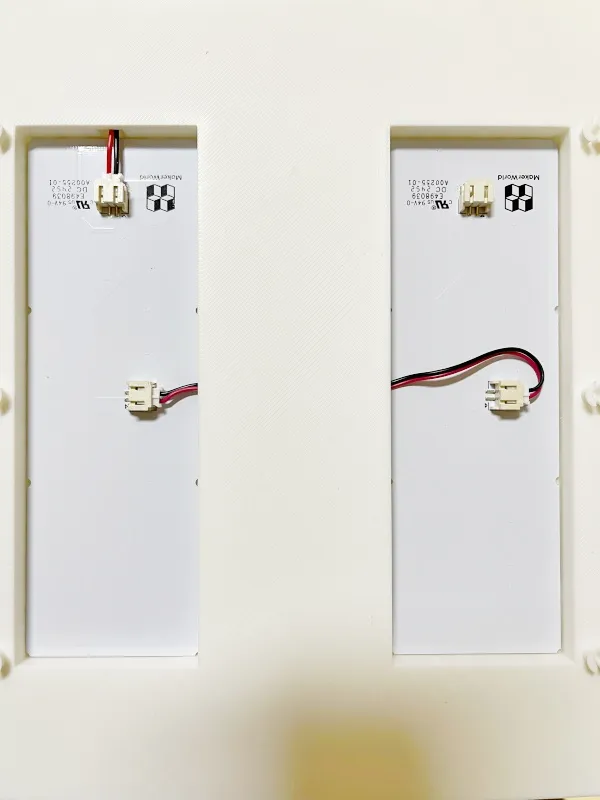
Regarding materials, in addition to the power cable and USB switch included in the kit, you will also need to purchase extra 2-pin PH2.0 power cable terminals for extending power cable connections. You will need to buy 3-5 male and female terminals each, with one end having a 2-pin terminal and the other end without a terminal for easy wiring. Assembling the light box requires specialized 3D model glue for auxiliary fixing; 9406 or 5800 glue is recommended.
Since the light panels use a 5V2A power supply, please use a non-high-power fast charging head when using the photobox fill light. A regular connector or power bank, like those typically included with electronic devices, will suffice. Using a power supply greater than 5V2A may damage the light panels or cause electrical accidents.
Assembling the light box is relatively simple. Although wiring is required, since it uses 5V DC low voltage, no prior electrical knowledge is needed. You just need to simply connect the red wires in series with other red wires, and the black wires in series with other black wires. There's no need to distinguish between live/neutral or positive/negative; just connect the corresponding colored wires and plug in the 2-pin terminals. The 2-pin terminals also have a foolproof design, so if incorrectly inserted, they cannot be properly connected, thus eliminating worries about wiring.
Please refer to the PDF instruction document below for detailed installation instructions. The back of the light box has reserved openings for wiring for convenience, which may not look very aesthetically pleasing, but they are on the back. Wire slots are also reserved, and once the wires are connected, they will not come loose as long as they are in the slots. If friends with OCD find this uncomfortable, I will consider releasing corresponding covers for the wire slots later, so you can print a set and install them.
To facilitate installation, the splicing slot sections have supports enabled to ensure smoother installation. Actual tests show that printing without supports and using default overhang settings also works fine. Enabling supports consumes about 20g more filament. If you are not concerned about filament consumption, there is no need to disable supports. Other print profile settings can remain default. Because these panels are large flat surfaces, please turn off the auxiliary fan of the enclosure during printing to prevent shrinkage and cooling lines, warping, and deformation of the printed parts. If your prints always warp and deform, please clean the build plate and apply glue to it. If all else fails, add a brim for auxiliary fixing. My personal prints, including various test pieces, were all printed successfully in one go, without a single failure. Therefore, cleaning the build plate and applying glue is very important. Please follow my instructions for setting up.
Documentation (1)
License

You shall not share, sub-license, sell, rent, host, transfer, or distribute in any way the digital or 3D printed versions of this object, nor any other derivative work of this object in its digital or physical format (including - but not limited to - remixes of this object, and hosting on other digital platforms). The objects may not be used without permission in any way whatsoever in which you charge money, or collect fees.


Comment & Rating (0)