
Print Profile(1)
Bill of Materials






Description
Name(Name):
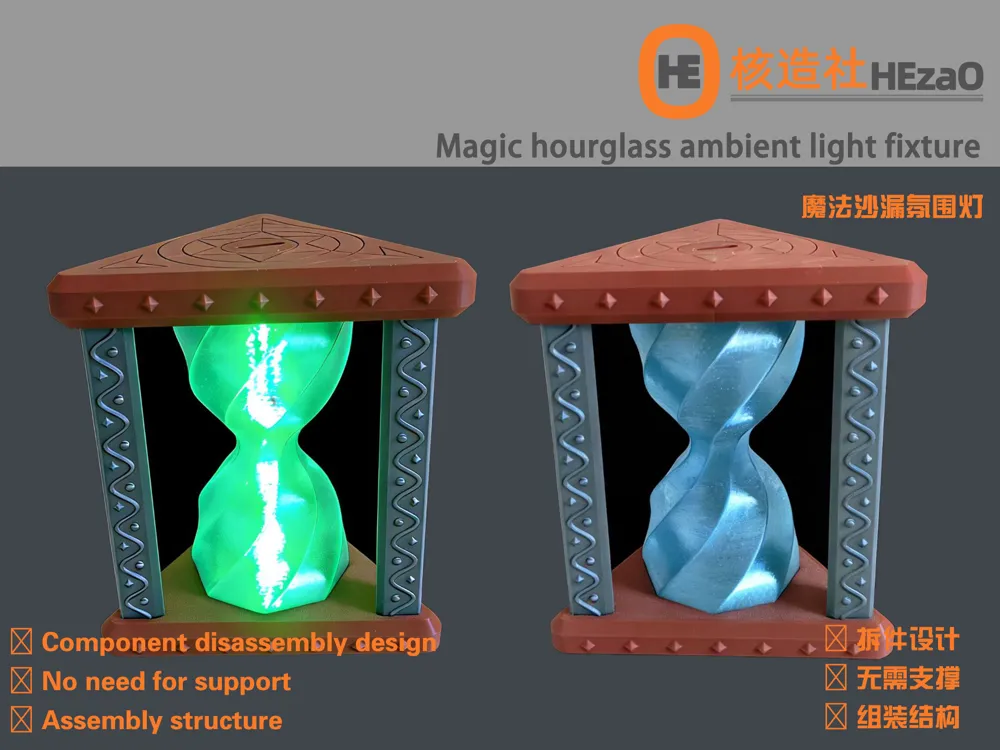
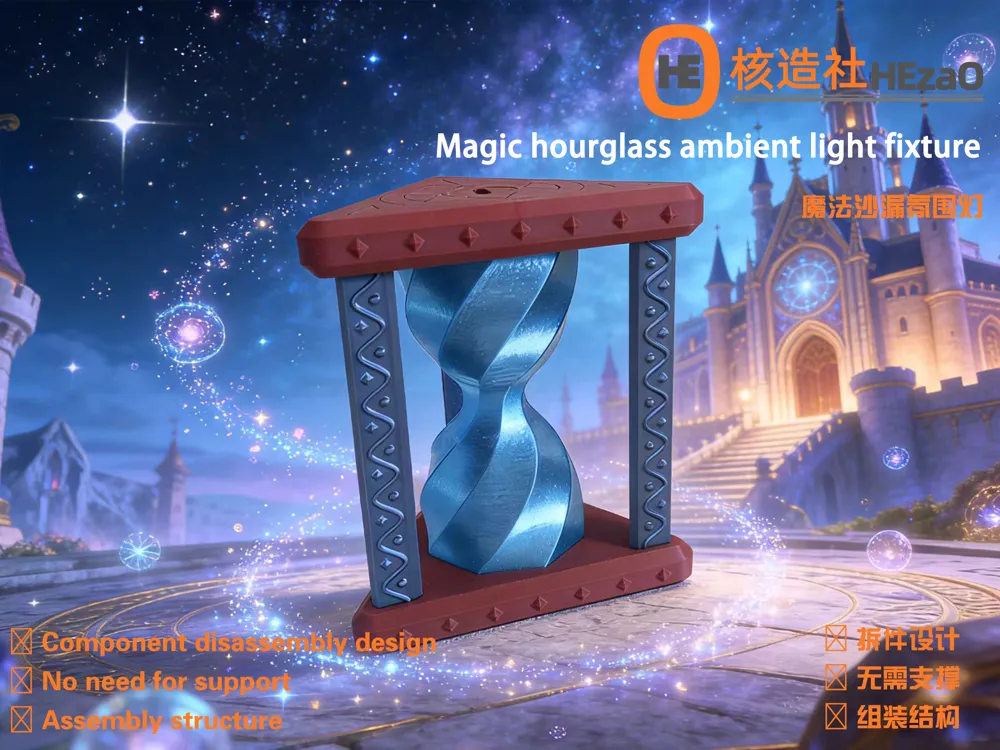
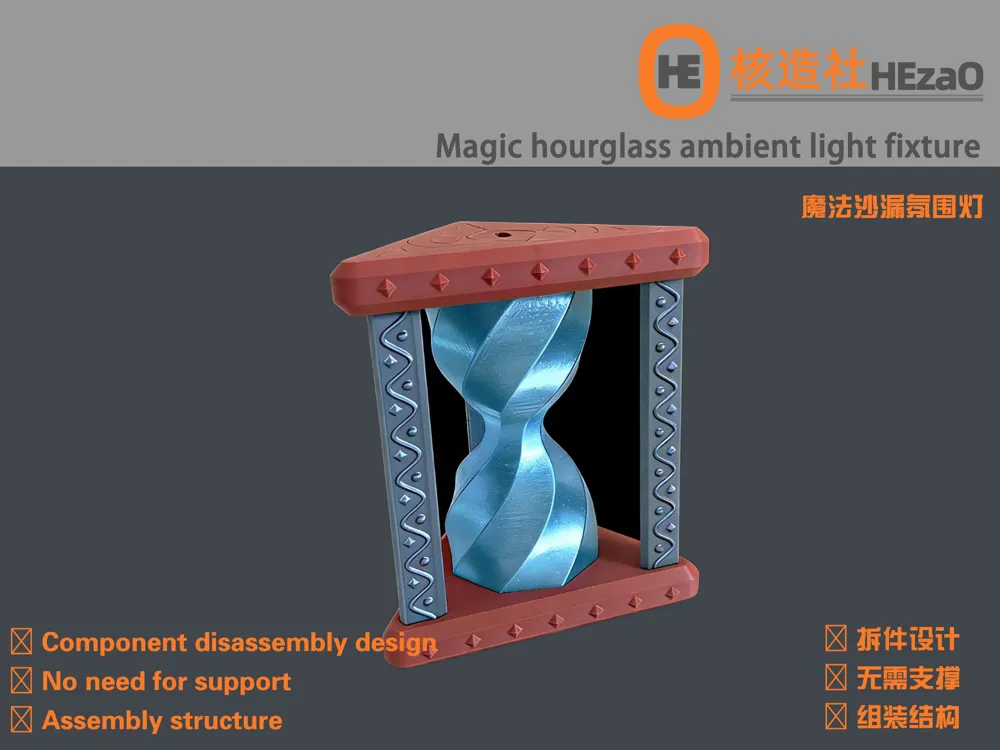
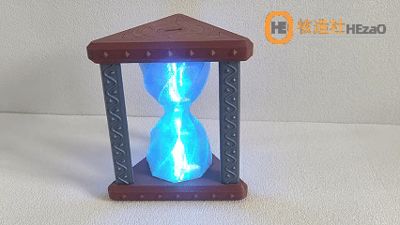
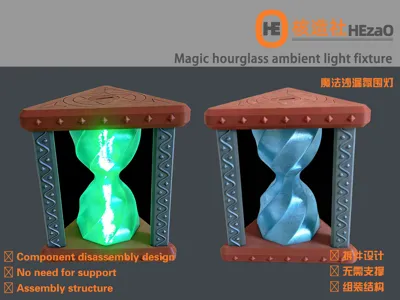
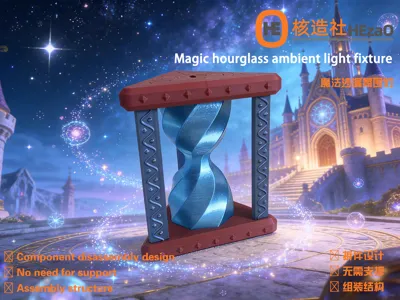
Magic hourglass ambient light fixture
Magic hourglass ambient light fixture
Boost Me (for free)
Introduced(Introduction):
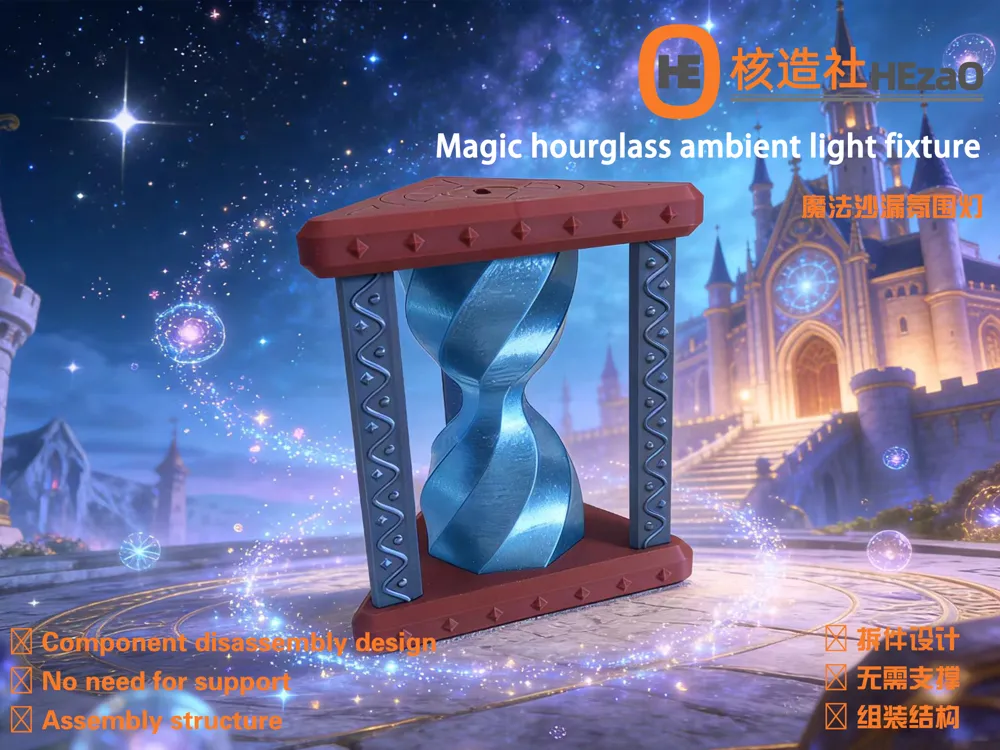

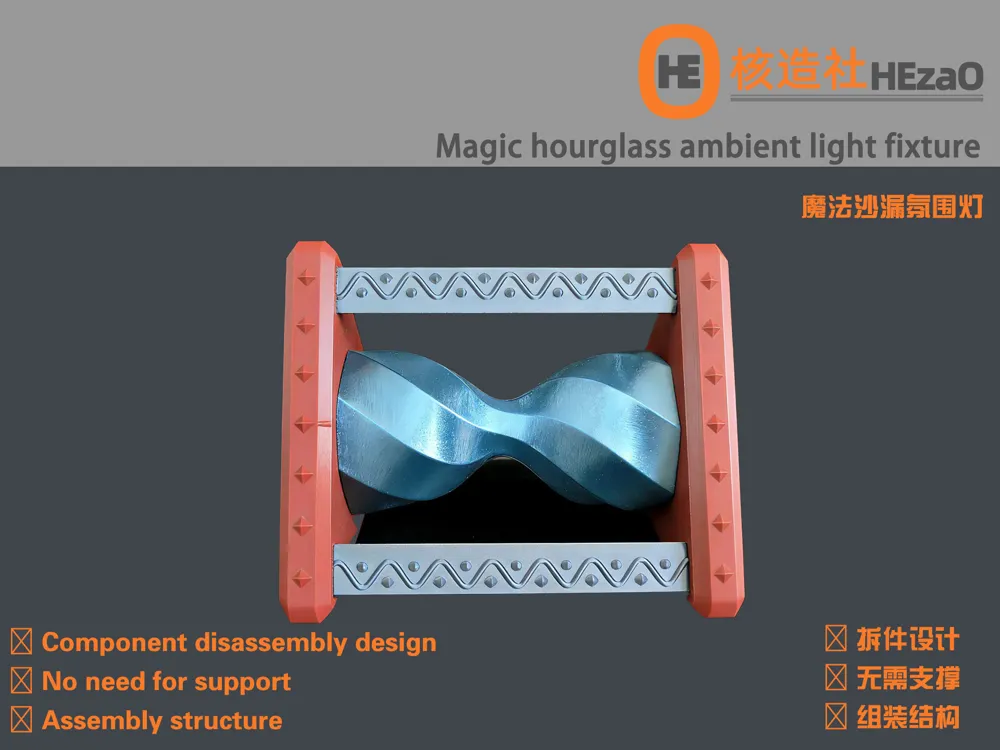
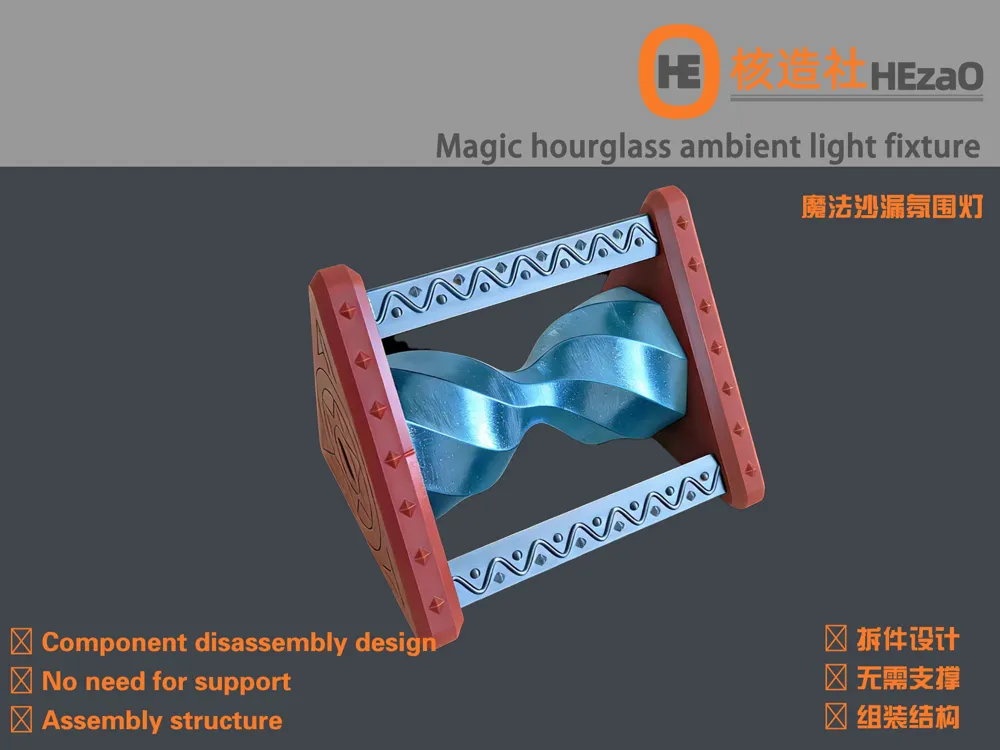
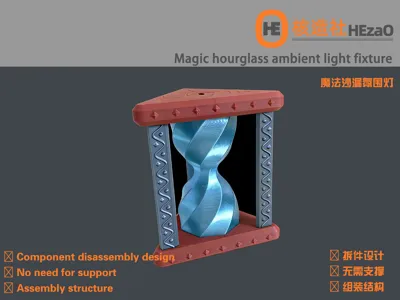
The magic hourglass that traveled through the ancient magical civilization era is a special ambient lighting fixture. It features a disassembled design, no support structure, and ingenious snap-fit and threaded components. It can be directly assembled and combined without the need for glue. It uses a waterproof remote-controlled lamp (KC-020).
The magic hourglass that traveled through the ancient magical civilization era is a special ambient lighting fixture. It features a disassembled design, no support structure, and ingenious snap-fit and threaded components. It can be directly assembled and combined without the need for glue. It uses a waterproof remote-controlled lamp (KC-020).
Picture(Picture):
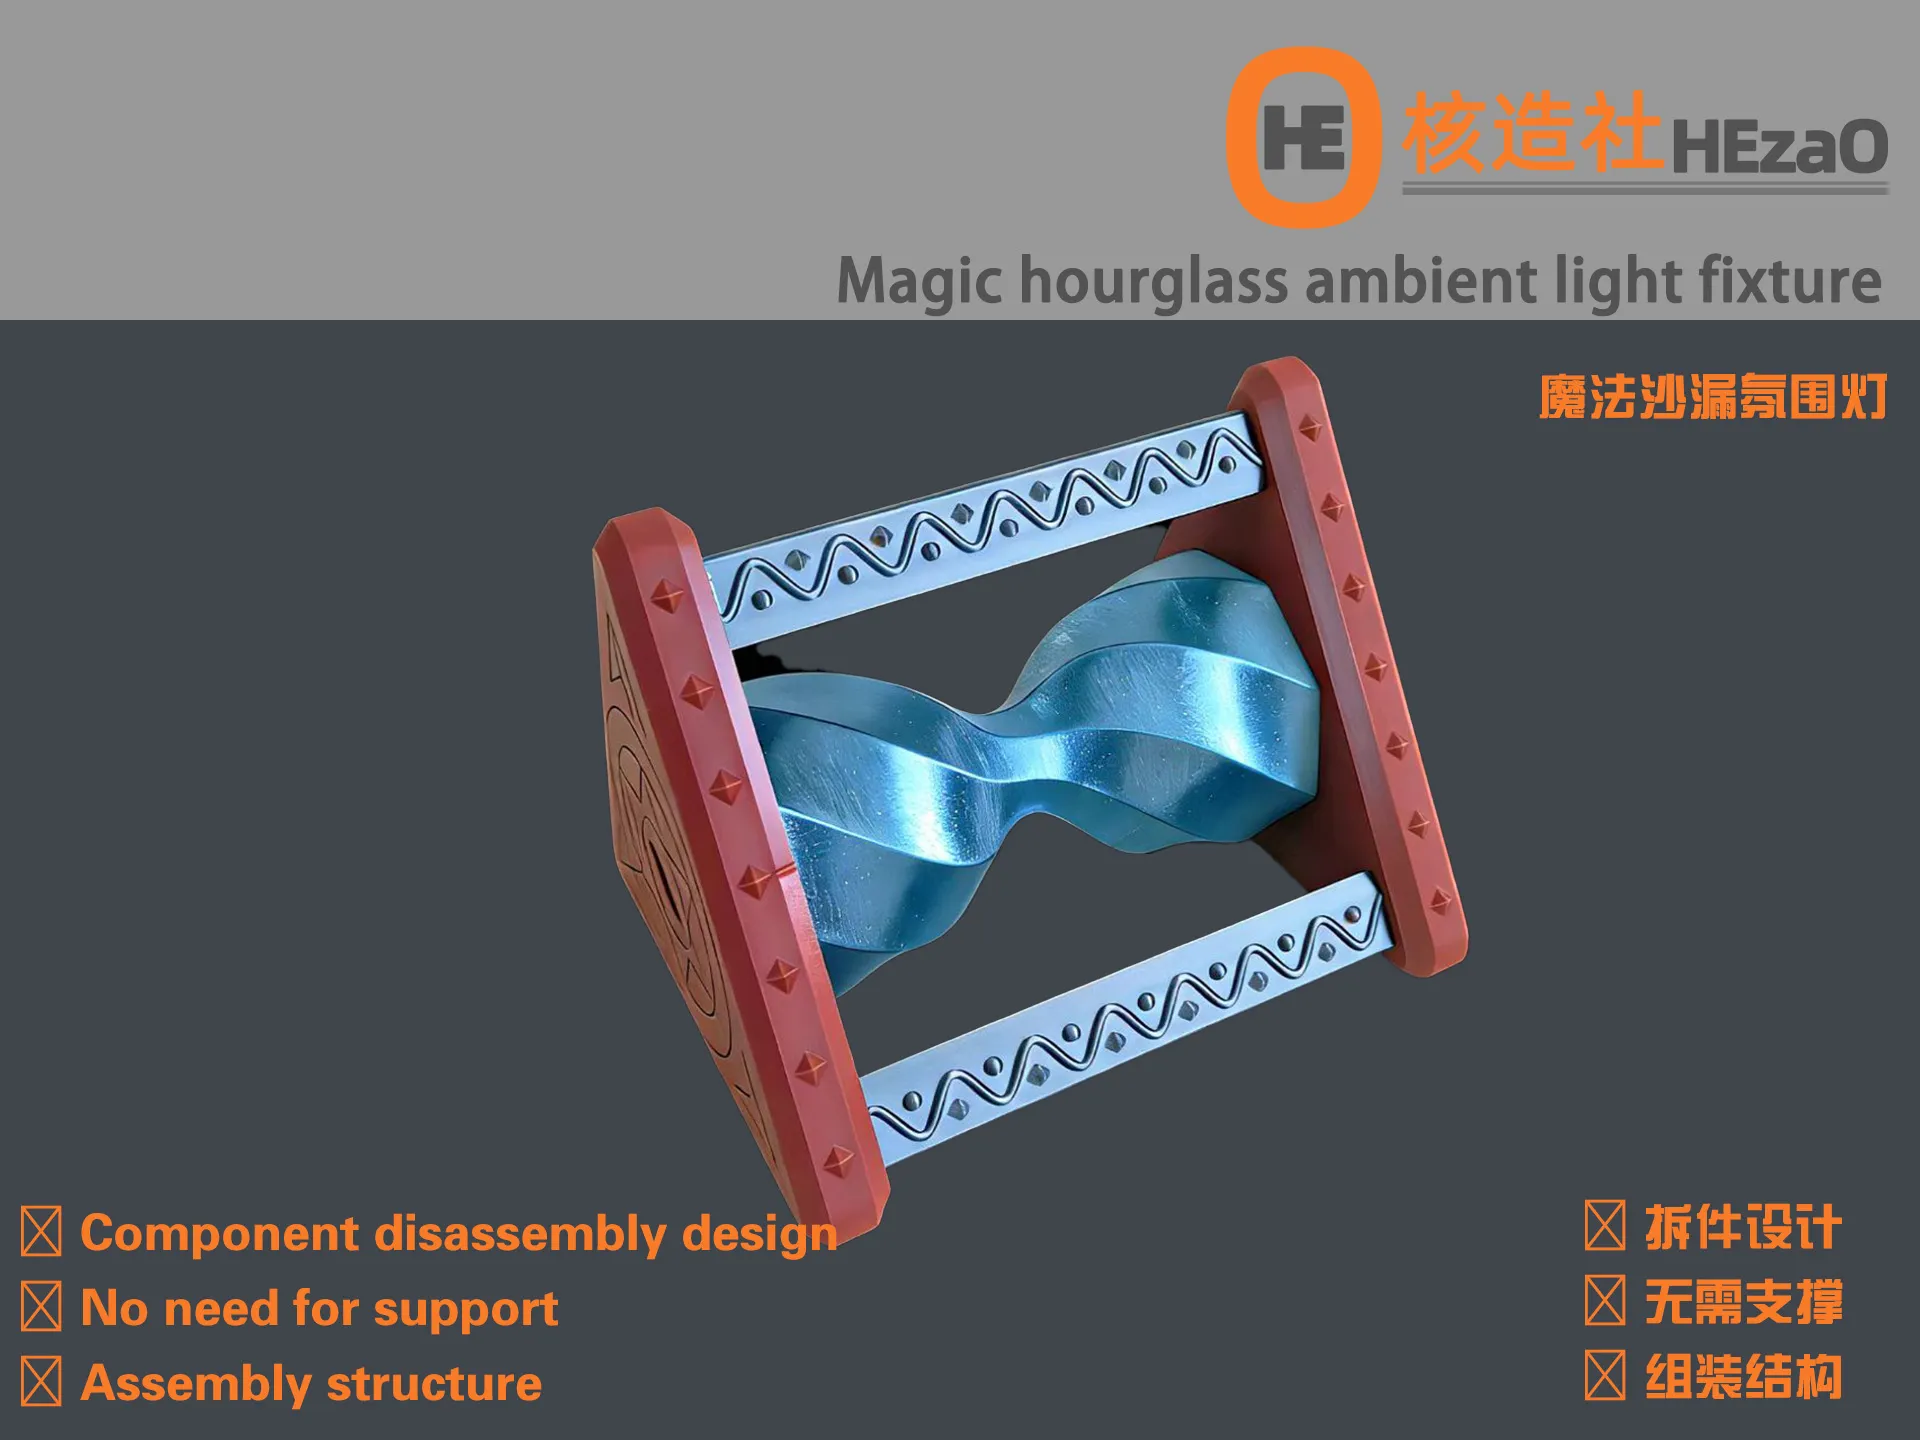
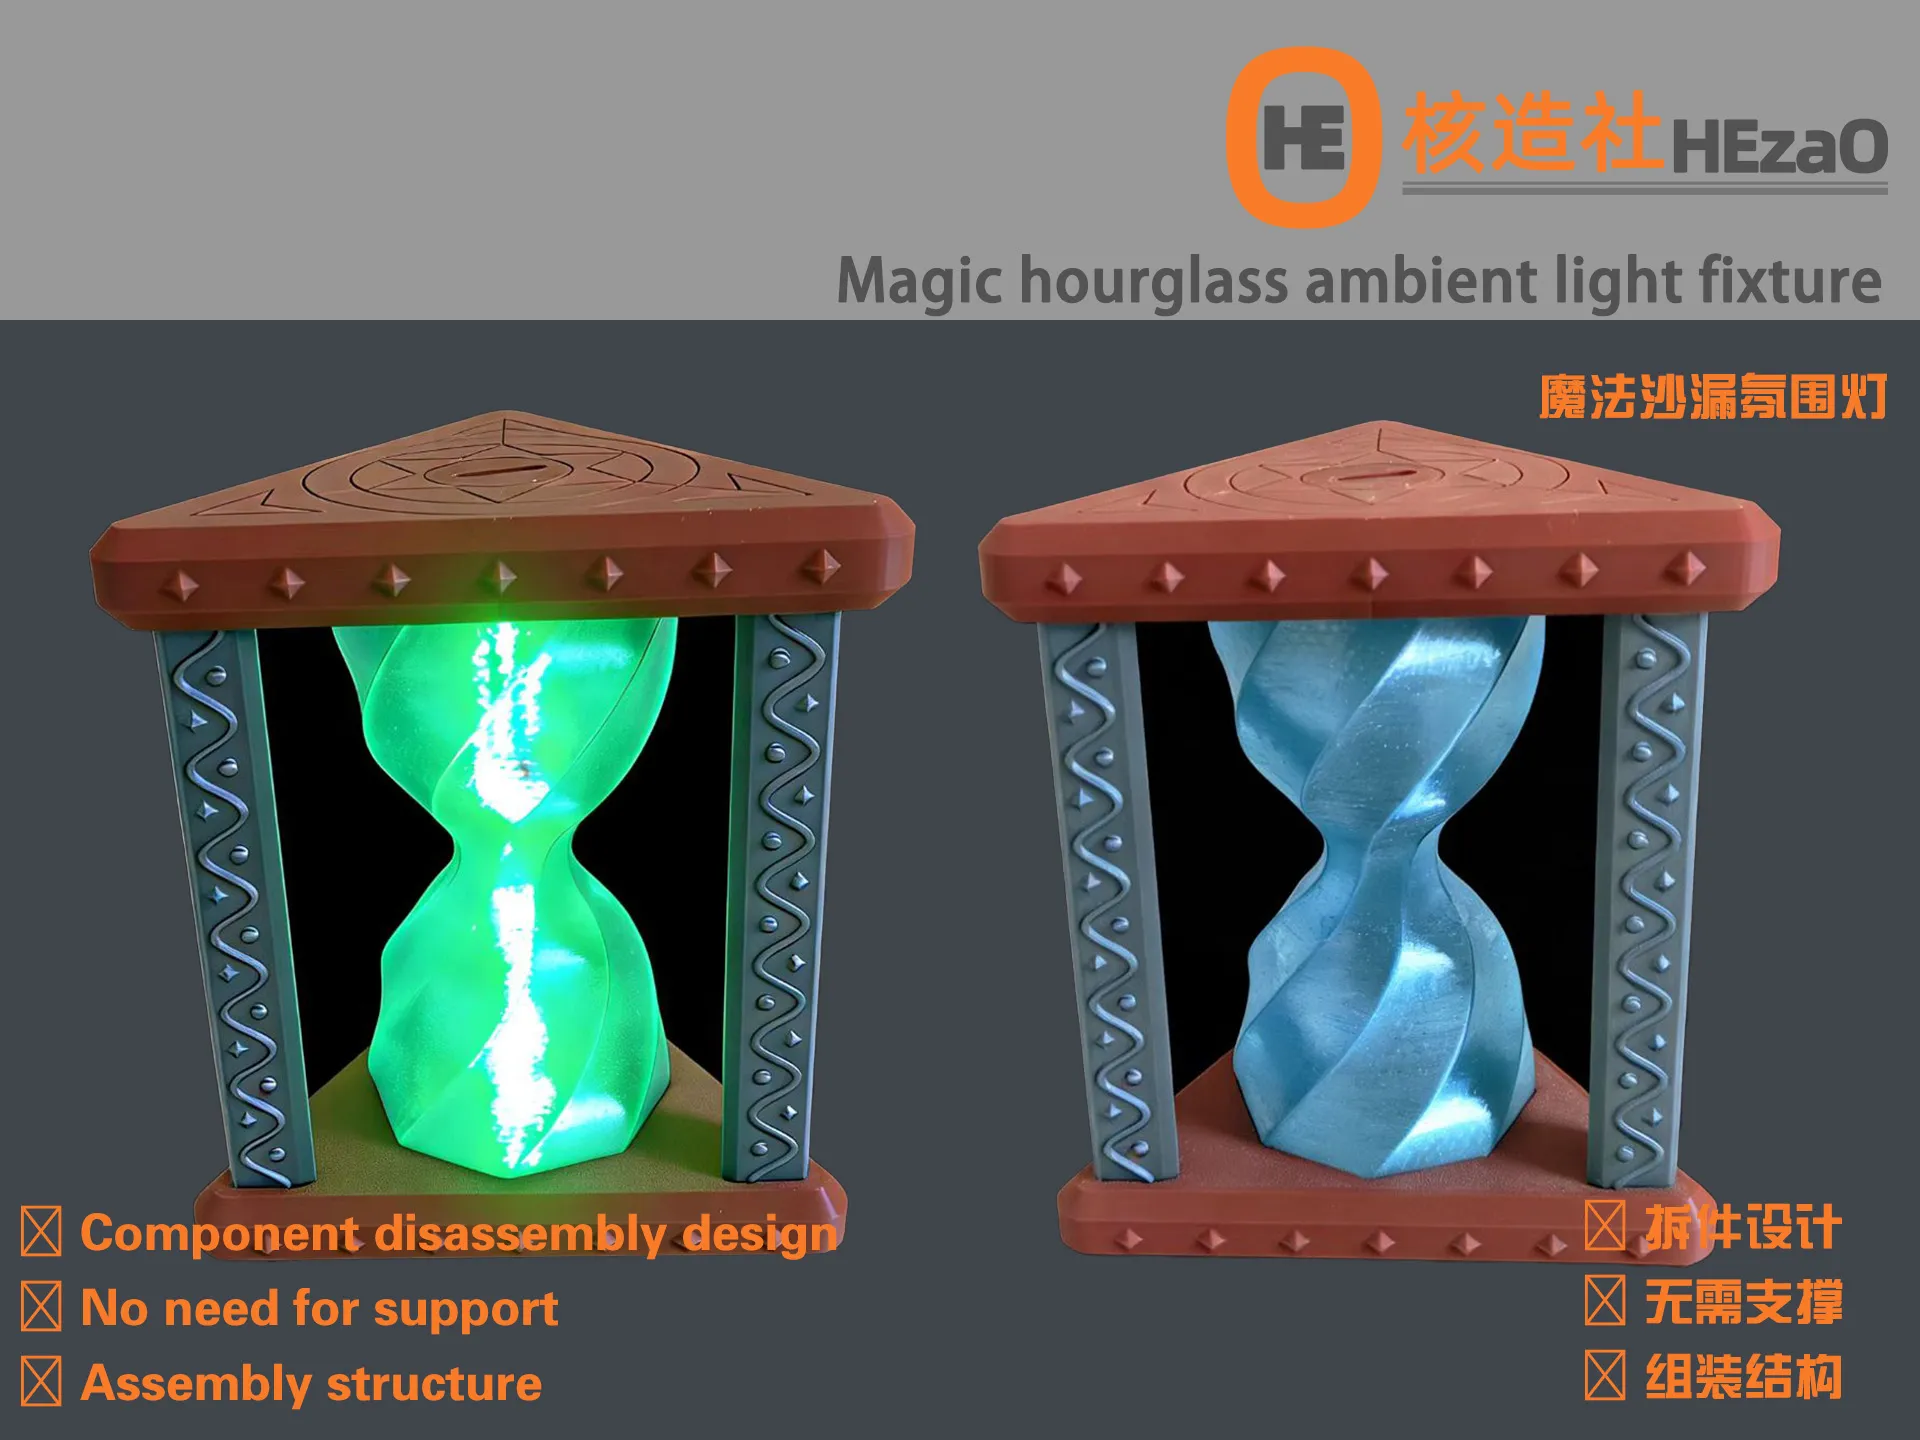
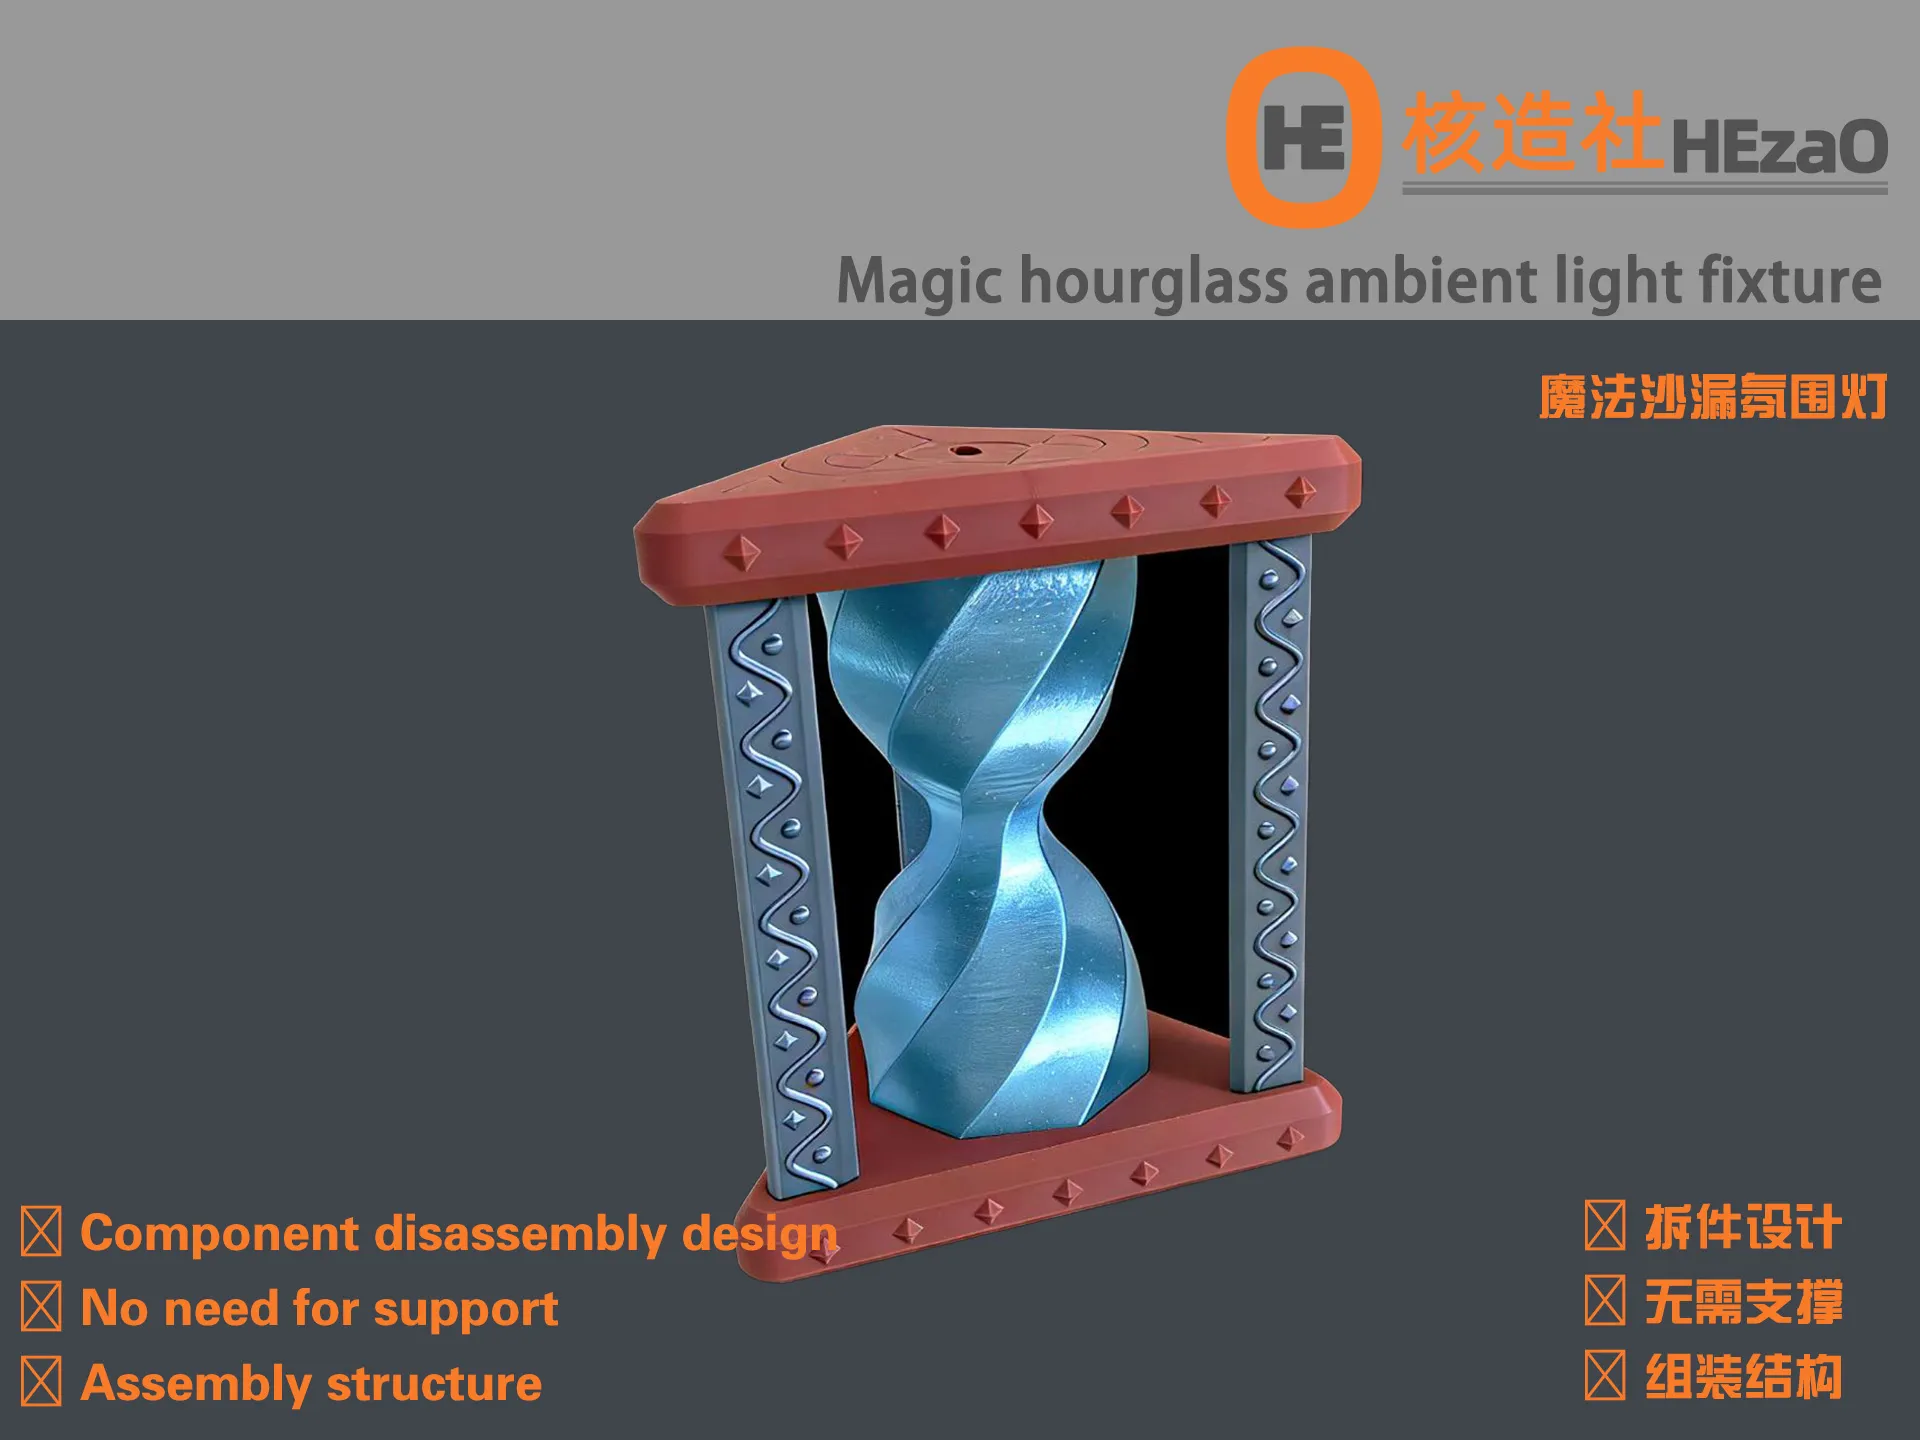
Characteristics(Characteristics):
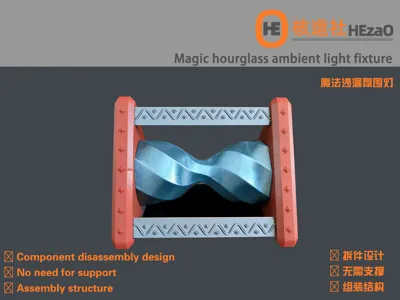
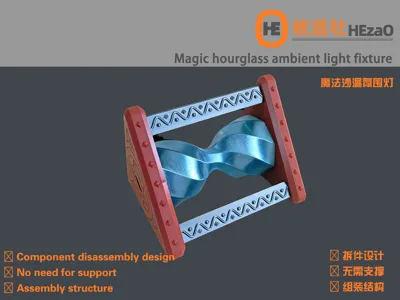
▶ Component disassembly design
▶ No need for support
▶ Assembly structure
▶ Component disassembly design
▶ No need for support
▶ Assembly structure
About Accessories(About accessories):
Remote-controlled waterproof lamp (KC-020) 2 units
Remote-controlled waterproof lamp (KC-020) 2 units
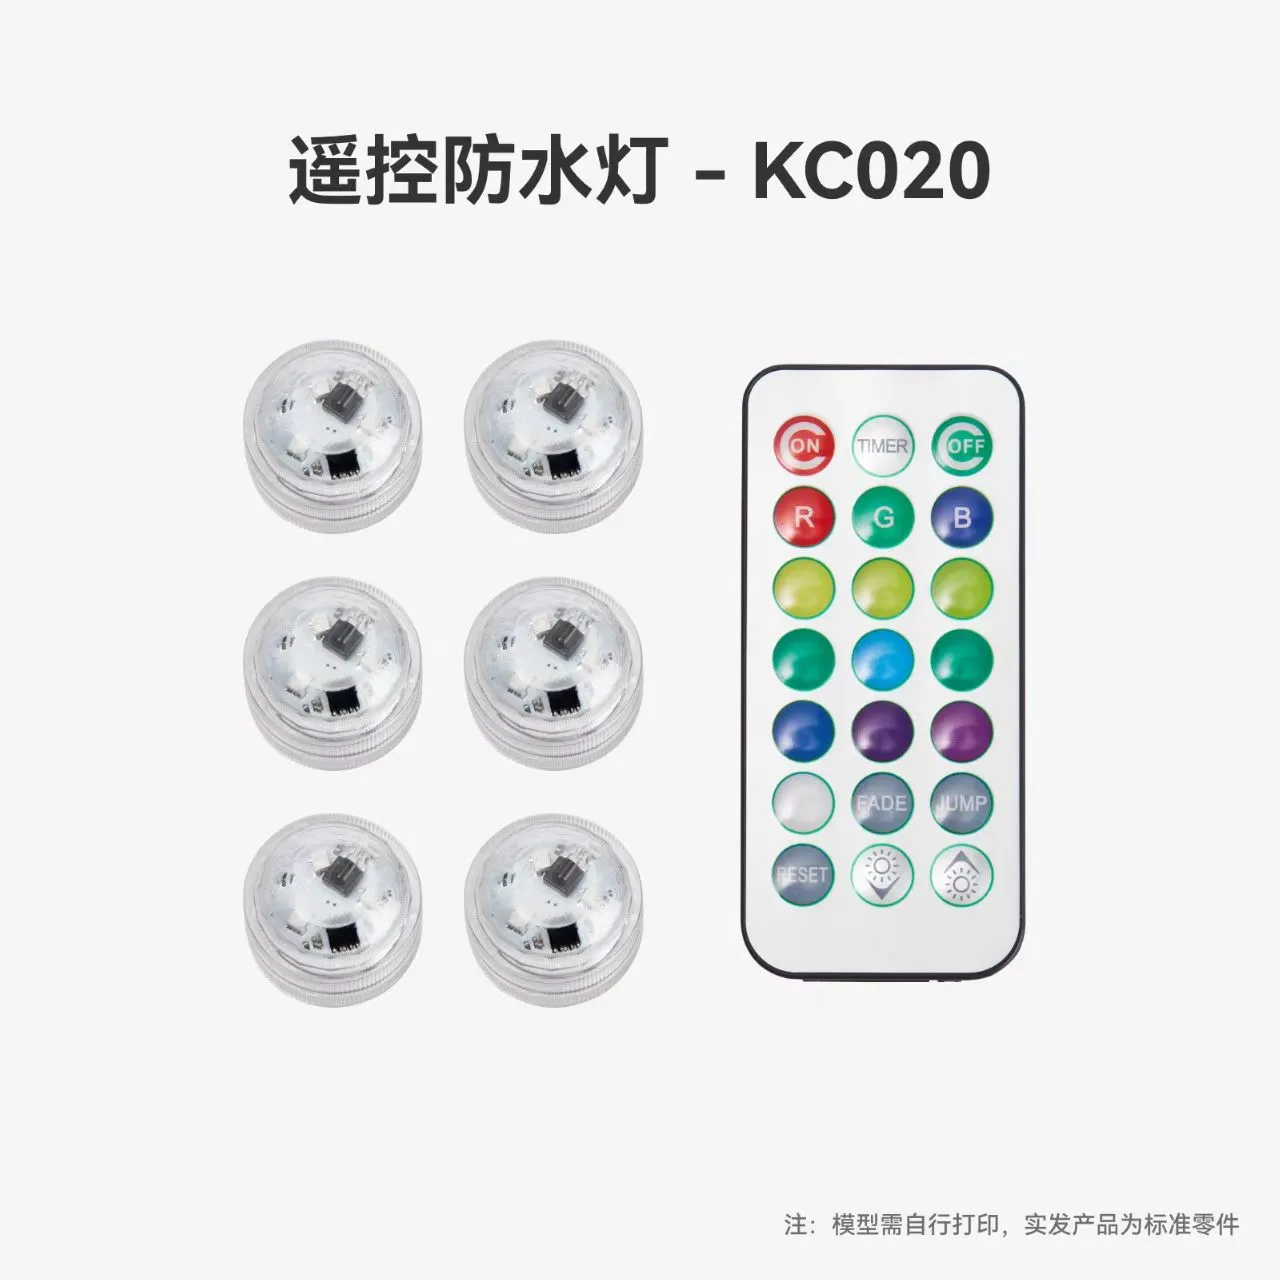
About print configuration(About print configuration):
Without any special indication
Without any special indication
About assembled(About assembly):
2、 align the assembled lampshade with the two triangular plates.
2、Insert three supporting pillars respectively
3、Move and fix the three pillars outward.
1. First, align the assembled lampshade with the two triangular plates.
2. Insert three supporting pillars respectively.
3. Move the three pillars outward to fix them.
About consumables(About filament):
Filament Type/Type | Color/Color | Recommended Brand/Brand |
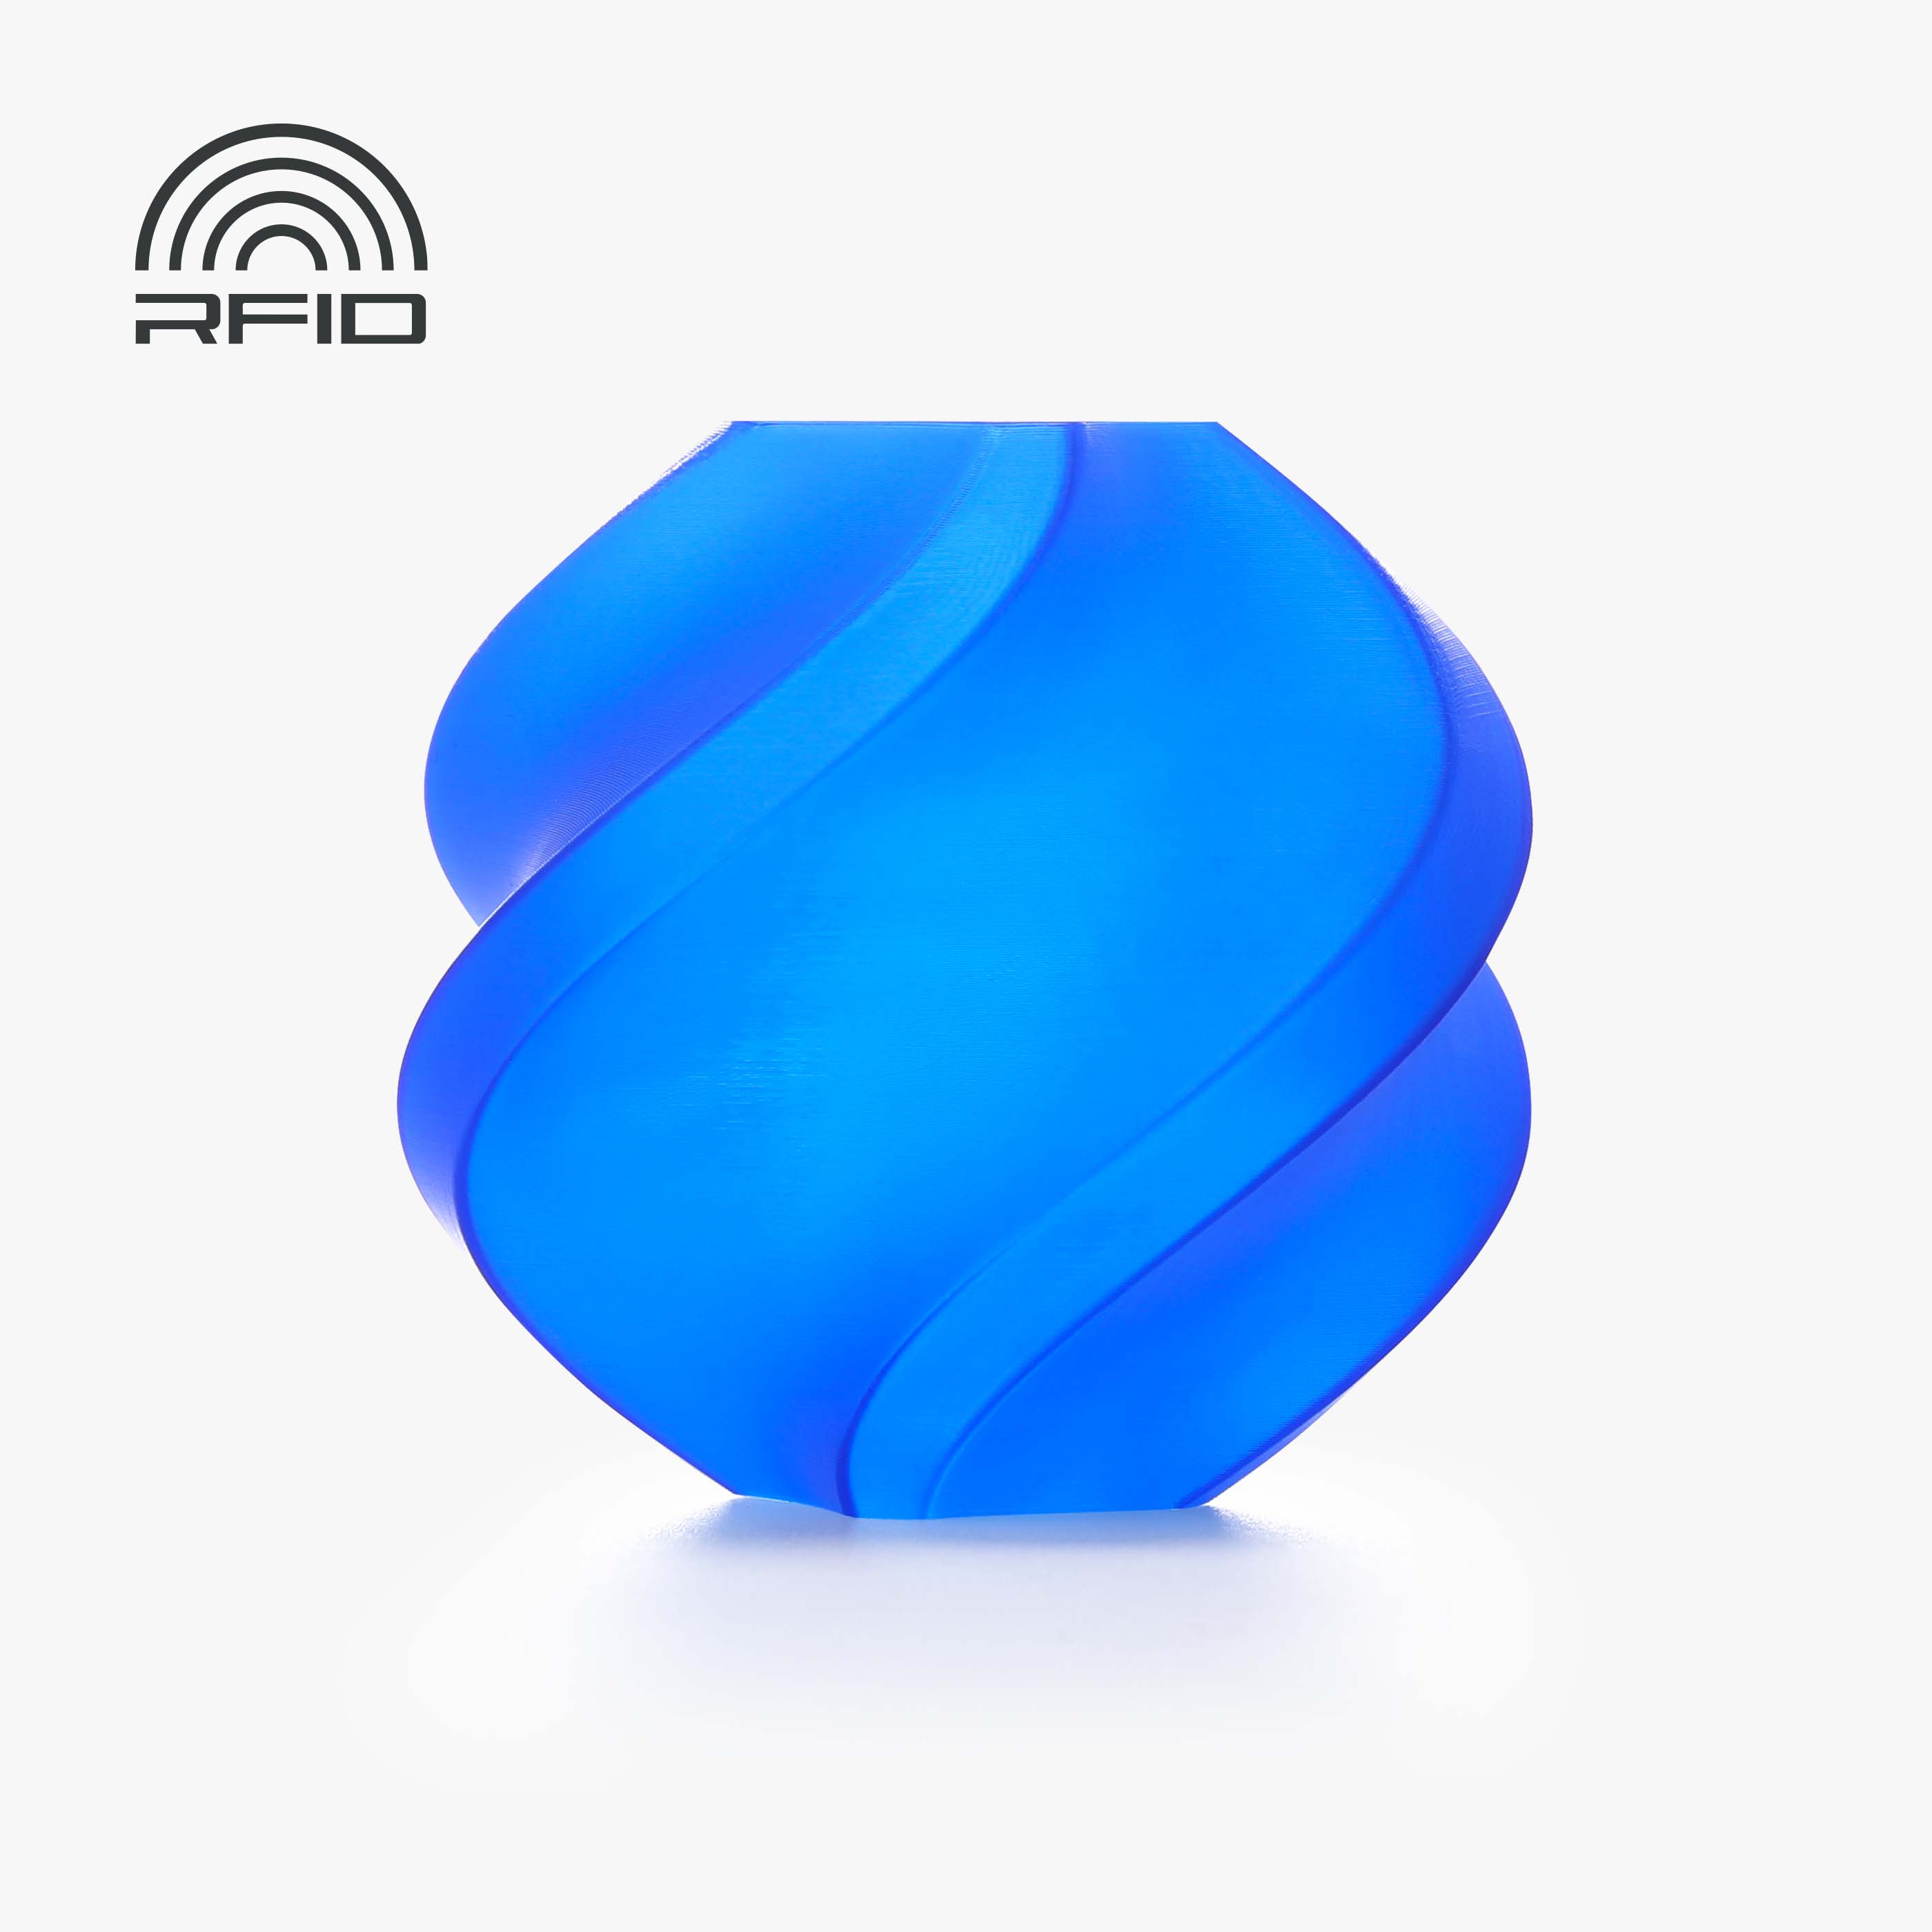
PETG | Transparent blue glitter |
|
PLA | Brown |
|
PLA | Metallic silver |
|
License

You shall not share, sub-license, sell, rent, host, transfer, or distribute in any way the digital or 3D printed versions of this object, nor any other derivative work of this object in its digital or physical format (including - but not limited to - remixes of this object, and hosting on other digital platforms). The objects may not be used without permission in any way whatsoever in which you charge money, or collect fees.


Comment & Rating (0)