Crochet Hook 12mm - Ergonomic


Print Profile(1)
Description
Boost Me (for free)
I'd really appreciate a boost if you can spare one, I know how precious they are and to be given one means you really appreciate the sheer time and effort has gone into designing, printing, tweaking, reprinting until I produce a design that I then give freely to you :D Many thanks in advance, Sarah
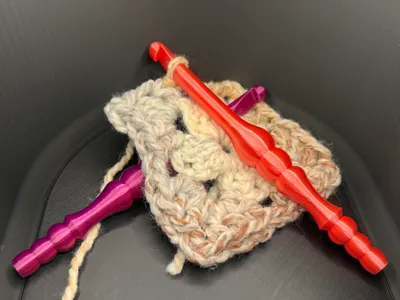
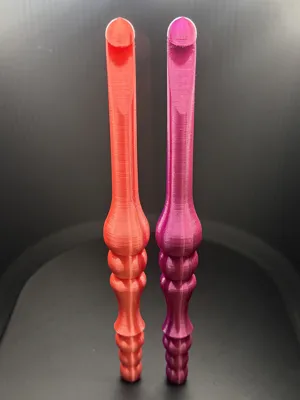
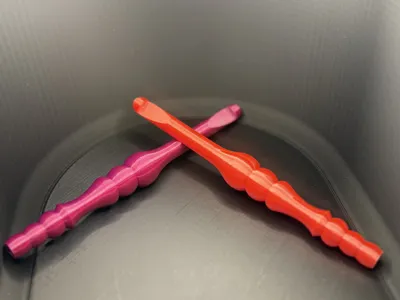
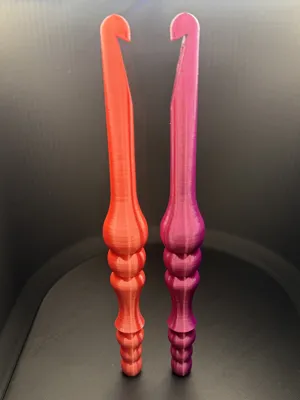
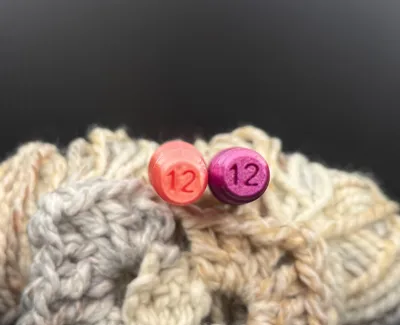
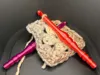
Ergonomic CROCHET Hook - 12mm (See my other sizes available)
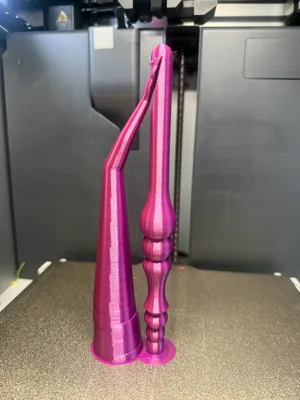
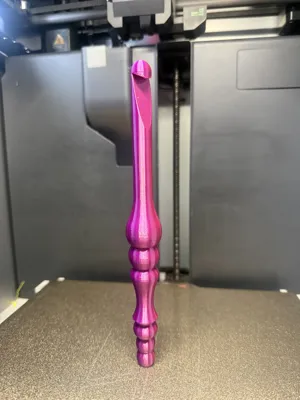
I've had fantastic success rate printing my crochet hook designs. It's vital that you use a clean plate and some liquid glue to ensure good adhesion. I use pla and have found silk gives such a lovely smooth finish. It uses approx 21g of filament and takes approx 2 hours to print. This is well tested on my X1C and P2S printers. It's overall length is 19cm. I've written some instructions below to get best results:
Follow these simple steps for great results…
- Always print in a silk filament - it will give the smoothest finish
- Work with a properly cleaned printing plate and some adhesive on the plate
I've embedded the print settings in the file so you will notice that there is no seam (line) along any side, it is set to random seam to avoid the raised line down the length of the hook. This produces a visibly different finish but in no way affects the smoothness of the print.
You can always change this setting in Bambu Studio if you prefer.
FINISHING REQUIRED…
- You may need to give the hook and shaft some gentle sanding - this depends on your printer and or filament you chose. For the rounded front hook edge, I have used a small low grit nail file. The hooks in the photos required just 20 secs of filing along that edge, otherwise I was able to crochet immediately with them. If your crocheting with a courser wool then you can use wet-n-dry sanding paper to give a final polish but in most cases you can start using your hook straight from the printer.
License
You shall not share, sub-license, sell, rent, host, transfer, or distribute in any way the digital or 3D printed versions of this object, nor any other derivative work of this object in its digital or physical format (including - but not limited to - remixes of this object, and hosting on other digital platforms). The objects may not be used without permission in any way whatsoever in which you charge money, or collect fees.
Comment & Rating (4)