Flexi Beanbag V1 – Juggling ball Maker Edition


Print Profile(5)

Bill of Materials


Description
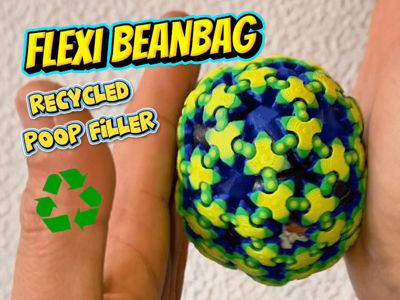
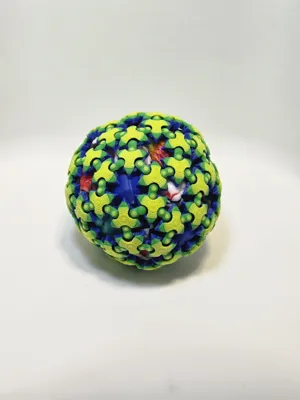
Flexi Beanbag – Recycled Flexible Juggling Balls
(Prototype PAL Edition)
Flexi Ball is a flexible, durable 3D-printed juggling ball designed to reduce plastic waste from the 3D printing process.
I started this project after realizing how much failed prints and support material were being thrown away. Instead of stopping 3D printing… I decided to rethink it.
This ball is filled with recycled 3D printing process waste, transformed into dense filler material, and sealed inside a flexible printed shell.
It’s not perfect.
And that’s the point.
It represents sustainability in progress.
Boost Me (for free)
🙏Flexi Balls started as a way to turn my 3D printing waste into something useful.
🤹 As a performer and father, I’m building this project from home to support my family while creating sustainable circus tools.🤡🎪
Your boost directly helps me expand this small workshop and develop better recycled production systems.
Thank you for being part of this journey.🙏

🌱 Why Flexi Ball?
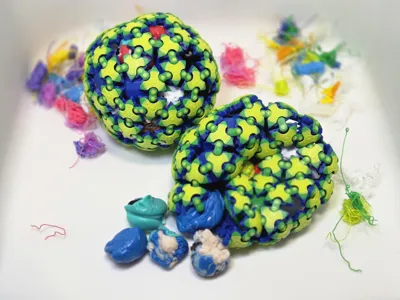
- Made using ~60% recycled 3D print waste as filler, or any materials such as rubber or balloon.
- Flexible outer structure
- Designed for basic juggling practice
- Anti-stress squeeze feel
Modular concept (replaceable parts in future versions)
This version is a Prototype PAL Edition.
Small cosmetic imperfections may appear.
⚠️ Important
This version is NOT designed for extremely high drops.
Suitable for:
- Basic juggling
- Flowarts practice
- Anti-stress squeezing
- Light indoor training
For heavy impact training, a reinforced future edition will be released.
🧪 Tested ⚠️
Drop tested from:
- 5 meters : survived
- 6 - 8 Meters : cracked at the triangle surface panel
- This is an evolving project.
If a part fails during printing or breaks after use, you can simply print the replacement piece.
No need to print the entire ball again.
🔧 Assembly Guide
Tools Required
- Needle-nose pliers
- ~100g recycled plastic waste (print poop, towers, failed prints) for professional use recommended rubber piece from bicycl or ballon are great for iimpact.
- Heat gun
- Protective gloves
Respirator mask with organic vapor filter (important when heating plastic)
Step 1 – Preparing the Filler
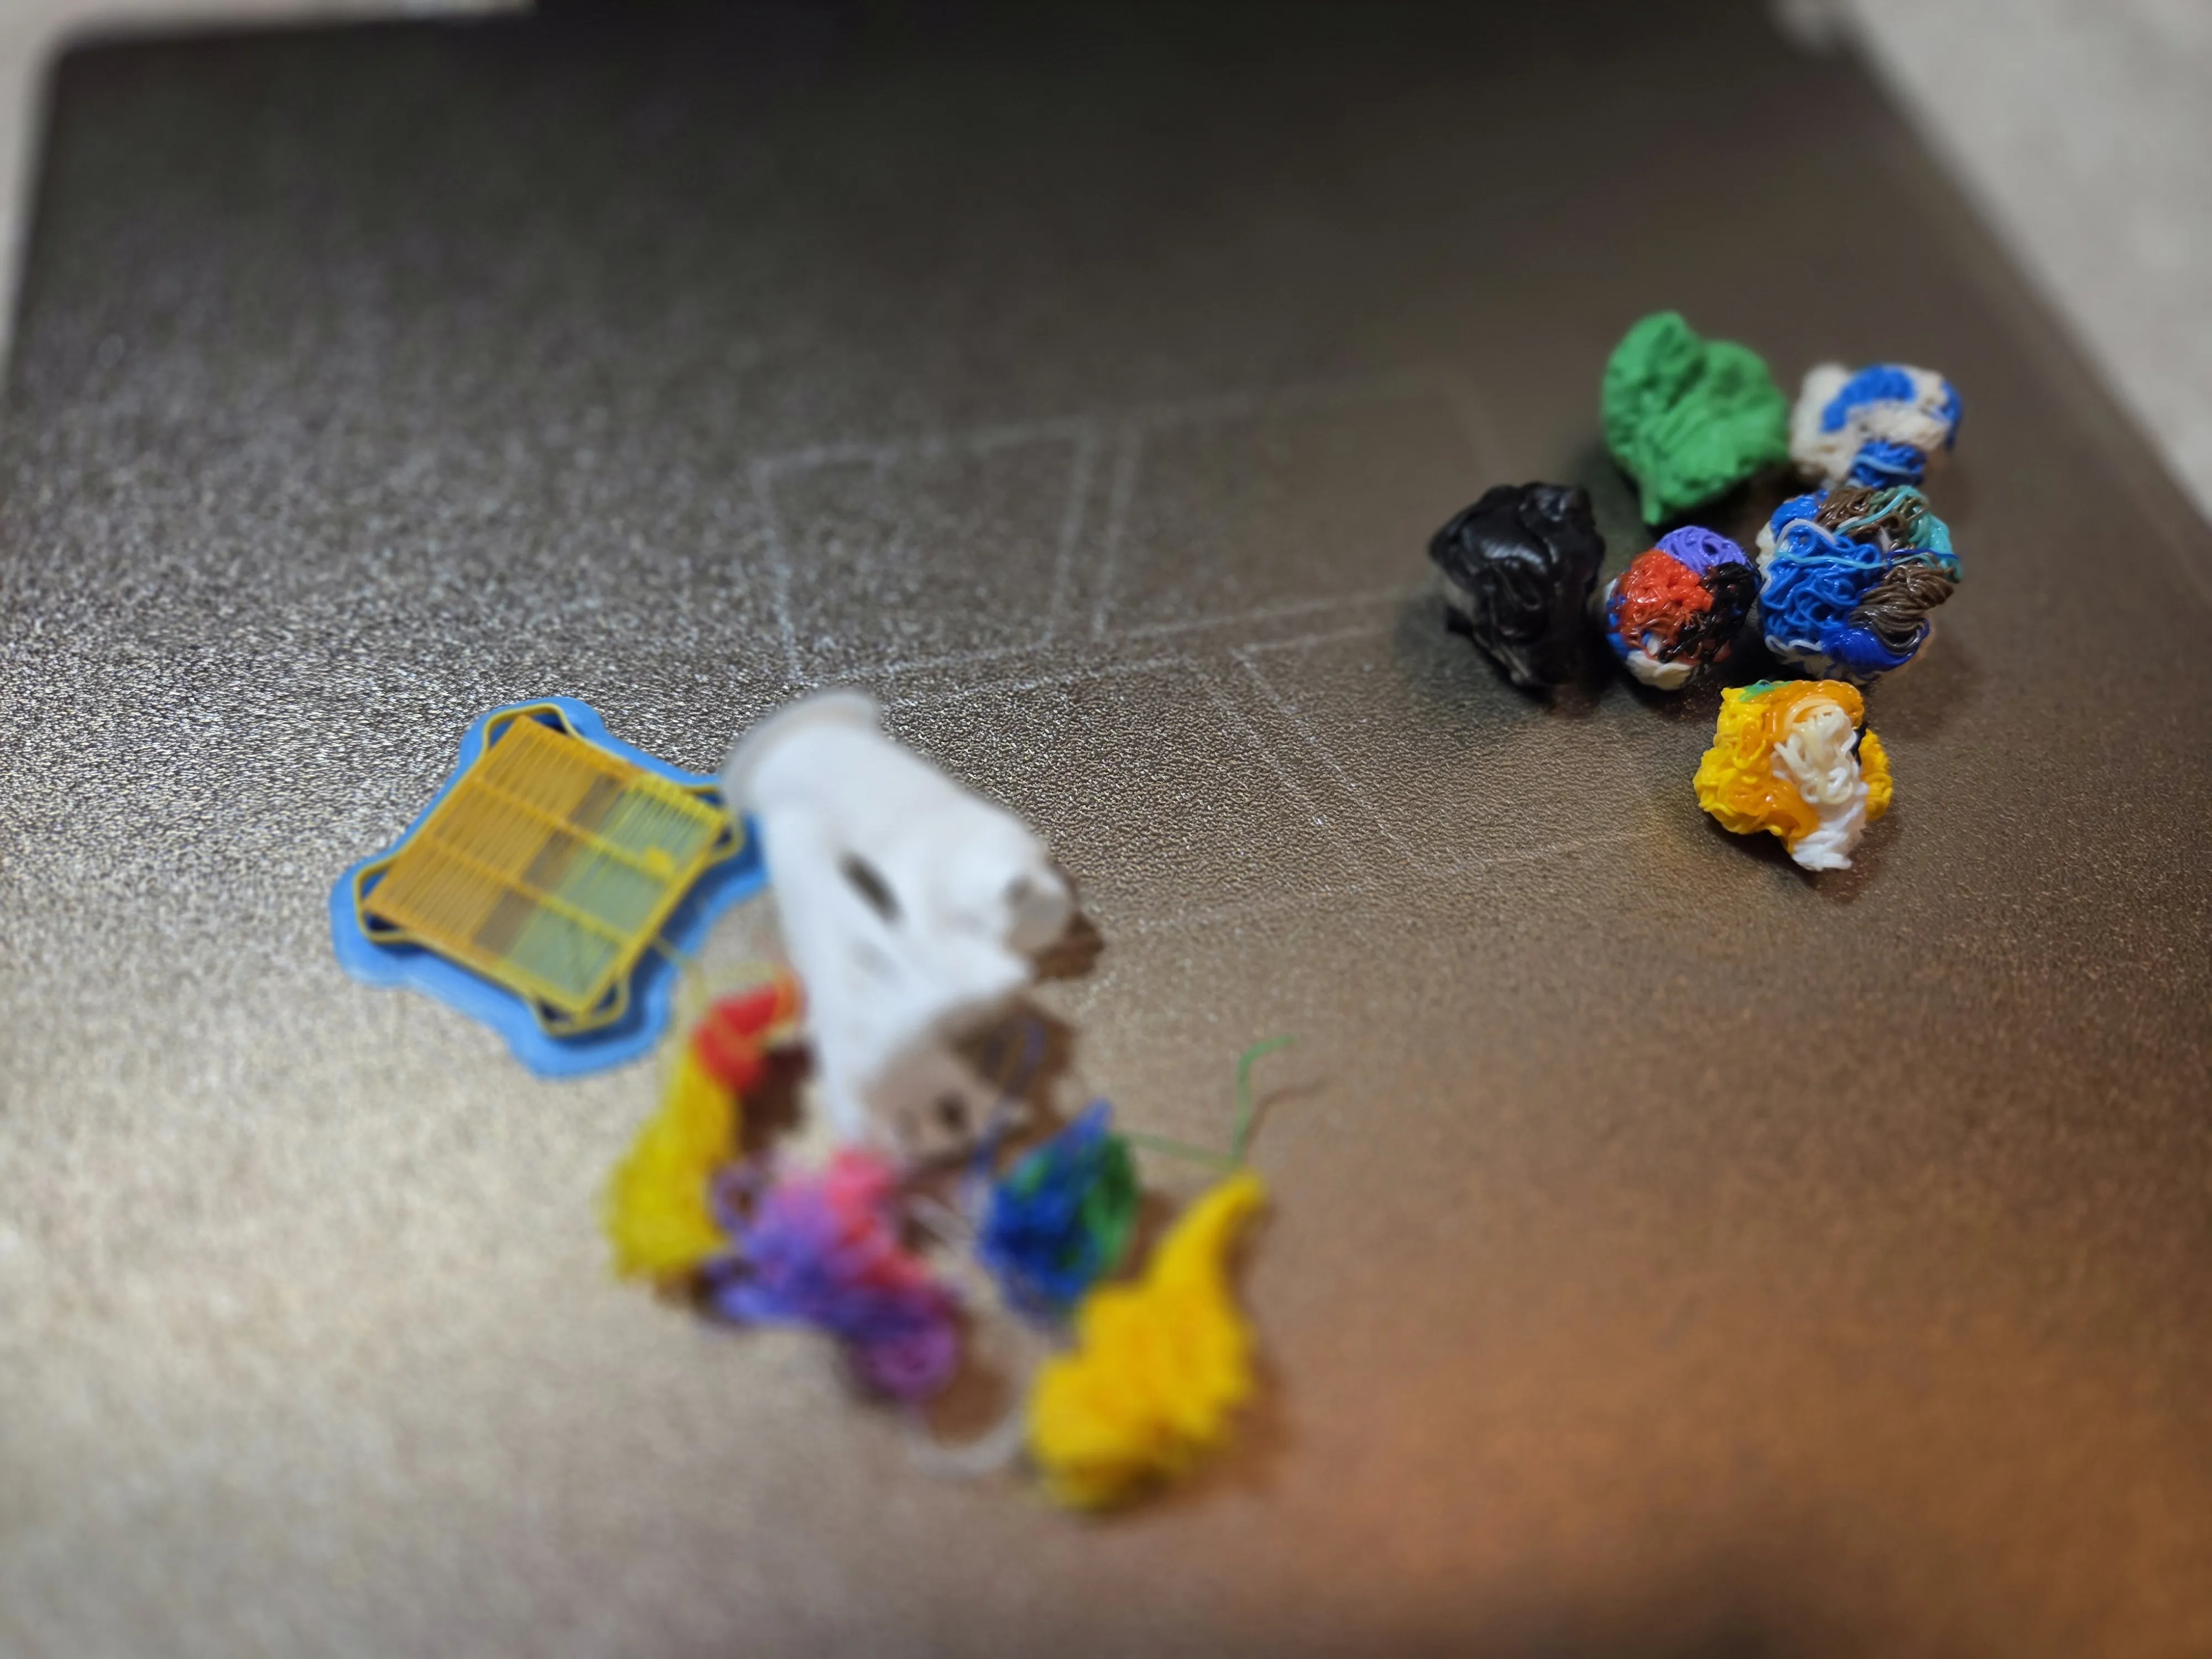
Before and After heating process
While waiting for the print to finish
- Take your recycled plastic waste.
- Use a heat gun or hairdryer at 100°C or above.
- Heat for about 5–10 seconds, just enough to soften the surface.
- Shape loosely into small balls (approx. 1–1.5 cm diameter).
- Do not fully melt them.
This helps prevent long, stringy plastic pieces from breaking into microfragments during juggling
- You can experiment with other filler materials.
If you have ideas, share them in the comments.
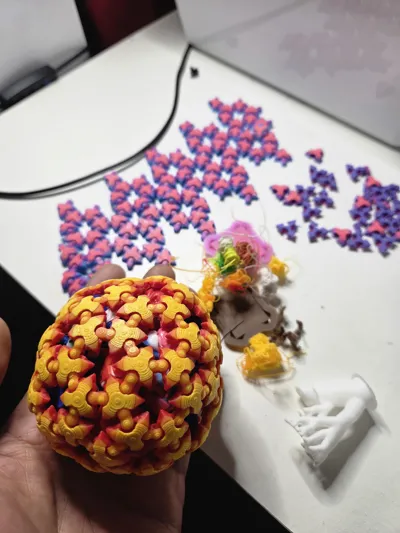
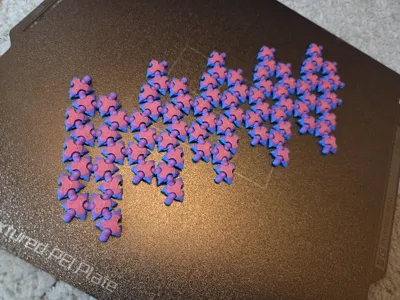
Step 2 – Printing Result

After printing, the model will come out as a long, flexible strip.
The edges are arranged in a zig-zag interlocking pattern.
Step 3 – Initial Connection
Start by connecting the zig-zag joints along the long edges first.
Build the spherical structure gradually.
Step 4 – Filling

Before closing the final section:
- Fill the ball with your prepared recycled filler.
- Recommended finished weight: 100g – 105g for juggling.
👍 If you want the ball completely full but lighter: Print lightweight internal filler pieces to occupy volume without increasing mass.
⚠️ Don’t pack it too tight.
❤️You can experiment with other filler materials.
If you have ideas, share them in the comments.
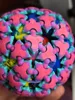
Step 5 – Final Lock
For the last connection:
- Close the final locking tabs to complete the ball. Use needle-nose pliers to gently grip the triangular tab. This helps guide the locking mechanism into place.
- Gently squeeze and massage the ball to increase flexibility.
- If you want to adjust the weight later, use pliers to hold the connection point and gently twist it open.
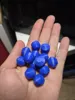
Recycled plastics waste
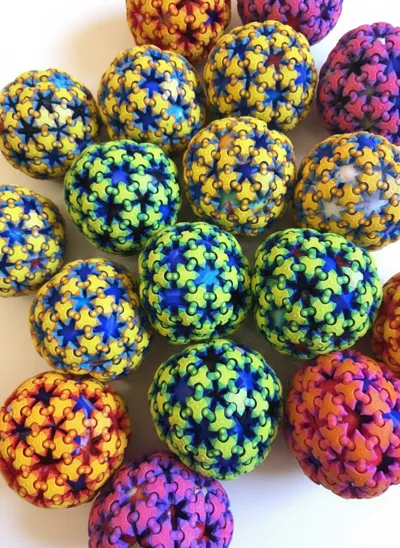
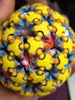
🎨 Color Version Notes

- The 3-color model includes colored connection points to help identify disassembly areas for repairs.
- For single-color prints, it is recommended to mark connection joints with a pen before assembly for easier maintenance.
❤️ Why This Project Matters
My goal is to build small-scale sustainable production from home, reduce waste, and create durable flow props.
Follow for:
- STL updates
- Improved editions
- Crowdfunding launch
- Sustainability experiments
Behind-the-scenes development
🤝 Commercial Collaboration- If you are interested in producing Flexi Balls for commercial distribution,
Please send a direct message to discuss collaboration possibilities. - Small-scale partnerships aligned with sustainability values are welcome.
🌱 Support the Project 
- Flexi Balls is an independent, family-driven project focused on recycling 3D printing waste and building small-scale sustainable production.
- If you would like to support the development of new prototypes, recycling systems, and open innovation,
You can contribute through donations or direct support. - Every contribution helps expand the project and invest in better recycling equipment.
🌍 Follow the Journey
Instagram:
https://www.instagram.com/samuicircus/
Facebook:
https://www.facebook.com/samuicircusstudio/
If you print one, tag your results.
Let’s build better props — and a better process
— Poppy / Samui Circus
🧠 Design Statement
This model was fully designed manually.
No AI was used in the 3D modeling process.
All photos and lighting are real.
AI was only used to help organize written documentation.
License
You may create derivative works based on this object, provided that all such derivative works are published exclusively on the MakerWorld platform and include proper attribution to the original creator. You may not share, upload, host, distribute, or publish this object—or any derivative work of this object—on any other digital platform, marketplace, or distribution channel. Commercial use of this object and any derivative works is strictly prohibited. This includes, but is not limited to, selling, renting, sublicensing, or using the object in any context in which you receive monetary compensation or other financial benefits.
Comment & Rating (77)