
Woodworking Planing stop 3/4 bench dog holes
Print Profile(1)
Bill of Materials
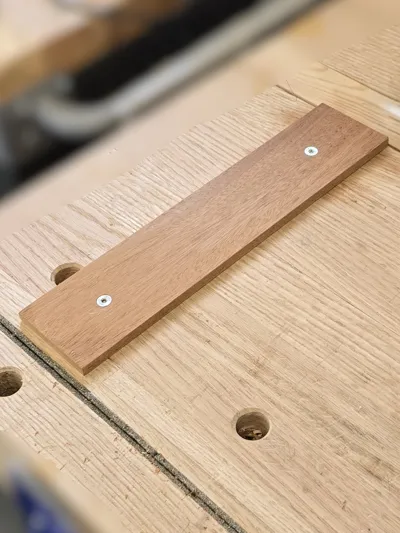
- M5 Countersunk machine screw x 2: I used 20mm long screws, but length is determined by the thickness of the top portion.
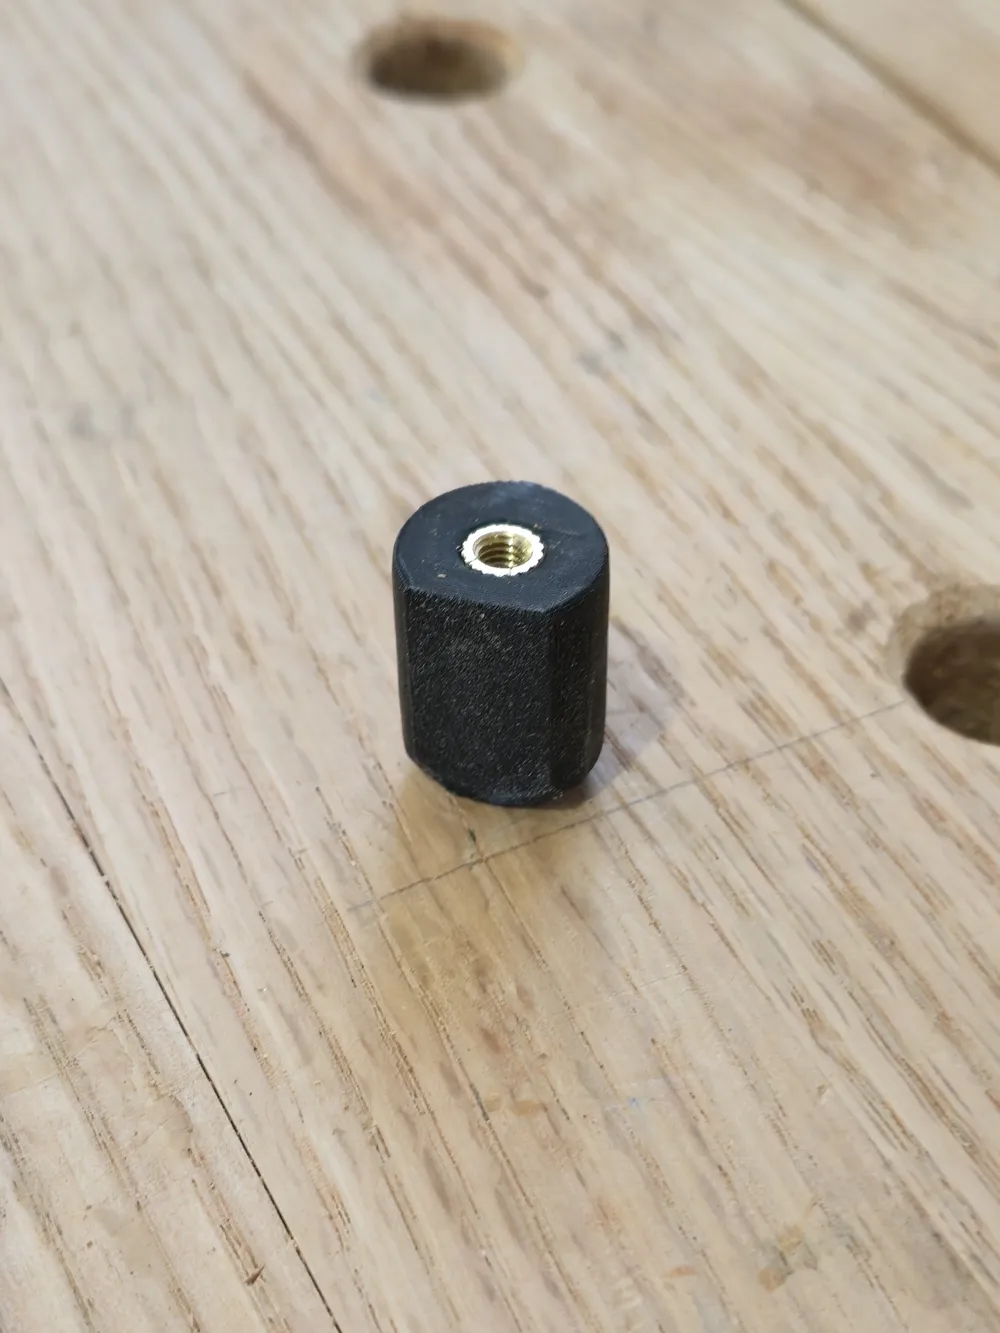
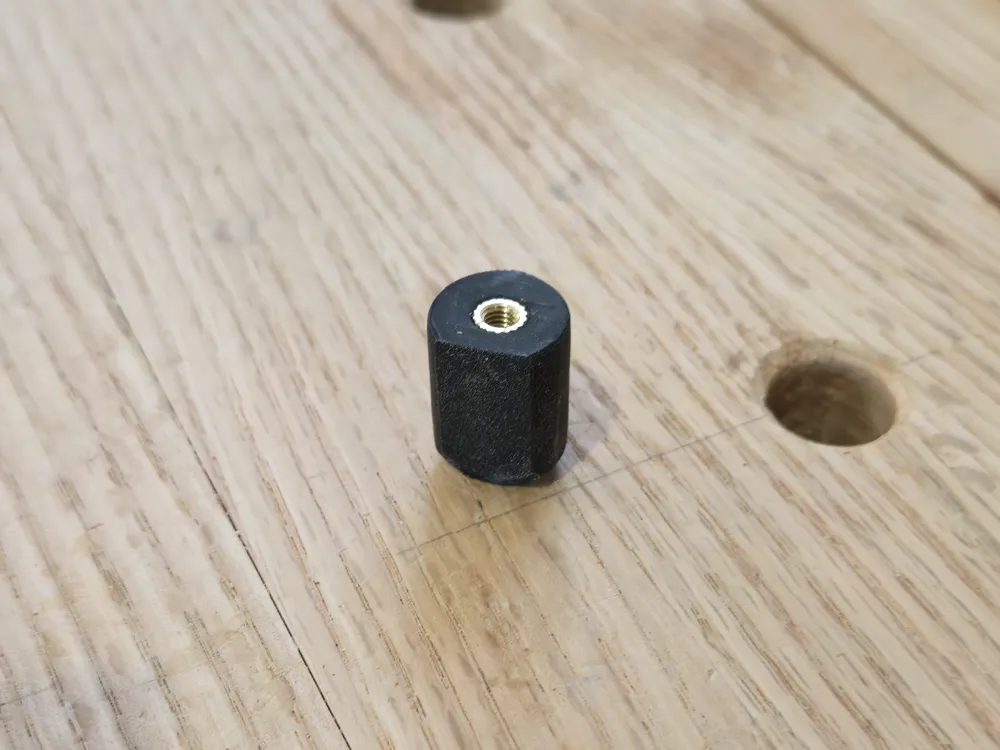
- M5 heat press inserts x 1:
Description
🛠️ Description
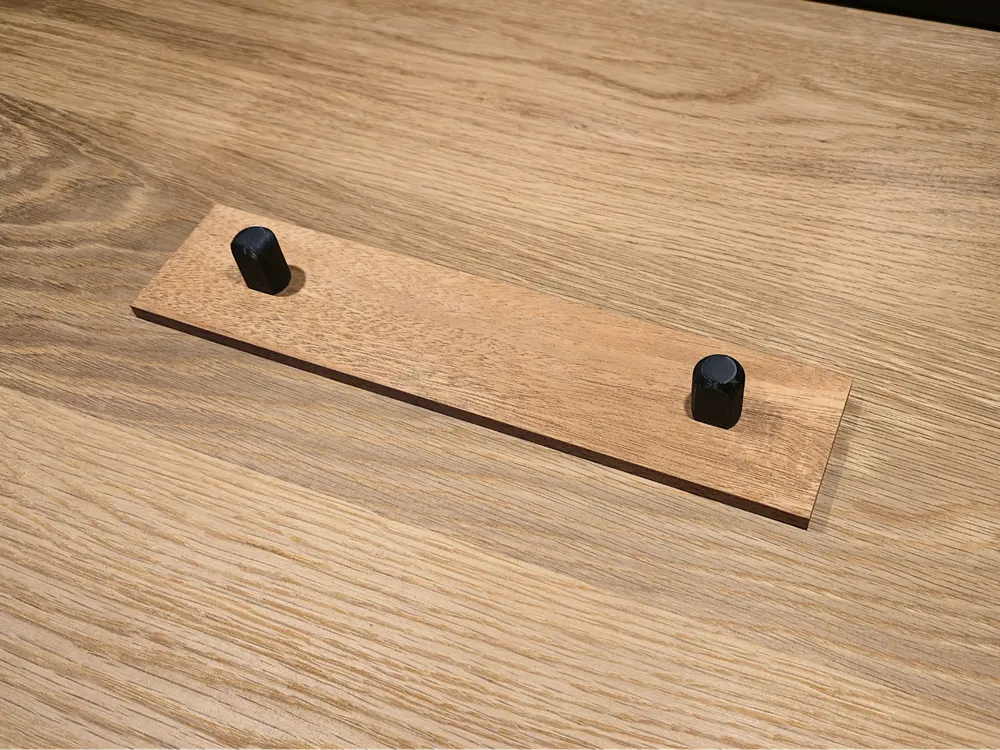
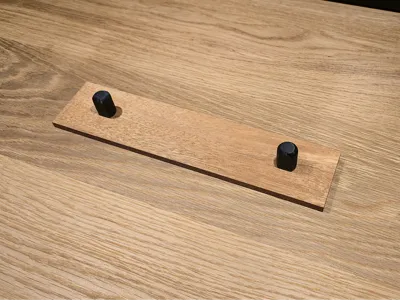
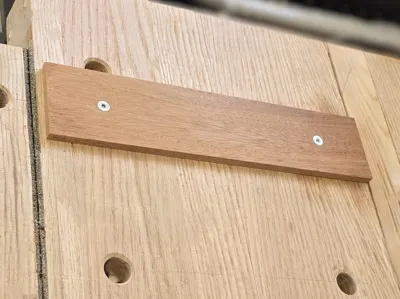
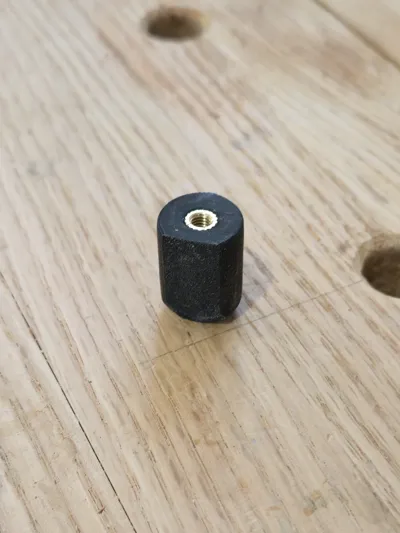
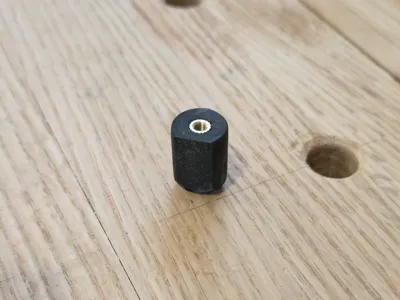
This model is a customizable woodworking planing stop system that uses two 3D‑printed bench dogs to secure a wooden top stop board of your choice. The custom bench dogs provide a strong low‑profile mounting interface that allows you to create a reliable planing stop sized exactly to your bench and you existing dog holes.
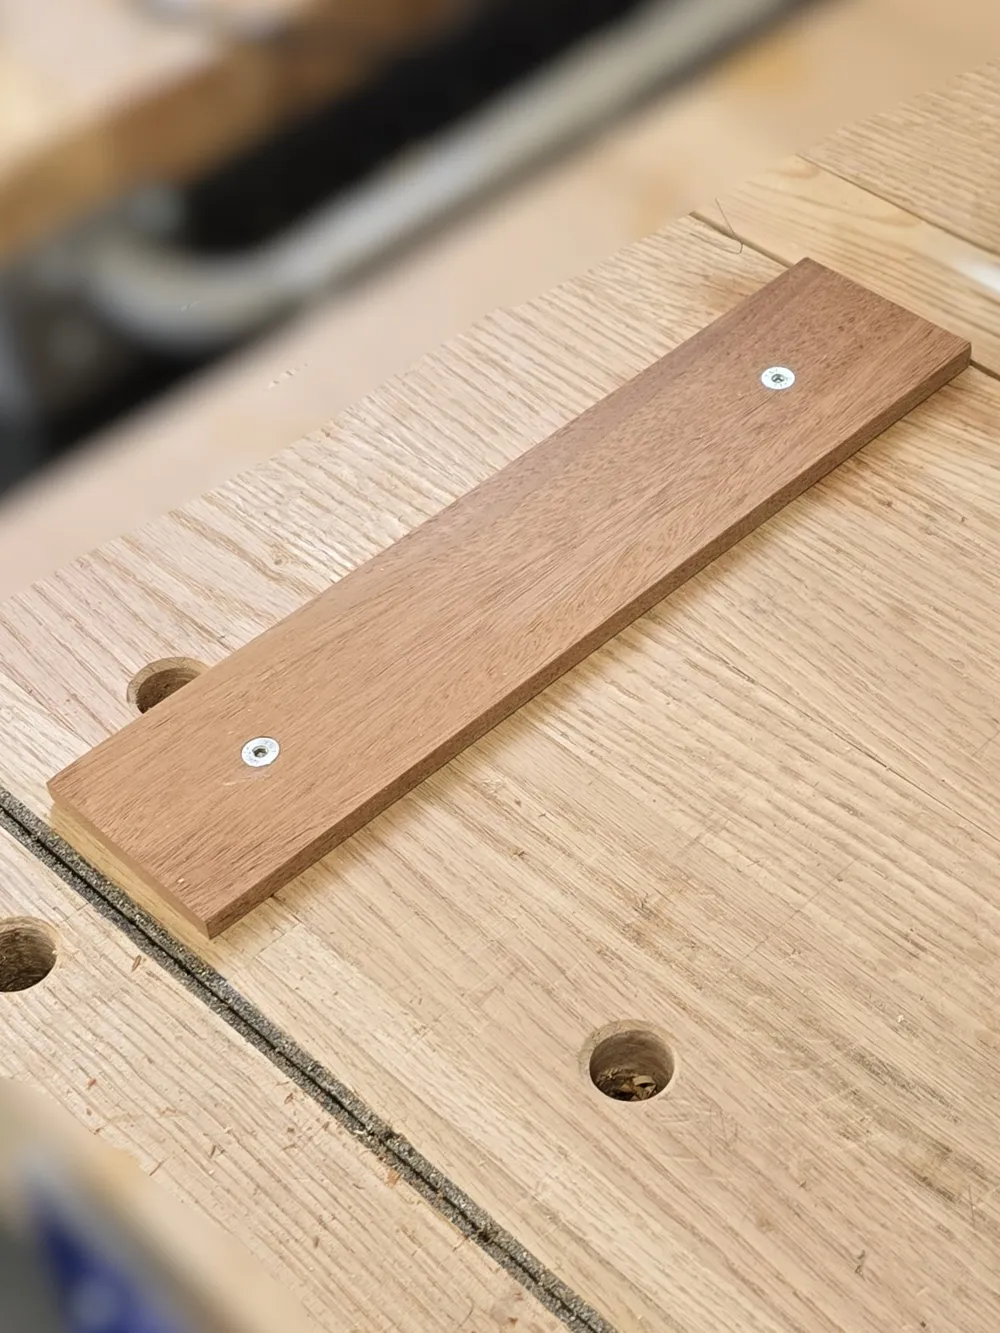
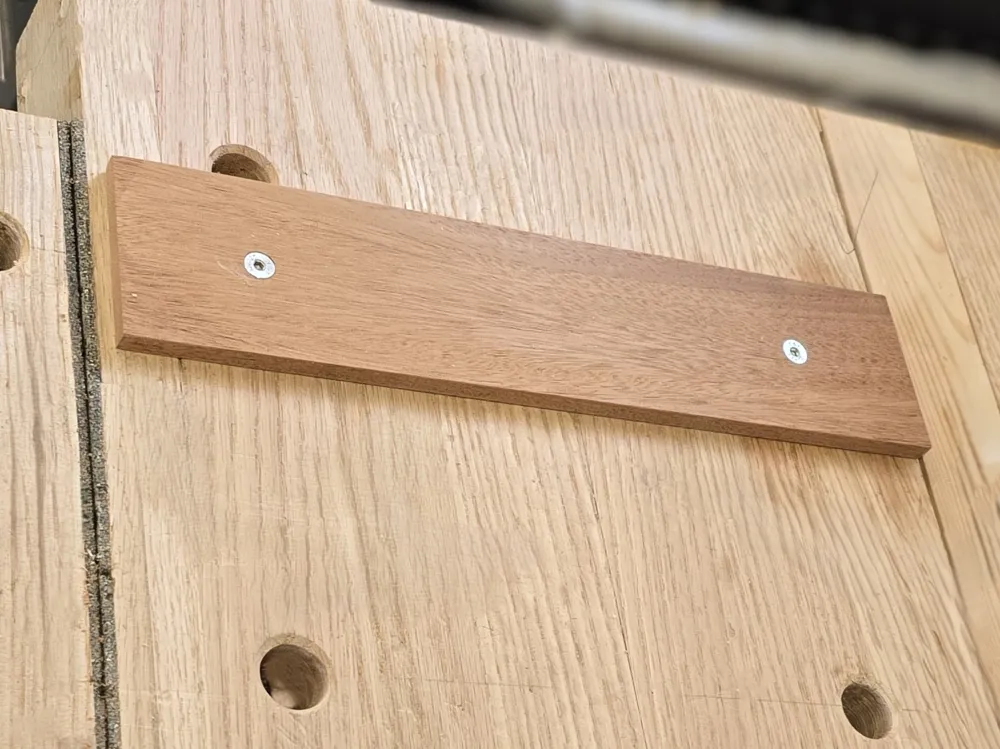
Each dog is designed to accept an M5 heat‑press insert, allowing the wooden stop board to be fastened with M5 countersunk screws. Once assembled, the stop provides a solid edge for hand‑planing operations, keeping your workpiece from sliding while maintaining a clean, unobtrusive footprint on the bench. Its designed with the express purpose of being easily removeable.
THIS MODEL IS DESIGNED FOR ¾" dog holes. A 20mm version could be made upon request.
🧩 Recommended Use
- Creates a customizable planing stop for hand‑tool woodworking
- Uses two printed dogs to mount a wooden stop board of any length
- Ideal for workbenches with ¾" existing dog holes
- Provides a secure, low‑profile edge for planing, scraping, or sanding
- Allows easy replacement or resizing of the wooden stop board
🧷 Assembly Instructions
- Heat‑set M5 inserts into the recesses on each printed lug
- Cut your wooden stop board to the desired length and thickness
- Drill holes in the board to align with the holes in the lugs (using blue tape overtop to transfer the hole locations is very effective)
Fasten the board to the lugs using M5 countersunk screws
🖨️ Printing Tips
- Material: PLA or PETG (PETG is preferred but due to print orientation you can generally get away with PLA)
- Infill: 25% gyroid
- Walls/Perimeters: 4
- Supports: Not required
- Orientation: MUST BE PRINTED Horizontally. The layer direction is critical for its strength.
Boost Me (for free)
If you enjoy this model, please consider boosting me to allow me to continue to regularly remix and design for maker world!
License

You shall not share, sub-license, sell, rent, host, transfer, or distribute in any way the digital or 3D printed versions of this object, nor any other derivative work of this object in its digital or physical format (including - but not limited to - remixes of this object, and hosting on other digital platforms). The objects may not be used without permission in any way whatsoever in which you charge money, or collect fees.


Comment & Rating (0)