Rubik's Cube Twisty Fidget - Single AMS Compatible


Print Profile(2)
Bill of Materials


Description
Membership
All Commercial License Memberships are currently SOLD OUT. The next opportunity to join is expected in 2027, unless availability changes earlier. Thank you for your interest and support.
Follow me on MakerWorld for more of my designs, drops, and future releases! : makerworld.com/en/@3DMakerSpace/upload
 |  |  |
 |  |  |
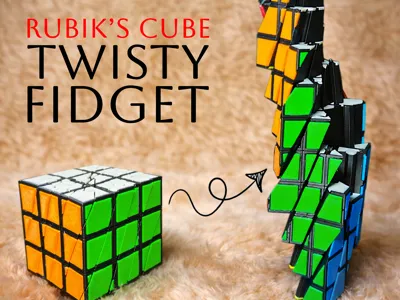
Twisty Rubik's Cube Puzzle Fidget
Looking for something that feels like solving a puzzle even before you twist it?
This Twisty Rubik’s Cube Fidget Model is designed to be incredibly smooth, tactile, and fun to play with. The mechanism allows satisfying rotations while maintaining a bold geometric aesthetic that stands out from traditional cube designs. And here’s the twist - this is not just a fidget toy. It’s a challenging puzzle in itself, both in assembly and in play. Hope youe like my unique creation!
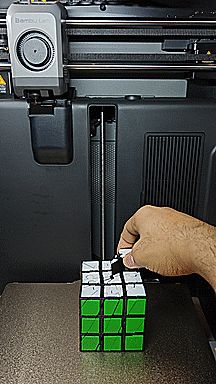
Printing Overview
This model is designed as 5 separate components:
1️⃣ Main Body
- Printed using Black, White, and Yellow (AMS required)
- Forms the core twisting mechanism
2️⃣ Four-Color Tile Plates
- Printed individually
- Tiles are primarily snap-fit
- Secured to the main body using superglue
The main body is printed with AMS, while the remaining 4 colors are printed separately and assembled onto the core.
Boost Me (for free)
This model took careful design, tuning, and iteration to get the smooth rotation and snap-fit tolerances just right. Your support helps me continue designing more challenging, mechanical, and satisfying builds like this.
Every boost truly makes a difference - thank you for supporting the work 🙌
Recommended Assembly Workflow
To keep the process organized and enjoyable:
- Print the main body first.
- Print and assemble one color tile plate at a time.
- Attach each completed plate to the main body before printing the next one.
Recommended Color Order:
- 🟢 Green
- 🔴 Red
- 🔵 Blue
- 🟠 Orange
Following this sequence reduces confusion and helps with proper orientation. Attaching each plate to the main body itself feels like solving a mechanical puzzle
Assembly Guide (Method 1)
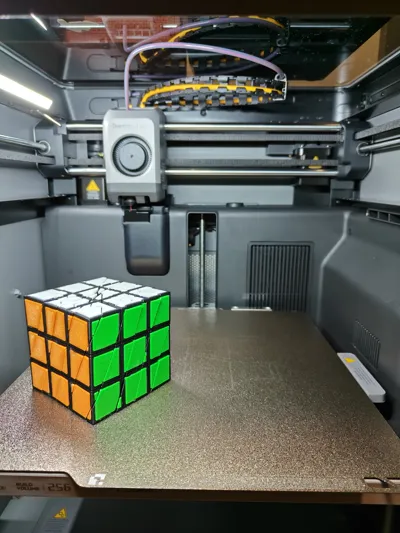
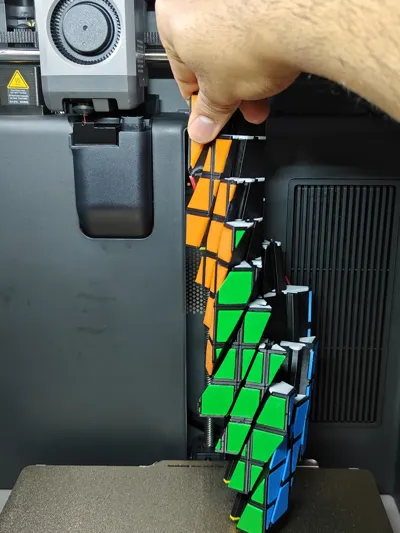
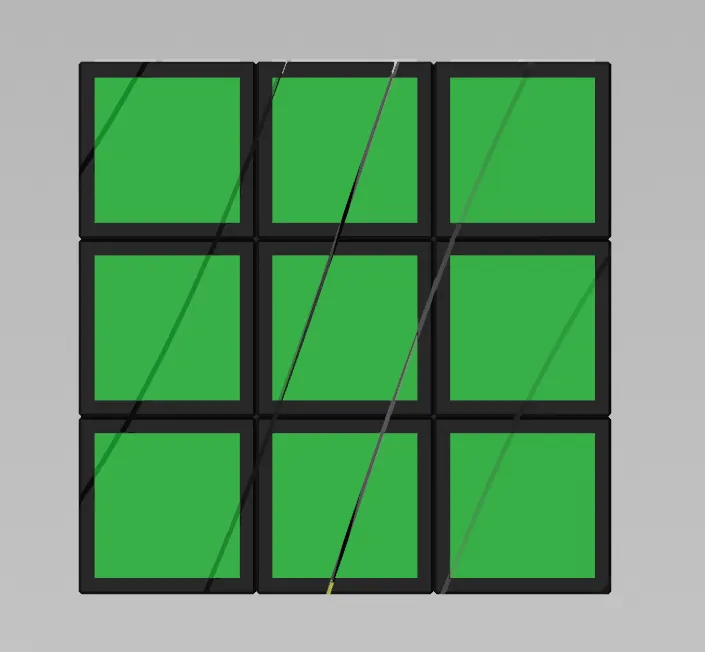
Step 1: Print the Main body and orient it as shown in this image. Find the side with the small triangle cut on the top right. This is where we will start with the tiling. This is the green side.

Step 2: Super-glue the green tiles carefully. For the tiny parts, use tweezers during assembly. It makes placement much easier and helps keep the entire build clean and precise. Use the picture given below to guide you.
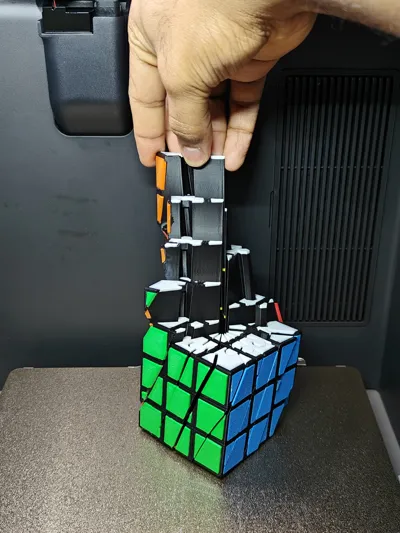
Step 3: Now turn to the right side face and super-glue the red tiles carefully. For the tiny parts, use tweezers during assembly. It makes placement much easier and helps keep the entire build clean and precise. Use the picture given below to guide you.

Step 4: Now turn to the right side face and super-glue the blue tiles carefully. For the tiny parts, use tweezers during assembly. It makes placement much easier and helps keep the entire build clean and precise. Use the picture given below to guide you.

Step 5: Now turn to the right side face and super-glue the orange tiles carefully. For the tiny parts, use tweezers during assembly. It makes placement much easier and helps keep the entire build clean and precise. Use the picture given below to guide you.

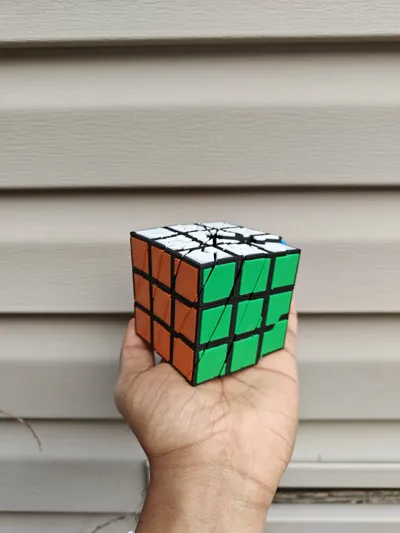
Step 6: Now your fidget cube is ready!

🎯 Want It Simpler?
If you don’t want to take up the assembly challenge and have a multi-color printer like the H2C, a fully assembled multi-color print profile is also provided - print and enjoy straight away.
This isn’t just something you print. | It’s something you build, solve, and keep twisting. | Happy printing🧩
Boost Me (for free)
Please consider boosting this model if you liked it!
License
You shall not share, sub-license, sell, rent, host, transfer, or distribute in any way the digital or 3D printed versions of this object, nor any other derivative work of this object in its digital or physical format (including - but not limited to - remixes of this object, and hosting on other digital platforms). The objects may not be used without permission in any way whatsoever in which you charge money, or collect fees.
Comment & Rating (67)