
Expandable Nintendo Switch Game Case
Print Profile(1)
Bill of Materials

Description
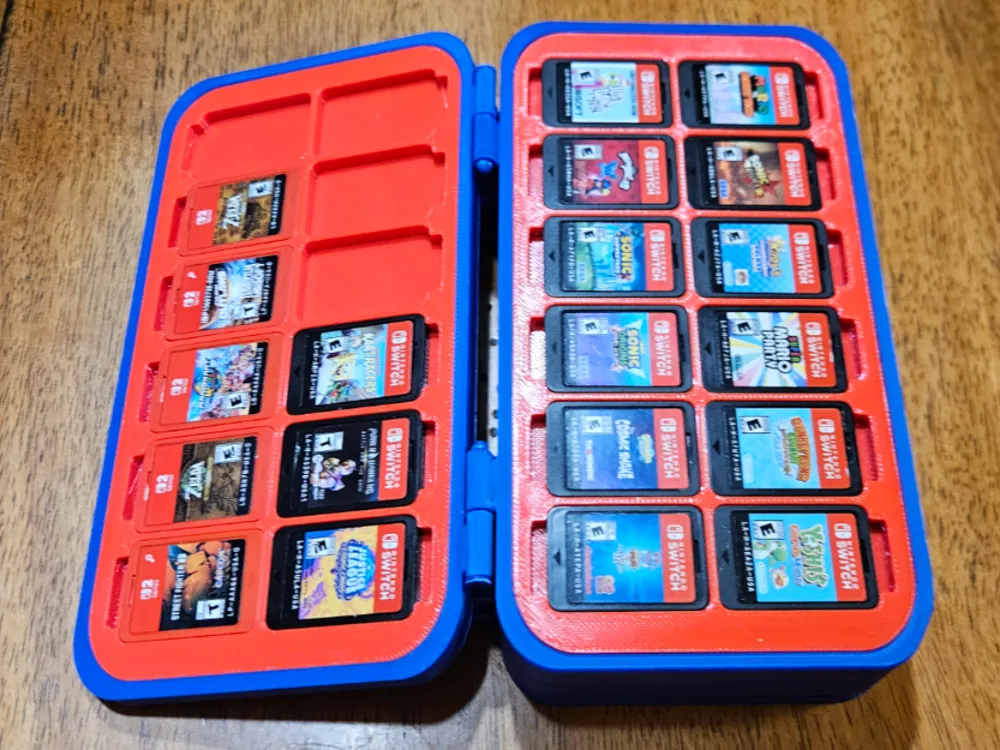
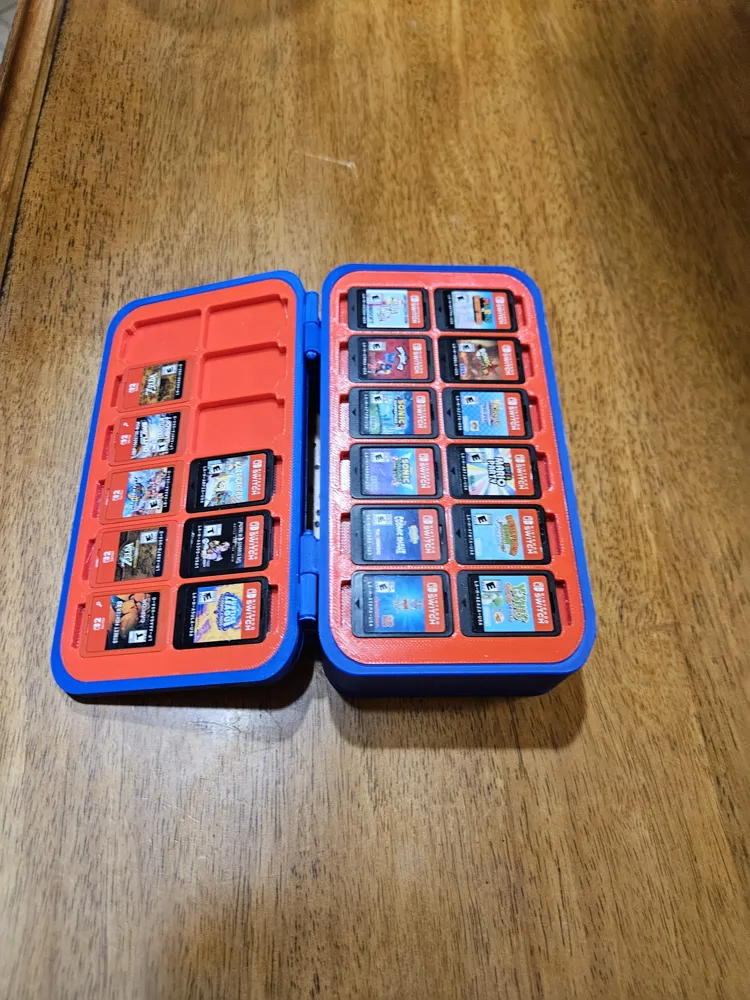
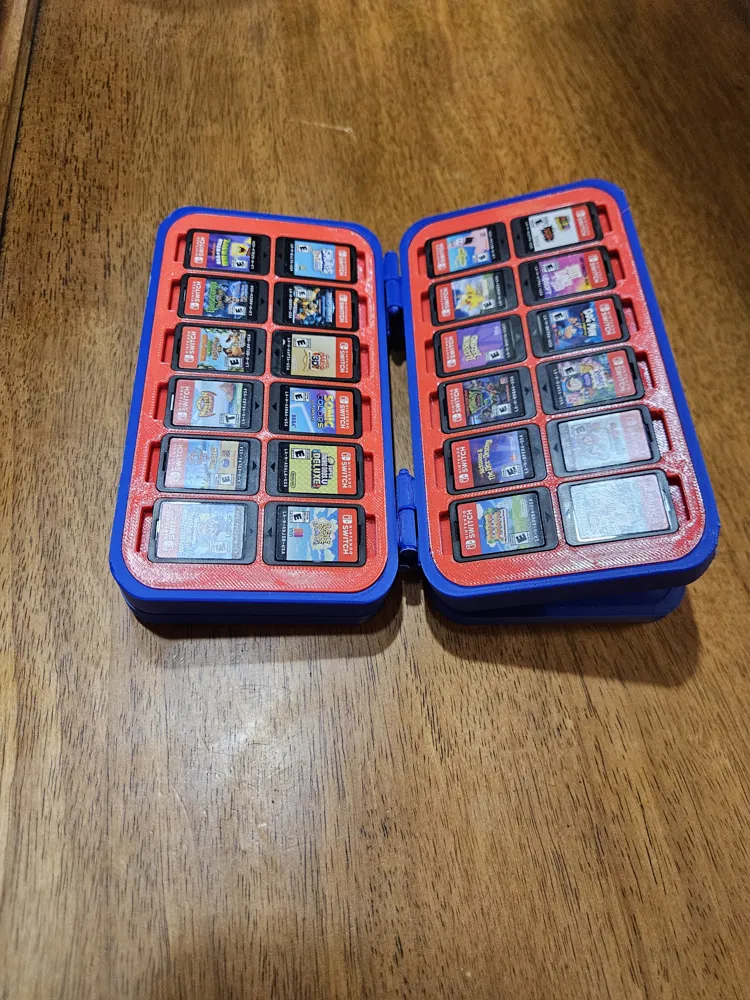
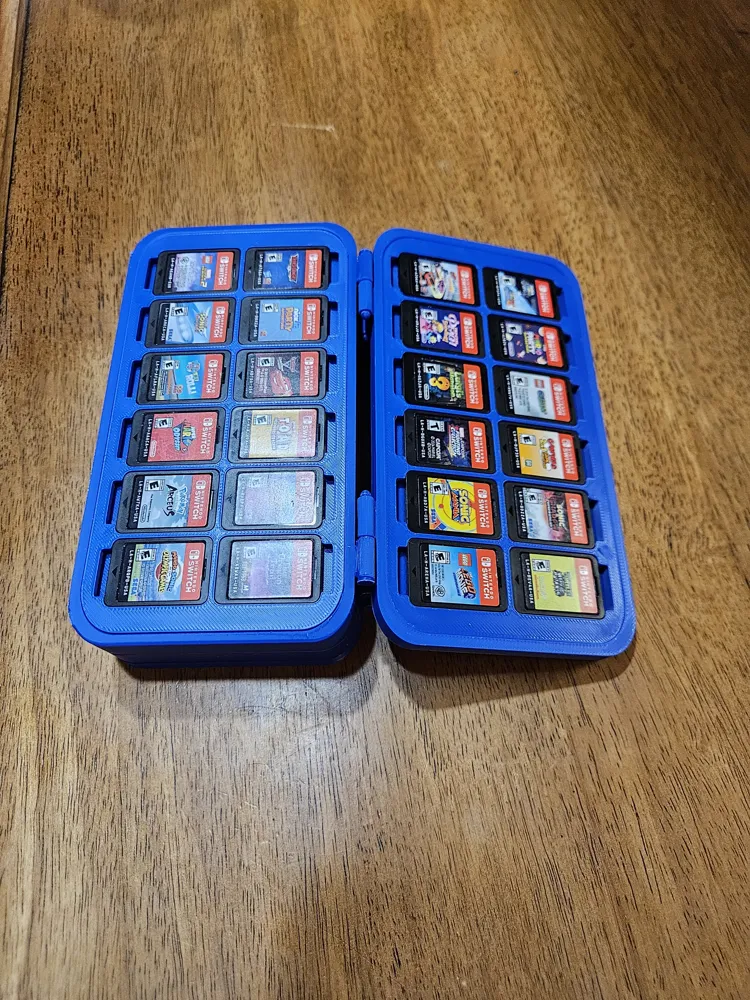
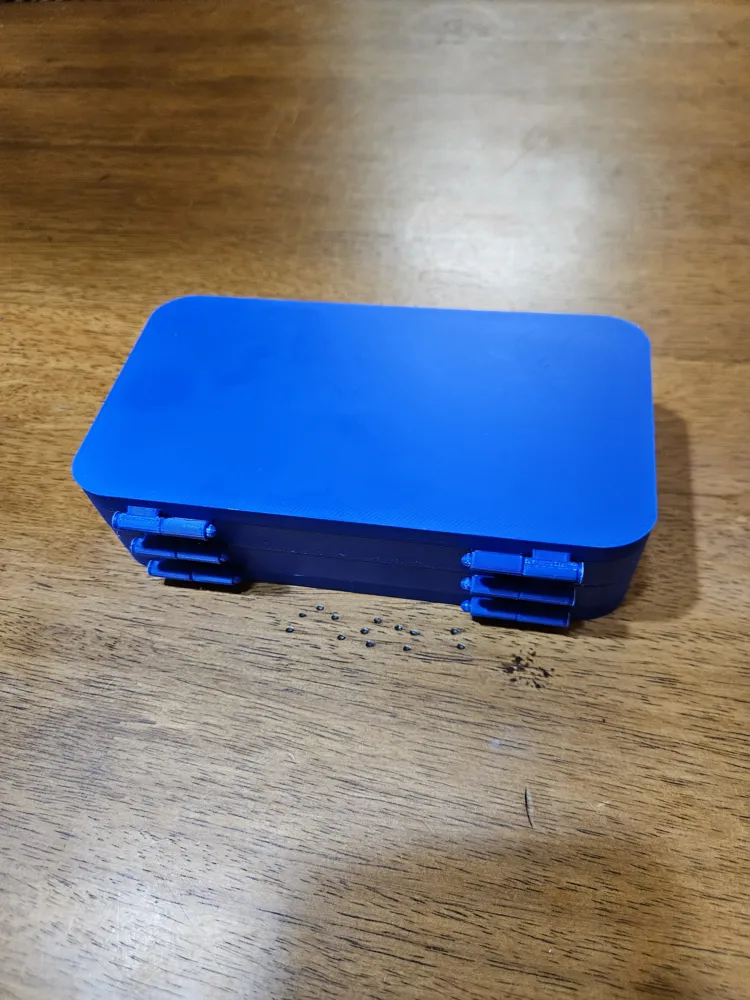
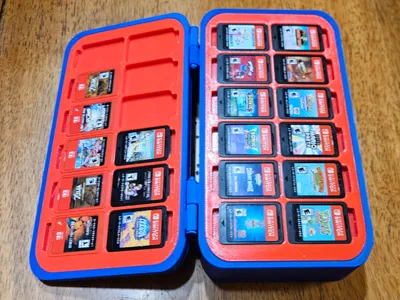
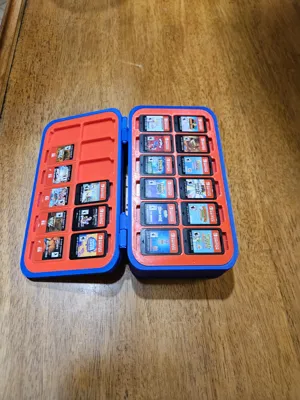
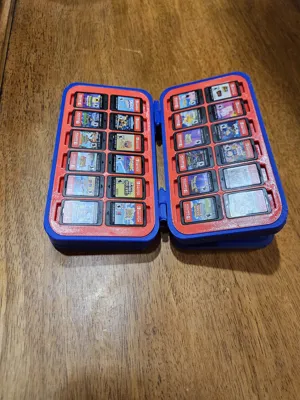
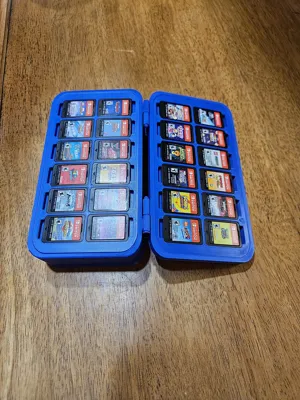
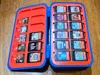
My son is constantly getting new games for his Nintendo Switch and now Switch 2. I was constantly buying him case after case to put the games in because each case only held about 24 games. My wife said he needed something better, so I decided to create a case that can be infinitely expanded by just printing new “pages”.
I recommend printing the shells in PLA and the inserts in TPU. I used TPU for AMS because it's the easiest. I have tested and can verify that the inserts work printed in PLA as well, but the games fit in a little tighter compared to the TPU.
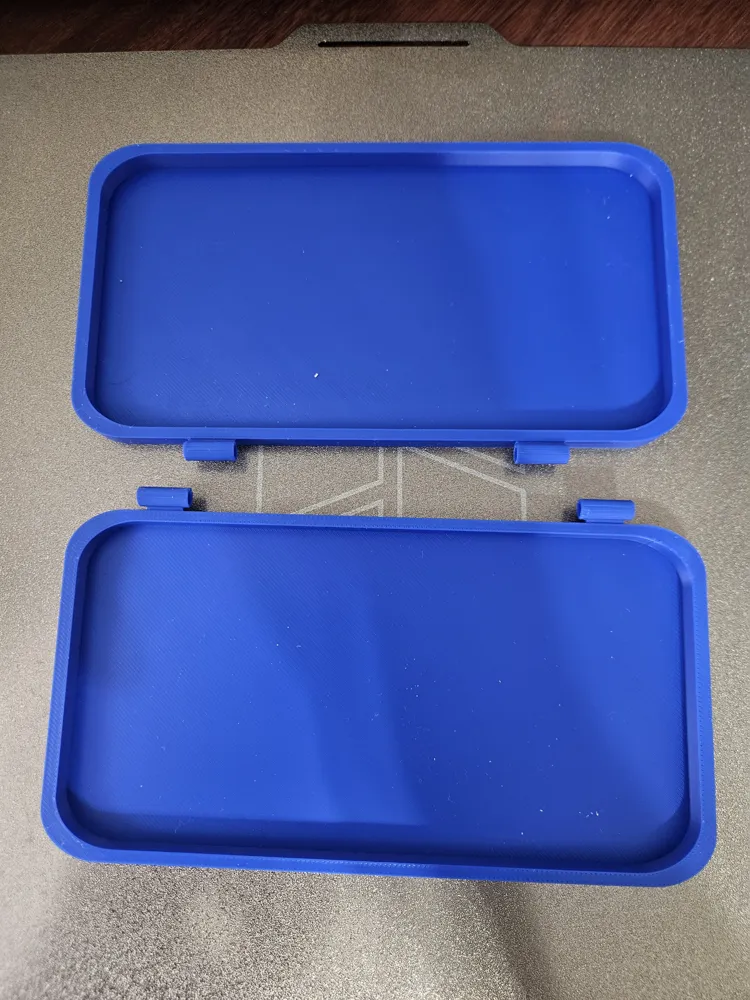
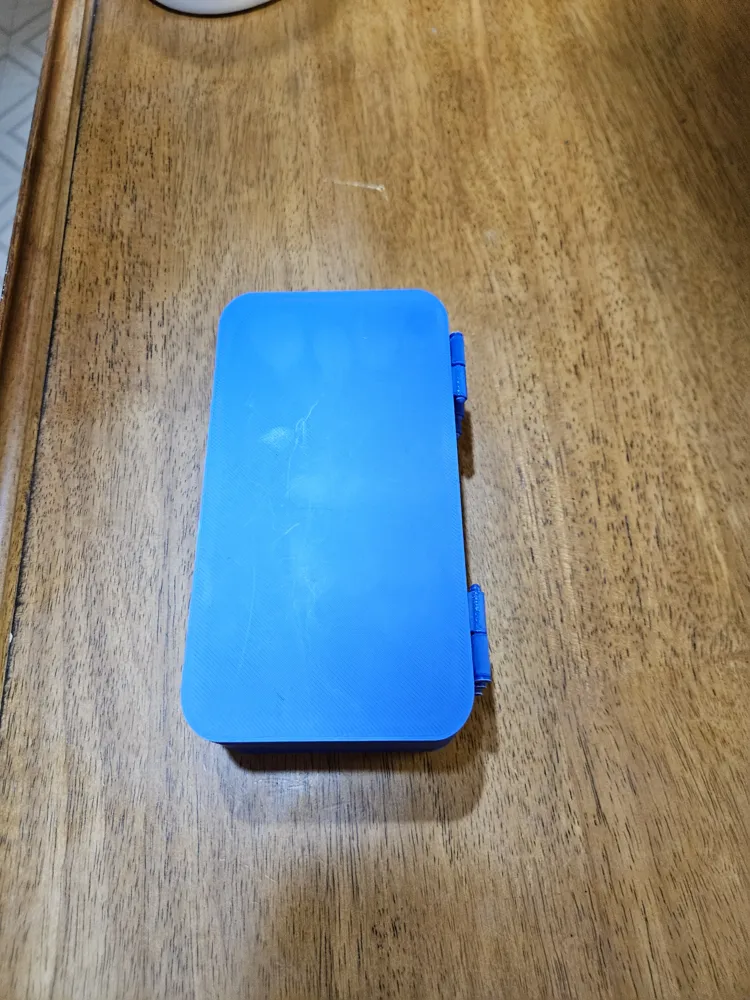
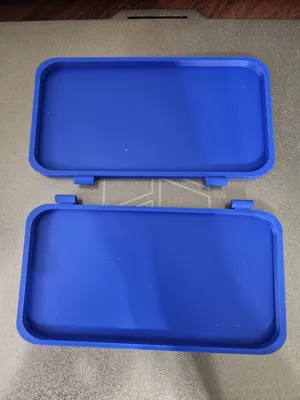
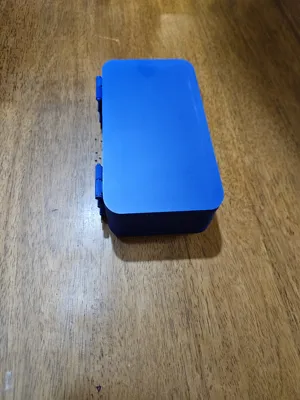
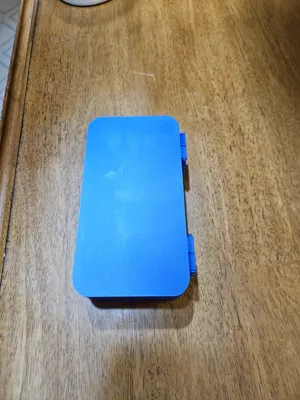
Plate 1 is the Top and bottom shell and requires minimal support just for the hinges. If you only need 24 games in the case for right now this is all you need to print.
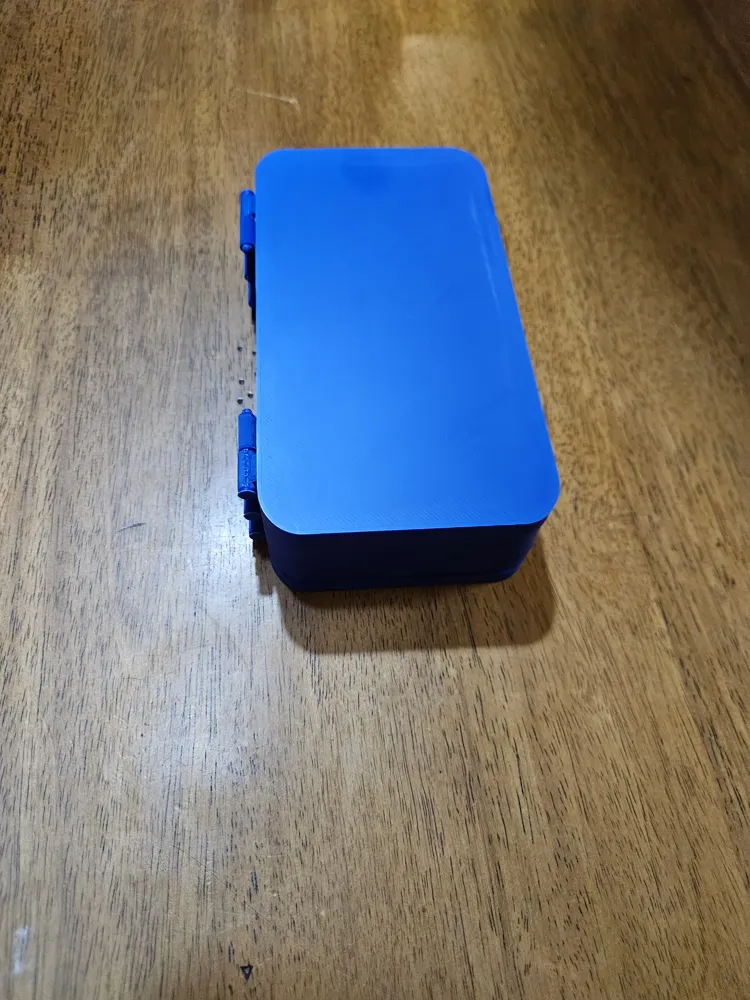
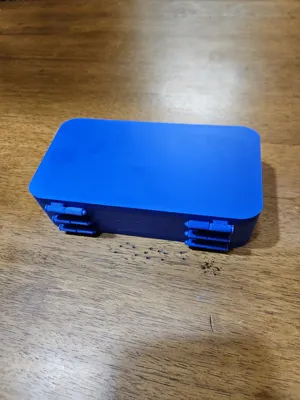
Plate 2 is the middle shell. If you need any more than 24 games then you will need to print this as well. Multiple middle pages can be printed. As many as you need. I did modify some of the support settings in the print profile to make sure they come off easily.
Plate 3 is the inserts for the shells. They can be printed in TPU or different colors if you like. I also added a PAUSE at layer 25 (if printing in .2mm layer) in order to embed the 6x2mm magnets into the inserts so they hold the case together when closed and are hidden when the print is finished. Remember to reverse the polarity for each insert. If you put the magnets face down in the front insert, then flip the ones in the back insert so they attract and not repel each other. if you mess this up you'll need to re-print at least one of them again….ask me how i know.
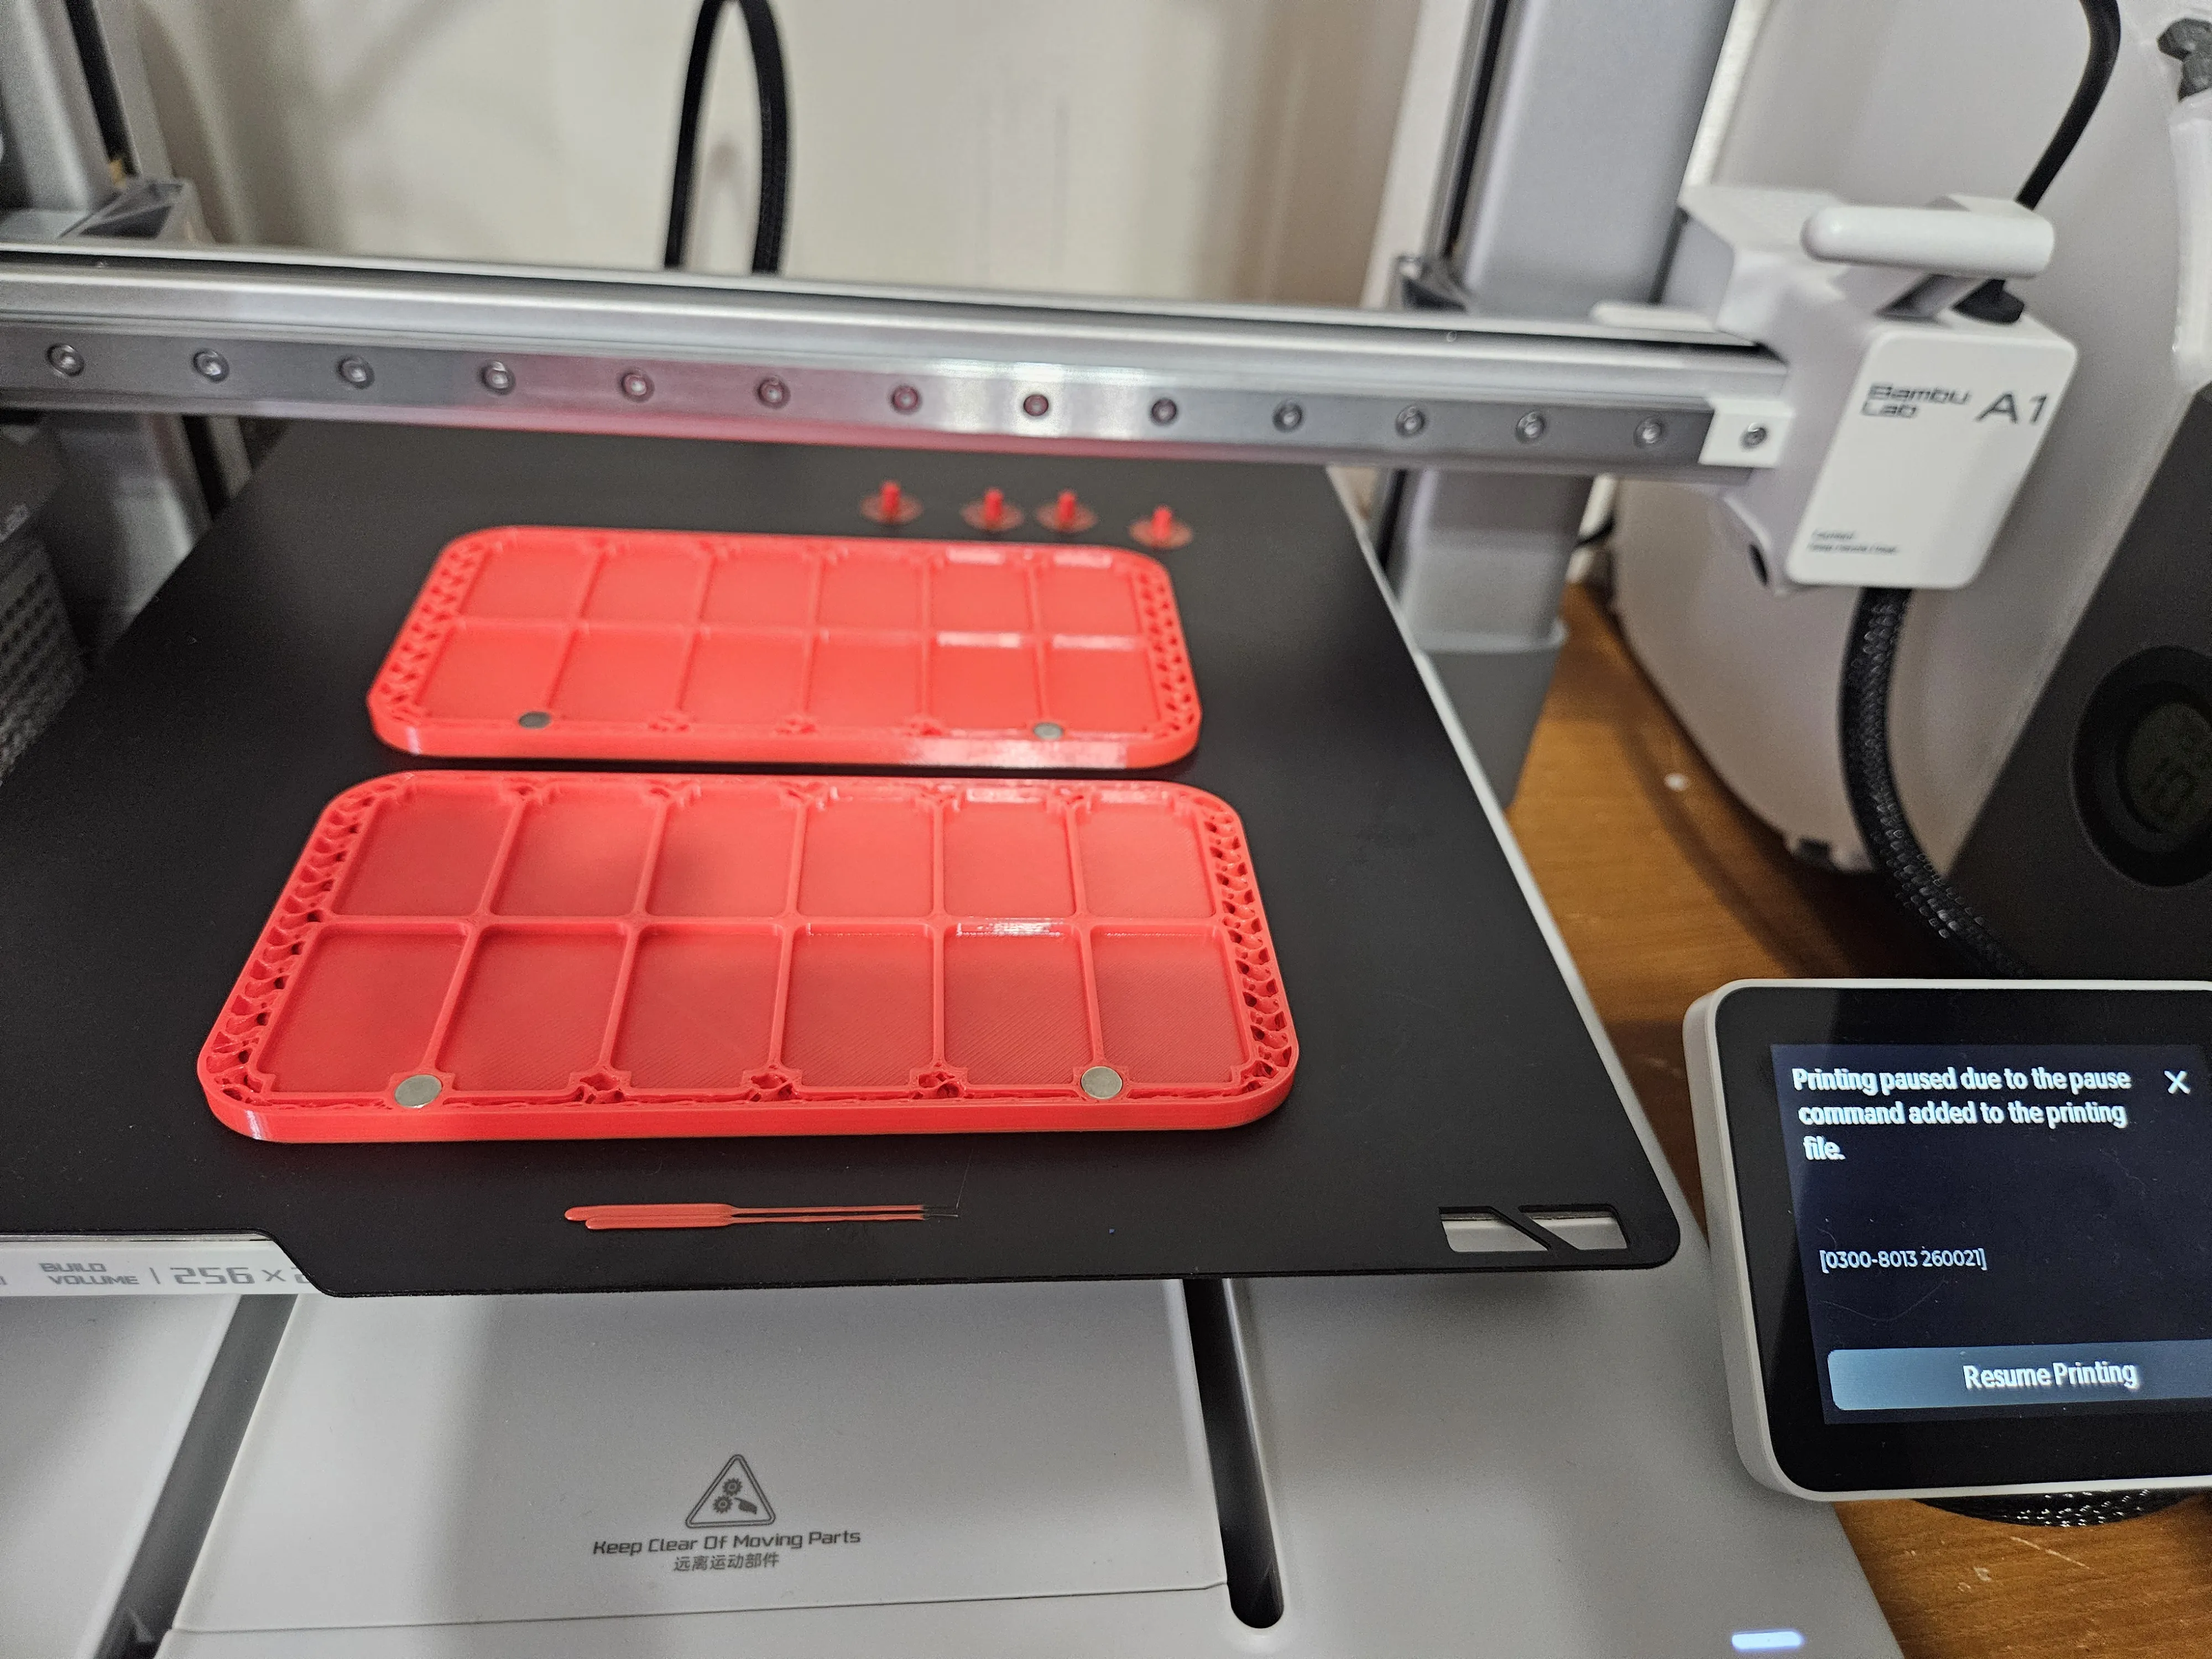
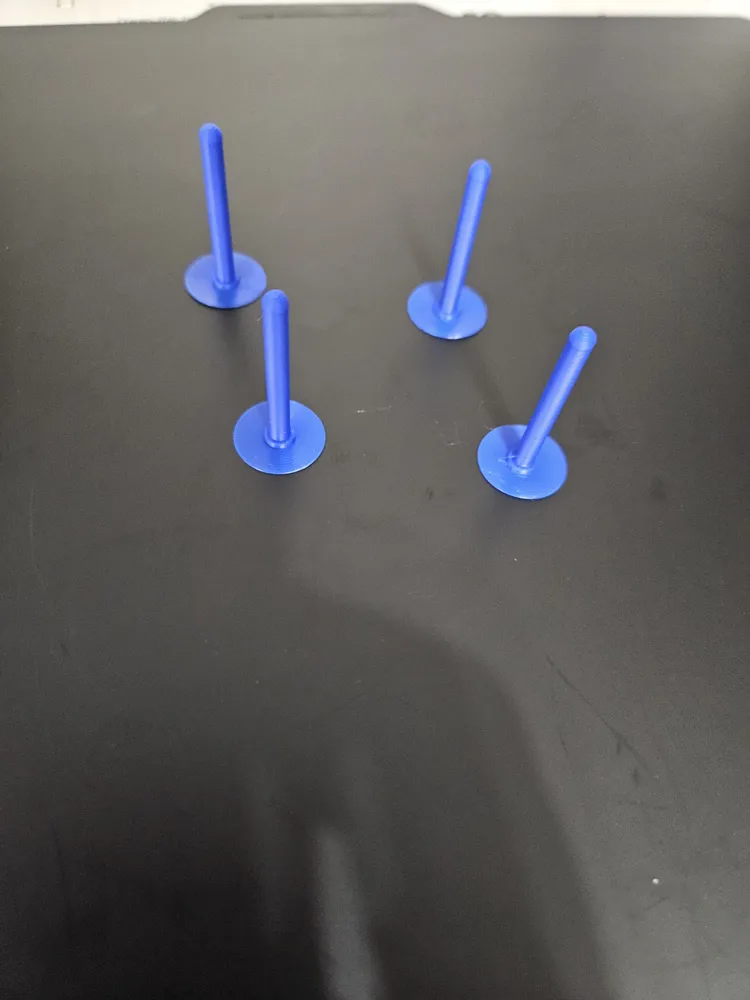
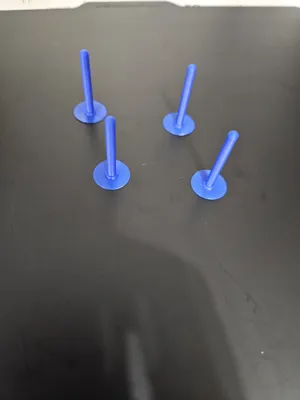
Plate 4 is the pins that hold the shells together. If you print more shells you'll need more pins. Be careful when putting them in as they are fairly tight, but I can verify that you can remove them if you need to add another middle later on to expand the case. Alternatively you can just cut the end of the pin off and print replacements with the new middle.
Everything is press fit together and fits together nicely. If you wanted you can glue the inserts to the shells, but I don't think it's necessary. I like the idea of being able to replace a part if something happens to it.
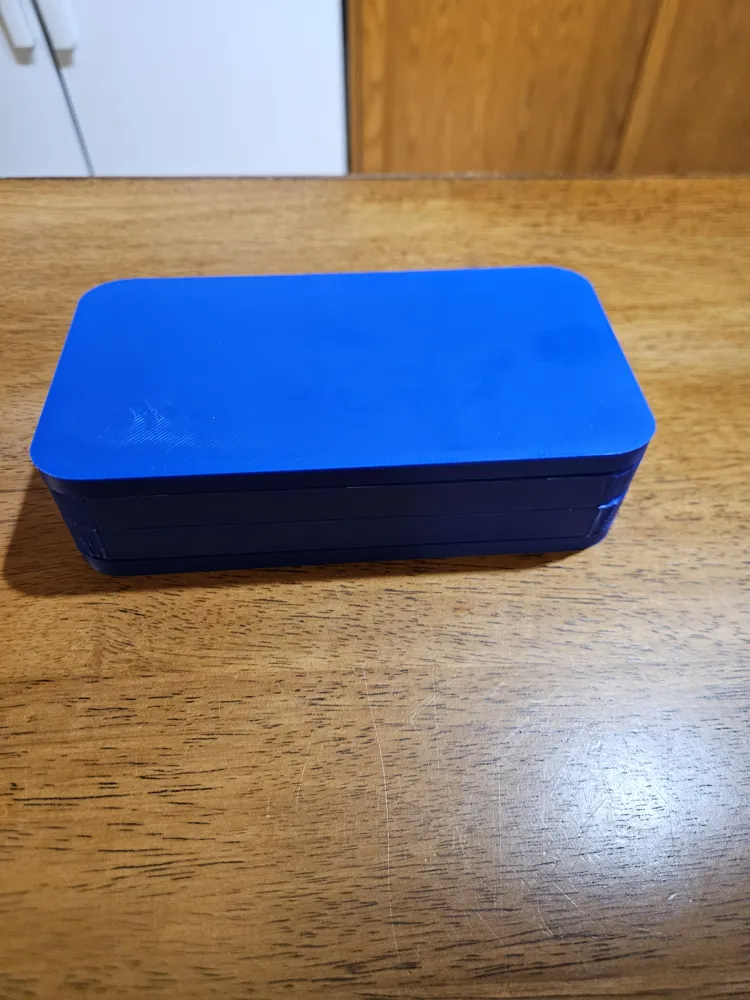
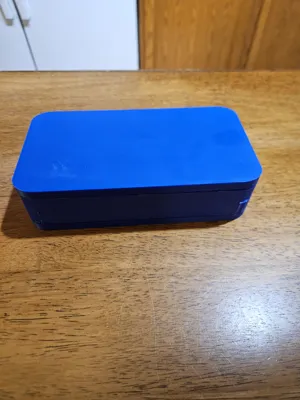
Another note, if you print the case on a smooth PEI plate like I did it might be a good idea to also print the middle on a smooth plate as well. I accidentally printed one of the middle pages in the pictures on a textured plate and you can definitely see the texture on the side of the case.
License

You may create derivative works based on this object, provided that all such derivative works are published exclusively on the MakerWorld platform and include proper attribution to the original creator. You may not share, upload, host, distribute, or publish this object—or any derivative work of this object—on any other digital platform, marketplace, or distribution channel. Commercial use of this object and any derivative works is strictly prohibited. This includes, but is not limited to, selling, renting, sublicensing, or using the object in any context in which you receive monetary compensation or other financial benefits.


Comment & Rating (9)