
Mini Air Hockey Table V.1
Print Profile(1)
Description
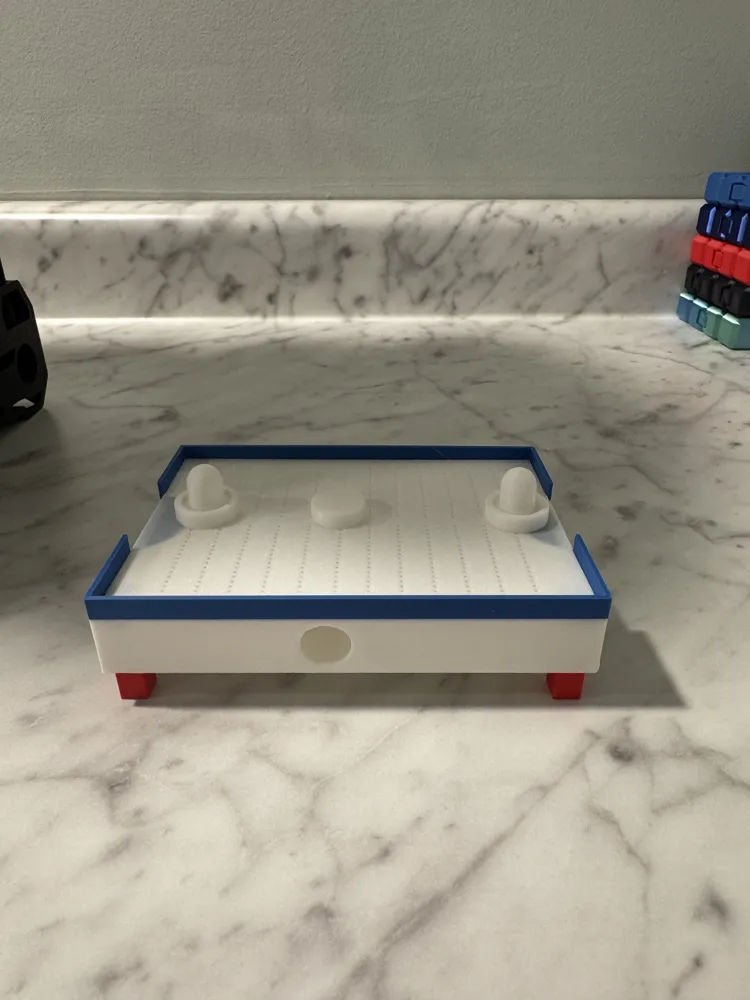
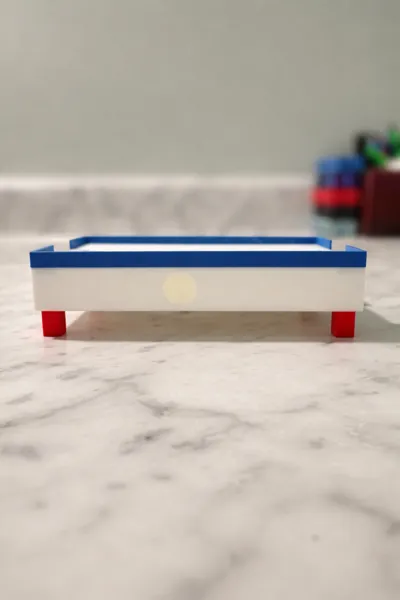
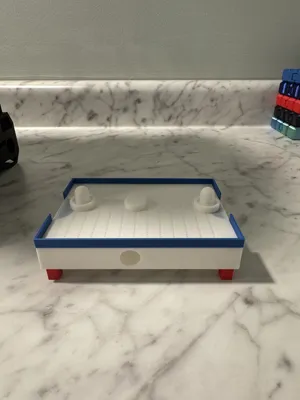
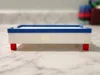
I’ve spent the last few weeks creating this masterpiece of a print! It’s had its ups and downs, but I think V1 is finally ready to see what the community thinks. There are still a few things I plan to improve, but for now I’m really proud of how it turned out — this took a lot of hard work.
I did order a fan for this to work, which you can buy here:
https://www.tiktok.com/t/ZT9evrfe1NsDk-iScsA/
I know it’s from TikTok Shop, but it works great.
Assembly Instructions
Step 1: Print the Base Plate
Start by printing the base plate. This is the part where the air flows in and where you’ll hold the table.

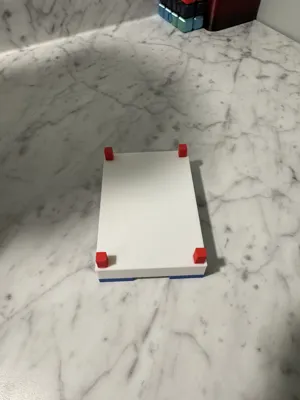
After printing, remove the supports underneath the four small corner squares. These are the squares you’ll be gluing the top onto.
Step 2: Print the Top
Print the top with the blue side facing up. My printer didn’t like it when I printed it the other way.
It may fail, so I recommend:
- Cleaning your build plate before starting
- Slightly increasing your bed temperature
The blue side may be a little rough (maybe I’ll add ironing in V2), so I personally used the bottom side as the playing surface since it’s smoother — but it’s your choice.
Before attaching it, apply super glue to the four corner squares on the base (where you removed the supports). Let it dry for a few minutes.
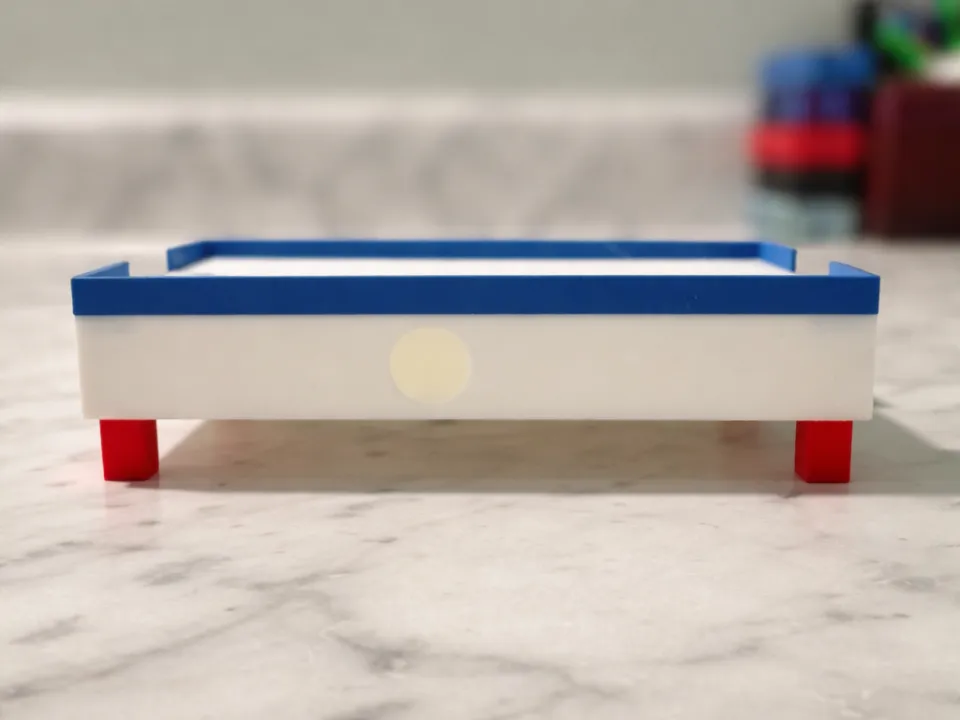
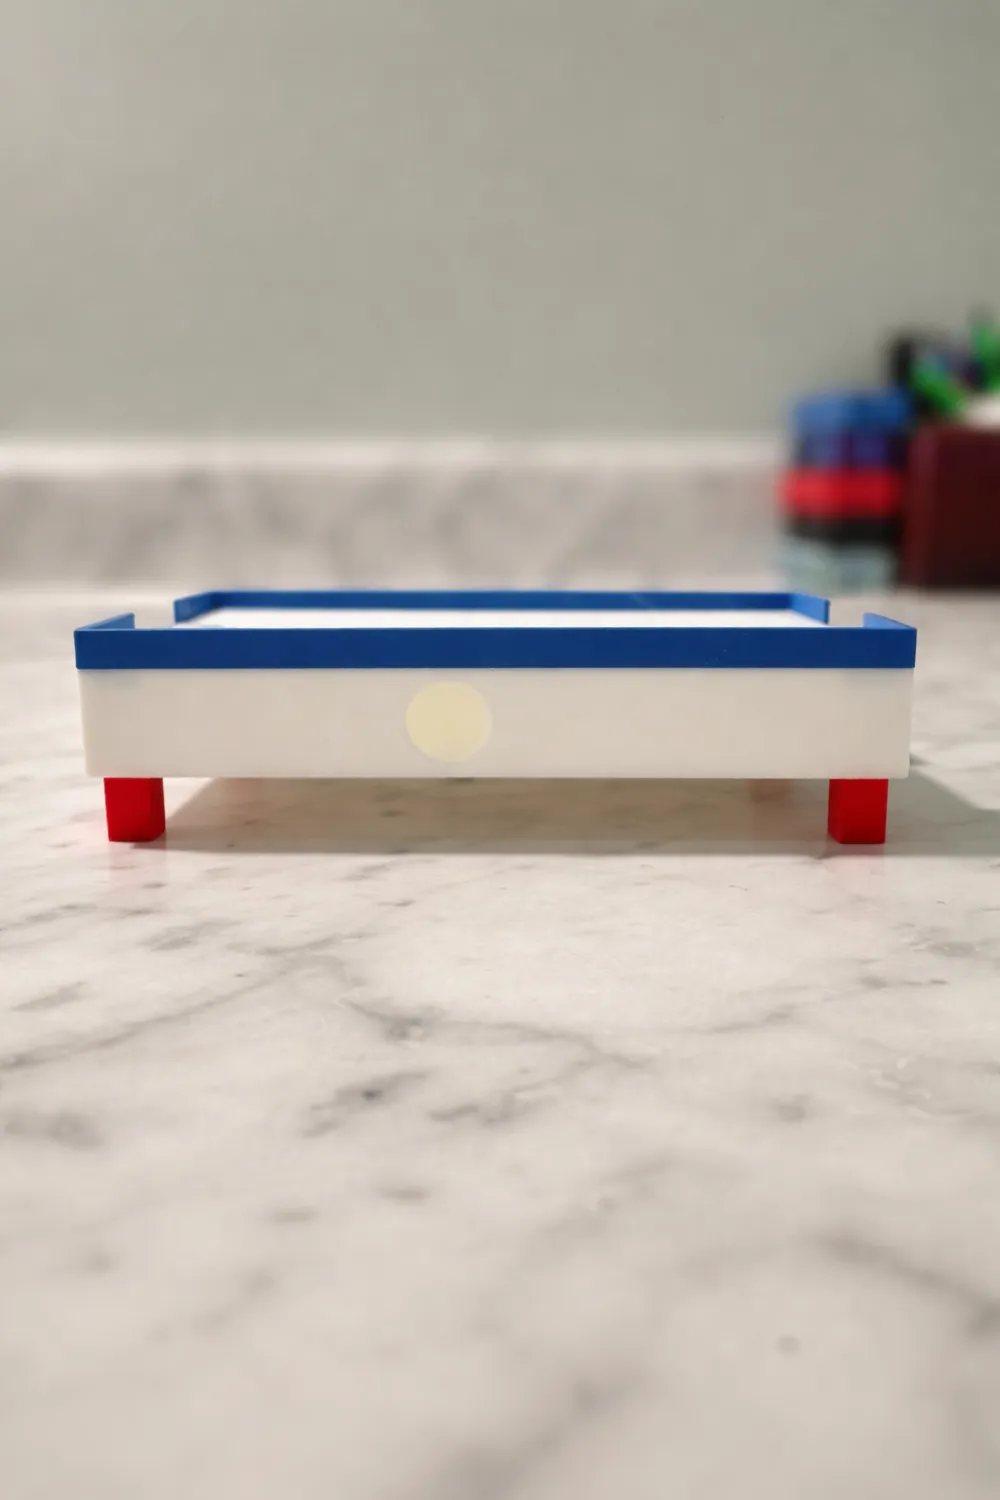
There will be a small gap on the goal side between the top and base — this is intentional for air regulation and won’t affect gameplay.
Step 3: Print the Legs and Puck
Print the legs and puck.
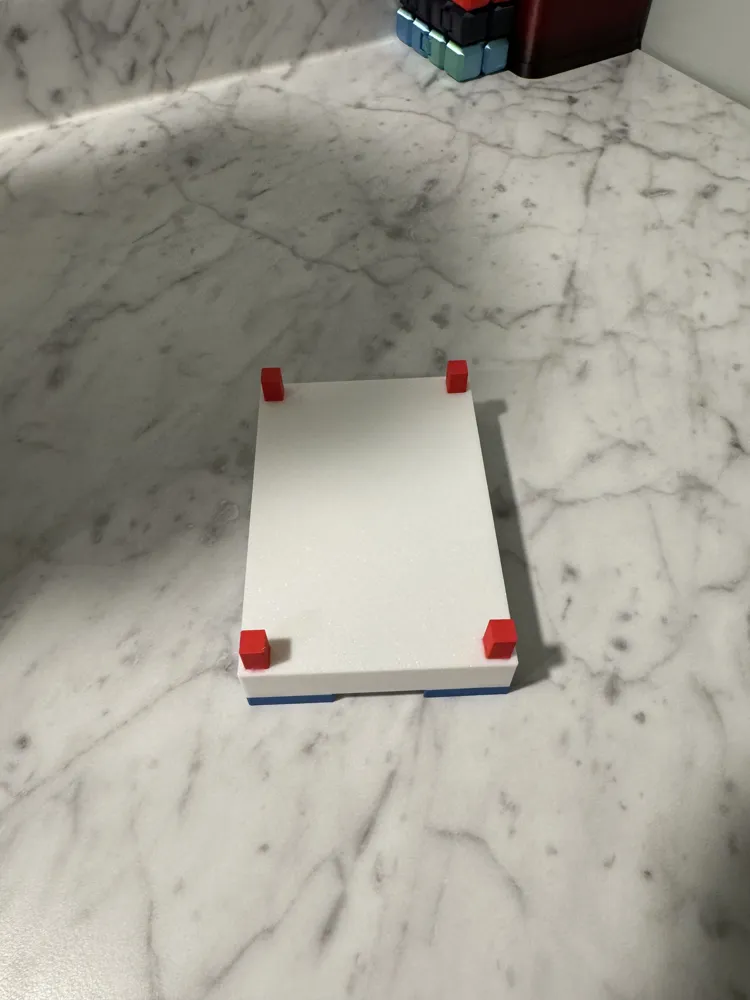
Once the base and top are fully glued and dry, flip the table over. You’ll see four small square holes for the legs.
Since I didn’t add supports (something I’ll likely fix in V2), the holes may be slightly droopy and tight. Add super glue to each leg and gently press them in. You may need to push a bit, but be careful — they can break if forced too hard.
Fan Setup
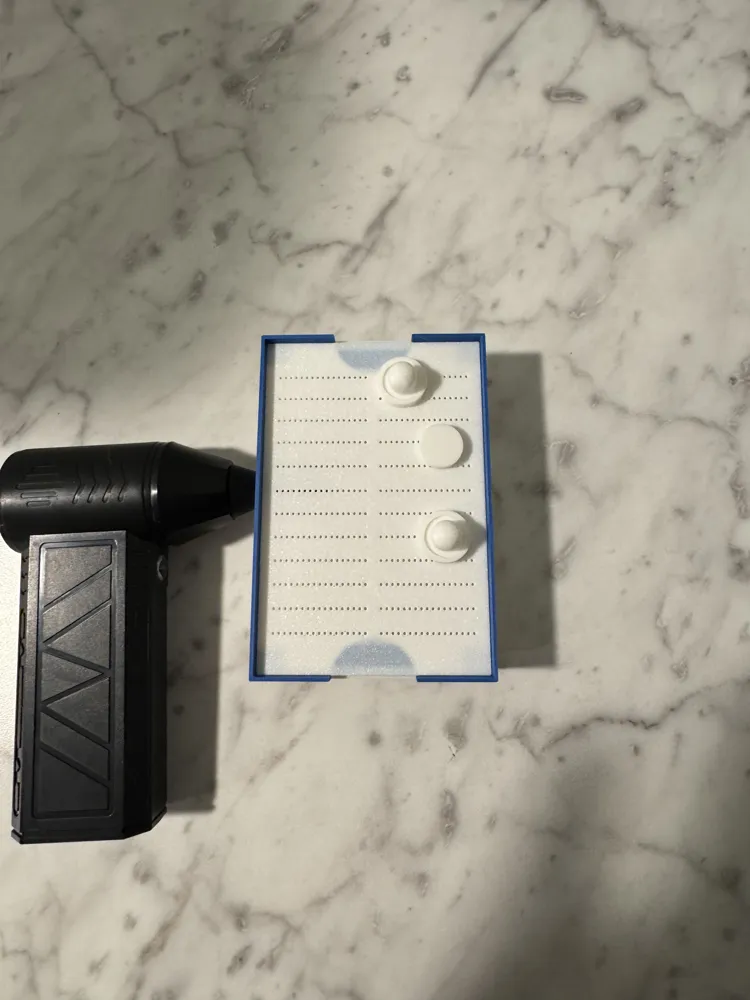
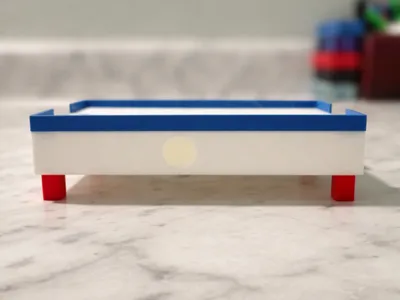
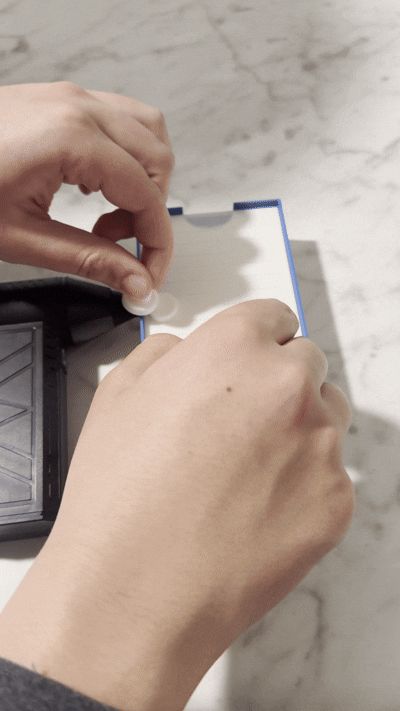
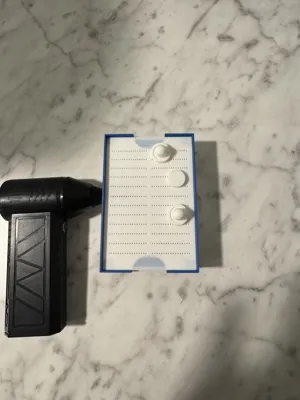
Once everything is dry, insert the fan into the hole in the base.
I’ve found that Level 2 works best.
One issue I had at first: I kept holding down the power button, which turned the fan on for two seconds and then off. The correct way:
- Press once for Level 1
- Press again for Level 2
- Hold down to turn it off
Again, this is just V1, so there are a few things I still want to improve — especially adding more air holes so the puck moves consistently. But even as it is, it works great and is really fun.
If you decide to print it, thank you so much!
Good luck printing!
License

You shall not share, sub-license, sell, rent, host, transfer, or distribute in any way the digital or 3D printed versions of this object, nor any other derivative work of this object in its digital or physical format (including - but not limited to - remixes of this object, and hosting on other digital platforms). The objects may not be used without permission in any way whatsoever in which you charge money, or collect fees.


Comment & Rating (5)