Prank Test: Interactive Slider & Solid Versions


Print Profile(4)


Description
Boost Me (for free)
Boosts help me prototype and create useful and free models for the community. Please consider it. I appreciate all the love my models have been getting lately! Some folks have been asking about a commercial license—I need to hit 200 followers to unlock that feature on MakerWorld. Every follow helps and is greatly appreciated! 🤝
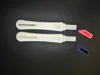
Looking to stir up some chaos? This is a realistic-looking prank test designed to give you total control over the "result." Whether you want a dynamic "loading" animation or a rock-solid static prop, this kit has you covered.
Choose Your Build: Slider vs. Solid
- The Interactive Slider: Features a hidden slider on the back, allowing you to transition from a blank screen to a "loading" state, and finally to a reveal.
- The Solid Body: No assembly required! These are single-piece models with a fixed result—perfect for "set-and-forget" pranks or creating a collection of static props.
The 4 Included Profiles
Each variation is available as both a 4-piece slider assembly and a 1-piece solid body:
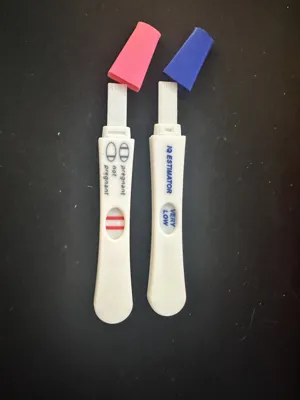
- IQ Estimator: Blank > EVAL... > "VERY LOW"
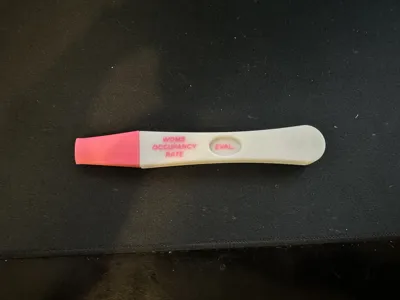
- Womb Occupancy: Blank > "EVAL..." > "3"
- The Classic Scare: Blank > "Negative" > "Positive"
- The DIY Blank: A clean slate. Use the text tool in your slicer (like Bambu Studio) to add your own custom messages. (Recommended depth: 0.5mm).
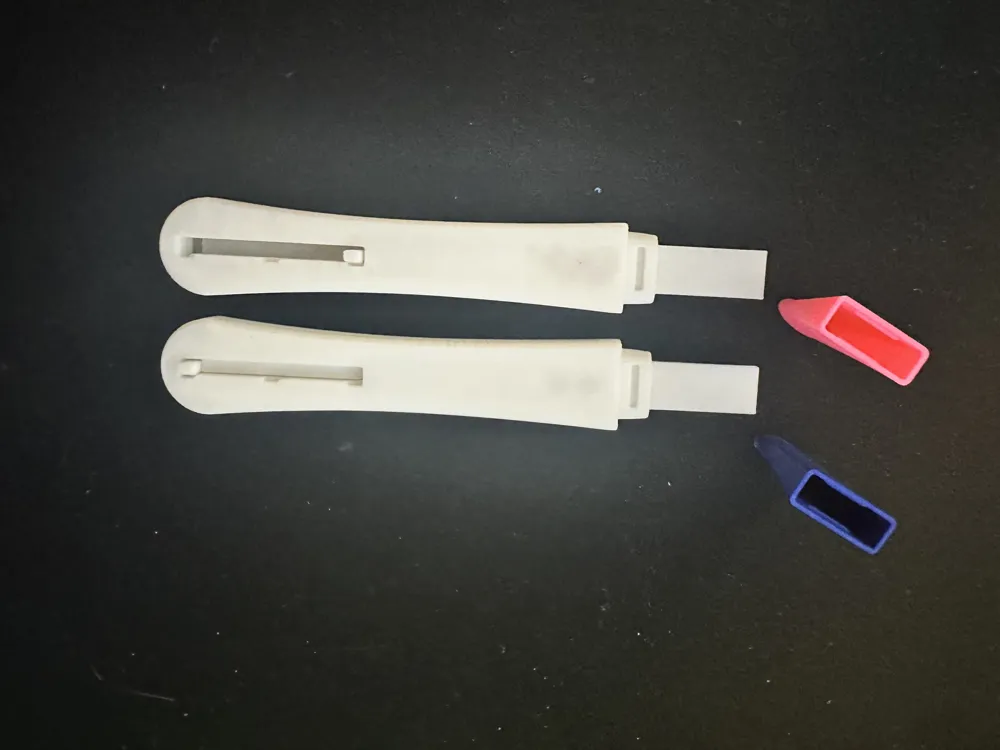
Assembly Instructions (Slider Version)
The interactive version prints in 4 pieces: Front Body, Back Body, Slider, and Cap.
The Slider: Insert the slider into the back body. Align it with the center groove so the window shows as blank.
⚠️ Note: Be gentle with the slider knob during insertion. It is reliable once seated, but excessive torque before it’s in place can cause it to snap.
- The Body: Snap the front body onto the back. Seat the bottom first, then press the top in. Once the ends are aligned, apply light pressure to the center to fully close the housing.
- The Cap: Slide the cap onto the top of the test.
- DONE!
Notes
- No Remixes: If you create a custom text version using the Blank profile, please share it here as a Print Profile rather than a remix!
- Text Depth: If customizing the blank model, a 0.5mm depth ensures the text is legible without interfering with the sliding mechanism.
- Material: Use whatever PLA you want. Colors provided seem most realistic to me.
License
You shall not share, sub-license, sell, rent, host, transfer, or distribute in any way the digital or 3D printed versions of this object, nor any other derivative work of this object in its digital or physical format (including - but not limited to - remixes of this object, and hosting on other digital platforms). The objects may not be used without permission in any way whatsoever in which you charge money, or collect fees.
Comment & Rating (43)