
1/64 Miniature Scene: Red Brick Street Corner
Print Profile(2)
Bill of Materials









Description
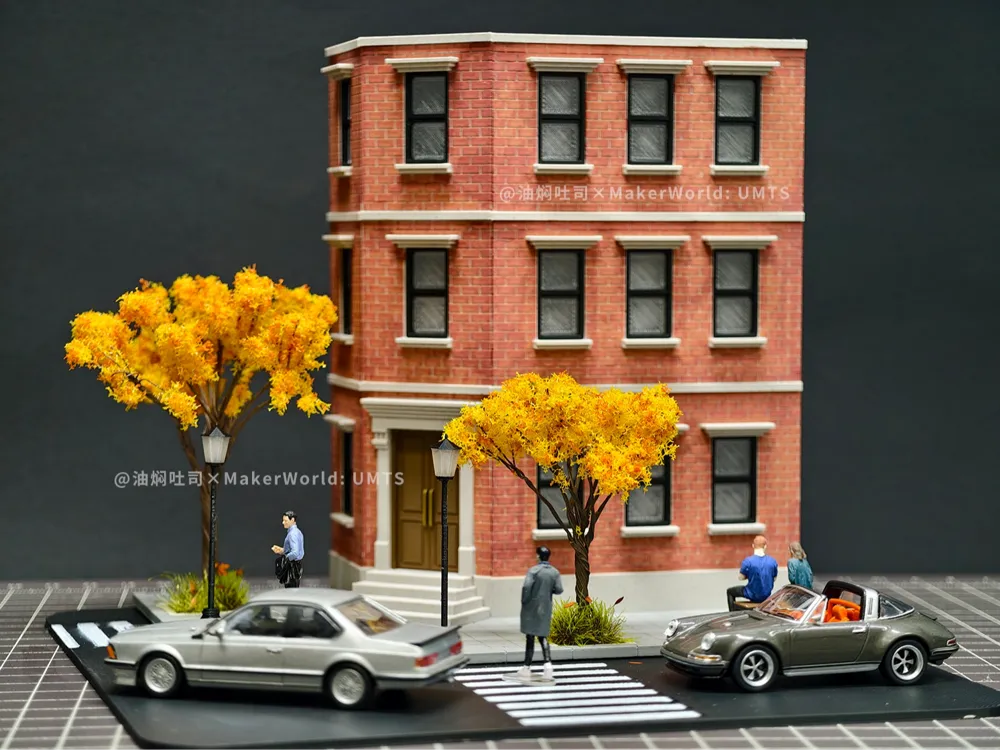
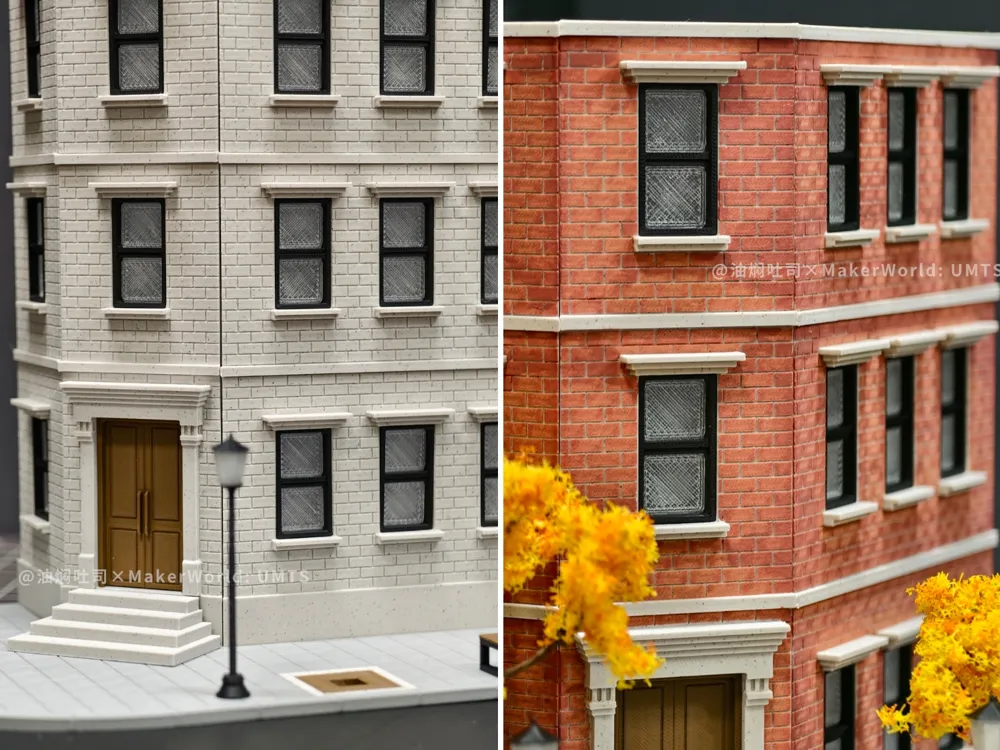
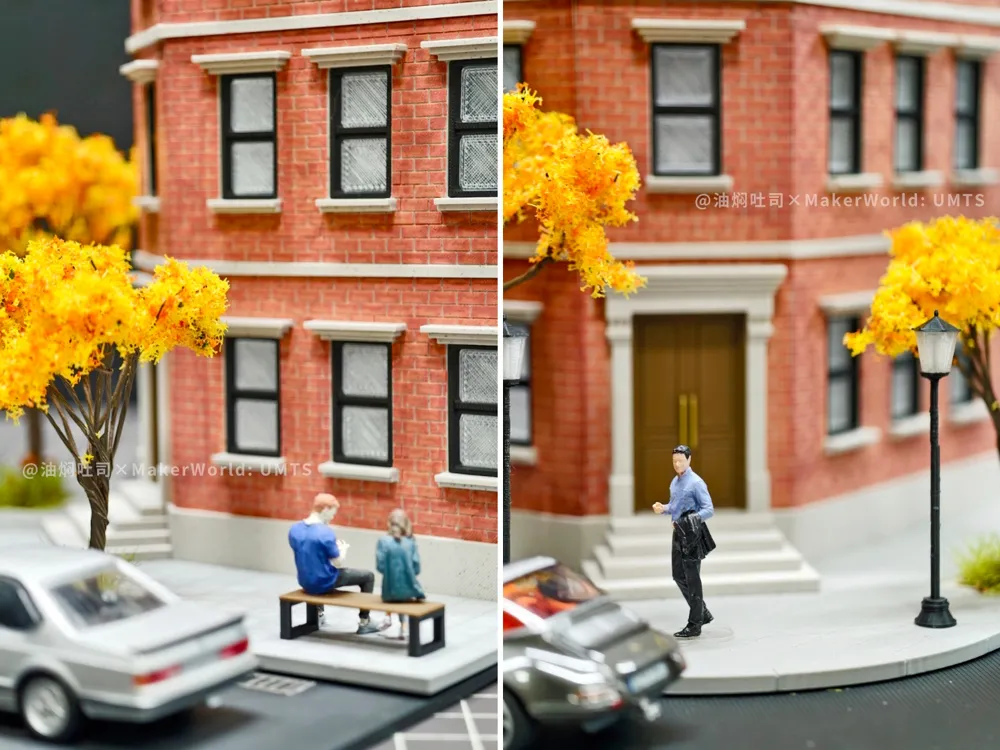
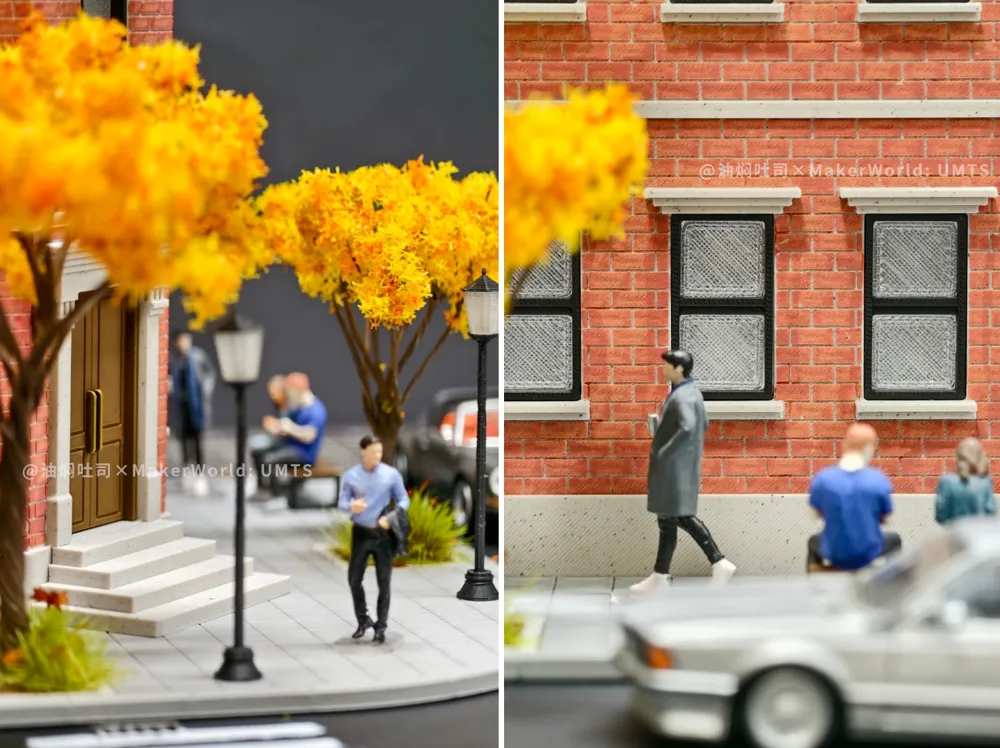
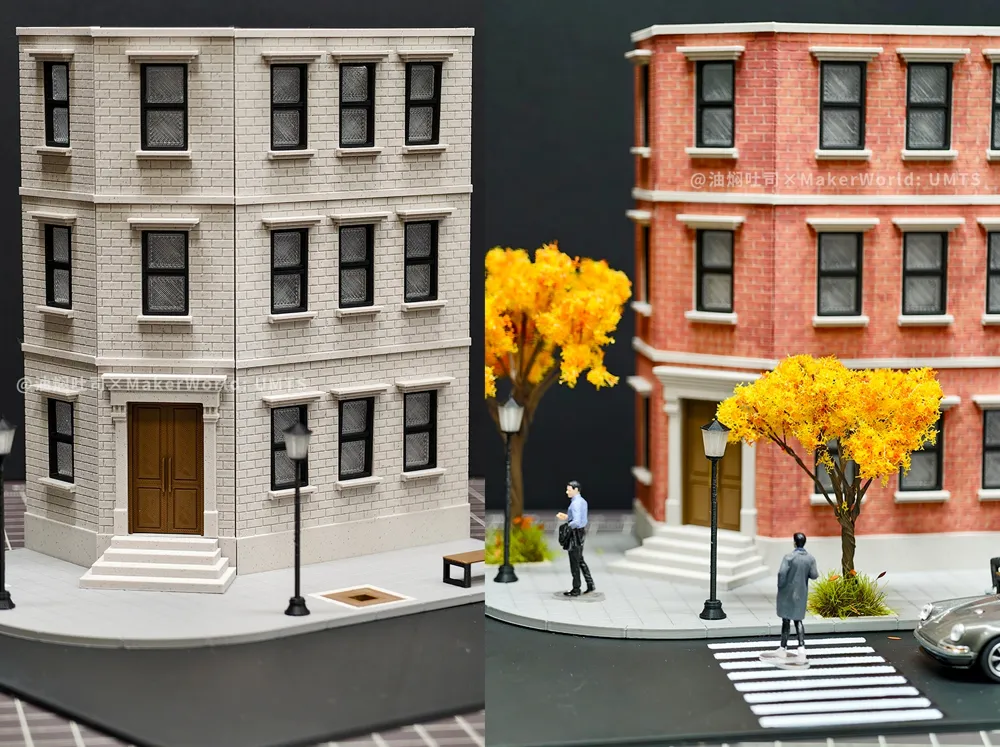
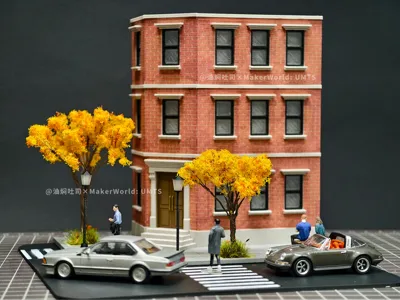
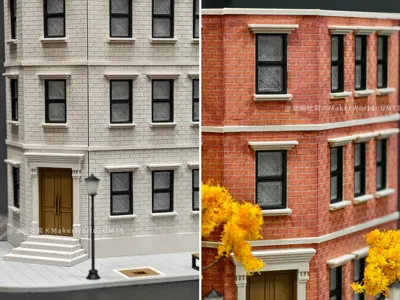
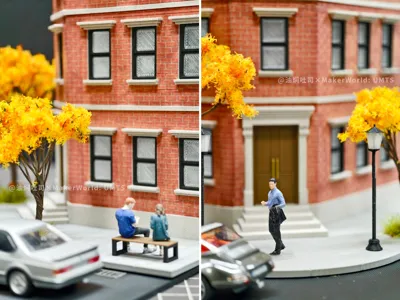
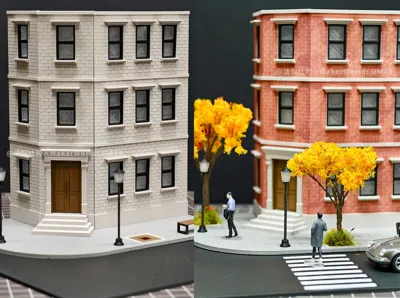
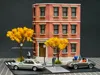
Fifth 1/64 scale diorama model: Red Brick Street Corner
(Model for personal collection only, Copyright © Not for unauthorized commercial use, the file is a MakerWorld exclusive model, for commercial authorization of printed products, please contact me via private message!)
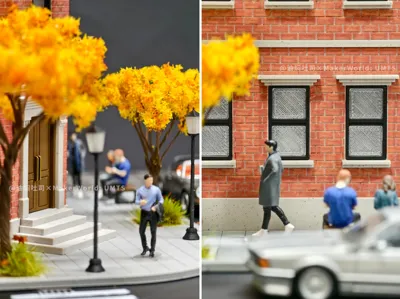
A red brick building at a street corner, with rich details, recreates a more realistic street scene, suitable for 1/64 scale model players
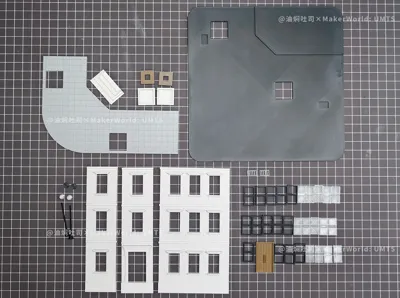
Model content list:
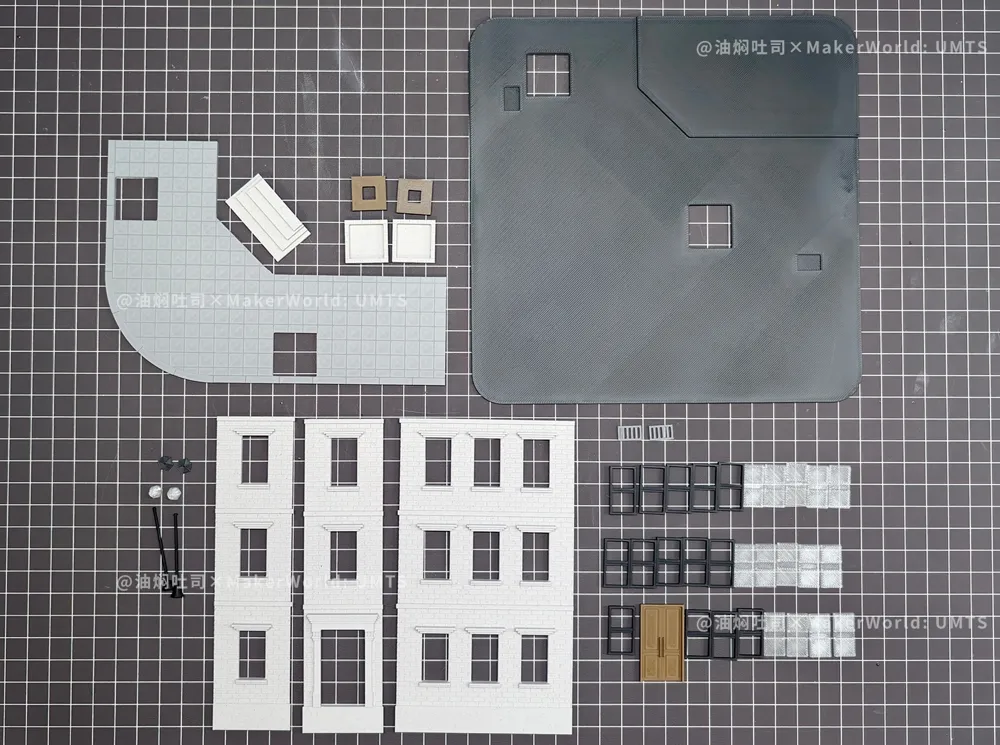
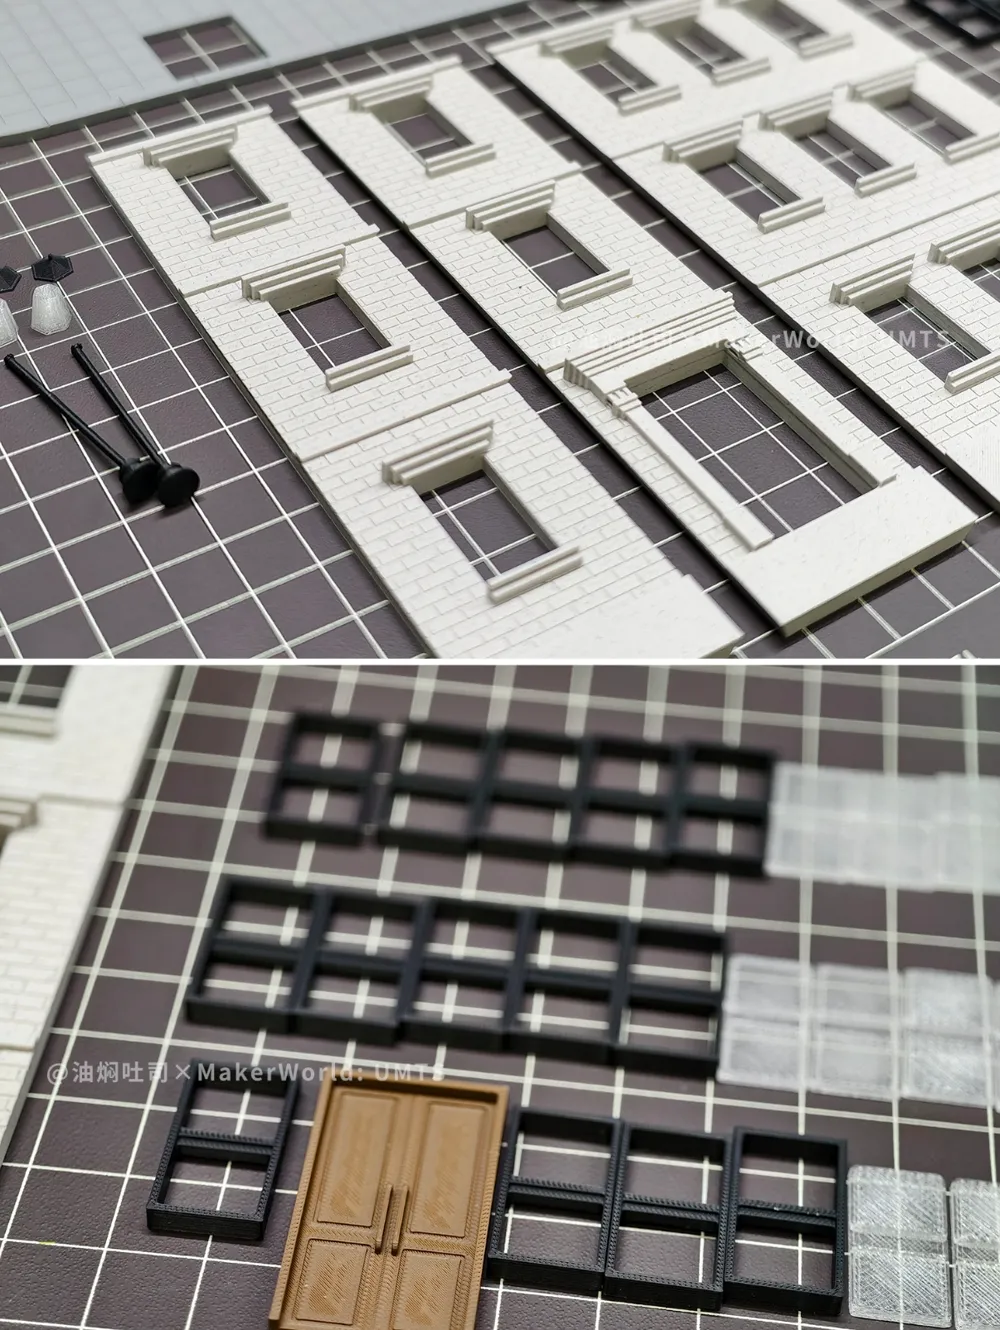
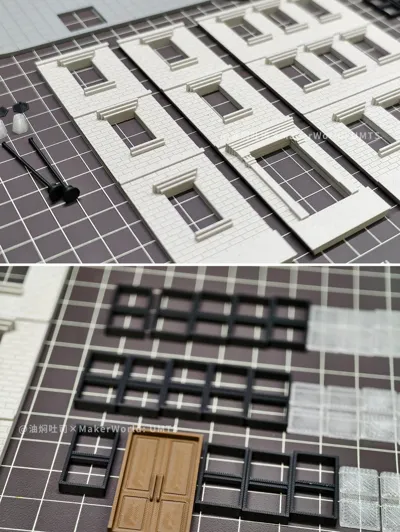
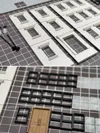
1. Building: walls x3 (including window sills and line decorations), door x1, windows x14 sets (window frames + glass), steps
2. Base: sidewalk, roadway
3. Props: bench x1, streetlights x2 sets, tree beds x2 sets, rectangular manhole covers x2
Others (figurines, alloy car models, decorative trees, grass) are purchased separately
Still a combination of 0.4mm nozzle + 0.2mm nozzle
[Printing Instructions]
1. Most parts have brim added to prevent warping
2. Transparent PETG is used for the glass and streetlight cover parts, please remember to modify if you need to change
3. The streetlight poles are thin and relatively difficult to print, and supports also need to be removed carefully
4. Window frames can also be printed with a 0.4 nozzle, but it's not as detailed as 0.2, you can change it yourself
5. Benches come in monochrome and AMS versions, choose by yourself
[Assembly Instructions]
1. Assemble the main building body according to the diagram, and glue the contact surfaces
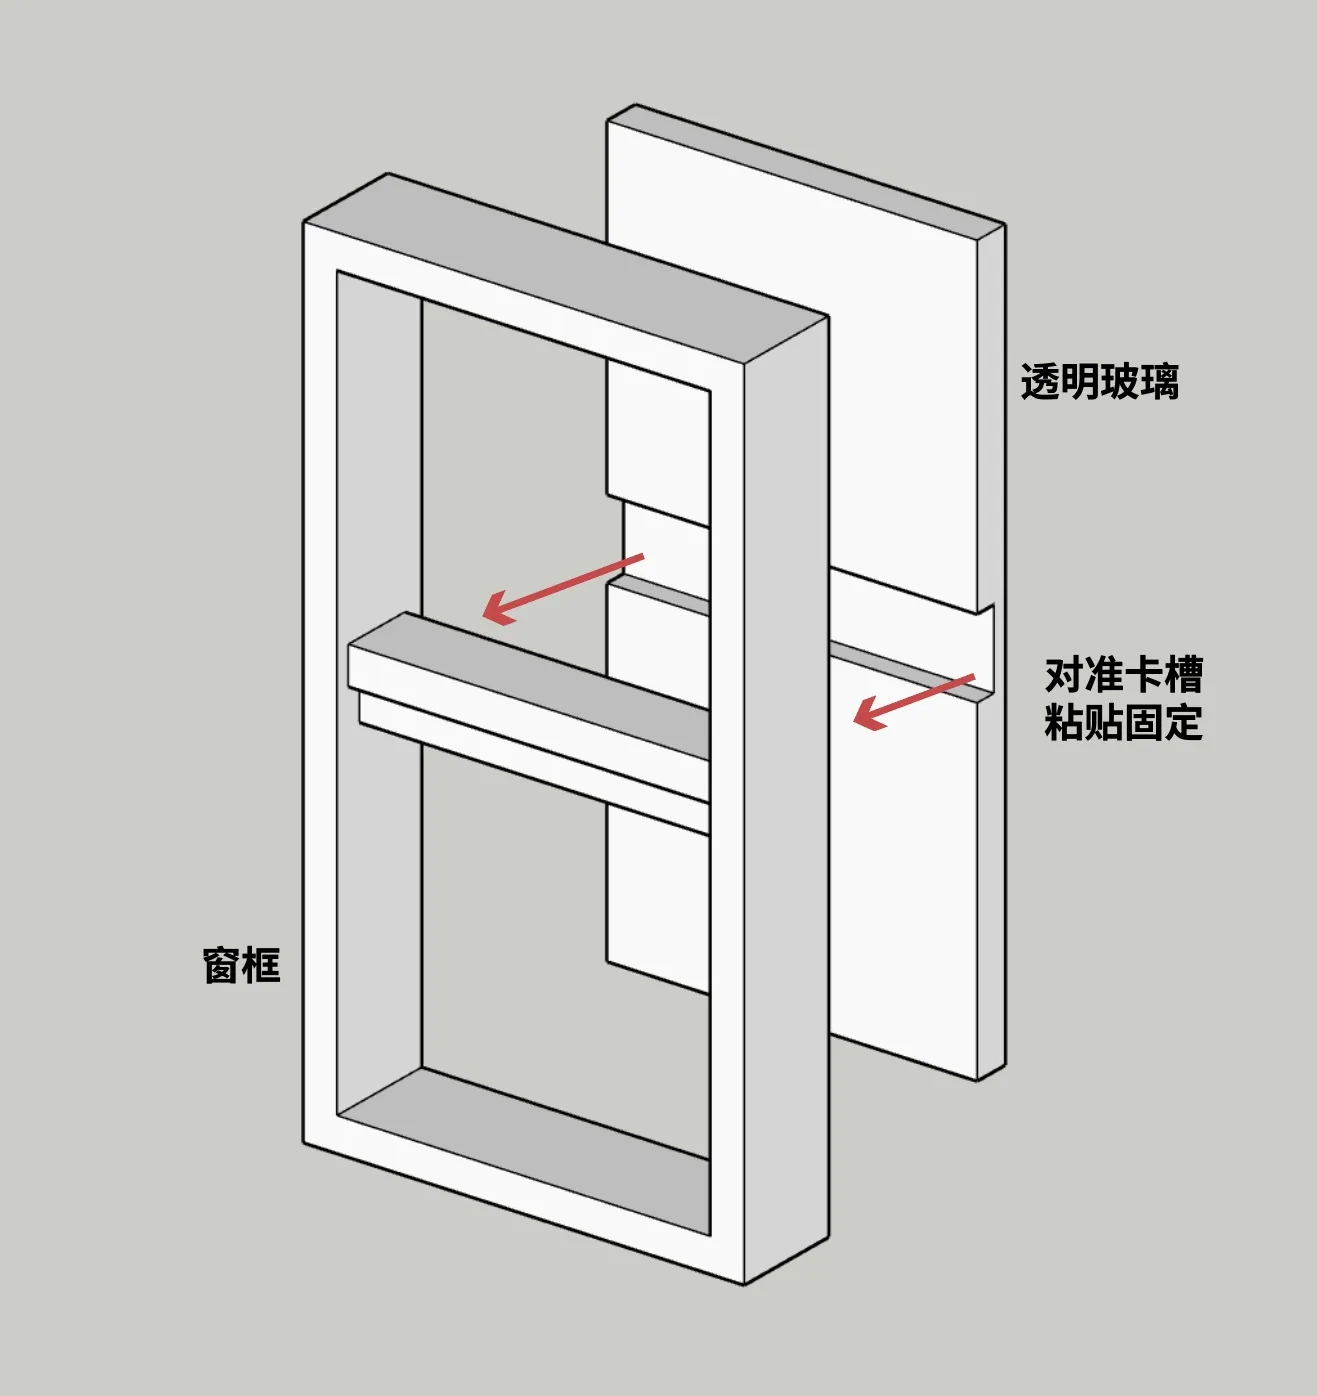
2. Window installation
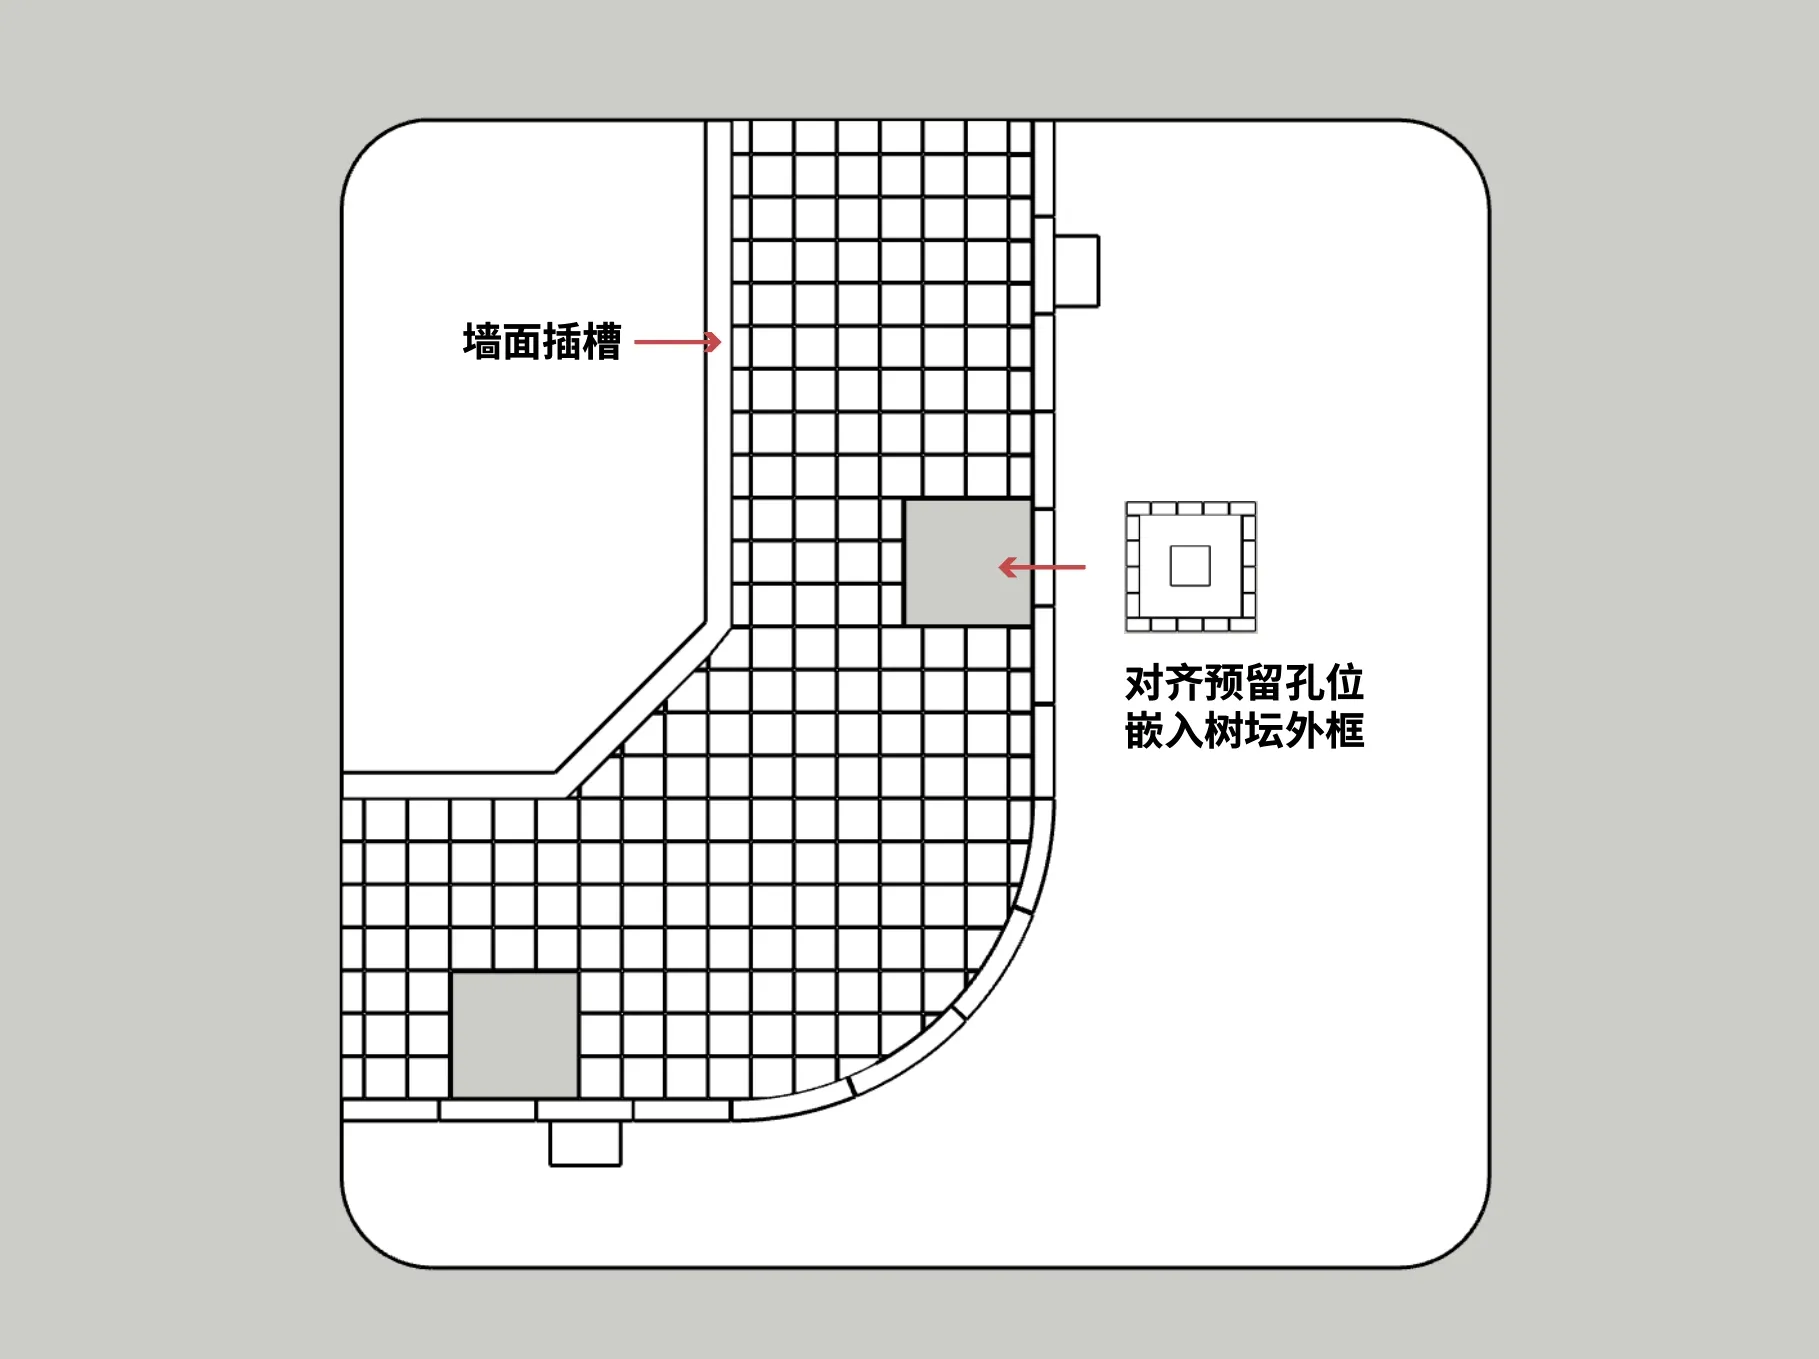
3. Ground installation:
[Painting tips]
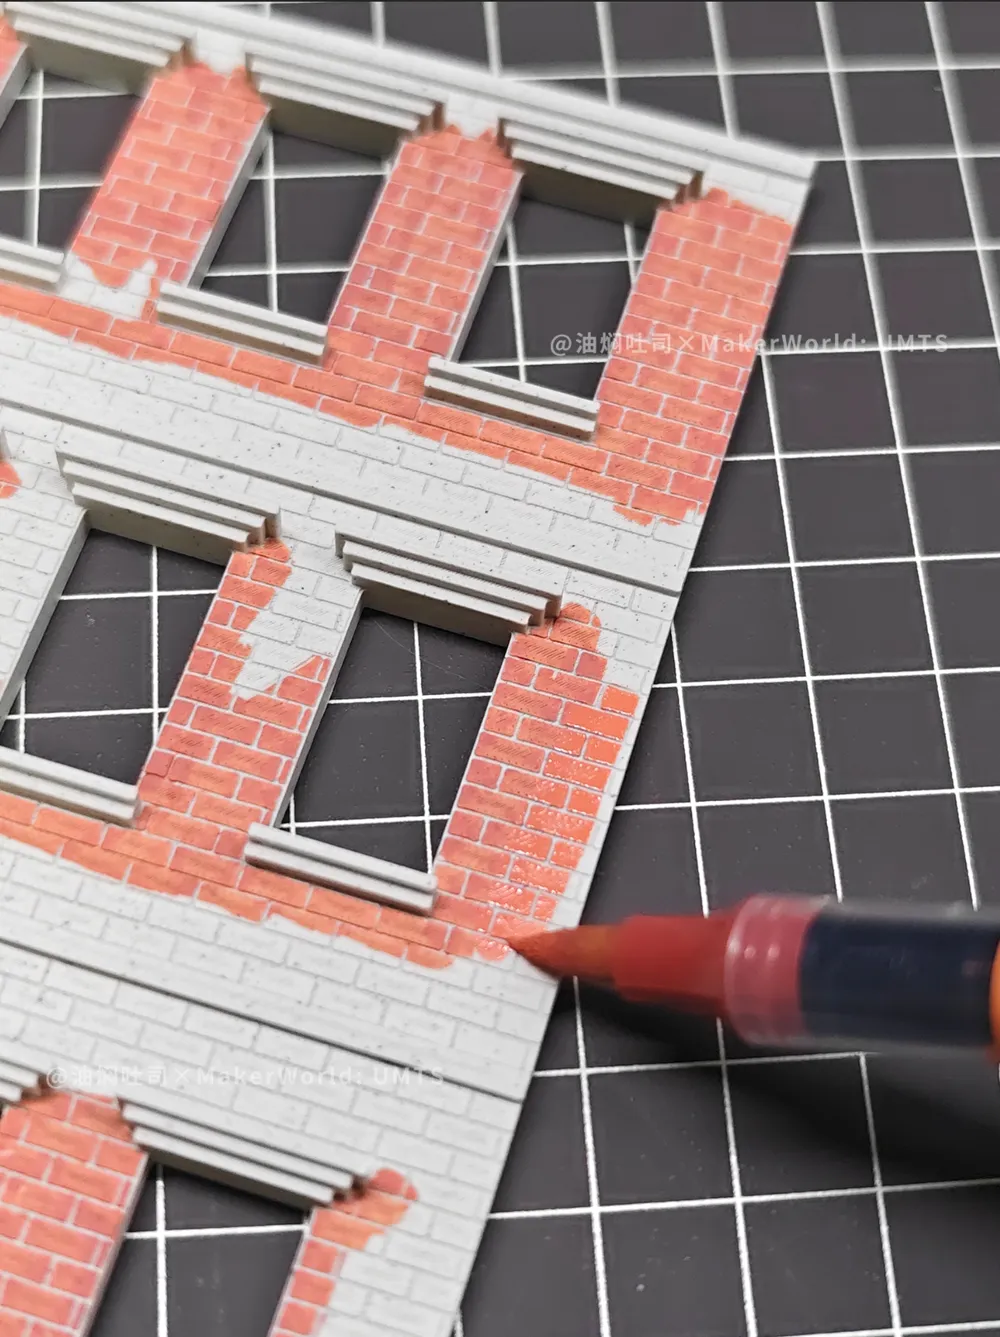
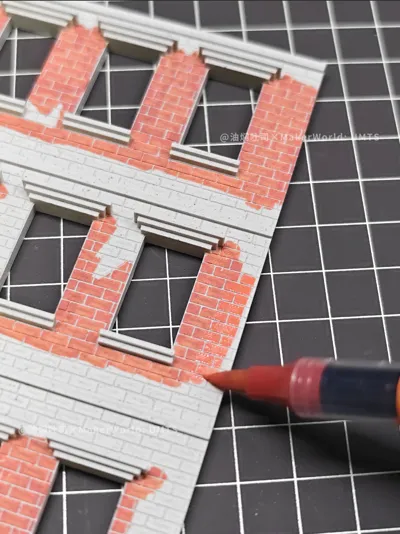
1. The red of the brick wall is painted with an acrylic marker, sweep the nib diagonally so the color doesn't go into the brick gaps, tape the window sills before painting
2. Small trees and grass are purchased online, insert the tree trunks into the square holes in the tree beds' soil, and fix with a glue gun
3. Tape the crosswalk lines before painting
Have fun everyone!
License

You shall not share, sub-license, sell, rent, host, transfer, or distribute in any way the digital or 3D printed versions of this object, nor any other derivative work of this object in its digital or physical format (including - but not limited to - remixes of this object, and hosting on other digital platforms). The objects may not be used without permission in any way whatsoever in which you charge money, or collect fees.


Comment & Rating (22)