
Life-size WW2 Panzerfaust Rocket Launcher
Print Profile(2)






Description
Want more like this model? Check out these collections: Grenades | Artillery & Ammo | Life-size Weapons | Missiles & Bombs | and more (3)… |
Summary

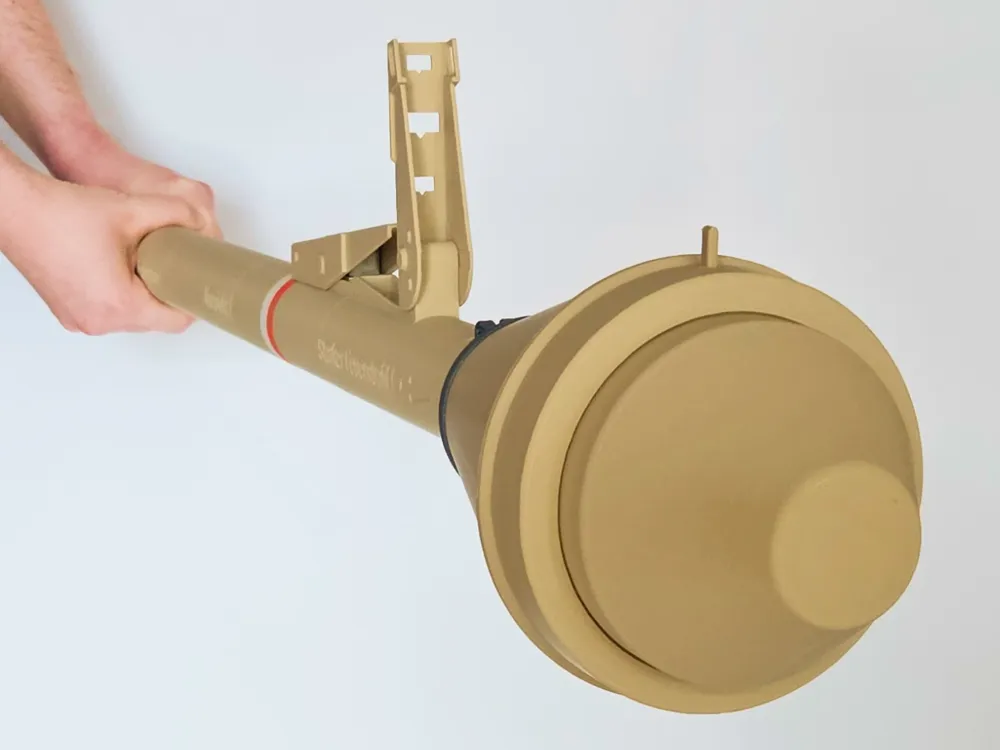
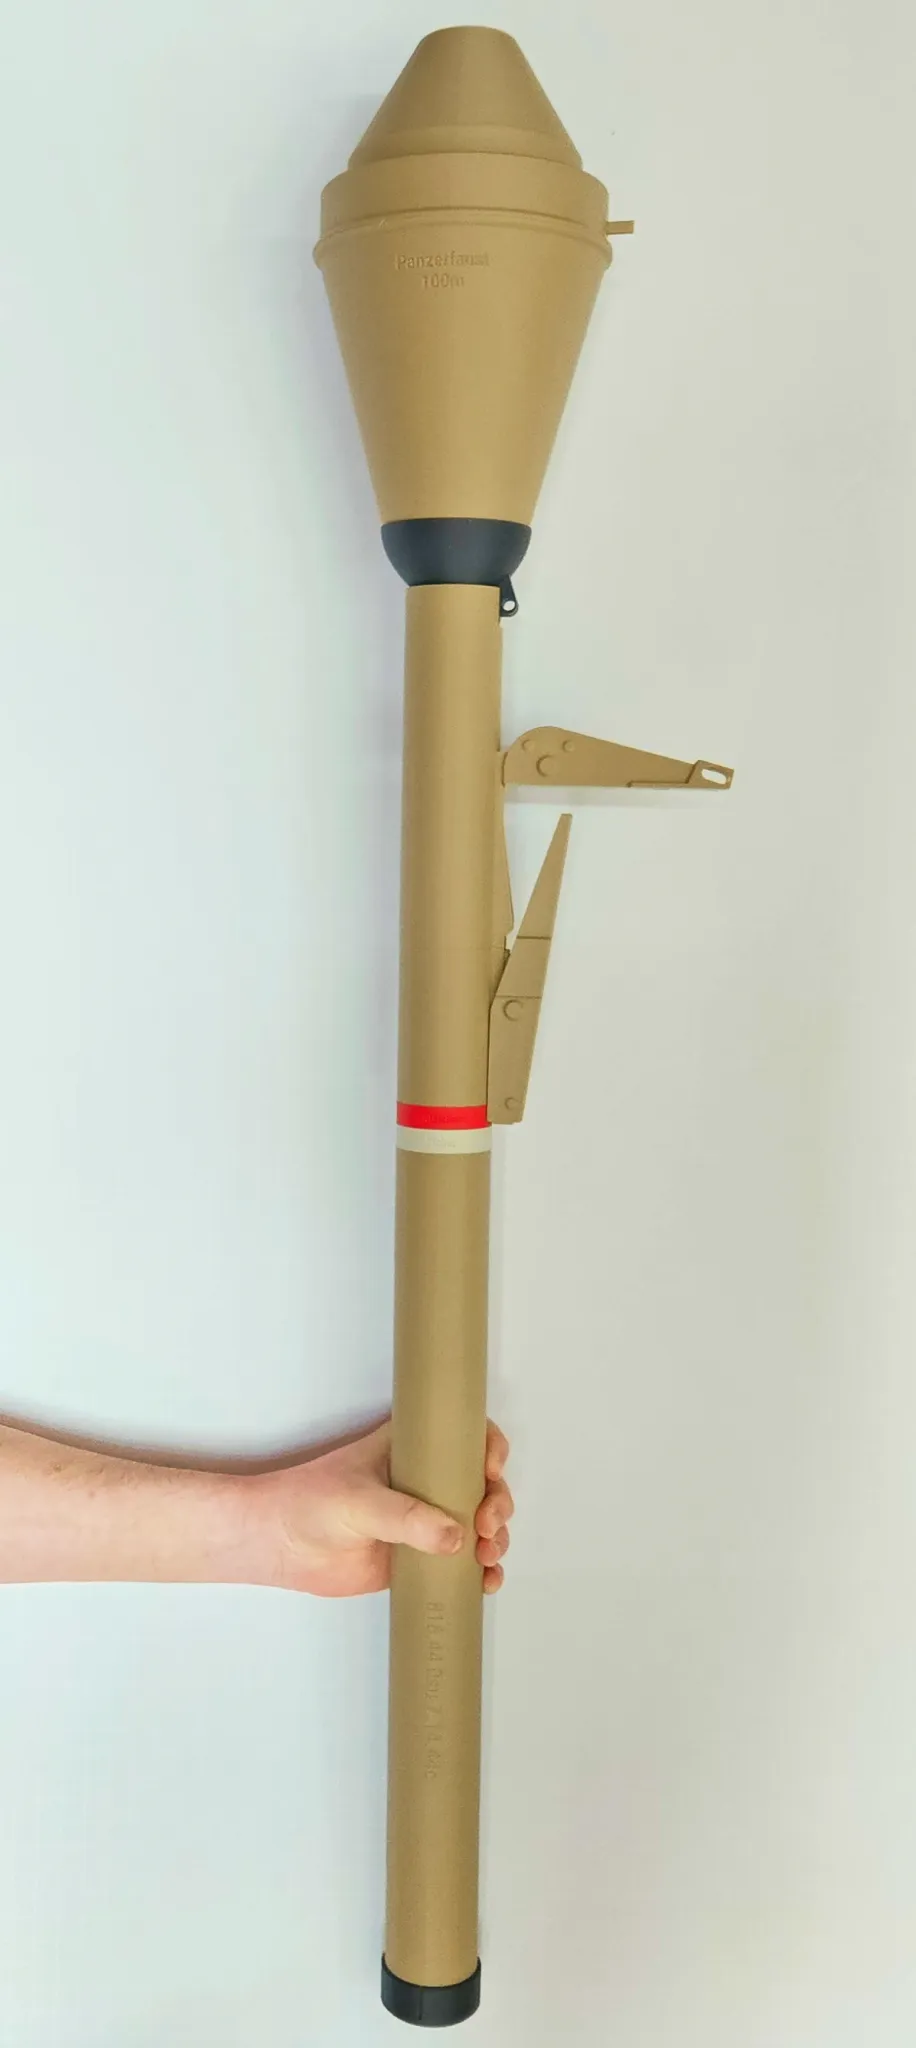
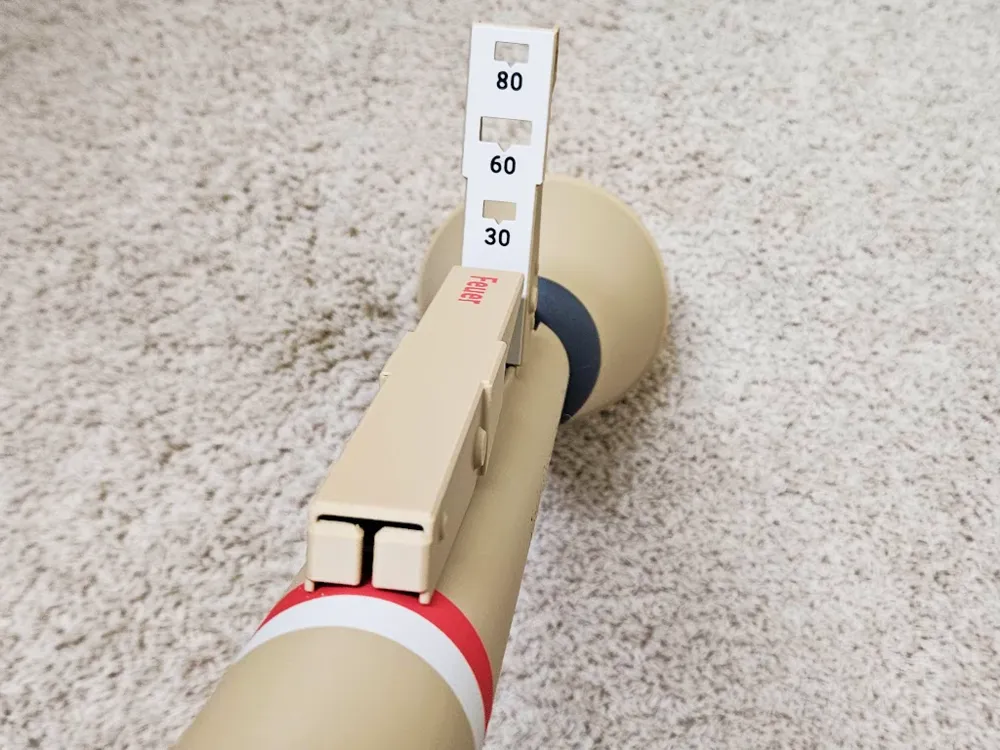
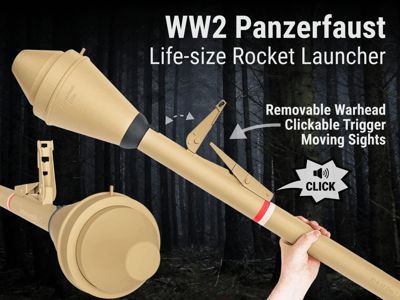
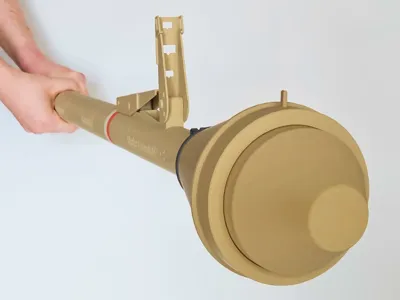
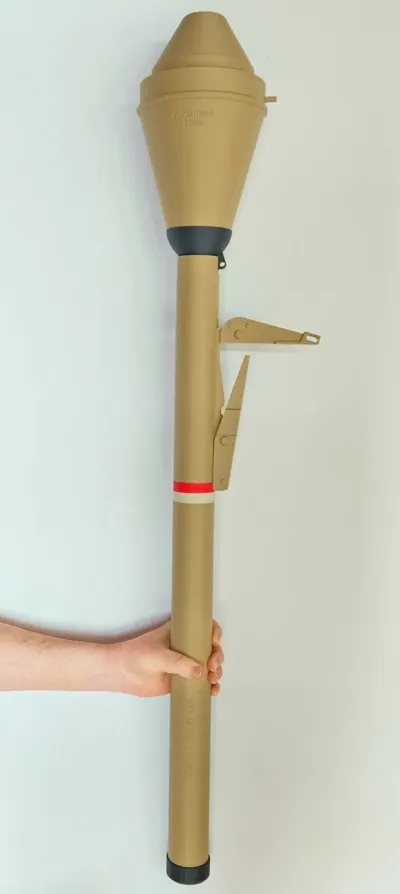
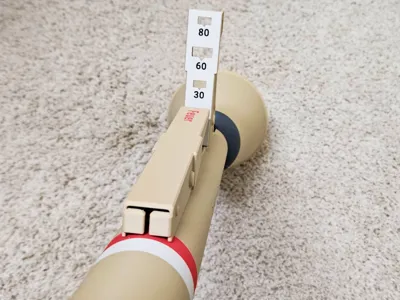
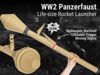
Want a life-size WW2 Panzerfaust 100 rocket launcher? This replica includes lots of moving parts -- a trigger that clicks, a sight that flips up, removable rockets, removable cap, and a removable safety pin. It only takes a moment to assemble, no glue is needed, simply screw a few parts together and snap on the sights.
What is a Panzerfaust? The Panzerfaust was a portable, recoilless German anti-tank weapon of World War II, designed as a cheap and simple single-shot launcher for infantry. It utilized a shaped charge warhead capable of penetrating the armor of most contemporary Allied tanks at close range. The Panzerfaust was similar in its role to the American Bazooka. This is the Panzerfaust 100 version that was rated to go a maximum of 100 meters. It is nearly identical to the Panzerfaust 30 and 60 versions, save for the “100m” on the replica warhead.
Bambu filaments used
- Matte Desert Tan or Matte Latte Brown
- Matte Red
- Matte White
- Polymaker Metallic Chrome (Amazon link)
- You can also use Bambu's Metal Iron Gray
- Silk+ Silver
Assembly only takes a moment
No glue is required, simply screw together a some pieces and snap on a few.
1. Screw together the 4 main body segments like you see below. Don't overtighten.

2. Insert the clicker box into the rectangular hole as you see below. Make sure the pointy part is on the end closest to the tip of the rocket launcher.
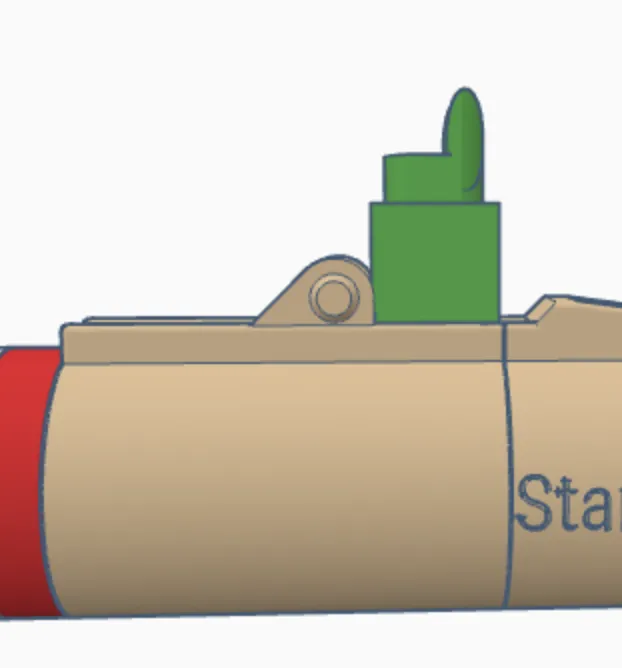
3. Next, Snap the trigger and the front sight onto the body of the launcher as you see below. Note that there are grooves/channels in the trigger and sight, so you if you line up the bump on the launcher with the groove/channel on the trigger and sight, it'll snap right on.
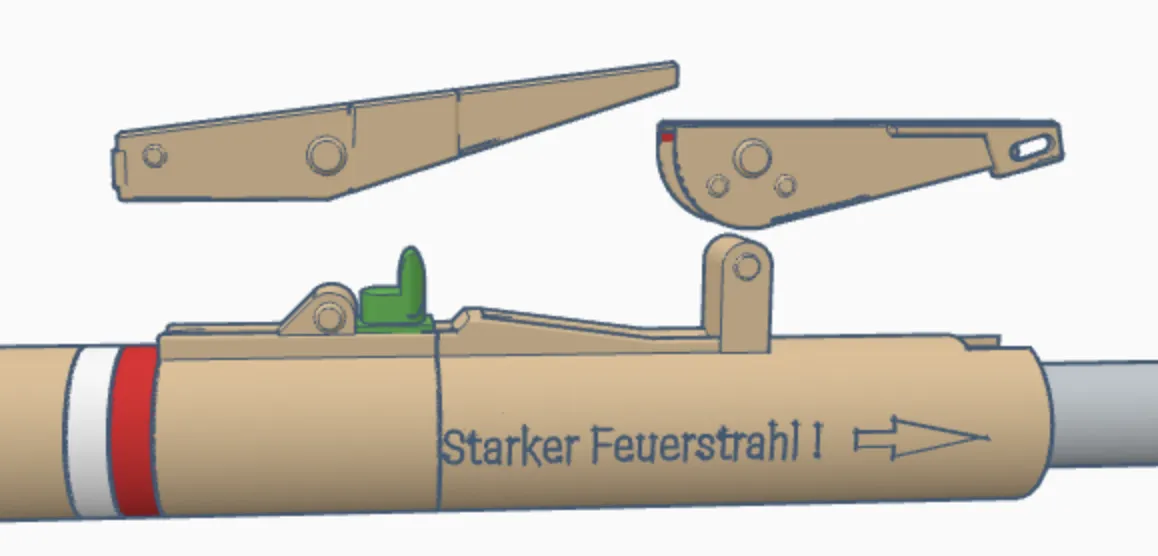
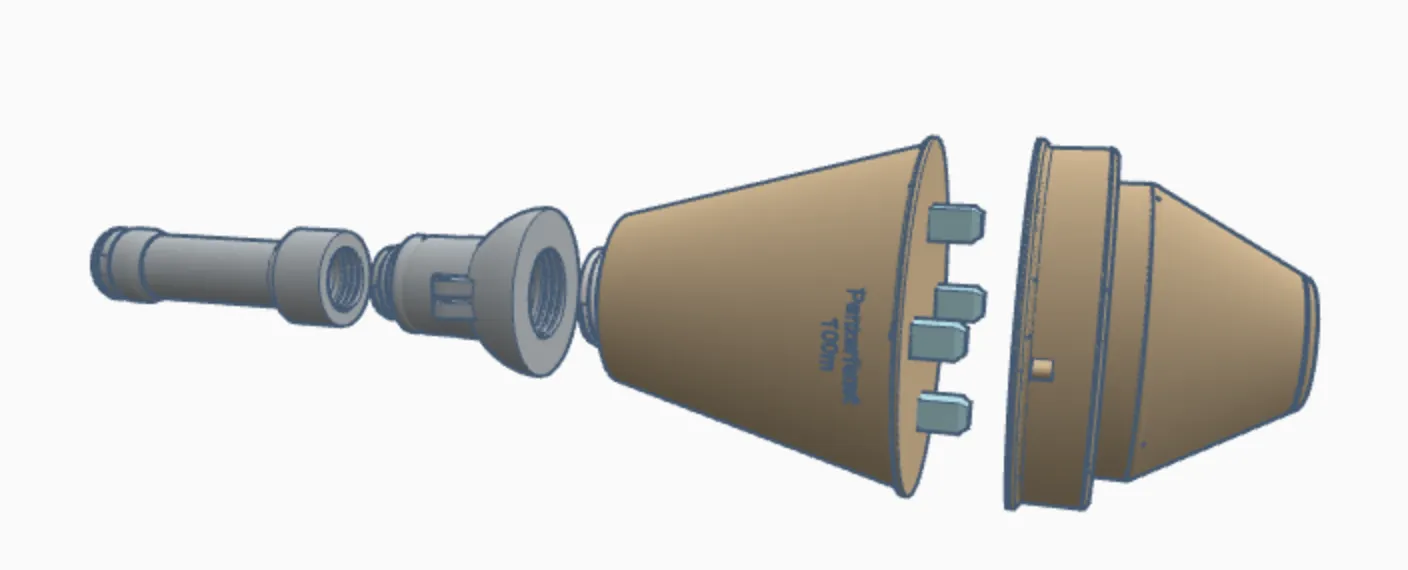
4. Then, assemble the rocket. Screw together as you see below, and then use the 4 pegs to snap together the top and bottom of the warhead replica. Use the looser pegs if you intend to use glue.
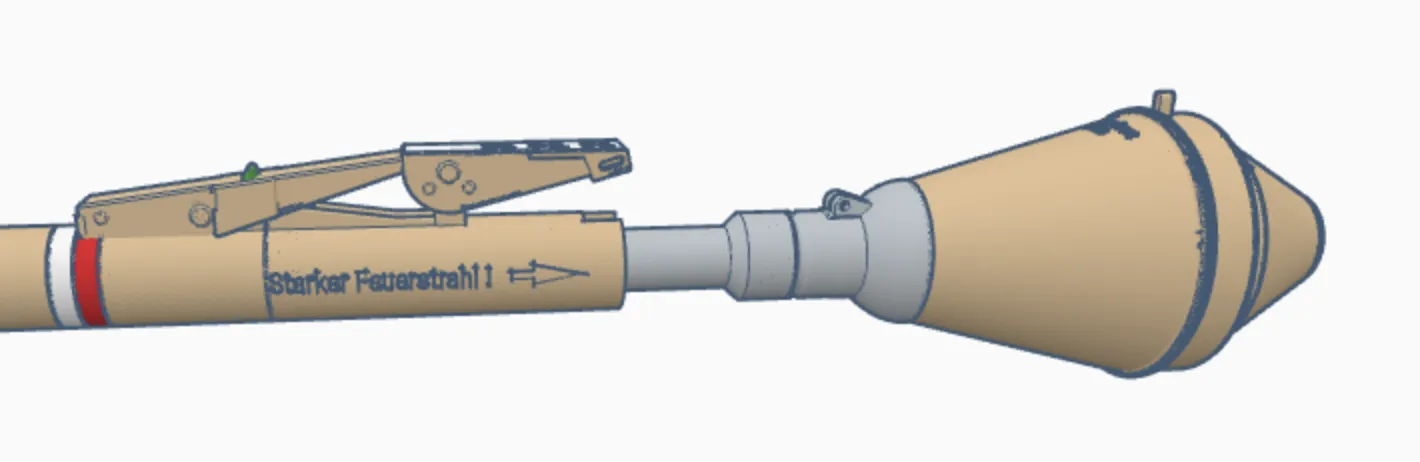
5. Lastly, insert the rocket into the rocket launcher tube – it will snap/pop when fully inserted. It will require a tiny bit of force to remove again, this is on purpose so it doesn't fall out. You can also insert the pin with the front-sight down if you want to.
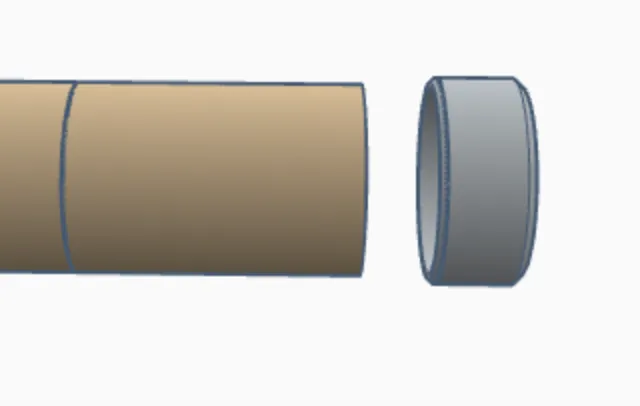
6. Optionally, you can add the cap to the rear of the launcher, this would be removed in real life before it was fired.
Boost Me (for free)
If you enjoy my work and would like to help support my ability to share more (and even better) models in the future, please consider boosting or buying me a coffee at the link below. Your support is what helps me have enough filament and supplies to do all the print testing required for my models to be high quality and easy to assemble. It takes a mountain of test prints for each model. Thanks :-)
| Here's a link to my Buy Me a Coffee page, thanks for the support! |
( ! ) Do not sell my prints — I have not authorized selling prints. If you sell my prints on Etsy, Amazon, eBay, etc, I will find out.
This 3D print is intended for decorative purposes only and is not suitable for children. Small parts may present a choking hazard and edges may be sharp. By printing this 3D print, you assume all liability for any harm to yourself or others resulting from its use.
License

You shall not share, sub-license, sell, rent, host, transfer, or distribute in any way the digital or 3D printed versions of this object, nor any other derivative work of this object in its digital or physical format (including - but not limited to - remixes of this object, and hosting on other digital platforms). The objects may not be used without permission in any way whatsoever in which you charge money, or collect fees.


Comment & Rating (89)