
Filament Buffer box - No need to rewind
Print Profile(2)
Description
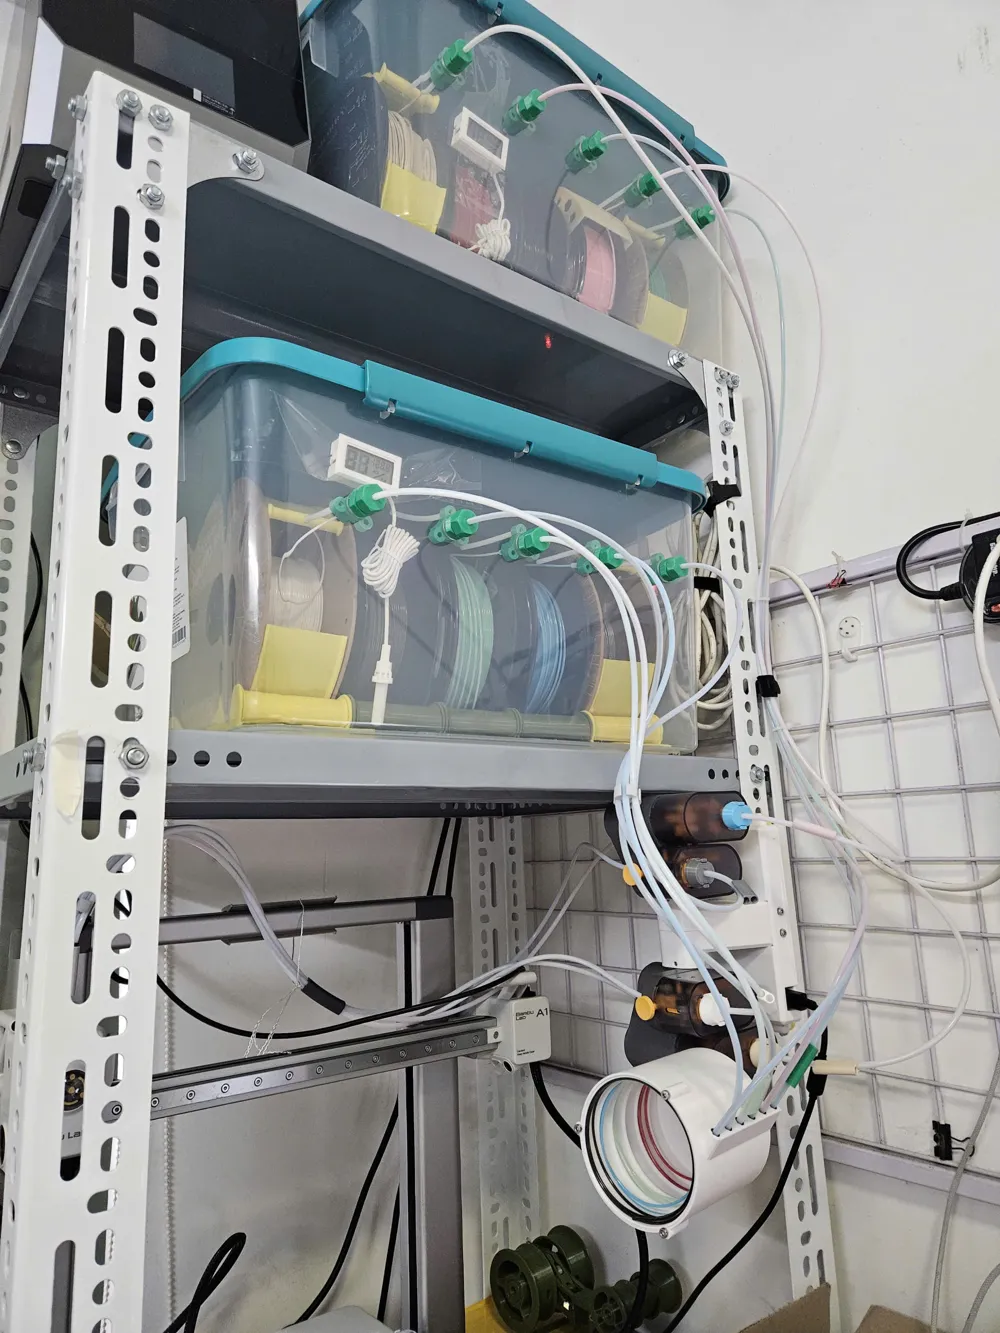
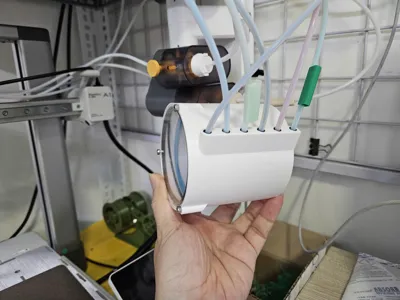
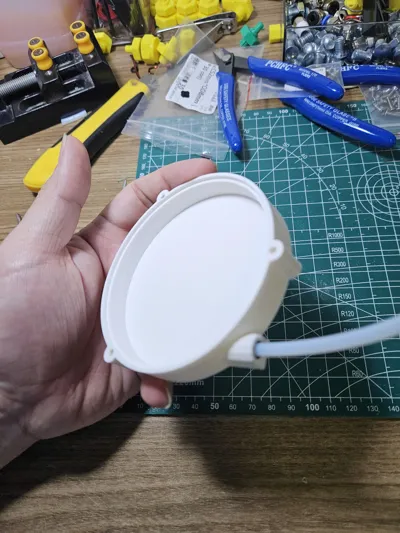
10-Channel Circular Filament Buffer (Air-Tight & Laser-Ready)
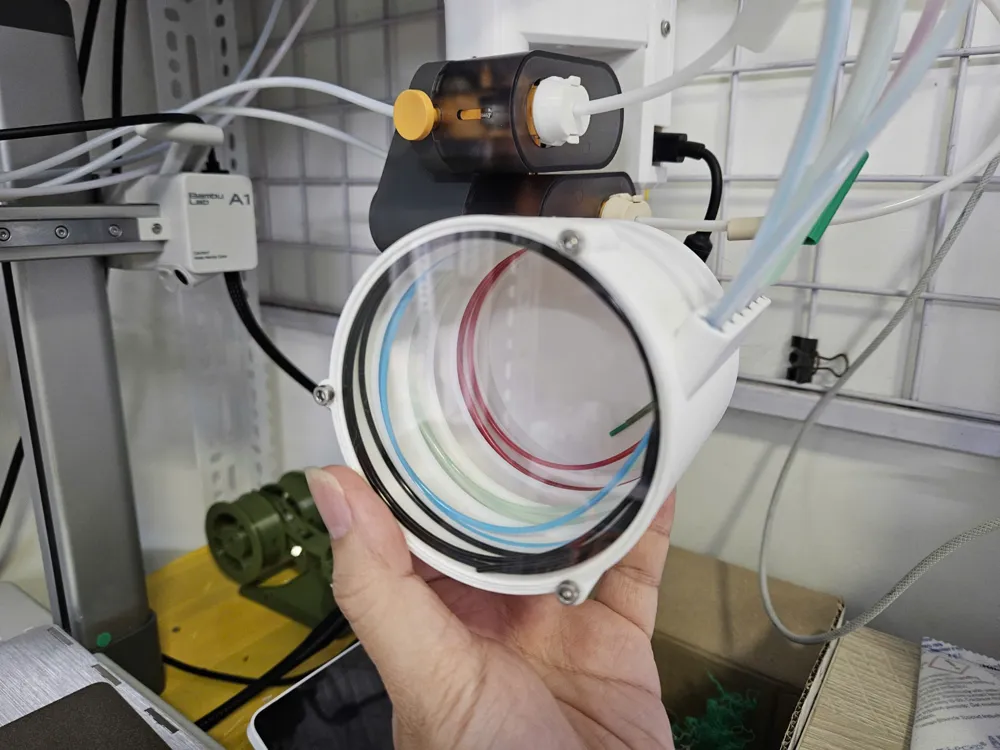
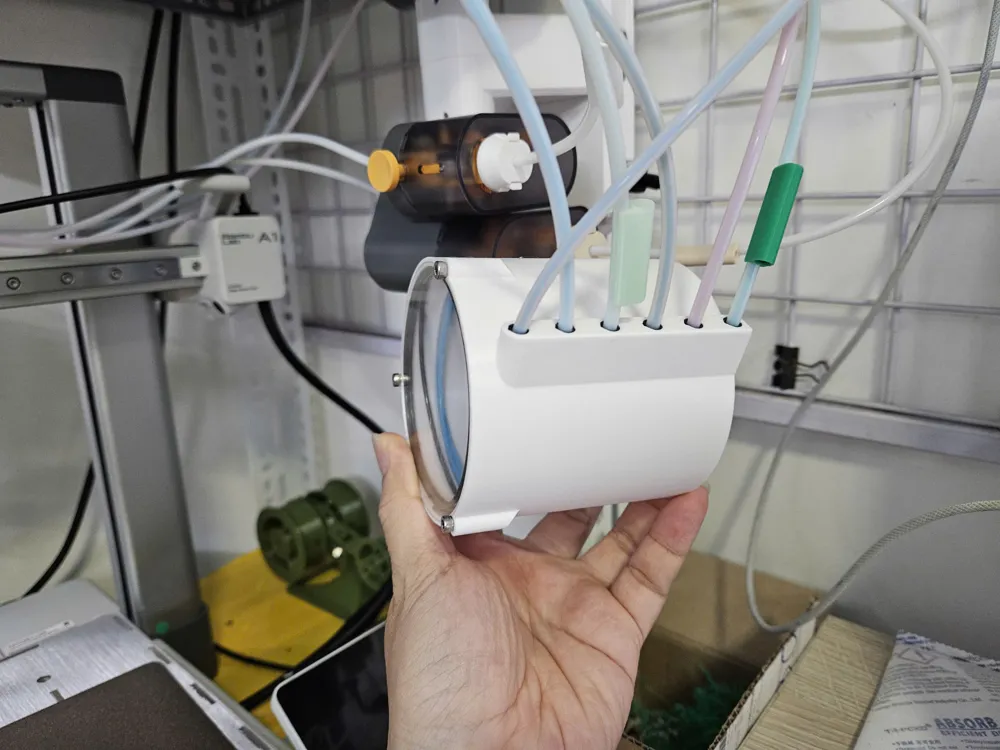
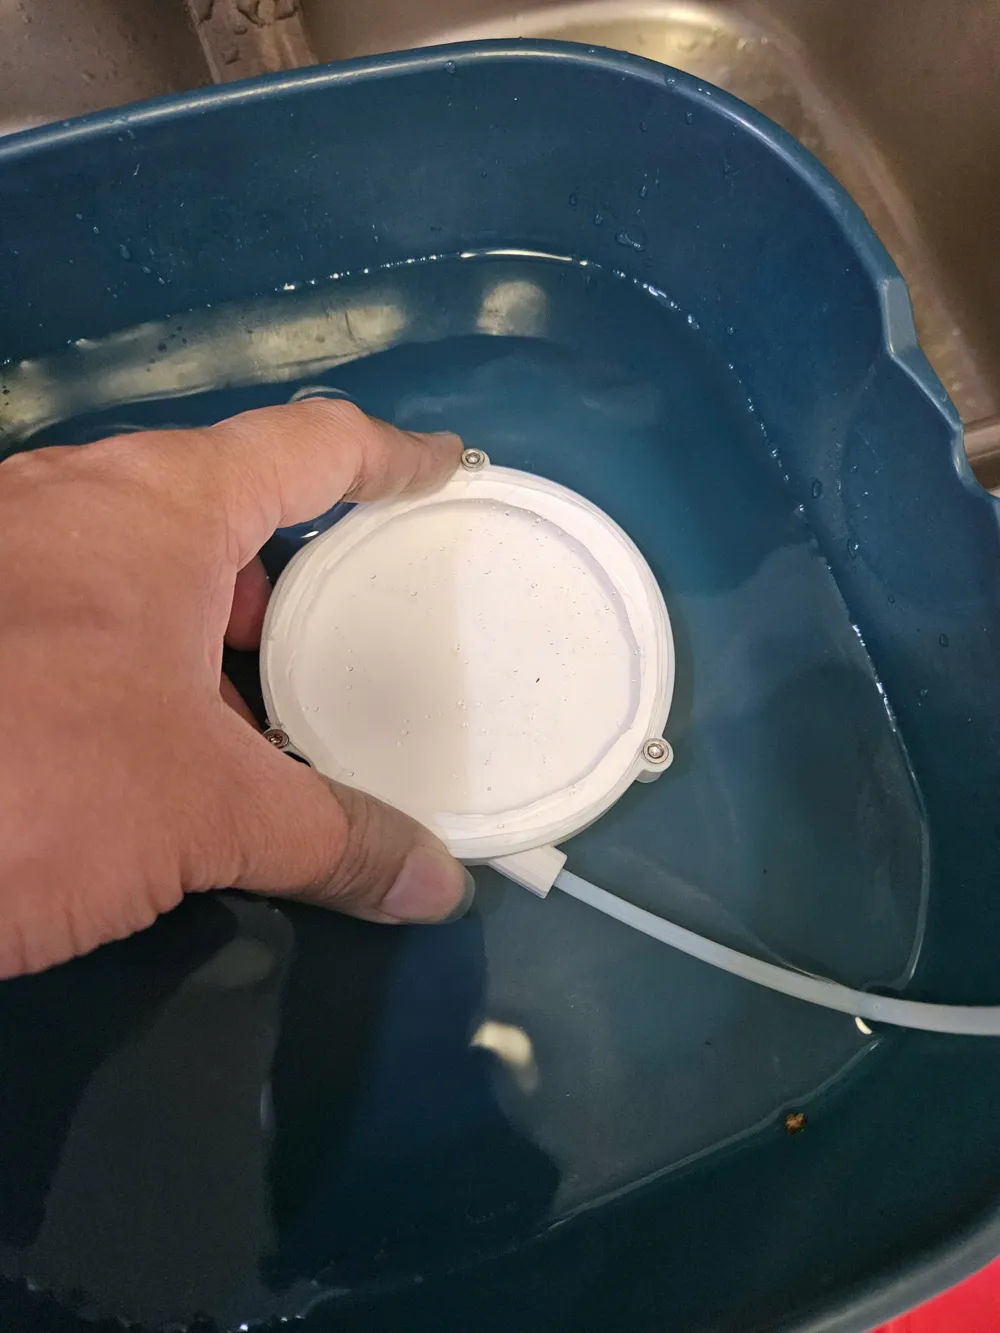
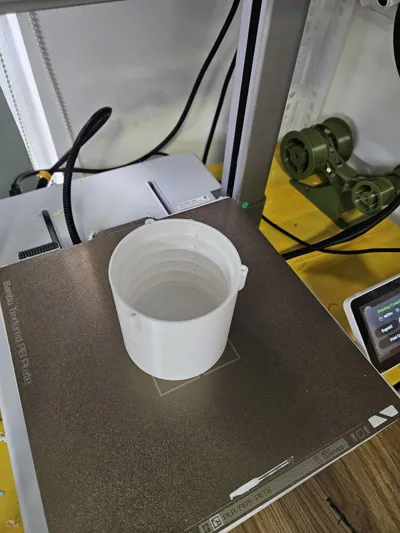
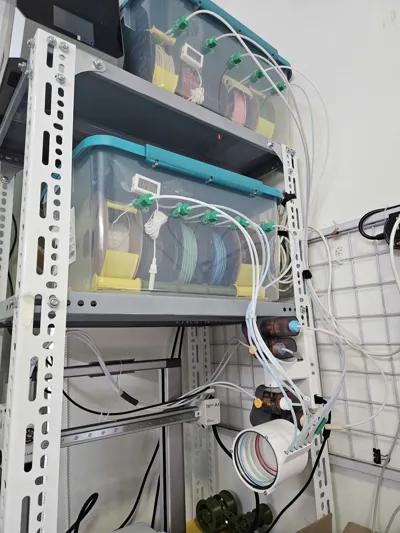
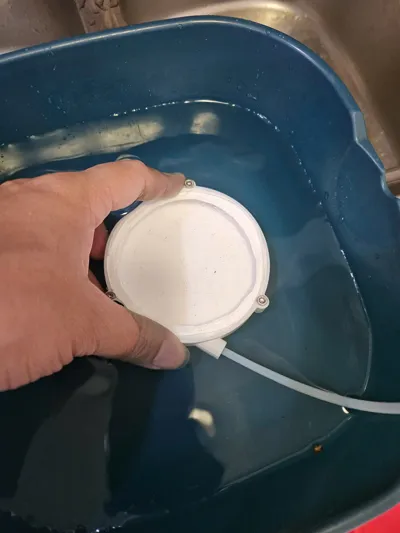
This is a high-capacity, space-saving circular filament buffer designed for multi-material setups (like 10-spool Dry-boxes). It ensures your filament stays organized and retracted neatly without tangling. The design focuses on being 99% Air-Tight, allowing you to maintain low humidity even inside the buffer system.
Key Features
- 10-Channel Support: Perfect for large-scale projects using multiple AMS or Drybox units.
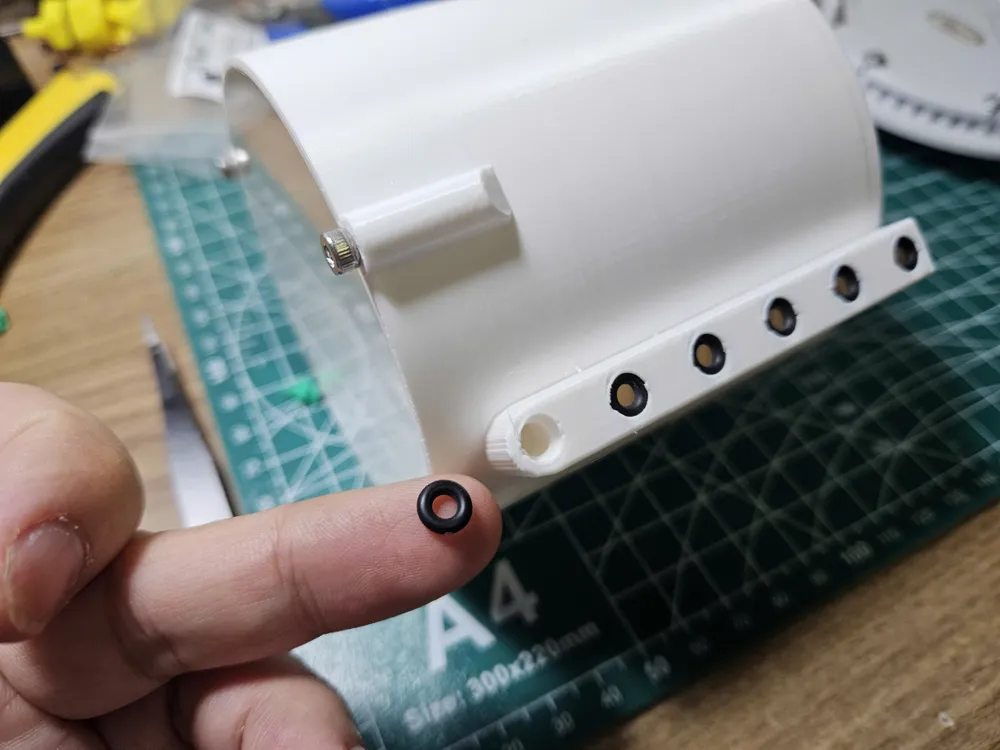
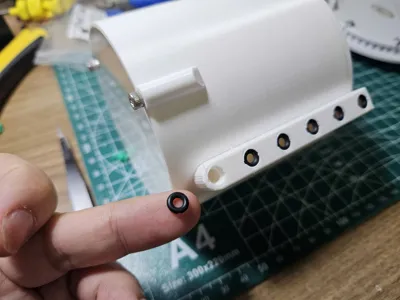
- Air-Tight Tested: Designed with specialized seats for O-rings and screws to prevent moisture ingress.
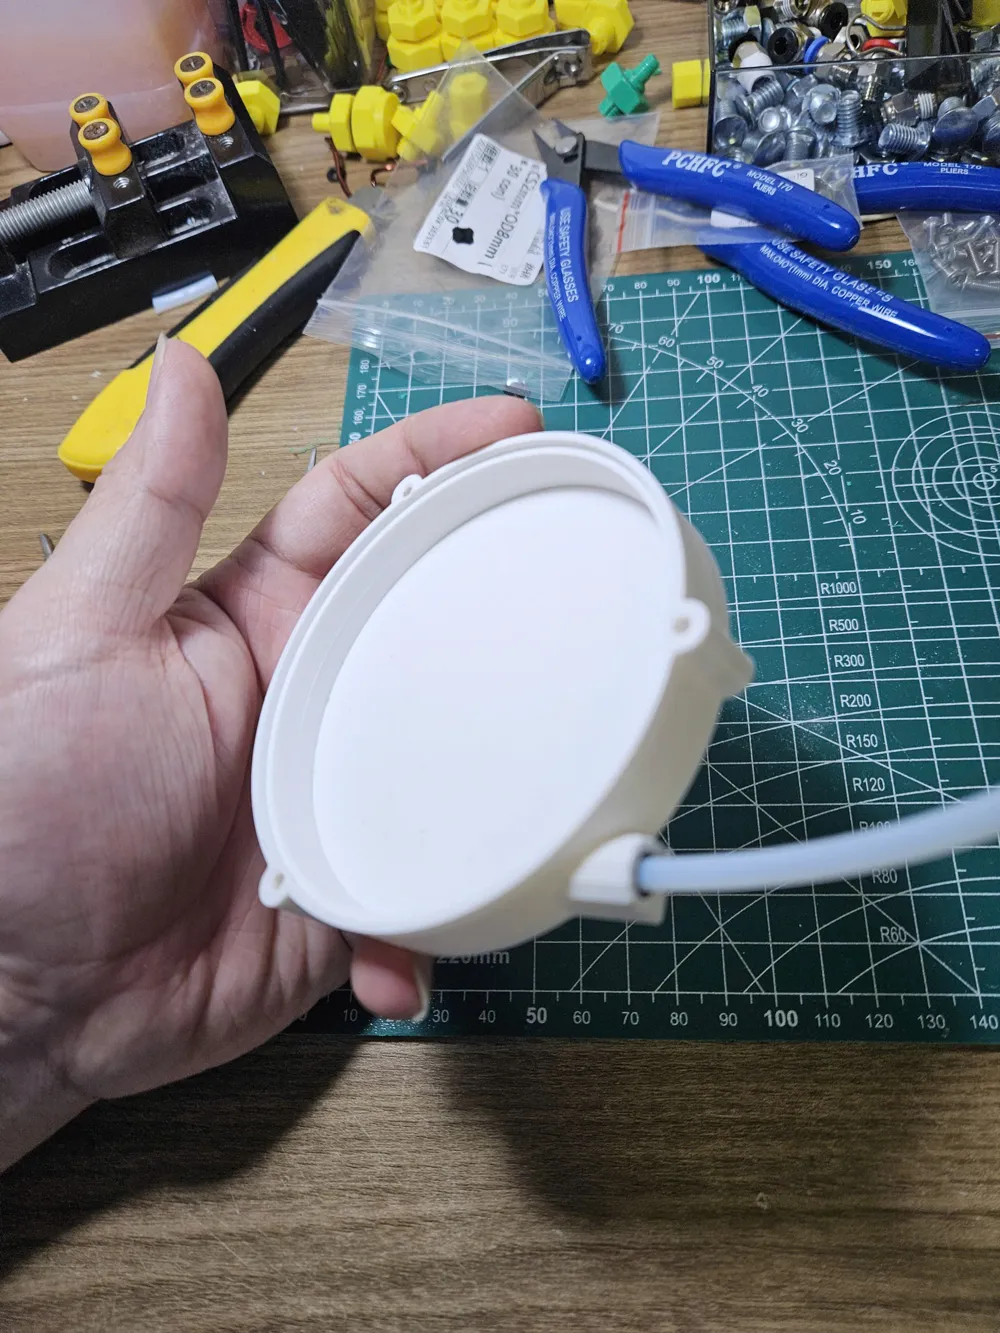
- Compact Circular Geometry: 100mm diameter provides the ideal bending radius for PLA/PETG, preventing filament brittle-breaking.
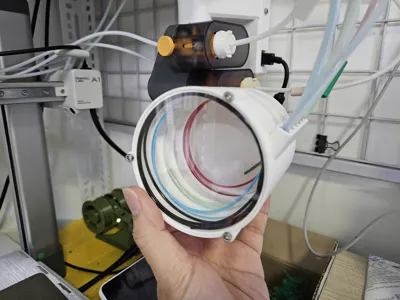
- Acrylic Window: Designed to be used with a 100mm Acrylic/Mica sheet for visual monitoring of filament status.
- Laser-Cut Ready: Includes precise .DXF file for a 2mm Acrylic (Mica) front cover, offering a crystal-clear view and a superior seal. https://makerworld.com/en/models/2486066-filament-buffer-box-lid
Bill of Materials (BOM)
To complete this build, you will need:
- Screws: 3x M3*10 Phillips Pan Head (for the Mica cover). (M3*4 to M3*12 will work too)
- Sealing: 6x O-rings (CS3.5mm - OD22mm) and B-7000 Glue (essential for sealing the PTFE entry points).
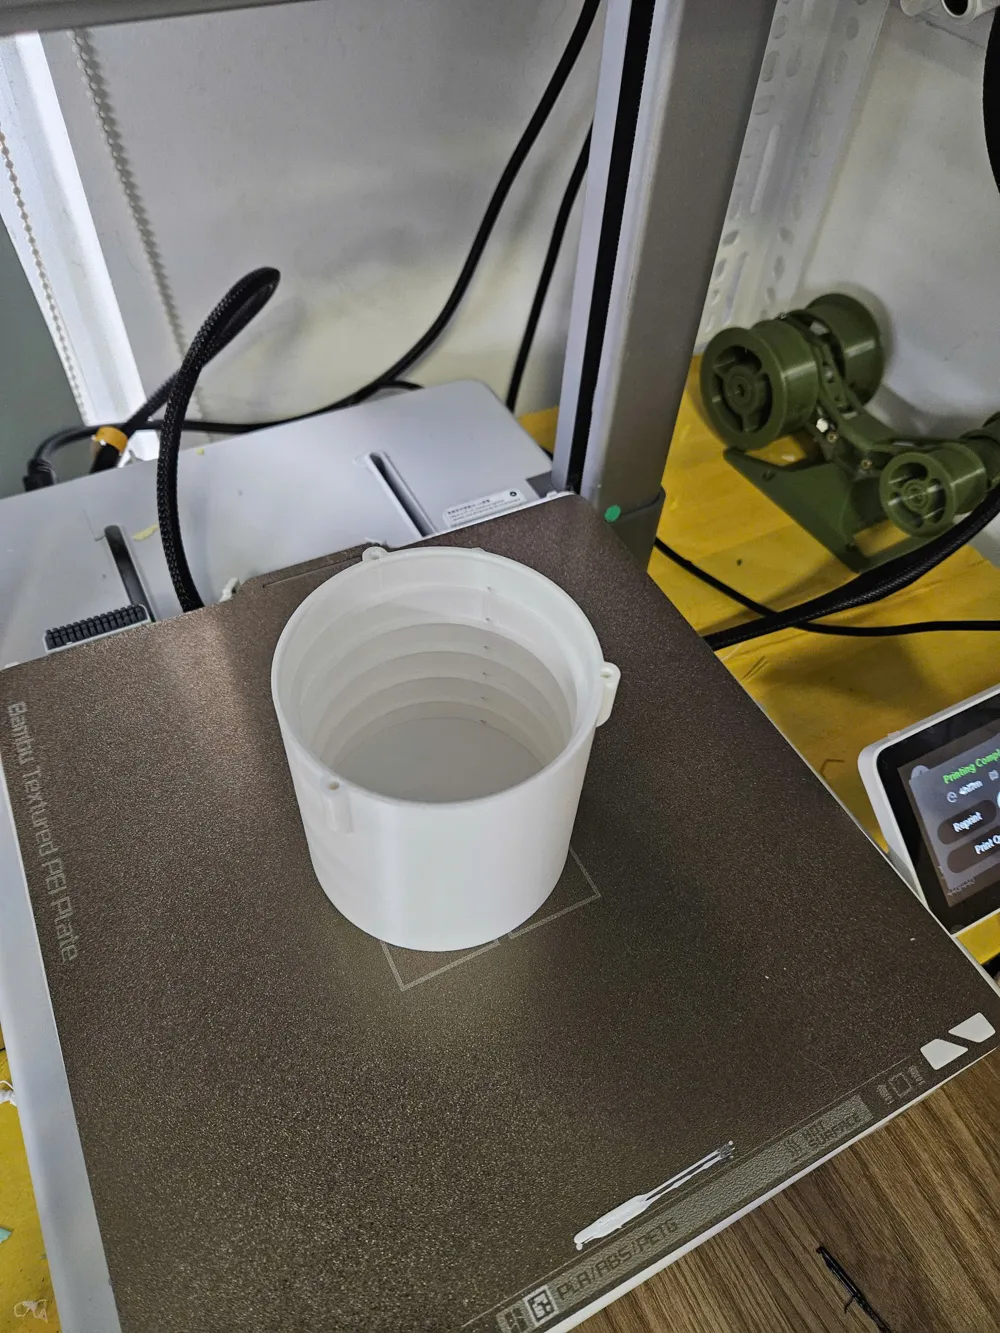
Print Settings (Optimized for Bambu Lab A1)
- Material: PETG or PLA (PETG recommended for better seal).
- Wall Loops: 4 layers (Crucial for air-tightness).
- Infill: 25% Gyroid.
- Ironing: Enabled for the top surface to ensure a flat contact with the Mica sheet.
- Supports: Not required for most parts.
Assembly Tip
- Laser Cut the Lid: Use the provided file to cut your 2mm Acrylic cover.
- For a perfect seal, apply a small bead of B-7000 glue or Silicone Gasket Maker around the Mica contact rim before attach to the box and fasten screws down. Let it cure for 24 hours before performing an air-leak test.
- Put o-rings to input holes
- You can try with x1 profile to see if it works for you
License

You shall not share, sub-license, sell, rent, host, transfer, or distribute in any way the digital or 3D printed versions of this object, nor any other derivative work of this object in its digital or physical format (including - but not limited to - remixes of this object, and hosting on other digital platforms). The objects may not be used without permission in any way whatsoever in which you charge money, or collect fees.


Comment & Rating (3)