
Dishwasher Clean/Dirty Magnetic Slider
Print Profile(5)

Bill of Materials



Description
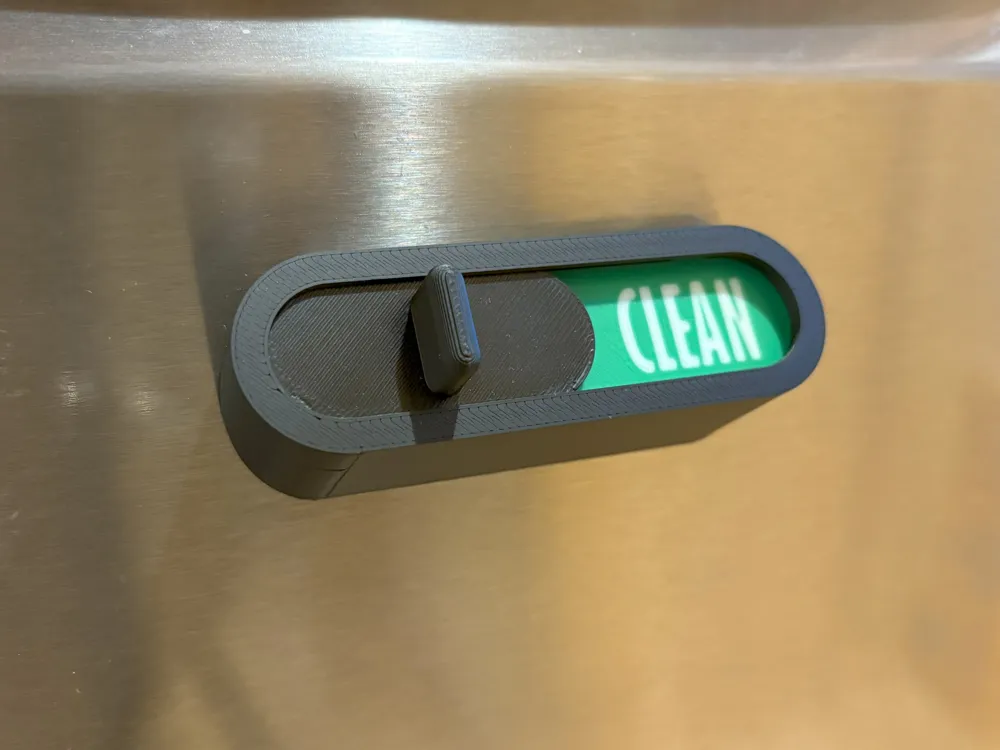
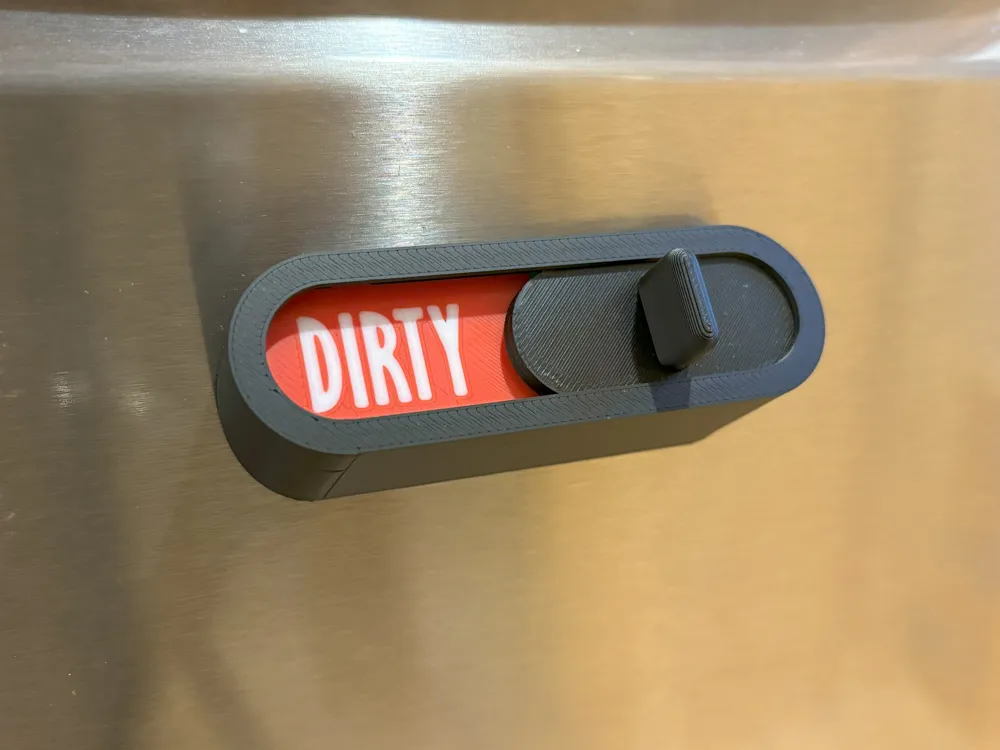

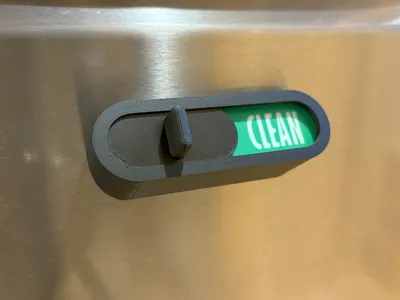
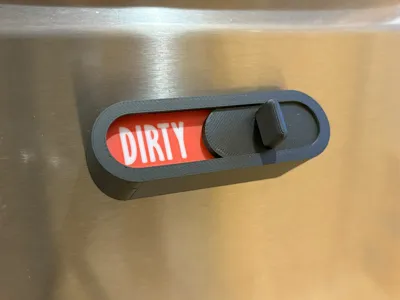
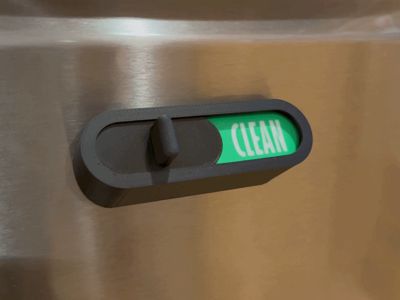
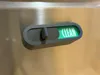
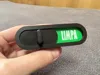
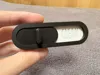
Never wonder if the dishes are clean or dirty again! This magnetic slider attaches to your dishwasher and lets you slide between the clean and dirty option with a satisfying snap.
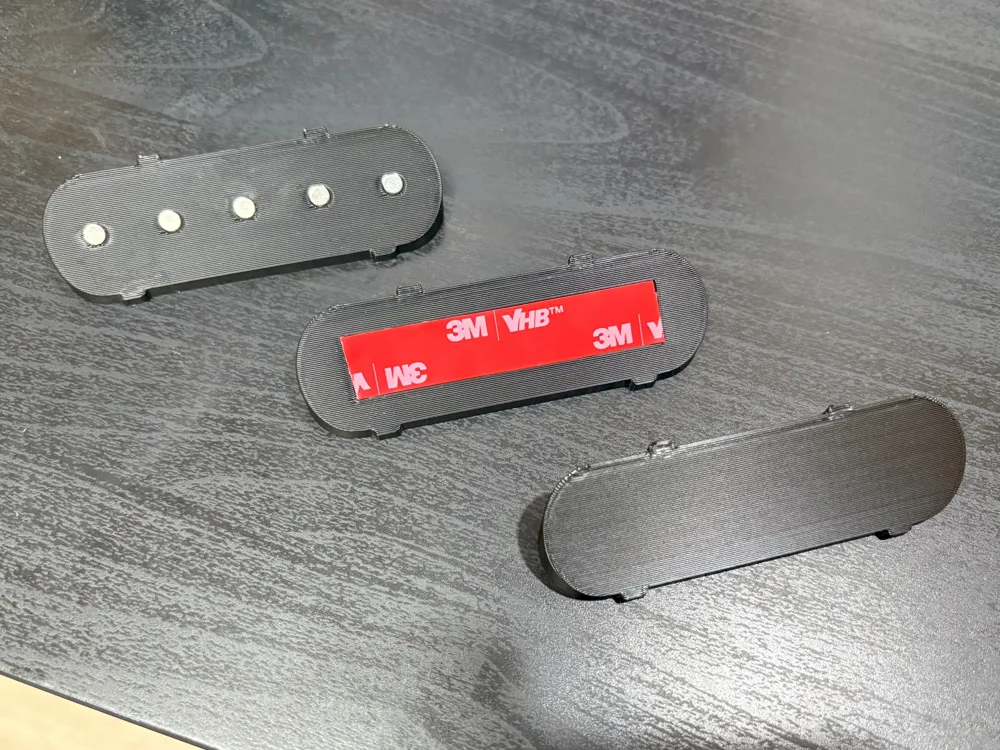
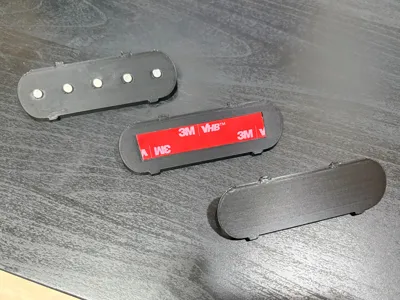
Three mounting back options are included:
- mount-VHB = designed for VHB tape (recommended)
- mount-FLAT = for thinner double-sided tape (recommended)
- mount-MAG = holds with 5× magnets, no adhesive needed (I don't really recommend it as I found it would slide around a lot. Also, if you do use this option, you may need to glue in some of the back magnets to keep them secure - this is caused by the fact they're embeded on the sloped side).
I'm constantly adding more profiles, the most recent one I did is a non-AMS one (you can leave it like that or use some paint to make it pop)!
Magnet orientation tip: When inserting magnets into the switch and the core, make sure the two outer magnets (left and right) attract and the middle one repels. This gives the slider that satisfying snap into place on each side!
Note: Parts (especially `body`) are separated in to different plates for better surface finish, if you have a bigger printer, feel free to print them on the same plate but using the By Object mode (this was how I set it up initially, but MakerWorld bugged out and was only showing the profile as H2S compatible which could discourage some people so I switched back to By Layer.
Note: The magnet holes are intentionally tight so the magnets are held securely once inserted. They may be a little hard to push in - use a flat object (like the back of a screwdriver or a coin) to press them in more easily.
Assembly:
- Push in the switch magnet,
- Push in the core magnets (see tip above on orientation),
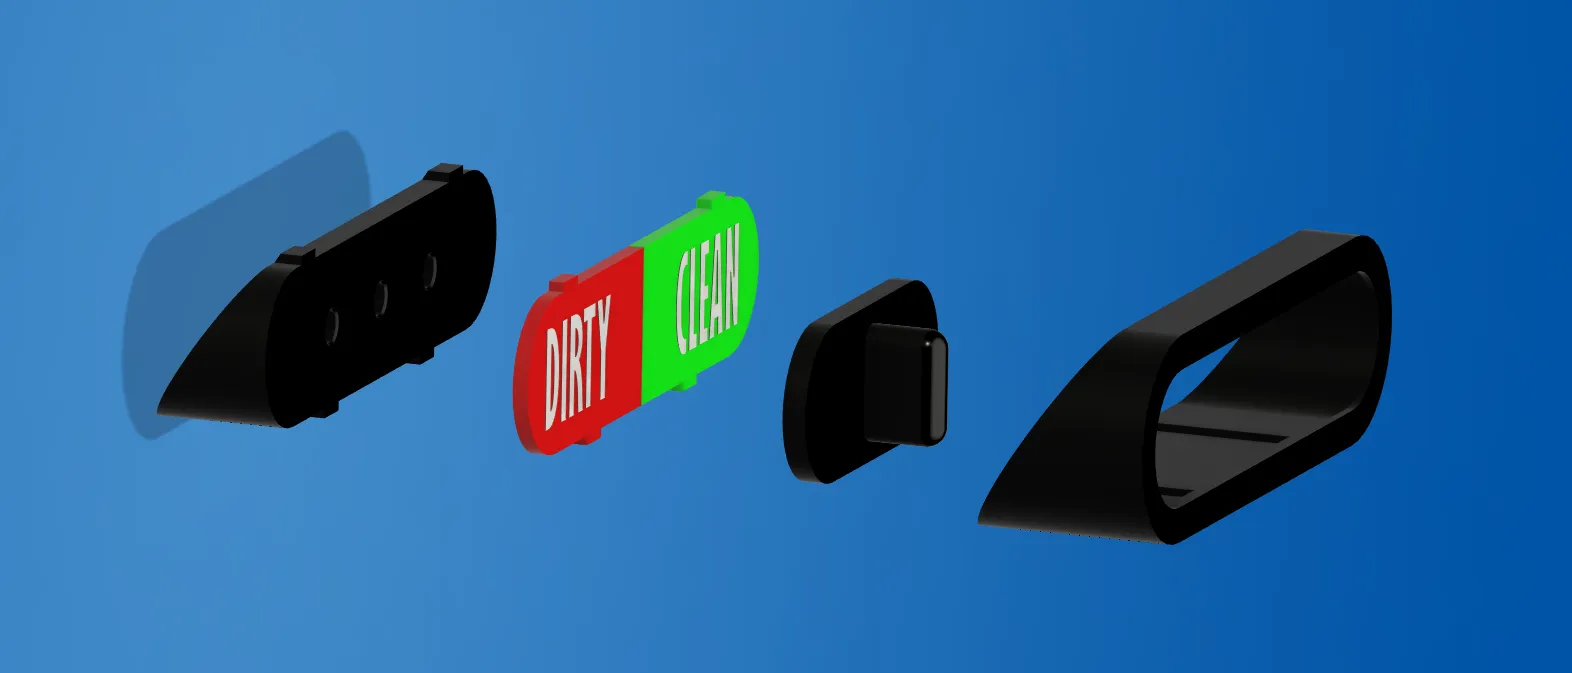
- Slide in the ‘switch’ so it lays in the ‘body’,
- Slide in the colored text piece (it has guides),
- Slide in the core (glue this one the bottom to hold everything together),
- Apply using your prefered mounting solution.
Boost Me (for free)
License

You shall not share, sub-license, sell, rent, host, transfer, or distribute in any way the digital or 3D printed versions of this object, nor any other derivative work of this object in its digital or physical format (including - but not limited to - remixes of this object, and hosting on other digital platforms). The objects may not be used without permission in any way whatsoever in which you charge money, or collect fees.


Comment & Rating (31)