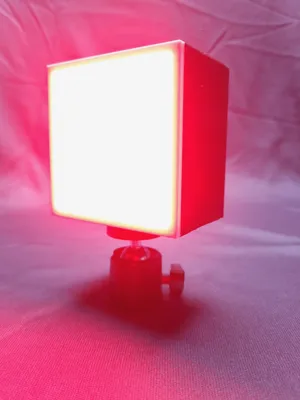
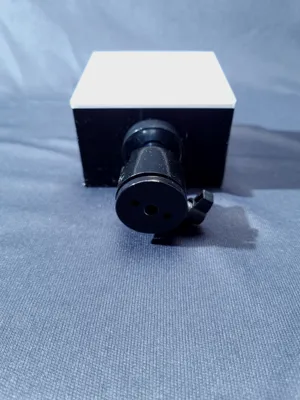
RGB led box with ESP32 controller battery powered


Print Profile(1)
Description
This is RGB led box for video shooting and asthetic look which can be controlled by esp 32 USING BLUTOOTH AND ROTARY ENCODER and it is battery powered.
it will be very useful for video shooting and it is very simple to make.
I design backcover of light according to my usb module and switch you can design back cover according to usb module and switch.
i also uploaded stl file for edit purpose
parts required are
1)WS2812 64 BIT RGB LED MATRIX
2)1000 MICROFARAD CAPACITOR
3) 1K RESISTOR
4)ESP32 C6 SUPER MINI
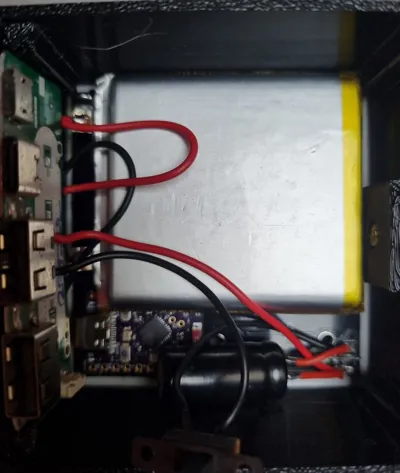
5)USB CHARGING MODULE
6)5000 MAH LIPO BATTERY
7) ON OFF SWITCH
You are connecting three main parts: the ESP32-C6, the 64-LED Panel, and the IP5328P Power Module.
- Data Line: Connect GPIO 7 on the ESP32 to the DIN pin on the LED panel.
- Power (5V): Connect the 5V output of your IP5328P module to both the ESP32 (VIN) and the LED panel (5V).
- Ground (GND): All three components must share a common GND connection.
Battery: Your 5000mAh LiPo connects to the B+ and B- terminals of the IP5328P module.
- The KY-040 Rotary Encoder has 5 pins. We will use three free GPIO pins on your ESP32-C6 Super Mini (Pins 1, 2, and 3 are perfectly safe for this).
- GND ➔ Connect to any shared GND on the ESP32.
- + (VCC) ➔ Connect to the 3.3V pin on the ESP32. (Don't use 5V for the encoder's data pins).
- SW (Switch) ➔ Connect to GPIO 3.
- DT (Data) ➔ Connect to GPIO 2.
- CLK (Clock) ➔ Connect to GPIO 1.
How to Control It Using Bluetooth
- Upload the code to your ESP32-C6.
- Open the Serial Bluetooth Terminal app on your phone.
- Tap the menu (three lines top left) ➔ Devices ➔ Bluetooth LE tab ➔ Scan.
- Tap on "My-BLE-Panel" to connect.
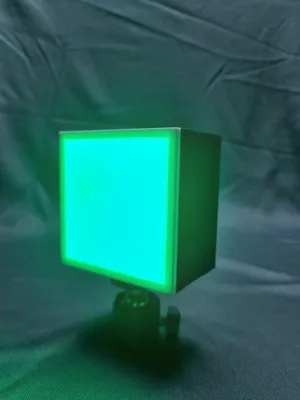
- In the chat box at the bottom, type R and hit send. The panel will turn Red! Type B for Blue, O for Off, etc.
To increse and decrese intensity of light use + and - respectively
Use the Physical Dial
- Since you wired up that KY-040 rotary encoder, it acts as both a color wheel and a dimmer switch.
- Press the dial straight down like a button.
- The entire LED panel will quickly flash Yellow. This means you are now in "Brightness Mode".
- Turn the dial left to dim the lights, and turn it right to make them brighter.
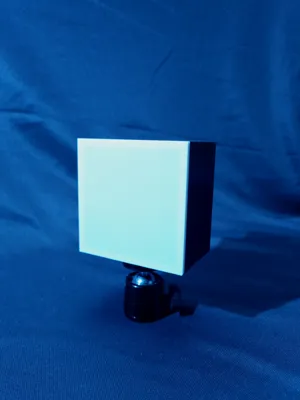
- When you are done, press the dial down again. The panel will flash White, meaning you are back in "Color Mode".
Pro-Tip for the App: You don't have to type the letters every time! The app has "Macro" buttons at the bottom of the screen (M1, M2, M3). You can long-press those buttons, name them "Red", "Blue", etc., and assign the letters to them. Now you have a custom touchscreen remote!
code file will be uploaded which u can use it just copy paste code in vscode
Boost Me (for free)
IF YOU LIKE MY BUILD ENCOURAGE ME WITH A BOOST
Documentation (1)
License
You shall not share, sub-license, sell, rent, host, transfer, or distribute in any way the digital or 3D printed versions of this object, nor any other derivative work of this object in its digital or physical format (including - but not limited to - remixes of this object, and hosting on other digital platforms). The objects may not be used without permission in any way whatsoever in which you charge money, or collect fees.
Comment & Rating (0)