Search models, users, collections, and posts

LCD Handheld Panel for Home Assistant
IP Report
Print Profile(0)
Add the first print profile to earn points
Boost
1
3
0
0
1
1
Released
Bill of Materials
List other parts
- sheet metal screws, 8 mm x 4:
- LCD panel with touchscreen x 1: https://de.aliexpress.com/item/1005006622809642.html
- LiPo battery 3.7V, 500mAh x 1: https://de.aliexpress.com/item/1005006646150179.html
- Magsafe ring x 1: https://de.aliexpress.com/item/1005006588934001.html
- Wireless charging coil x 1: https://de.aliexpress.com/item/1005005909809714.html
Description
Summary
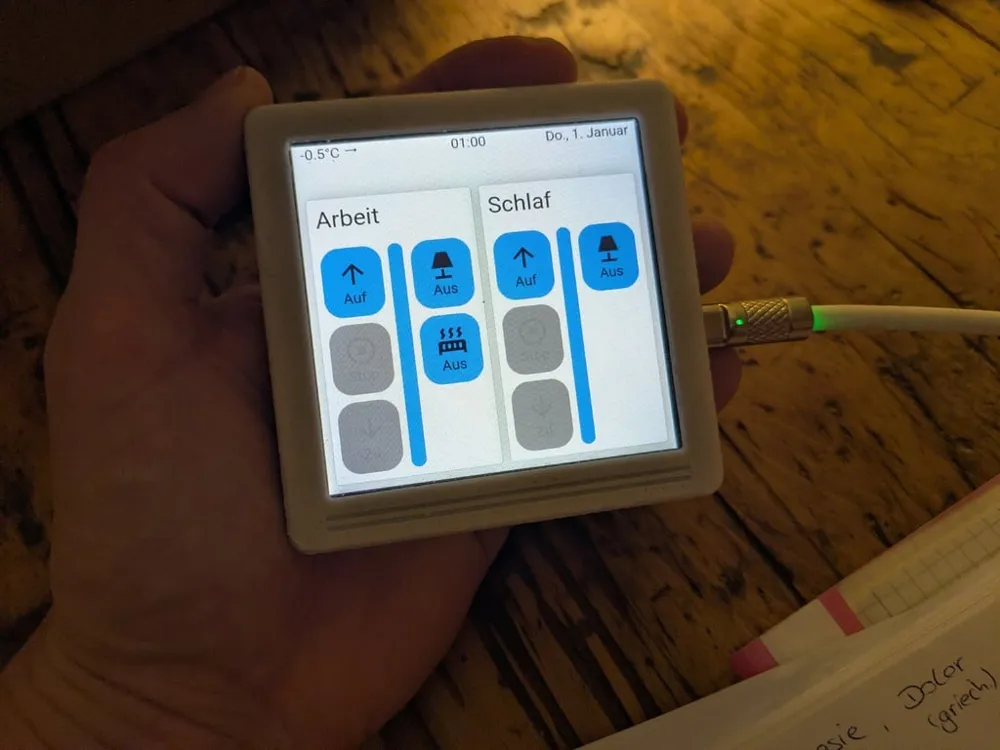
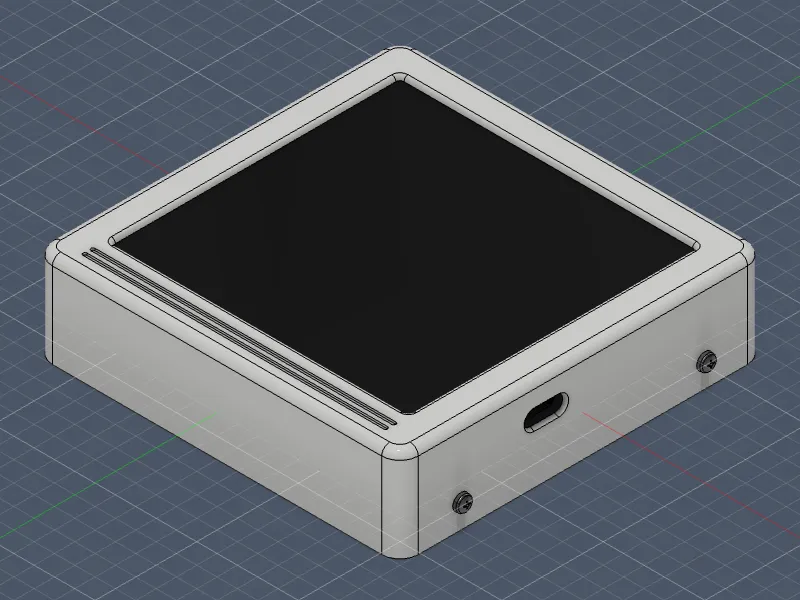
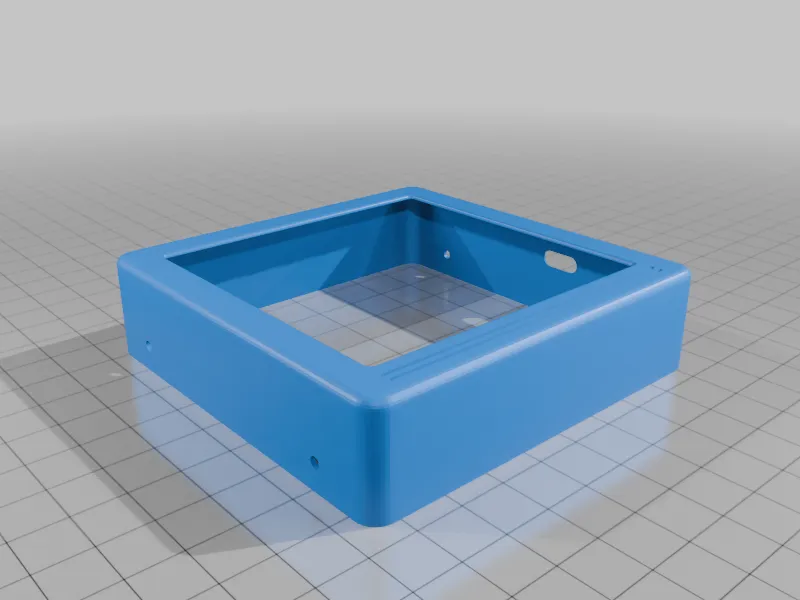
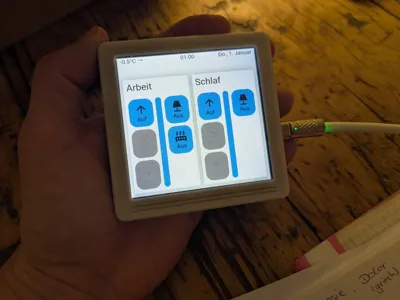
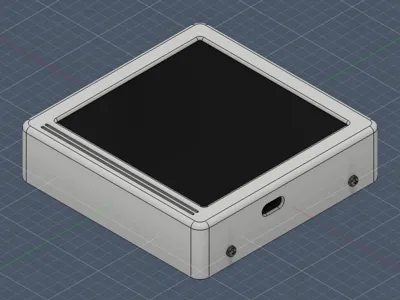
A 3D-printable enclosure for an LCD handheld panel designed for Home Assistant. This case is optimized for easy assembly, access to electronics, and features support for wireless charging—including MagSafe compatibility. The design also allows for battery operation, making the panel fully portable. Ideal for smart home dashboards, control panels, or custom display projects. Includes mounting holes, cable management, and options for both wired and wireless power.
Full electronics and home assistant examples are on GitHub: https://github.com/Smengerl/lcd_handheld_panel
Printed parts:
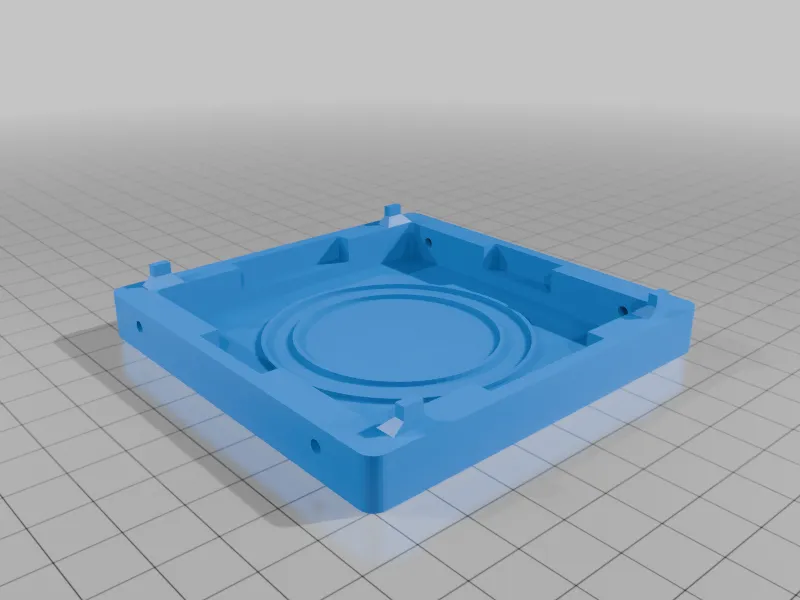
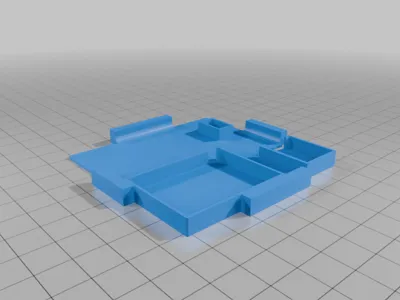
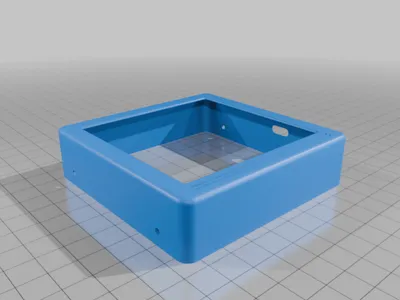

- lower_part.stl
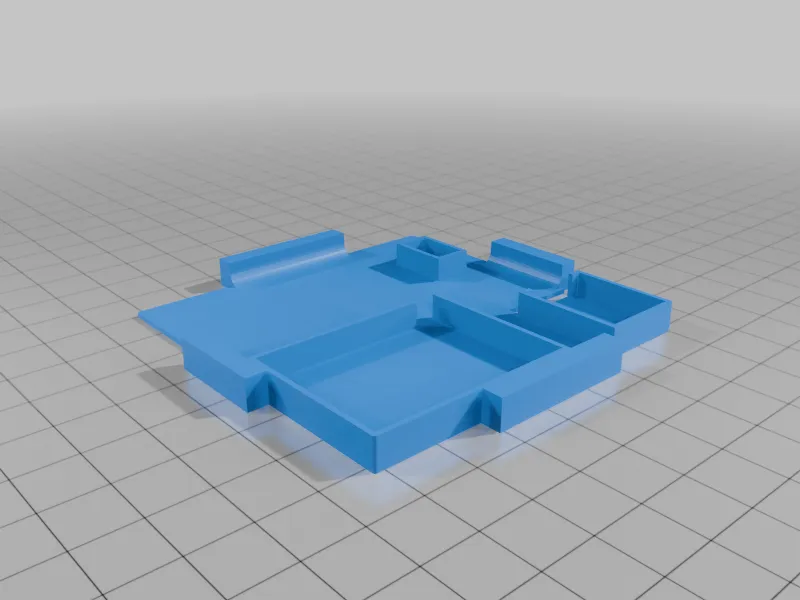
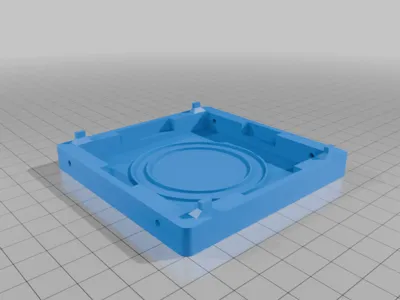
- middle_part.stl
- upper_part.stl - print upside down (face on built plate)
Assembly
- Print all parts
- Glue the Magsafe ring and charging coil into the lower part.
- Route the cables through the opening in the middle part and place the middle part onto the lower part.
- Glue the LiPo battery into the middle part, solder it to the charging controller, and also solder the charging coil cables.
- Connect the display to the charging controller and place it on top.
- Finally, place the upper part over the display and fasten it to the lower part using the sheet metal screws.
- Place the panel on a wireless charging pad or use the battery for portable operation.
- Connect to your Home Assistant setup and enjoy your new handheld panel!
License

This user content is licensed under a
Creative Commons Attribution-Share Alike


Comment & Rating (0)