Search models, users, collections, and posts


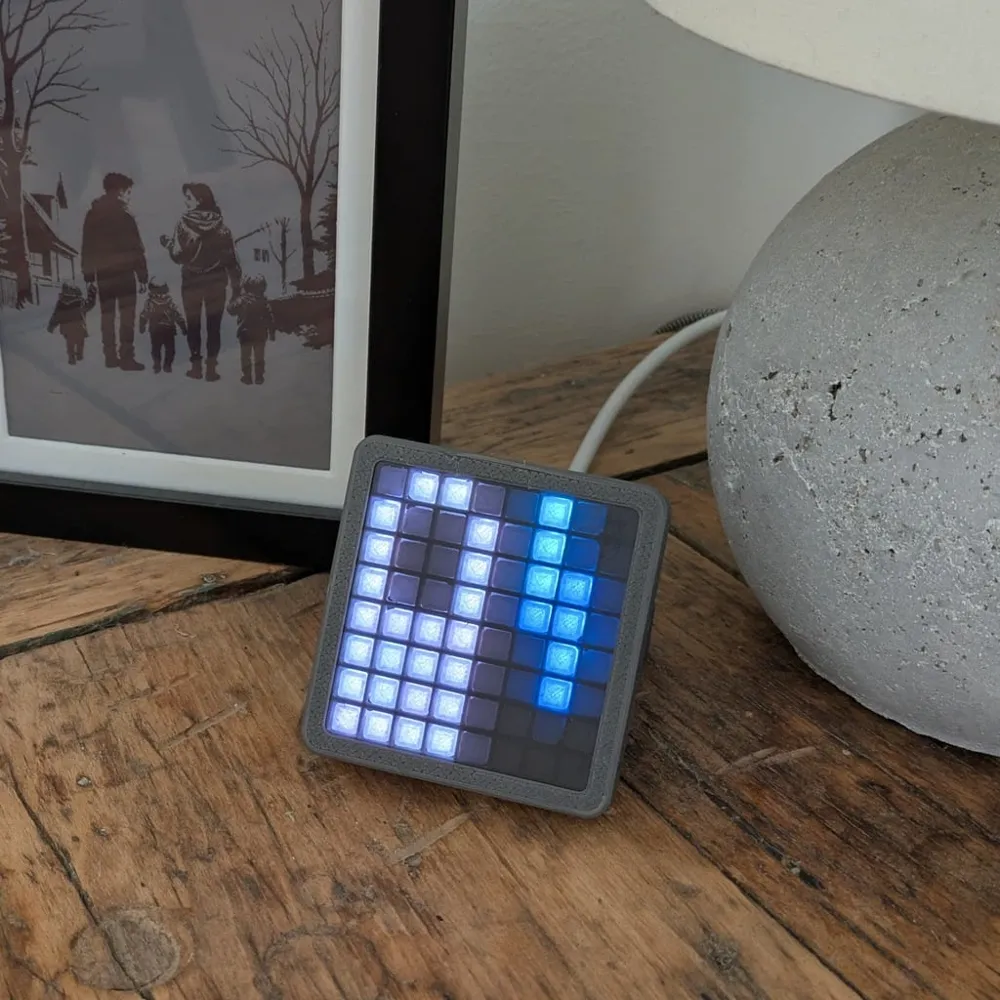




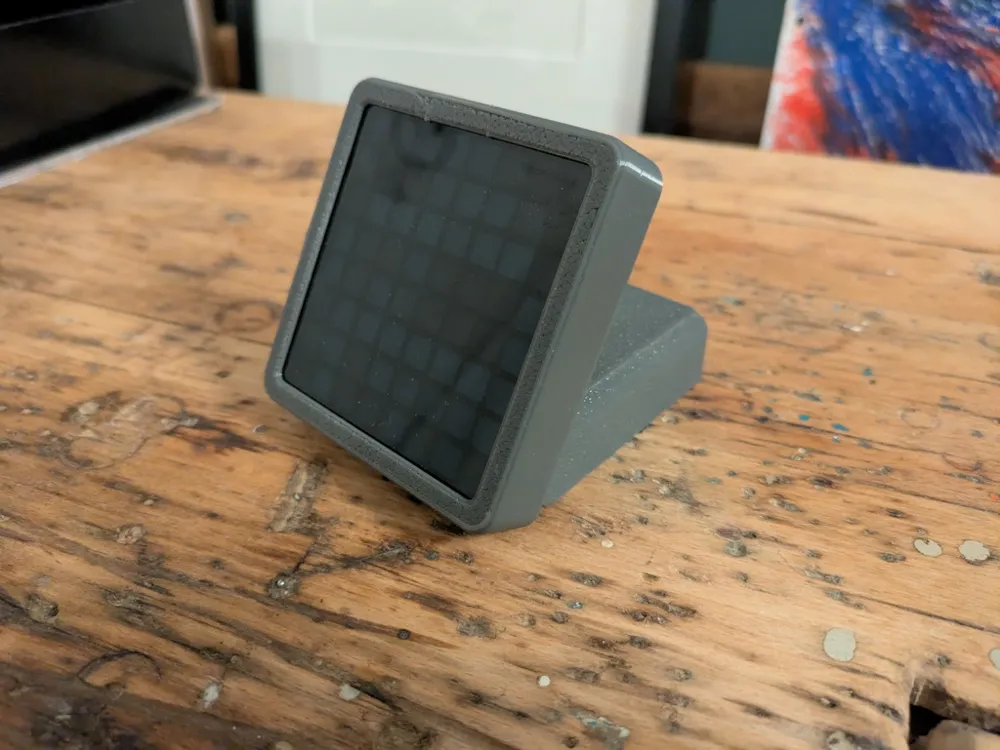
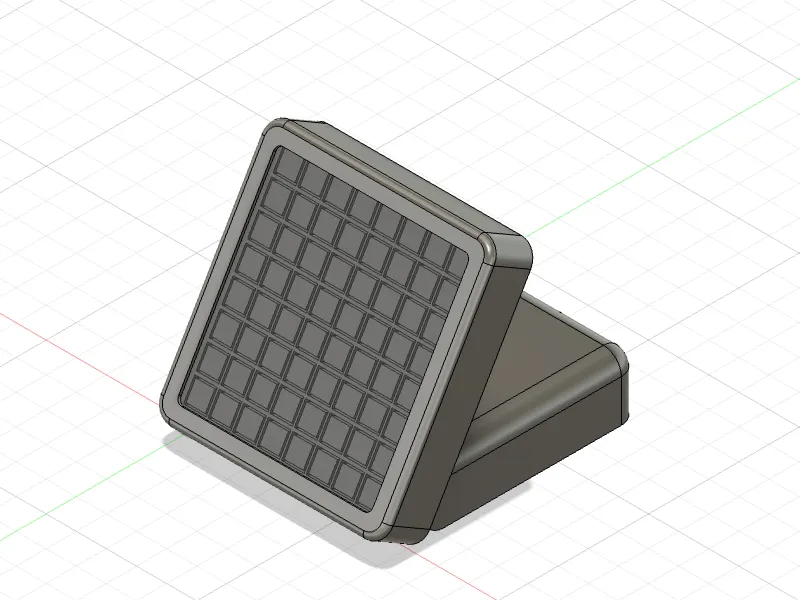
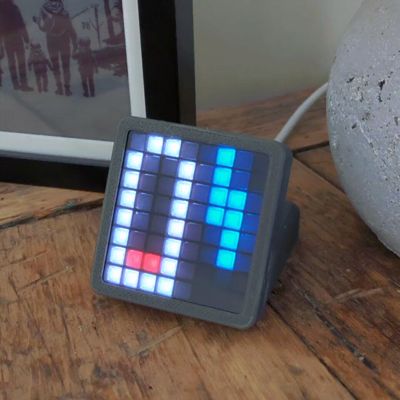
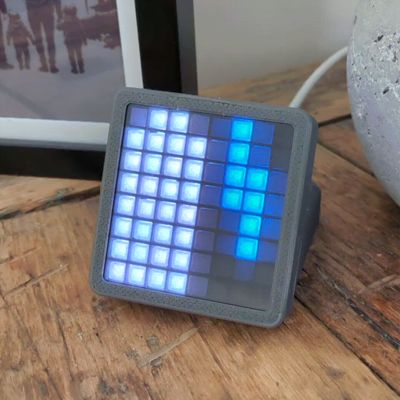
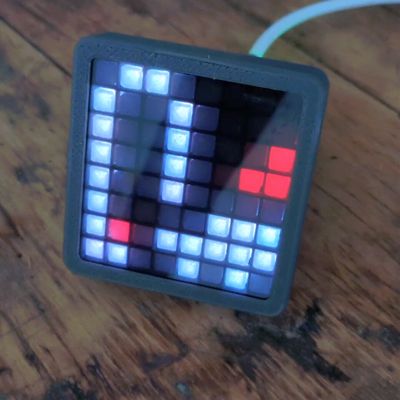
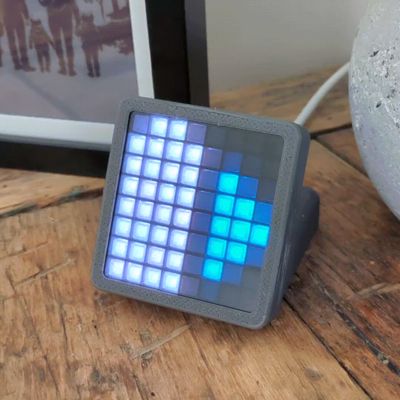
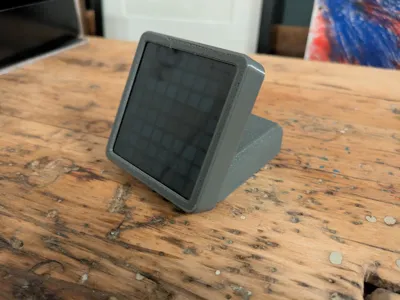
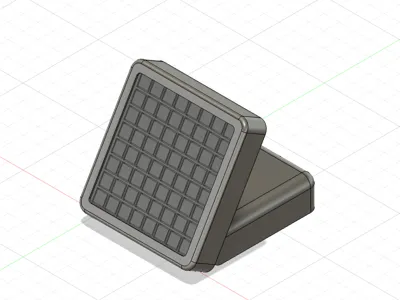
LED matrix desktop stand for smart homes
IP Report
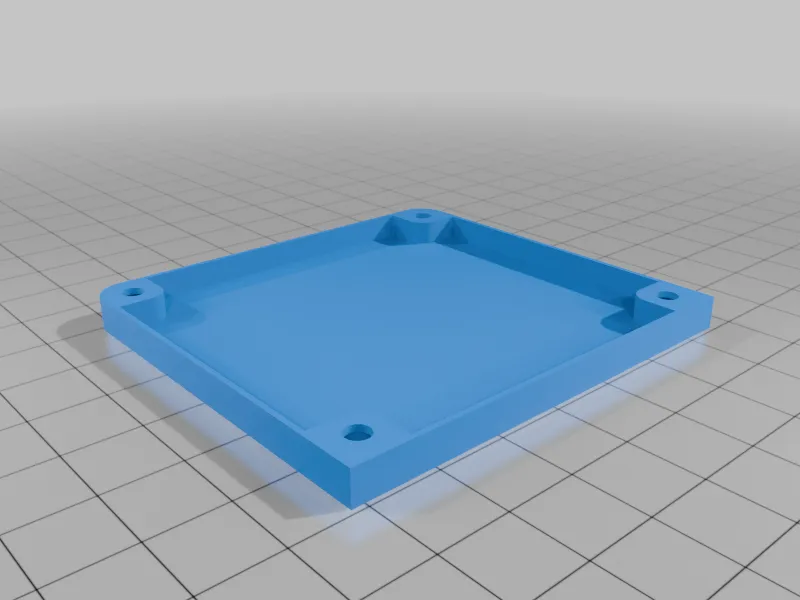
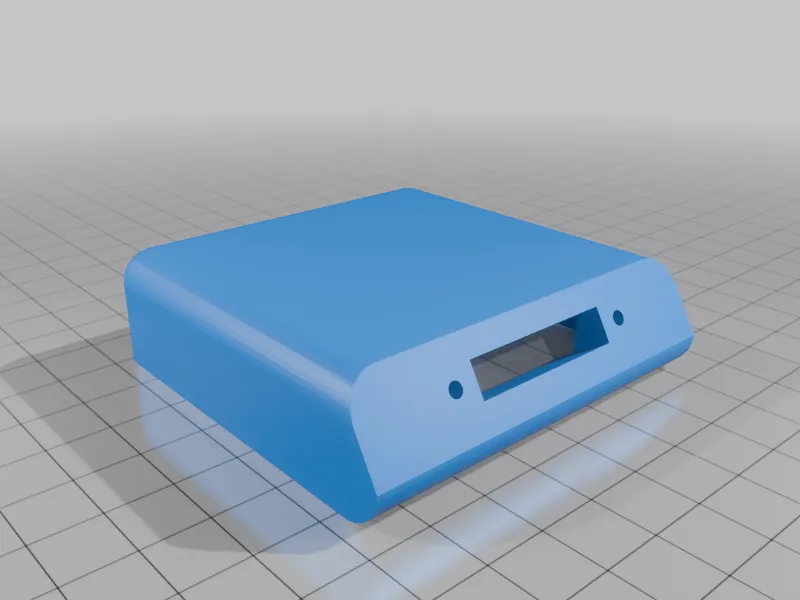
GIF
GIF
GIF
GIF
GIF
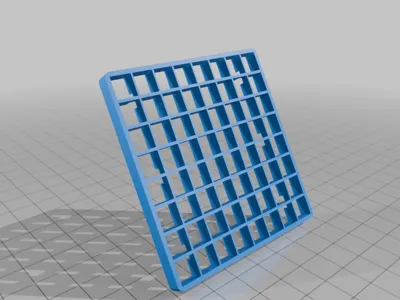
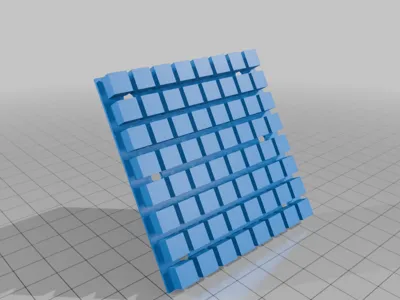
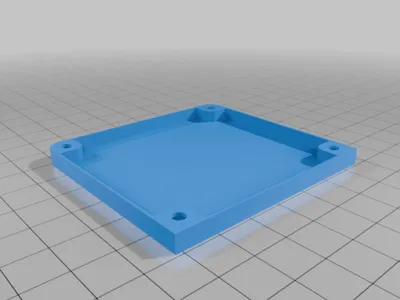
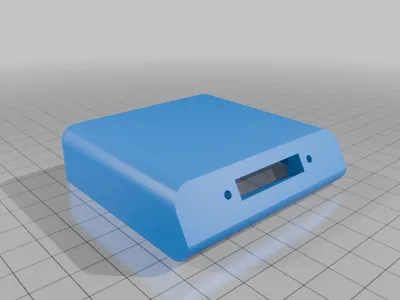
Print Profile(0)
Add the first print profile to earn points
Boost
3
8
0
0
13
4
Released
Bill of Materials
List other parts
- ESP32 Dev Module (USB-C recommended) x 1:
- WS2812B 8x8 LED Matrix Module x 1:
- M3×10mm cylinder head screws x 6:
- M3×6mm cylinder head screws x 4:
- M2×4mm cylinder head screw x 6:
- Optional: 2mm semi-transparent acrylic sheet x 1: cut to size
Description
Summary
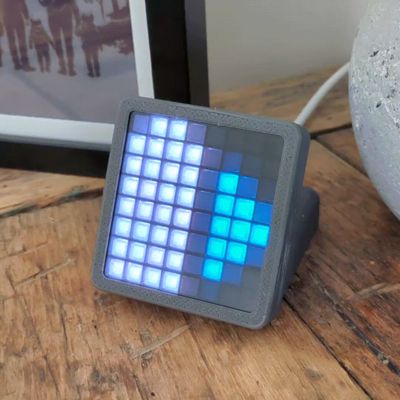
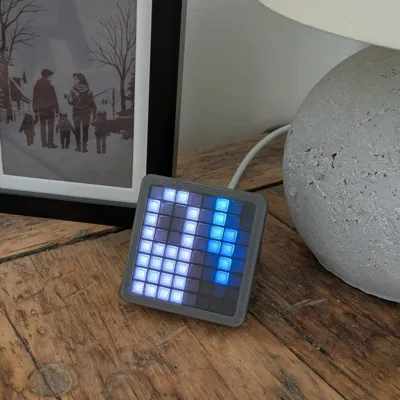
This project provides a clean, professional-looking stand for standard 8x8 WS2812B LED matrices. The modular design features a stable base, integrated ESP32 housing, and a diffuser system for optimal light distribution. Perfect for Home Assistant displays, pixel art, notifications, or custom visualizations.
Key Features:
- Desktop stand - Stable base for table placement
- Clean aesthetics - Acrylic cover and diffuser for a clean look with retro pixel optics
- Low cost - Budget-friendly build (under $10 in components)
- Versatile applications - ESP32-based design enables various use cases. Perfect for Home Assistant, notifications, pixel art, or animations
- Easy to build - Simple to print and assemble
Full documentation, assembly instructions, and source files available on GitHub: https://github.com/Smengerl/model_paint_holder
Example Applications:
- Home Assistant status display
- Solar/battery monitoring
- Weather display
- Notifications
- Pixel art animations
- Retro game displays
- Music visualizer
What's Included:
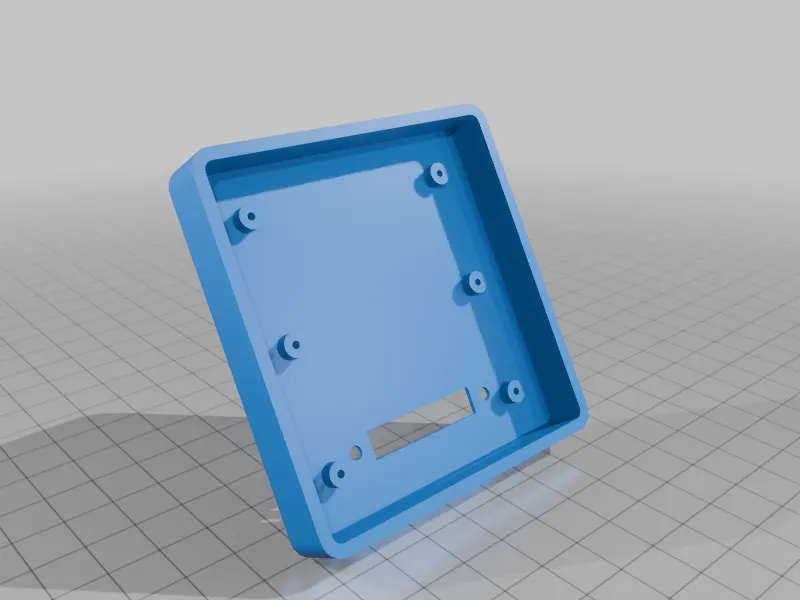
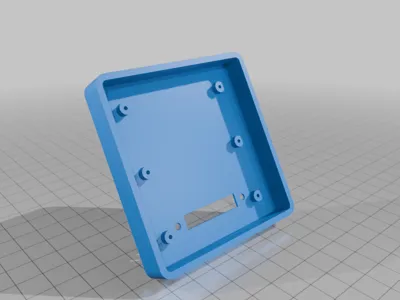

- Base box with integrated ESP32 mounting
- Display frame base
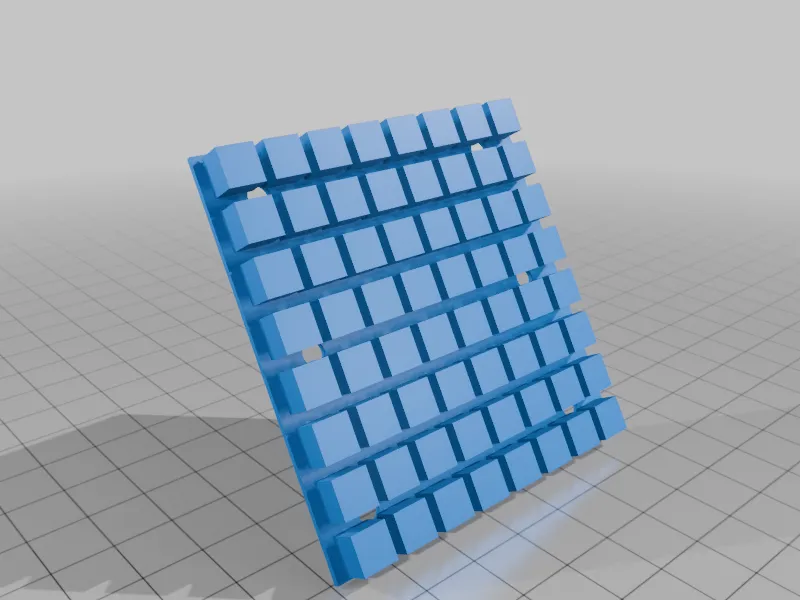
- Display diffuser (print in translucent PLA)
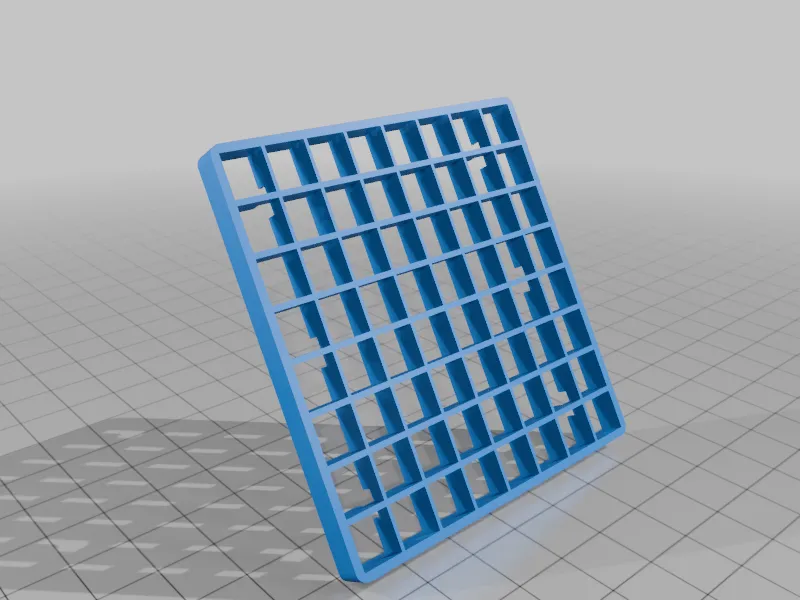
- Display grid (print in black for best results)
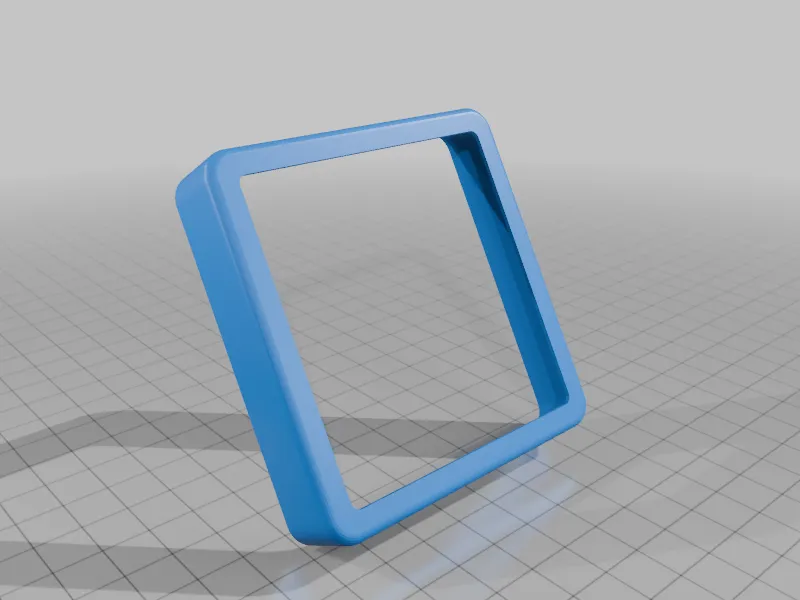
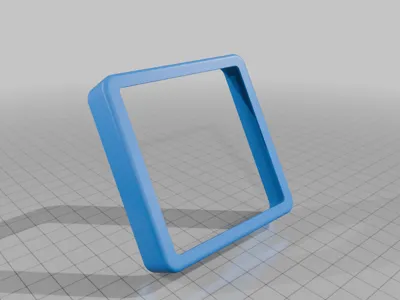
- Display cover frame
- Base box cover
Print Settings
- Rafts: No
- Supports: No
- Infill: 20%
Notes:
- Best visual results with semi-transparent black acrylic and black grid
- Diffuser prints best in translucent/natural PLA for smooth light distribution
- All dimensions optimized for standard WS2812B 8x8 matrices (typically ~32mm square)
Assembly
- Mount ESP32 to base with M3×6mm screws
- Attach display frame base with M3×10mm screws
- Solder and connect LED matrix to ESP32
- Secure LED matrix with M2×4mm screws
- Insert diffuser and grid
- Add acrylic panel to display cover (optional)
- Place display cover on top
- Close base with M3×10mm screws
See assembly animation in the images for visual guidance.
Software
An example ESPHome configuration for Home Assistant integration is available in the GitHub repository: https://github.com/Smengerl/matrix_display_stand_8x8
License

This user content is licensed under a
Creative Commons Attribution-Share Alike


Comment & Rating (0)