
Multi-purpose low-cost matrix display
Print Profile(0)
Bill of Materials
- ESP32 dev module x 1: USB-C recommended
- 8×8 LED matrix display (MAX7219 / FC16) x 4:
- Countersunk screw M3 × 5 mm x 8:
- Cylinder head screw M3 × 10 mm x 4:
- acrylic sheet: semi-transparent, max 2 mm x 1: Optional
Description
Summary
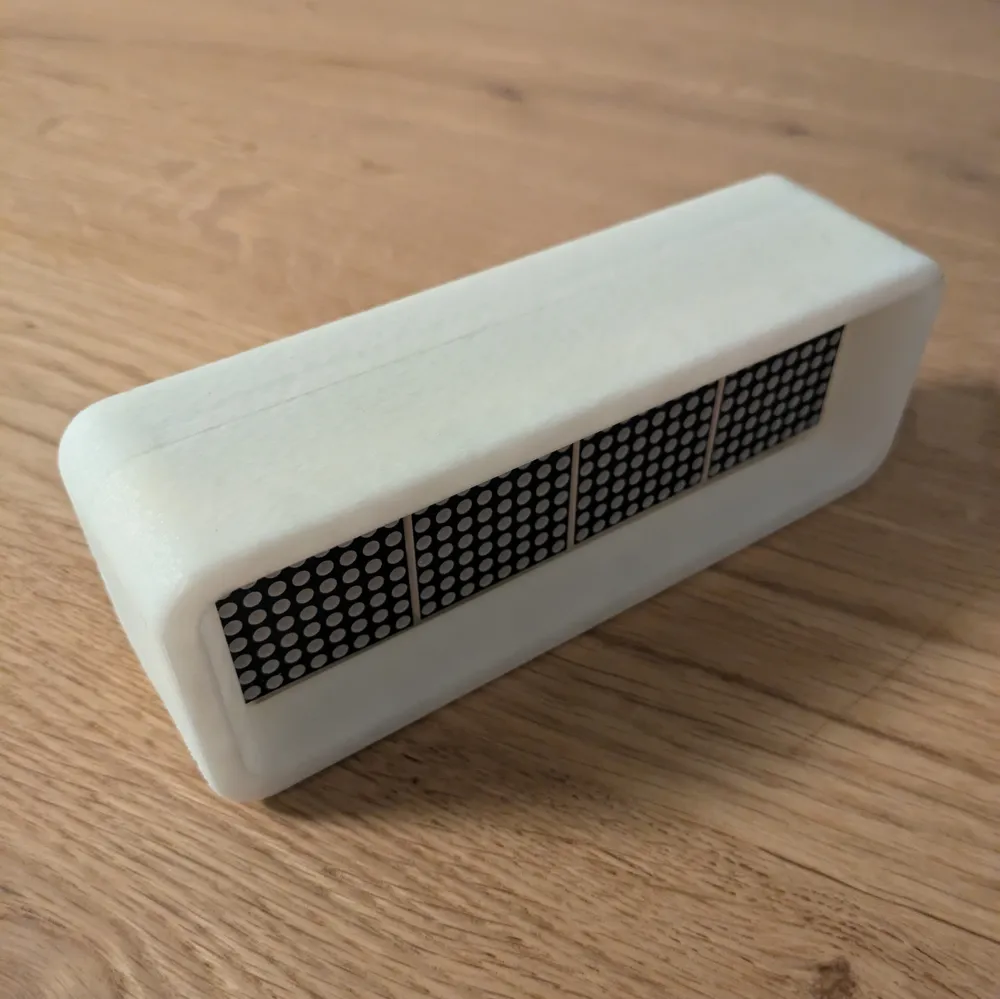
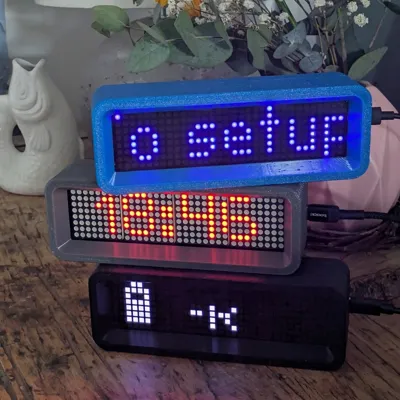
Build a compact, low-cost 32×8 LED matrix display driven by an ESP32 — great for various usecases: from a simple standalone clock to a full feature smart home information panel. This project was designed to be cheap (under $10 for key parts), easy to print, and quick to assemble. The housing is a two-part 3D printed enclosure (front + back) with an optional acrylic diffuser for a clean look. All electronics, schematics and software examples are available in the GitHub repository linked below.
GitHub repo: https://github.com/Smengerl/matrix_display
Key Features
- 32×8 LED matrix (MAX7219 / FC16 compatible) driven by an ESP32
- Very low bill of materials — total cost under ~$10 (ESP32 + LED matrix panel)
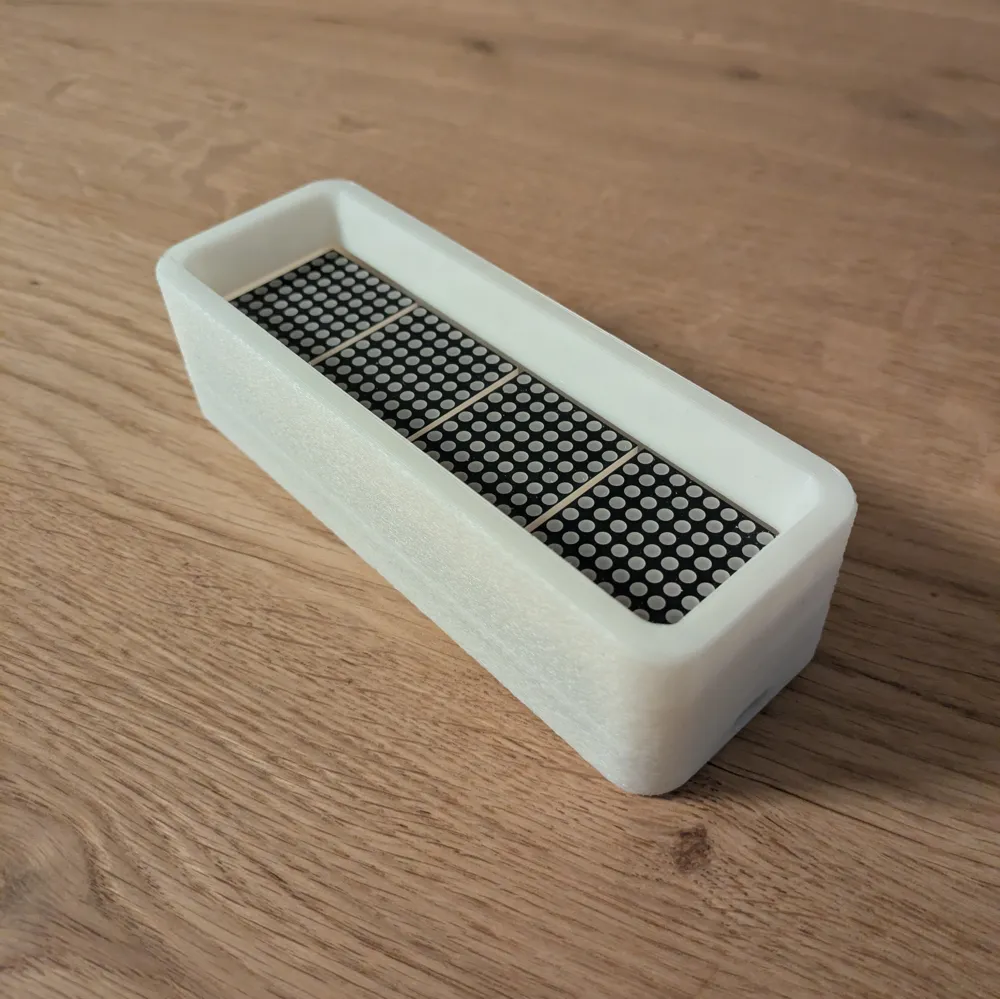
- Small, snap-fit 3D printed housing with optional acrylic face plate
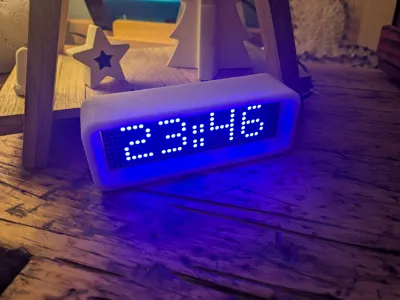
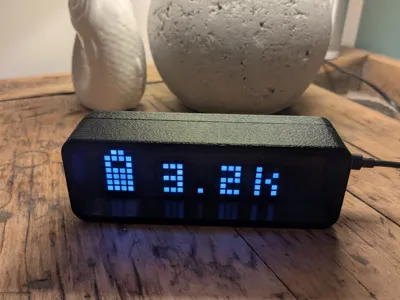
- Multiple example usages: NTP-synced clock, Home Assistant display via ESPHome, solar production panel
- Open design: STL, schematics, and firmware examples on GitHub
Example usage from repo:
- Standalone NTP-synced clock
- ESPHome integration for Home Assistant
- Solar production display

List of parts to print
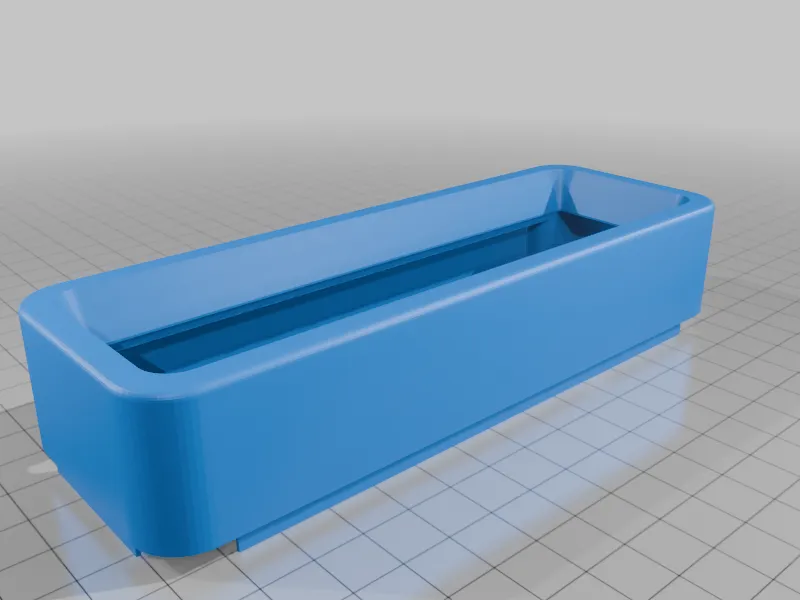
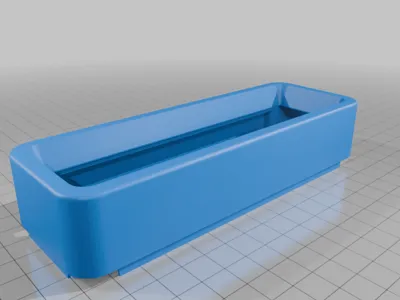
- frontside.stl — print upside down (face on built place)
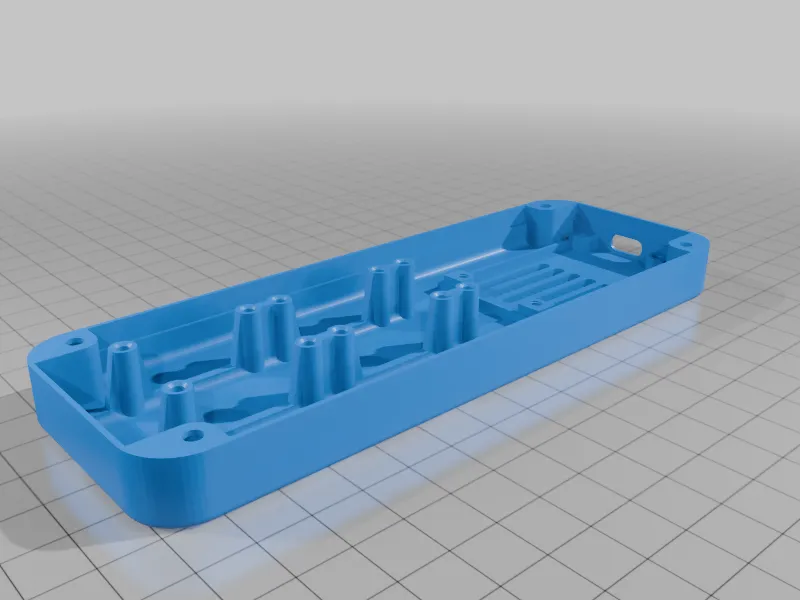
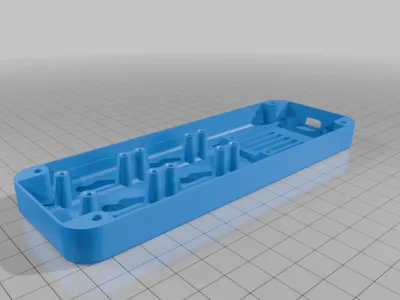
- backside.stl
- Optional: semi-transparent acrylic plate (not printed) — max 2 mm thickness, approx. 140–150 mm × 33–35 mm for a clean front finish
Print Settings
- Filament Material: PETG
- Supports: No
- Resolution: 0.2mm
- Infill: 20%
- Orientation: Print the front piece upside down (front-facing the print bed) to avoid supports.
- Surface finish:
- For a cleaner front surface you can print the front reversed and use ironing — note that printing reversed may require supports or additional tuning for best results.
- Use "fuzzy skin" on the outside walls if your slicer supports it to achieve a pleasant matte texture on the visible surfaces.
Assembly
- Remove any remaining stringing or minor artifacts from printing; light sanding is optional for mating surfaces.
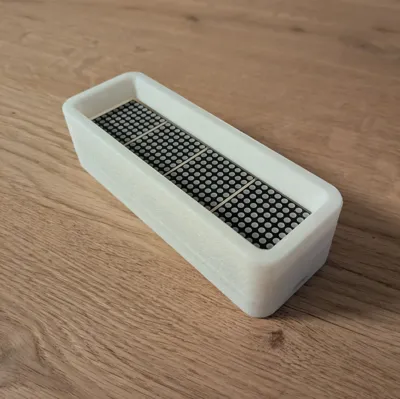
- If using the acrylic plate: glue the acrylic to the inside of the front piece (use thin, even glue beads or a suitable acrylic adhesive).
- Mount electronics:
- Attach the LED matrix and ESP32 to the back piece using the specified countersunk screws.
- Use the M3 × 10 mm screws to join front and back; the enclosure is snap-fit but screws secure it.
- Use small amounts of hot glue where needed to keep cables and the module in place.
- Final check: ensure the LED panel is properly seated and the ESP32 USB port is accessible for flashing/power
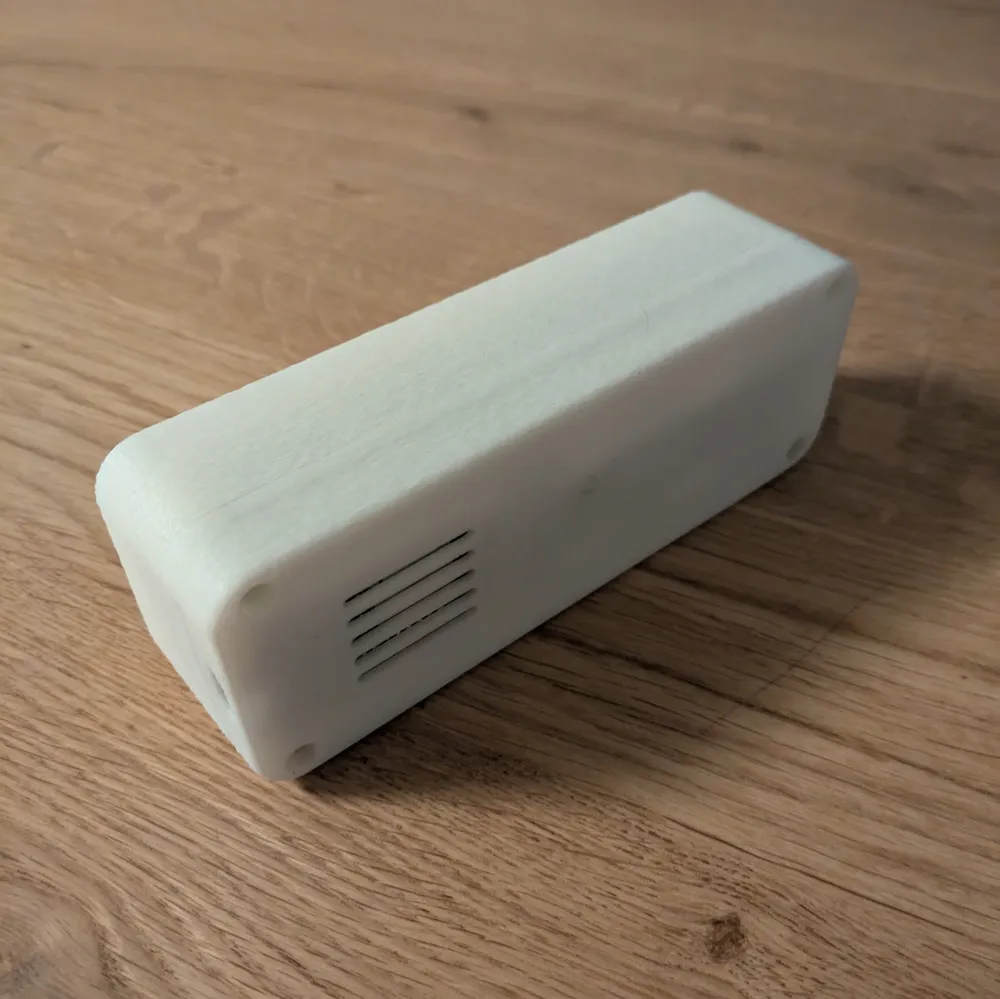
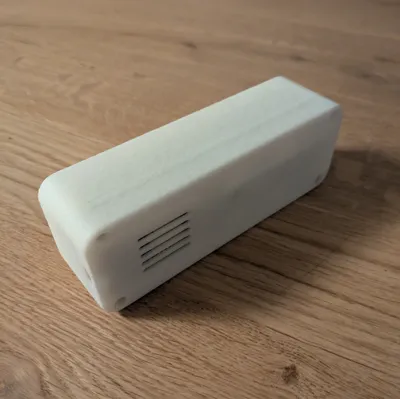
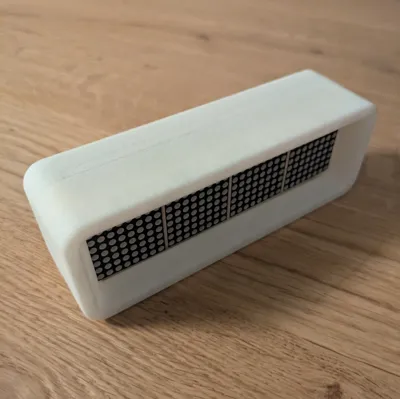
Fully assembled view:
Example usages:
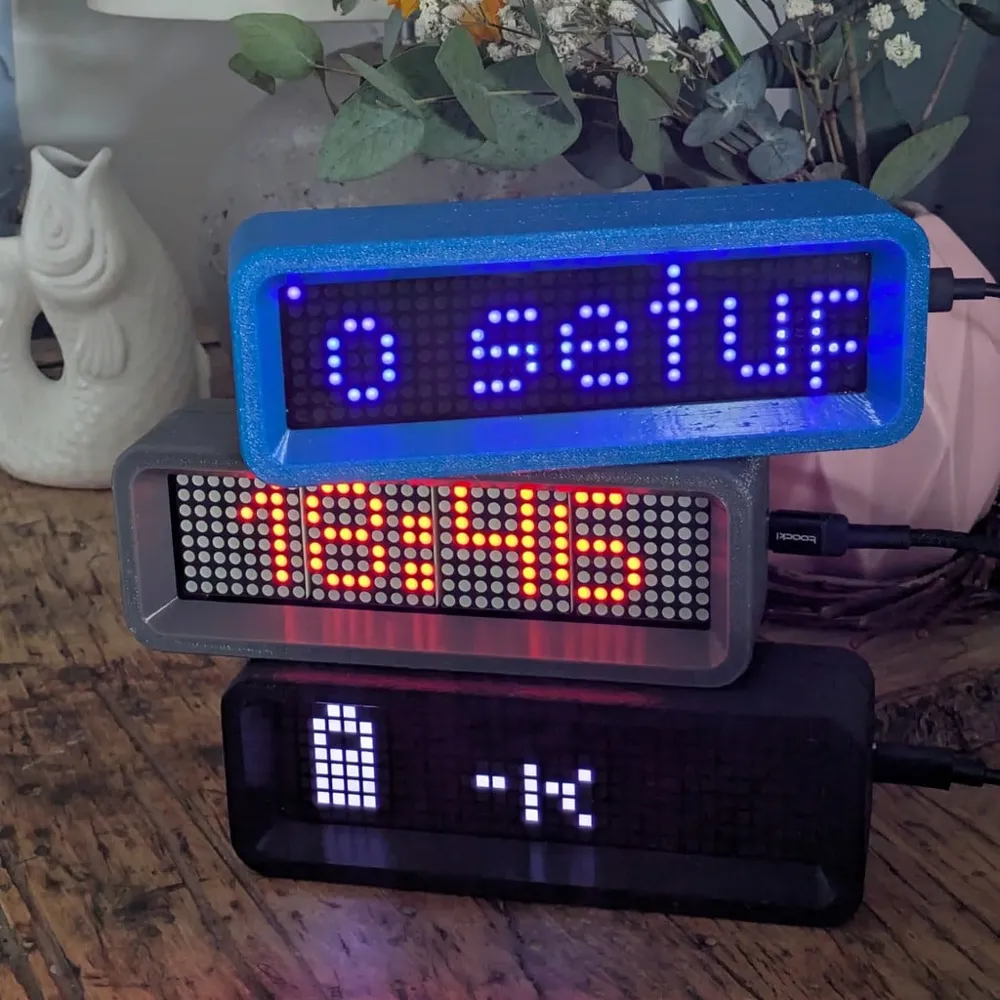
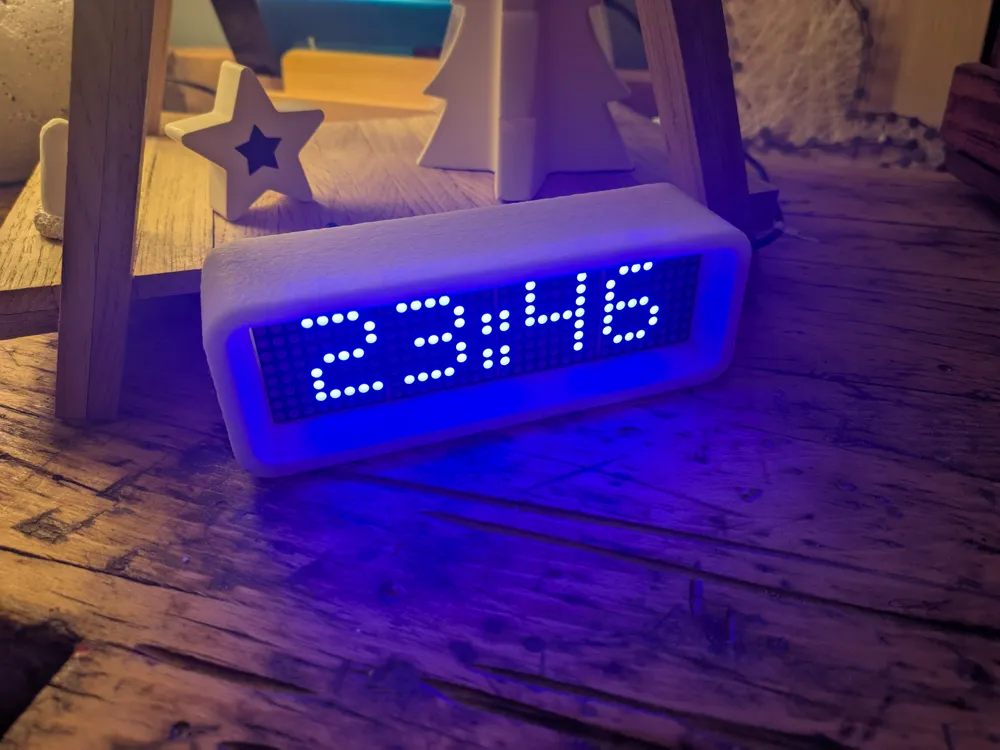
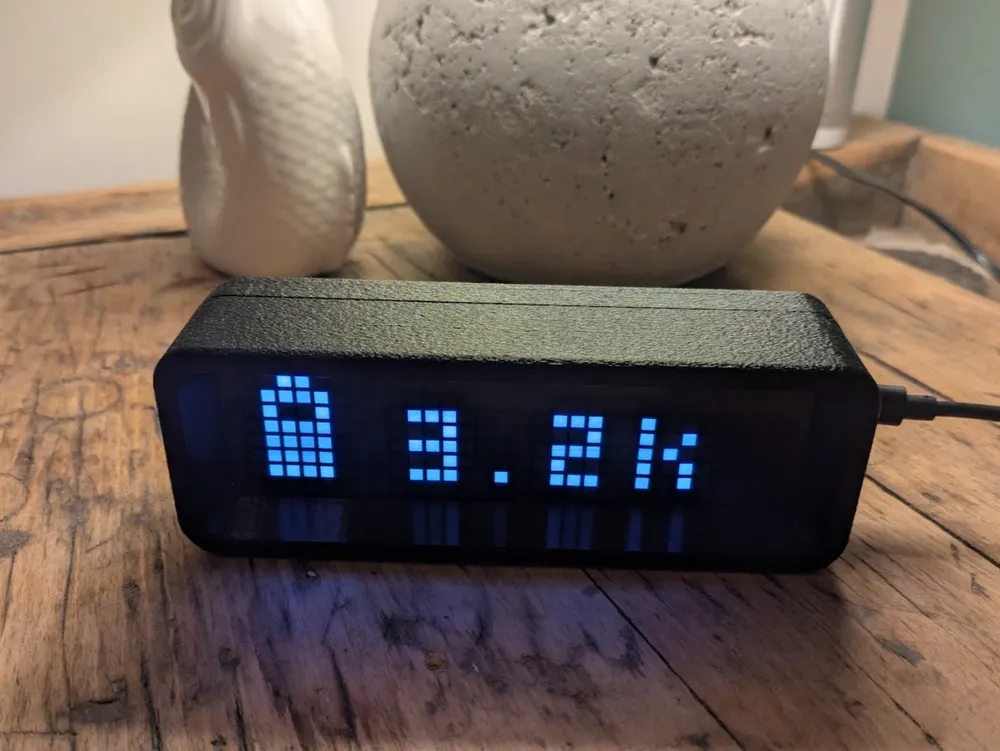
Examples for usages are shown in Github repo including a standalone clock and a display for home assistant showing solar production information
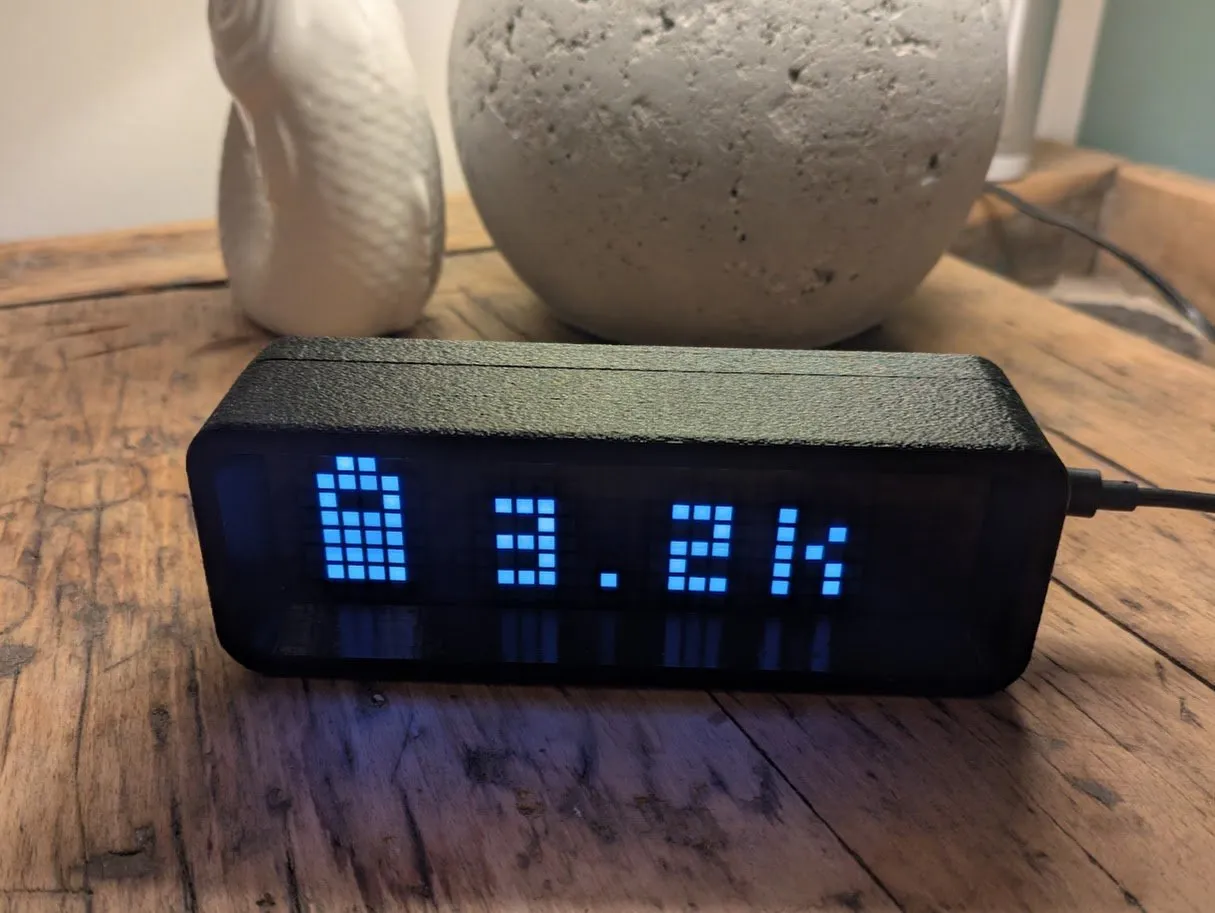
Solar production
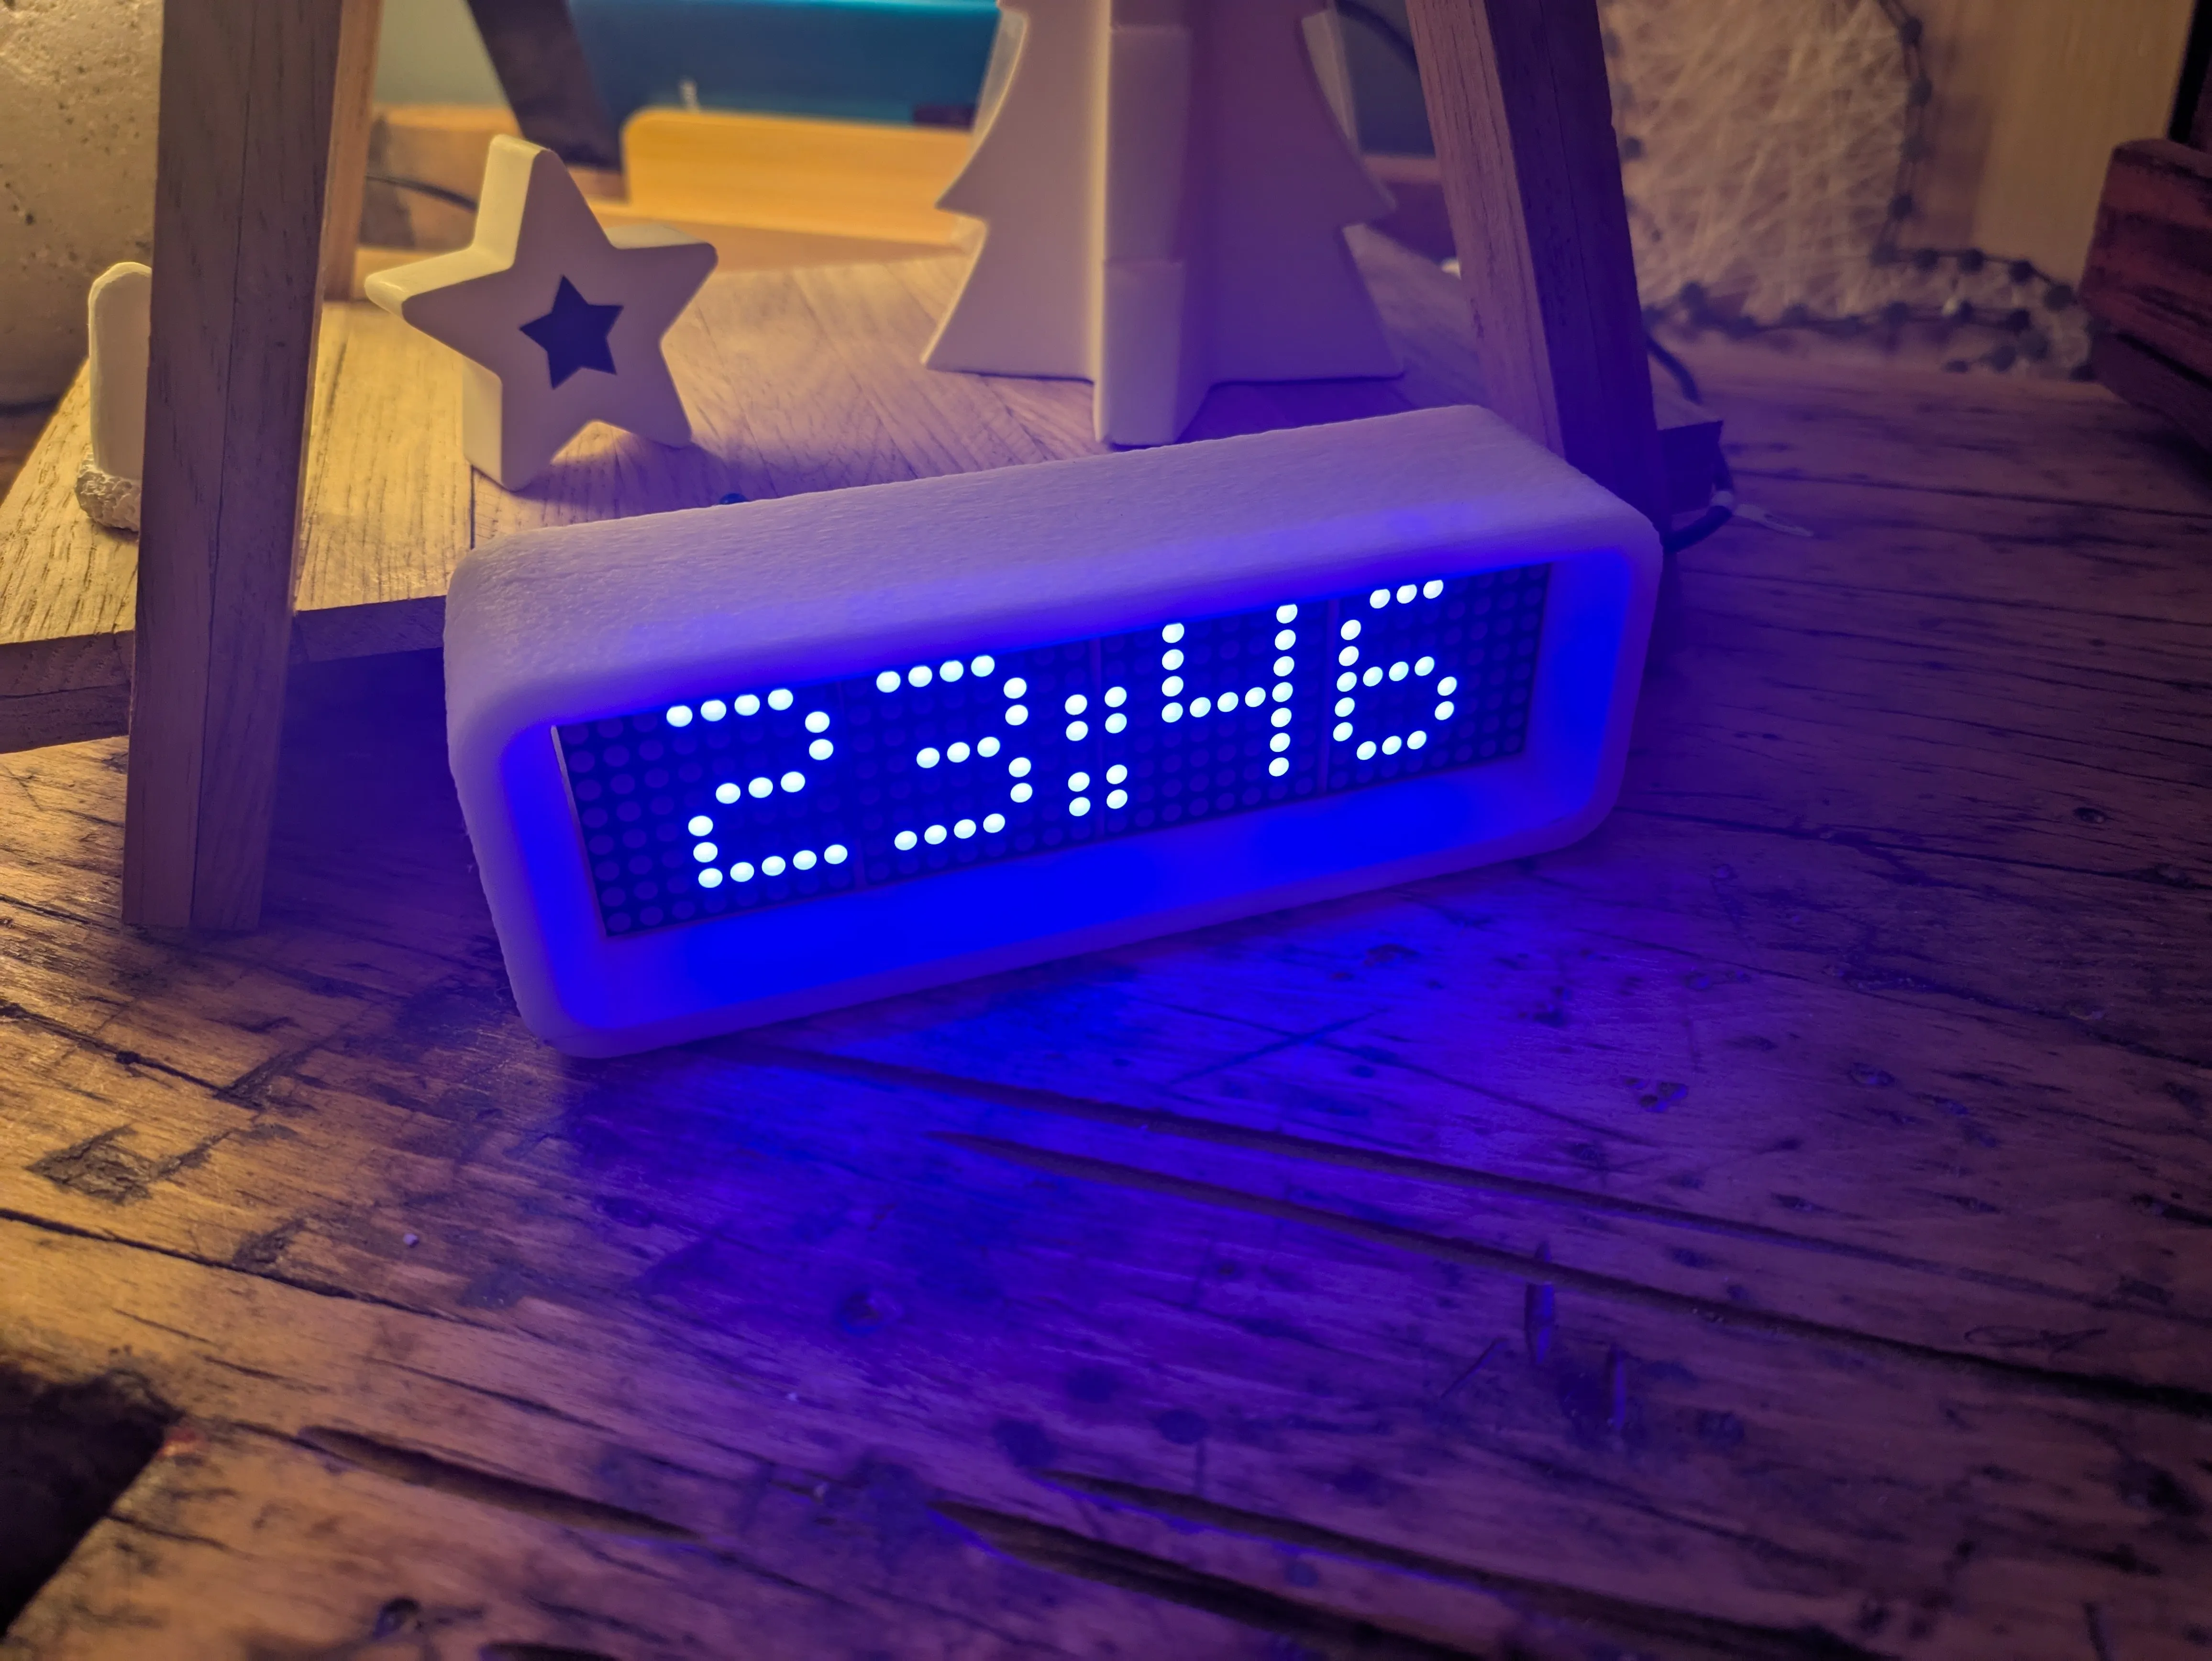
Standalone clock
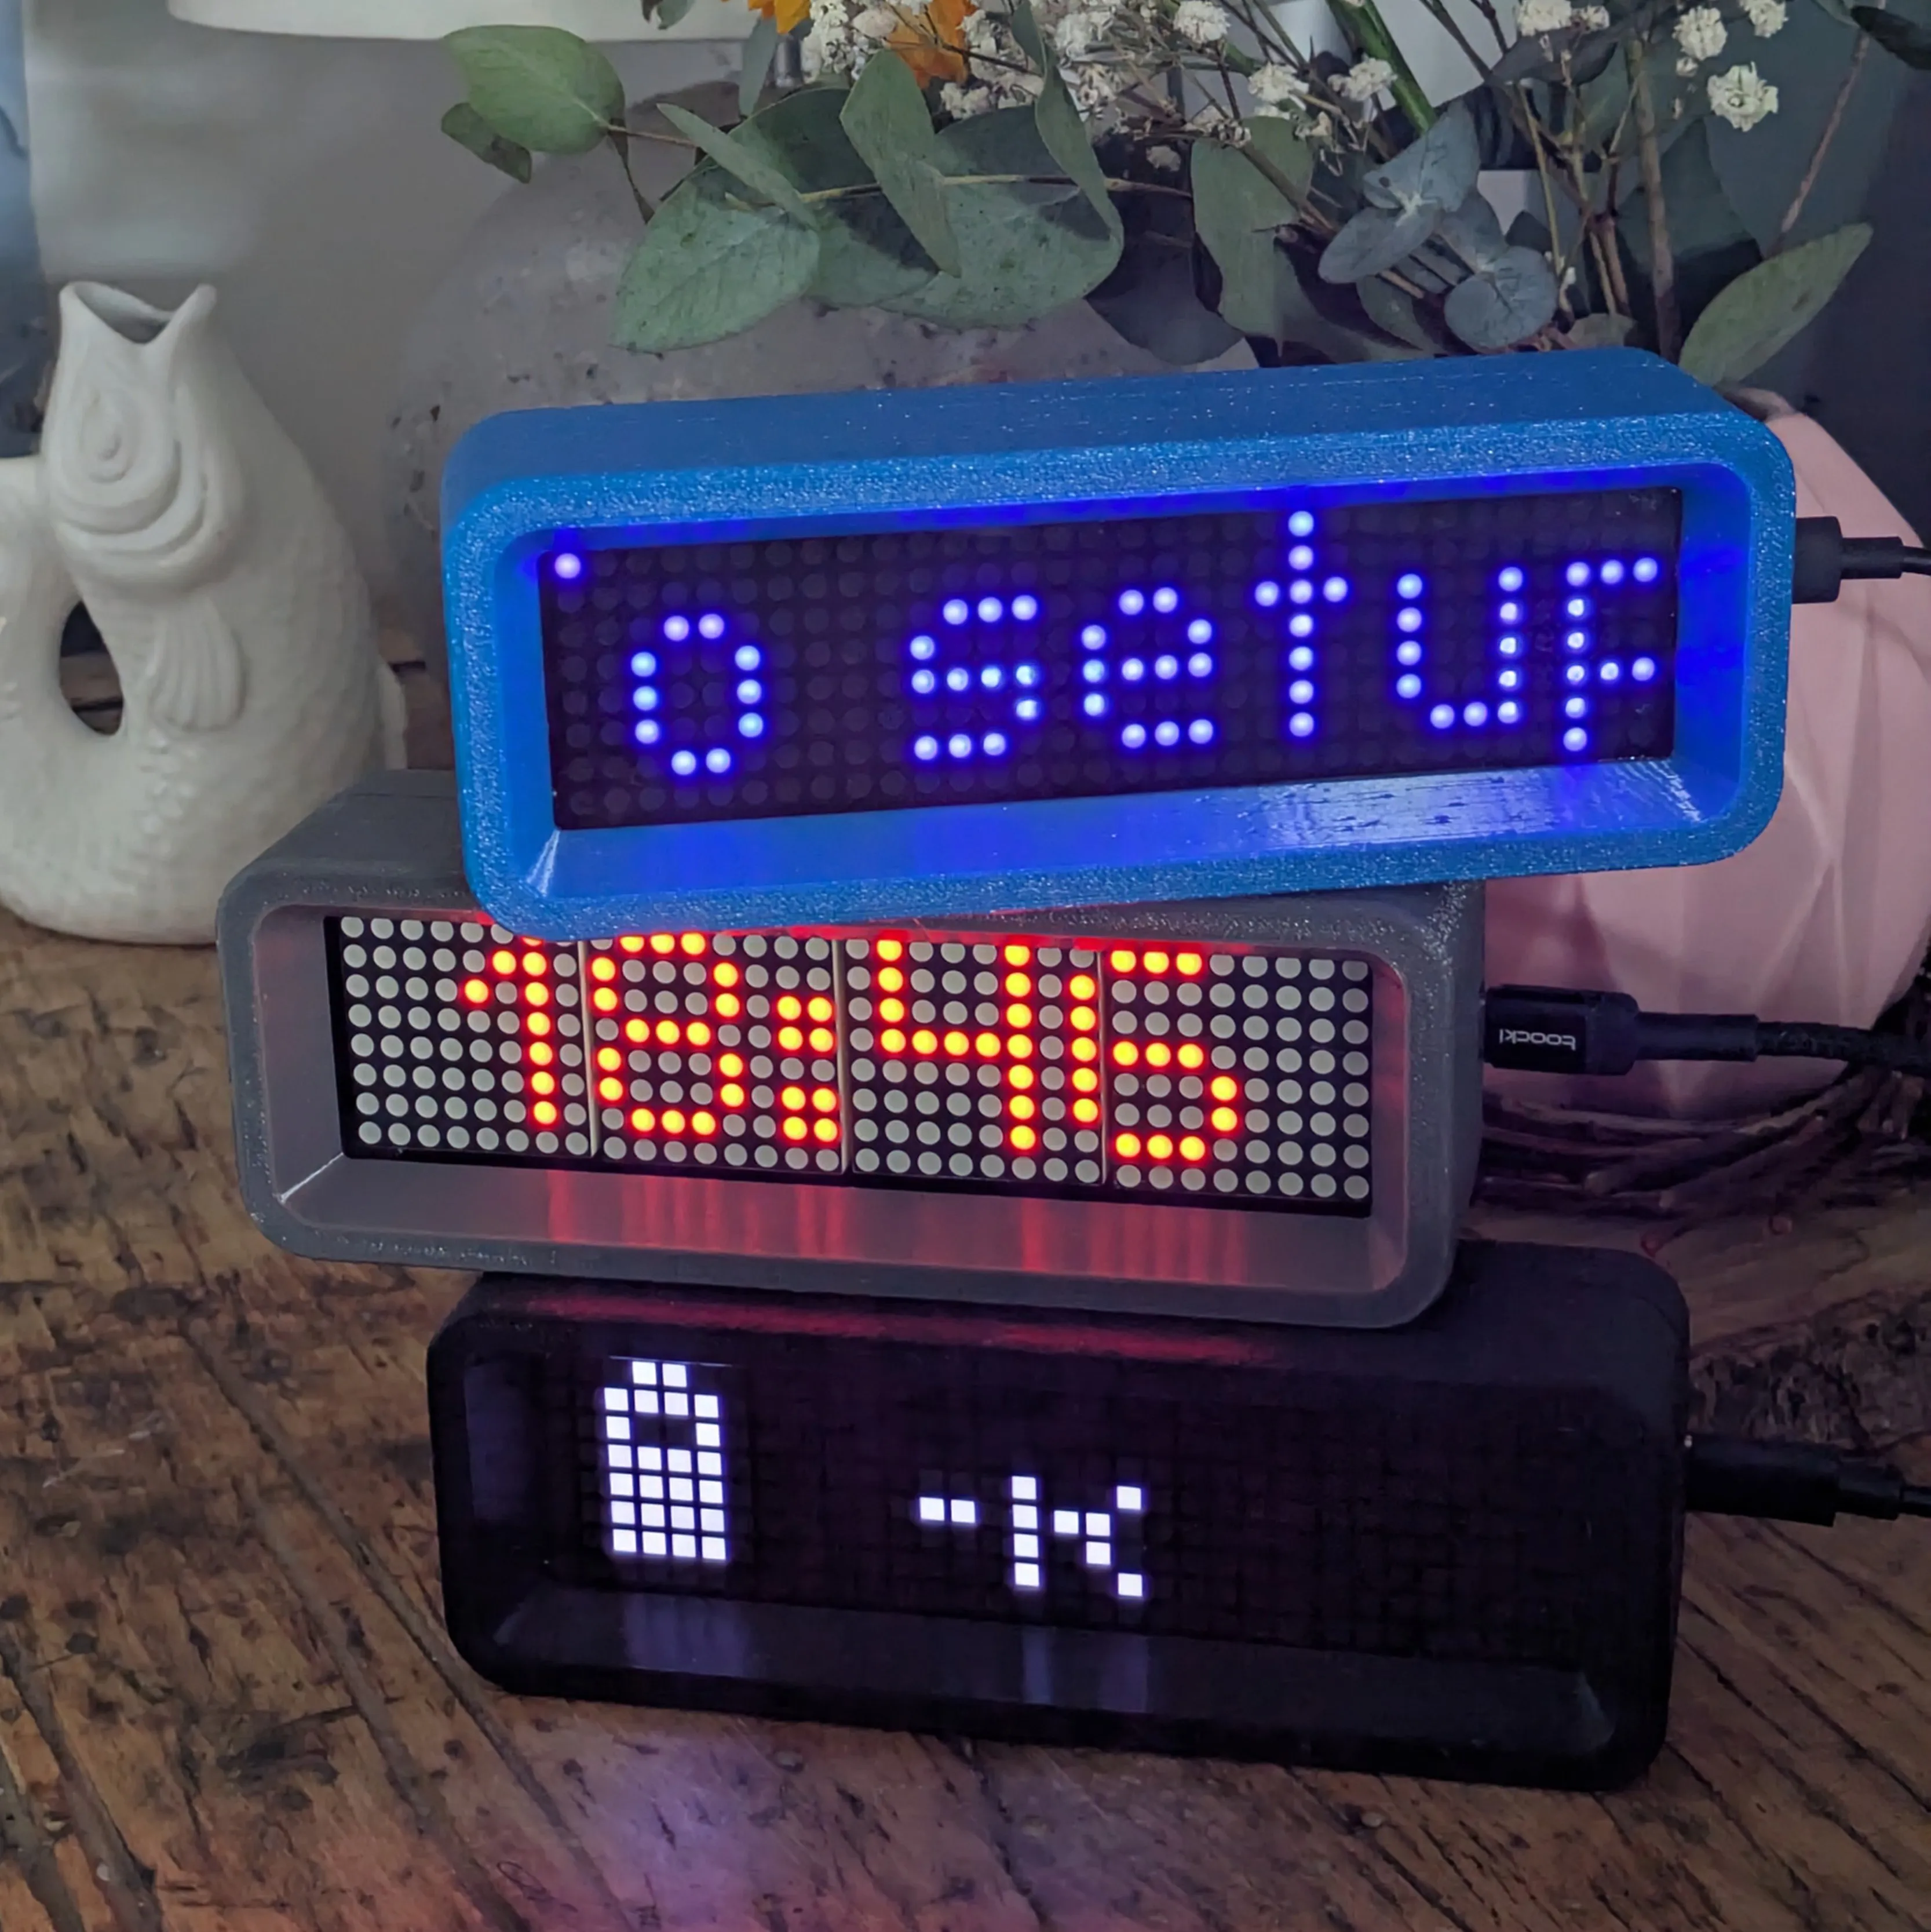
Variations
By choosing different filament colors, varying textures, using different type of matrix displays etc, you can create various variants of the display
License



Comment & Rating (0)