
Bluetooth Speaker 180w
Print Profile(1)
Bill of Materials



Description
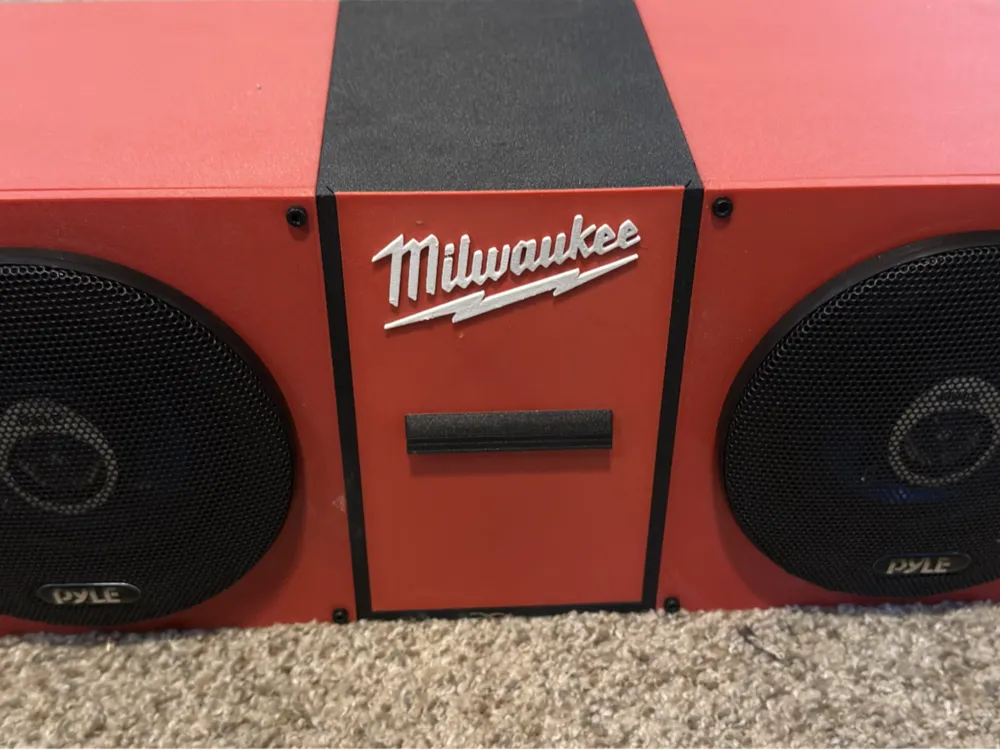
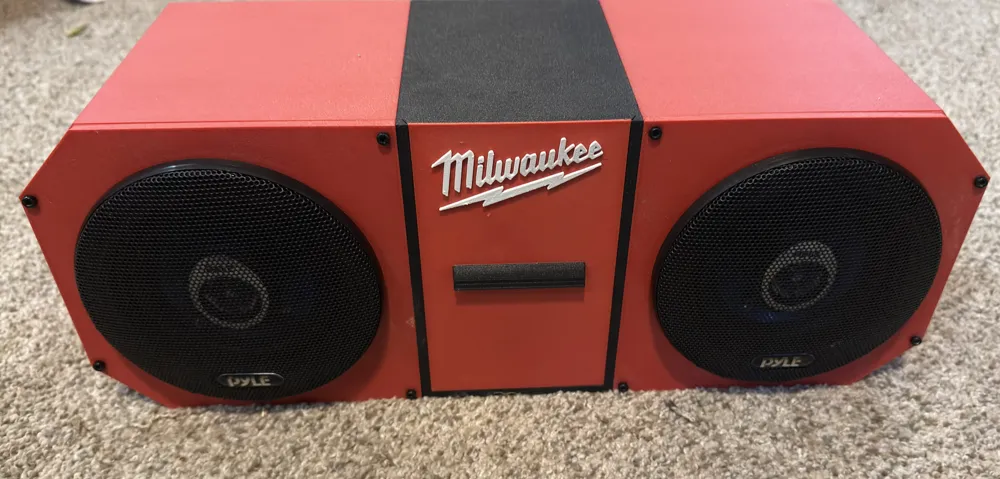
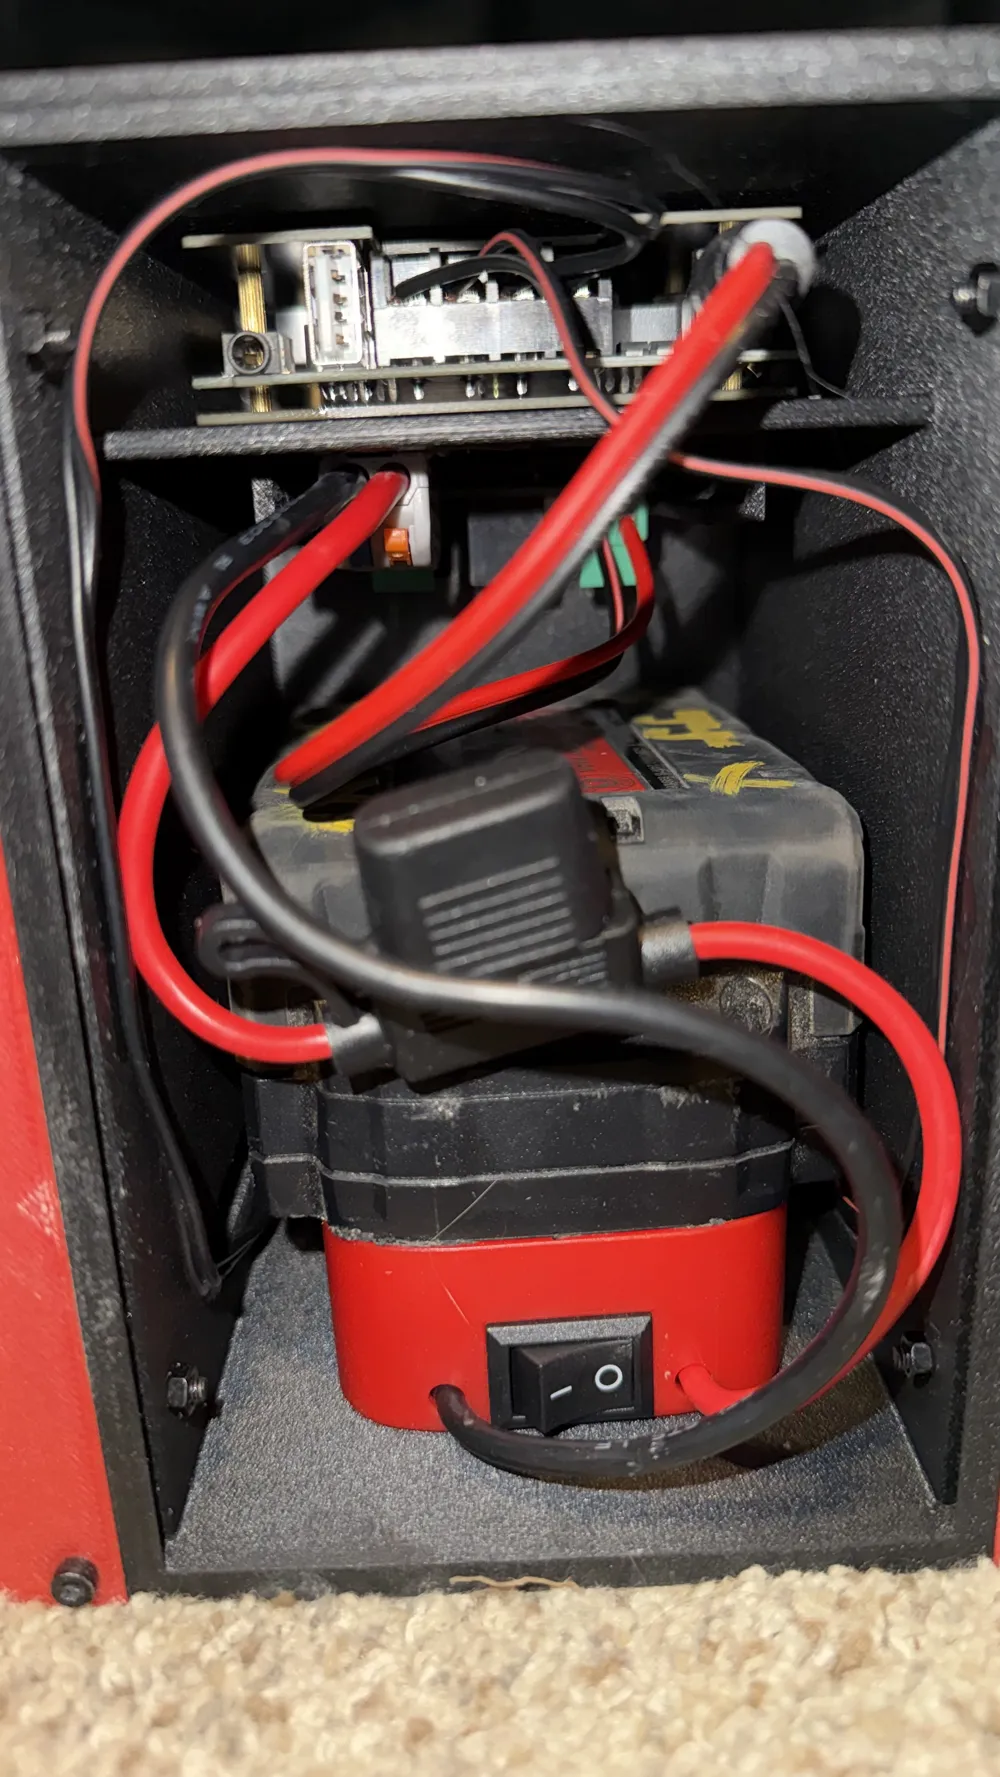
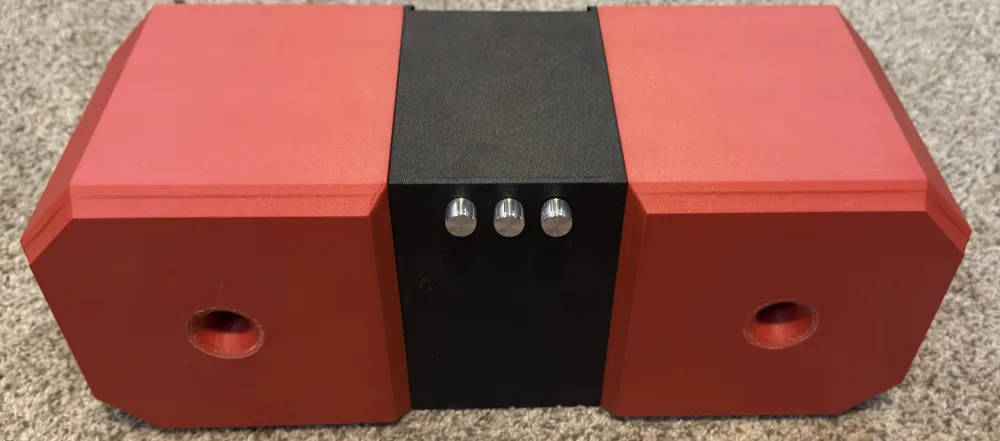
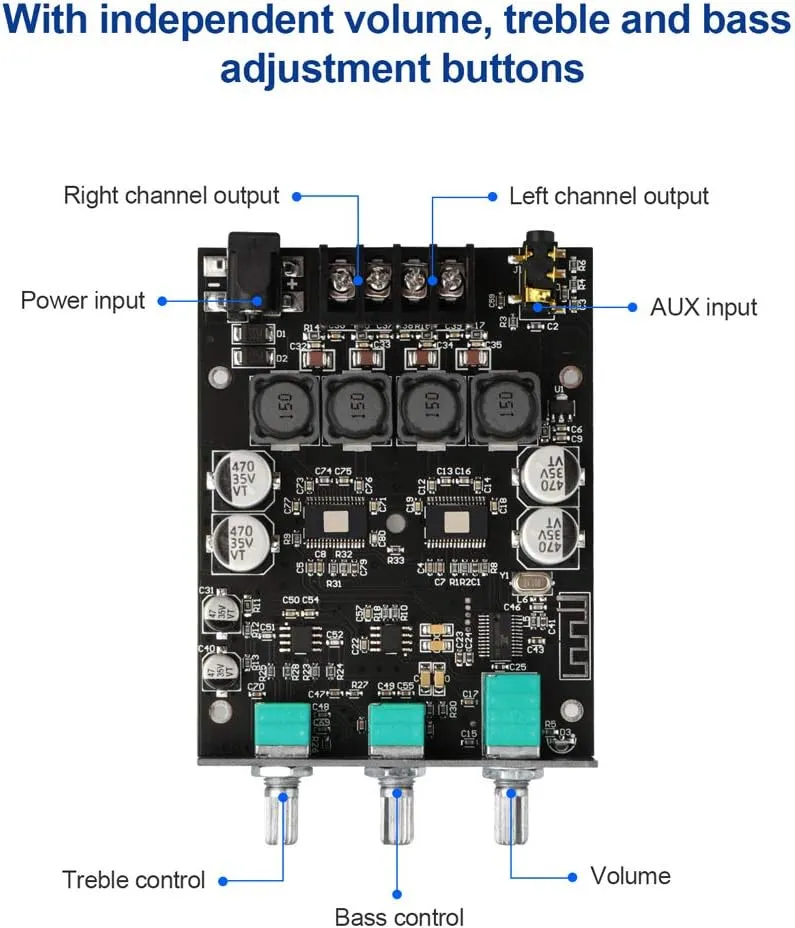
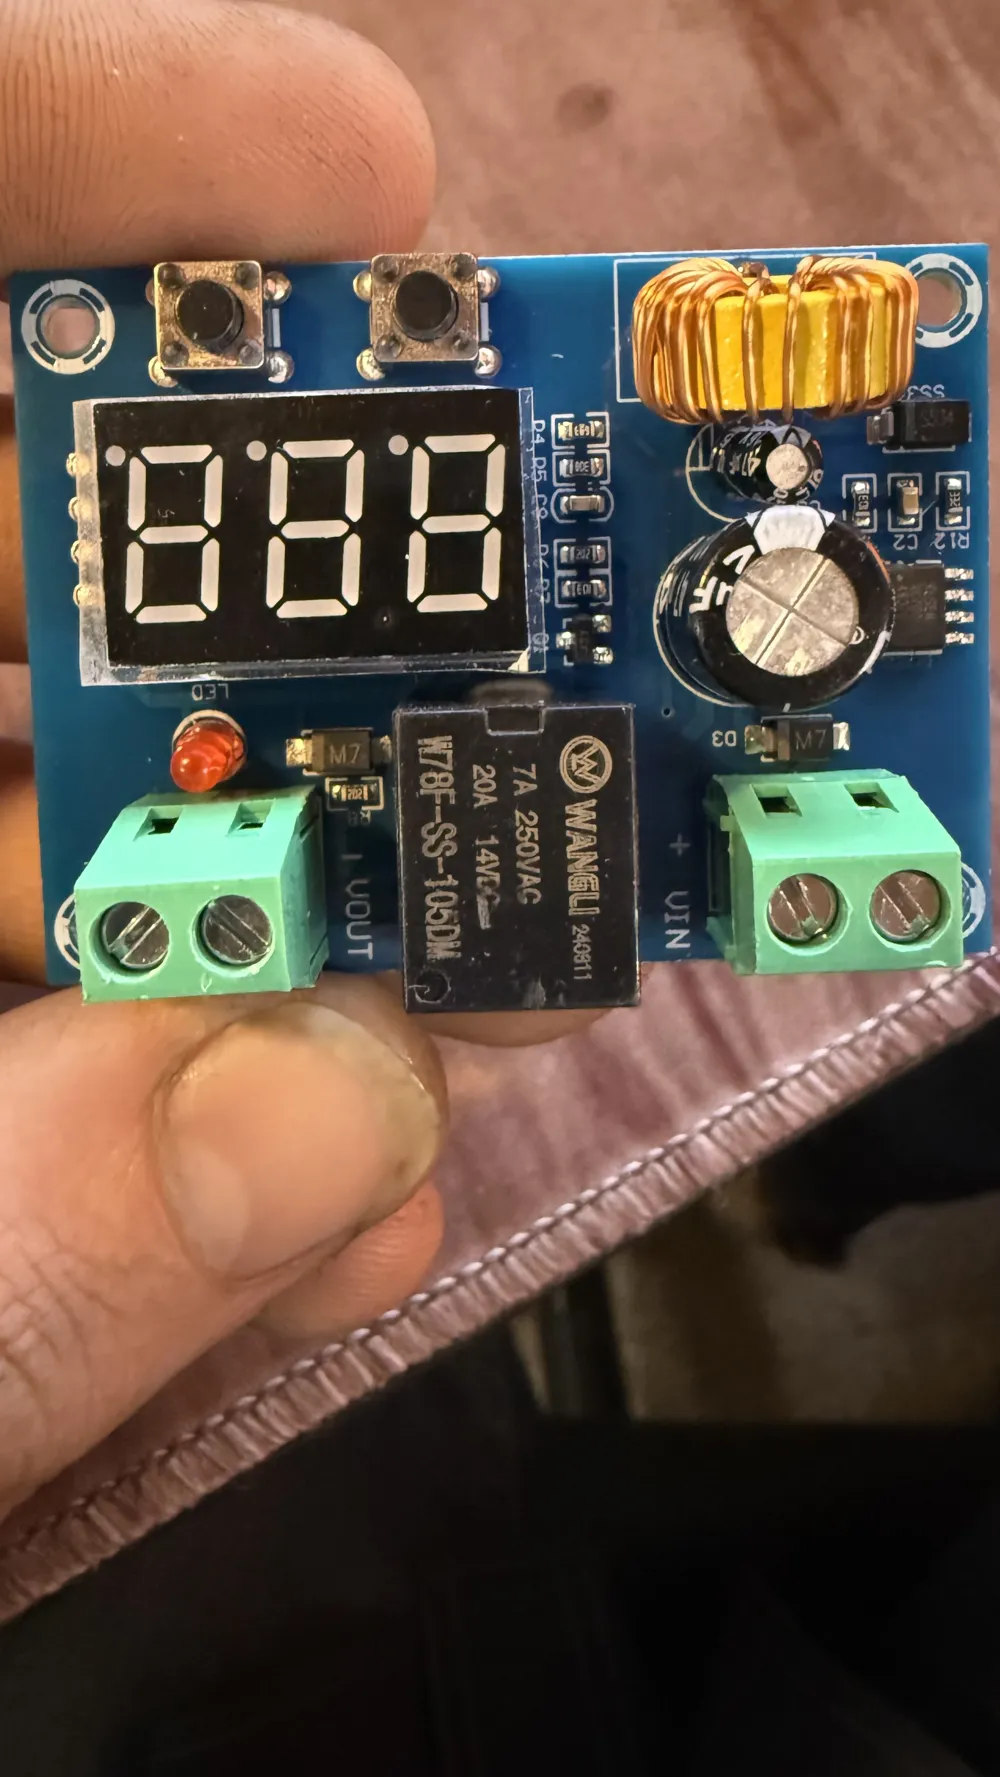
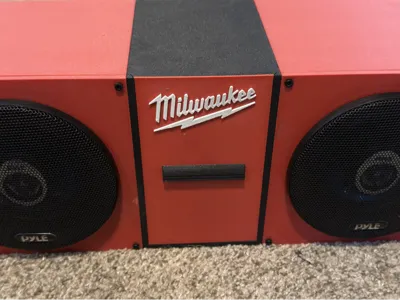
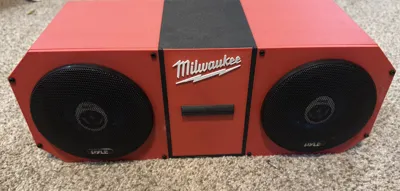
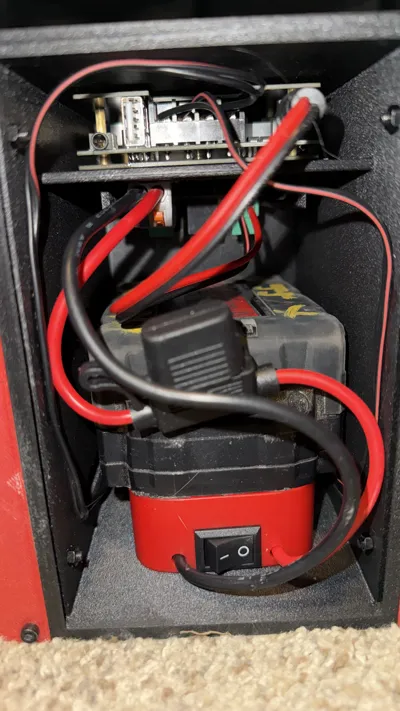
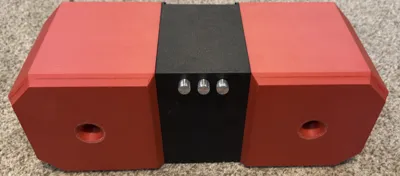
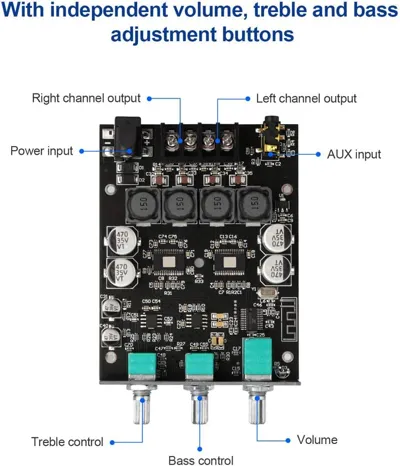
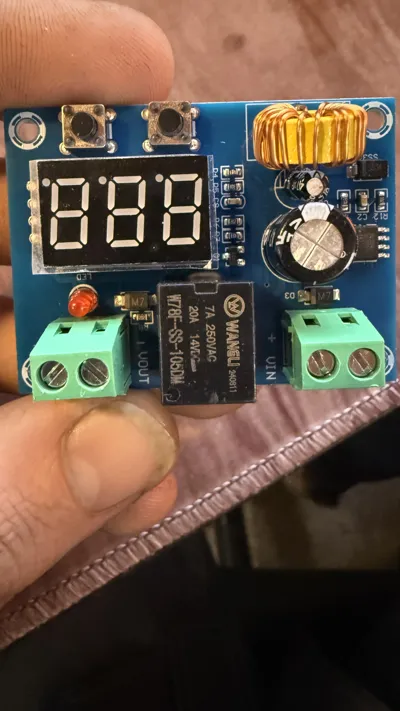
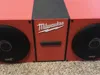
This is a speaker I made for a Jobsite speaker, this thing slaps, its actually nuts. The model doesn't have the Milwaukee Logo on it, buts its easy to get offline if you want want one just like it. Had plenty of dudes at work asking for one after they heard it. With a 5Ah battery, the fully charged voltage is around 20.5, after 2-3 hours playtime at reasonable volume, it only dropped to 20.2, The Low Voltage Cutoff has a 7 segment display to readout voltage, makes it convenient. The amp I used has a volume knob and you can turn it on and off from there or cut the power at the battery. FYI Amazon links are Affiliate Links, but I gave images and names of the parts if you would like to purchase them without my link
Parts List
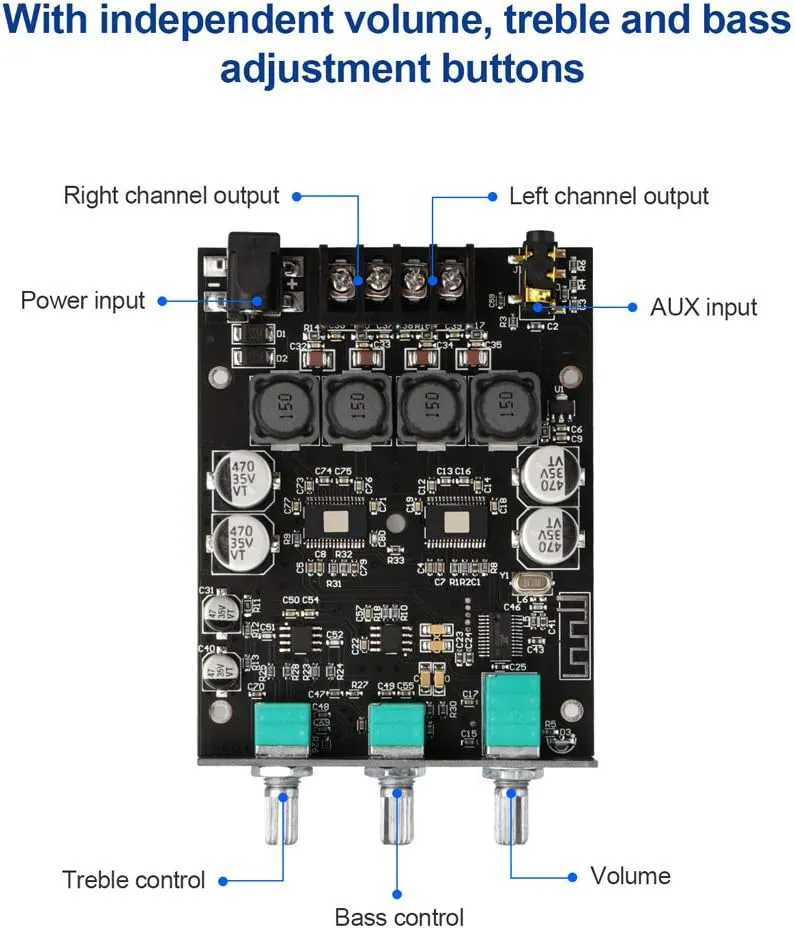
200w Amplifier https://m.media-amazon.com/images/I/71t+gFxw-tL._AC_SL1500_.jpg | Price-$21.98 | https://amzn.to/40ZAf7R |
Low Voltage Cutoff https://m.media-amazon.com/images/I/71cqvabTPRL._AC_SL1500_.jpg | Price-$9.99 | https://amzn.to/3PzIKUD |
M18 Battery Adapter https://m.media-amazon.com/images/I/61kt9g9rDqL._AC_SL1500_.jpg | Price-$9.99 | https://amzn.to/4sLGbNO |
Pyle 4" Car Speakers https://m.media-amazon.com/images/I/71FPPZWX5ZL._AC_SL1500_.jpg | Price-$28.99 | https://amzn.to/4s1EV9c |
| Super Glue | ||
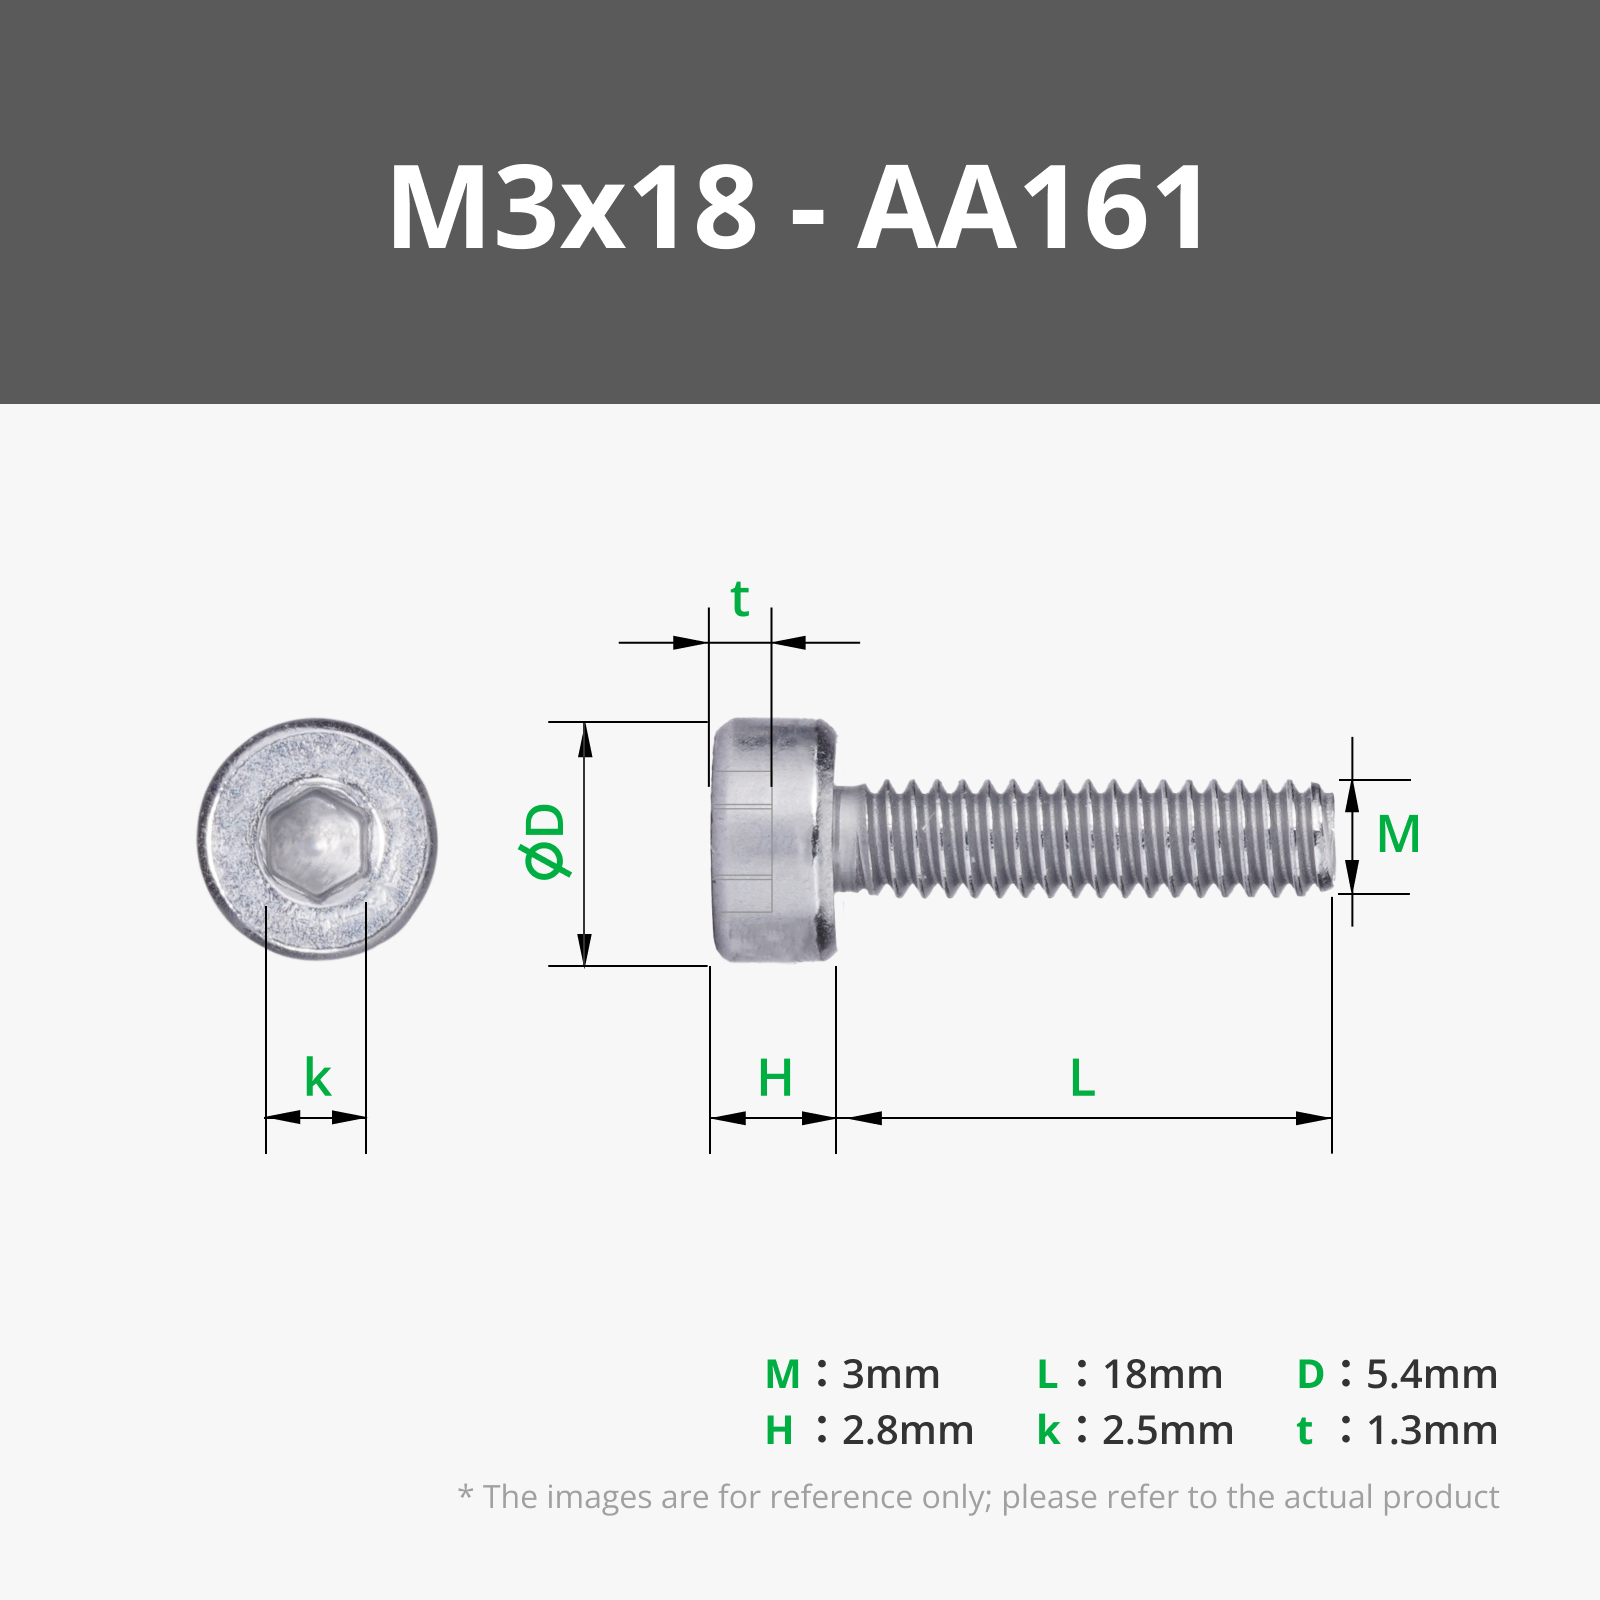
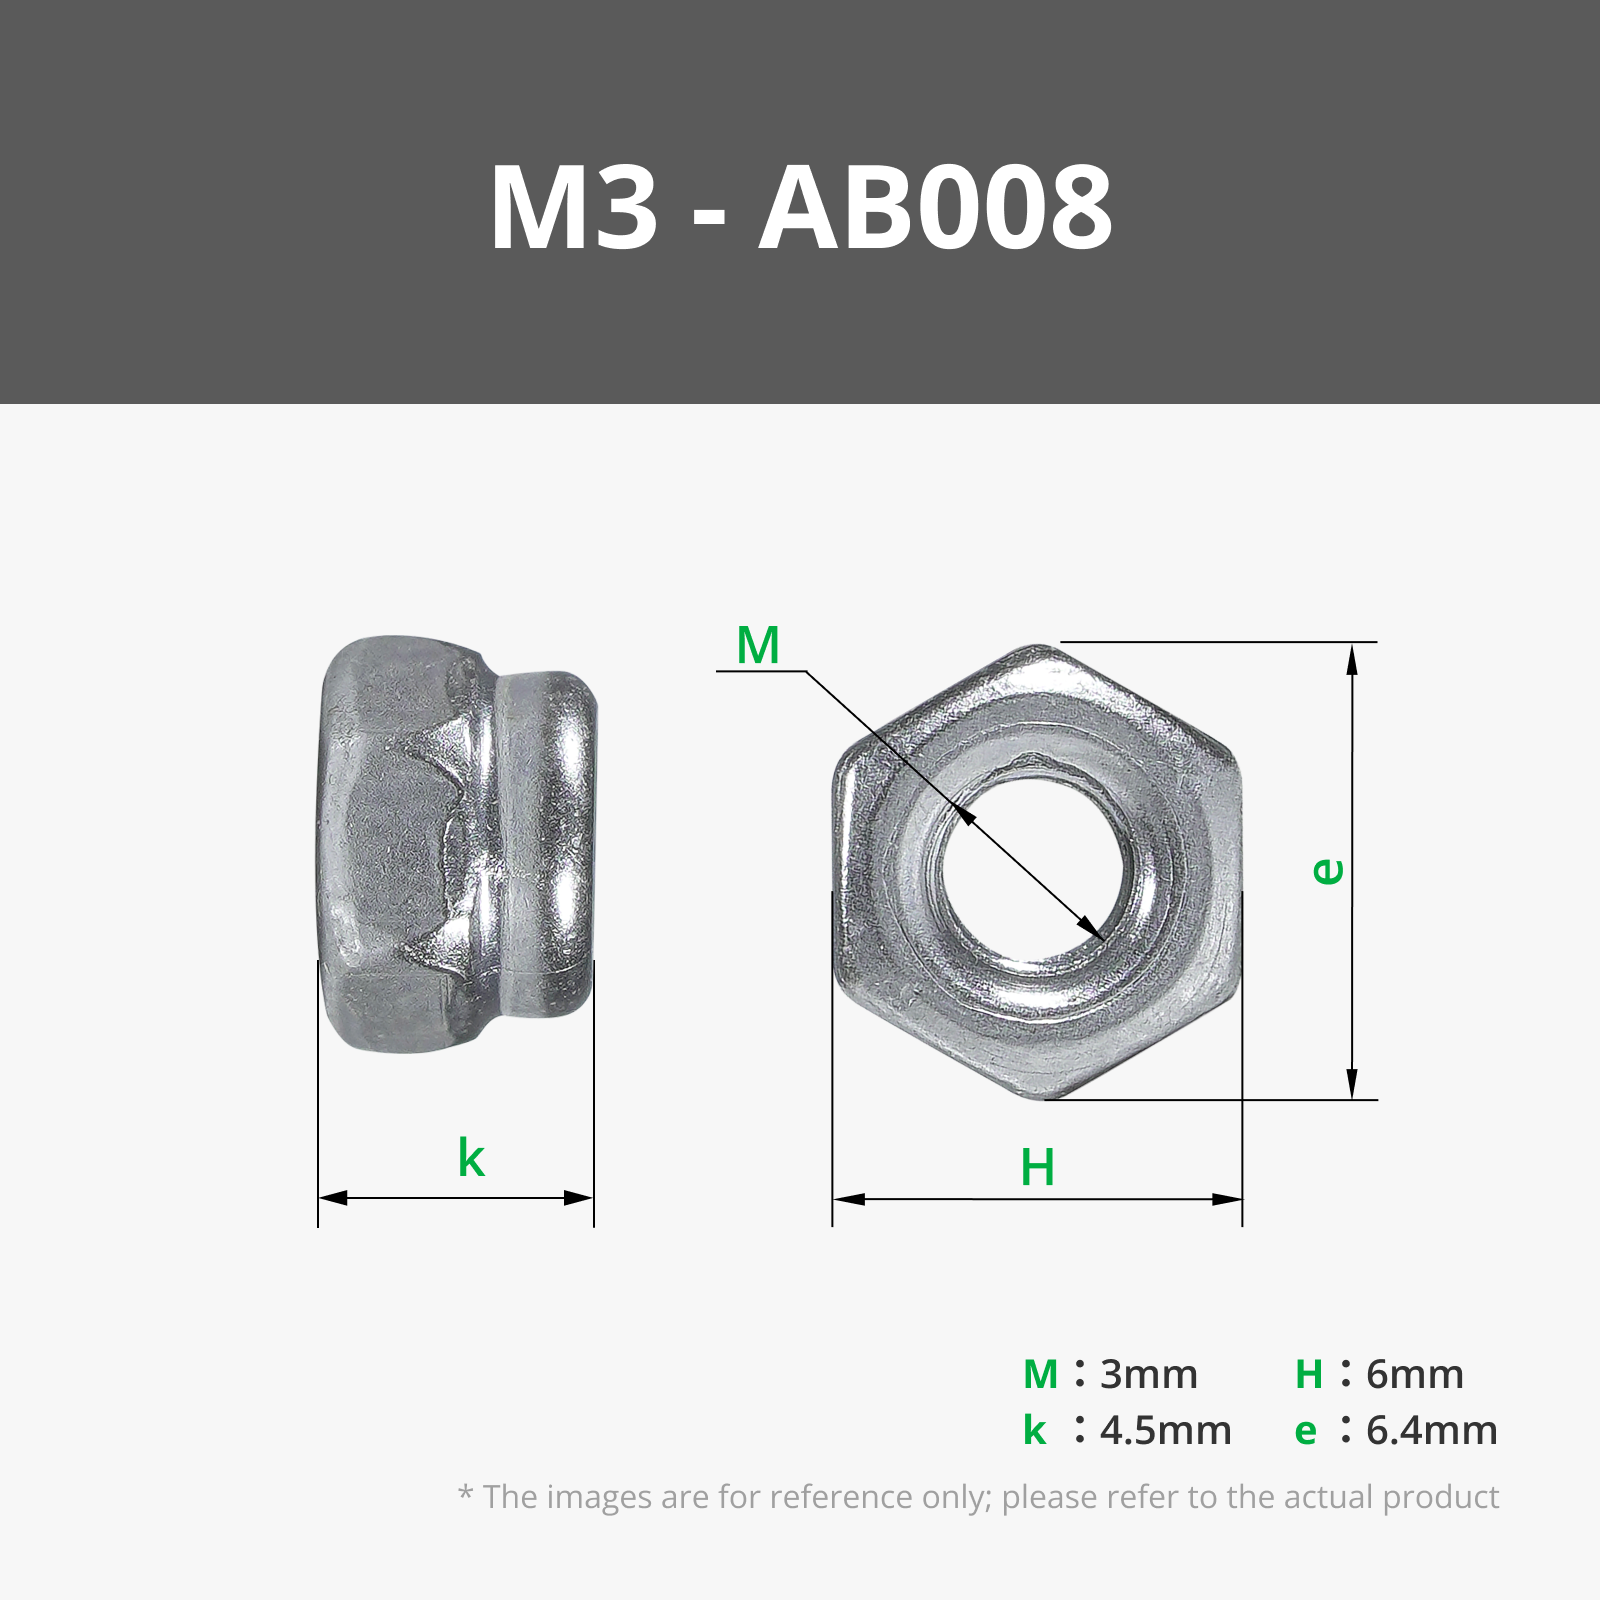
M3x18 (10) M3x12 (6) M3 Nuts (4) | ||
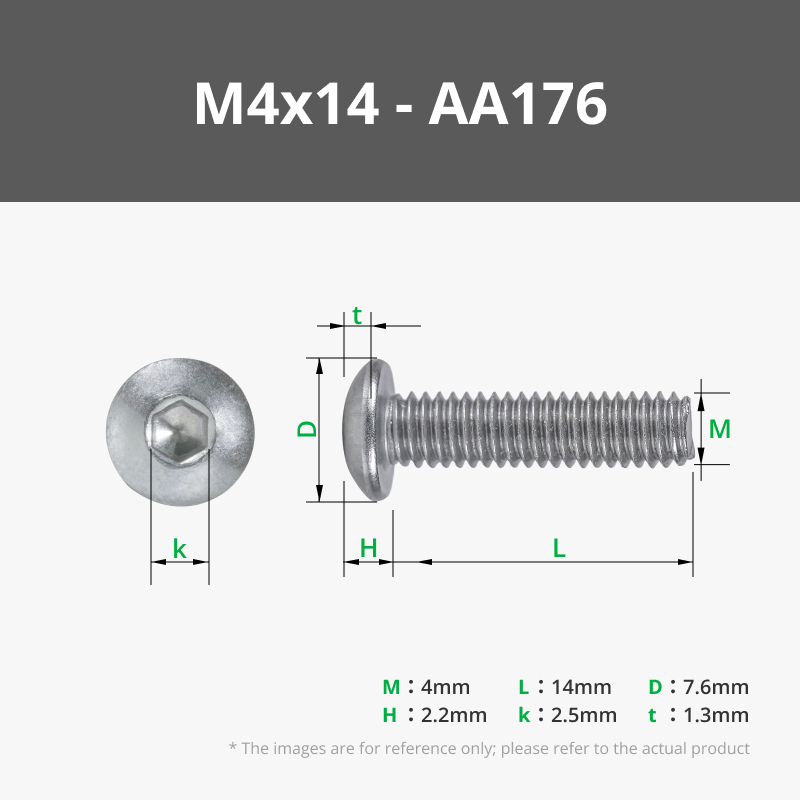
M4x14 (8) M4 Nuts (8) |
Build Guide
The M4 nuts and screws are for the holding the speaker into the front cover
The M3x18 screws- (2) Go inside the speaker housings without a nut, (1) for each housing, in the upper back corner, and the rest are for holding the front speaker panels on the housings
The M3x12 screws- (2) Go inside the speaker housings without a nut, (1) for each housing, in the bottom back corner
The M3x12 screws with nuts- (4) Go inside the speaker housings with a nut, (2) for each housing, in the upper front and bottom front and put the nuts on from inside the Center Console
License

You may create derivative works based on this object, provided that all such derivative works are published exclusively on the MakerWorld platform and include proper attribution to the original creator. You may not share, upload, host, distribute, or publish this object—or any derivative work of this object—on any other digital platform, marketplace, or distribution channel. Commercial use of this object and any derivative works is strictly prohibited. This includes, but is not limited to, selling, renting, sublicensing, or using the object in any context in which you receive monetary compensation or other financial benefits.


Comment & Rating (0)