Exoskeleton Gloves


Print Profile(3)


Description
A movie in my childhood changed my interest in exoskeletons
In the summer of 2008, I lazily watched this movie while lying on the sofa
After this man was hit by a tank, he actually crawled out of the crater

That's right, it was him

When he extended his hand intact, it was super cool haha
So I have always been interested in all parts of exoskeleton hands and robotic hands
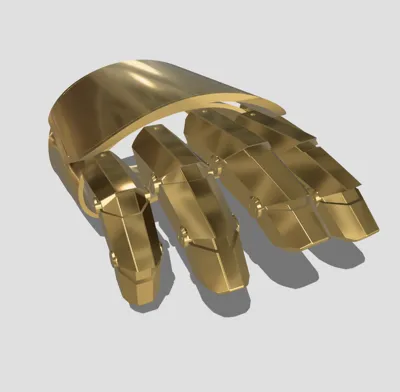
I even tried to make an articulated exoskeleton, of course this structure is referenced, but by changing the rigidity of the knuckles, it can bend independently even without being worn
It is both a carrier and a flexible mechanical hand, and this project is ongoing

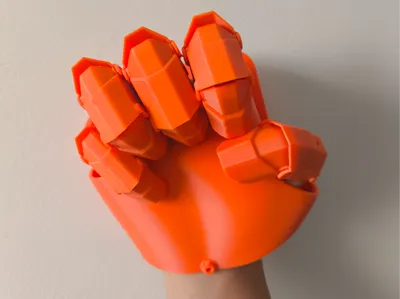
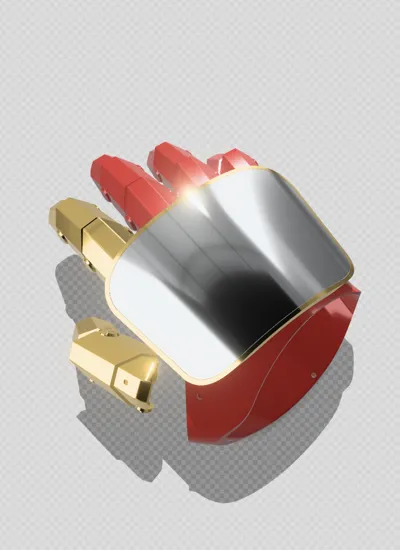
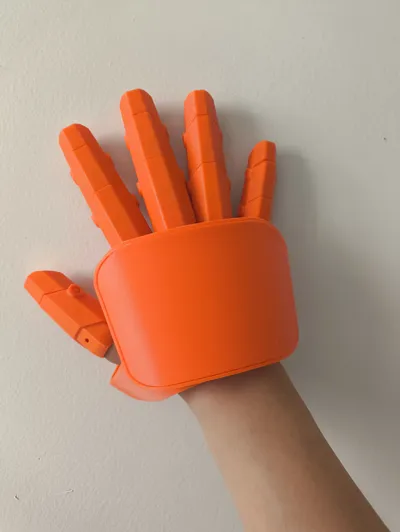
Back to the topic, I strengthened the finger part, reaching 70% coverage

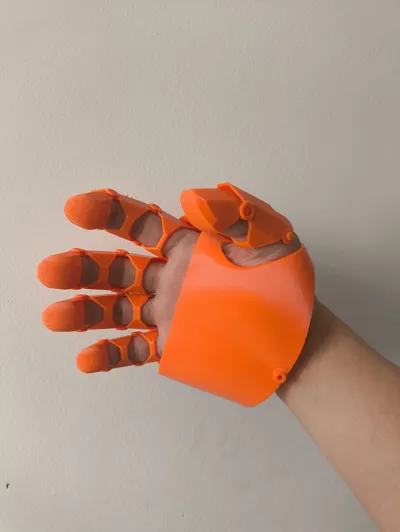
For this, I am still trying to find a way to solve the connection between the fingers and the palm
Currently there is no other way, only by drilling a hole and using string or leather for connection

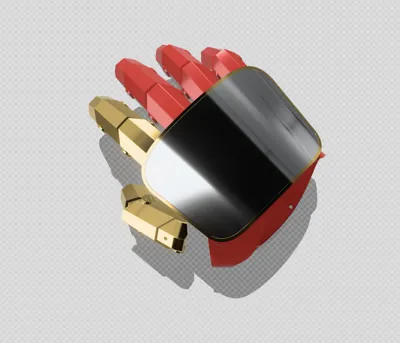
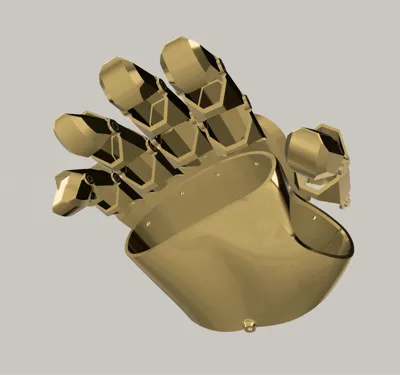
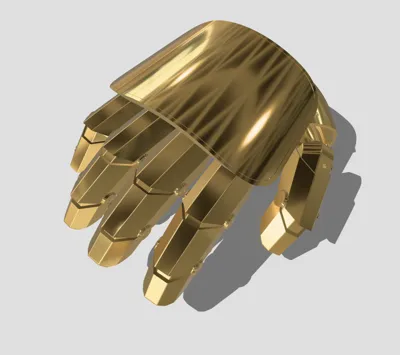
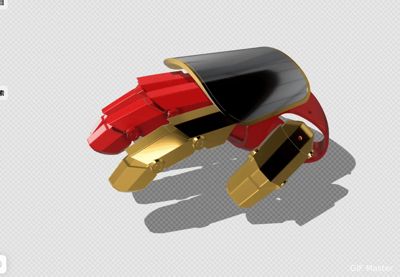
The colors I rendered for these images are so cool


Of course, you are also very cool in real life


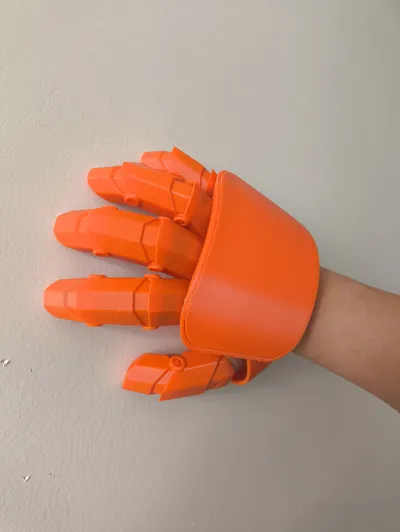
To solve the previous assembly difficulties, this time I changed the wall thickness to 1.5 mm
At the finger joints, assembly is simpler
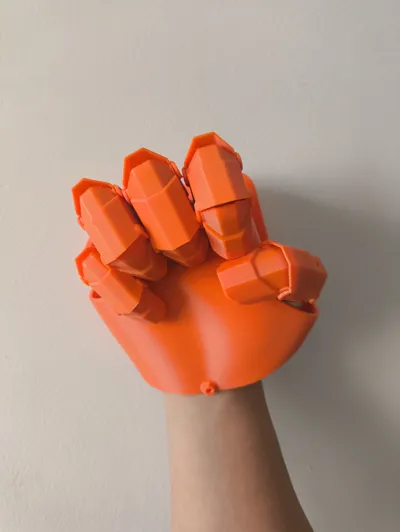
However, thinner wall layer lines appeared, which generally does not affect usage During assembly, first insert one piece diagonally into the other side and gently push

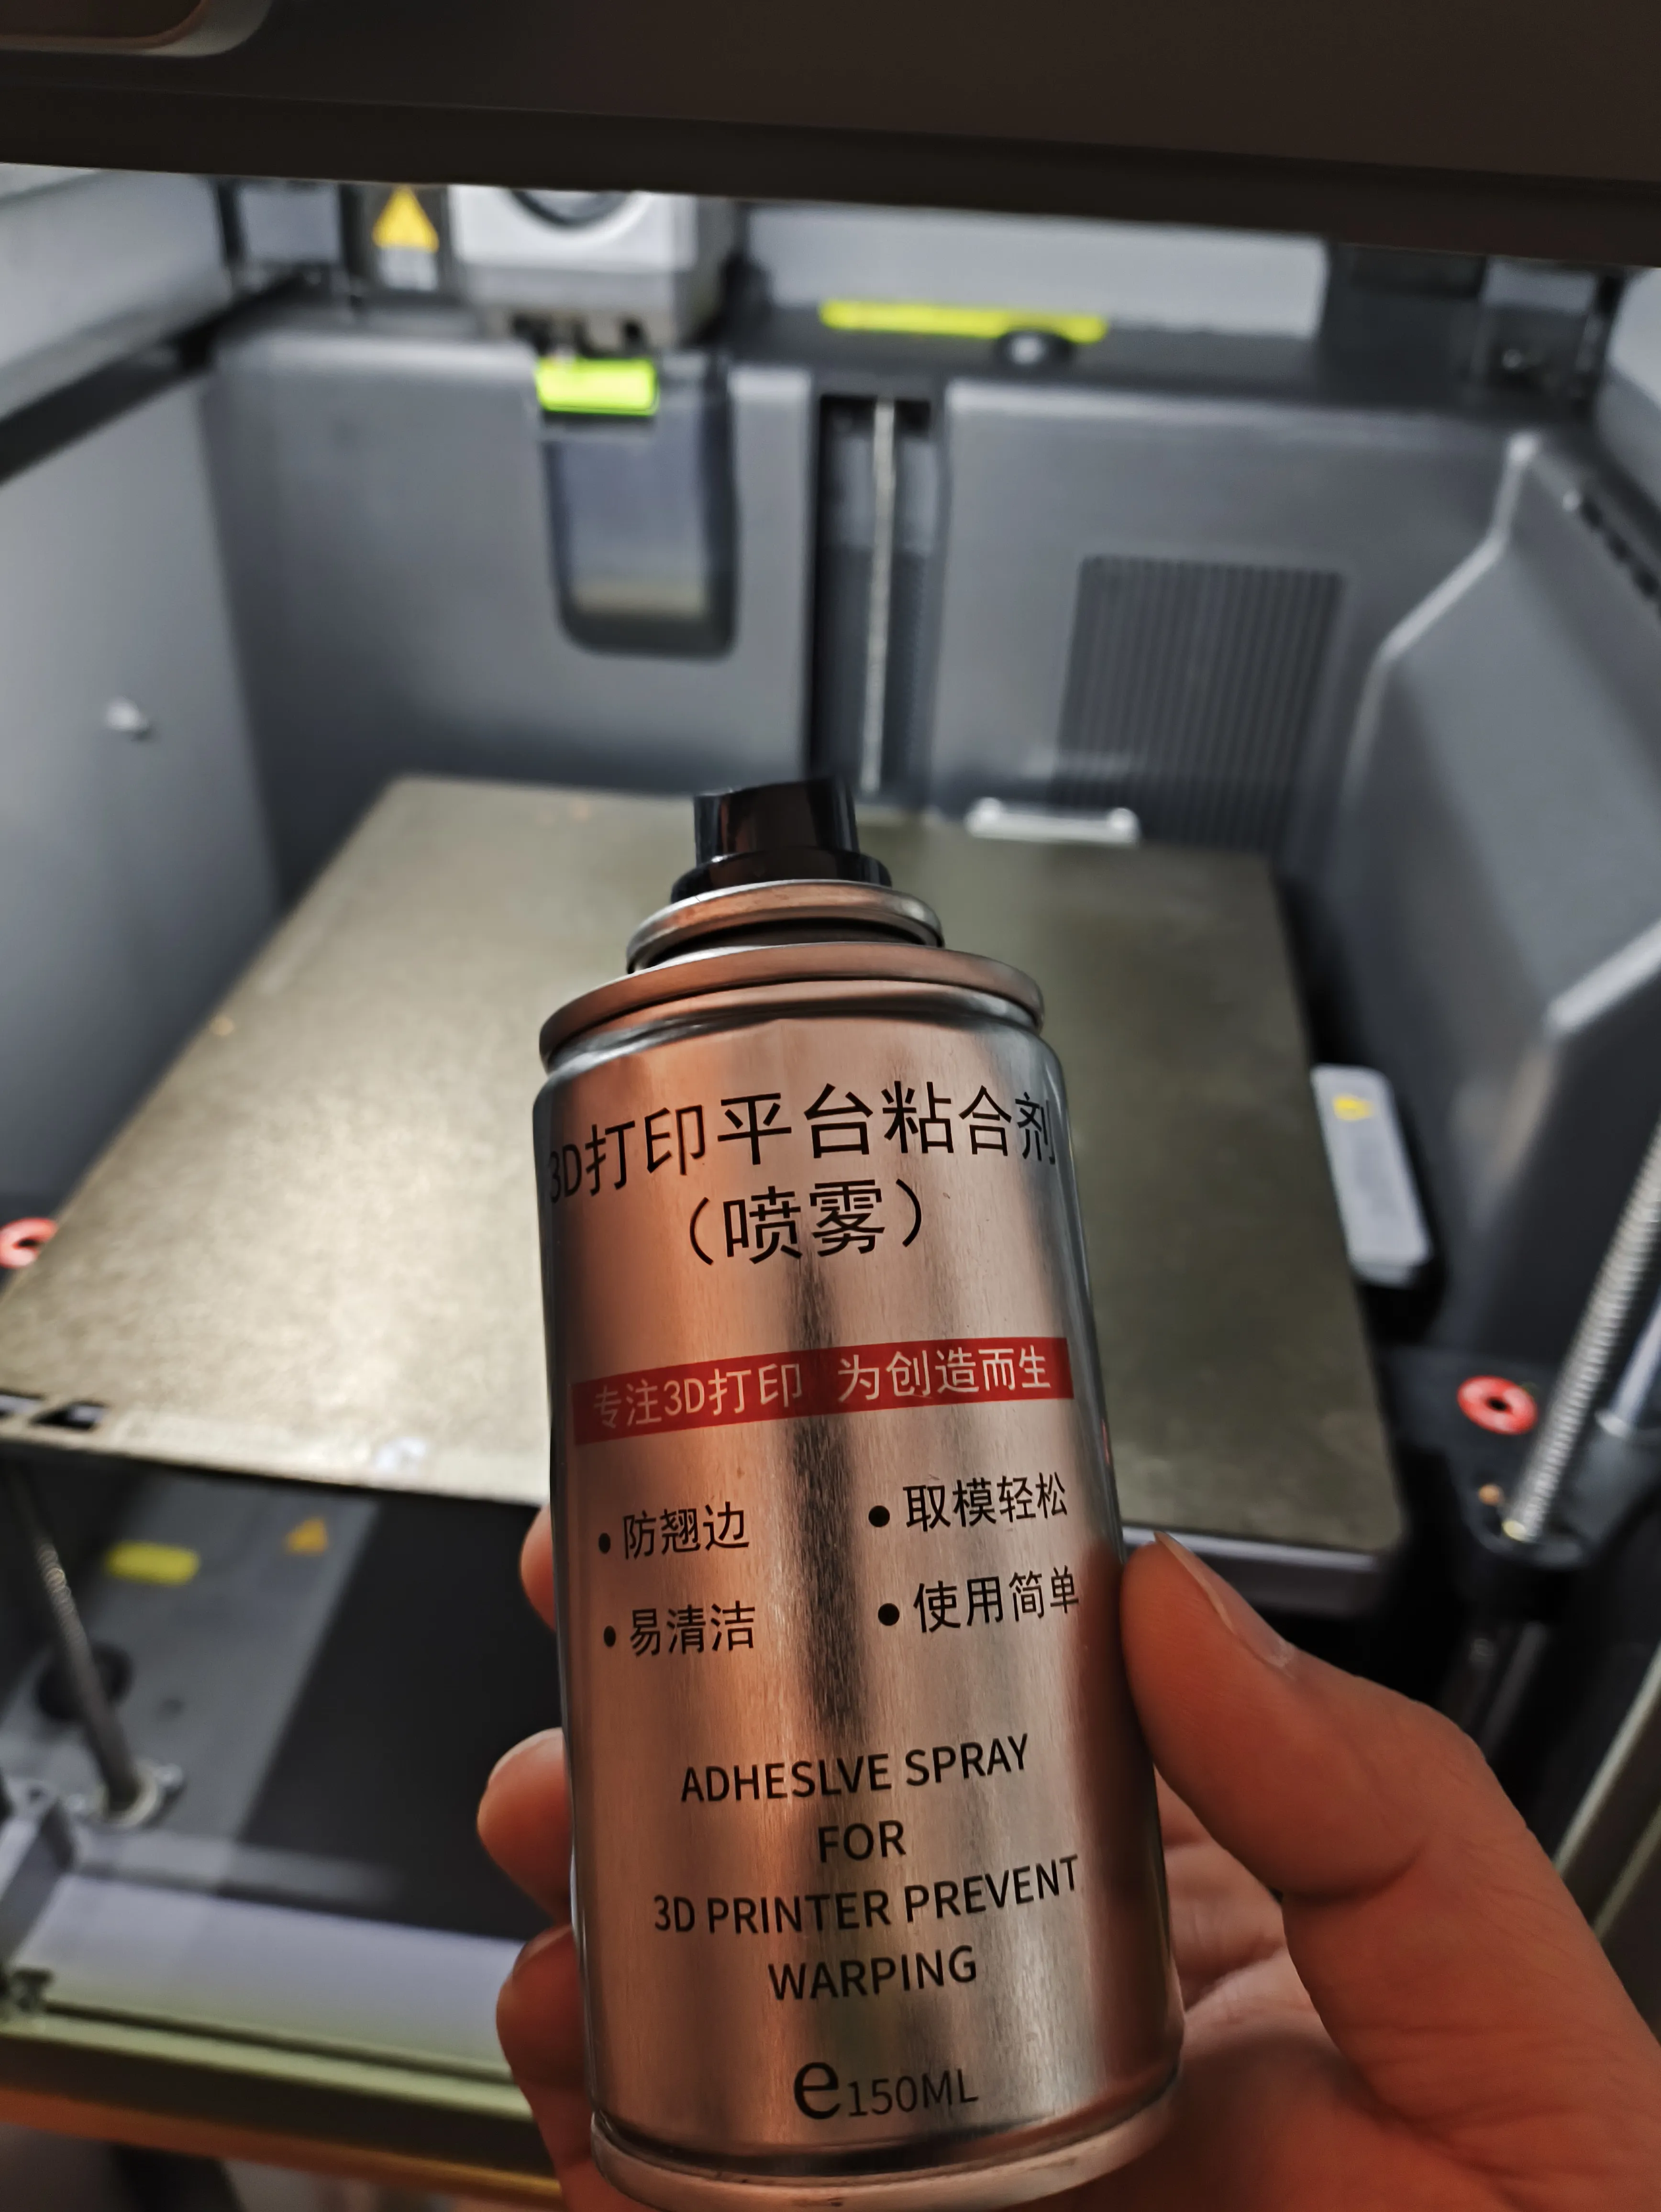
When printing, clean the build plate to prevent warping please use 3D printing bed adhesive, which is spray glue, and spray it evenly on the build plate surface

After printing is complete, the back part needs assembly, requiring one M3x10mm screw for fixing

I wish you a smooth assembly
Haha I seem to have forgotten to prepare instructions
Follow me, I hope it approaches perfection
and I also hope you can give me feedback
Boost Me (for free)
License
You shall not share, sub-license, sell, rent, host, transfer, or distribute in any way the digital or 3D printed versions of this object, nor any other derivative work of this object in its digital or physical format (including - but not limited to - remixes of this object, and hosting on other digital platforms). The objects may not be used without permission in any way whatsoever in which you charge money, or collect fees.
Comment & Rating (11)