


Print Profile(1)

Bill of Materials


Description
Boost Me (for free)
Boost me to show you appreciate my designs and want more of them!
Continuation of my IKEA Rödalm series. Last time it was the key + wallet + airpods insert which you can find here: https://makerworld.com/en/models/1758799-ikea-rodalm-hidden-key-hanger
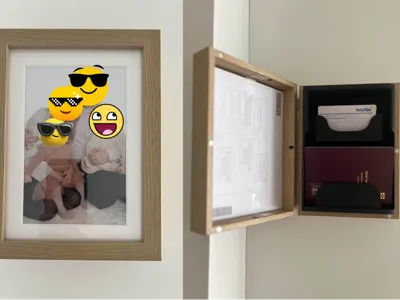
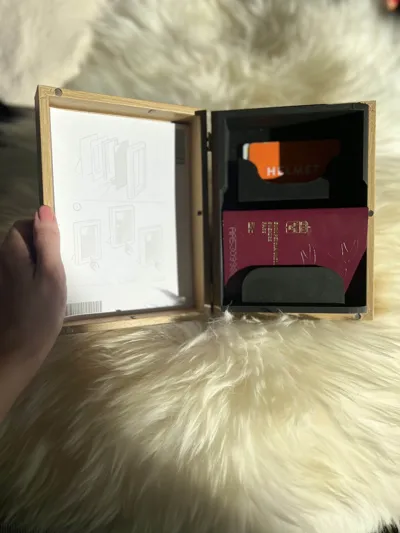
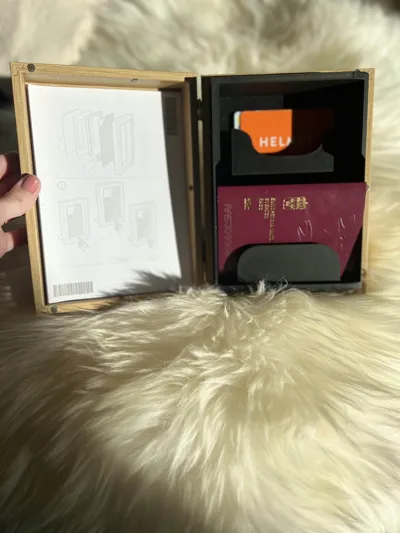
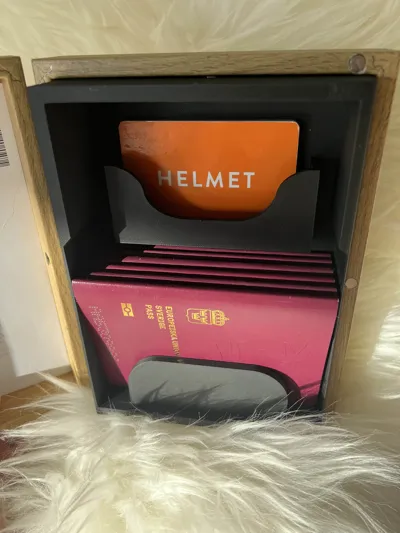
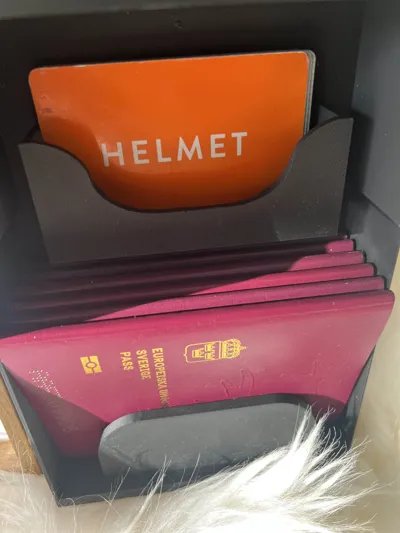
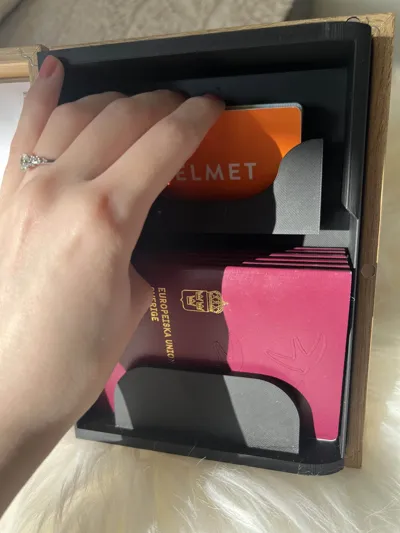
This is a smaller version that focuses on passport and bankcard storage. With kids around who loves to use the passport to look at themselves I needed a good way to store them away from small hands. We also don't use wallets but need our identity cards, health insurance cards and library cards available. So perfect way to store them inside the frame. You could also store your wallet in the passport slot if you so choose to. You may have some issues getting the supports out from the bankcard slot especially if you got big hands or fingers. I used a cutlery knife to just peel them out
The insert features:
- A passport slot (Wallet too) which allows you to store 5-6 passports.
- A bankcard slot. I've not tried how many you can store but I'd assume 20-30 cards.
Here's the items you need:
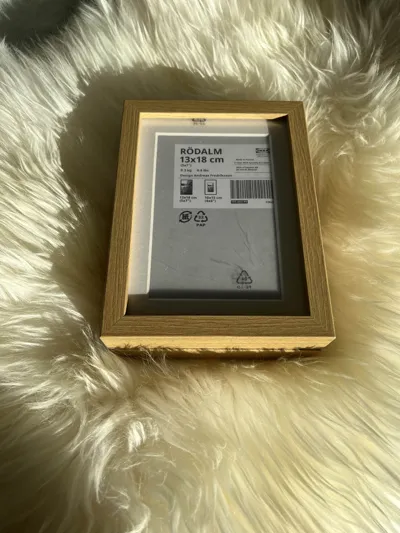
- 2x IKEA Rödalm frames (13x18cm): https://www.ikea.com/fi/en/p/roedalm-frame-oak-effect-10566390/
- Some magnets. I used 6x2mm neodynium magnets but smaller are fine too: https://eu.store.bambulab.com/products/round-magnet?id=48741472600412
- Hinges. You can use whatever you want. I used the smallest ones I could find on the market: https://www.amazon.de/-/en/dp/B0CRQPJWT4
- A drill
- A screwdriver
- Some superglue or PLA glue
- A pen to mark holes with
Here's the assembly instructions:
- Line up the frames on top of each other like this:
- Lay a hinge out on the long side and mark the four holes.
- Either drill out the holes a bit or just screw directly into the wood. Final result should look like this:
- Repeat step 2 and 3 for the second set of hinges.
- Take a drillbit that's just barely larger than the magnets and drill out where you want the magnets to sit. If you're smart and get it on the first try you only need two magnets (one on each side) but in below picture you'll see I failed two times before I managed to get them connecting. Make sure the magnets sit ever so slightly further out than the frame (so 1.8mm deep hole give or take):
- Glue the magnets down. Make sure that the magnets connect and not push each other away.
- Wait for the glue under the magnets to harden so you don't rip out the magnets in the next step.
- Place the insert into the frame. Side doesn't matter. Insert should have the slanted corner on the right side to make sure you can actually close the frames.
- Make sure the frames can close without scraping or issues. I had to bend the little clips to make sure they weren't in the way. Pushing the insert into the top left was required for me to get a perfect fit without the frame scraping against the insert.
- Once you've found a good placement, take the insert out. On the inside of the frame glue around the part the insert rests on.
- Place the insert back into position and make sure the insert sits correctly. The glue dries very fast.


License
You shall not share, sub-license, sell, rent, host, transfer, or distribute in any way the digital or 3D printed versions of this object, nor any other derivative work of this object in its digital or physical format (including - but not limited to - remixes of this object, and hosting on other digital platforms). The objects may not be used without permission in any way whatsoever in which you charge money, or collect fees.
Comment & Rating (0)